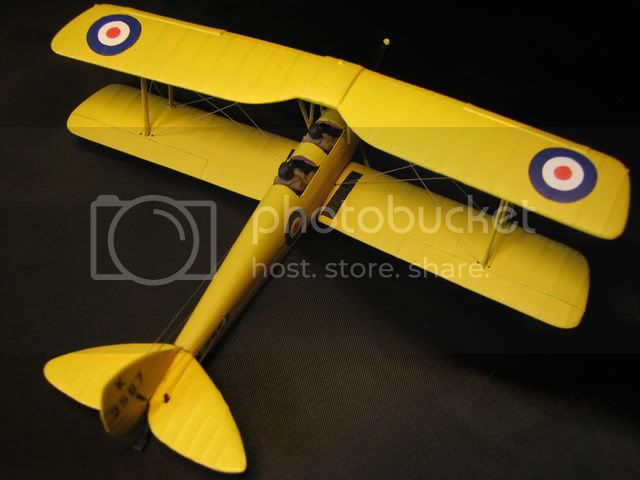
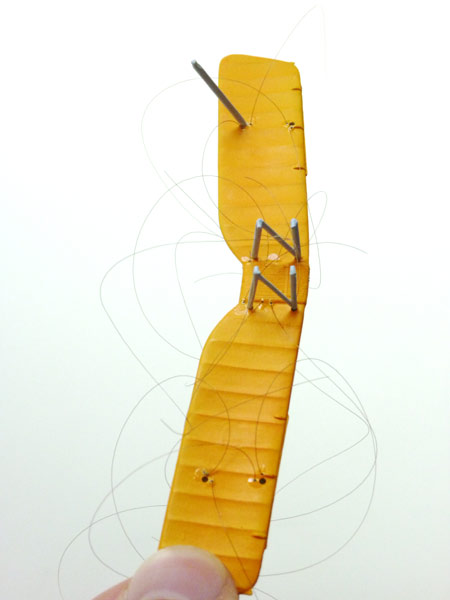
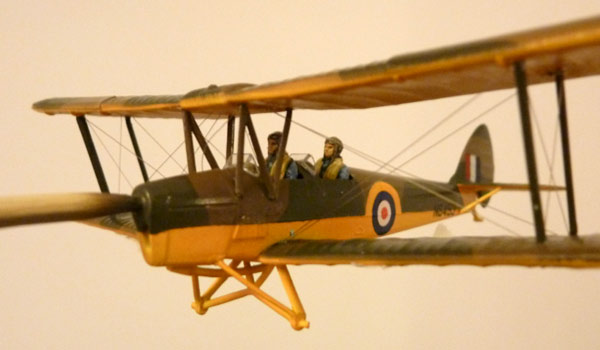
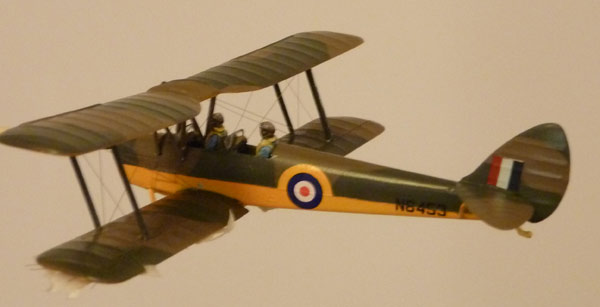
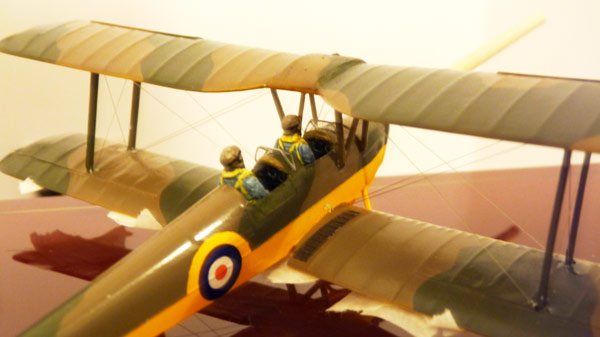
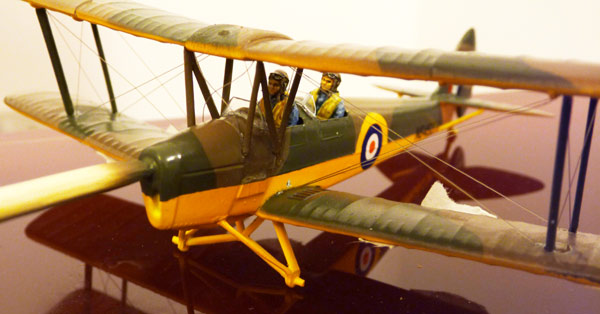
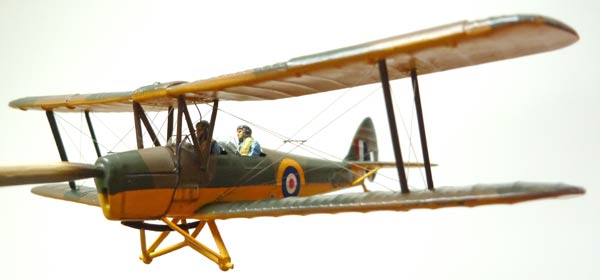
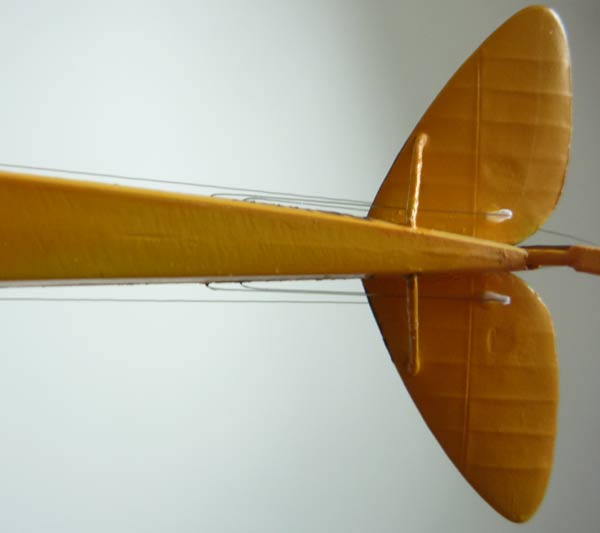
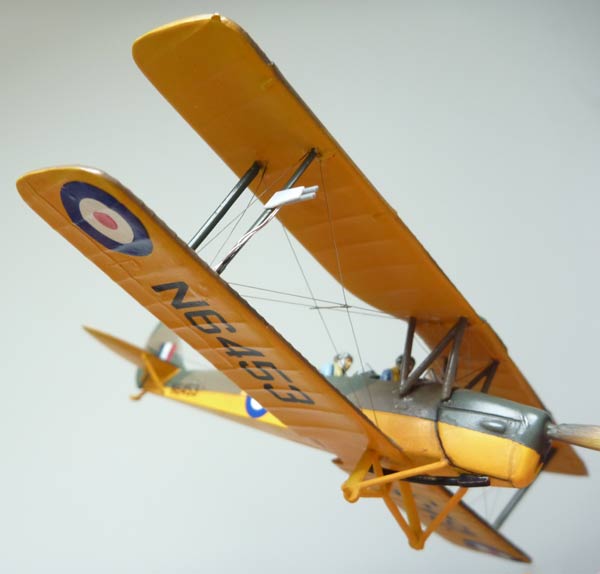
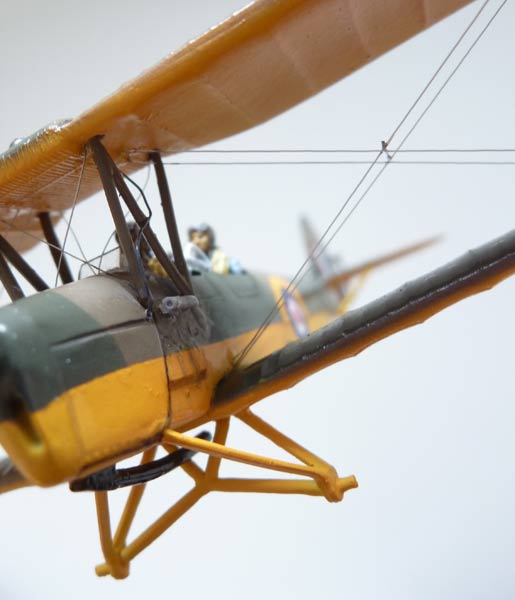
I plan to use it as practice for airbrushing camouflage (before I do the PDU scheme on my 1/72 Hudson that has been in progress for months and months), and as practice for rigging. I didn't really realise how small the aircraft was- I am now having second thoughts on the rigging!
I hope to complete it over one weekend.
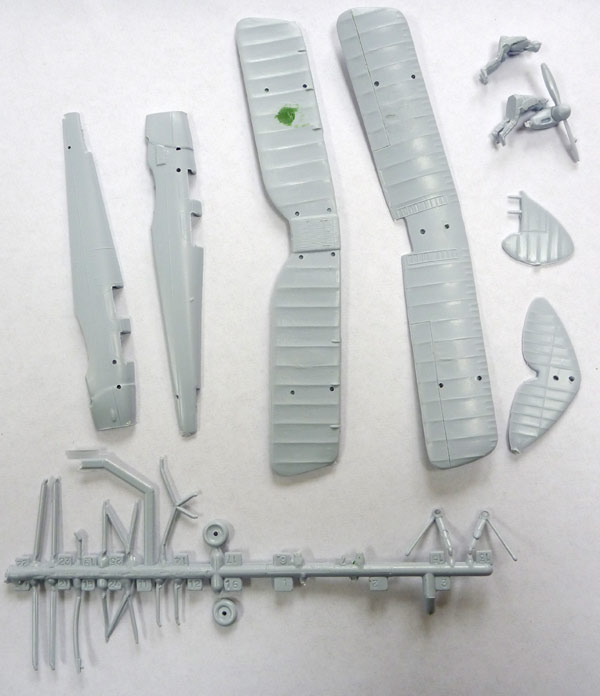
What I got for £3.90.
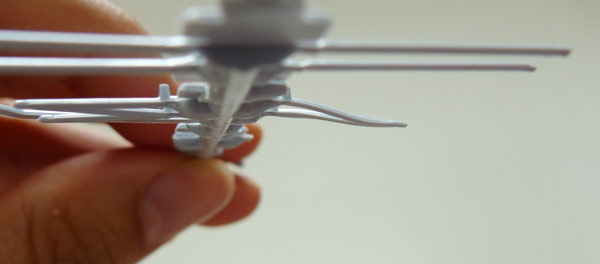
One of the sets of struts that goes between the fuselage and the upper wing is massively distorted.
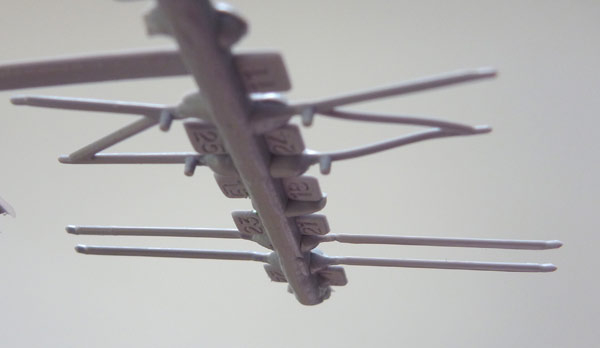
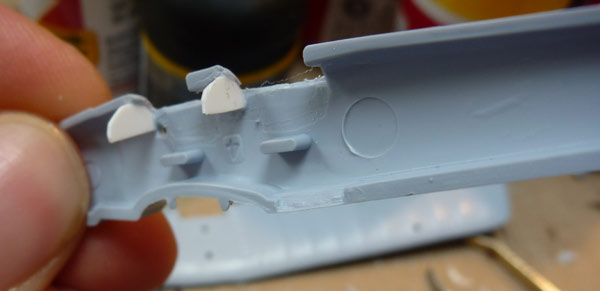
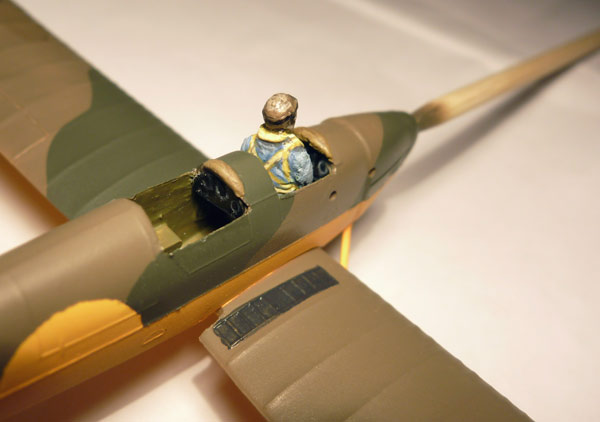
No cockpit supplied at all, so I have installed some styrene sheet instrument panels.

Hannants Interior Green is quite dark, very glossy, and poor at covering (needed 3+ coats).
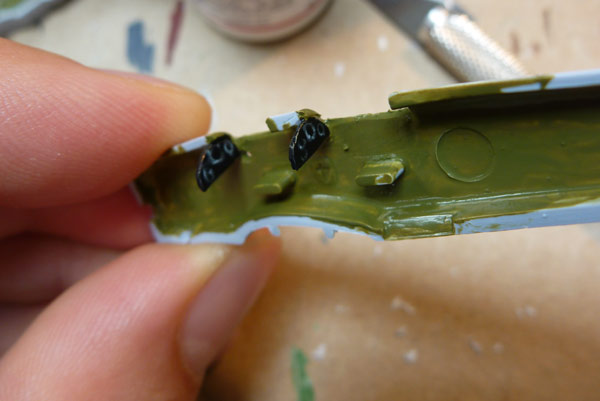
Luckily the Tiger Moth only has a few instruments (I think it should have a compass in the bottom middle, but I wasn't going to put in much effort for this little kit).
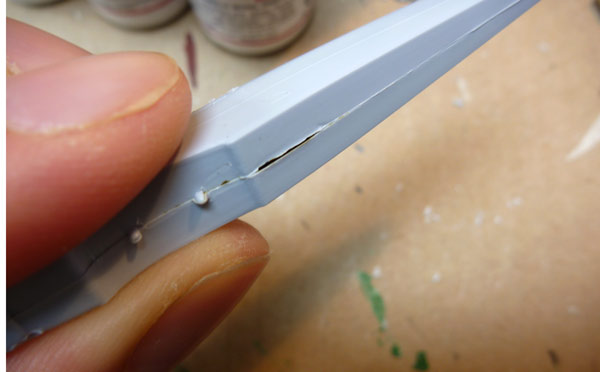
On closing the fuselage, I had a big gap on the underside.
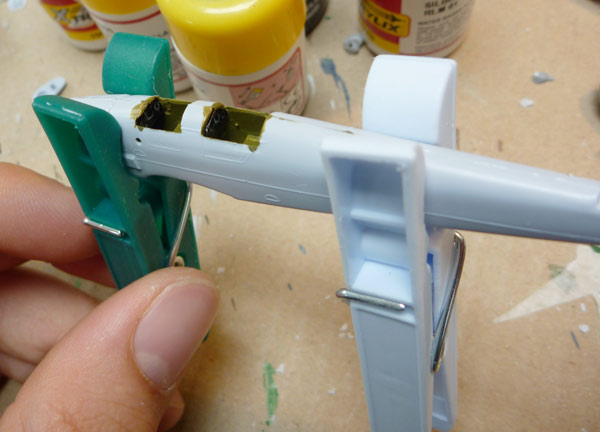
Top was OK though (dark patches near seam are interior green paint, not gaps).

Wings and horizontal tail surfaces had ejector marks, which are quite hard to deal with the on uneven fabric effect.
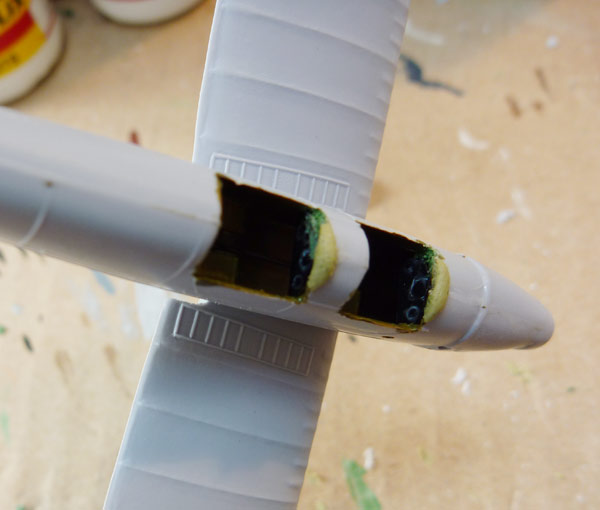
The kit doesn't represent the leather pad above the instrument panel, so I added some milliput ones. Also filled the gaps between instrument panels and other side of fuselage with green putty.
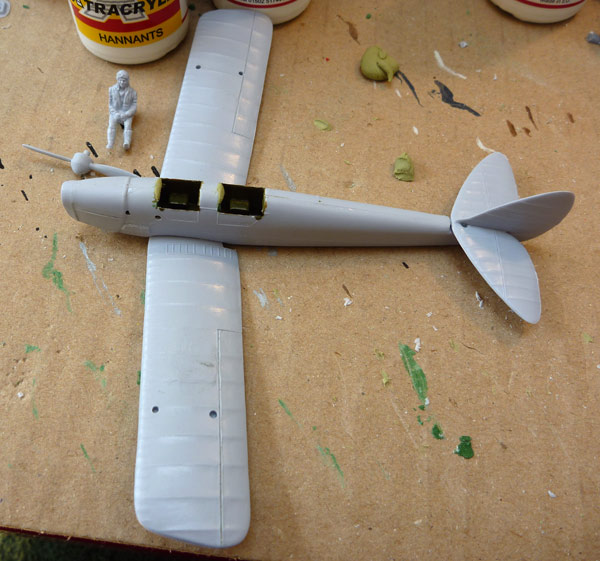
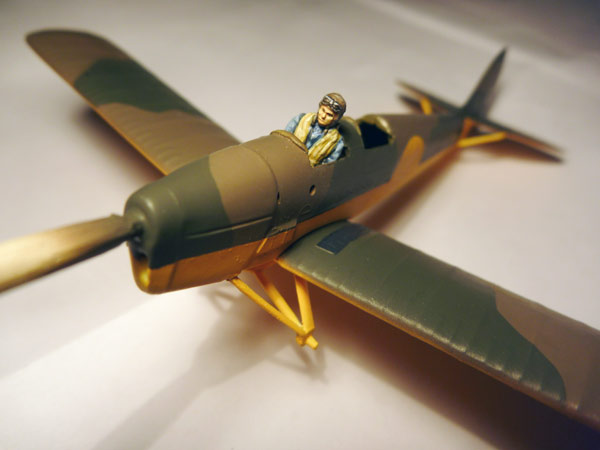
The pilots don't fit in the overly slim fuselage, so their arms have had to be filed down (and the side walls scraped back).
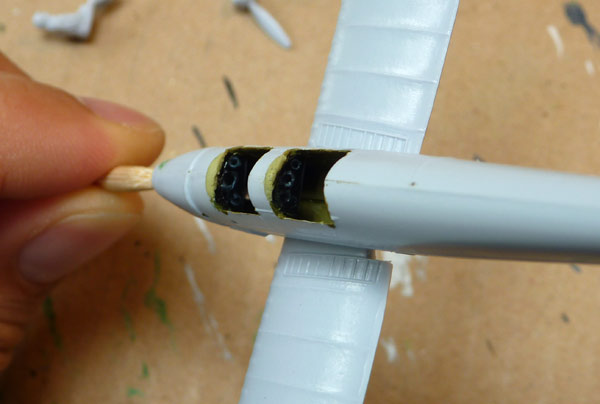
Instrument panels touched up where the filler went.
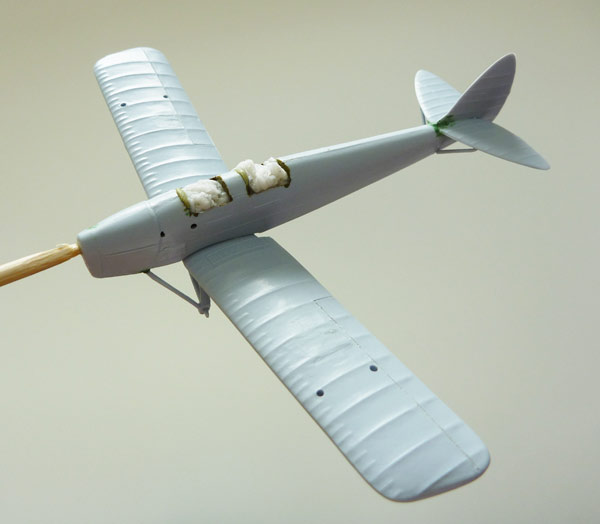
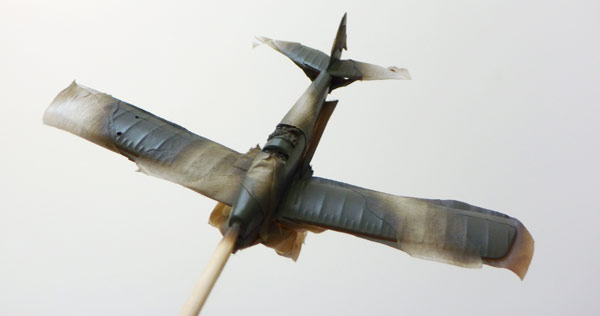
Ready for primer now- filled cabin with wet tissue.
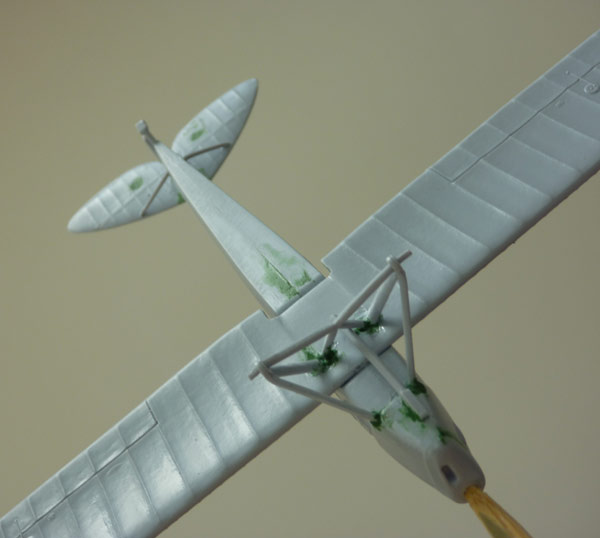
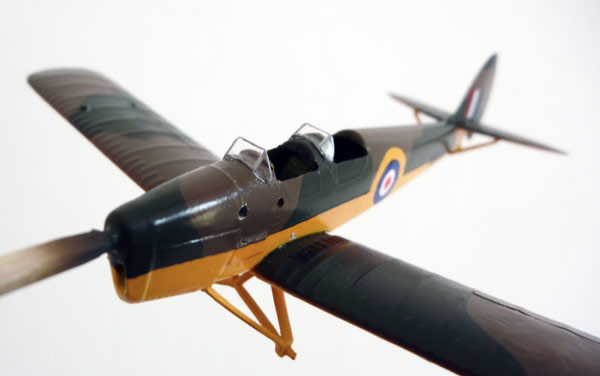
Undercarriage was a pain- eventually got it straight. All holes for struts and supports are much bigger than they need to be.
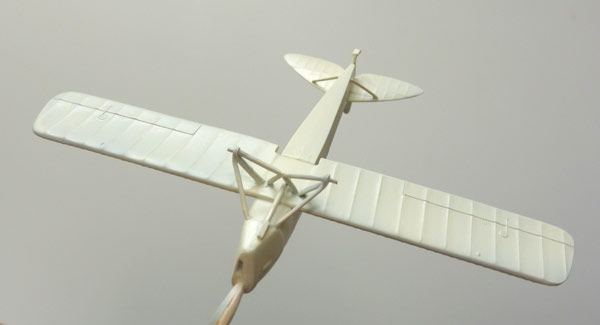
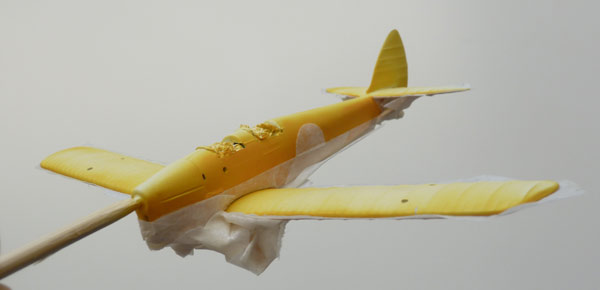
Primer on.
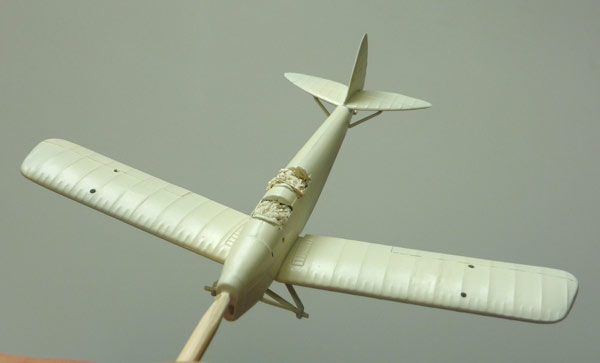
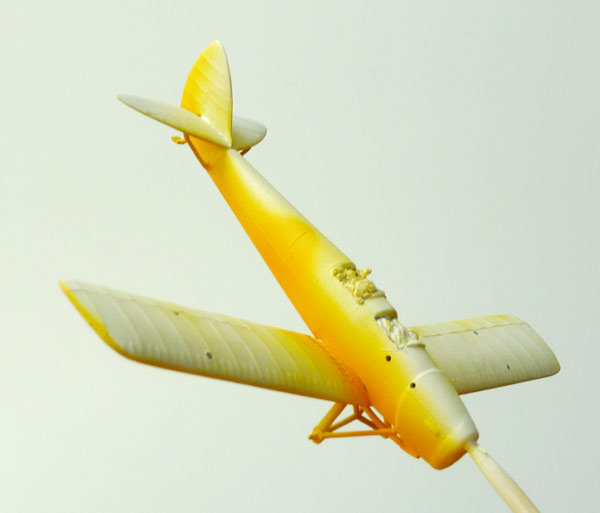
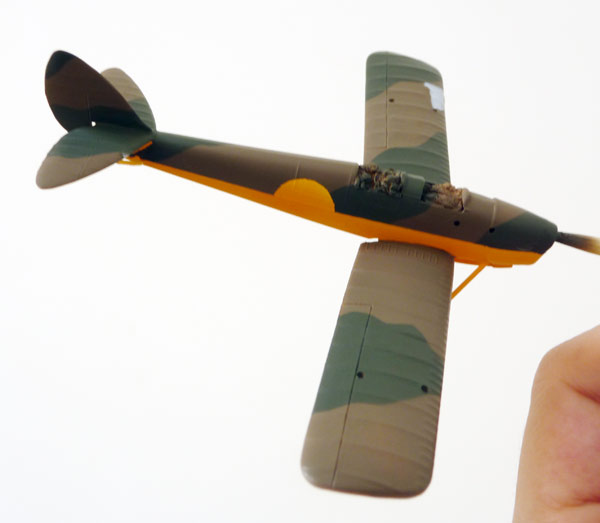
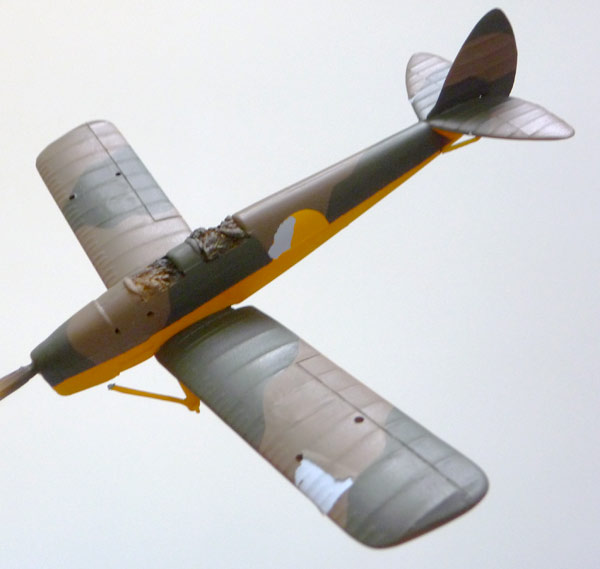
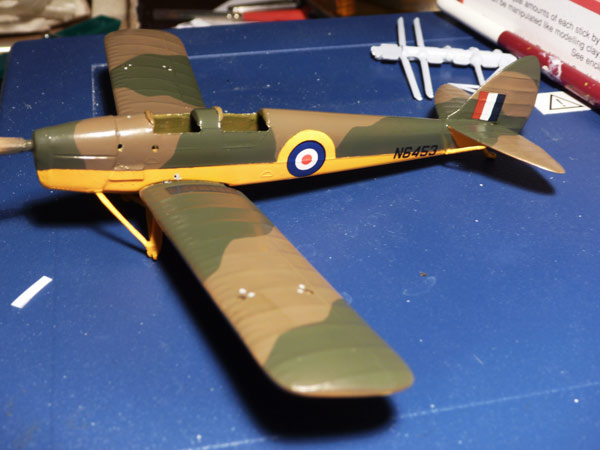
Underside and lower 1/3 of fuselage will be yellow- it needs another coat to even it out a little.
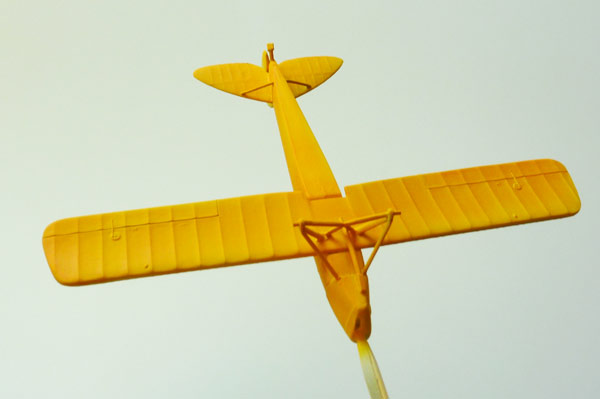
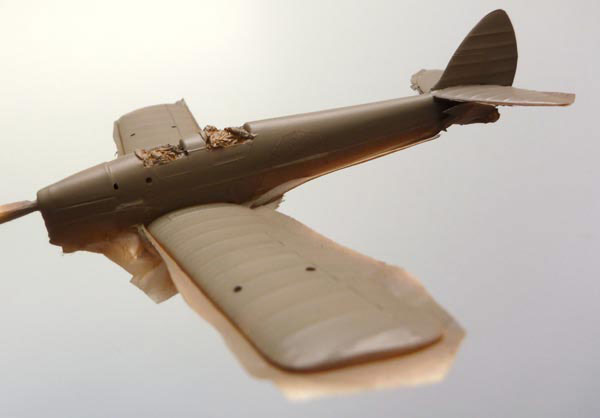
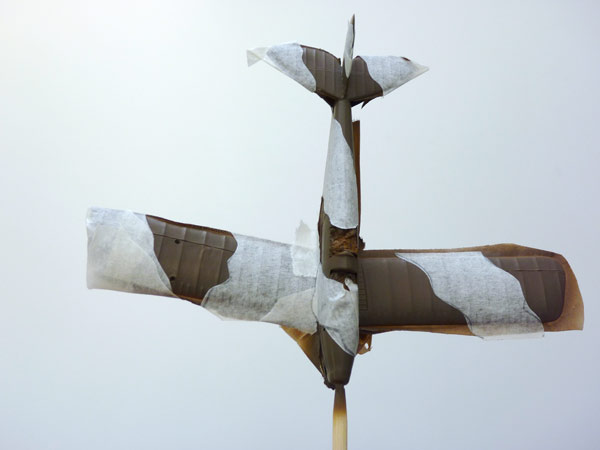
The uppers will be in Dark green/Dark Earth. Hopefully I will get this done tomorrow, then print some serial numbers and new roundels early next week to finish it off.


