

Thanks David!
I have still to make significant progress from the last post. The two additional figures are nearly ready- just need a few hours to finish up the last touches.
World War II
Discuss WWII and the era directly before and after the war from 1935-1949.
Discuss WWII and the era directly before and after the war from 1935-1949.
Hosted by Rowan Baylis
Tale of Two Tiffies

robot_

Joined: March 08, 2009
KitMaker: 719 posts
AeroScale: 691 posts
Posted: Wednesday, July 28, 2010 - 08:48 PM UTC
Holdfast

#056

Joined: September 30, 2002
KitMaker: 8,581 posts
AeroScale: 4,913 posts

Posted: Saturday, August 21, 2010 - 02:27 AM UTC
A really nice diorama Ben.

robot_
Joined: March 08, 2009
KitMaker: 719 posts
AeroScale: 691 posts
Posted: Tuesday, November 09, 2010 - 10:31 PM UTC
Thanks Mal.
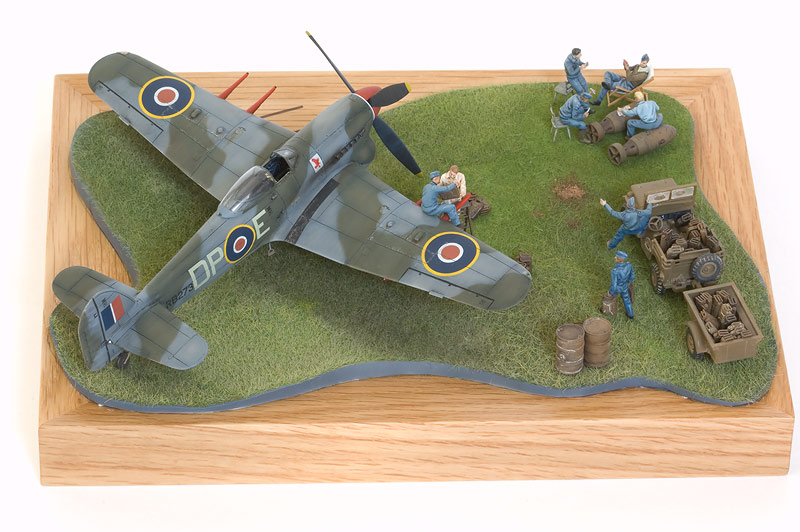
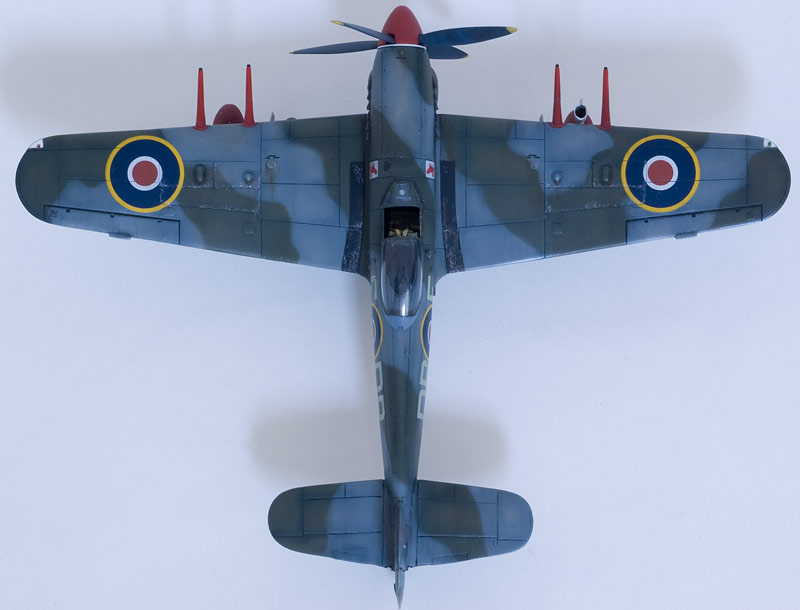
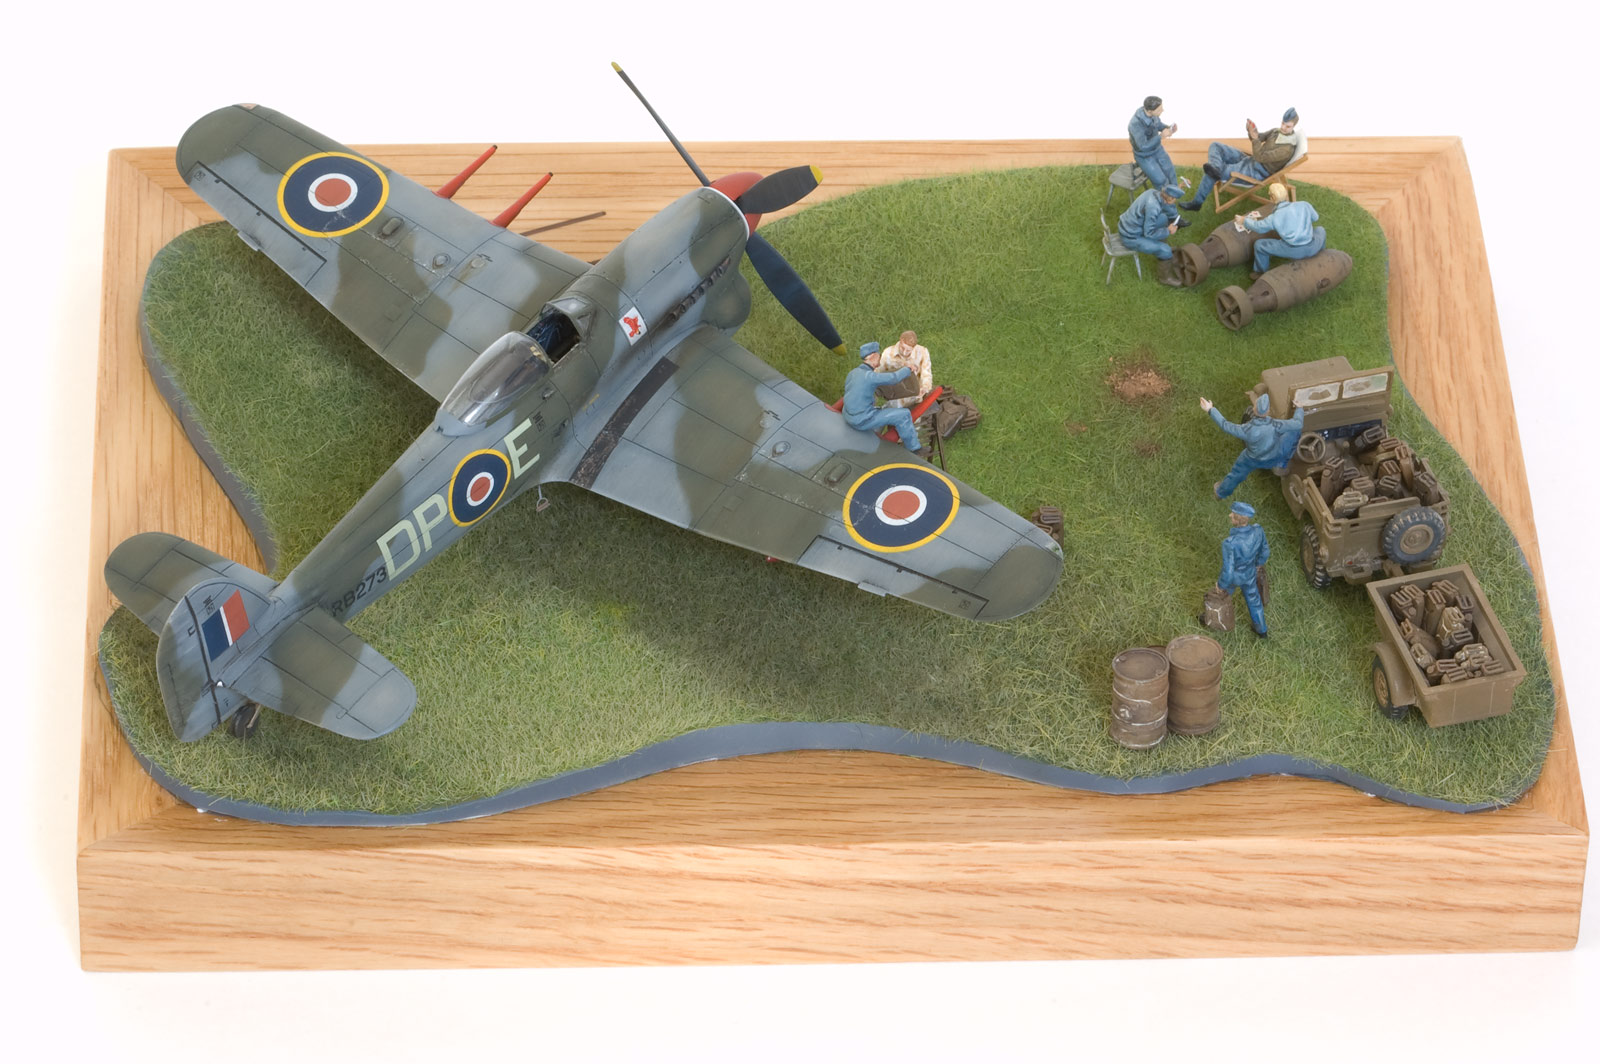
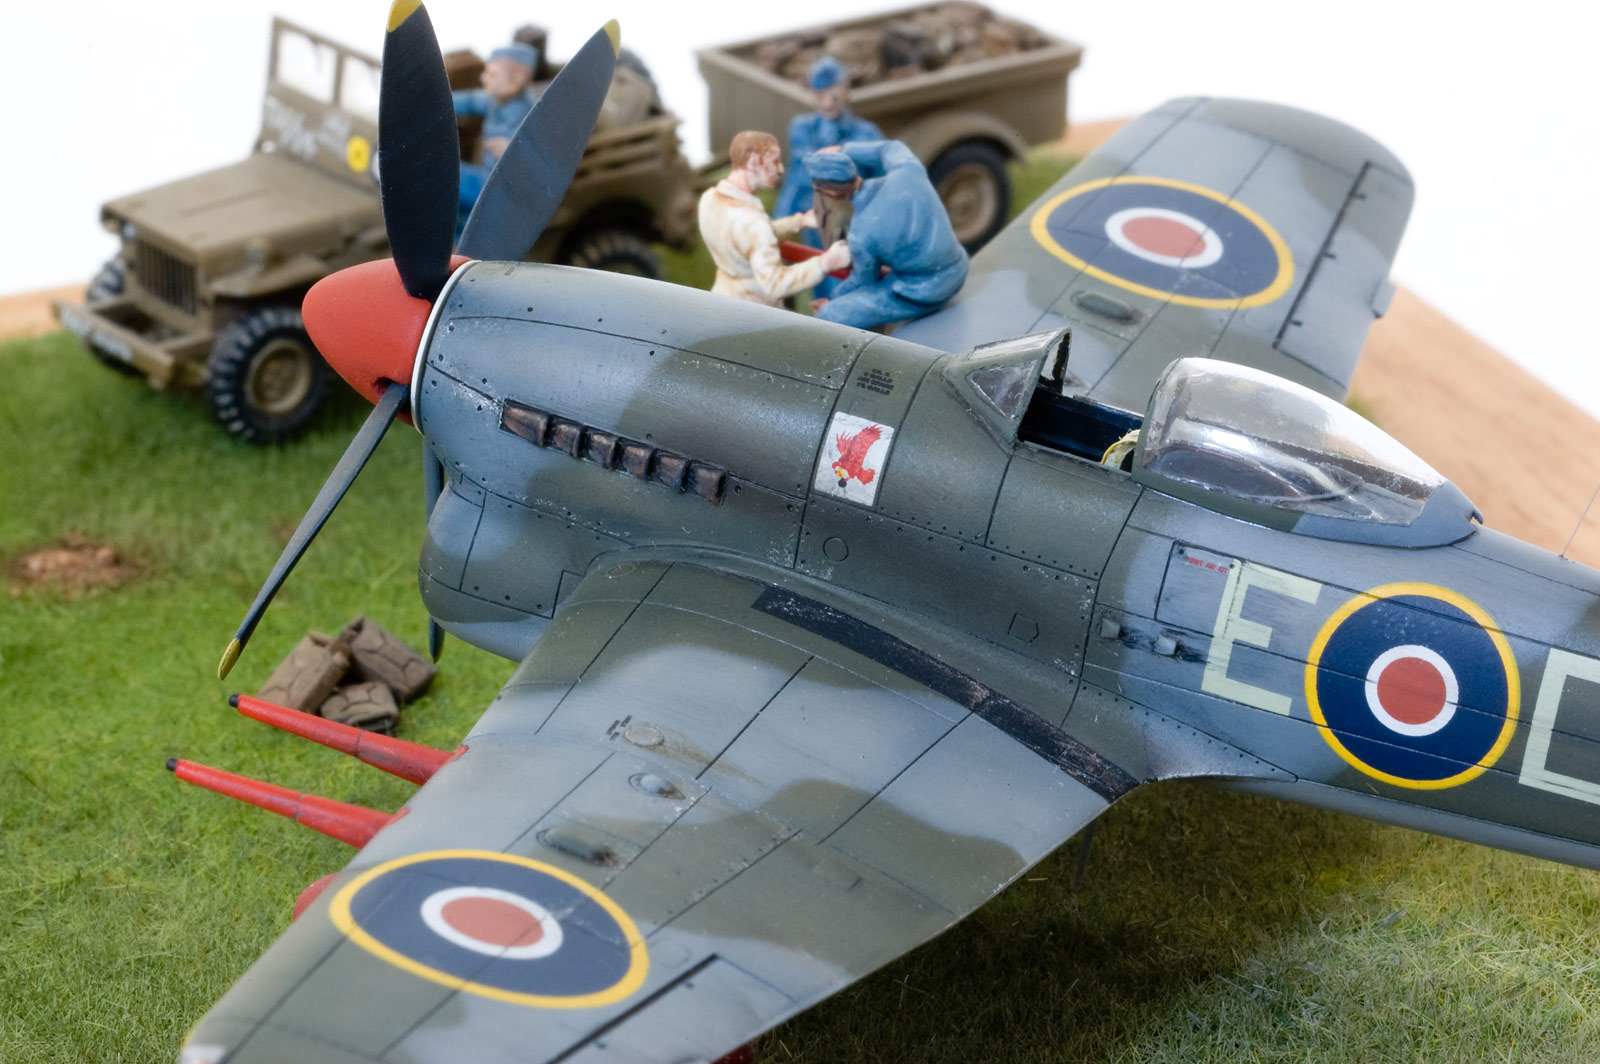
OK, after wasting a few months, I finally dedicated a couple of afternoons to finishing this diorama off last weekend.
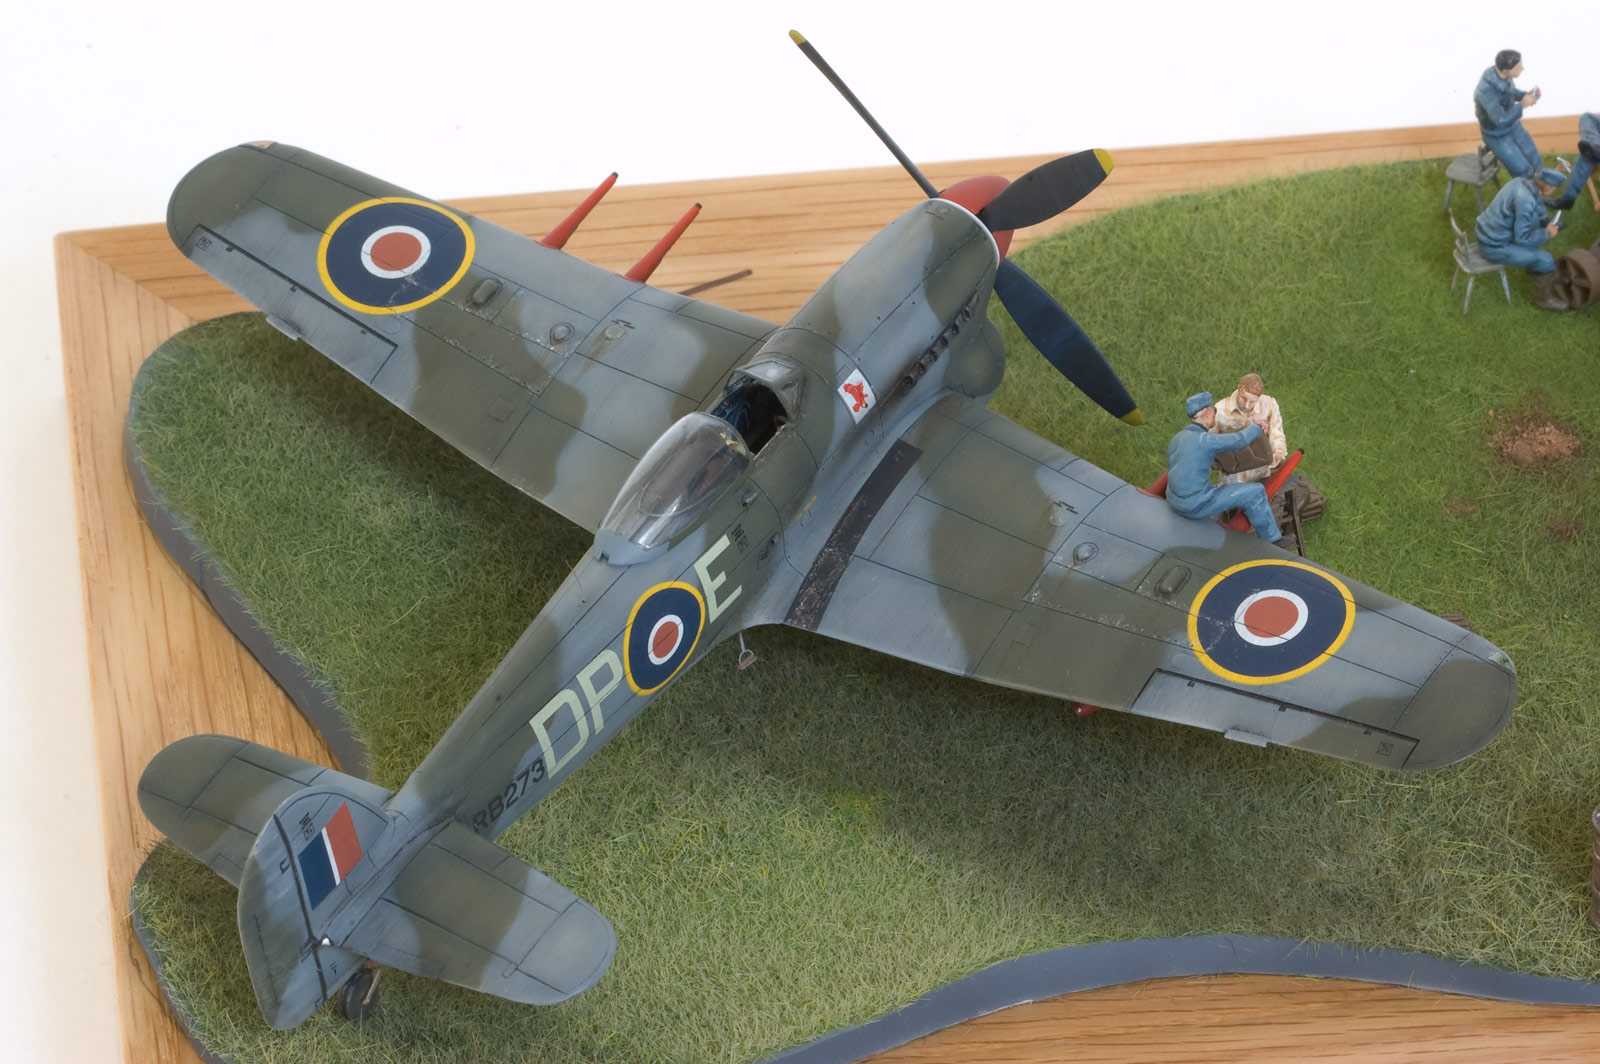
I added the tiny Resin Art pitot, used a cut-down Eduard Hurricane PE aerial mast as the IFF antenna, used some smoke invisible thread for the whip aerial, used the Part PE boarding step, with added plastic card on the horizontal part. I did some paint chipping with a silver pencil, and added some pigments on the step, walkways and tyres. I airbrushed the exhaust stains with watercolour paint. Finally, I sprayed a very light coat of Xtracrylix Matt coat to take the Klear's sheen off the model.

Click for 1600 pixels wide version.
Click for 1600 pixels wide version.

Click for 1600 pixels wide version.

Click for 1600 pixels wide version.

Click for 1600 pixels wide version.
Click for 1600 pixels wide version.
Click for 1600 pixels wide version.

Click for 1600 pixels wide version.
Click for 1600 pixels wide version.

Click for 1600 pixels wide version.

Click for 1600 pixels wide version.
Click for 1600 pixels wide version.

Click for 1600 pixels wide version.

Click for 1600 pixels wide version.
OK, after wasting a few months, I finally dedicated a couple of afternoons to finishing this diorama off last weekend.
I added the tiny Resin Art pitot, used a cut-down Eduard Hurricane PE aerial mast as the IFF antenna, used some smoke invisible thread for the whip aerial, used the Part PE boarding step, with added plastic card on the horizontal part. I did some paint chipping with a silver pencil, and added some pigments on the step, walkways and tyres. I airbrushed the exhaust stains with watercolour paint. Finally, I sprayed a very light coat of Xtracrylix Matt coat to take the Klear's sheen off the model.

Click for 1600 pixels wide version.
Click for 1600 pixels wide version.
Click for 1600 pixels wide version.
Click for 1600 pixels wide version.
Click for 1600 pixels wide version.

Click for 1600 pixels wide version.

Click for 1600 pixels wide version.
Click for 1600 pixels wide version.

Click for 1600 pixels wide version.
Click for 1600 pixels wide version.

Click for 1600 pixels wide version.

Click for 1600 pixels wide version.
Click for 1600 pixels wide version.

Click for 1600 pixels wide version.

AussieReg
#007

Joined: June 09, 2009
KitMaker: 8,156 posts
AeroScale: 3,756 posts
Posted: Tuesday, November 09, 2010 - 11:16 PM UTC
Great job Ben, I love it !! The end result is well worth the time you spent getting those little details just how you wanted them.
Cheers, D
Cheers, D

thehannaman

Joined: April 04, 2006
KitMaker: 279 posts
AeroScale: 194 posts
Posted: Wednesday, November 10, 2010 - 04:32 AM UTC
Ben, what a great diorama. The execution is superb. Very inspiring!
NickZour

Joined: May 01, 2008
KitMaker: 1,437 posts
AeroScale: 1,241 posts
Posted: Wednesday, November 10, 2010 - 06:23 AM UTC
WoW 

That's a great Little diorama, really great
Cheers Nick
That's a great Little diorama, really great
Cheers Nick

chris1

Joined: October 25, 2005
KitMaker: 949 posts
AeroScale: 493 posts

Posted: Thursday, August 02, 2012 - 02:35 PM UTC
Hi Ben
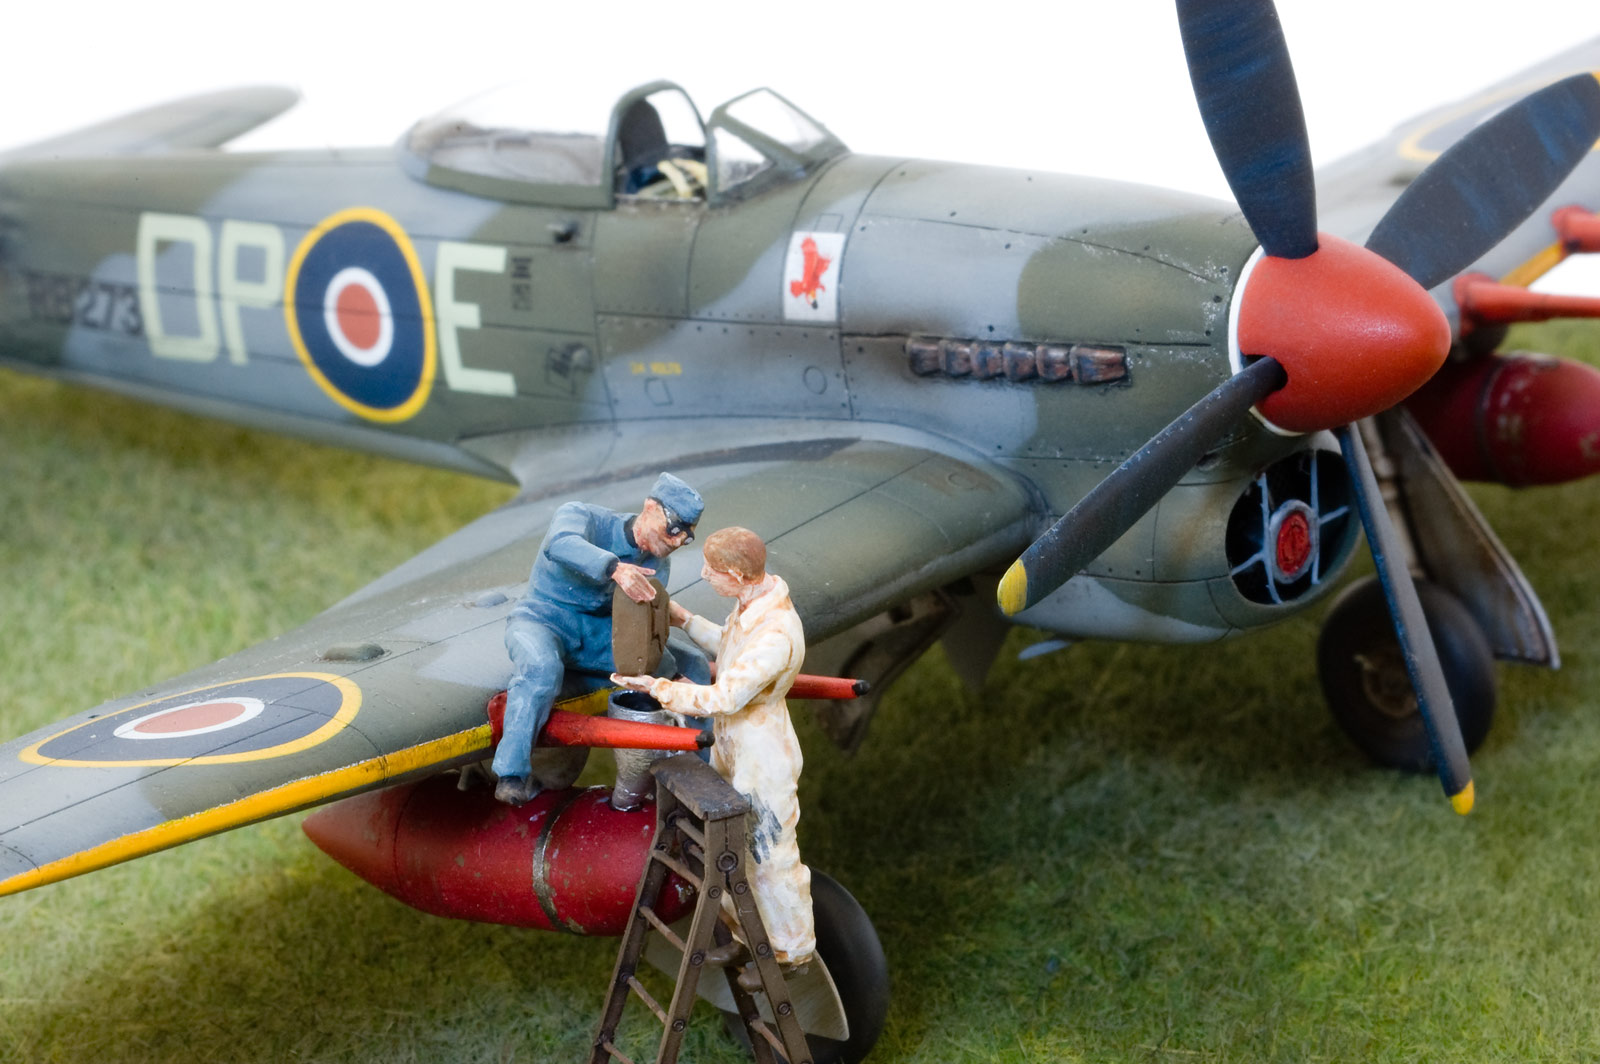
How did you manage to hollow out the exhausts?
I'm interested as I have a couple of projects where this might be useful.
Cheers
Chris
Great build by the way
How did you manage to hollow out the exhausts?
I'm interested as I have a couple of projects where this might be useful.
Cheers
Chris
Great build by the way
robot_
Joined: March 08, 2009
KitMaker: 719 posts
AeroScale: 691 posts
Posted: Monday, August 06, 2012 - 10:19 PM UTC
Hi Chris, Thanks!
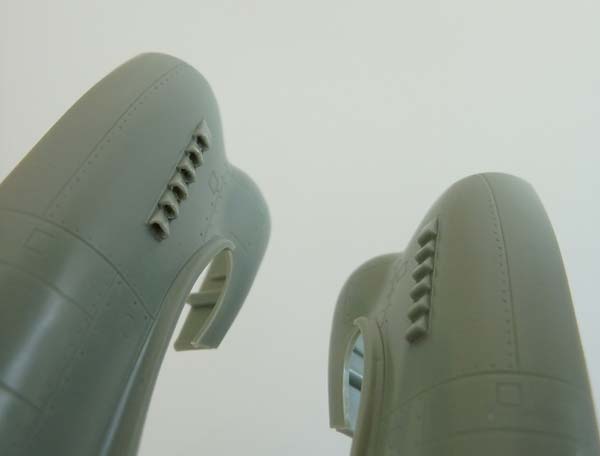
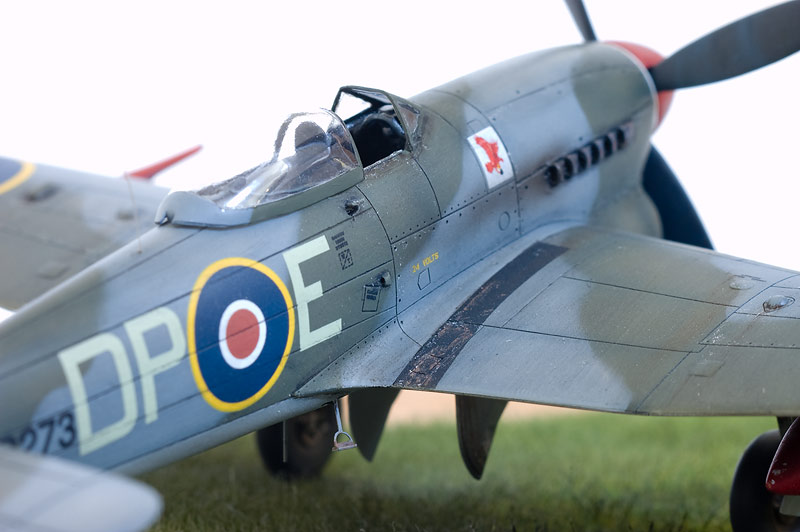
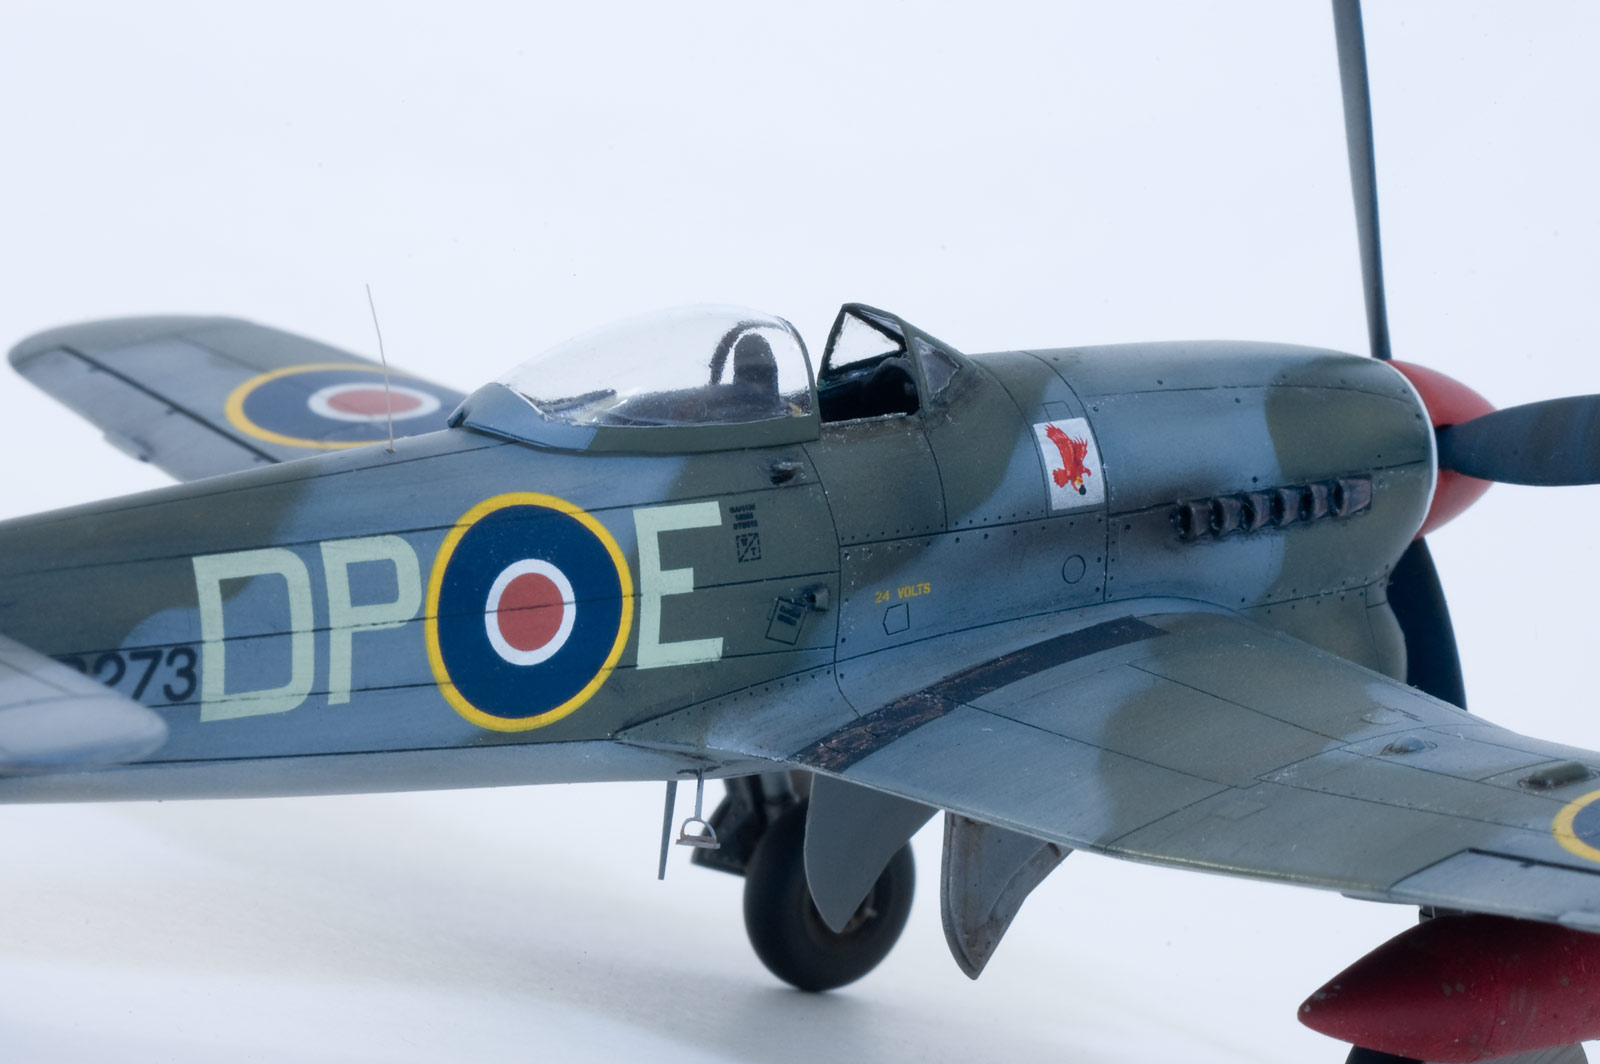
I think I started with one or two 0.3mm holes drilled about 0.5mm deep into the end of the exhaust, which I then enlarged using careful cuts and scraping with a new pointy knife blade. You have to be quite patient, but it is rewarding to have saved the cost of resin replacements.
Some day I will return to Beamont's car-door typhoon PR-G!
chris1
Joined: October 25, 2005
KitMaker: 949 posts
AeroScale: 493 posts
Posted: Tuesday, August 07, 2012 - 03:28 PM UTC
Ben
Thanks for the reply
It looks like I need to obtain some more drill bits.
Cheers
Chris
Thanks for the reply
It looks like I need to obtain some more drill bits.
Cheers
Chris
 |

WEB HOSTING BY


Copyright ©2021 AeroScale and Kitmaker Network, a subsidiary of Silver Star Enterprises
All Rights Reserved. Please read our Conditions of Use and Privacy Policy.
All Rights Reserved. Please read our Conditions of Use and Privacy Policy.