World War II
Discuss WWII and the era directly before and after the war from 1935-1949.
Hosted by Rowan Baylis
Tale of Two Tiffies
magnusf
_VISITCOMMUNITY
Stockholm, Sweden
Joined: May 02, 2006
KitMaker: 1,953 posts
AeroScale: 1,902 posts
Posted: Tuesday, March 09, 2010 - 09:35 PM UTC

Quoted Text

The legs on the wing will be attached to a torso holding the funnel,...


I could almost guess that !


Magnus
robot_
_VISITCOMMUNITY
United Kingdom
Joined: March 08, 2009
KitMaker: 719 posts
AeroScale: 691 posts
Posted: Sunday, March 14, 2010 - 11:48 PM UTC
No aero-modelling is being done, but I have made a bit of progress on the base and assembly of the jerry cans.

Several different types of static grass arrived with the jerry cans, and I have been experimenting with my new 'electric tea strainer' (a metal tea strainer attached to a partially deconstructed electric fly swat- that cost £5, a lot cheaper that a static grass laying machine).

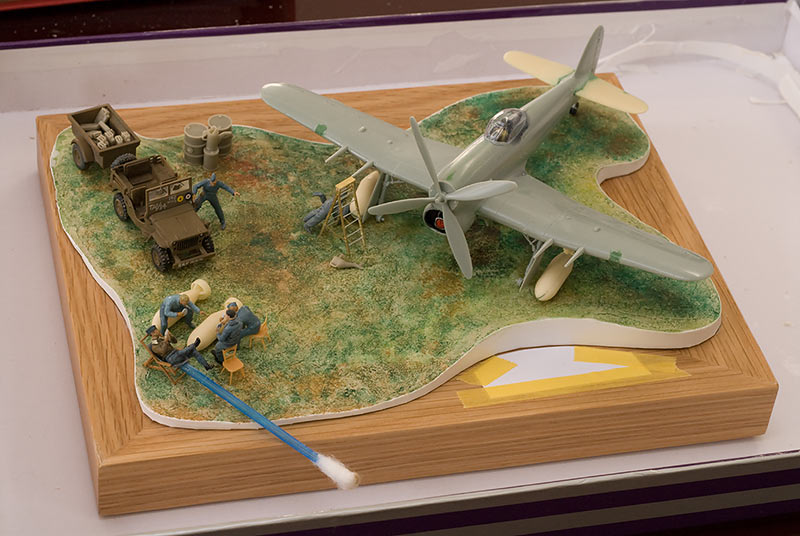
The base in these photos is a photo frame that slopes downwards towards the middle, so I had to build a retaining wall for the plaster out of plastic card. The plaster was given a base coat of water colour, to give some variation in colour underneath the static grass. I included a shadow area under the aircraft in darker green.


magnusf
_VISITCOMMUNITY
Stockholm, Sweden
Joined: May 02, 2006
KitMaker: 1,953 posts
AeroScale: 1,902 posts
Posted: Monday, March 15, 2010 - 05:25 PM UTC
Nice work, and it looks like great fun doing it! I'll have to try one day... The shadow beneath the Tiffie came out well, I like the effect! And in case you haven't noticed, mr "Missing Torso" has fallen off the wing. I hope he wasn't hurt...


Magnus
robot_
_VISITCOMMUNITY
United Kingdom
Joined: March 08, 2009
KitMaker: 719 posts
AeroScale: 691 posts
Posted: Monday, April 19, 2010 - 08:28 AM UTC
Still working slowly:

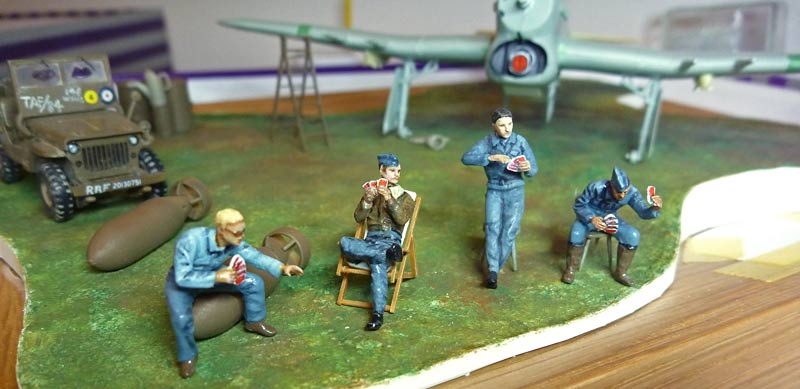
before the card playing figures were finished- to show lay-out.


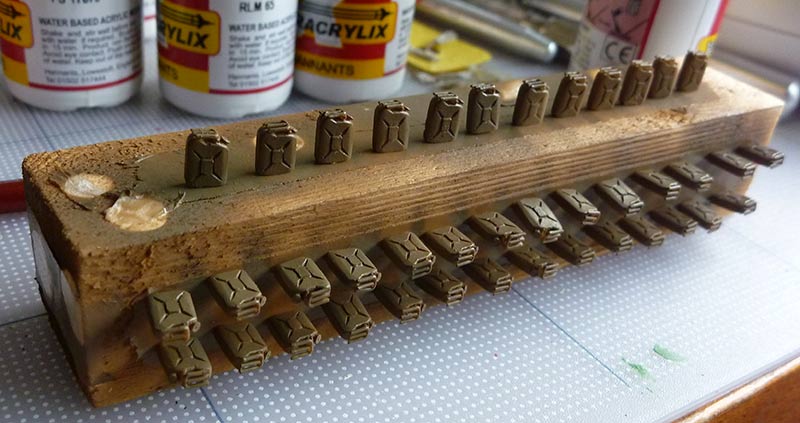
Airbrushing the 40 assembled resin jerry cans.


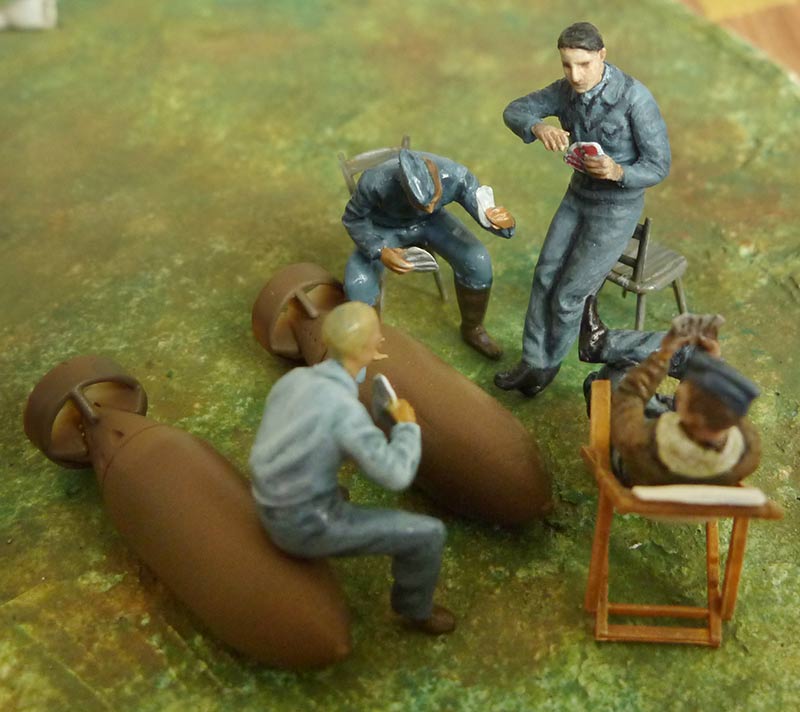
The four card players were finally finished tonight.
robot_
_VISITCOMMUNITY
United Kingdom
Joined: March 08, 2009
KitMaker: 719 posts
AeroScale: 691 posts
Posted: Sunday, April 25, 2010 - 10:30 AM UTC
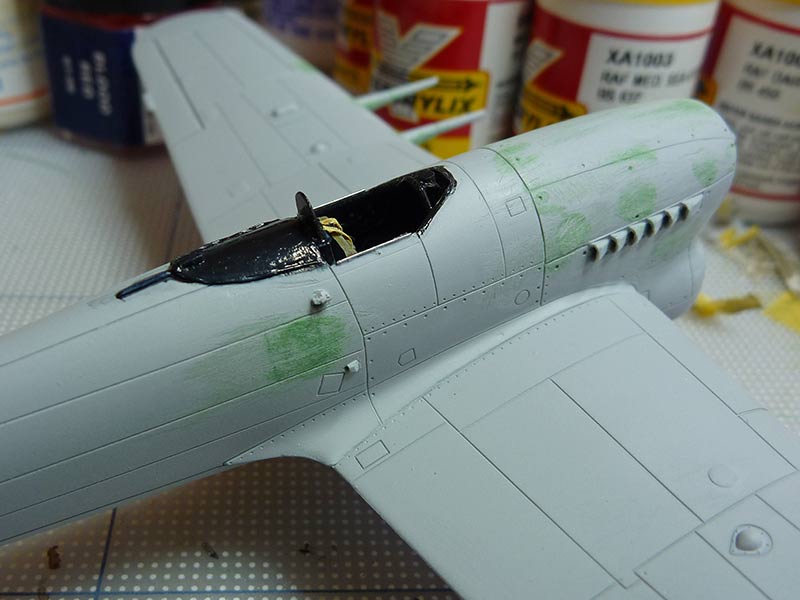
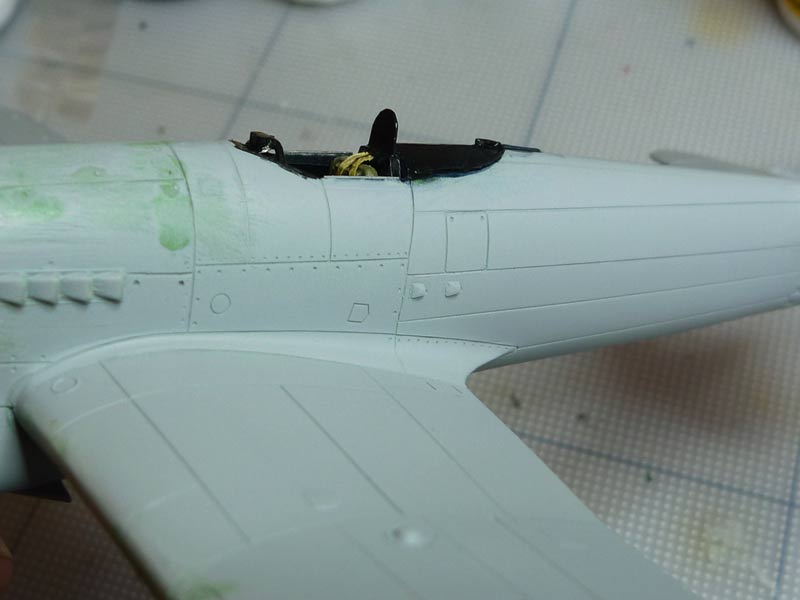
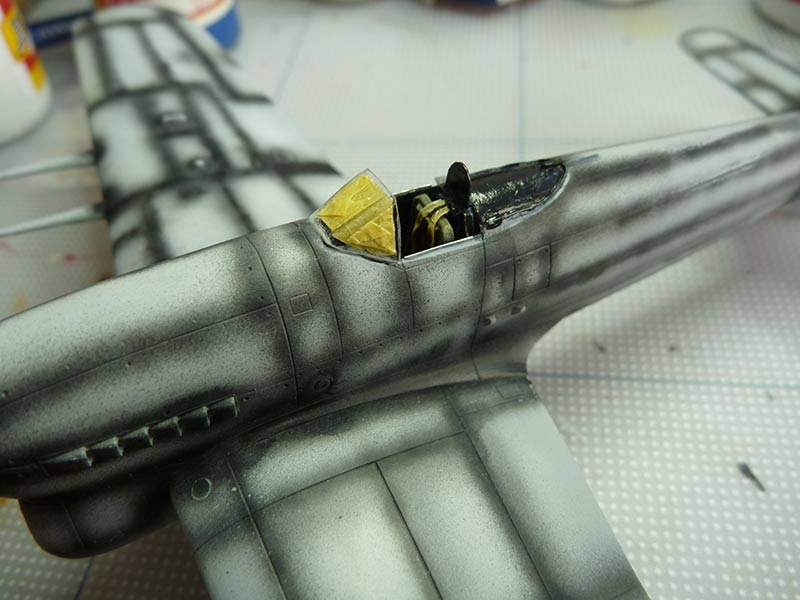
Finally got the courage to start working again on the Typhoon. I have done a number of things in the cockpit, but I masked it before I got the camera out. I have chopped off the head armour, and made a new thinner one out of plasicard. I have taken off the kit gun sight (I ended up accidentally pulling out the whole instrument panel, which was fun getting back in place). I made the tubular structure that holds the gunsight, and replaced the gunsight itself with a piece of stretched sprue. I have trimmed the Aeroclub canopy, and made the canopy seals and rebuilt the canopy rail behind the head armour. I filled the rails of the kit (too high up the spine, and too deep), and made two rails along the edge of the cockpit opening with thin wire. I also added a rail around which the shoulder straps pass, just below the head armour.


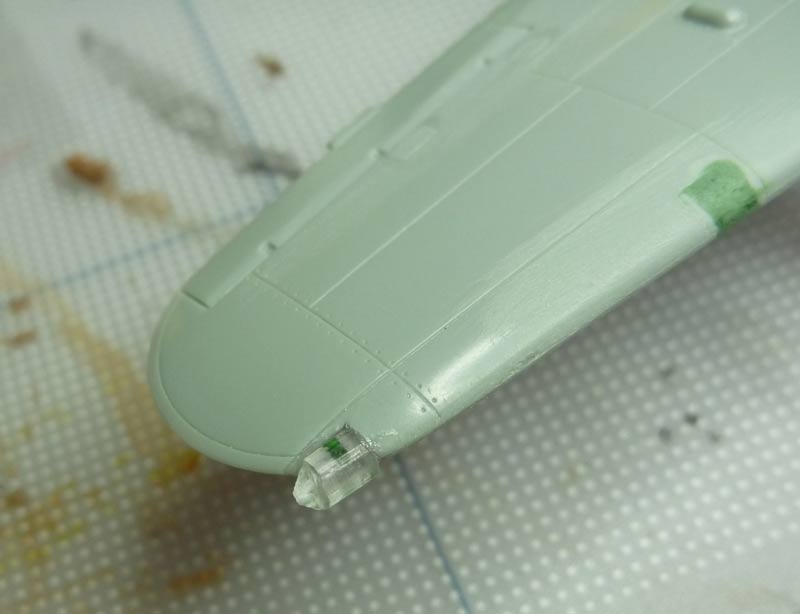
I have made my first navigation lights from sprue, using the 'drill and paint the hole with Tamiya clear' method. A lot of sanding, but it looks quite good.


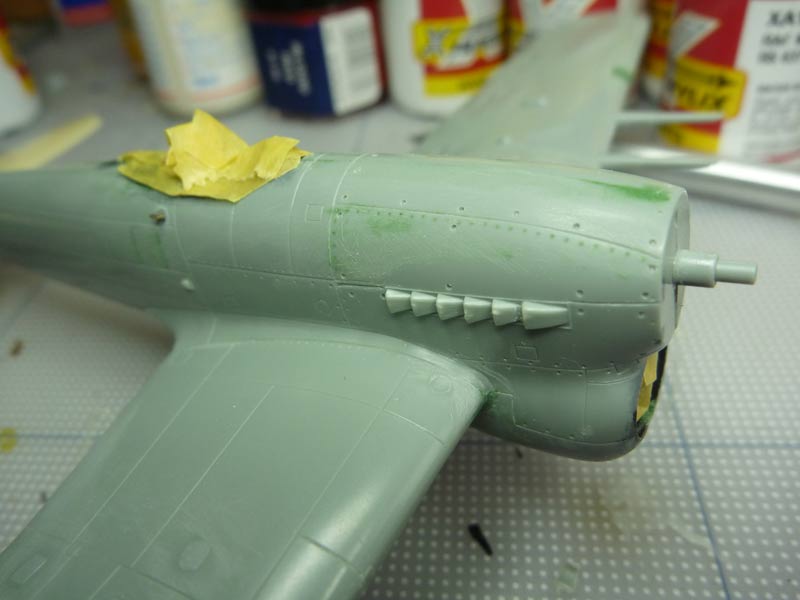
I decided to fill the rivets in the engine cowls, and drill holes for the fasteners. I think I went a bit deep- should have kept is subtle like the earlier ones. I will probably try filling them a little with paint.

robot_
_VISITCOMMUNITY
United Kingdom
Joined: March 08, 2009
KitMaker: 719 posts
AeroScale: 691 posts
Posted: Wednesday, April 28, 2010 - 07:09 AM UTC


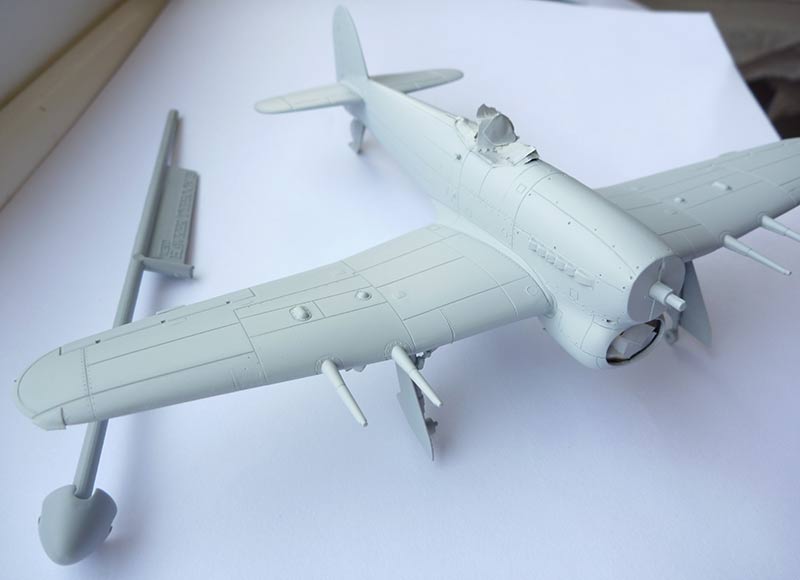
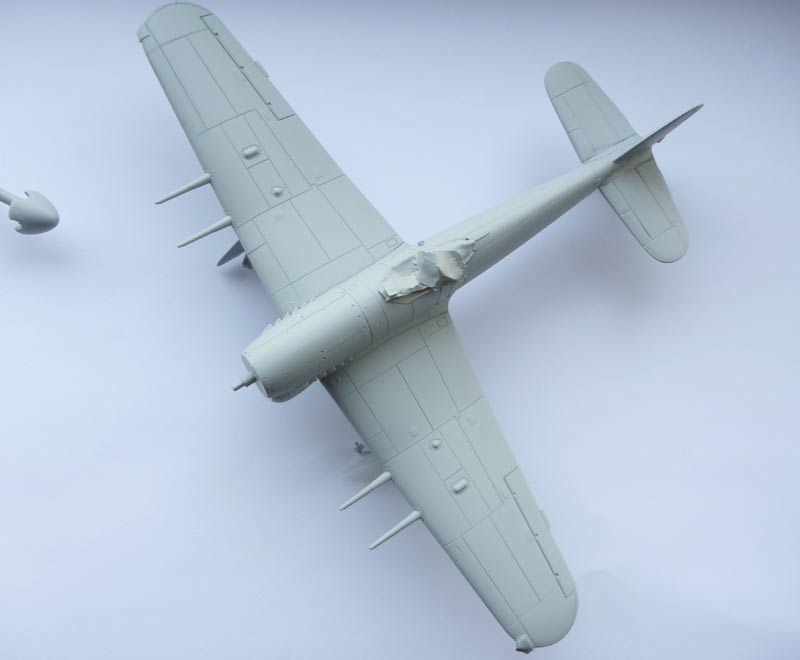
Sprayed DP-E with Mr Surfacer 1200 from a can today. Filled the fine sanding scratches really well. Highlighted a lot of issues too!

I drilled out the gun camera hole on the right side of the engine, near the radiator.
robot_
_VISITCOMMUNITY
United Kingdom
Joined: March 08, 2009
KitMaker: 719 posts
AeroScale: 691 posts
Posted: Saturday, May 01, 2010 - 09:07 AM UTC
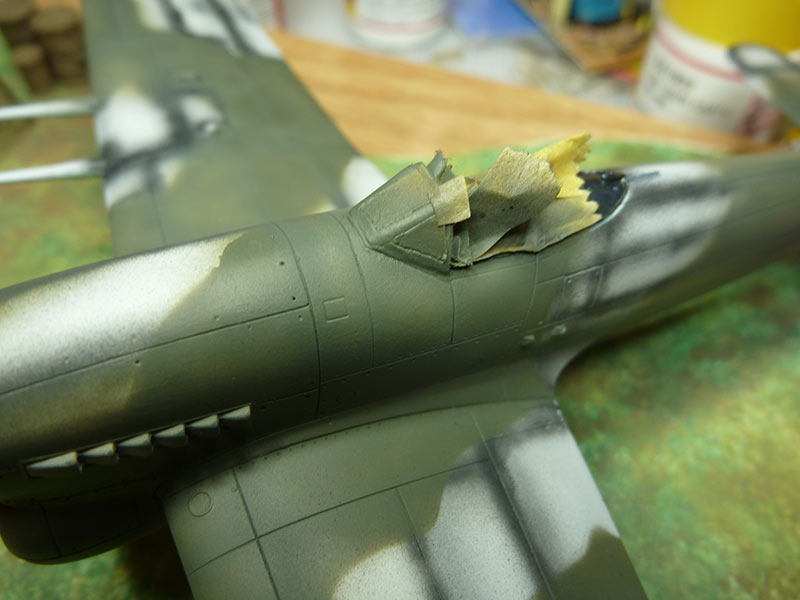
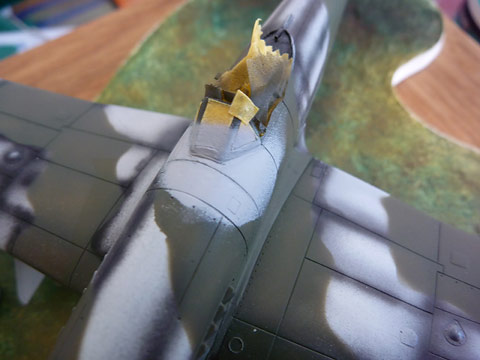
I took the masking off the cockpit to paint the black area. So now you can see the modifications- filled original rails, new wire rails, seal around the rear of the sliding canopy, new compass and new head armour.


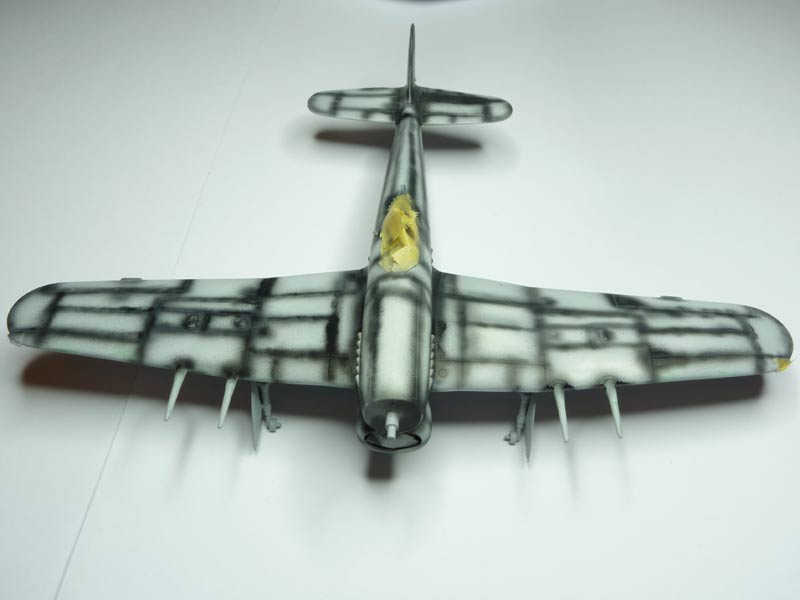
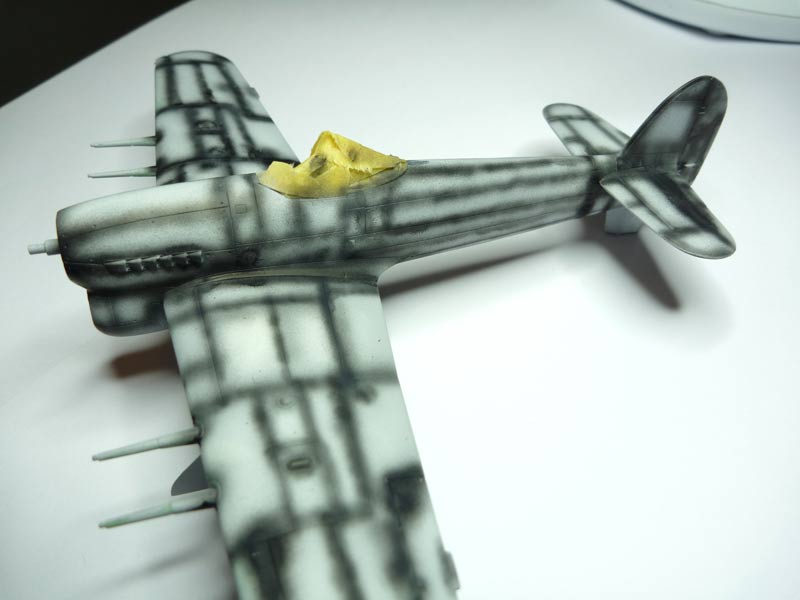
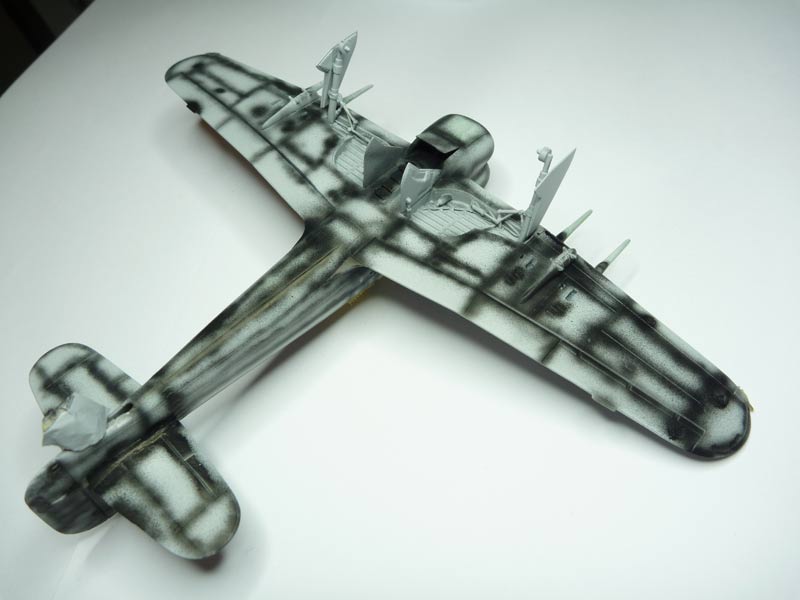
Did the final round of filling and sanding and polishing, and then on to the pre-shading.


magnusf
_VISITCOMMUNITY
Stockholm, Sweden
Joined: May 02, 2006
KitMaker: 1,953 posts
AeroScale: 1,902 posts
Posted: Saturday, May 01, 2010 - 09:21 AM UTC
Good to see that your'e working Ben!

A hint for the forthcoming camo job: if you (like me) are into acrylics I can recommend the new Tamiya paints released at the same time as their big Spit. XF-81, 82 and 83. I haven't used them "for real" yet but my old Matchbox Spit got a full camo job the other day just to try them out. I liked the colours a lot and I think they would suit your Typhoon very well!


Magnus
TedMamere
_VISITCOMMUNITY
Moselle, France
Joined: May 15, 2005
KitMaker: 5,653 posts
AeroScale: 4,347 posts
Posted: Saturday, May 01, 2010 - 08:04 PM UTC
Hi Ben,

The model looks very fine under the Mr. Surfacer!

I can't wait to see it with the camouflage applied...

Jean-Luc
robot_
_VISITCOMMUNITY
United Kingdom
Joined: March 08, 2009
KitMaker: 719 posts
AeroScale: 691 posts
Posted: Sunday, May 02, 2010 - 10:32 AM UTC
Hi Magnus, Thanks for the feedback on the new Tamiya paints- unfortunately I bought the Xtracrylics Dark Green, Ocean Grey and Medium Sea Grey for these, almost a year ago now!

What do you use to thin the Tamiya colours? When my respirator mask arrives, I'll be a bit more adventurous with paint containing isopropanol, ethylene glycol, etc.! The problem with the Xtrcrylics is a very fine line between being too thin to spray without running, and being too thick so that you have to clean the nozzle and needle every few seconds!

Jean-Luc, thanks- the Academy fit is superb- as good as Tamiya. It's just a pity they put all the stupid raised panels over wings and fuselage. And that they didn't bother putting the panel lines in the right places on the nose, that I think is quite important to look right on a Typhoon.

Due to the splatter during the pre-shading, I had to give the plane a light rub down with a polishing stick (nail buffer) to remove the graininess.

I decided I should get the front of the canopy on before painting the main colours. The Areoclub vac-form fits very nicely.


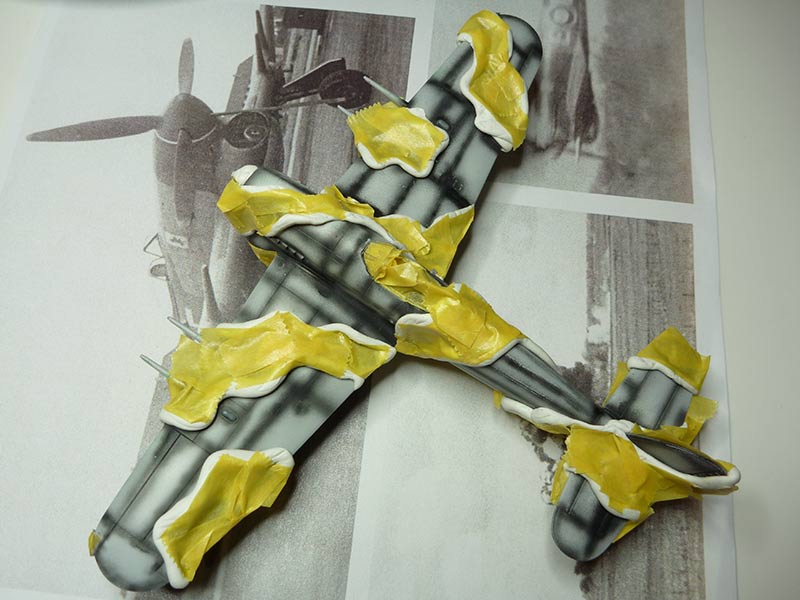
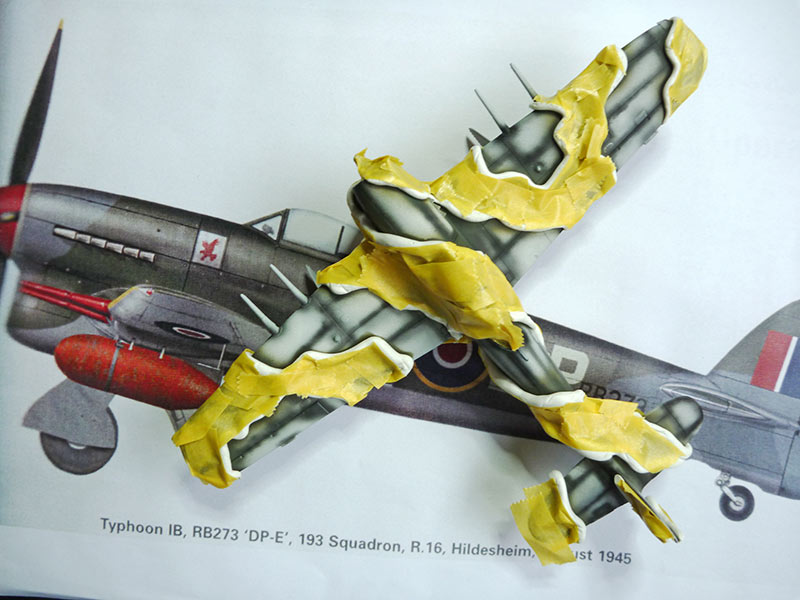
The masking for the Dark Sea Green is done. Took a lot longer than I thought! It is the first time I have used the white-tac sausage method, and only the second time I have masked a camouflage pattern (first was my Tiger Moth).


I will have to do this all over again for the ocean grey, as I want the pre-shading to show through both colours. I am beginning to think post-shading and lightening the middles of the panels may be less work than trying to get the pre-shading to work for both colours.
AussieReg
Staff MemberAssociate Editor
AUTOMODELER
#007
_VISITCOMMUNITY
Victoria, Australia
Joined: June 09, 2009
KitMaker: 8,156 posts
AeroScale: 3,756 posts
Posted: Sunday, May 02, 2010 - 10:47 AM UTC
Looking great Ben, you attention to detail is paying off well so far.

Cheers, D
robot_
_VISITCOMMUNITY
United Kingdom
Joined: March 08, 2009
KitMaker: 719 posts
AeroScale: 691 posts
Posted: Monday, May 03, 2010 - 02:30 AM UTC
Thanks Damian!

Today the airbrush decided to be nice to me. Maybe it is just the black and white Xtracylix that don't like being airbrushed?

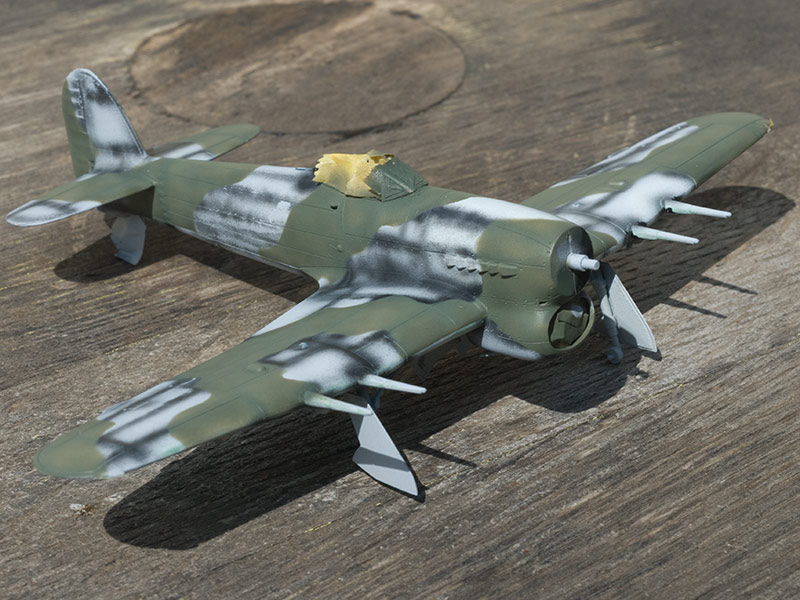
Anyway, the dark green went on like a dream! Now I have the hours of masking for the ocean grey...


robot_
_VISITCOMMUNITY
United Kingdom
Joined: March 08, 2009
KitMaker: 719 posts
AeroScale: 691 posts
Posted: Monday, May 03, 2010 - 08:59 PM UTC
Unfortunately after those photos were taken, I had the 'good idea' of trying to scrape off some excess Krystal Klear from around the canopy, hoping to be able to touch up by brush and it not be as noticeable as the blob of glue. A quite large area of paint came off.

So, I thought I may as well try to fill the little gap around the canopy at the same time. So I thinned some green squadron putty with humbrol liquid cement. I applied too much, so I tried to wipe off the excess with a liquid-cement-dipped cotton bud. Big mistake, all the paint came off around the canopy, and the plastic was eaten a bit too.

So, on goes some more putty. Sand it down, then decide the only way to get it smooth enough is more Mr Surfacer. So a mask the area off, and go out and spray it in the very wind conditions we had yesterday. A did a few test sprays- nice and even. Then I point it at the model- splatters all over the place (the paint sitting on the nozzle from the test sprays should have been wiped off first).


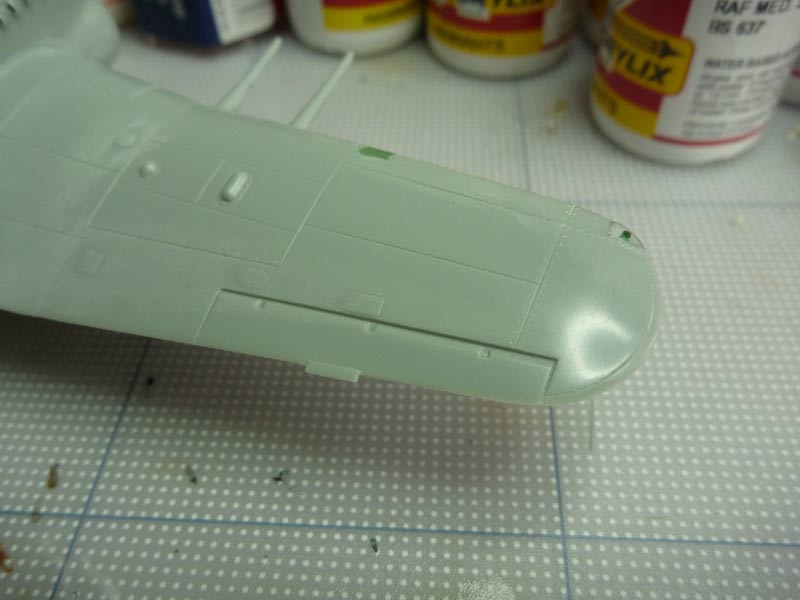
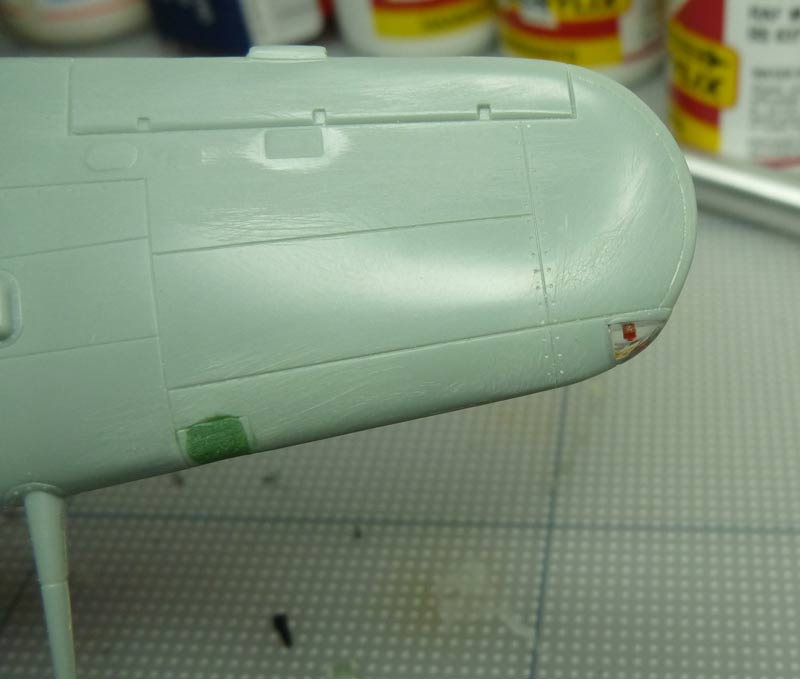
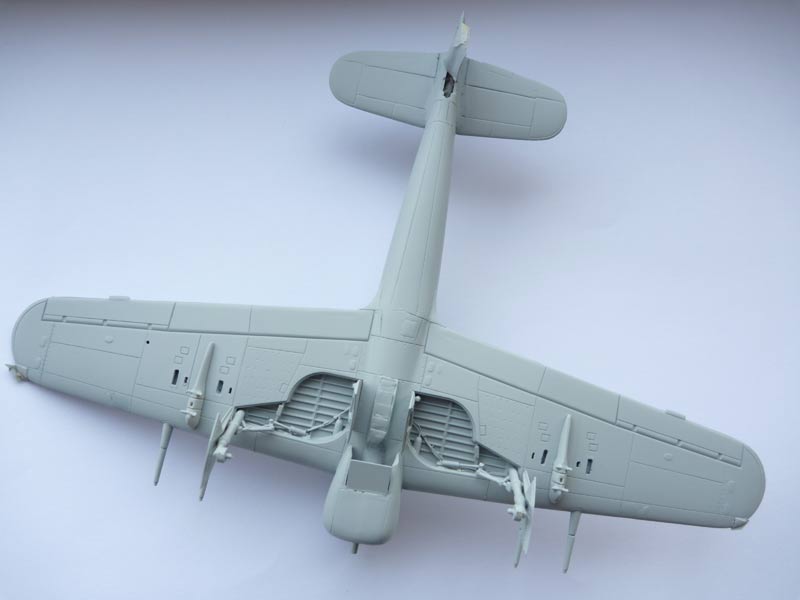
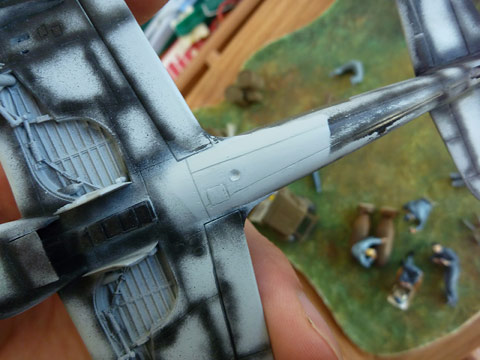
I also re-work the panel lines under the fuselage, and drilled what will become a navigation light (the Academy kit panel lines were wrong here, and they had no light at all). So I sprayed this Mr Surfacer too.


Only when I got inside did I notice the massive overspray problems on pretty much all of the green I painted earlier in the day. It is particularly bad on the radiator and leading edges of the wings...


I plan to re-spray some black along panel lines- just a mist really, then re-mist green over it all. Hopefully the specks of light grey paint won't still show through...
jaypee
_VISITCOMMUNITY
Scotland, United Kingdom
Joined: February 07, 2008
KitMaker: 1,699 posts
AeroScale: 1,384 posts
Posted: Monday, May 03, 2010 - 10:07 PM UTC
Hide it with mud and oil. Thats what AFV guys do
Keep going Ben. I'd forgot all about this you don't see many typhoons built. God knows why! They are great looking beasts.


magnusf
_VISITCOMMUNITY
Stockholm, Sweden
Joined: May 02, 2006
KitMaker: 1,953 posts
AeroScale: 1,902 posts
Posted: Tuesday, May 04, 2010 - 01:22 AM UTC
I think we all make mistakes. All the time. I built my first model in 1982 and I still do mistakes. Usually the same ones as I have done many times before. I haven't decided yet if I am stupid or stubborn or a combination of both!

I would sacrifice the preshading and just paint the camo the simplest possible way. This way you have a lot more flexibility in the process and the inevitable disasters that always happen during painting won't be irreversible! And since the green turned out so well, the painting gods at least take their time to smile at you sometimes, you just need to figure out which days they do that !

On the subject of indoors painting: I have painted acrylics indoors since 1993 without any ill effects on neither myself, nor the furniture or my wife's temper... I use a simple face mask to avoid ingesting paint particles, the solvents are quite harmless and the concentration in the air is very low. I suppose that it is possible to get ill from acrylic paints but I think you have to work full-time with them and use much larger volumes of paint than we do in modelling!

Finally, paint build-up in the nozzle: I do have an old glass jar that I have covered with fabric from an old T-shirt that I have cut a hole into. Whenever I need to clean the airbrush or before I start painting, I send a quick squirt of paint into the jar to get rid of any paint build-up. It also keeps the amount of paint dust in the room to a minimum, I once realised that the amount of paint being released when painting is minuscule compared to when you spray straight out into the room when cleaning the airbrush!

Good luck and don't give up please! And if it helps, I am in painting hell with my 262. It might be a good sign for you, since the Gods obviously aren't in Stockholm they might very well be in the UK at the moment !


Magnus
AussieReg
Staff MemberAssociate Editor
AUTOMODELER
#007
_VISITCOMMUNITY
Victoria, Australia
Joined: June 09, 2009
KitMaker: 8,156 posts
AeroScale: 3,756 posts
Posted: Tuesday, May 04, 2010 - 02:46 AM UTC

Quoted Text

Hide it with mud and oil. Thats what AFV guys do
Keep going Ben. I'd forgot all about this you don't see many typhoons built. God knows why! They are great looking beasts.


Good point JP, mud, oil, dents and shell marks, field repairs with XOS weld lines, those aromour guys have it easy !! Next point, how about a Typhoon/Tempest Campaign for next year some time ???
robot_
_VISITCOMMUNITY
United Kingdom
Joined: March 08, 2009
KitMaker: 719 posts
AeroScale: 691 posts
Posted: Tuesday, May 04, 2010 - 02:54 AM UTC
I had a similar thought- maybe extend it to Hurricanes as well. Hawker Storms Campaign?
jaypee
_VISITCOMMUNITY
Scotland, United Kingdom
Joined: February 07, 2008
KitMaker: 1,699 posts
AeroScale: 1,384 posts
Posted: Tuesday, May 04, 2010 - 02:59 AM UTC
Camm's the Man. Camm's Campaign? Restricted to Camm design A/C. That would be be pretty inspiring.
AussieReg
Staff MemberAssociate Editor
AUTOMODELER
#007
_VISITCOMMUNITY
Victoria, Australia
Joined: June 09, 2009
KitMaker: 8,156 posts
AeroScale: 3,756 posts
Posted: Tuesday, May 04, 2010 - 03:12 AM UTC
Now we're talking, go go go
robot_
_VISITCOMMUNITY
United Kingdom
Joined: March 08, 2009
KitMaker: 719 posts
AeroScale: 691 posts
Posted: Tuesday, May 04, 2010 - 09:32 AM UTC
I'm happy now- the Tiffie is now back to how it was yesterday afternoon!

Except it has no gap around the canopy.

Thanks for the encouragement, particularly Magnus- I hope your own painting troubles are resolved soon!

I don't think I'd get very far persuading my wife to let me airbrush inside- the compressor is pretty big for a start. I'll show you where I spent this evening:
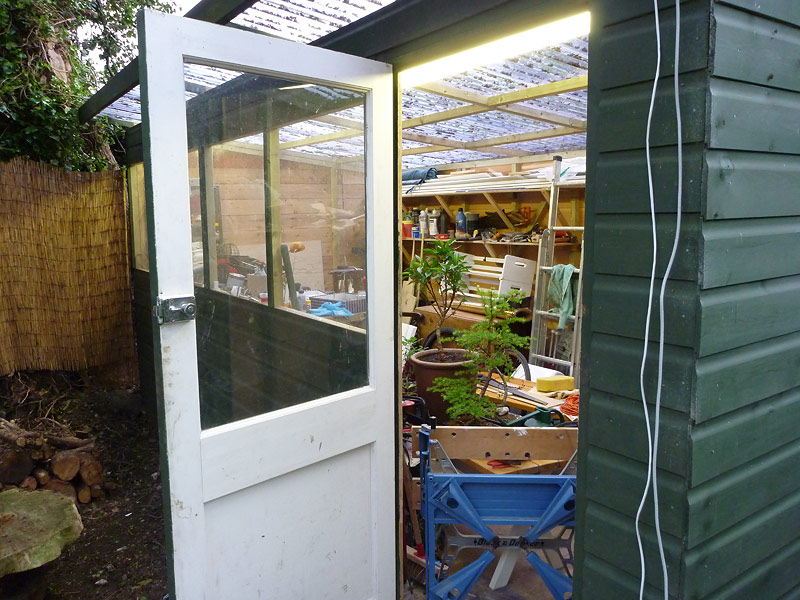


It is our multipurpose workshop/bike shed/greenhouse/paint shop.


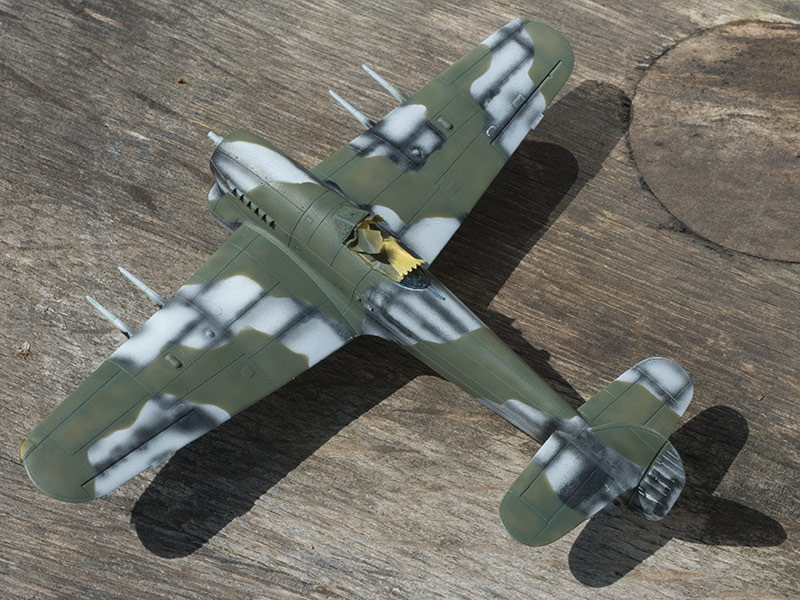
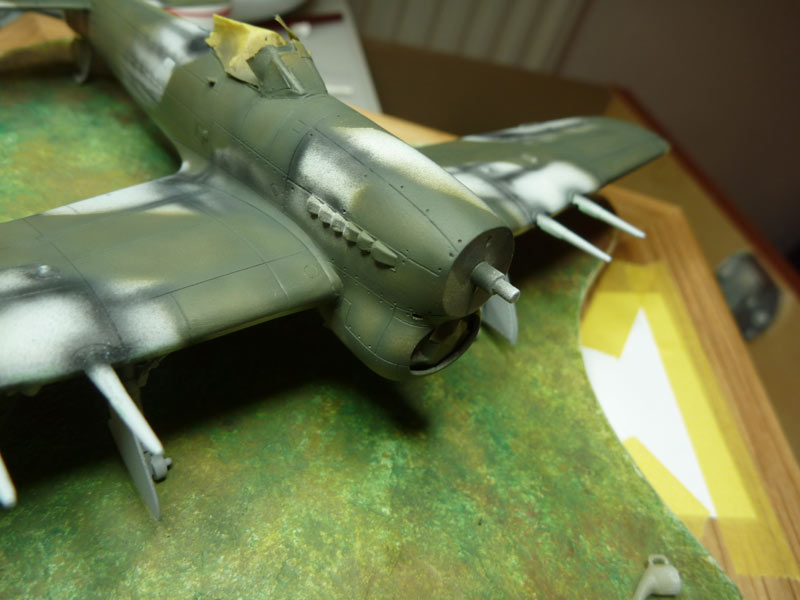
OK, so I figured out that I would need to add white over the splatter to stop it showing through. So I sprayed some white into the centres of the panels that were affected by the overspray.
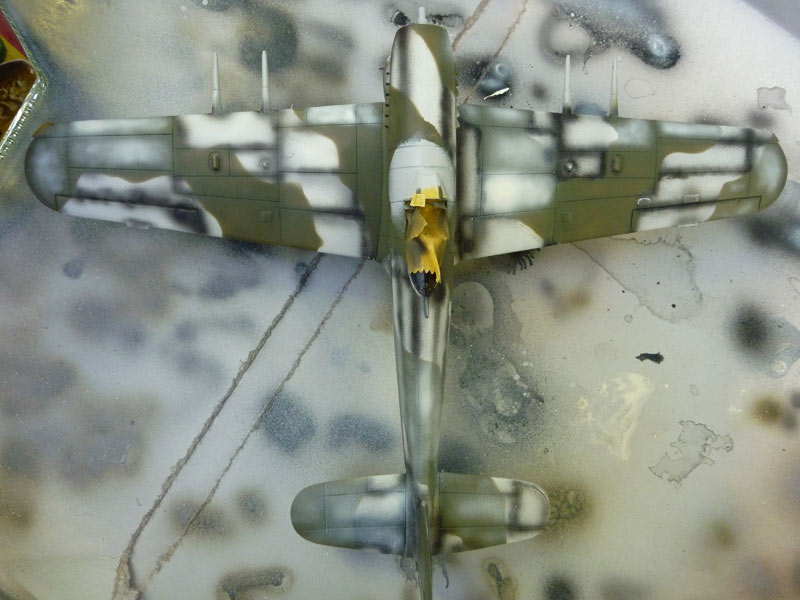


Then I re-painted the black pre-shading.
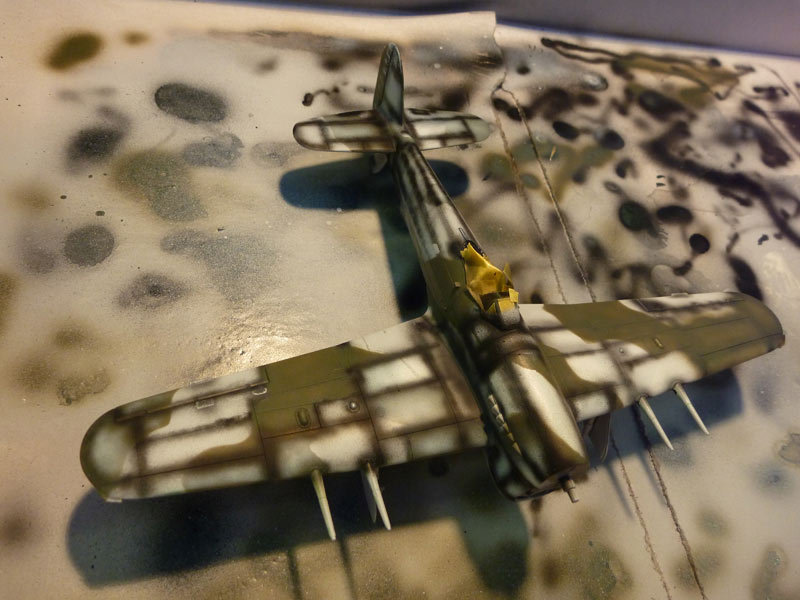


I think I have learnt a lot about pressures, thinning paint and control of the airbrush today. The black still splattered a bit (I think it is too thin- I started pouring thinned paint back into the pot, and it is now all too thin), but the white when on beautifully and I was able to control the line thickness and density of colour without any trouble (OK, there were a few 'splats' that needed to be filled over with denser white).

Then I re-painted the green:
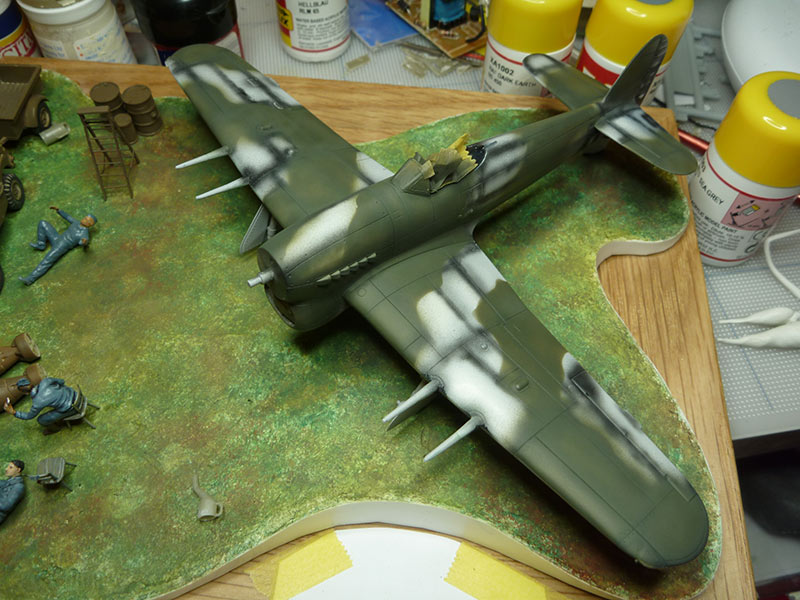


No gap around canopy now!

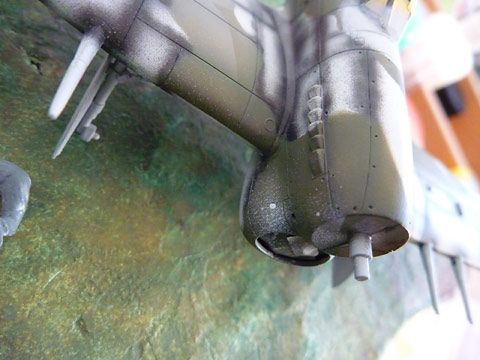
No more overspray on this radiator!

Hopefully I'll mask up the plane for the grey tomorrow night, and spray it on Thursday.
robot_
_VISITCOMMUNITY
United Kingdom
Joined: March 08, 2009
KitMaker: 719 posts
AeroScale: 691 posts
Posted: Wednesday, May 05, 2010 - 08:03 PM UTC
Now under masking again, this time for the ocean grey. I took one and a half hours to mask this time, and I had the green to guide me- I don't know how long the first masking took, but it was longer.


Next time I'm doing a camo scheme, I will free-hand airbrush the boundaries for the first colour, and carefully fill in the colour over the pre-shading, then mask for the second colour. Then I'll using a bit of white to lighten any panel centres that are coloured by the first colour, and shouldn't be, then fill in the second colour.

I am awaiting delivery of the pilot of this plane's second autobiography, Brotherhood of the Skies, that was released on 1st May.
magnusf
_VISITCOMMUNITY
Stockholm, Sweden
Joined: May 02, 2006
KitMaker: 1,953 posts
AeroScale: 1,902 posts
Posted: Wednesday, May 05, 2010 - 08:47 PM UTC
Keeping an eye on you Ben!

With a bit of practice you can probably avoid masking altogether. I have spent miles and miles (or kms and kms for us metrically inclined ) of masking tape on camo schemes and I have really learnt to hate it! I still mask some straight-edged schemes but RAF WWII camo is free-hand only nowadays.


Magnus
robot_
_VISITCOMMUNITY
United Kingdom
Joined: March 08, 2009
KitMaker: 719 posts
AeroScale: 691 posts
Posted: Wednesday, May 05, 2010 - 10:17 PM UTC
Hi Magnus- I've got quite a way to go before I can trust my airbrushing skills to go without masks. Maybe I'll try with just the white-tac sausages.

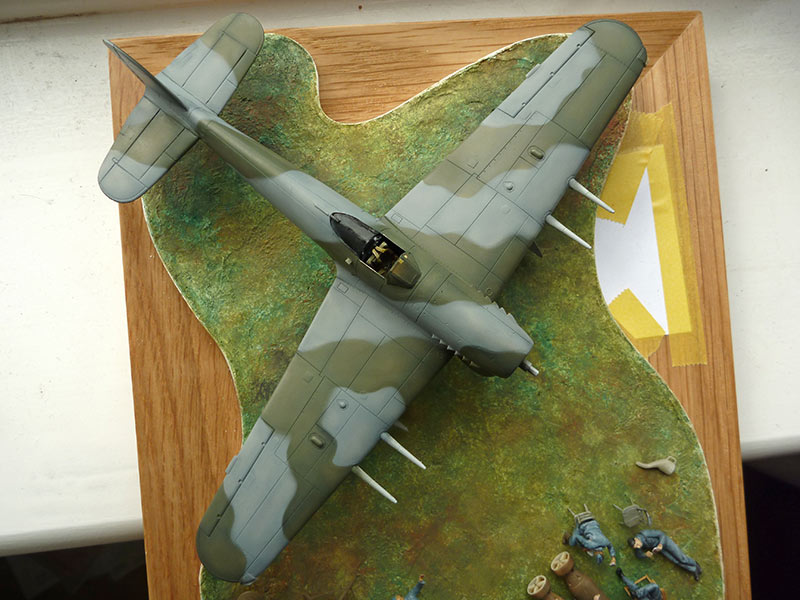
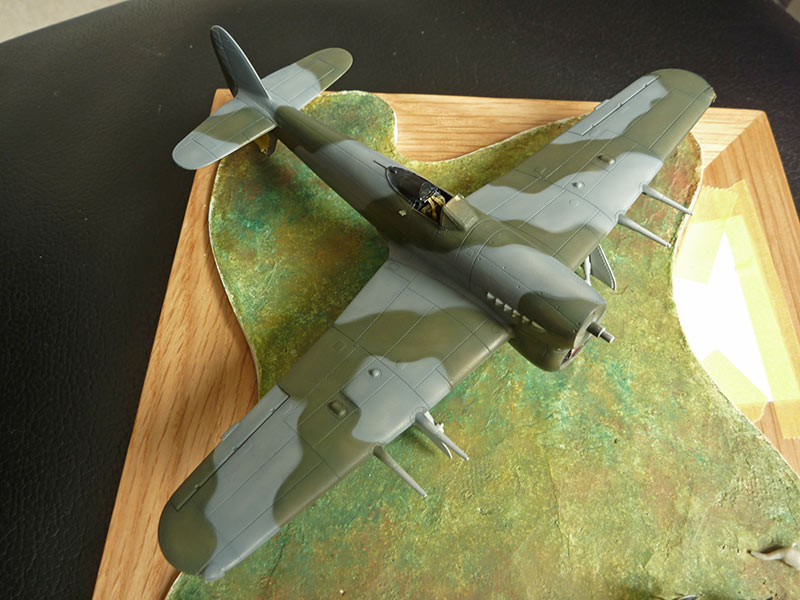
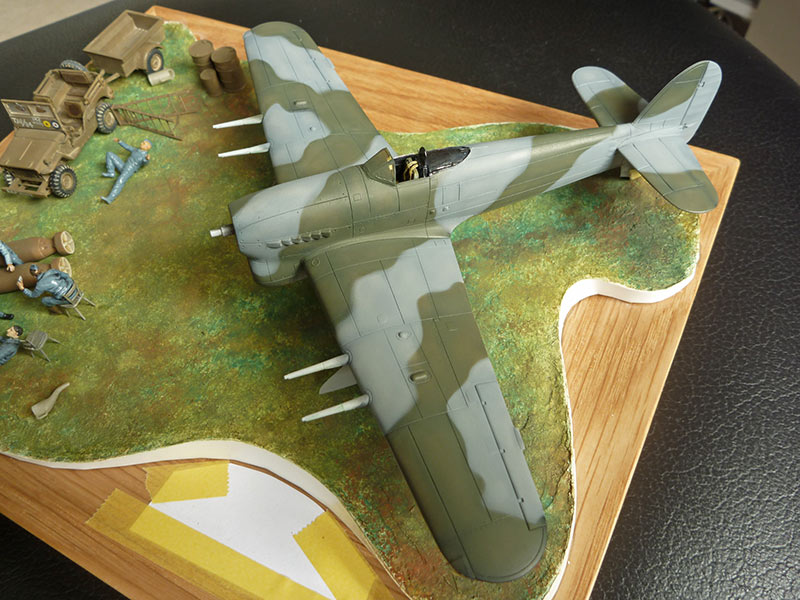
I couldn't wait until tonight to get the grey on, so I went ahead... A few places to re-do, but on the whole, extremely happy with it!


magnusf
_VISITCOMMUNITY
Stockholm, Sweden
Joined: May 02, 2006
KitMaker: 1,953 posts
AeroScale: 1,902 posts
Posted: Wednesday, May 05, 2010 - 10:27 PM UTC
Nice work Ben! I might have to try pre-shading, as usual I have decided that I don't like it without even trying it... That Tiffie looks very good!


Magnus
JPTRR
Staff MemberManaging Editor
RAILROAD MODELING
#051
_VISITCOMMUNITY
Tennessee, United States
Joined: December 21, 2002
KitMaker: 7,772 posts
AeroScale: 3,175 posts
Posted: Thursday, May 06, 2010 - 12:22 AM UTC
Ben,

Coming along great! Drilled out the exhausts for 1/72!? Woooowwwww!

I may have to call OSHA about sitting on that bomb, though.