United Kingdom
Joined: December 15, 2008
KitMaker: 246 posts
AeroScale: 47 posts
Posted: Saturday, October 24, 2009 - 07:38 AM UTC
Hi there,
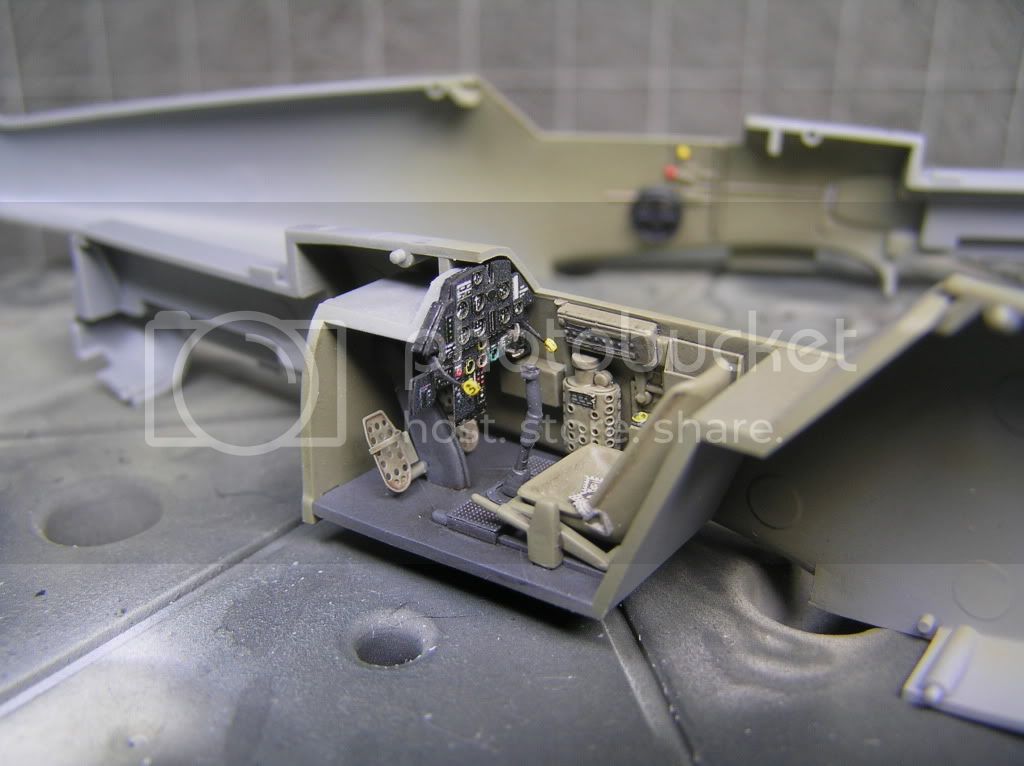
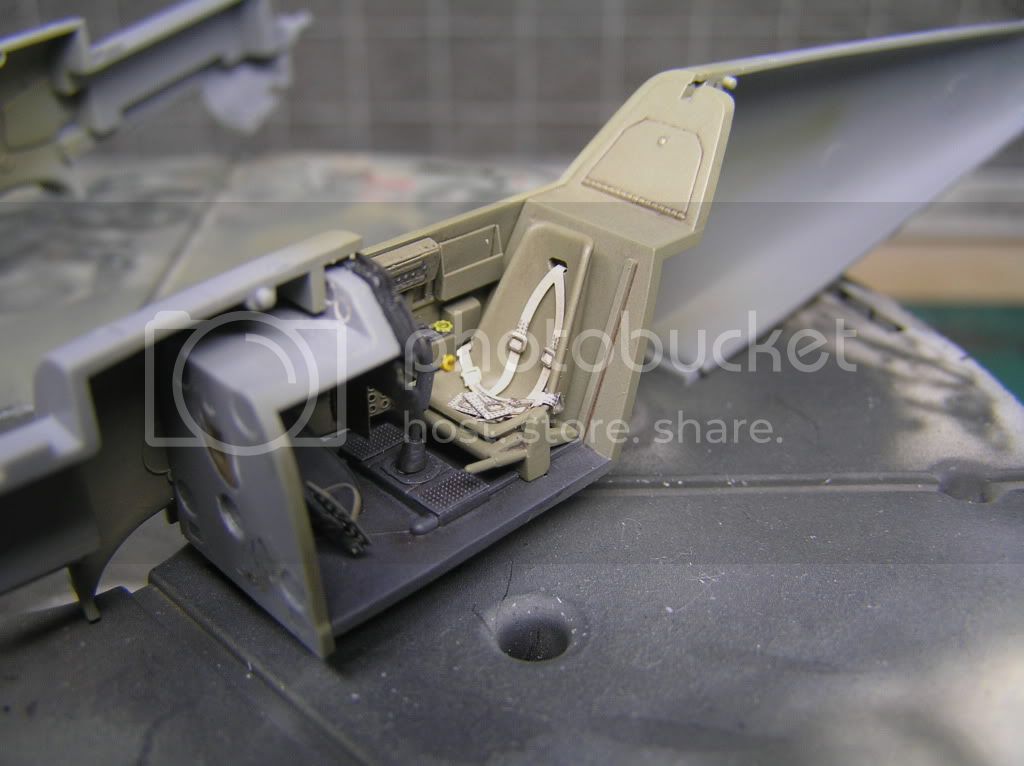
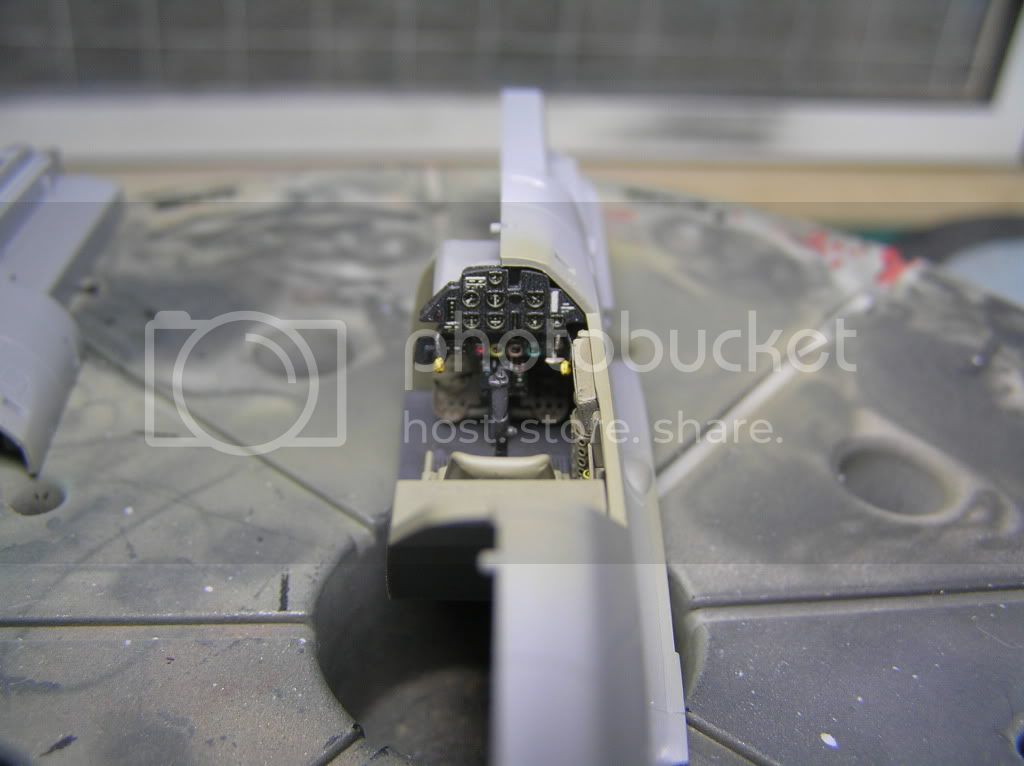
That's the cockpit just about finished. I have added washes and finished with a matt coat. I tried to keep the weathering subtle. I used dark, brown and neutral washes from mig productions.
I decided to add the mysterious bomb/dimmer panel. I think it looks good even if not strictly accurate. I also added the levers with the yellow handles after seeing them in the picture Eetu so kindly posted.
Anyway, I hope you like it.
Cheers,
Jim.
United Kingdom
Joined: March 08, 2009
KitMaker: 719 posts
AeroScale: 691 posts
Posted: Saturday, October 24, 2009 - 08:41 AM UTC
Your cockpit looks really good Jim- the washes are subtle and realistic- something I've not achieved yet.
United Kingdom
Joined: December 15, 2008
KitMaker: 246 posts
AeroScale: 47 posts
Posted: Saturday, October 24, 2009 - 11:27 PM UTC
Hi there,
Many thanks Ben. I am glad you like the weathering. I find the mig productions washes to be very easy to work with. They are enamel based so dry a lot faster than oil washes but can still be manipulated in the same way.
Time to close up the fuselage halves and continue the build. I have found some quite bad sink marks on the wings, mirroring where the flap locating lugs are. Unusual for a tamiya kit I think. Nothing some mr surfacer 500 and careful sanding wont fix though.
Onwards and upwards!
Cheers,
Jim.
England - West Midlands, United Kingdom
Joined: August 15, 2008
KitMaker: 337 posts
AeroScale: 309 posts
Posted: Sunday, October 25, 2009 - 02:42 AM UTC
Very nice work there,very nice indeed.
Steve
Germany
Joined: September 07, 2005
KitMaker: 5,609 posts
AeroScale: 5,231 posts
Posted: Sunday, October 25, 2009 - 02:48 AM UTC
Hi Jim
very nice indeed! But why did you paint the cockpit floor 66?
all the best
Steffen
DULCE ET DECORUM EST PRO HOBBY MORI
United Kingdom
Joined: December 15, 2008
KitMaker: 246 posts
AeroScale: 47 posts
Posted: Sunday, October 25, 2009 - 05:29 AM UTC
Hello again,
Thanks for the comments Steven and Steffen, much appreciated.
I decided to paint the floor in RLM 66 after reading the very helpful earlier post from Steven stating that some downed 109 E's had dark floor panels. The Tamiya instructions also say to paint the floor this colour(actually XF-63). I think it adds a nice contrast to the interior.
Cheers,
Jim.
England - West Midlands, United Kingdom
Joined: August 15, 2008
KitMaker: 337 posts
AeroScale: 309 posts
Posted: Sunday, October 25, 2009 - 05:31 AM UTC
Why not Steffen? We know several Es downed over England had dark floors, maybe even black. I reckon it looks good in Jim's cockpit, it gives a nice contrast. I did one with an 02 floor but the area behind the seat and cockpit sills in 66 for a bit of variation. Both can be justified.
Cheers
Steve
Edit :Oops ,we must have made an almost simultaneous post!
Germany
Joined: September 07, 2005
KitMaker: 5,609 posts
AeroScale: 5,231 posts
Posted: Sunday, October 25, 2009 - 05:42 AM UTC
Hello
Well, I have never heard of dark painted floor (which does not mean anything of course) . Do you have any proof(source) of your statement, Steven? I heave read of dark (66?) repainted upper cockpit areas but not the floor ..
all the best
Steffen
DULCE ET DECORUM EST PRO HOBBY MORI
England - West Midlands, United Kingdom
Joined: August 15, 2008
KitMaker: 337 posts
AeroScale: 309 posts
Posted: Sunday, October 25, 2009 - 08:12 AM UTC
Hi again Steffen, I can only refer you back to Dave's quote.
I'm going to have a rummage to see if I've got any pictures myself!
It has to be said pictures of cockpit floors would not be high on my agenda lol.
Cheers
Steve
United Kingdom
Joined: December 15, 2008
KitMaker: 246 posts
AeroScale: 47 posts
Posted: Thursday, November 05, 2009 - 03:32 AM UTC
Hi there,
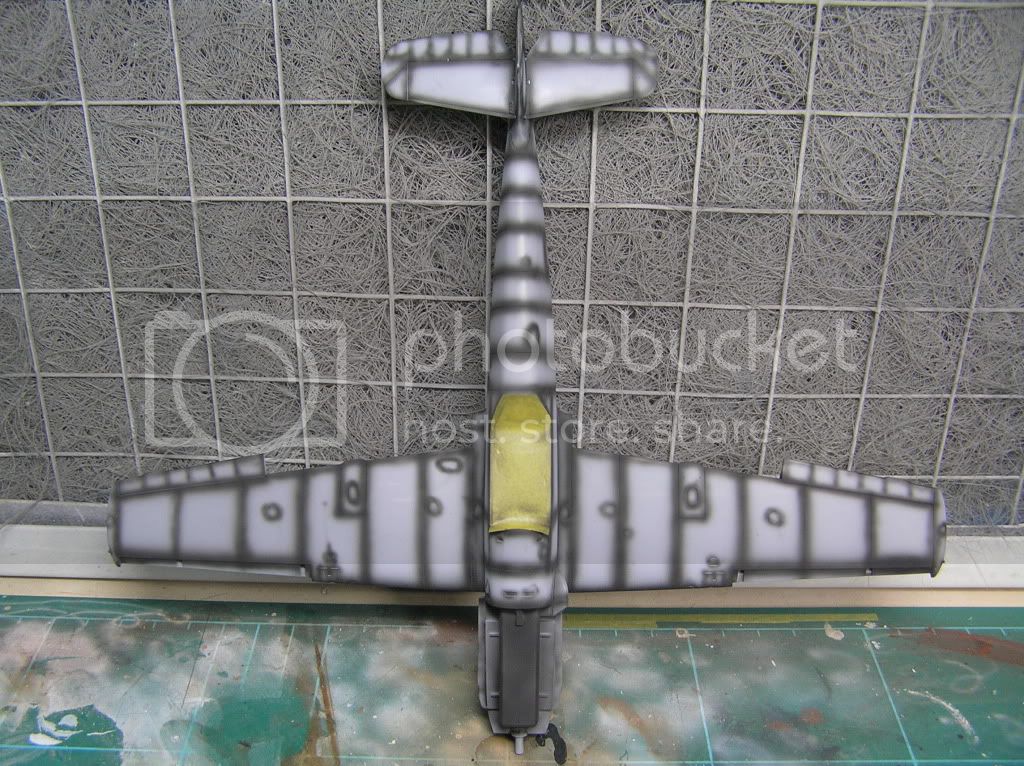
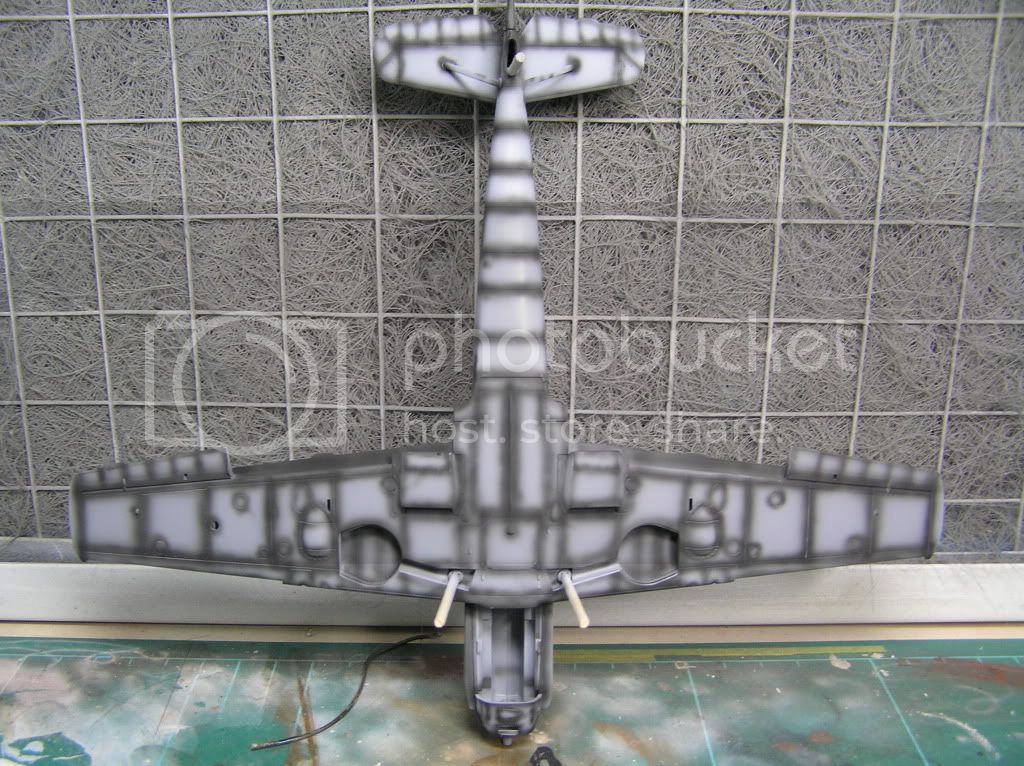
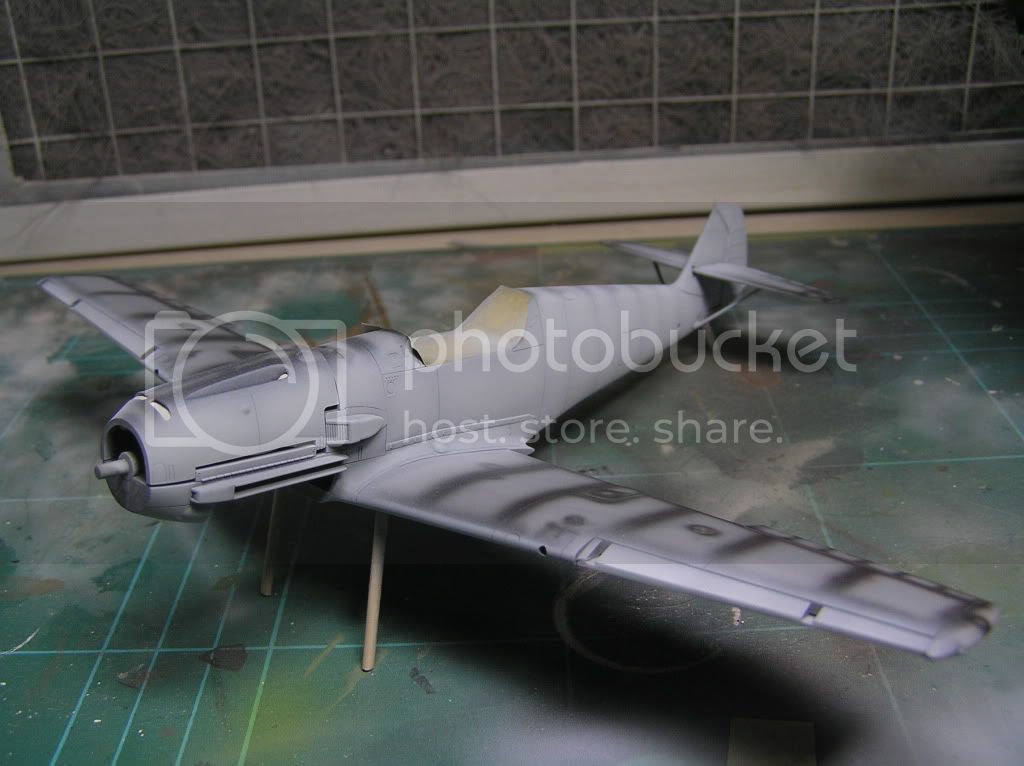
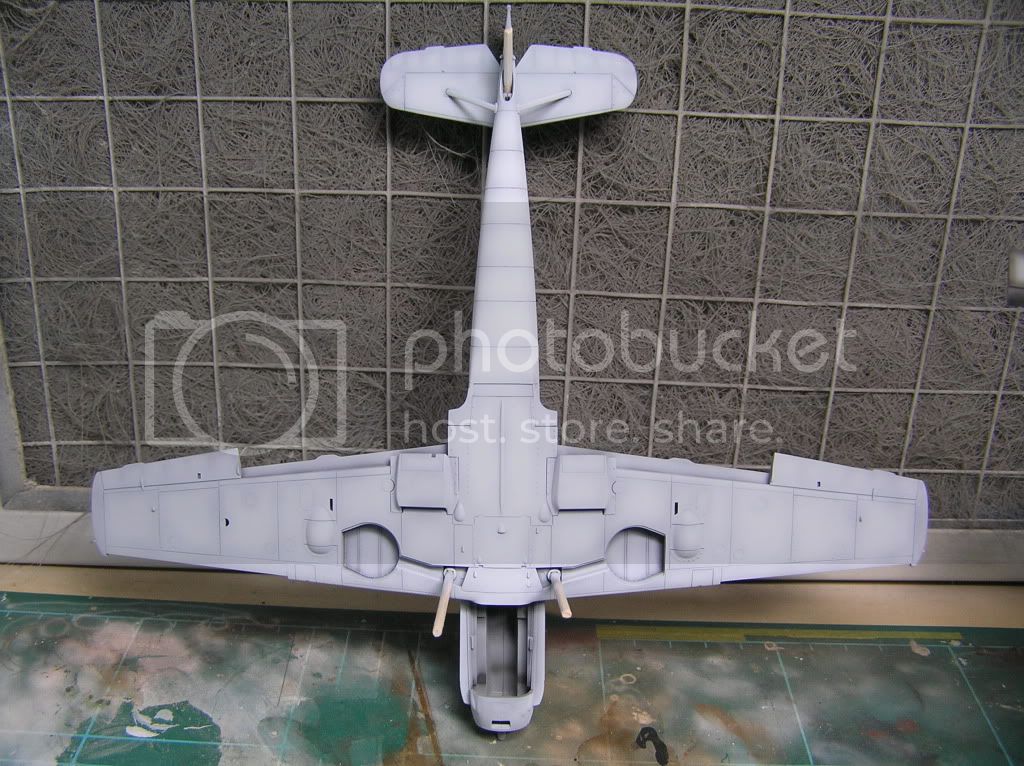
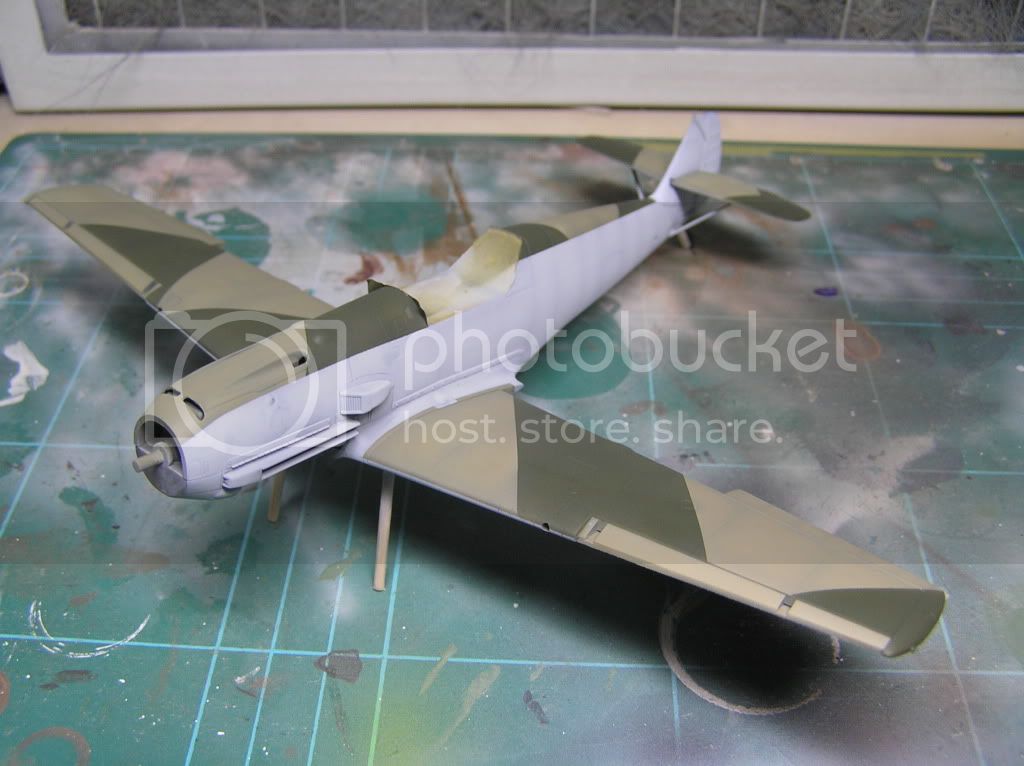
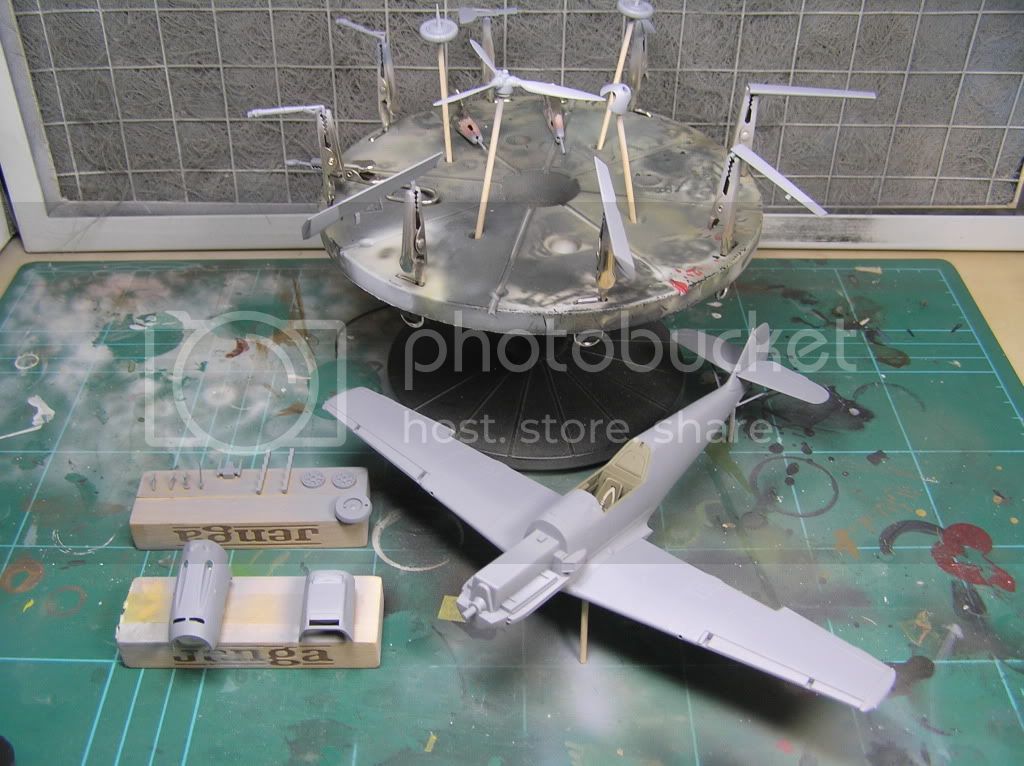
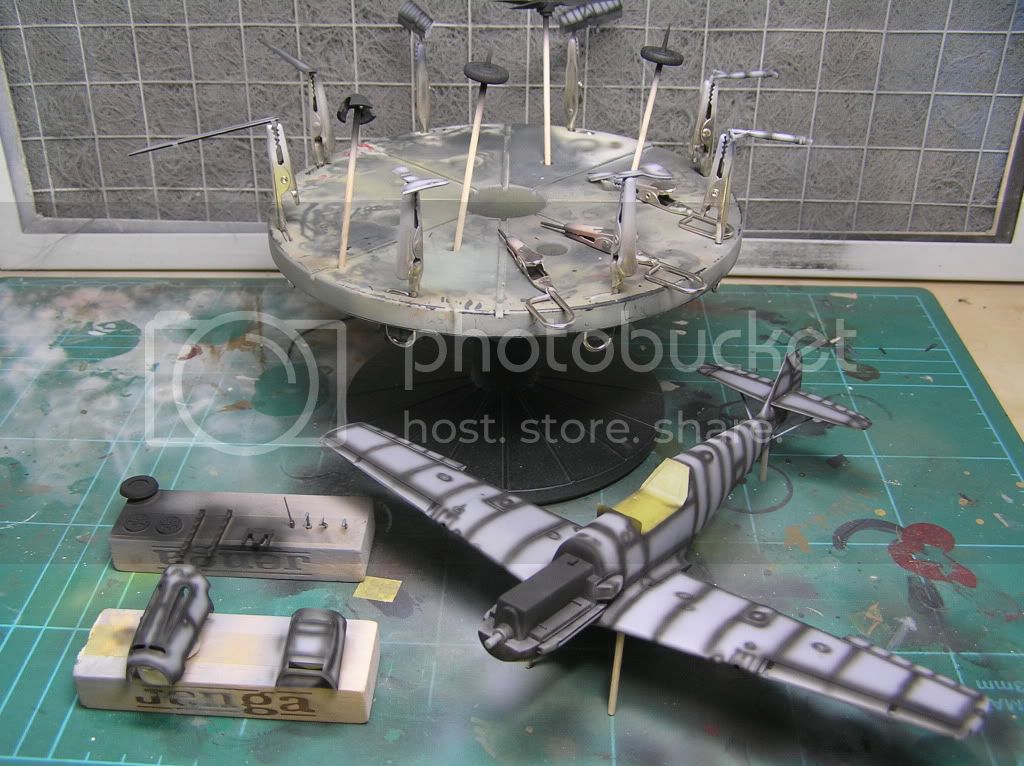
Well, the seams are filled, the primer is on and the preshading is done. I will be painting the RLM 65 first. Sorry it has been a while since last post but that pesky thing called life keeps getting in the way!
I will post pictures once the colours are on. Still haven't decided whether to use vallejo or lifecolor for the RLM 65. Toss a coin time I think.
Cheers and happy modelling,
Jim.
United Kingdom
Joined: December 15, 2008
KitMaker: 246 posts
AeroScale: 47 posts
Posted: Thursday, November 05, 2009 - 07:12 AM UTC
Hi again,
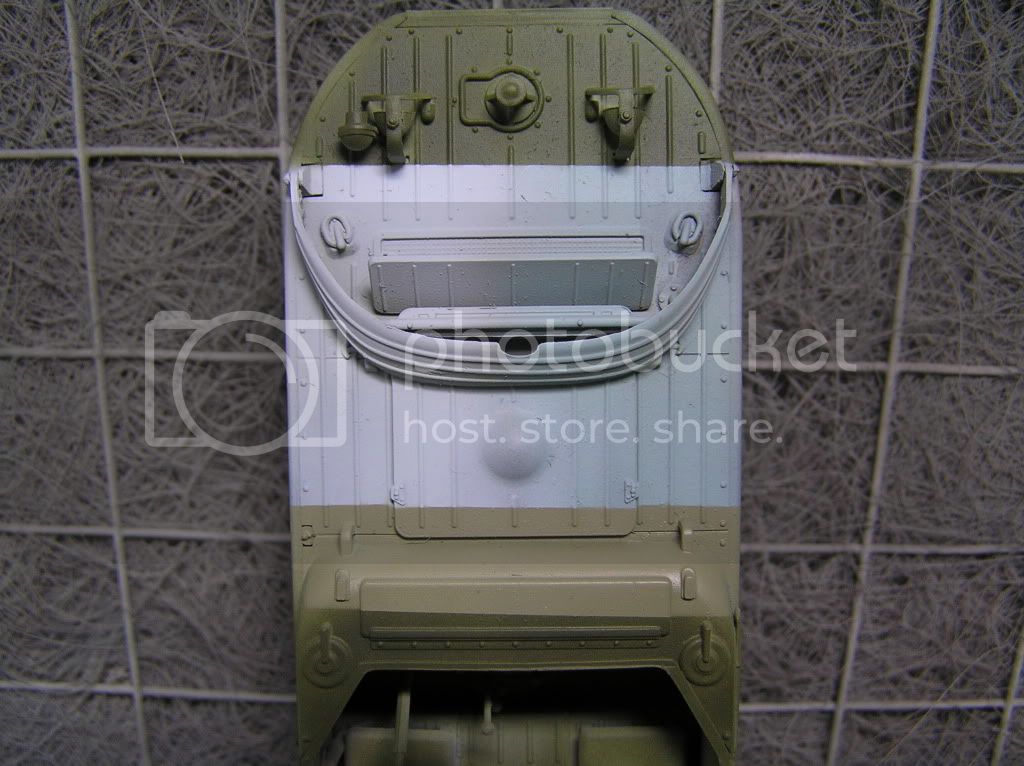
Here is a quick test shoot I did to decide on which RLM 65.
Top is vallejo 71015-RLM 71
Middle left is lifecolor UA061-RLM 65
Middle right is vallejo 71008-RLM 65
Bottom is vallejo 71044-RLM 02 with vallejo 71025-RLM 71 again below it.
I think it will be the lifecolor as it will be better suited for the weathering to follow. Plus I just think it looks better!
Anyway, I thought you all might like to see the comparison. Any thoughts, opinions are more than welcome.
Cheers, Jim
England - West Midlands, United Kingdom
Joined: August 15, 2008
KitMaker: 337 posts
AeroScale: 309 posts
Posted: Sunday, November 08, 2009 - 05:32 AM UTC
They all look pretty good on my laptop monitor! Maybe the Vallejo 71 looks a bit dark but that's nit picking.
Steve
United Kingdom
Joined: December 15, 2008
KitMaker: 246 posts
AeroScale: 47 posts
Posted: Friday, November 13, 2009 - 07:04 AM UTC
England - West Midlands, United Kingdom
Joined: August 15, 2008
KitMaker: 337 posts
AeroScale: 309 posts
Posted: Saturday, November 14, 2009 - 08:38 AM UTC
United Kingdom
Joined: March 08, 2009
KitMaker: 719 posts
AeroScale: 691 posts
Posted: Saturday, November 14, 2009 - 09:47 AM UTC
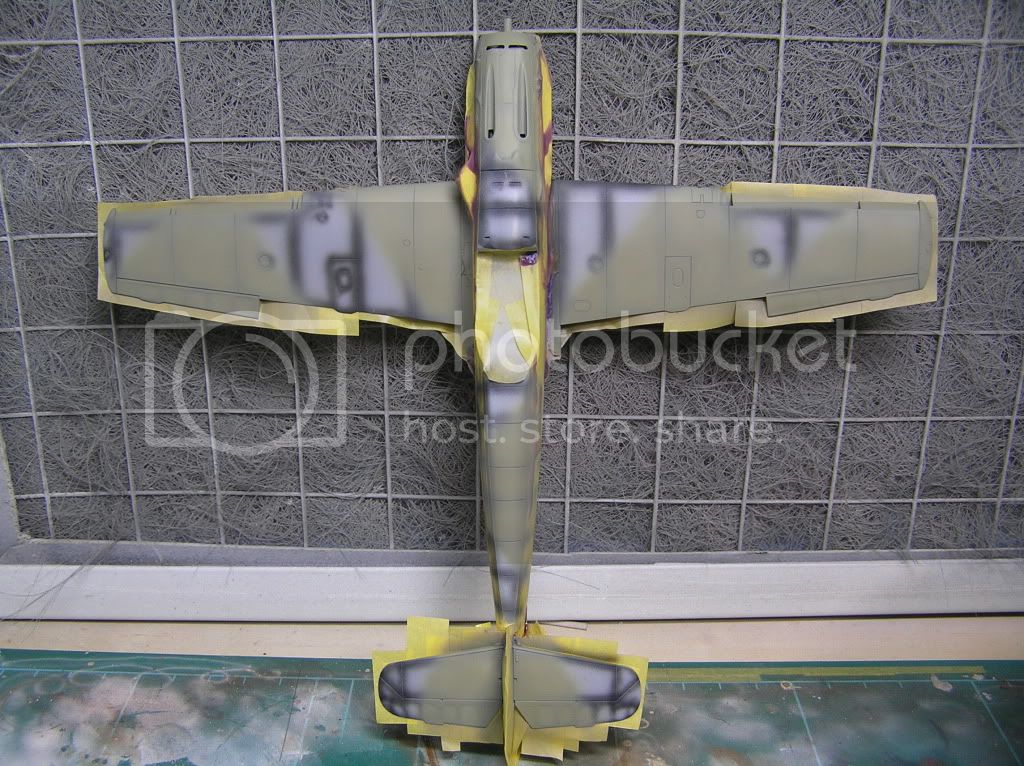
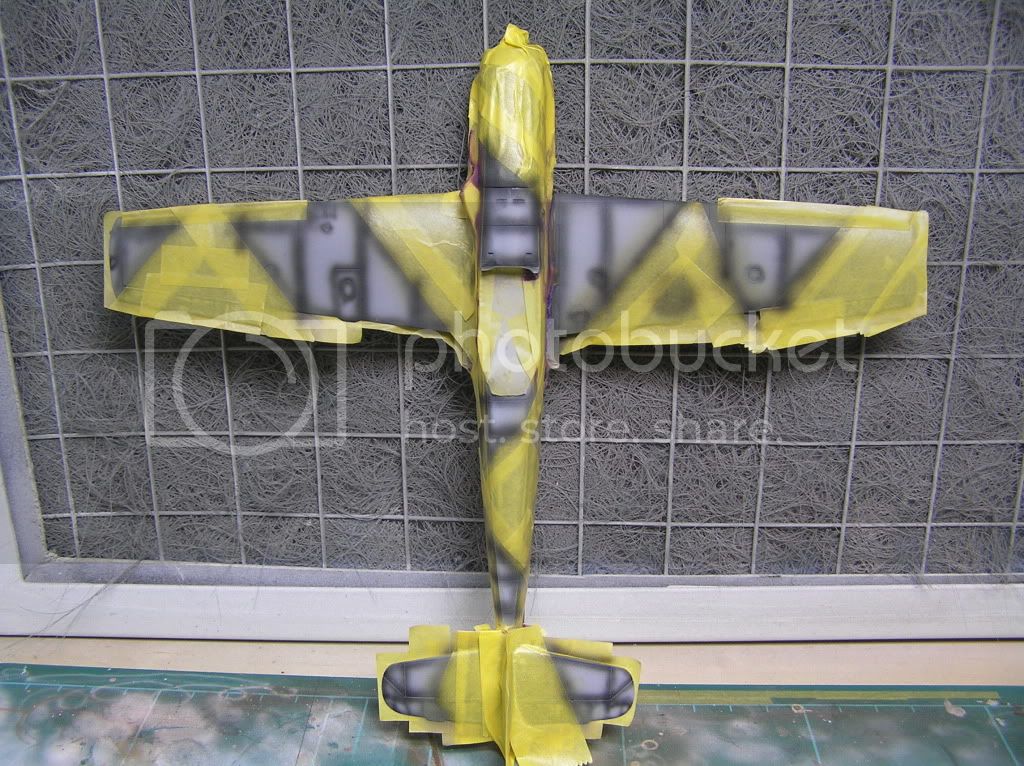
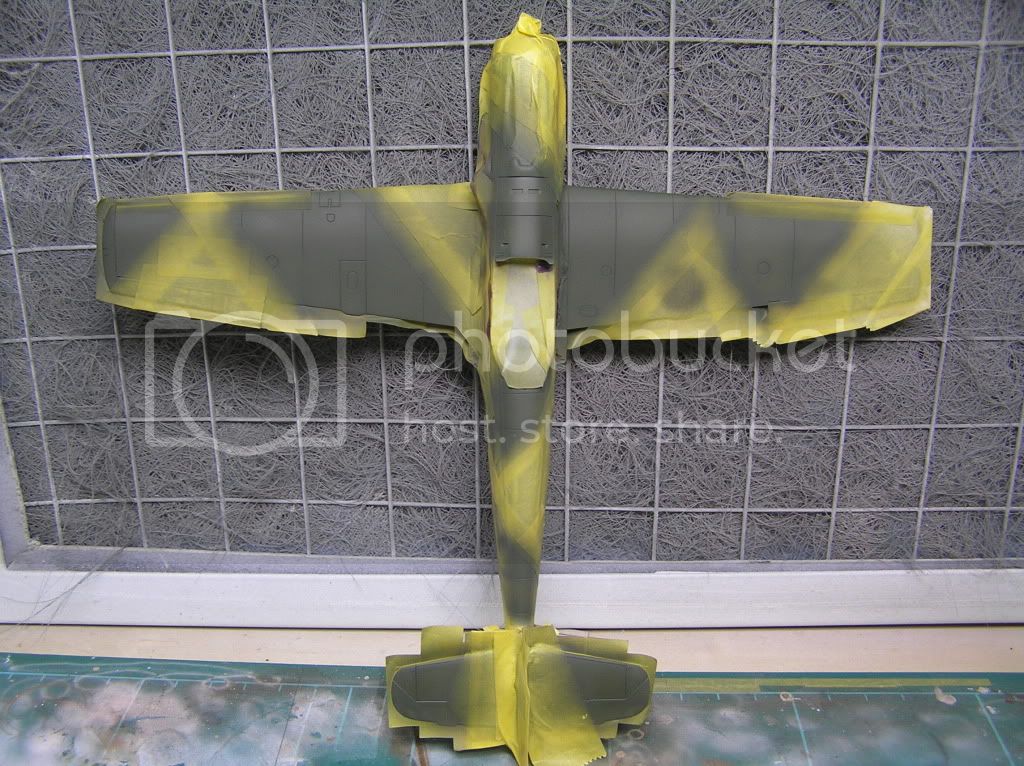
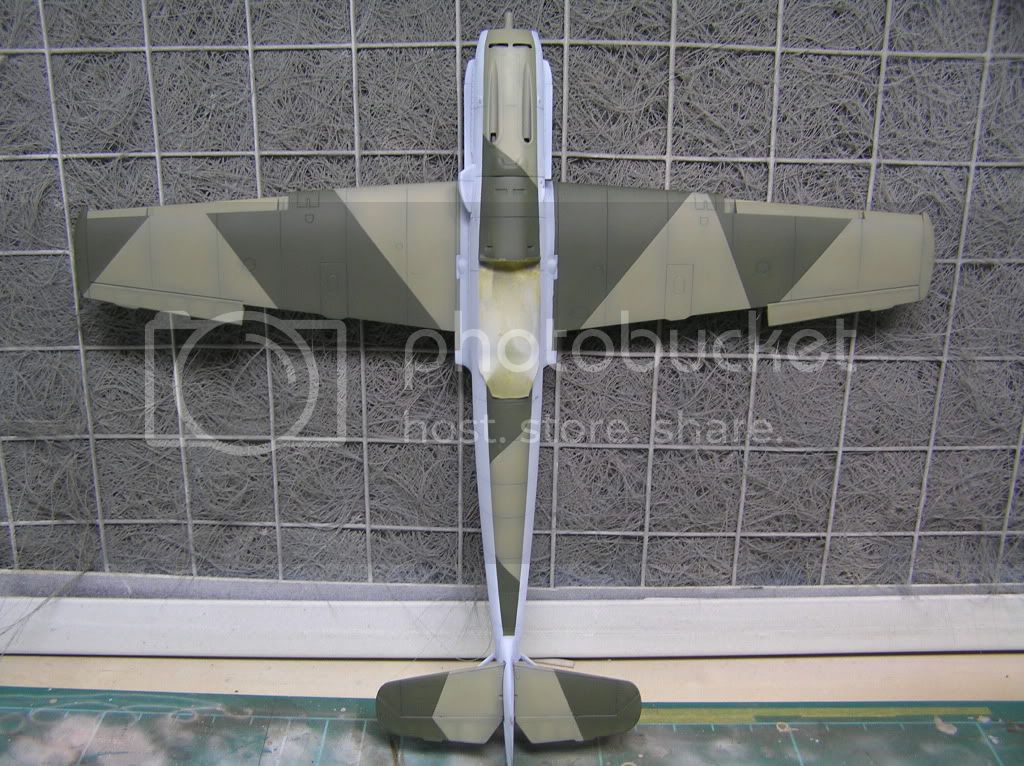
Great job on the masking, Jim. I plan to spray my next camouflage in a similar way- masking for both colours so that the pre-shading is still there for the second colour.
Looking forward to seeing it with the transfers on!
United Kingdom
Joined: December 15, 2008
KitMaker: 246 posts
AeroScale: 47 posts
Posted: Saturday, November 21, 2009 - 11:25 AM UTC
Hi there,
Thanks very much Steve and Ben. The extra effort with the masking pays off in the end I think.
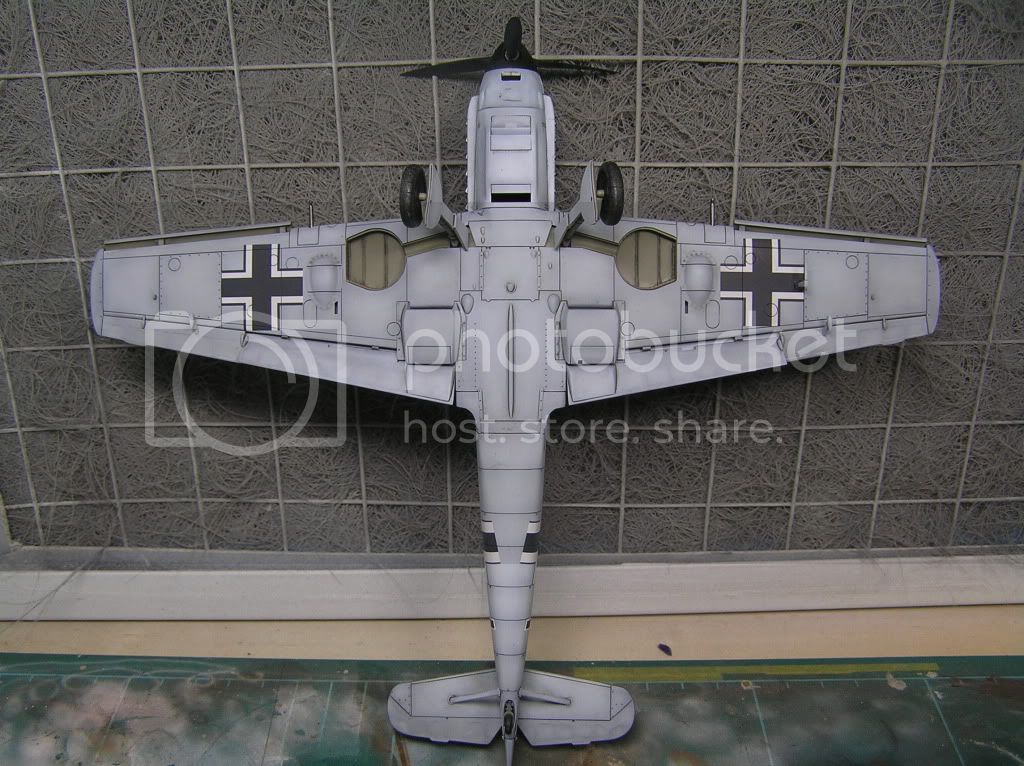
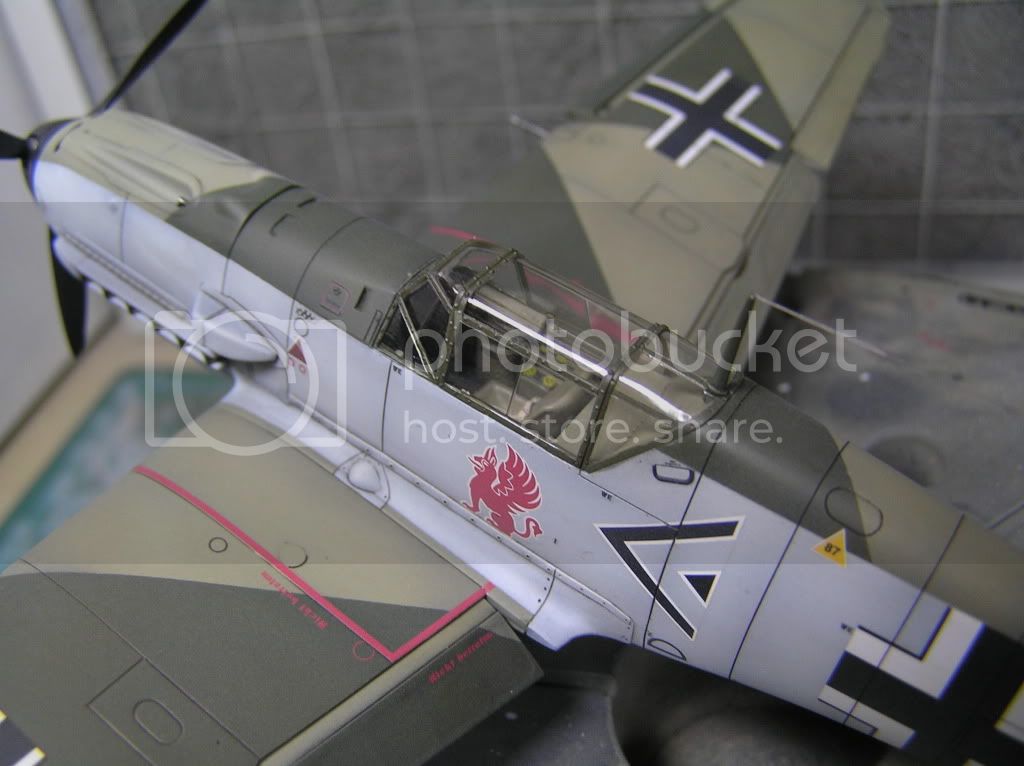
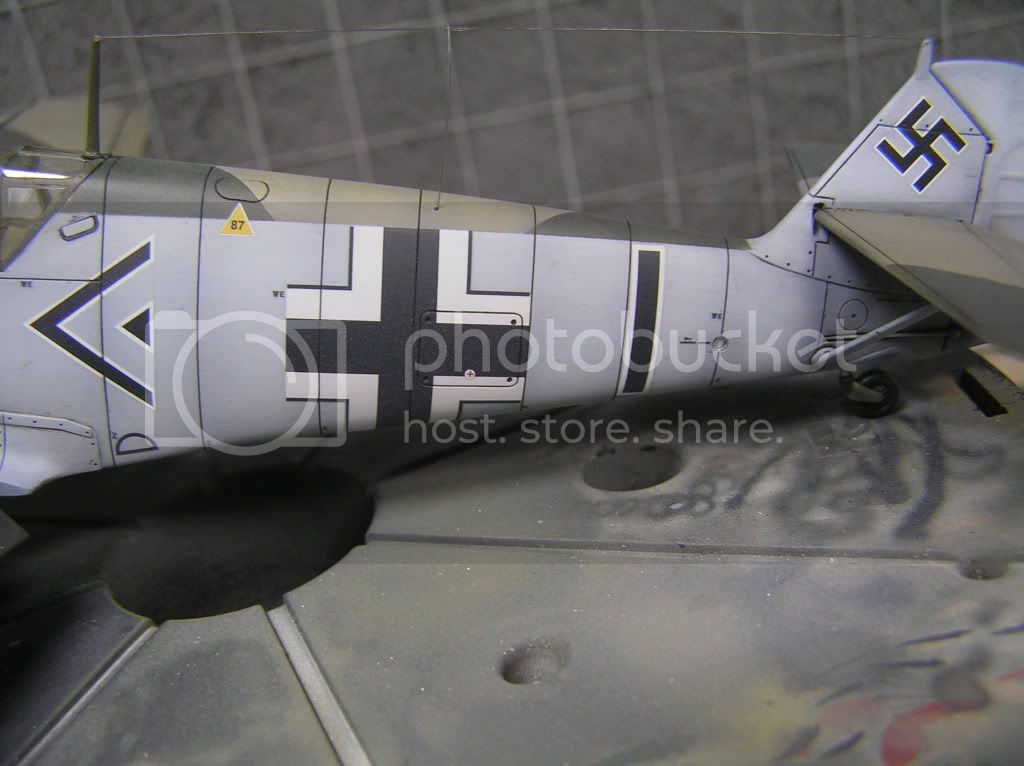
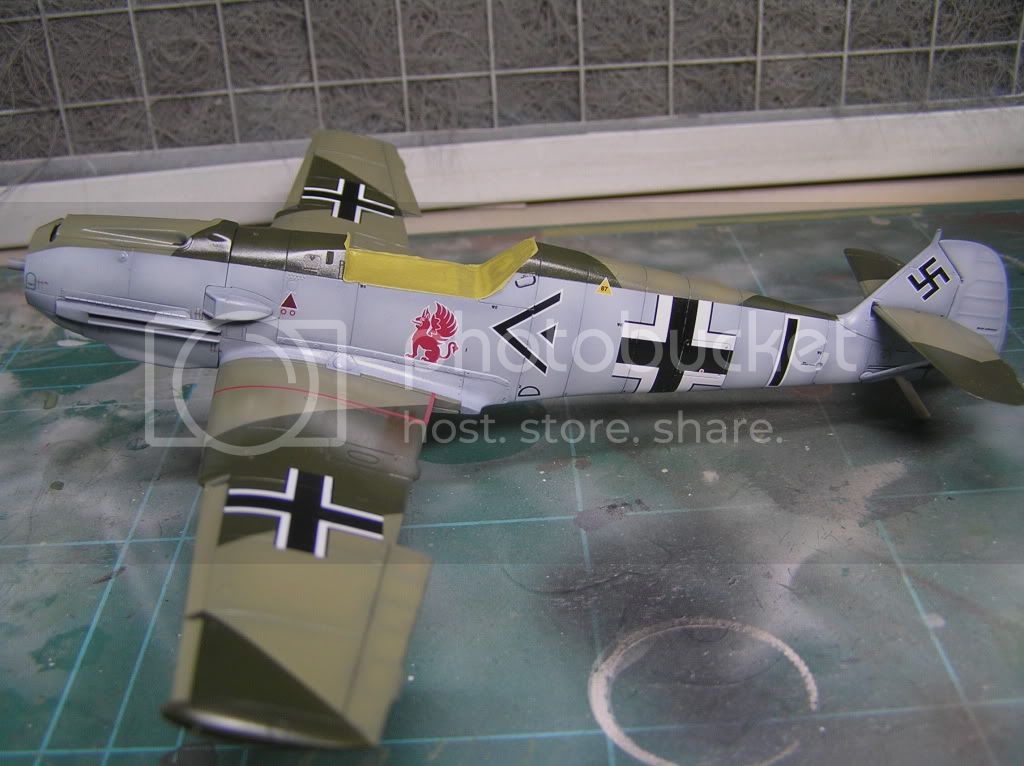
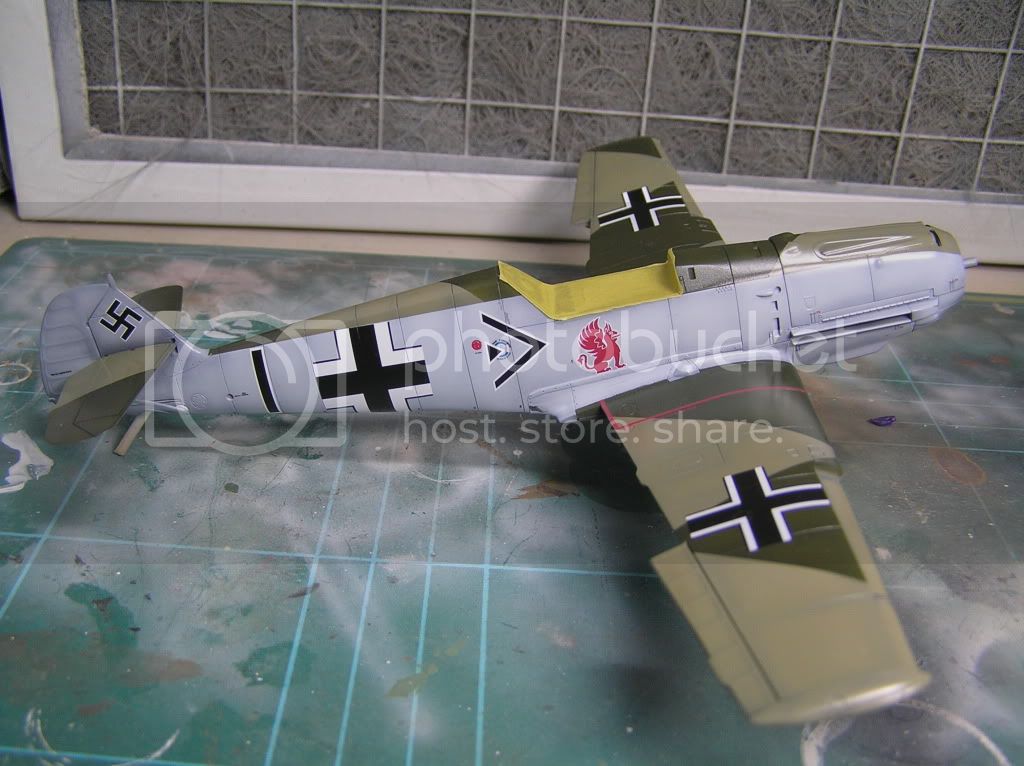
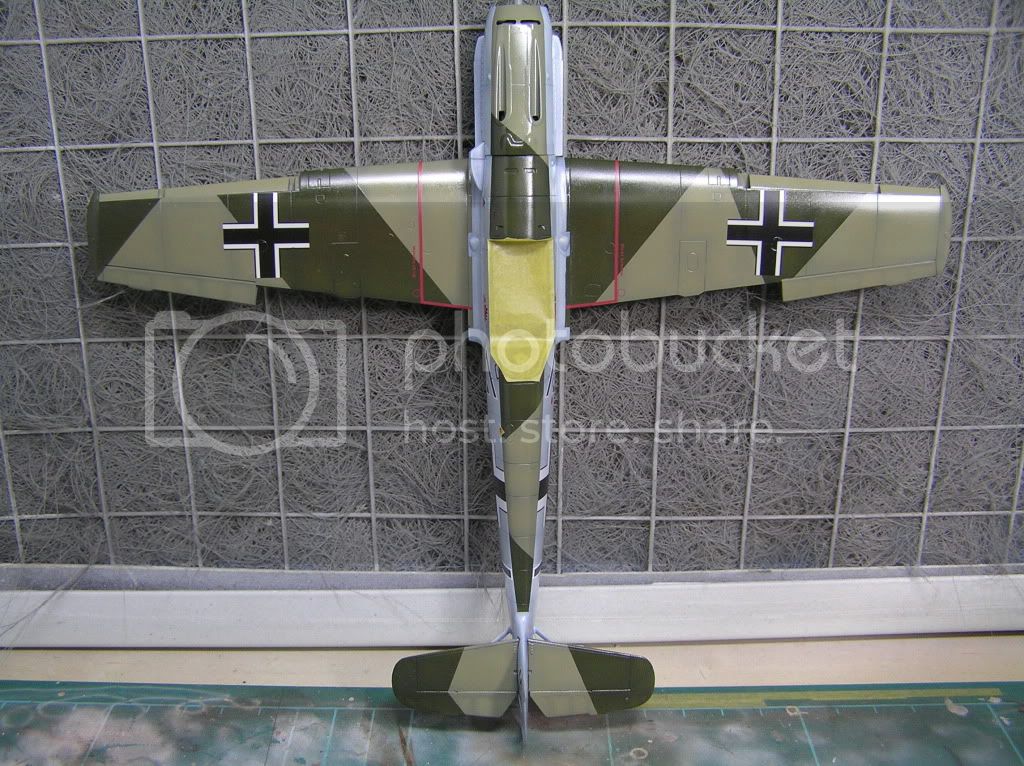
Well, that's all the decals on. Including the tiny little numbers on the fuselage sections which were a real pain to do. I used future before the decals and will be applying another coat once they are all nice and dry. I used micro set and sol to help them sit down nicely. These are the kit decals and were fairly nice to use. Next up will be the panel line washes.
I hope you like it so far.
Cheers, Jim.
Busan, Korea / 대한민국
Joined: June 11, 2006
KitMaker: 171 posts
AeroScale: 5 posts
Posted: Saturday, November 21, 2009 - 03:29 PM UTC
Man, thats looking really nice
where are all the hobby shops in Pusan?
United Kingdom
Joined: December 15, 2008
KitMaker: 246 posts
AeroScale: 47 posts
Posted: Thursday, November 26, 2009 - 08:11 AM UTC
Hi there,
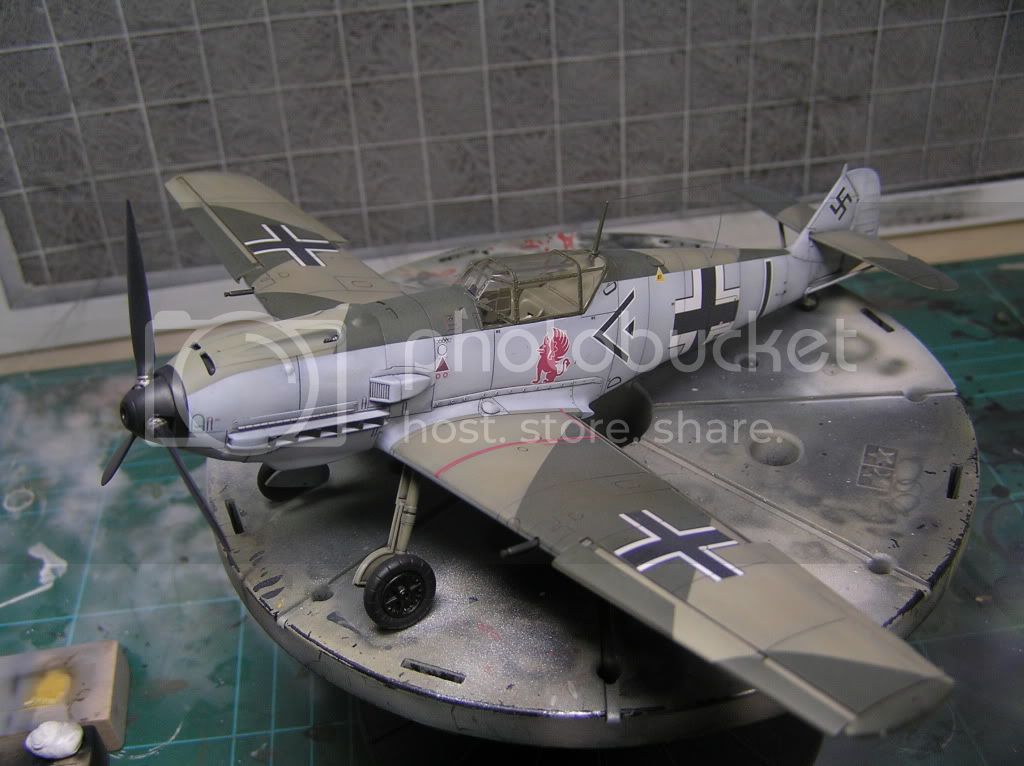
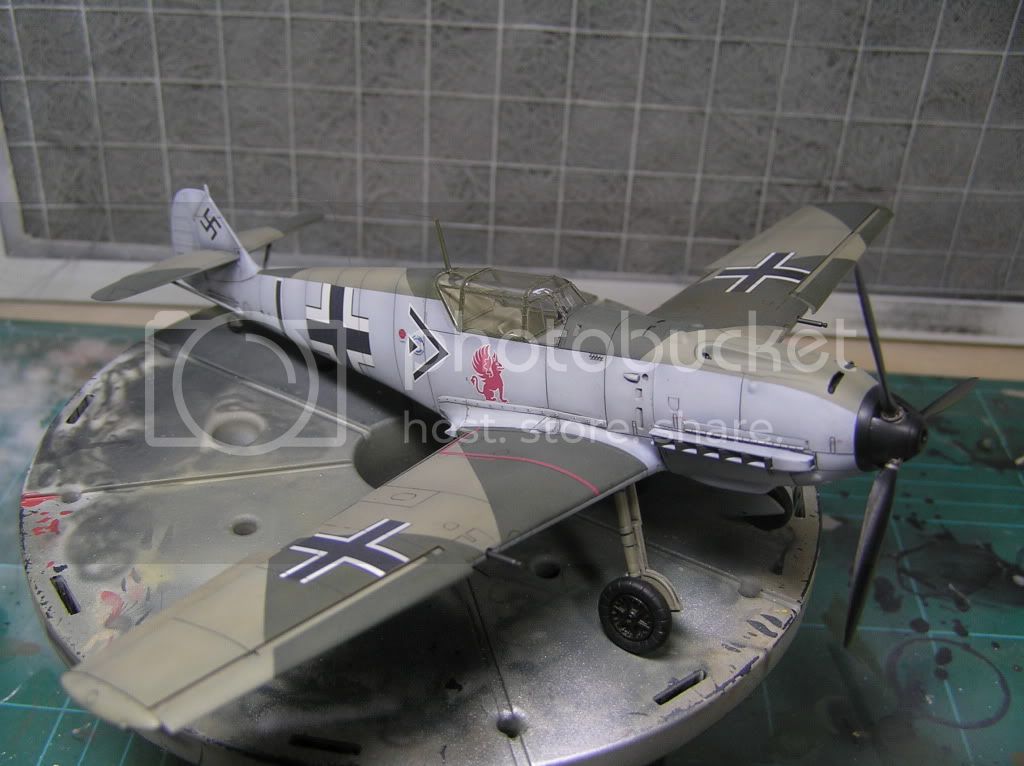
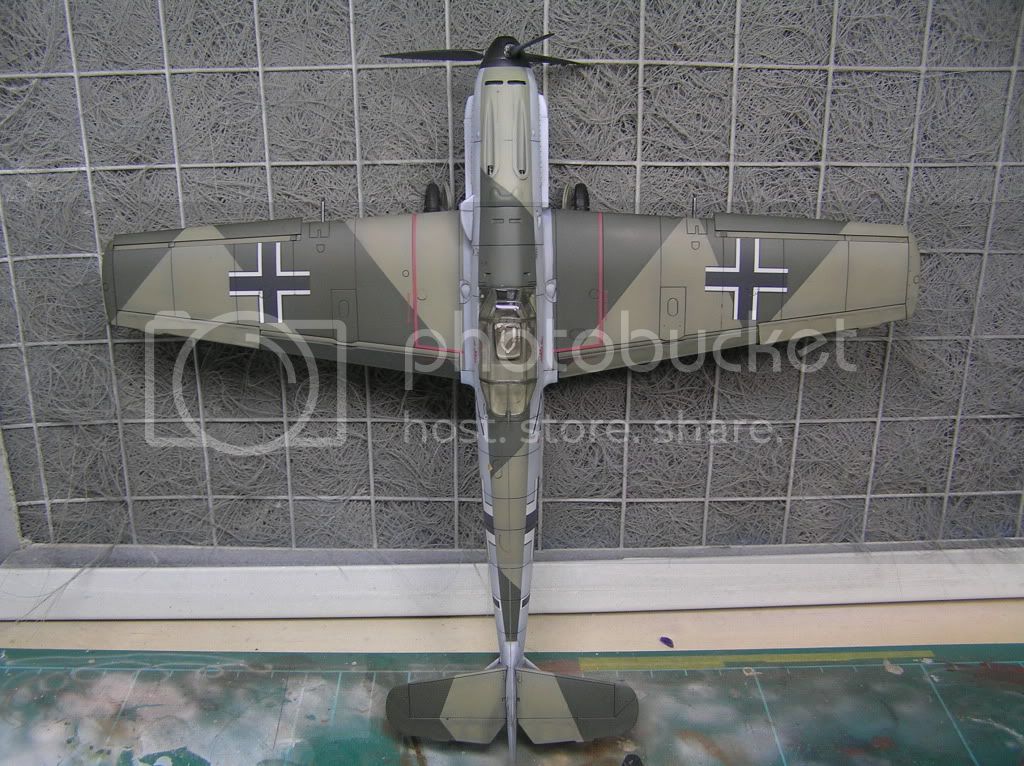
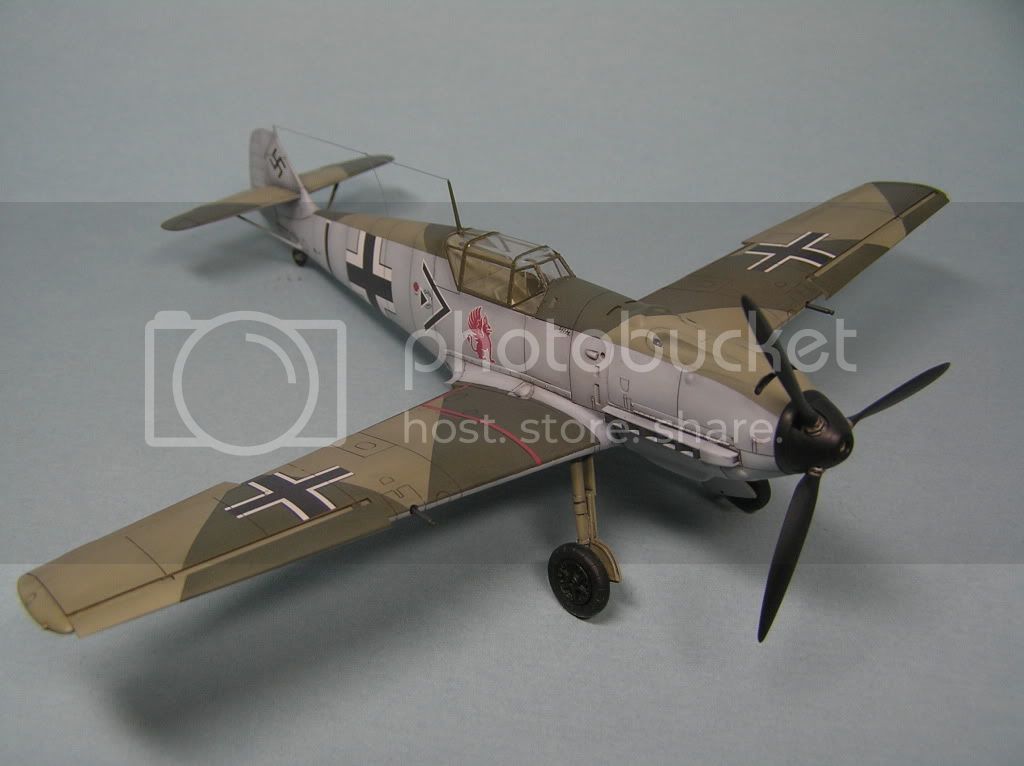
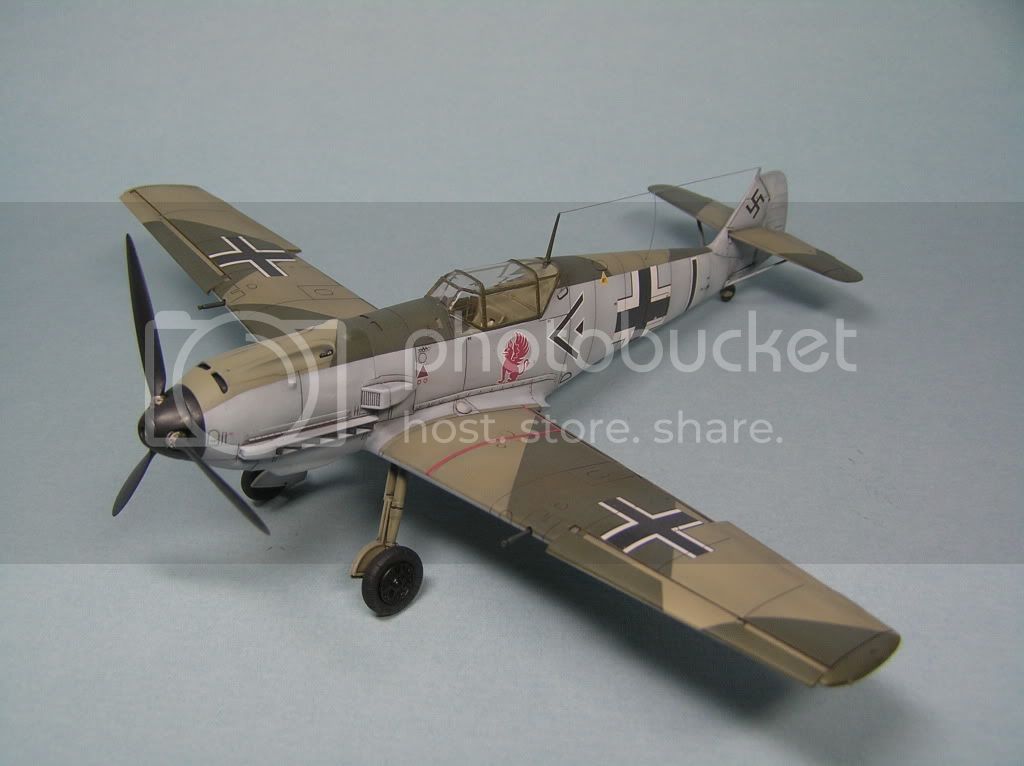
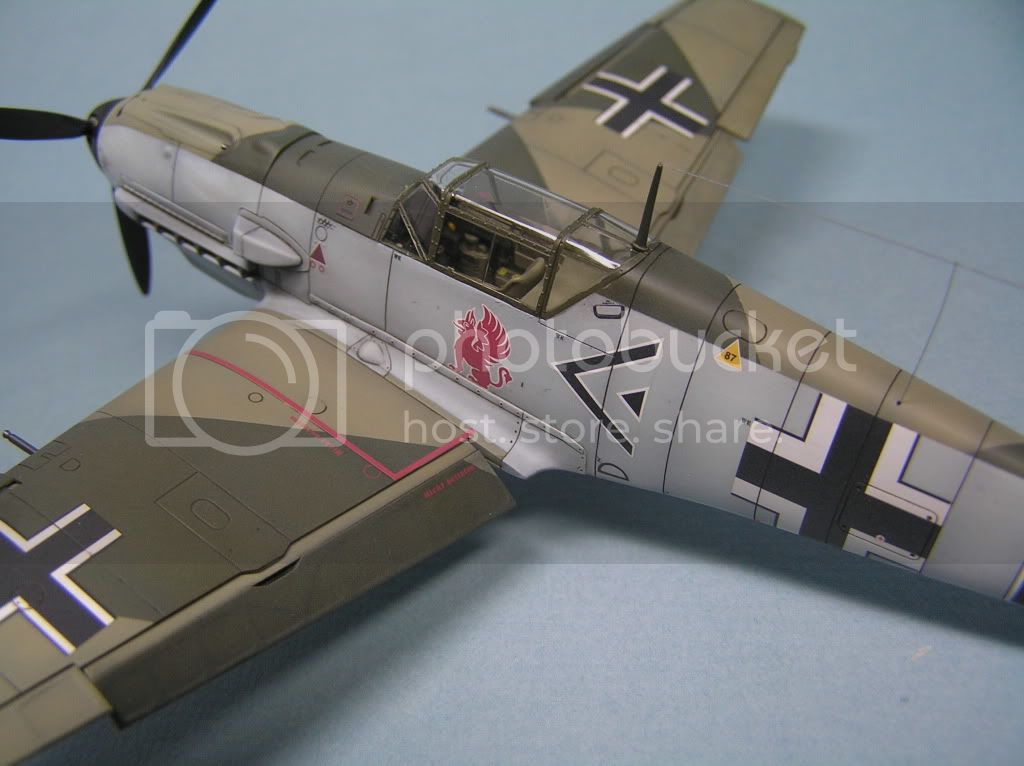
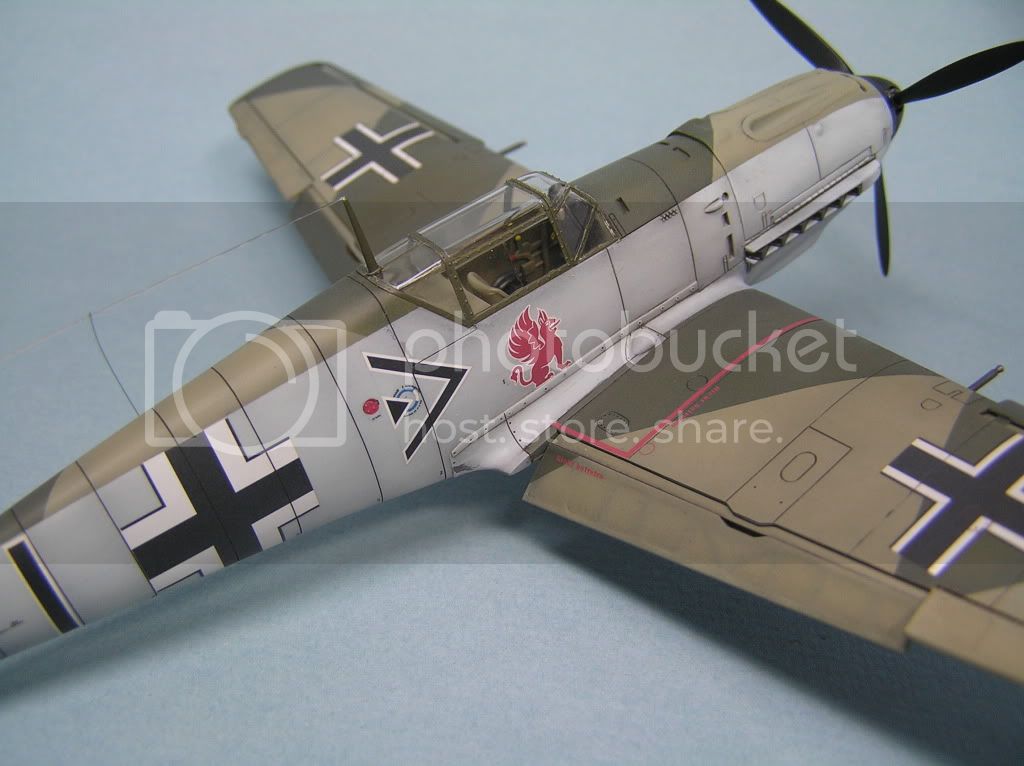
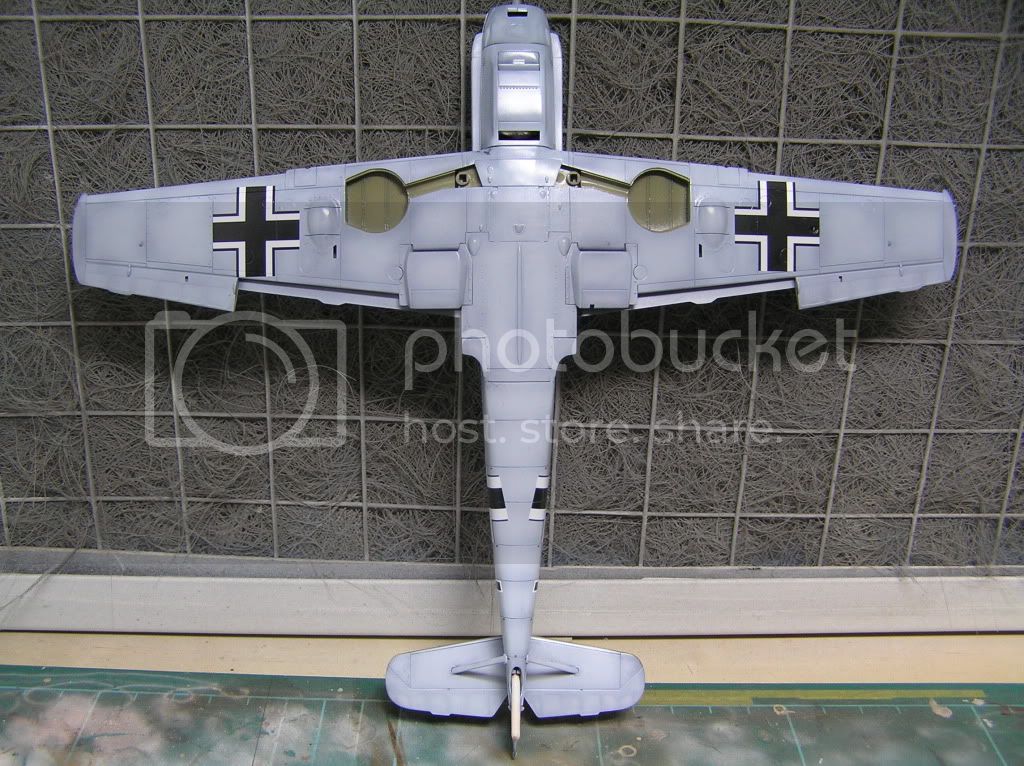
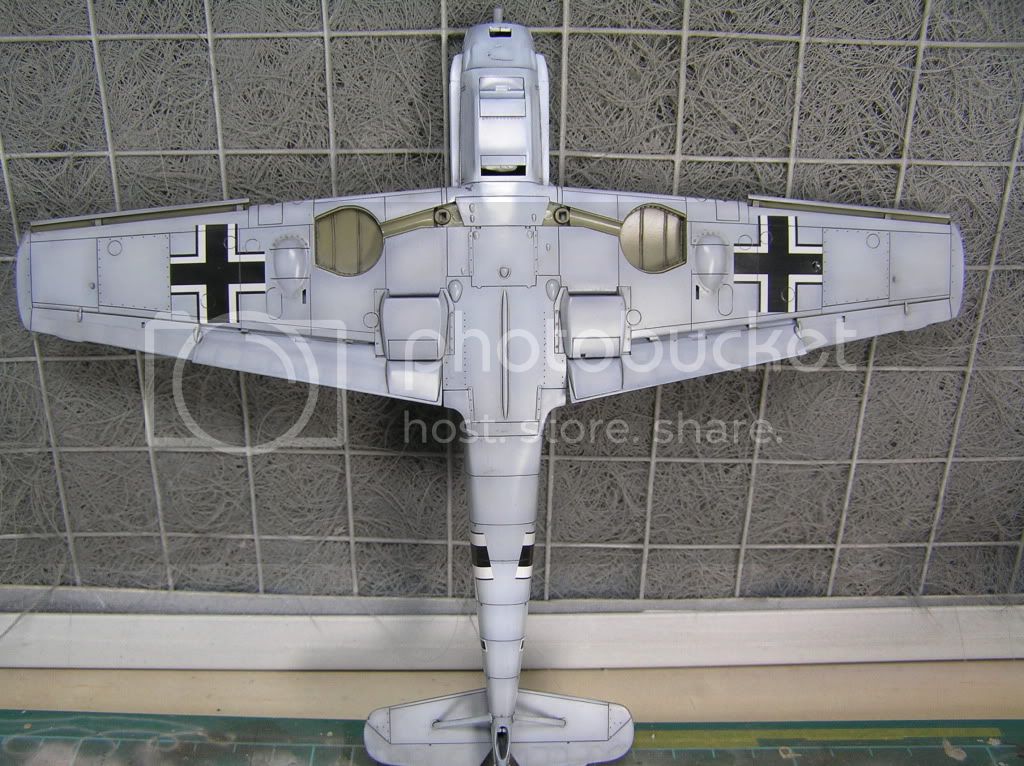
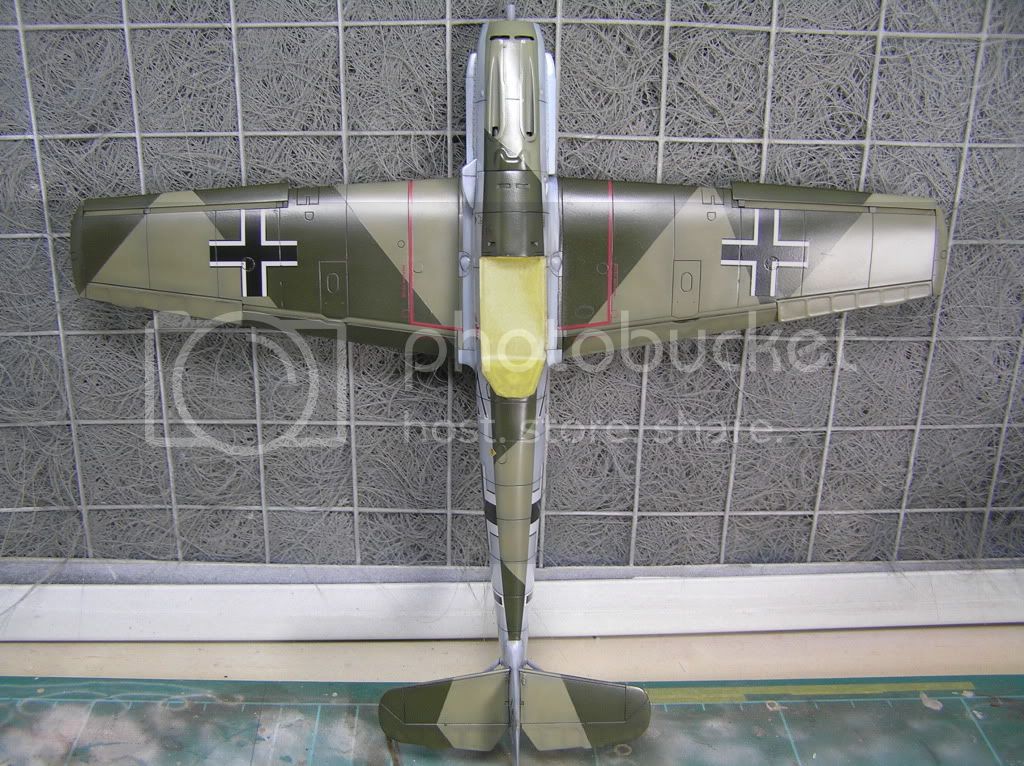
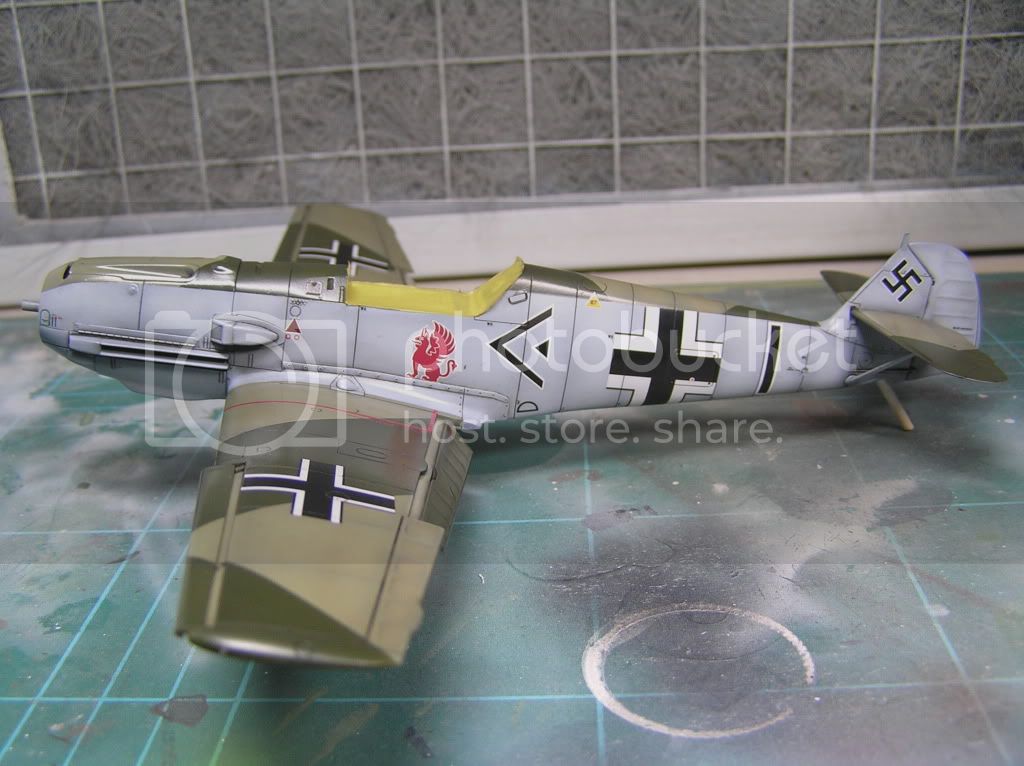
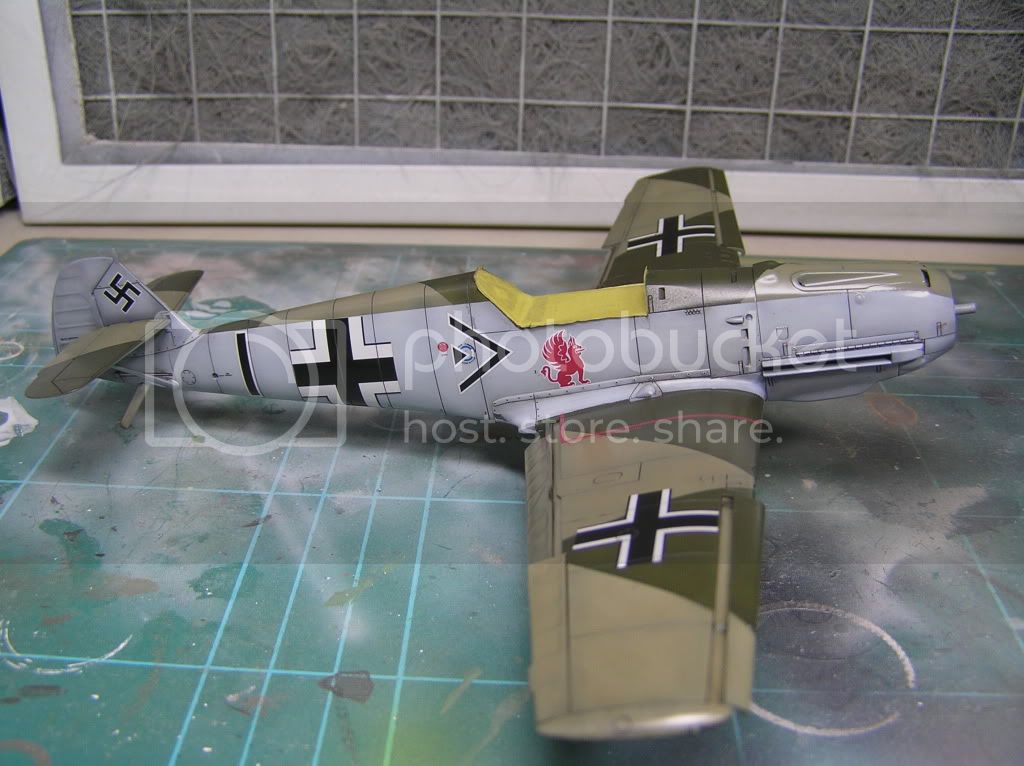
Thanks a lot Patrick, much appreciated. The wash is on. I used mig productions dark wash. Maybe a bit too dark for some tastes but I like it. Just the prop to paint then a coat of vallejo matt varnish on just about everything and it's done!
Cheers, Jim.
California, United States
Joined: November 28, 2007
KitMaker: 817 posts
AeroScale: 729 posts
Posted: Thursday, November 26, 2009 - 08:31 AM UTC
The wash- and the rest of the thing- look great to me, Jim! Really skilly work, all the way. She's looking crisp!
Cheers-
chuk
[url]http://chukw.blogspot.com/[/url]
Moselle, France
Joined: May 15, 2005
KitMaker: 5,653 posts
AeroScale: 4,347 posts
Posted: Thursday, November 26, 2009 - 10:18 AM UTC
Hi Jim,
That's an excellent paint job indeed!

Jean-Luc

Better think one hour and build five minutes...
Than think five minutes and build an hour!
AussieReg
 Associate Editor
#007
Victoria, Australia
Joined: June 09, 2009
KitMaker: 8,156 posts
AeroScale: 3,756 posts
Posted: Thursday, November 26, 2009 - 10:42 AM UTC
Brilliant job Jim !!
I've got a 1/32 Hasegawa G10 to do next year for a campaign, and it will be my first 109 ever !!
I will be looking back over this thread quite a lot no doubt.
Cheers, D
ON the bench
Revell 1/24 '53 Corvette (building as '54)
Revell 1/24 BMW 507 Coupe and Cabrio
Italeri 1/48 Me262 B-1a/U1 Nightfighter
Monogram 1/24 '57 Chevy Nomad
Dragon 1/350 USS Frank Knox DD-742
Joined: December 23, 2007
KitMaker: 1,596 posts
AeroScale: 1,275 posts
Posted: Thursday, November 26, 2009 - 09:40 PM UTC
How not to like Messerschmitts if you can build such a great looking model?
Outstanding!
United Kingdom
Joined: December 15, 2008
KitMaker: 246 posts
AeroScale: 47 posts
Posted: Friday, November 27, 2009 - 05:26 AM UTC
North Carolina, United States
Joined: November 28, 2005
KitMaker: 2,216 posts
AeroScale: 1,080 posts
Posted: Friday, November 27, 2009 - 06:36 AM UTC
WOW!
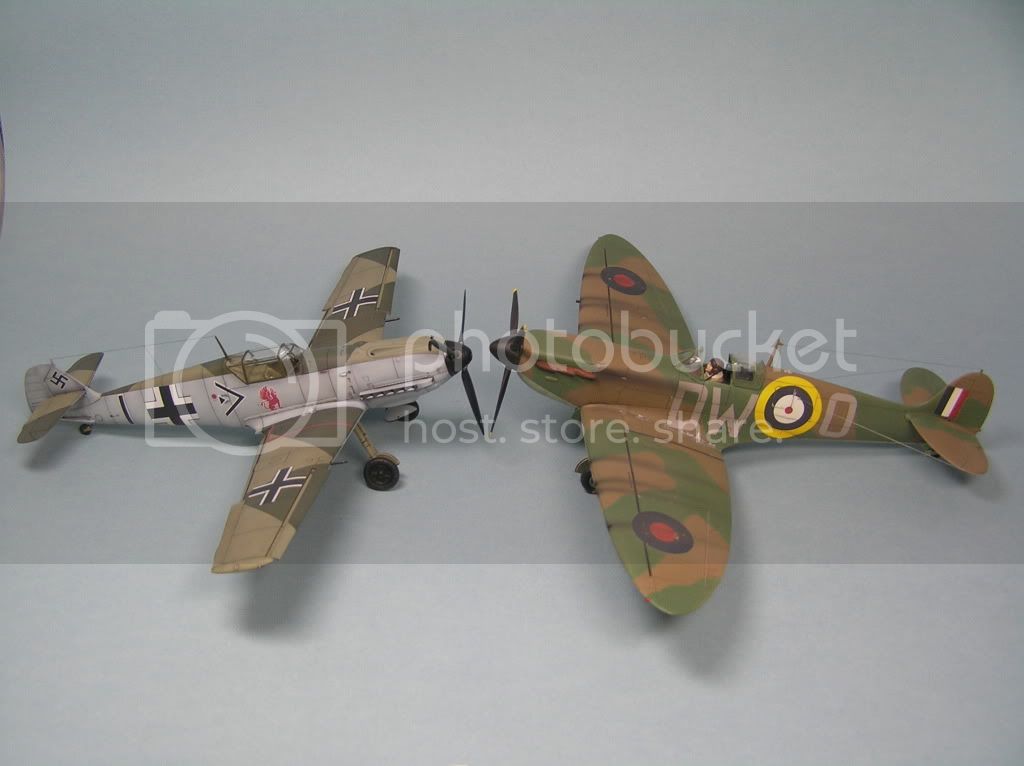
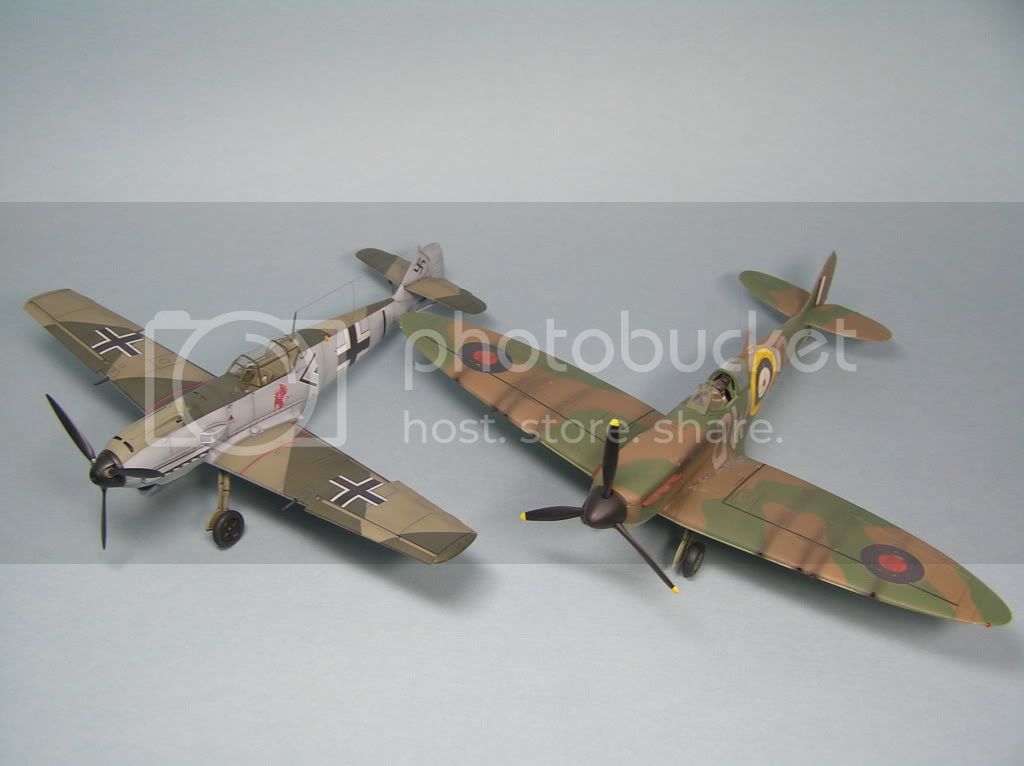
Jim, the 109 makes the Spitfire look dull and boreing sitting side by side.

Nothing against Spitfires, or your Spitfire, but the 109 is beautiful. You've done an outstanding job on the build and painting. That's one to be proud of for sure.

Hermon

"Those who would give up Essential Liberty
to purchase a little Temporary Safety,
deserve neither Liberty nor Safety."
Benjamin Franklin
Australian Capital Territory, Australia
Joined: June 06, 2007
KitMaker: 135 posts
AeroScale: 115 posts
Posted: Friday, November 27, 2009 - 08:45 AM UTC
Jim
That's a fantastic build and paint job! I only hope I can finish my 109 to a similar standard...just cementing on the wings now, so I'm quite a way behind you. Congrats again, it looks awesome.
cheers Brad


