

Thanks, "Q"

teaser shot-


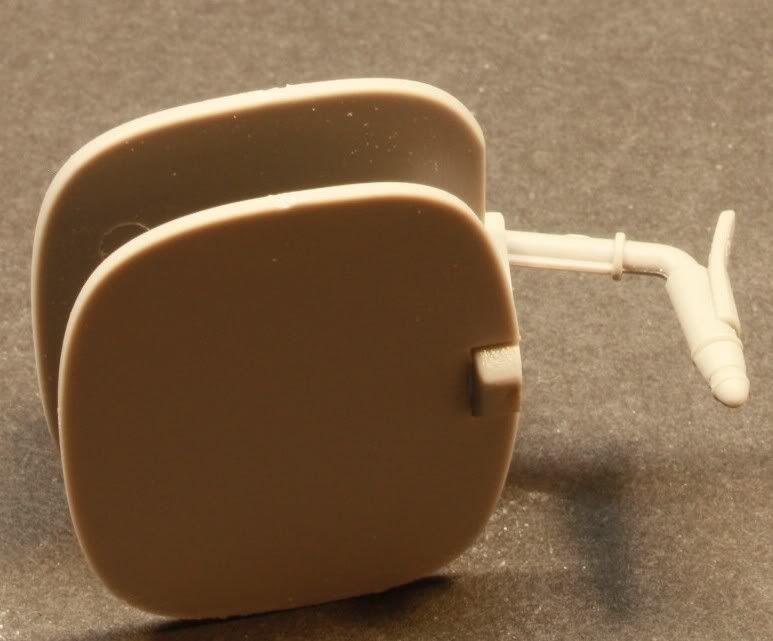
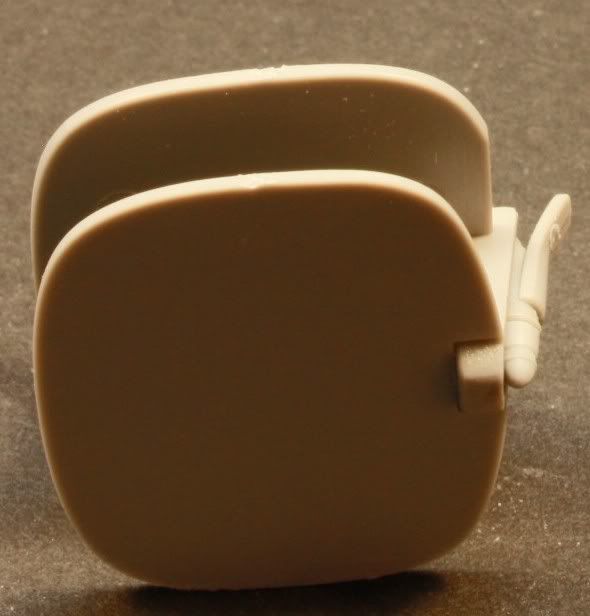

 Since the kit has some weight to it, Trumpeter included white metal inserts for the legs to help keep it from bowing over time. The white metal parts are trapped between the stryene legs. If you look closely at the pic, you cansee the white metal knuckle peeking out. There are lots of little doo dads to add to the legs, which I believe are various hydraulic fitting found on the 1:1 item. I will check my reference pics, but if so, it seems it would be a snap to add these lines and hook everything up at some point. The legs look every bit as busy as the real pics I have on hand.
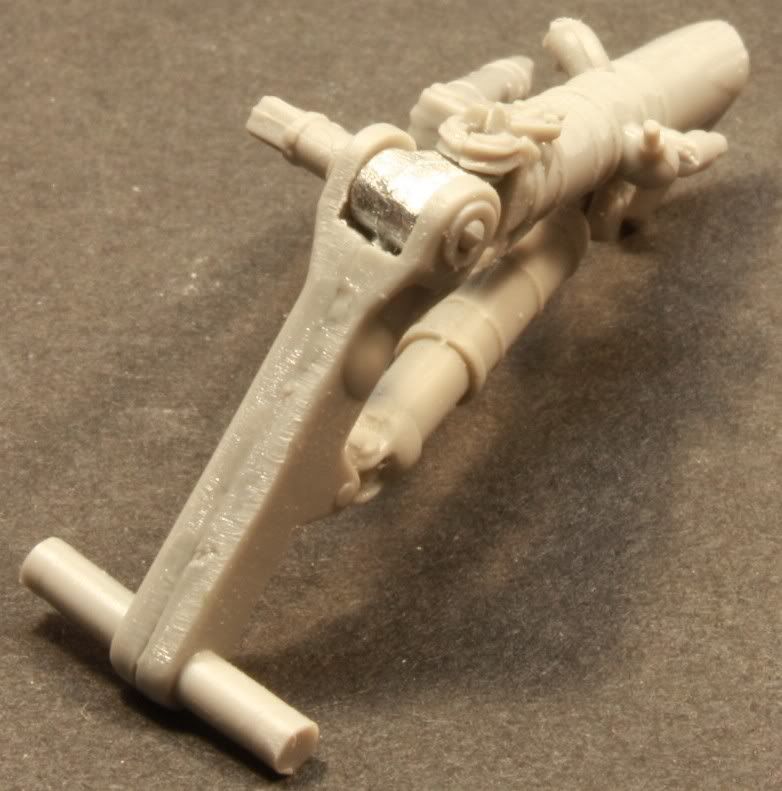

 Keep up posted. Russell
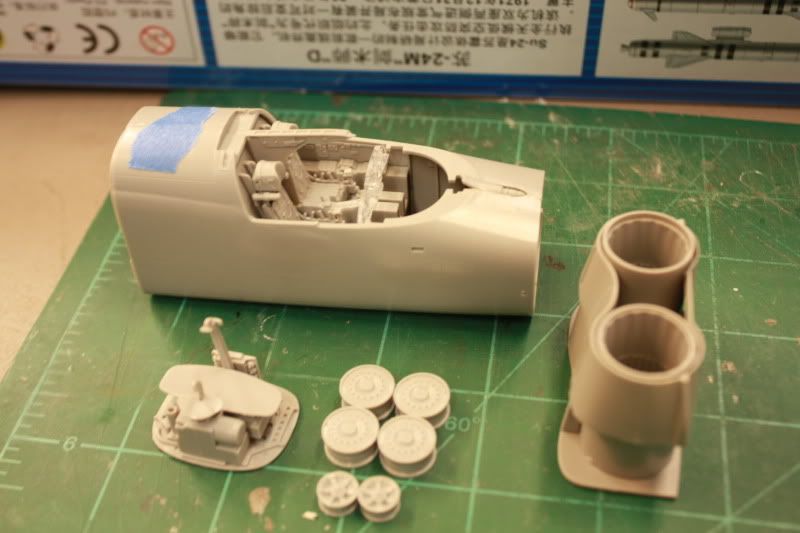
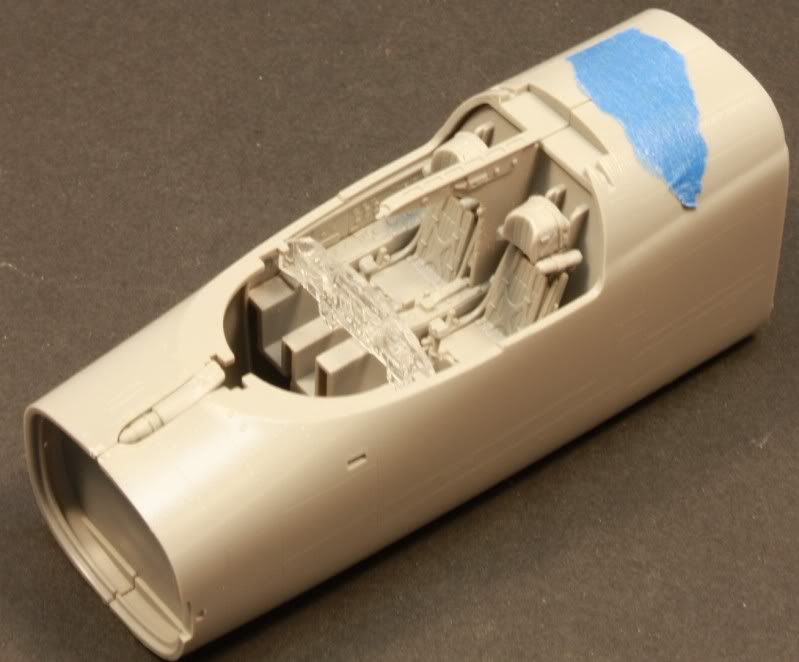
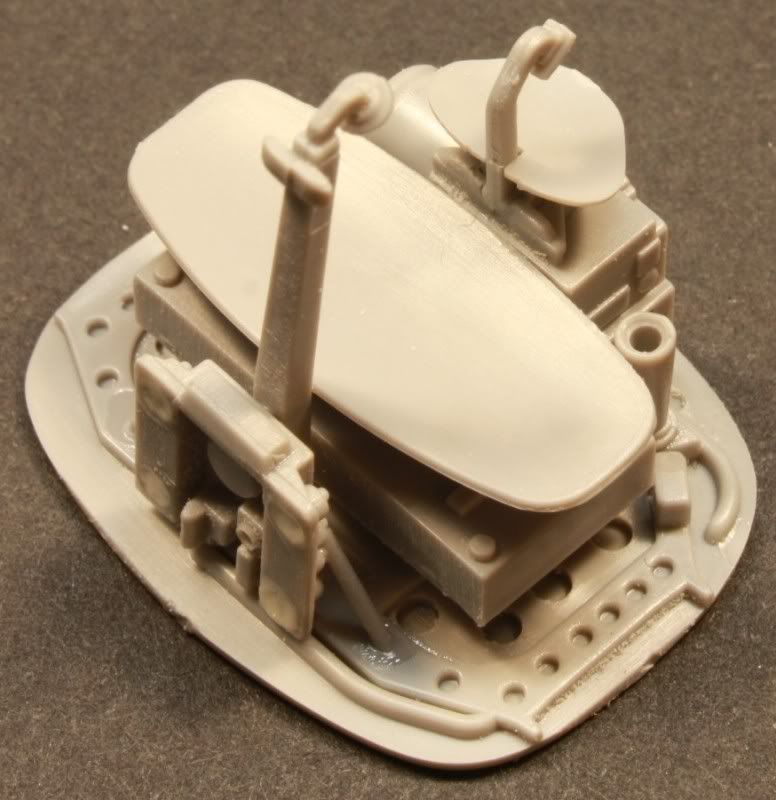
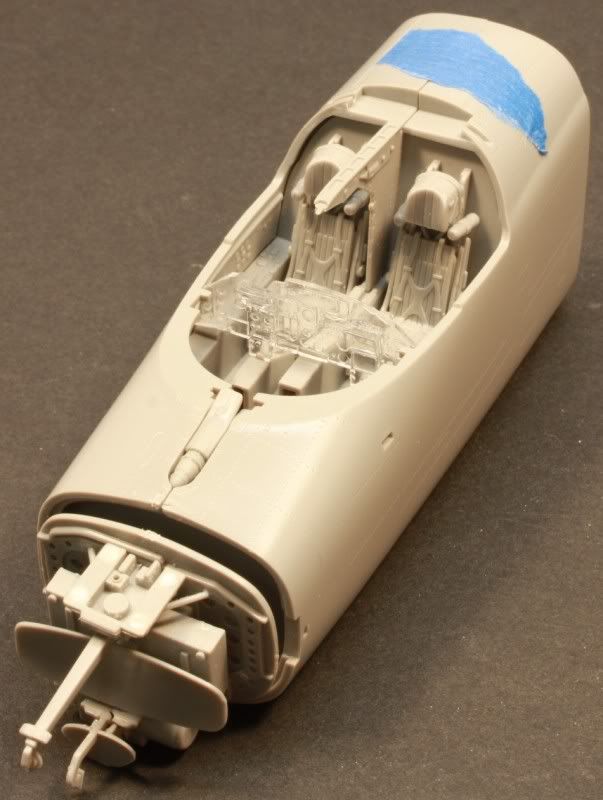
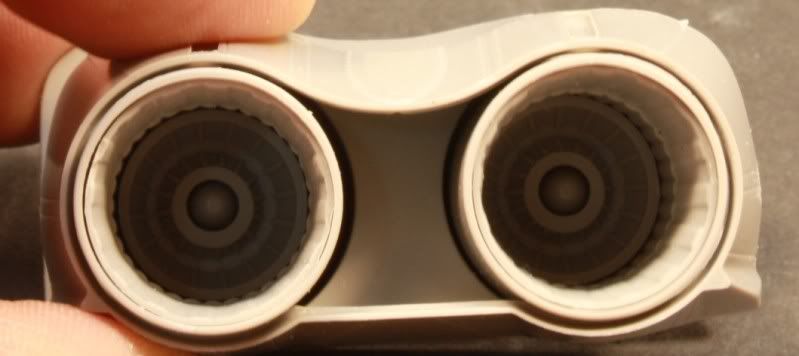
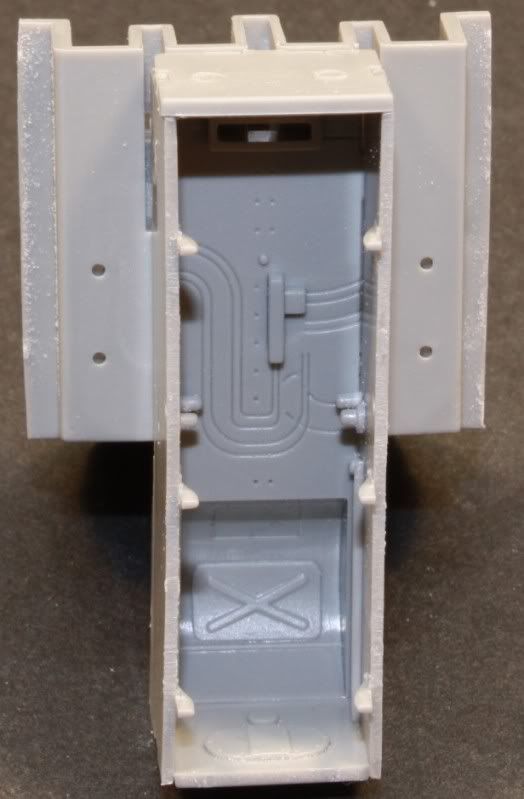
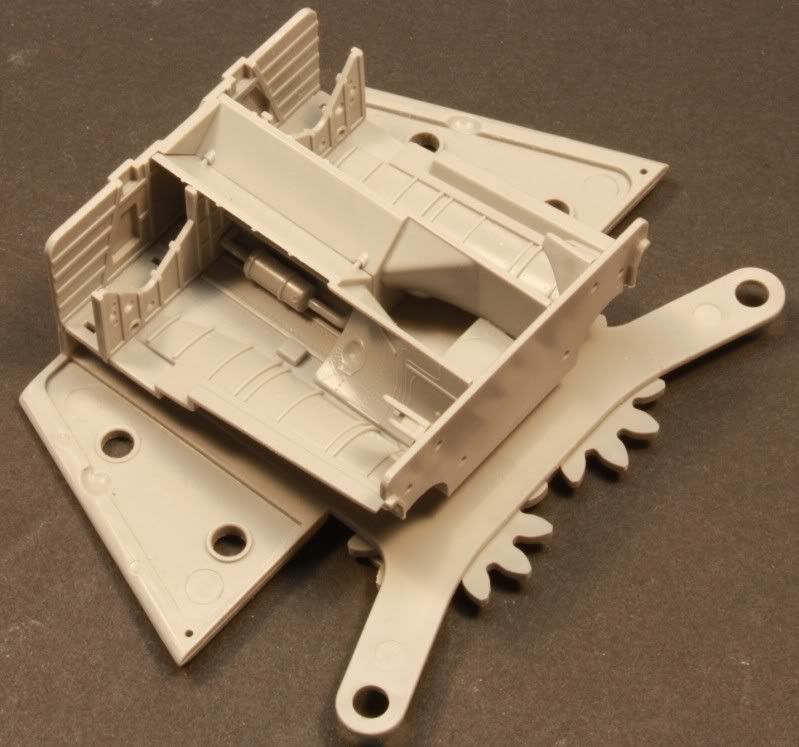
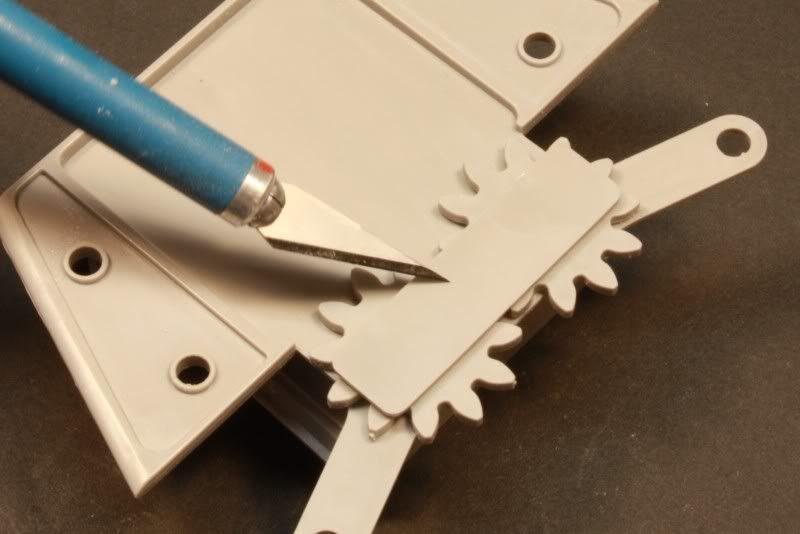
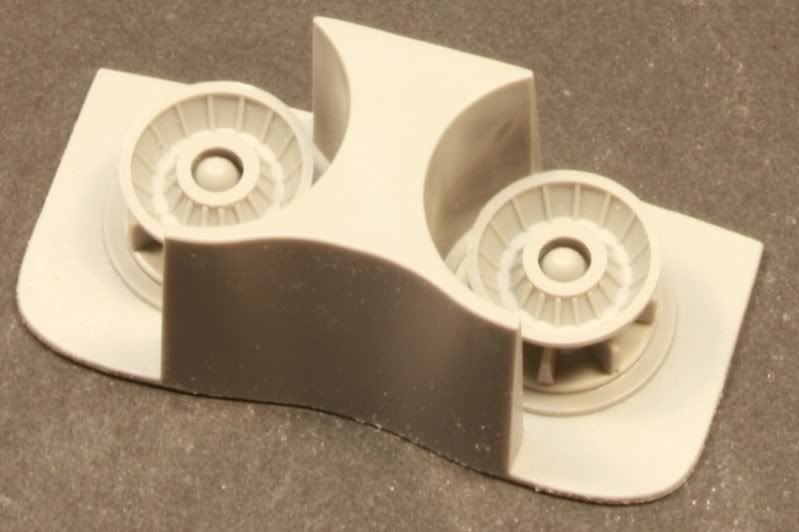
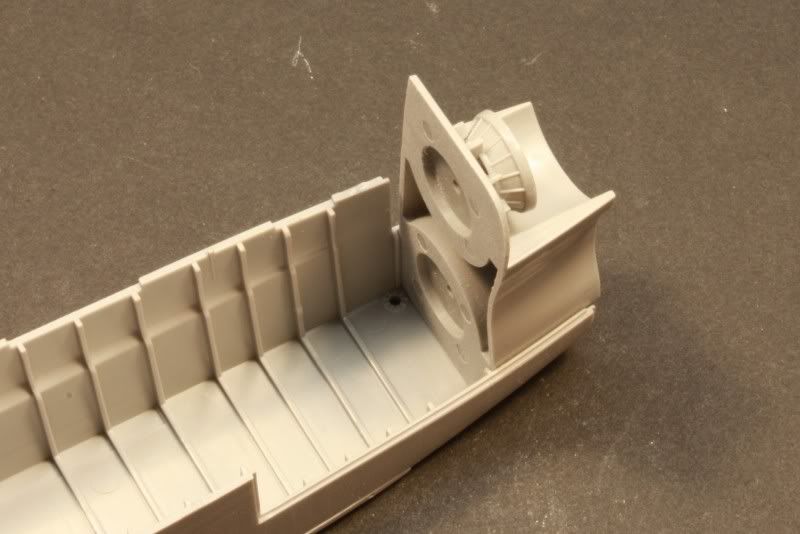
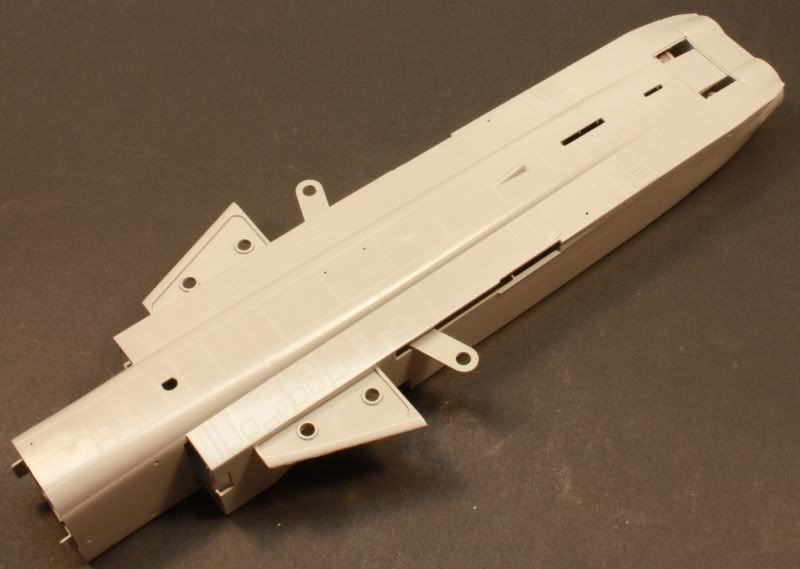
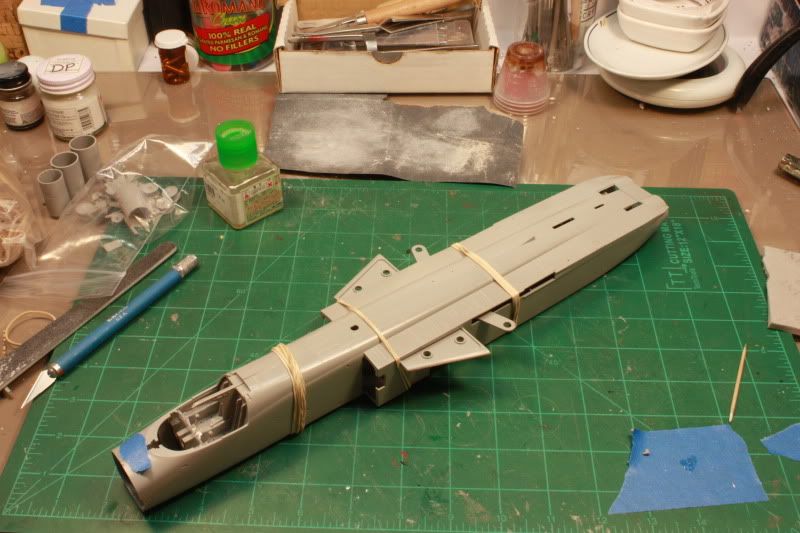
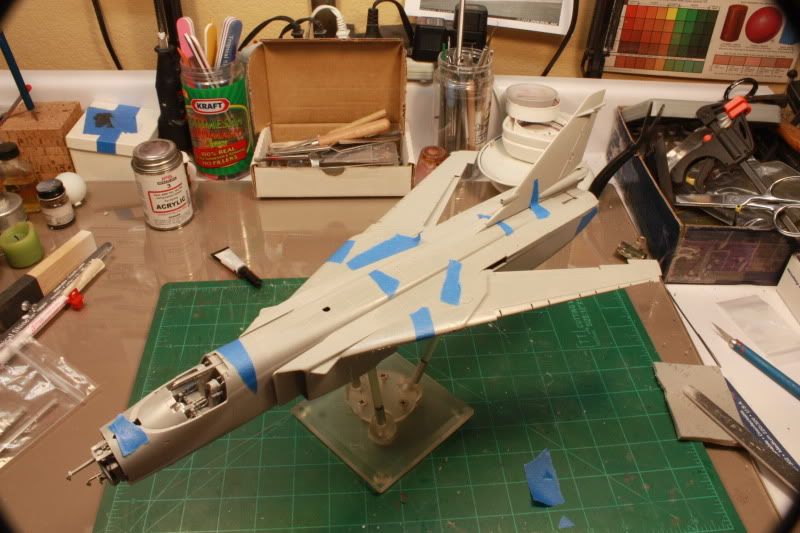
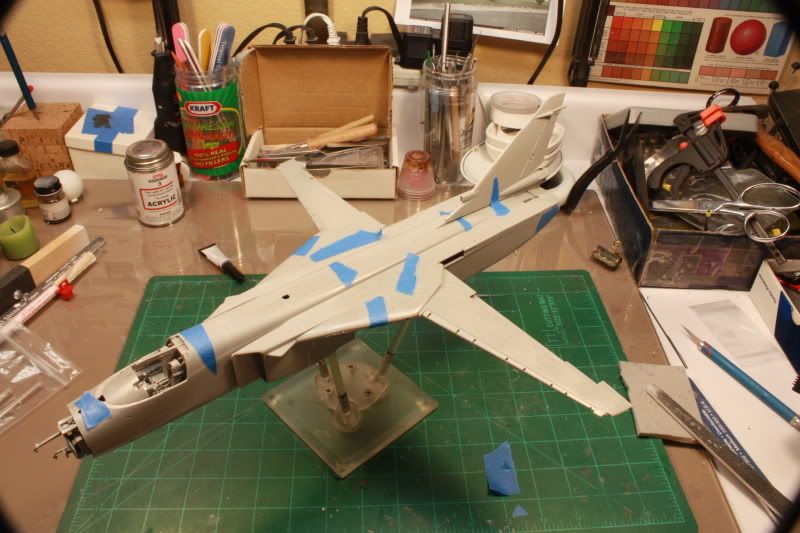
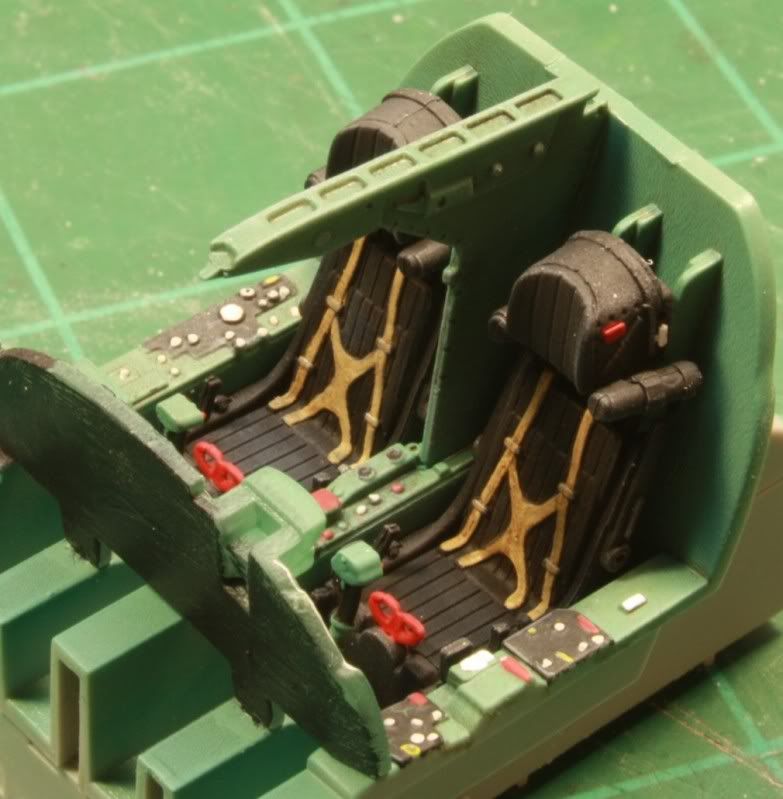
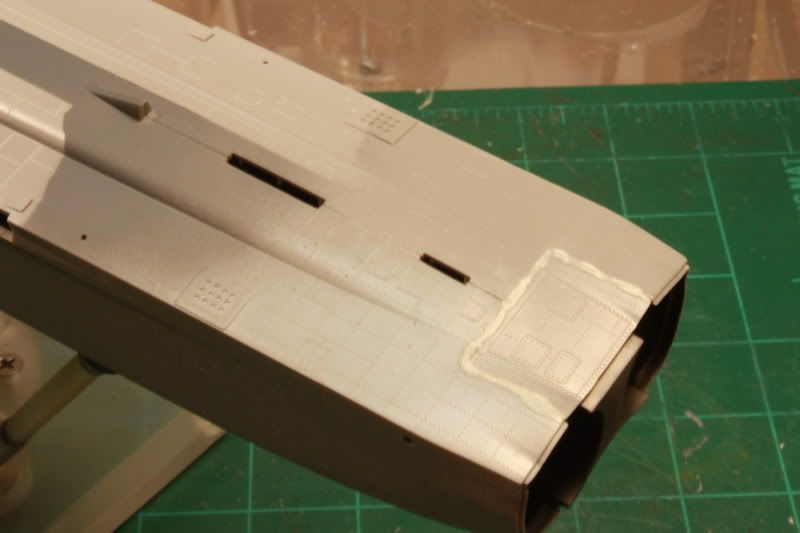
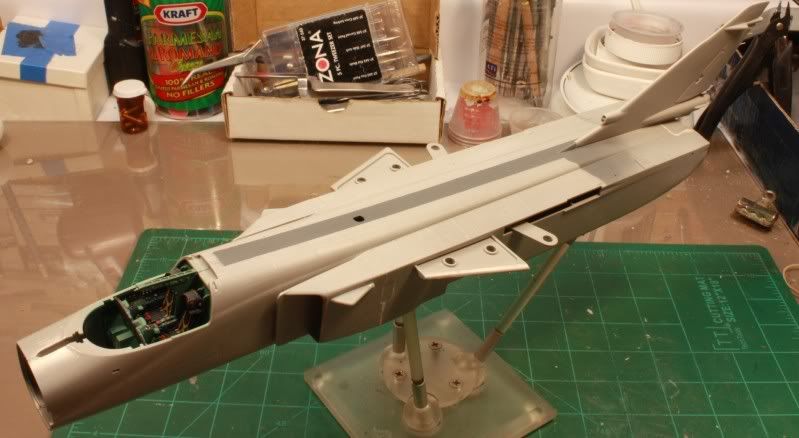
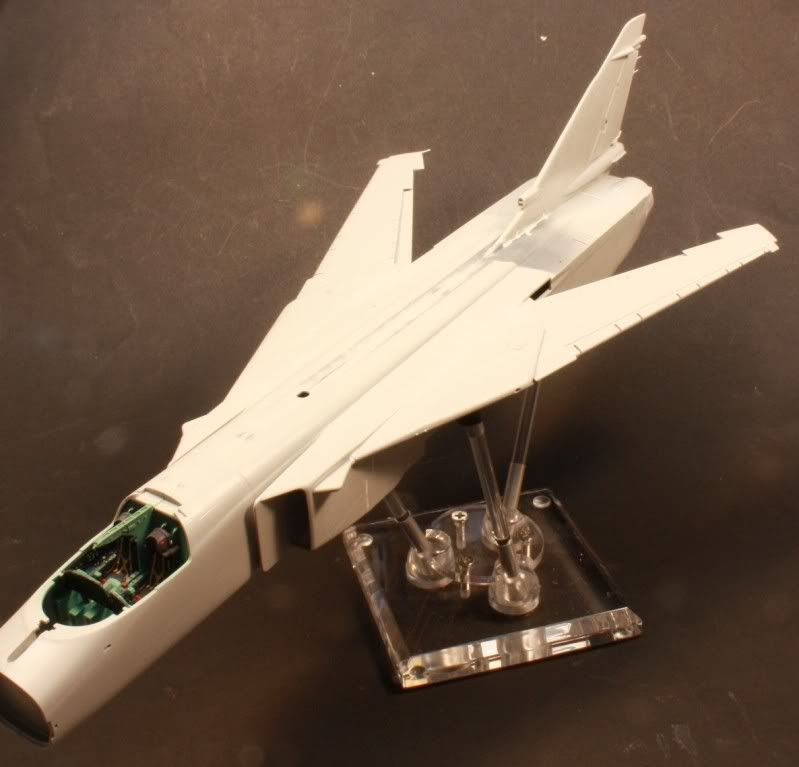
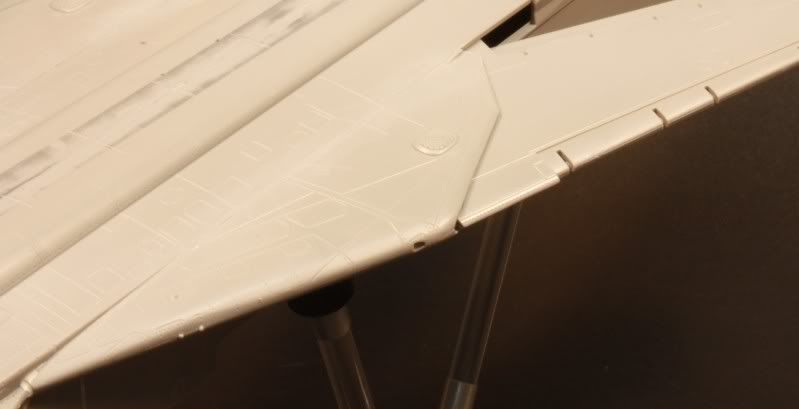
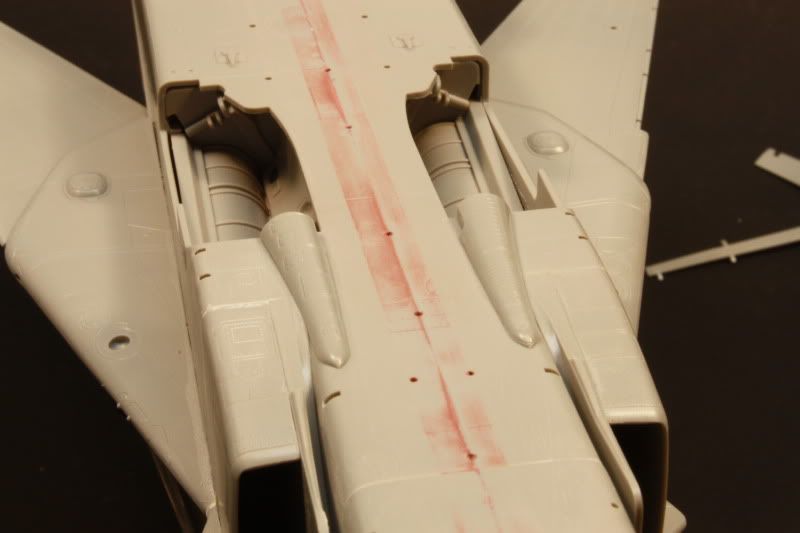
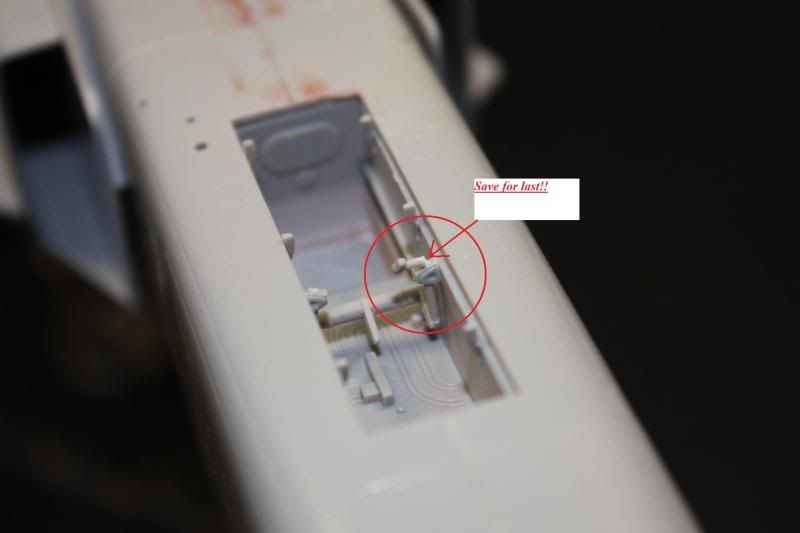
 Work continues with the Trumpeter SU-24 Fencer. I got the main landing gear bay assembled and installed the swing wing function on top of them. The fuselage is split into four pieces; two aft and two forward that trap the cockpit. I learned long ago that it is easier to deal with just two sides than four. I glued the two forward pieces to the respective back halfs, then joined everything up dry for alignment. The rubber bands in the pictures are helping hold it all in place while things dry. I sanded down the thickness of the mounting plate for the afterburner cans as it was an extremely tight fit back there. A few figure 8's on the sanding pad and the fit was looser and much better. The seam on the bottom of this beast is going to be a chore to keep straight and clean up. I decided I will dress and clean the top portion first as this will be most visible once the build is complete and it is a really nice fit here which is nice for a change. When assembling the swing wing gears, ensure you do not glue the securing tab as it is really easy for the glue to ooze out and fuse the gears in place. Trust me on this one. I tore mine apart and let everything dry thouroughly. The tab/plate that my #11 blade is pointing at is the one I am talking about. Seems that this whole assembly will fit in the fuselage tight enough that there is no need for gluing it. Would have been helpful if this was mentioned in the destructions, but alas there is nothing there. So far this thing is going together well. I was pleased to see that the mad riveter has found employment elsewhere. The detailing on this kit is very nice and there is plenty of room for the superdtail minded to do what they would like. As you can see by the last pic, this is a hge plane for 1/48 scale. More updates to follow. Painting should commence soon as my sub-assemblies are just about done being built. Stay tuned, more to follow.
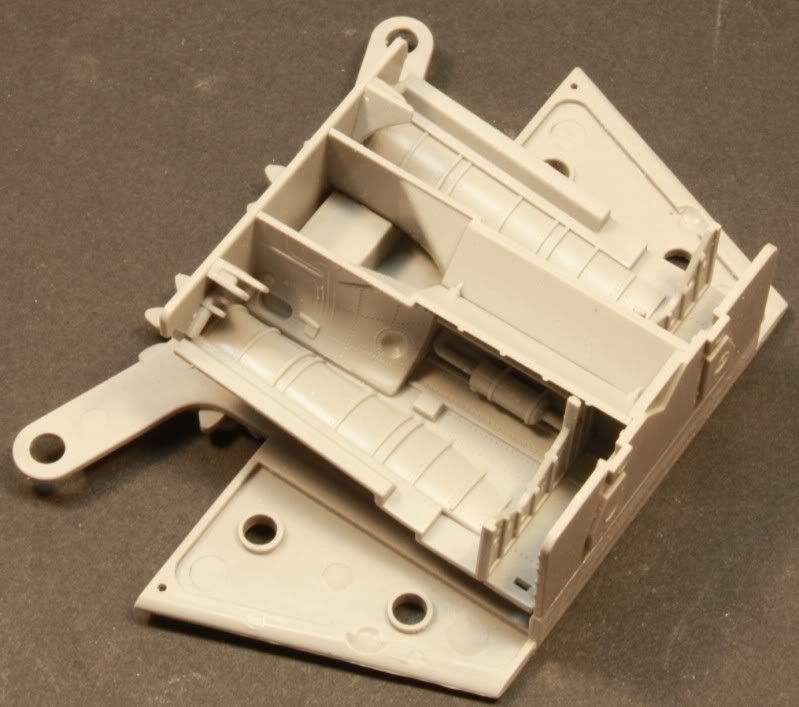

 Stay tuned for more. "Q"


I wonder who makes one in 72 scale? Russell
I wonder who makes one in 72 scale? Russell
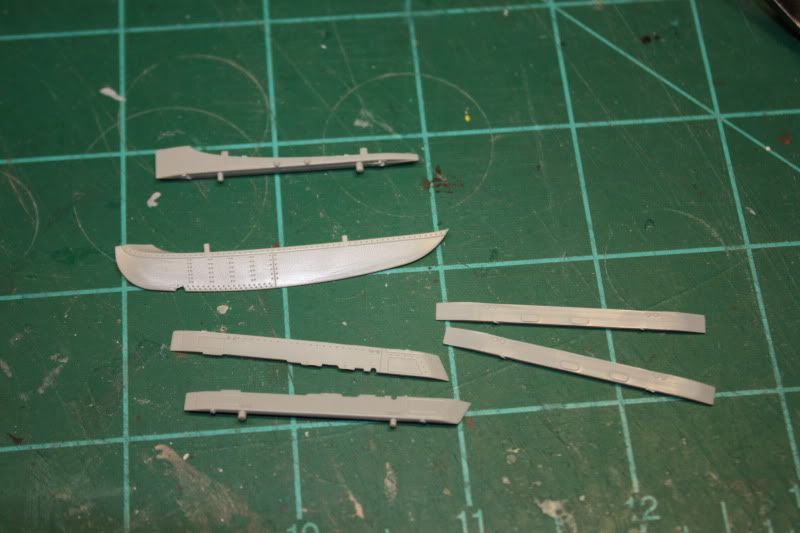
I got a snow day from college so I am hoping to get some more done on this thing....maybe some painting. "Q"  I assmebled the wings. Now, you can build this thing "Down and Dirty" with the slats and flaps deployed...and that is all you can do according to the instructions. You would have to remove the mountin tabs on parts C4 and C13 which are the leading edge slats and omit parts C12 and C3 which extend the flaps to configure it for the Swept and Sleek look. Seems odd that you can make the wings move for a swept look, but the slats and flaps are designed for down and dirty only. A minor hurdle if you want to go that route, but easy to do.
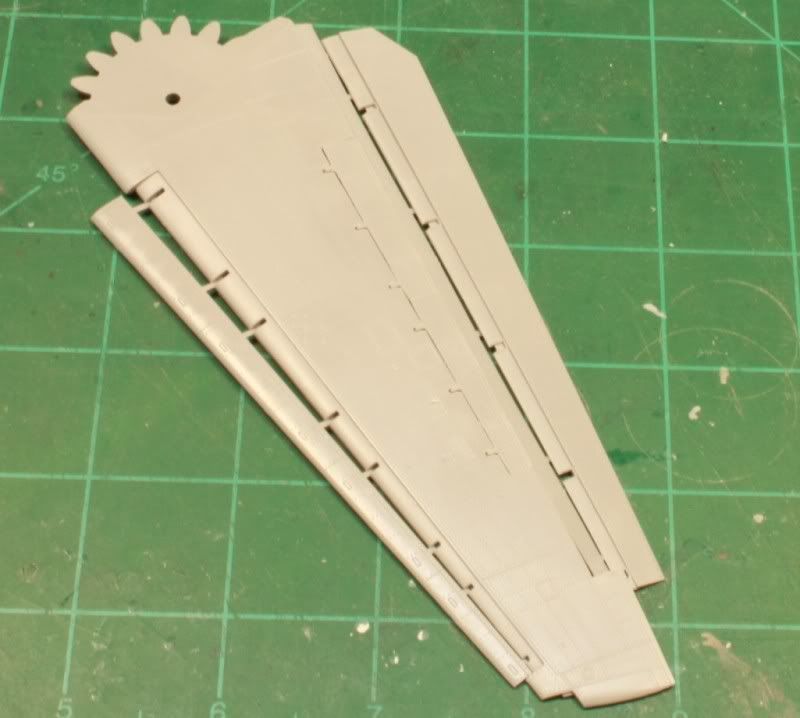

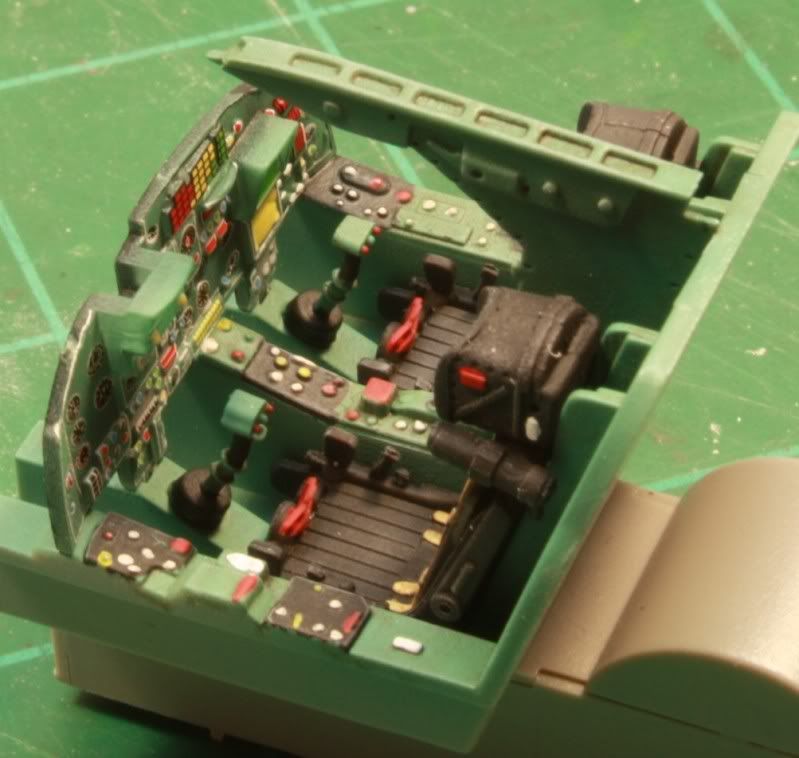
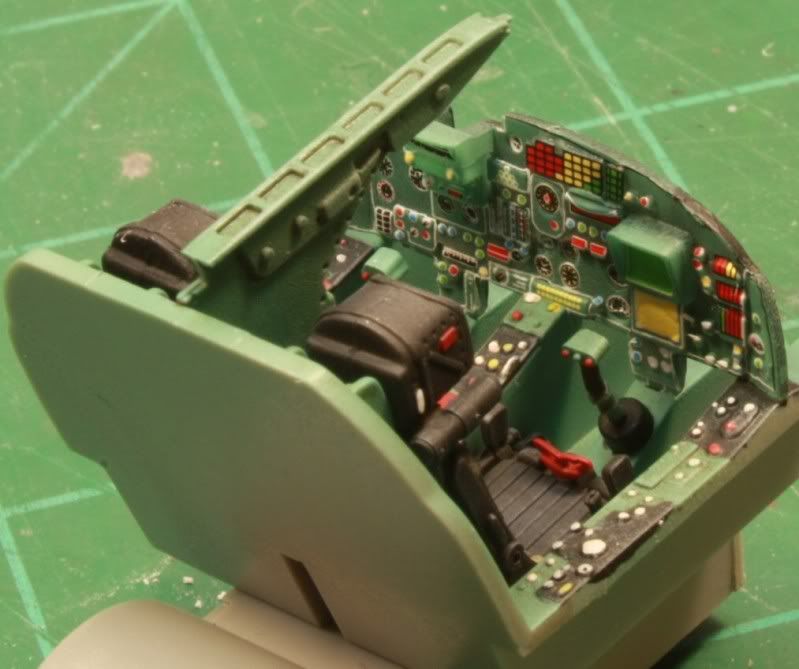
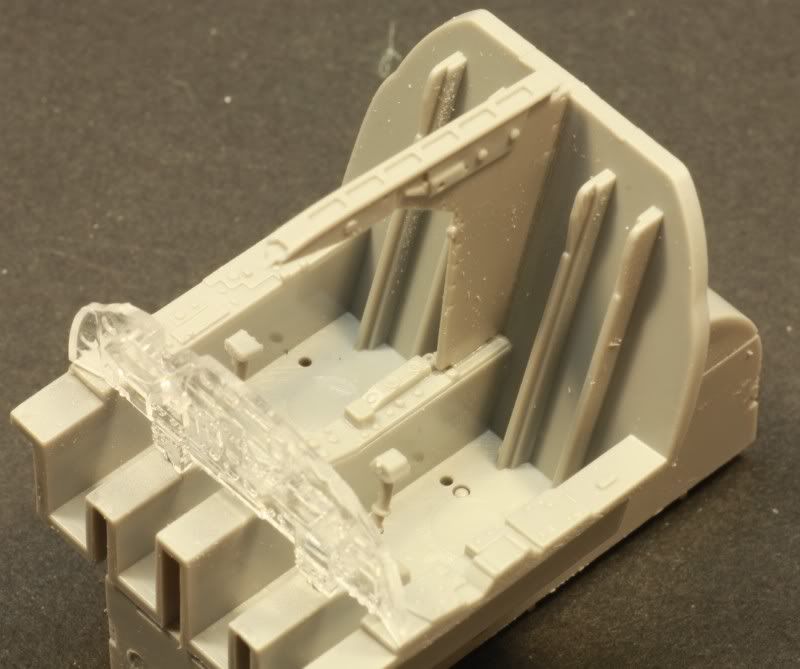
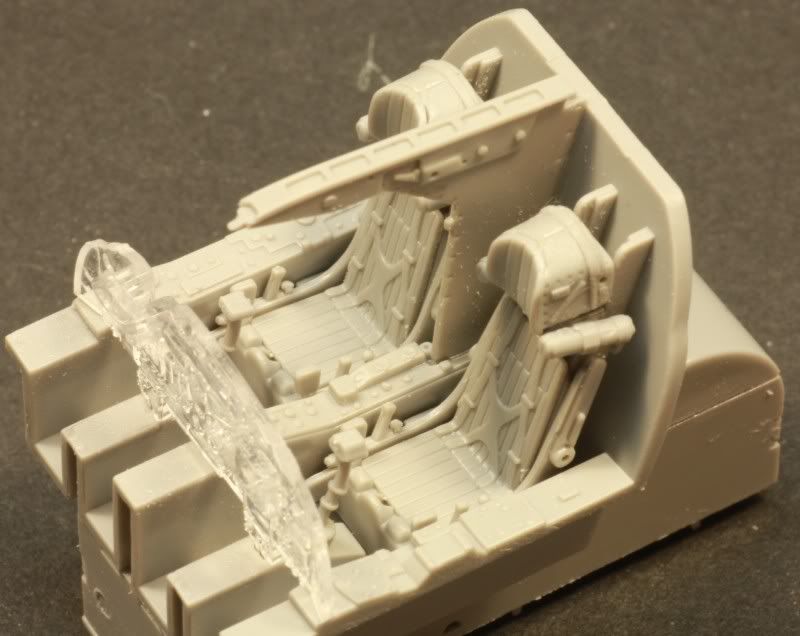
 ...........but then again what you've shown us so far is WAY beyond what I would have been able to do. Cockpit looks awsome BTW.


 It may have been a re-boxing of the Zvezda model...

Dude, that kit really rocks so far. Lots of detail and a great subject. I hate you for getting it


 , take a look at VonCuda's P-39 build in the Pin-Ups thread, and tell me that aint your favorite nose art ???

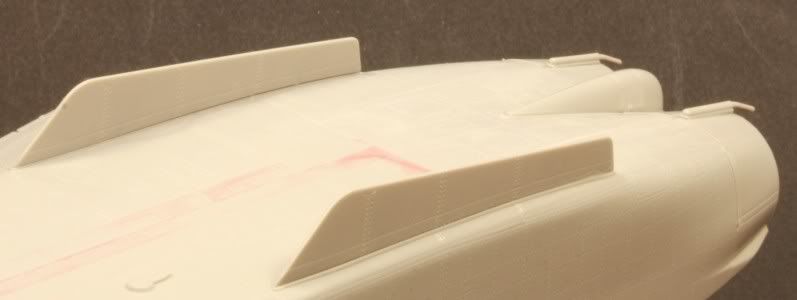
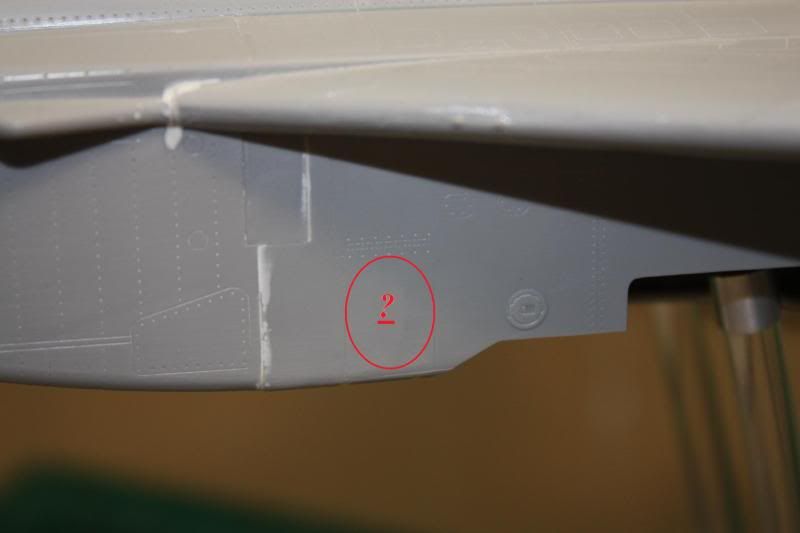 I suppose I will have to live with it and not allow anybody to view the model from directly above Live and learn from my mistake folks. I should have used the fences as a template and went ahead and drilled the mounting slots out with my Dremel. What is that about hind sight???
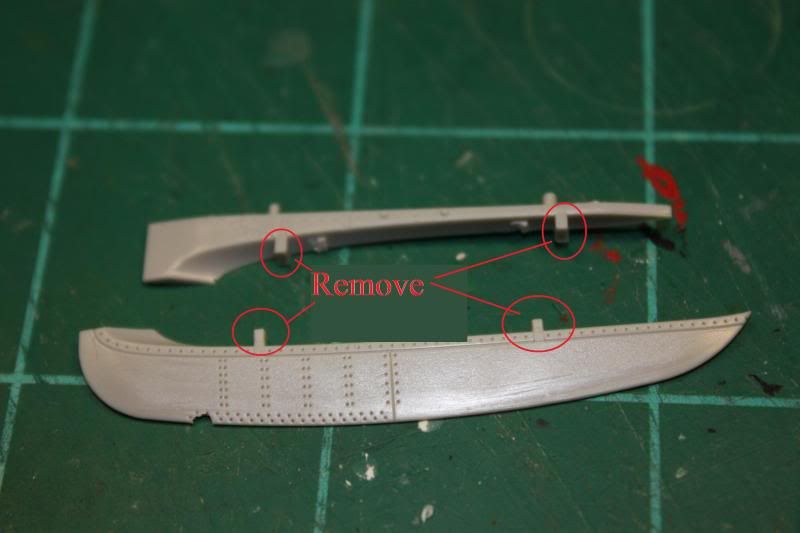
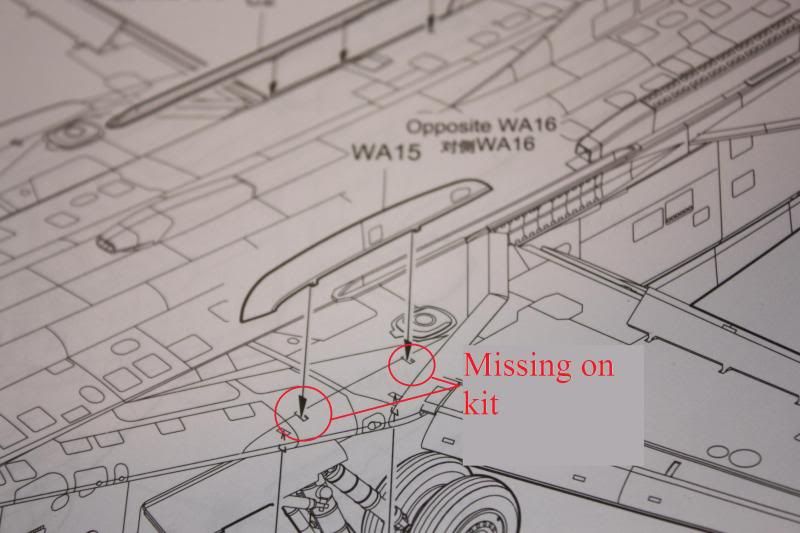
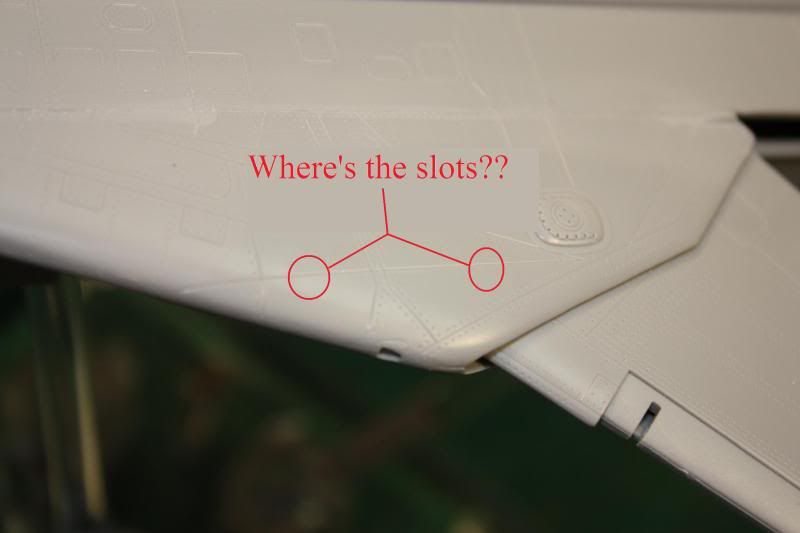
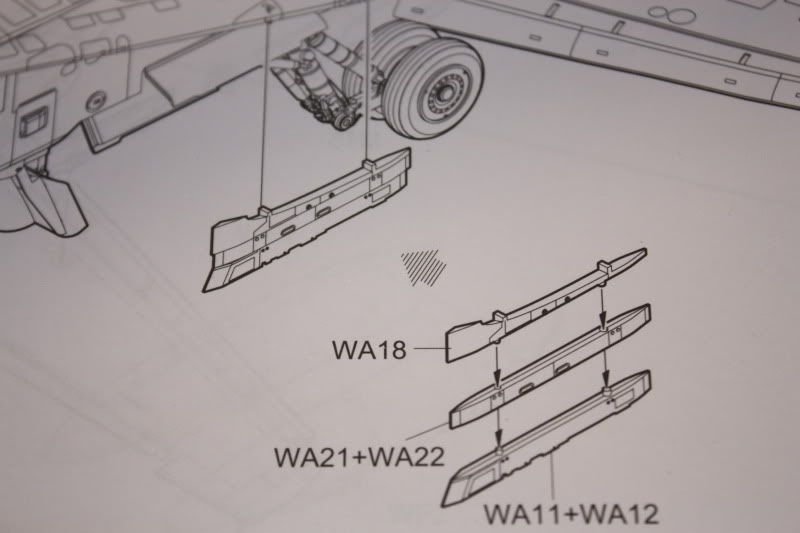

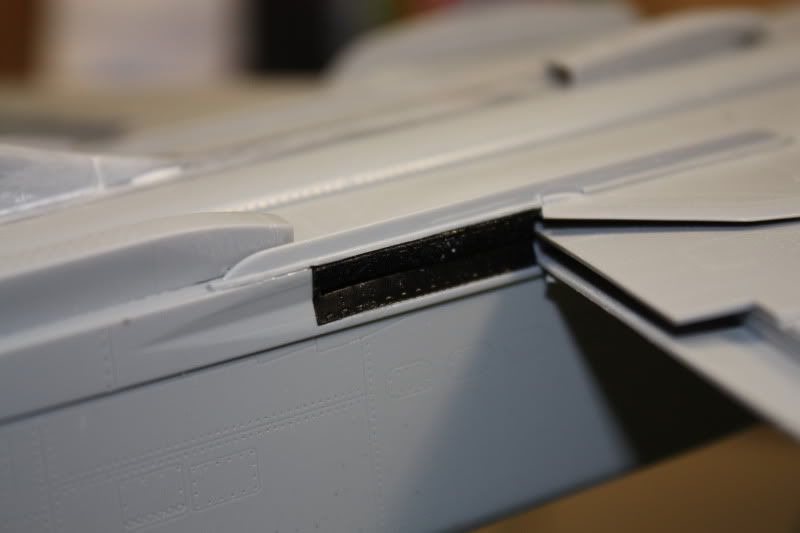 I went back through the instructions again this morning, and low and behold there are the steps for each of the set backs I encountered. "Cut remove", and "make holes" are written plain as day on the instructions for the areas that needed it done. How I missed that is beyond me.....but I did. Suffice to say, whatever screw ups I've had with this build have been mine...this makes two builds in a row that this has happened......sheesh. Moving on.... "Q"
  |


