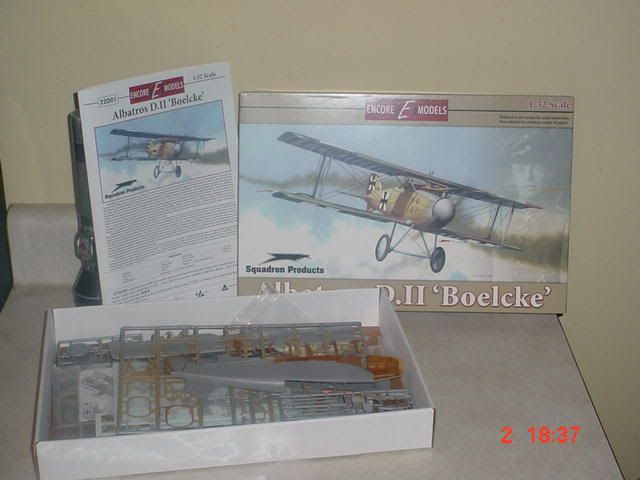
Greetings, more stuff here:
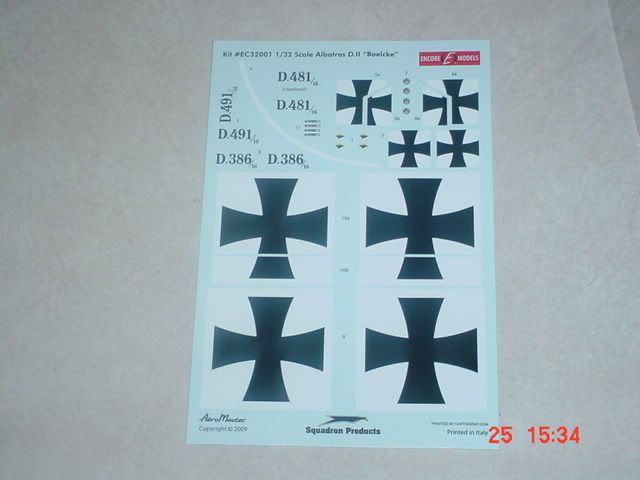
Here are the decals that come with this kit.
The instructions aren't real clear in some of the construtions areas. Having built the Roden Albatros DIII, OAW I knew there were areas that were skipped or overlooked. If you have this kit, ensure you test fit and check the instructions closely for fitment. The paint diagrams could have been better, so ensure you check your references.
The Boelcke Figure:
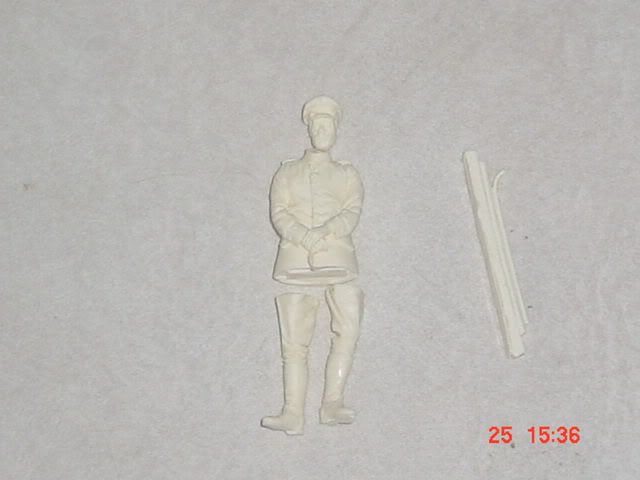
I am not much of a figure painter but I will give him a try.
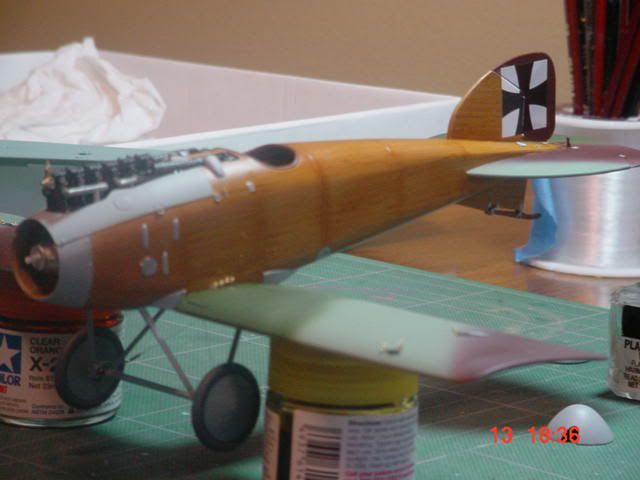
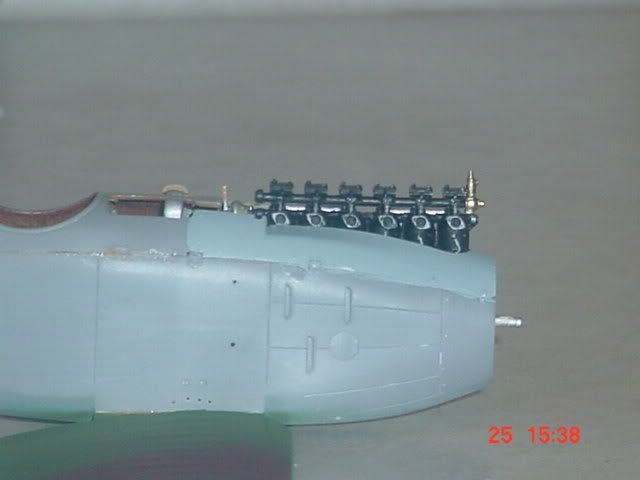
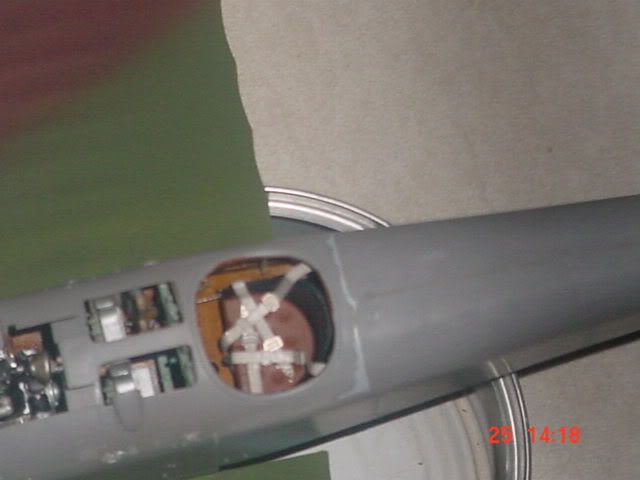
The right side of the engine in the fuselage. I hadn't planned on doing a build blog, but after a few comments I thought why not? So here are some more pictures.
The port side of the engine.
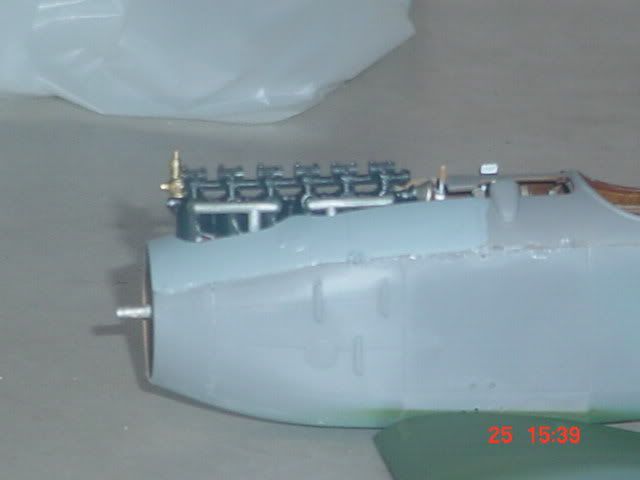
I used the resin cast engine. As the engine compartment is quite tight and you can't see much of the engine once buttoned up, vice the LVG, I decided to just paint the molded in spark leads, and call it good. I am happy with the overall effect.
The Cocpit
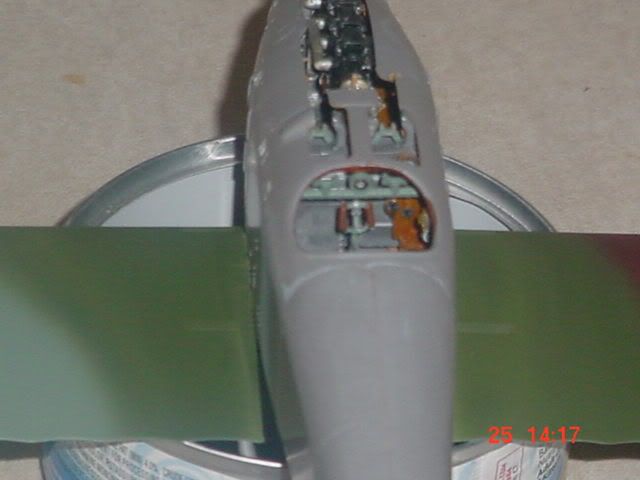
Eduard does a good job on the PE, the instructions were a little vague on the placement of the harness attachment points to the frame, following the instructions, I had to cut the middle cross over piece. If I did this again I would attach them differently, more close together.
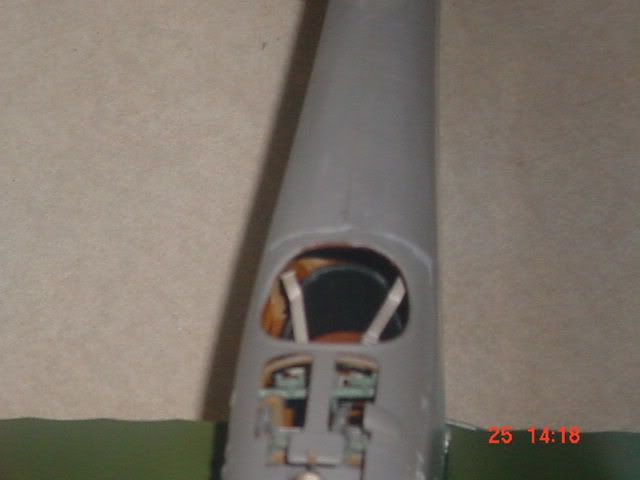
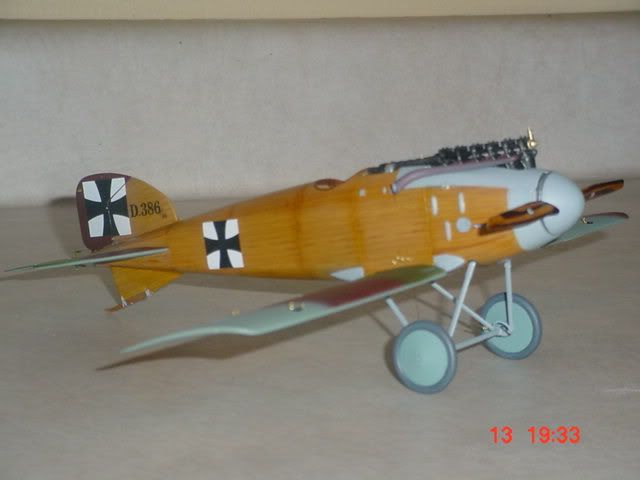
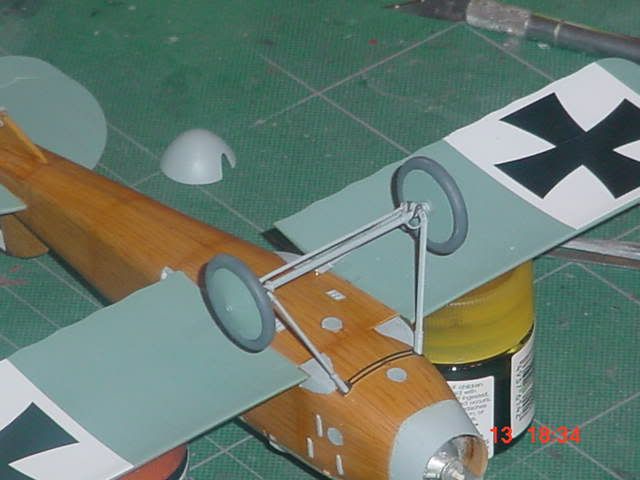
For those who have built the Roden DIII, this is a different fuslage than the DIII.
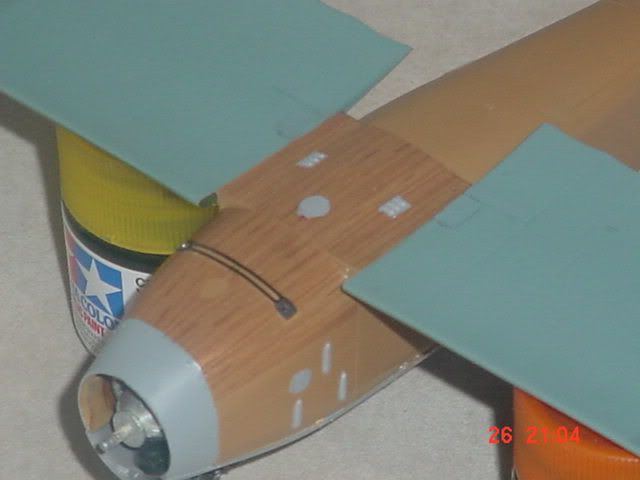
The Upper WIng painted.
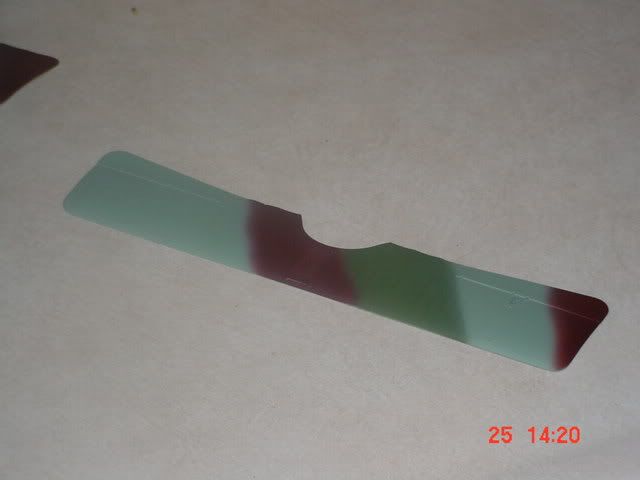
I used Tamiya XF9 Hull Red, XF-67 Nato Green and a mixture of Testors Model Master Russian Topside Green and Ghost Grey for the light green. For the undersurfaces I used Testors Modelmaster #2123 Underside Blue. I am not sure If I want to counter shade the underside or not at this point.
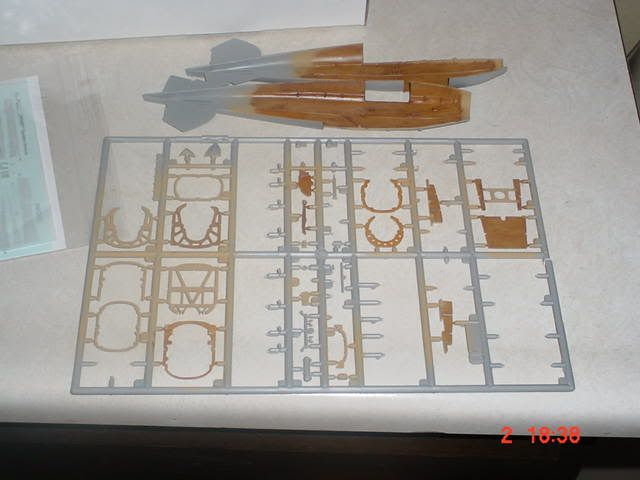
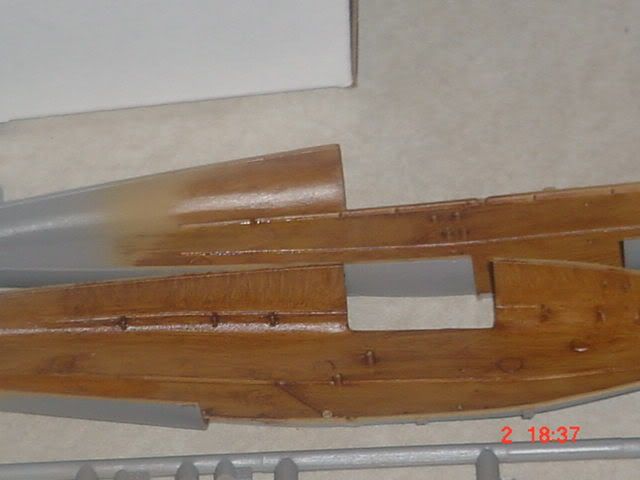
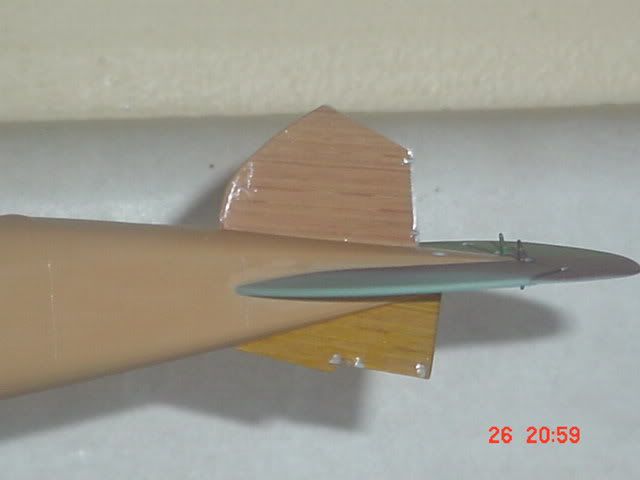
The fuselage with the lower wings painted.

That is about it for now. I really want to get this built, as the weather is getting nice here in the Western Wisconsin Area, and the motorcycle and other outdoor activities are beginning to beckon.
Thanks for looking, and keep those cards and letters coming folks.