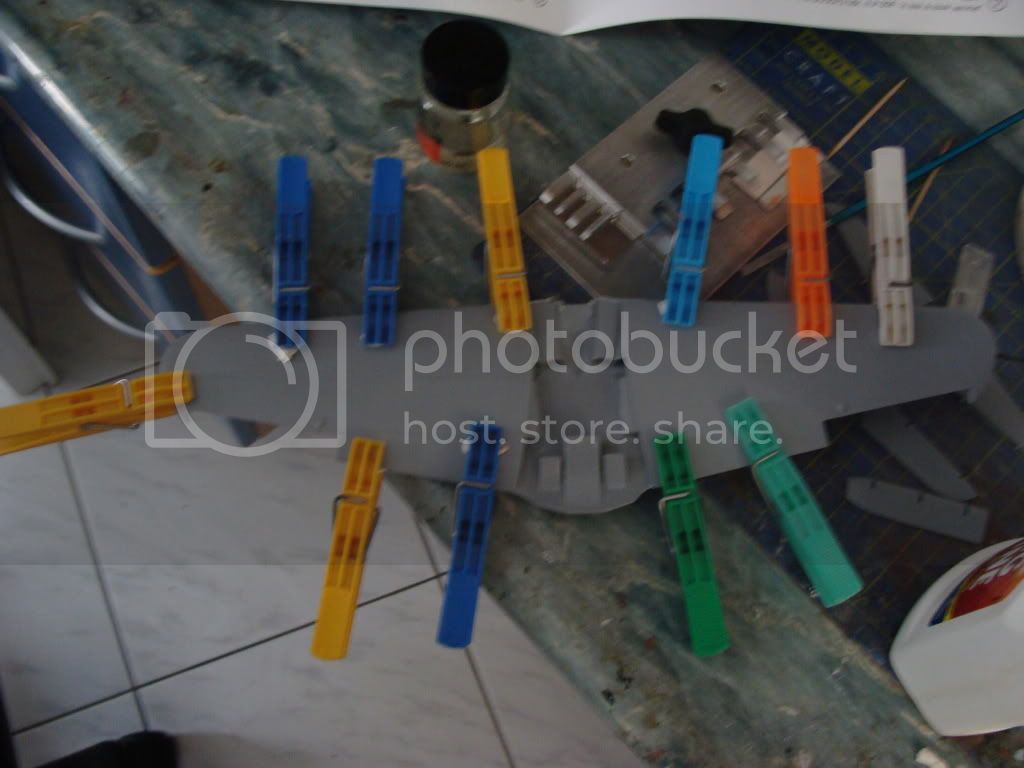
Airacobra Mk.1 / P-39F 1/32 Special Hobby
Attica, Greece / Ελλάδα
Joined: May 01, 2008
KitMaker: 1,437 posts
AeroScale: 1,241 posts
Posted: Tuesday, June 22, 2010 - 04:13 AM UTC
Attica, Greece / Ελλάδα
Joined: May 01, 2008
KitMaker: 1,437 posts
AeroScale: 1,241 posts
Posted: Tuesday, June 22, 2010 - 11:54 PM UTC
Germany
Joined: September 07, 2005
KitMaker: 5,609 posts
AeroScale: 5,231 posts
Posted: Wednesday, June 23, 2010 - 12:04 AM UTC
Looking good Nick!!
Sorry can't help with photos ...
cheers
Steffen
DULCE ET DECORUM EST PRO HOBBY MORI
litespeed
 News Reporter
England - North West, United Kingdom
Joined: October 15, 2009
KitMaker: 1,976 posts
AeroScale: 1,789 posts
Posted: Wednesday, June 23, 2010 - 12:17 AM UTC
Hi Nick
Looking forward to this build, one of the 1/32 kits on my wanted list. I like the instrument panel. Have fun with the build.
tim
Attica, Greece / Ελλάδα
Joined: May 01, 2008
KitMaker: 1,437 posts
AeroScale: 1,241 posts
Posted: Wednesday, June 23, 2010 - 12:28 AM UTC
Thank you very much

Cheers Nick


AussieReg
 Associate Editor
#007
Victoria, Australia
Joined: June 09, 2009
KitMaker: 8,156 posts
AeroScale: 3,756 posts
Posted: Wednesday, June 23, 2010 - 12:33 AM UTC
Hi Nick, great work so far. I have this one in the stash and will be watching closely.
If you google "P-39 walkaround" you will find tons of pics, such as
THESE Good luck with the rest of your build.
Cheers, D
ON the bench
Revell 1/24 '53 Corvette (building as '54)
Revell 1/24 BMW 507 Coupe and Cabrio
Italeri 1/48 Me262 B-1a/U1 Nightfighter
Monogram 1/24 '57 Chevy Nomad
Dragon 1/350 USS Frank Knox DD-742
Attica, Greece / Ελλάδα
Joined: May 01, 2008
KitMaker: 1,437 posts
AeroScale: 1,241 posts
Posted: Wednesday, June 23, 2010 - 01:09 AM UTC
Thank you very much Mr. Damian, I'm glad you liked it

Also I would ike to thank about the photos

Cheers Nick


Attica, Greece / Ελλάδα
Joined: May 01, 2008
KitMaker: 1,437 posts
AeroScale: 1,241 posts
Posted: Saturday, June 26, 2010 - 09:15 AM UTC
Slovenia
Joined: March 30, 2009
KitMaker: 106 posts
AeroScale: 105 posts
Posted: Saturday, June 26, 2010 - 10:14 PM UTC
Nice start Nick, I like it.
Attica, Greece / Ελλάδα
Joined: May 01, 2008
KitMaker: 1,437 posts
AeroScale: 1,241 posts
Posted: Sunday, June 27, 2010 - 12:19 AM UTC
Thank you very much

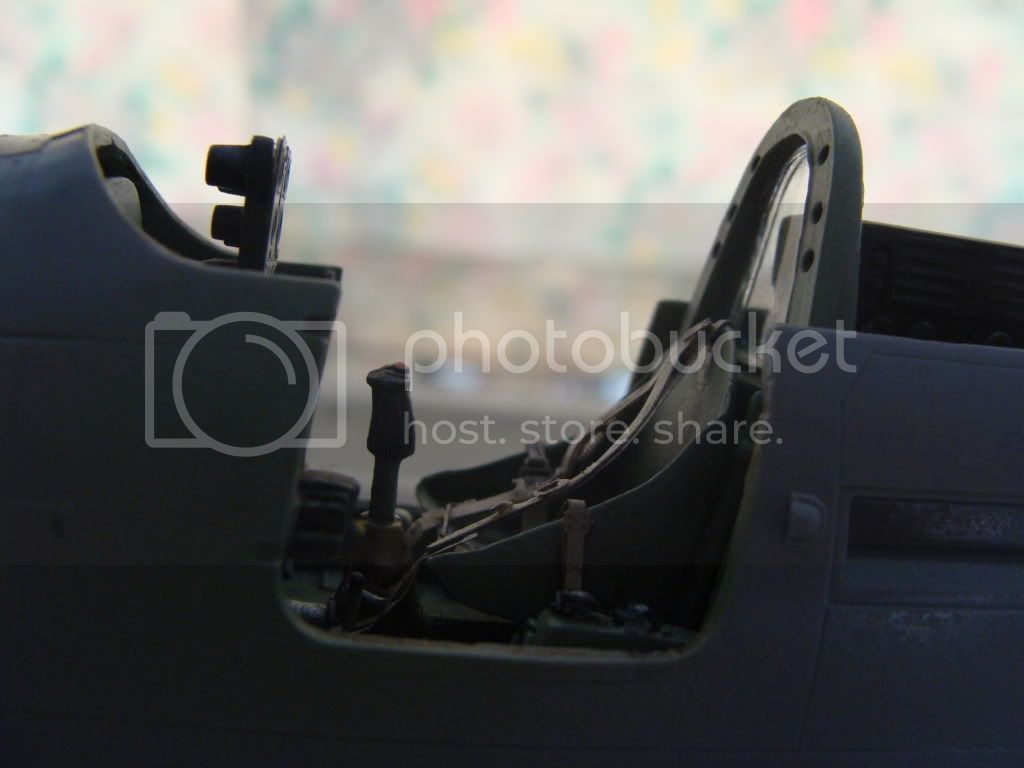
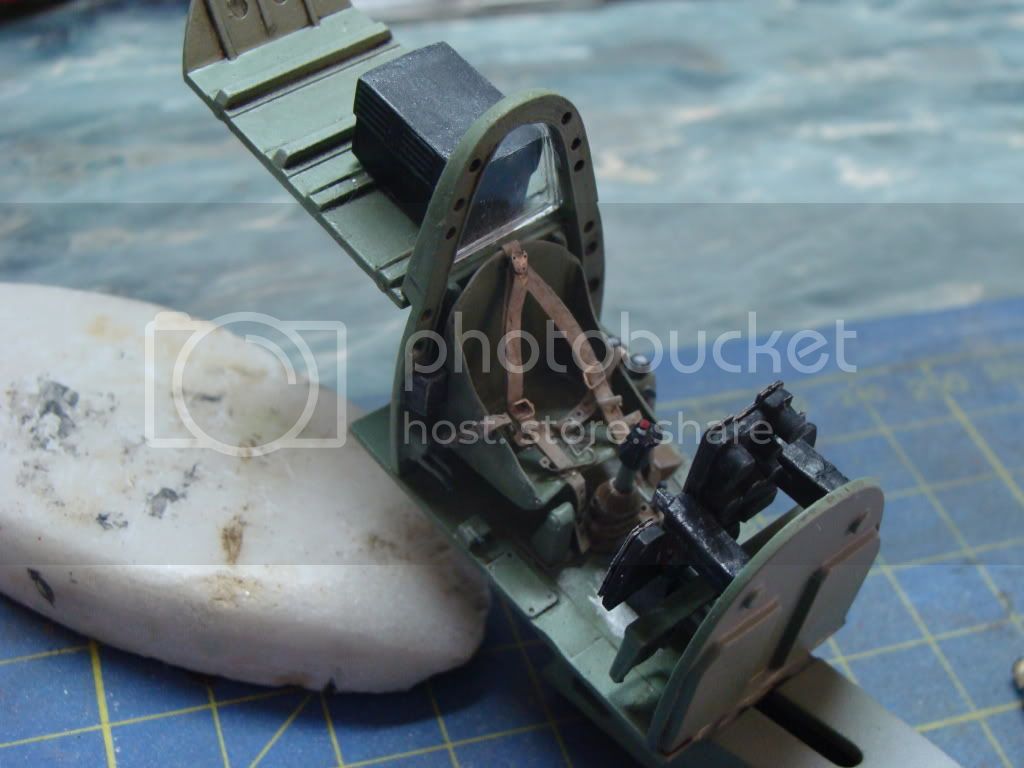
I'm now working with the eduard p.e. seatbelts

Cheers Nick


Scotland, United Kingdom
Joined: February 07, 2008
KitMaker: 1,699 posts
AeroScale: 1,384 posts
Posted: Sunday, June 27, 2010 - 03:47 AM UTC
Nice job so far Nick but the cockpit interior should be Bell Green.
In the wheel well? Zinc chromate? maybe just grey aluminium.
I'm sure someone has a decent ref. I just googled most of this stuff when building the Academy 1/72 P-39
That is if you are bothered about such things.
I know the callout is interior green but Bell Green in more likely.
There is no offical shade but it is basically a medium green.
Keep it up, looks like the forward wheel well is nicely detailed. Don't let my nit picks stop you

Attica, Greece / Ελλάδα
Joined: May 01, 2008
KitMaker: 1,437 posts
AeroScale: 1,241 posts
Posted: Sunday, June 27, 2010 - 06:08 AM UTC

But I Think that it will become darker with the washes and the varnish


Now I have finished with the eduard seatbelt (15 pieces

)
And I have started painting the smaller details

Cheers Nick


Attica, Greece / Ελλάδα
Joined: May 01, 2008
KitMaker: 1,437 posts
AeroScale: 1,241 posts
Posted: Sunday, July 04, 2010 - 03:35 AM UTC
United Kingdom
Joined: March 08, 2009
KitMaker: 719 posts
AeroScale: 691 posts
Posted: Sunday, July 04, 2010 - 04:25 AM UTC
Nick- the cockpit and nose wheel well are looking really nice. Maybe give the shoulder straps of the harness a poke to get them to sit down a bit- they look a bit stiff and the moment.
Texas, United States
Joined: December 27, 2009
KitMaker: 71 posts
AeroScale: 69 posts
Posted: Sunday, July 04, 2010 - 04:28 AM UTC
Nick,
Your cockpit is superb! I will be following your build with great interest.
Many thanks!
Mark

#439
Washington, United States
Joined: November 05, 2005
KitMaker: 4,950 posts
AeroScale: 3,192 posts
Posted: Sunday, July 04, 2010 - 04:42 AM UTC
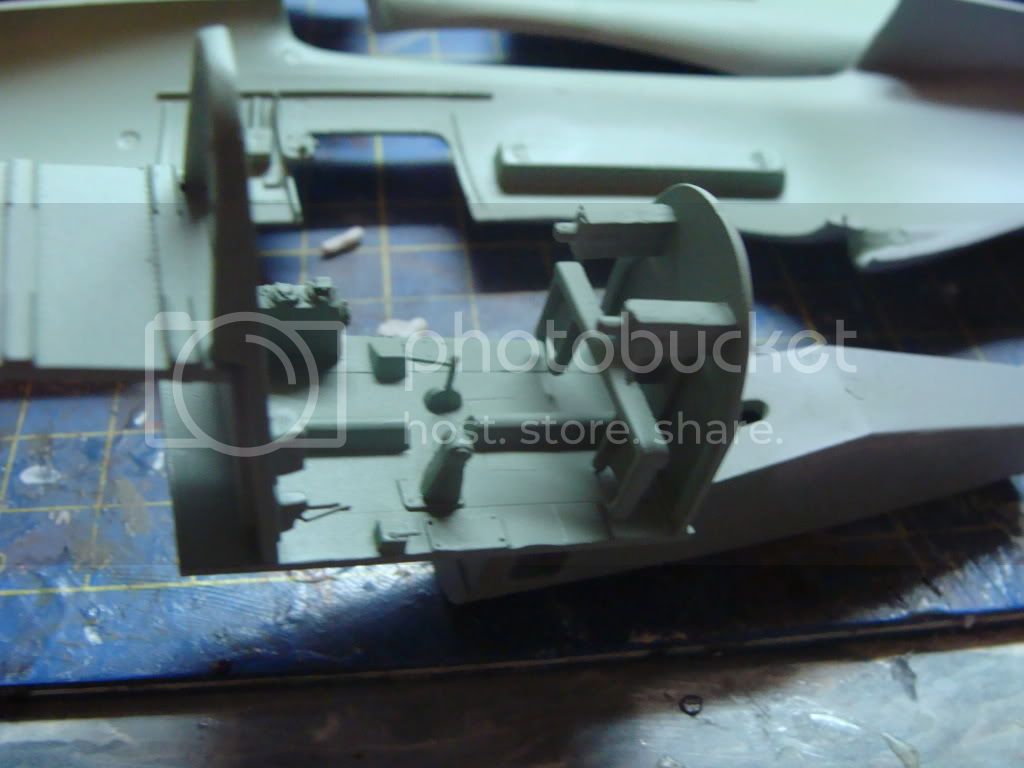
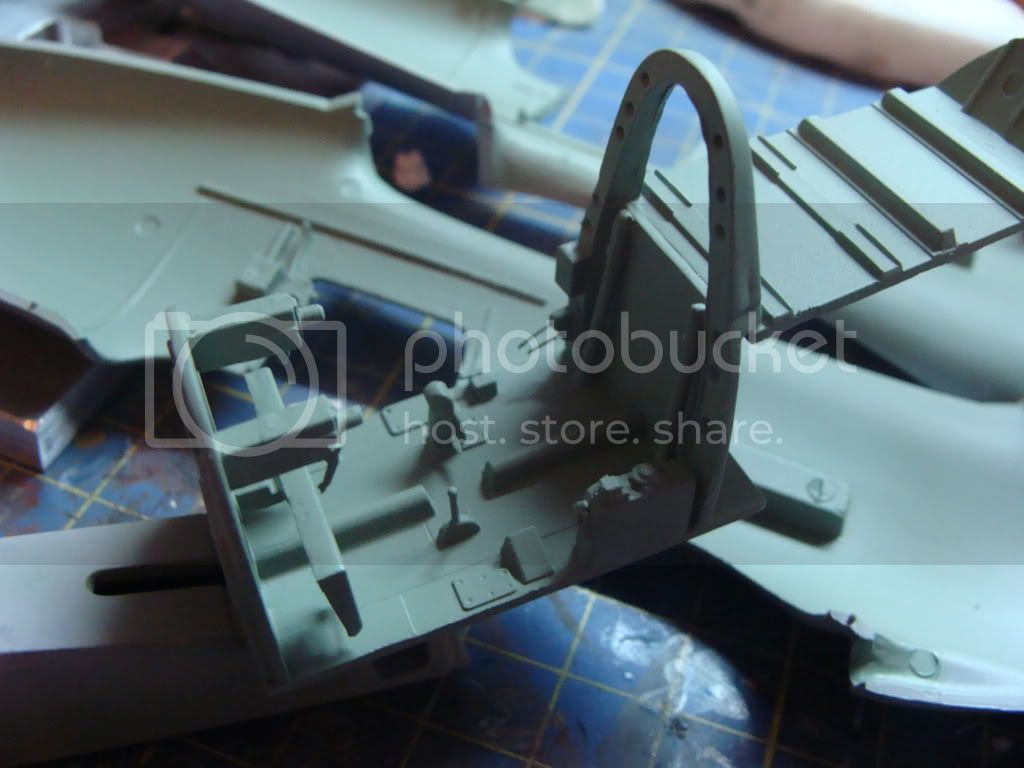
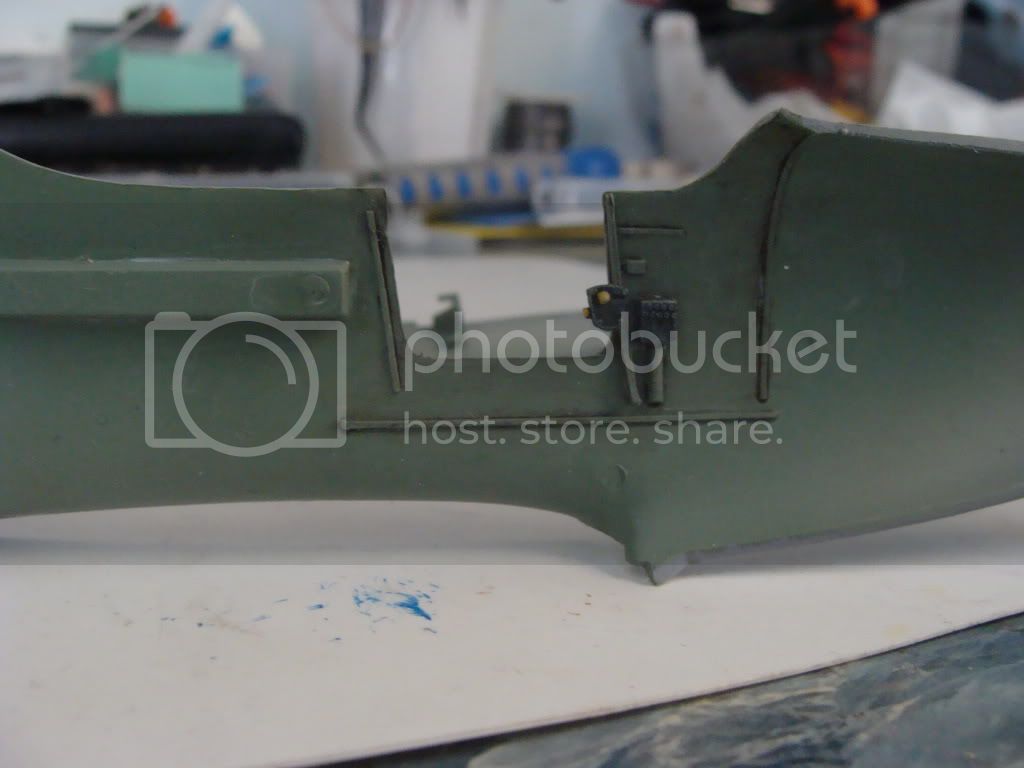
Looks good Nick. Really like the throttle quadrant in front of the door. Most molders place it on the door.
JP is right Bell had their own green for interiors, they didn't use any of the standard zinc chromates or interior greens.
Hanger Queens in Waiting:
Monogram 1/72 F8F-1
Corsair the Sky Pirate - 1/72 Ace A-7D
Century Series - Airfix 1/72 F-105G
Anti Shipping - Academy 1/72 PBJ-1D
Academy 1/72 F-84E
Attica, Greece / Ελλάδα
Joined: May 01, 2008
KitMaker: 1,437 posts
AeroScale: 1,241 posts
Posted: Sunday, July 04, 2010 - 05:13 AM UTC
Thank you very much I really appriciate your comments


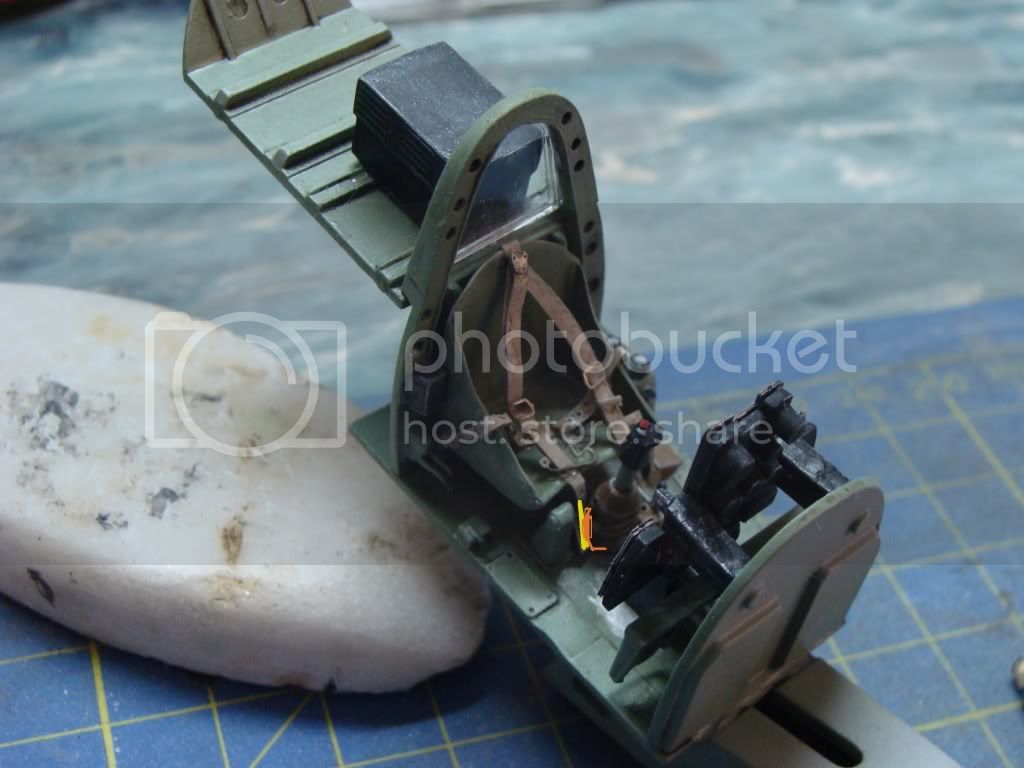
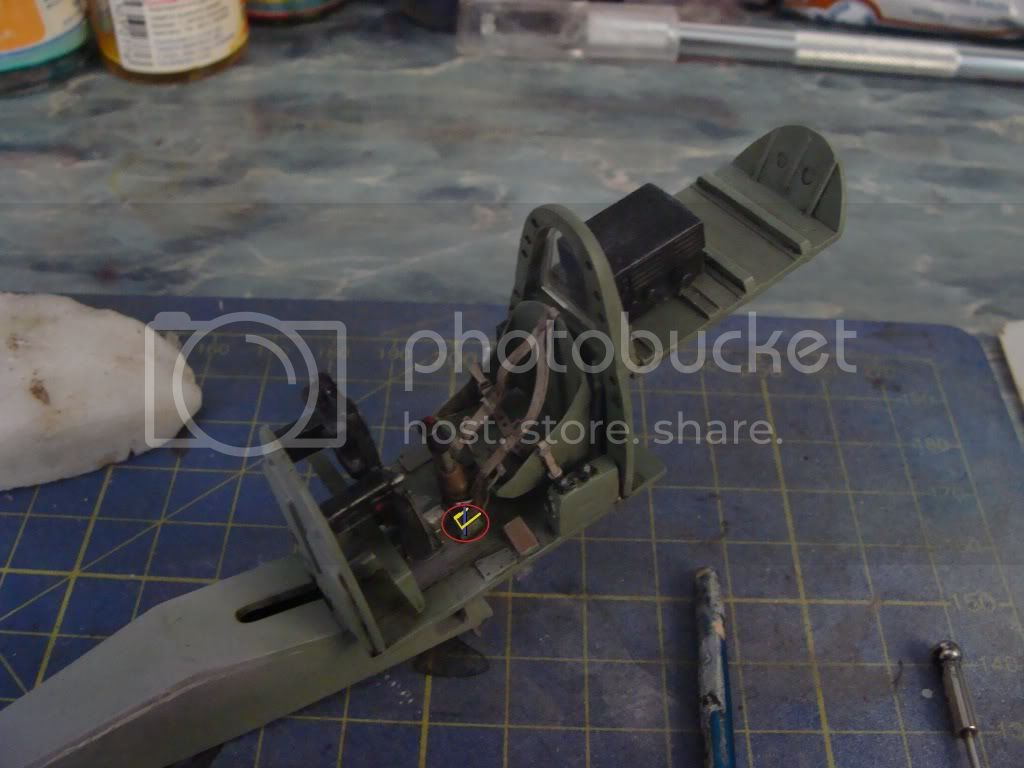
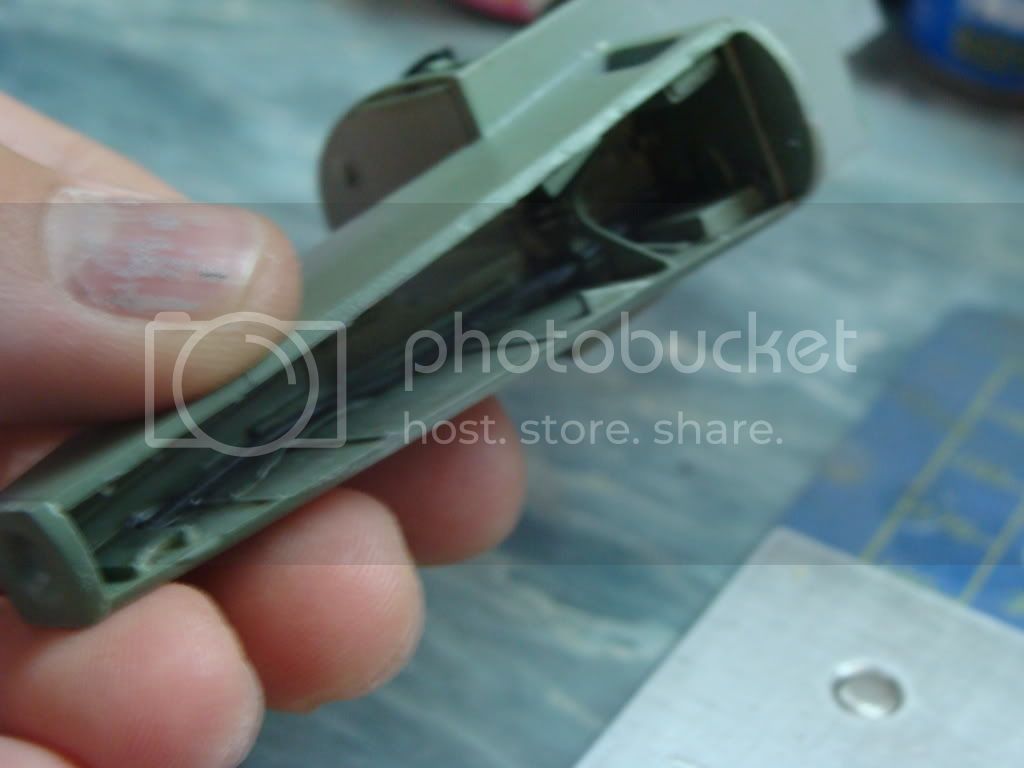
Here is the reason WHY the seatbelts don't touch the back of the seat:
Blue:a lever
Orange:Pilot stick
Yellow:Seatbelt
Red:Place marker
That means that the seatbelt has catched in this places (careless pilot

)
Cheers Nick


Alberta, Canada
Joined: January 19, 2008
KitMaker: 6,743 posts
AeroScale: 6,151 posts
Posted: Monday, July 05, 2010 - 03:38 AM UTC
Just dropping to say , excellent work Nick ! you have really improved on your skills

Scotland, United Kingdom
Joined: February 07, 2008
KitMaker: 1,699 posts
AeroScale: 1,384 posts
Posted: Monday, July 05, 2010 - 04:51 AM UTC
Looking great Nick. You're right not to change the colour at this stage. Keep with it.
What is the colour scheme going to be?
Attica, Greece / Ελλάδα
Joined: May 01, 2008
KitMaker: 1,437 posts
AeroScale: 1,241 posts
Posted: Monday, July 05, 2010 - 11:34 AM UTC
Thank you very much Ms. Terri, I'm glad you have spoted my new build topic

Thank you very much too Mr. John-Paul

Cheers Nick


Attica, Greece / Ελλάδα
Joined: May 01, 2008
KitMaker: 1,437 posts
AeroScale: 1,241 posts
Posted: Thursday, July 22, 2010 - 12:05 PM UTC
Don't worry I haven't left it over. The opposite I'll say, I'm doing Blitzkrieg modelling ('cause it's summer and the school is closed)

There are a lot of p.e., easily more than 55

Photos soon

Cheers Nick


Attica, Greece / Ελλάδα
Joined: May 01, 2008
KitMaker: 1,437 posts
AeroScale: 1,241 posts
Posted: Tuesday, July 27, 2010 - 09:31 AM UTC
Attica, Greece / Ελλάδα
Joined: May 01, 2008
KitMaker: 1,437 posts
AeroScale: 1,241 posts
Posted: Tuesday, July 27, 2010 - 09:42 AM UTC
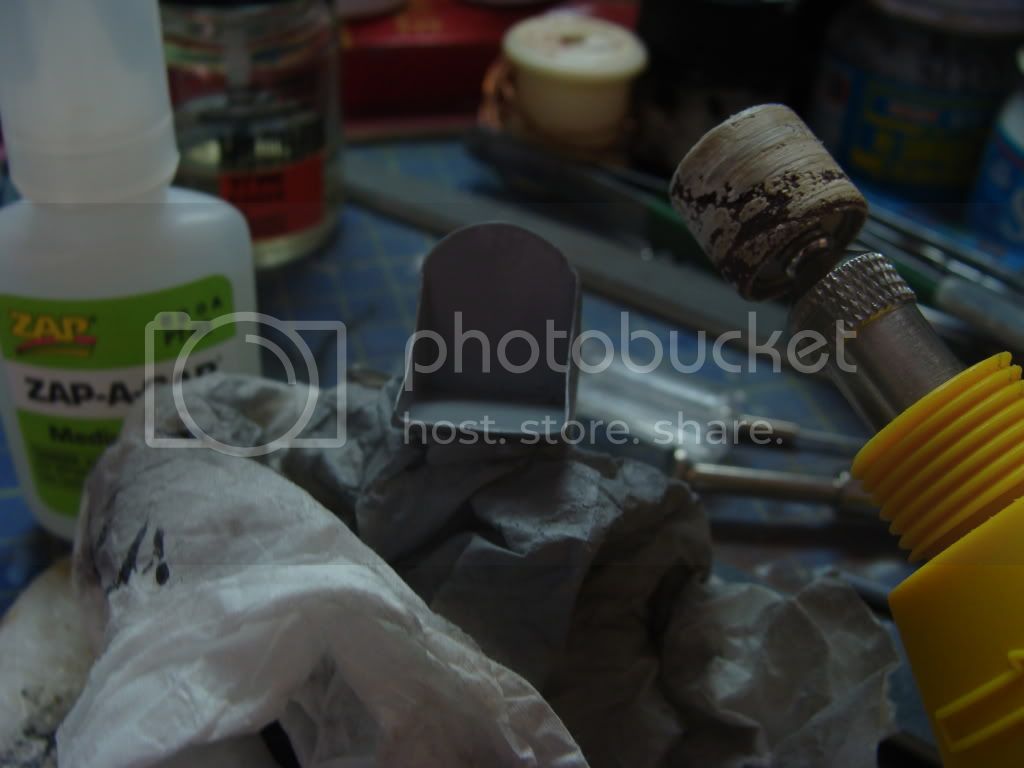
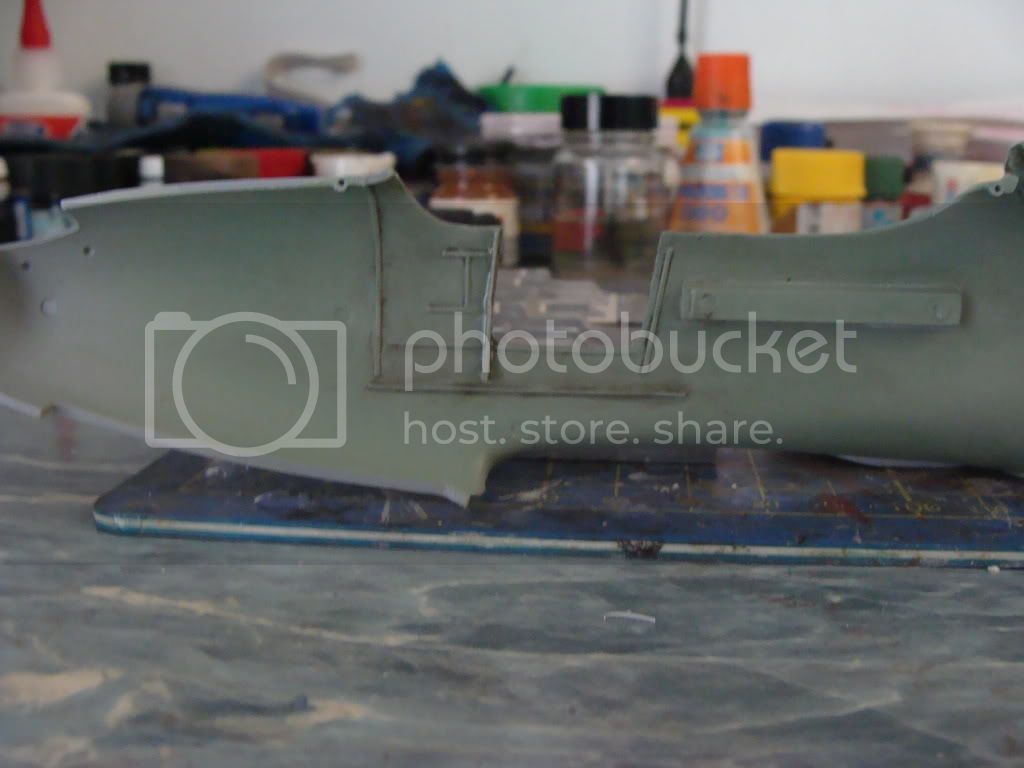
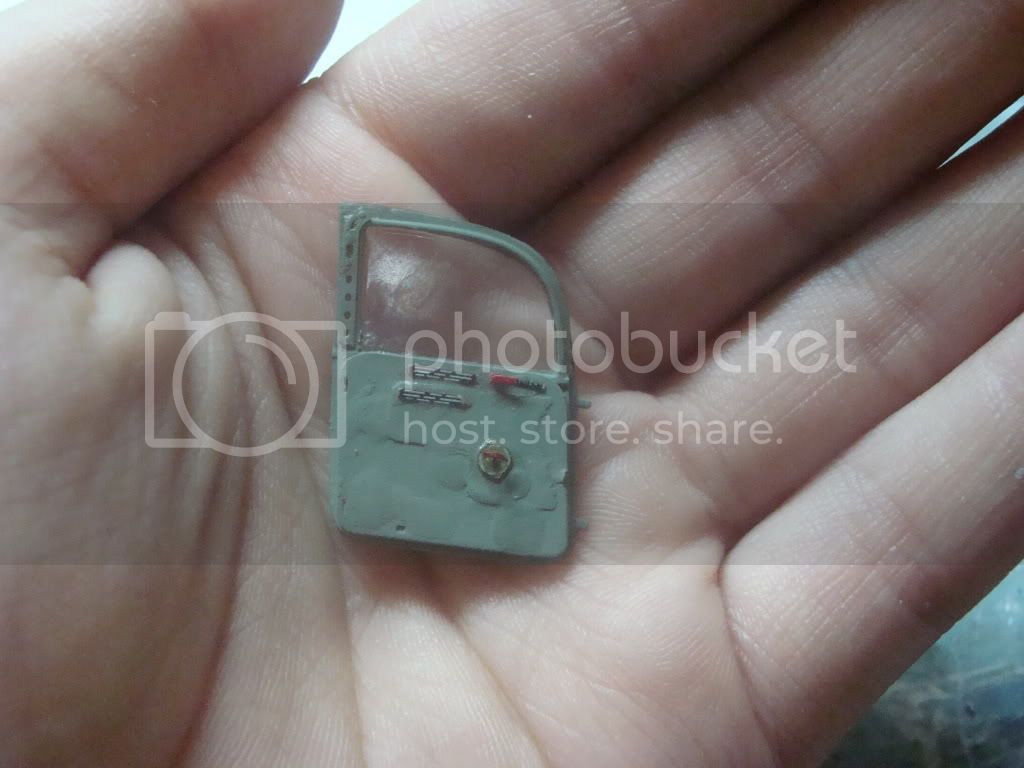
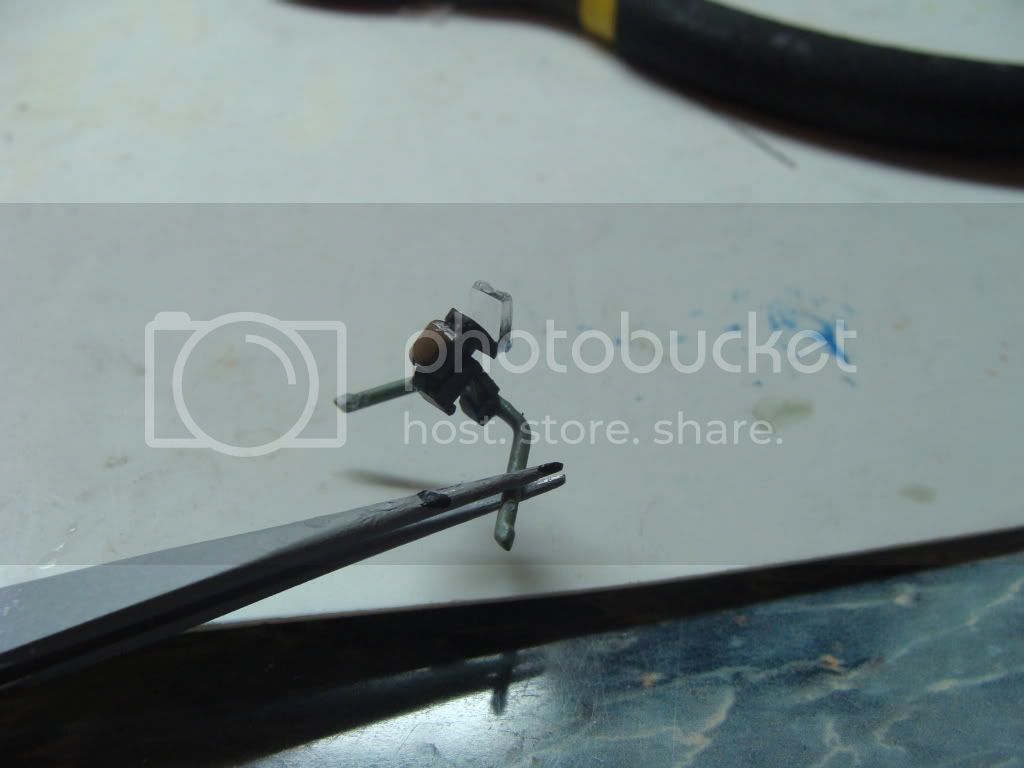
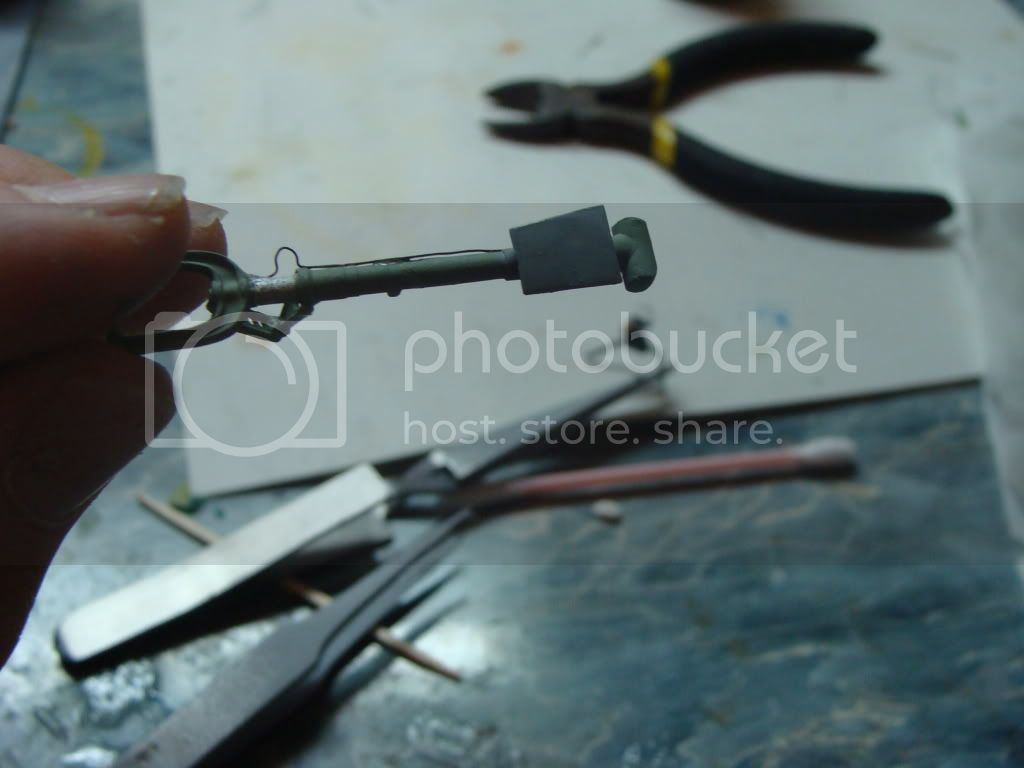
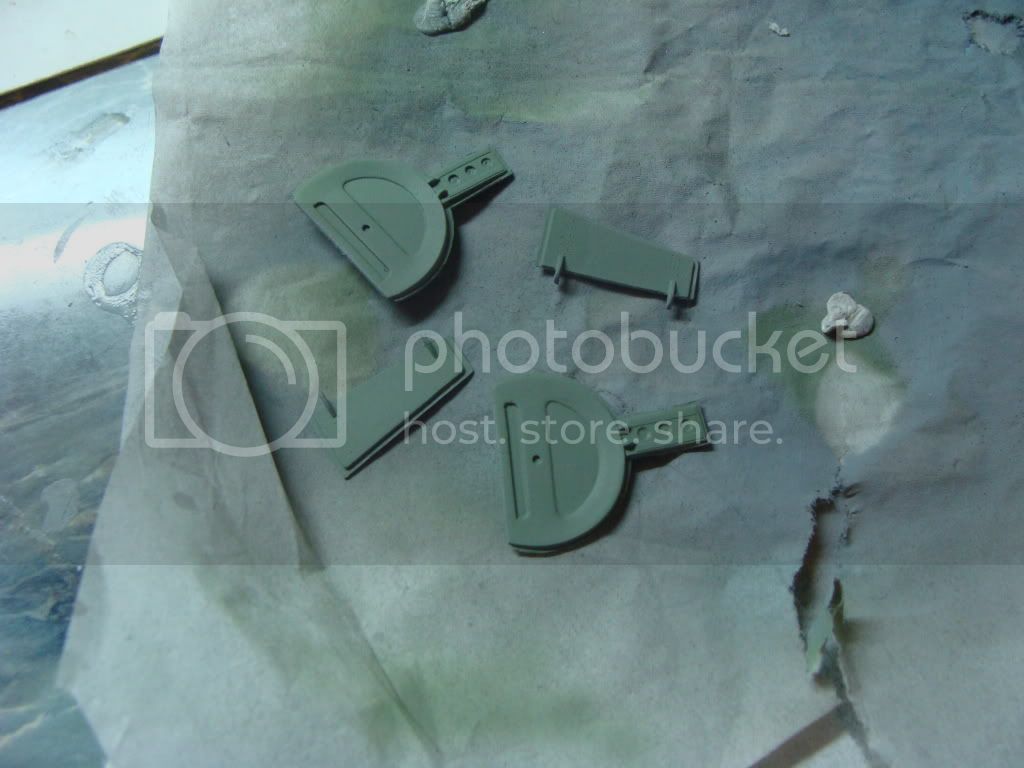
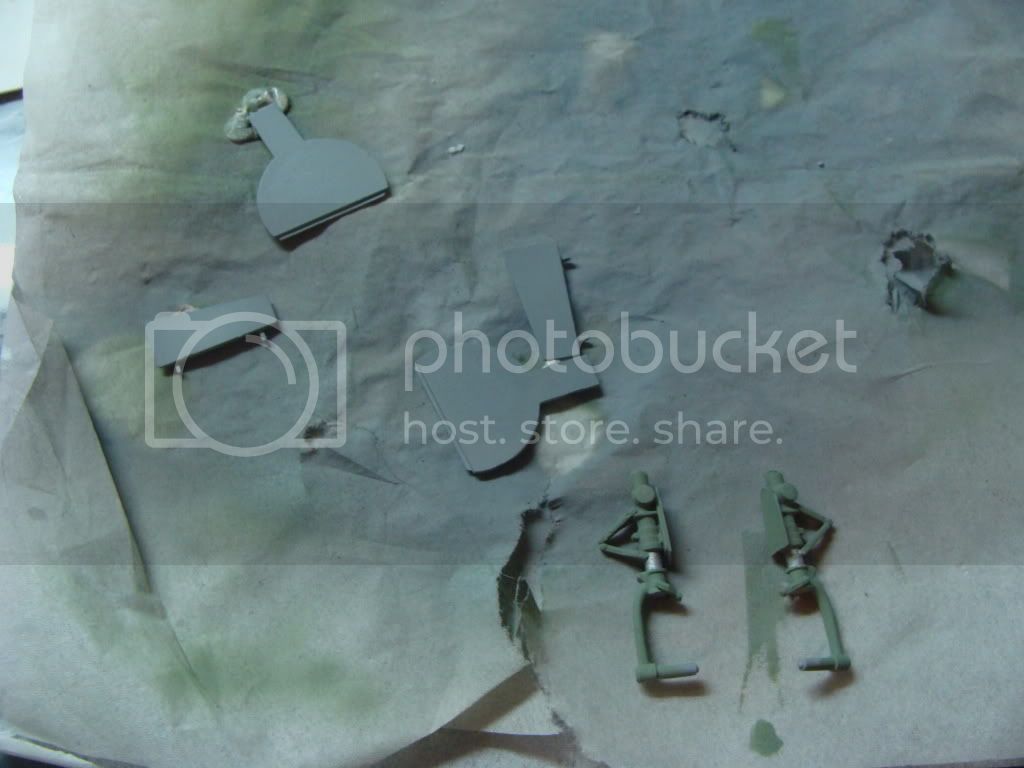
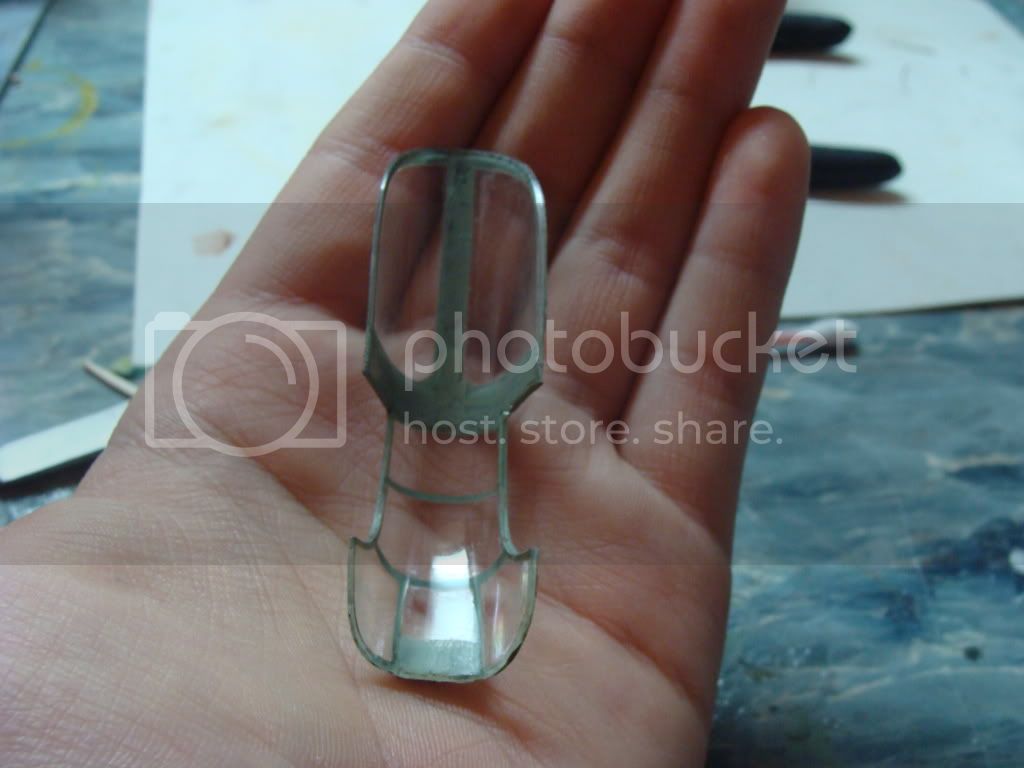
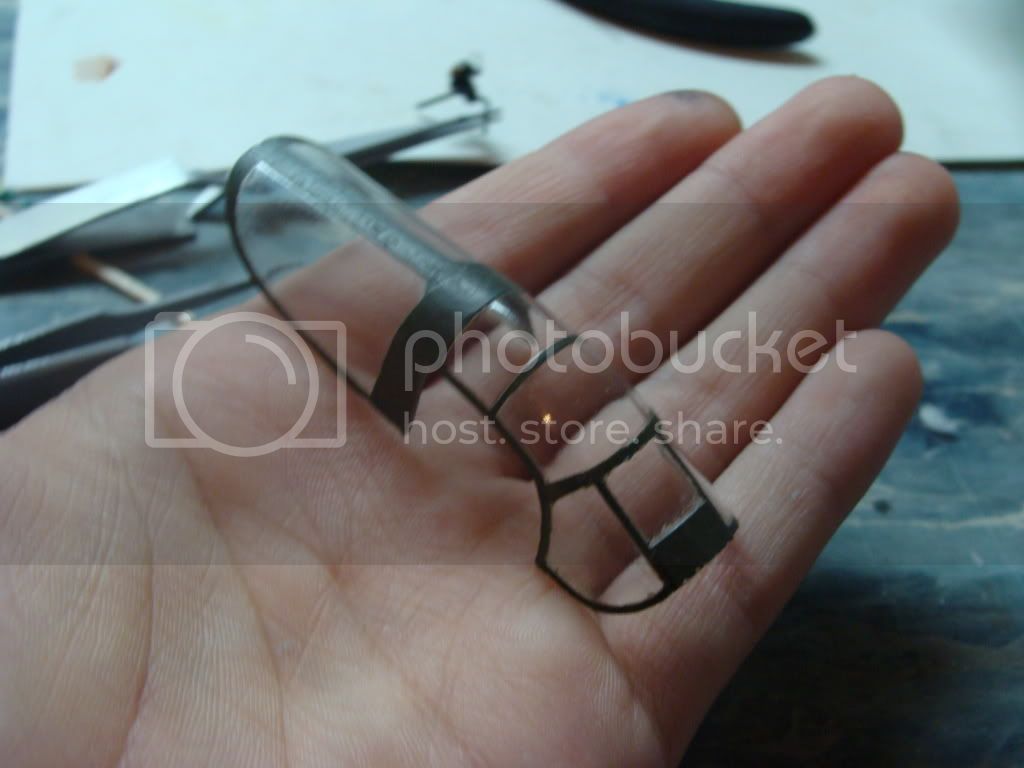
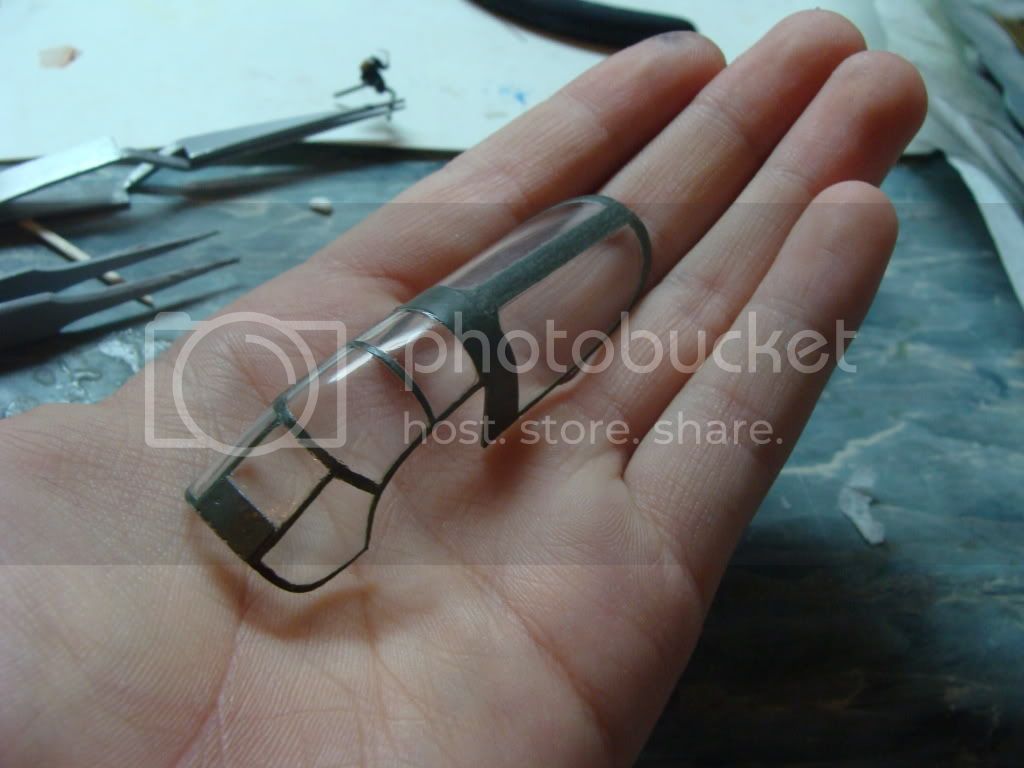
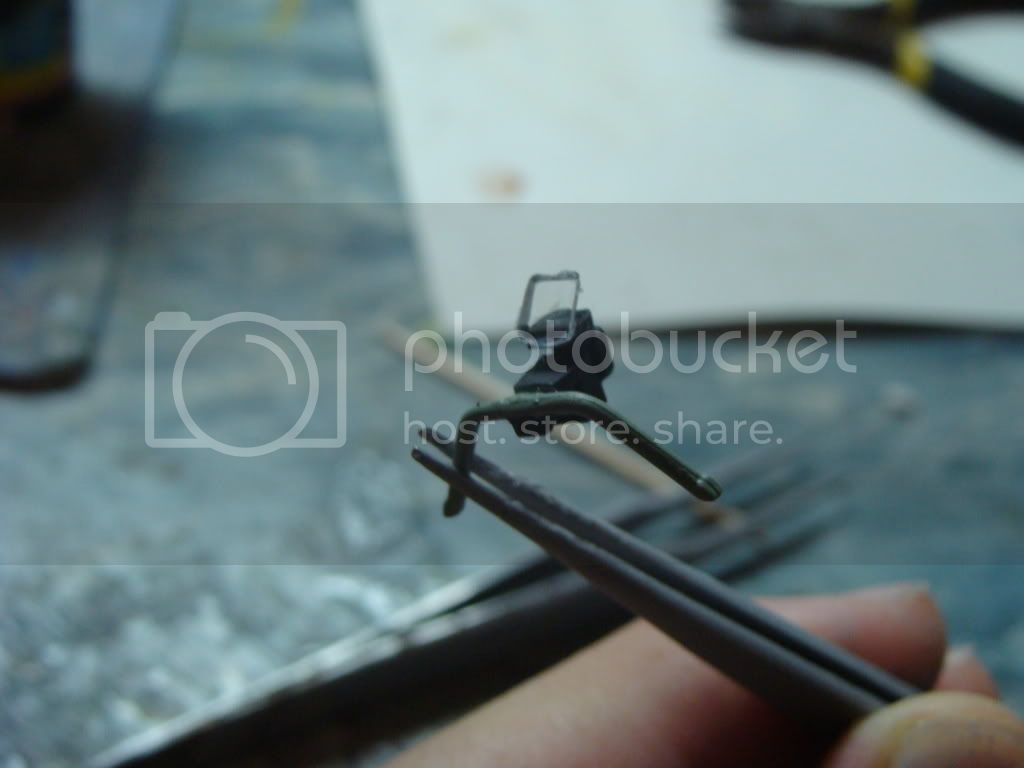
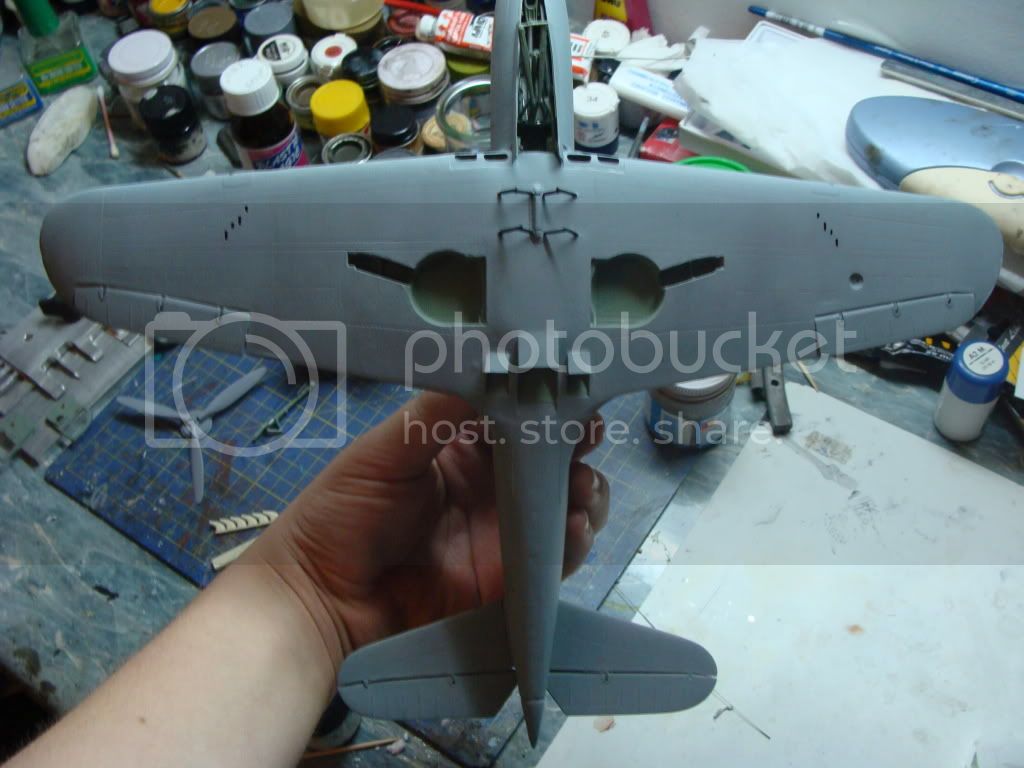
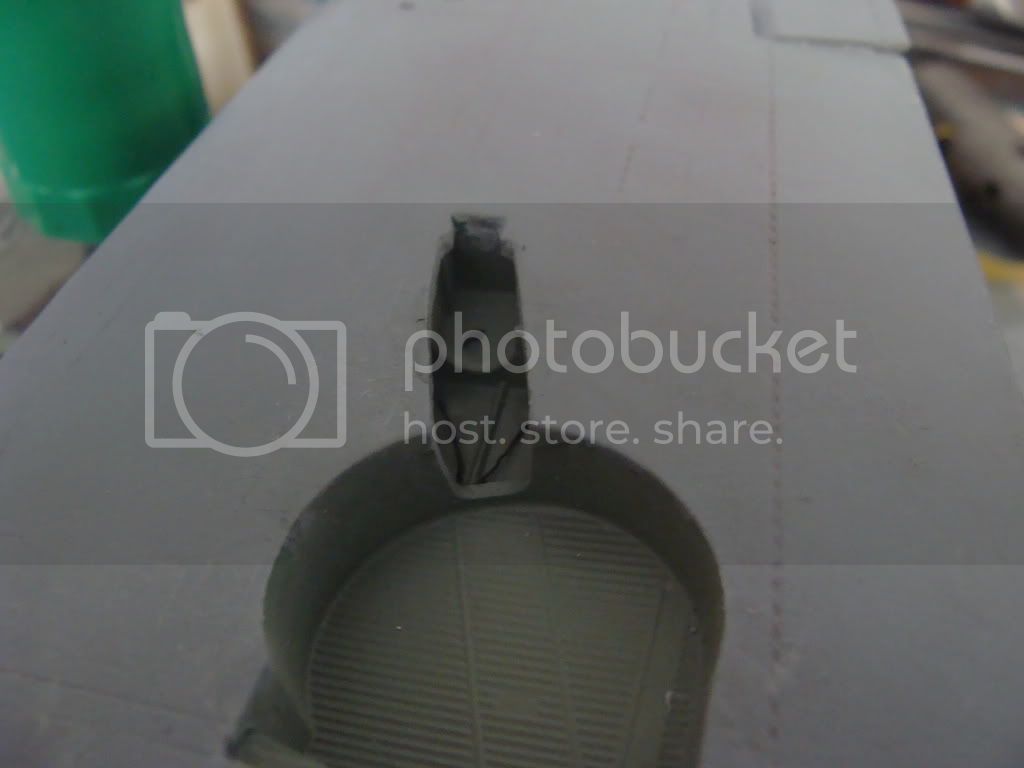
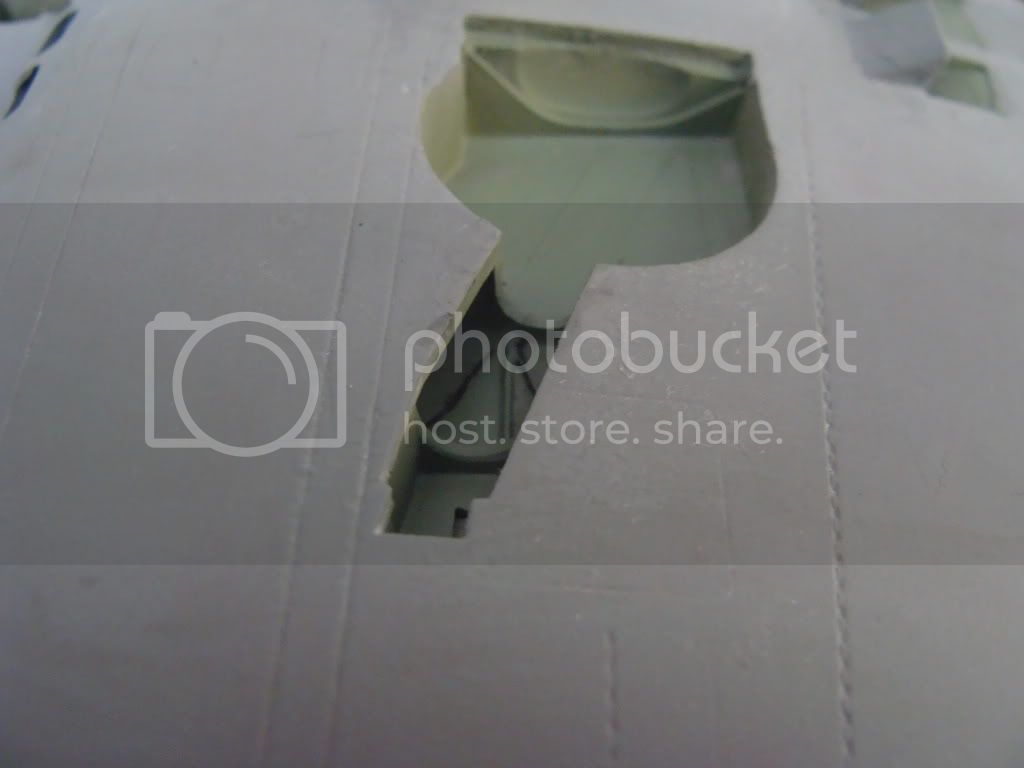
The WIP
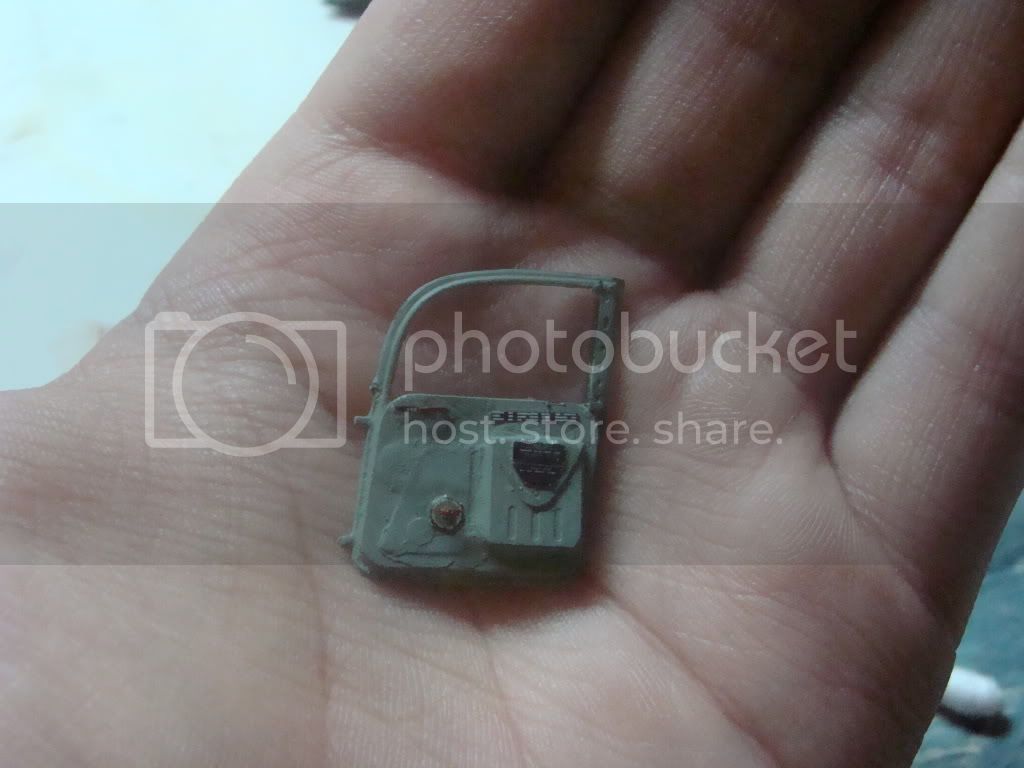
I start scratching the connect between the part & the block with a scriber
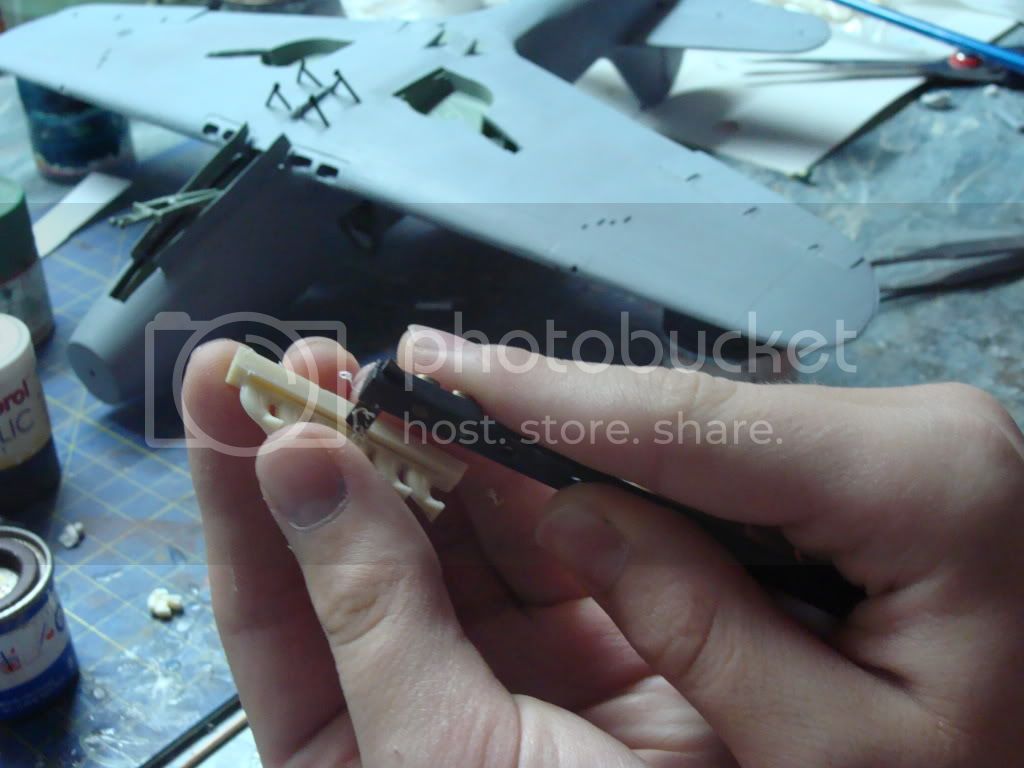
BOTH sides
Then, when the part is almost out, I disconnect it with the little saw
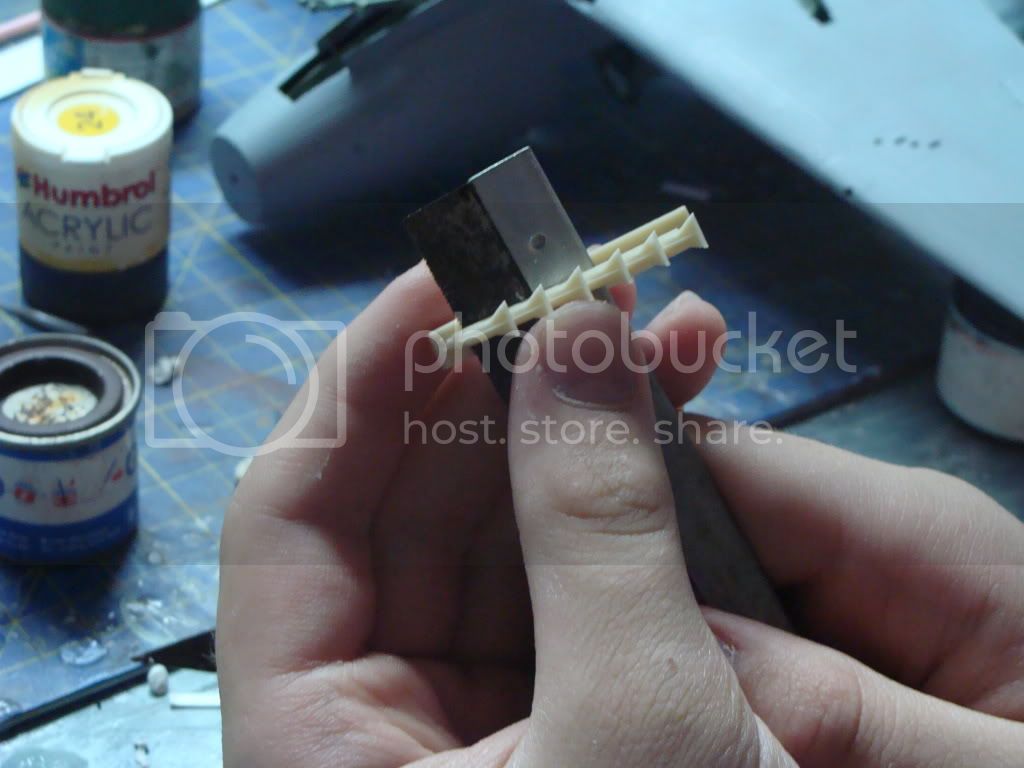
After that, I check the fit of the part with the plastic and If anything goes bad, I clean the useless resin

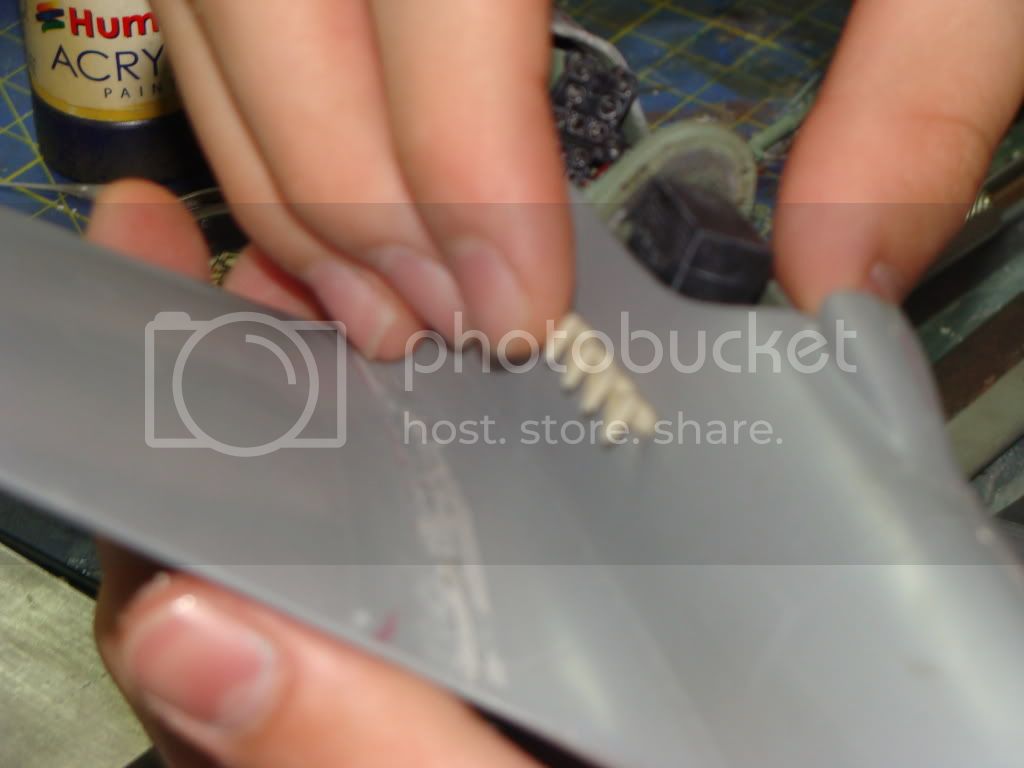
And TA-DA

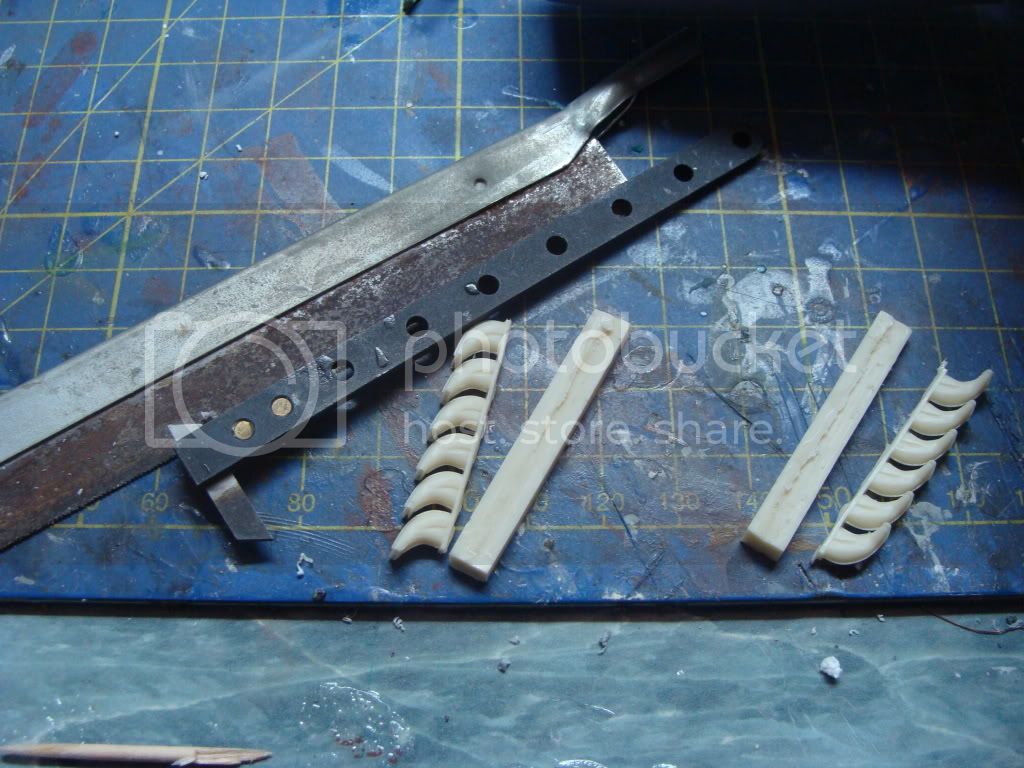
Cheers Nick


#439
Washington, United States
Joined: November 05, 2005
KitMaker: 4,950 posts
AeroScale: 3,192 posts
Posted: Tuesday, July 27, 2010 - 10:12 AM UTC
Impressive young Jedi. I like the look of the doors. Also wish I had that scribing tool..

Hanger Queens in Waiting:
Monogram 1/72 F8F-1
Corsair the Sky Pirate - 1/72 Ace A-7D
Century Series - Airfix 1/72 F-105G
Anti Shipping - Academy 1/72 PBJ-1D
Academy 1/72 F-84E
Attica, Greece / Ελλάδα
Joined: May 01, 2008
KitMaker: 1,437 posts
AeroScale: 1,241 posts
Posted: Tuesday, July 27, 2010 - 10:25 AM UTC
Quoted Text
Impressive young Jedi. I like the look of the doors. Also wish I had that scribing tool.. 
Thank you very much Mr. Mark


"Young Jedi"

Cheers Nick


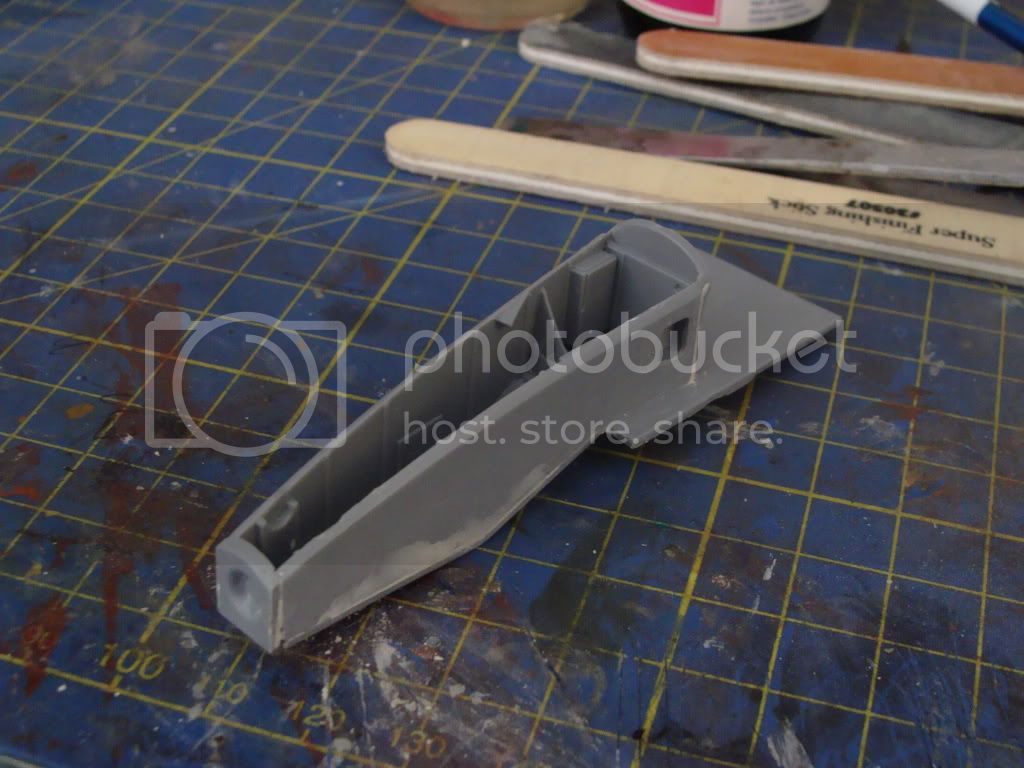
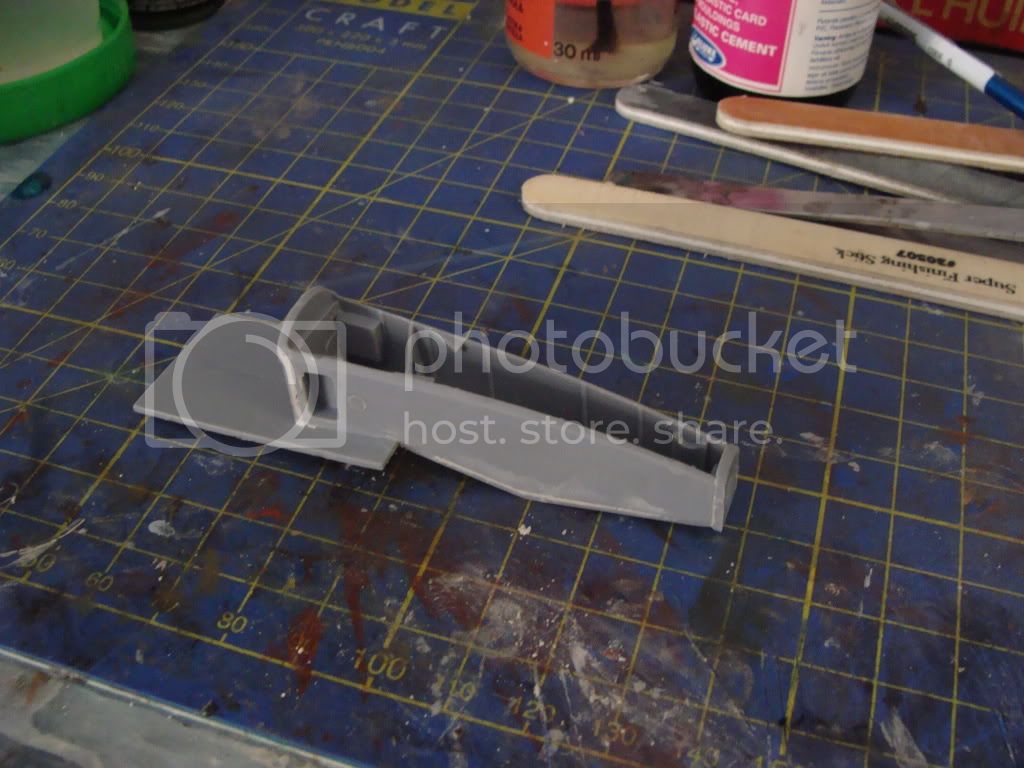


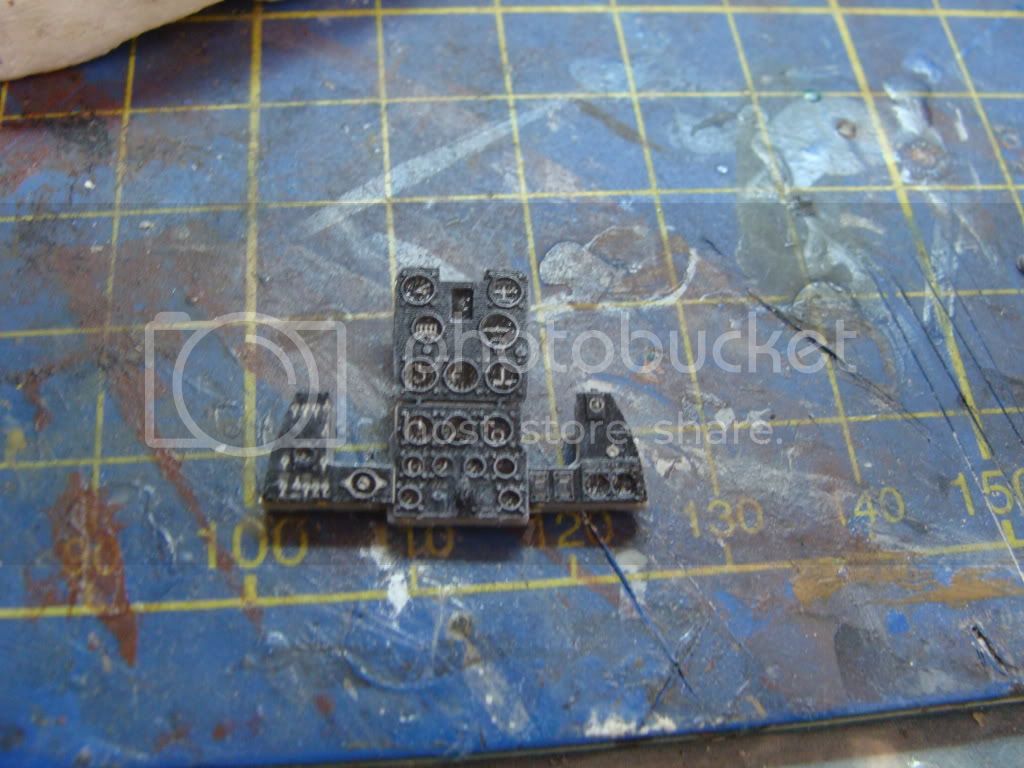
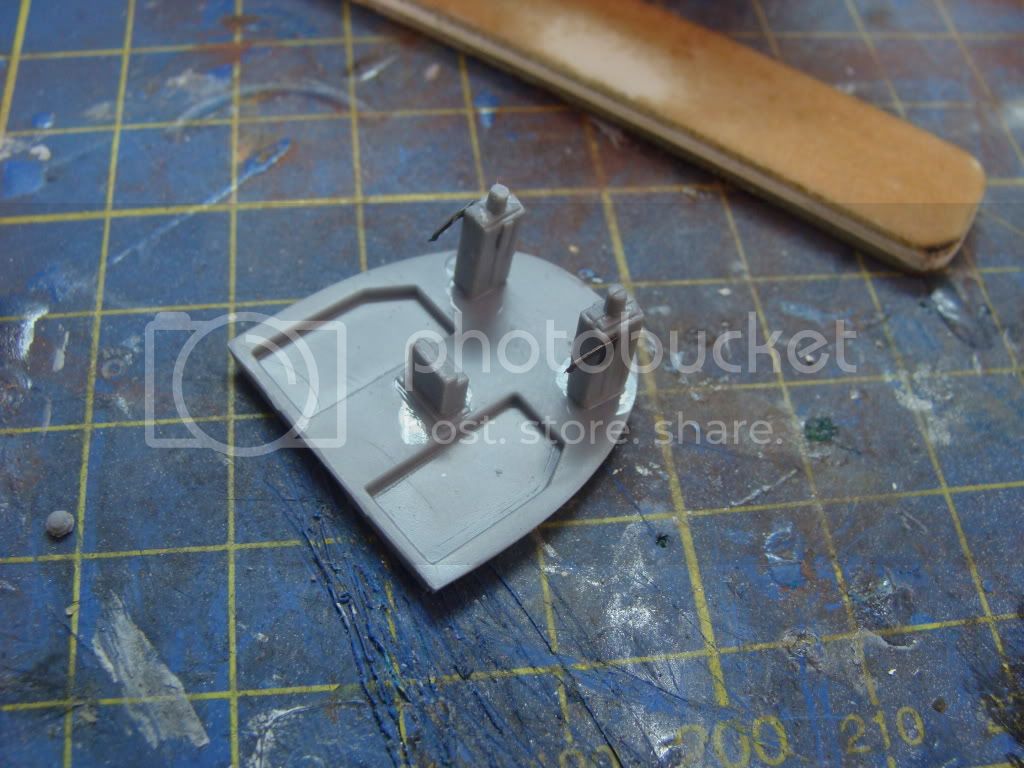


 )
)

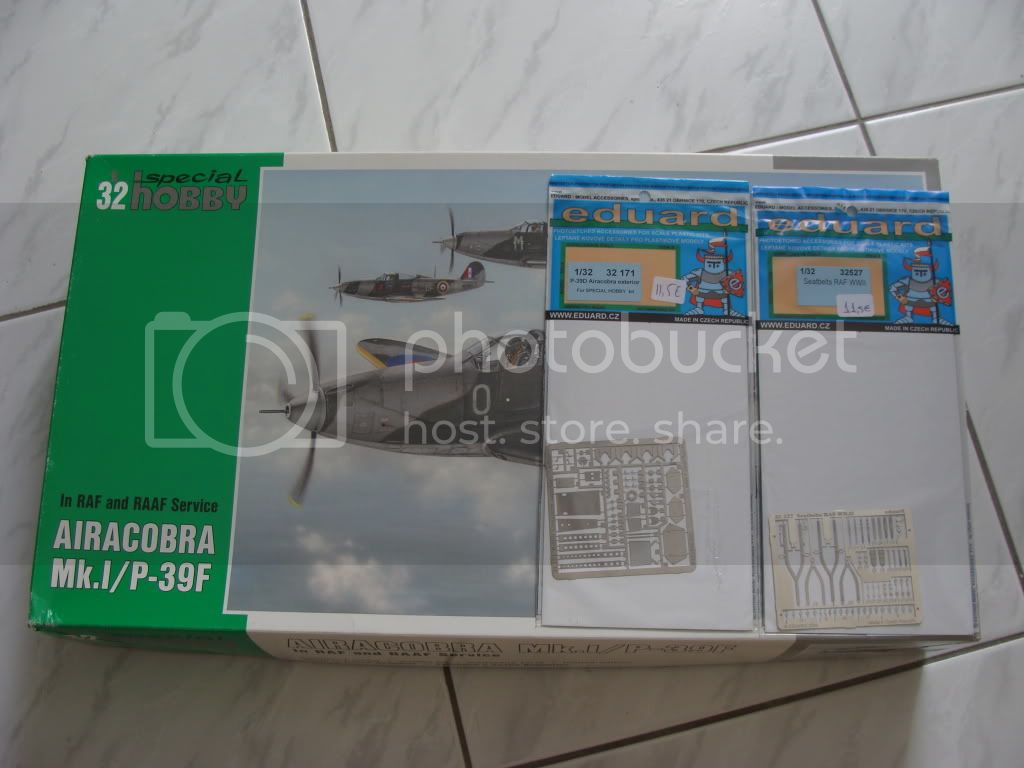
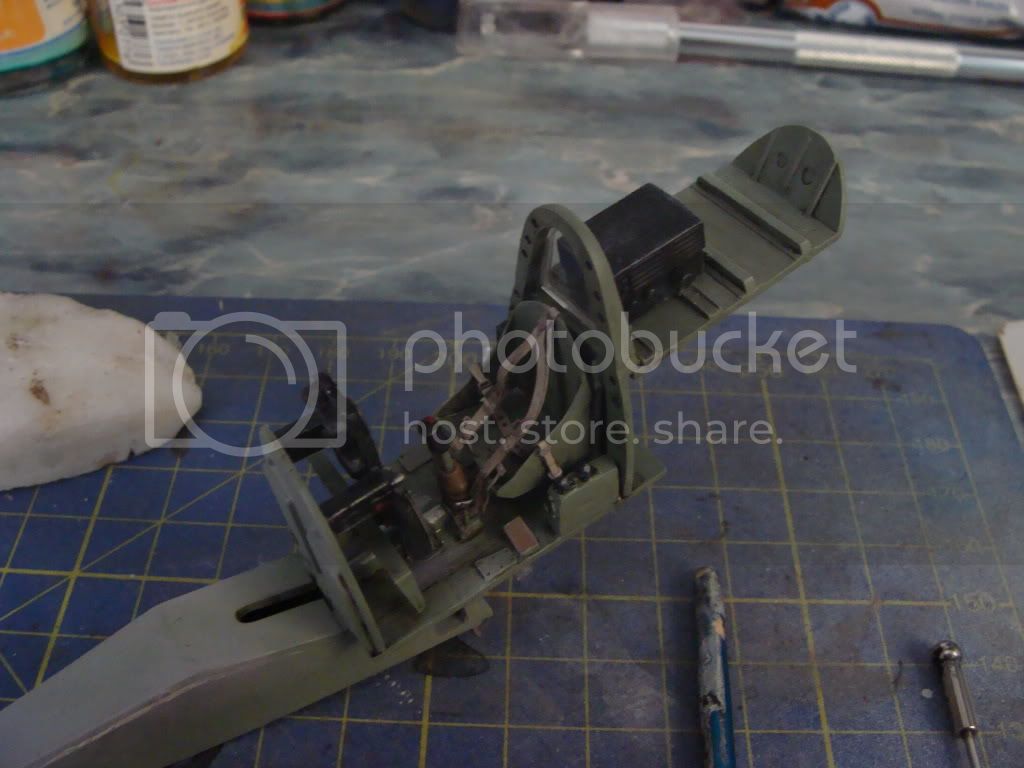
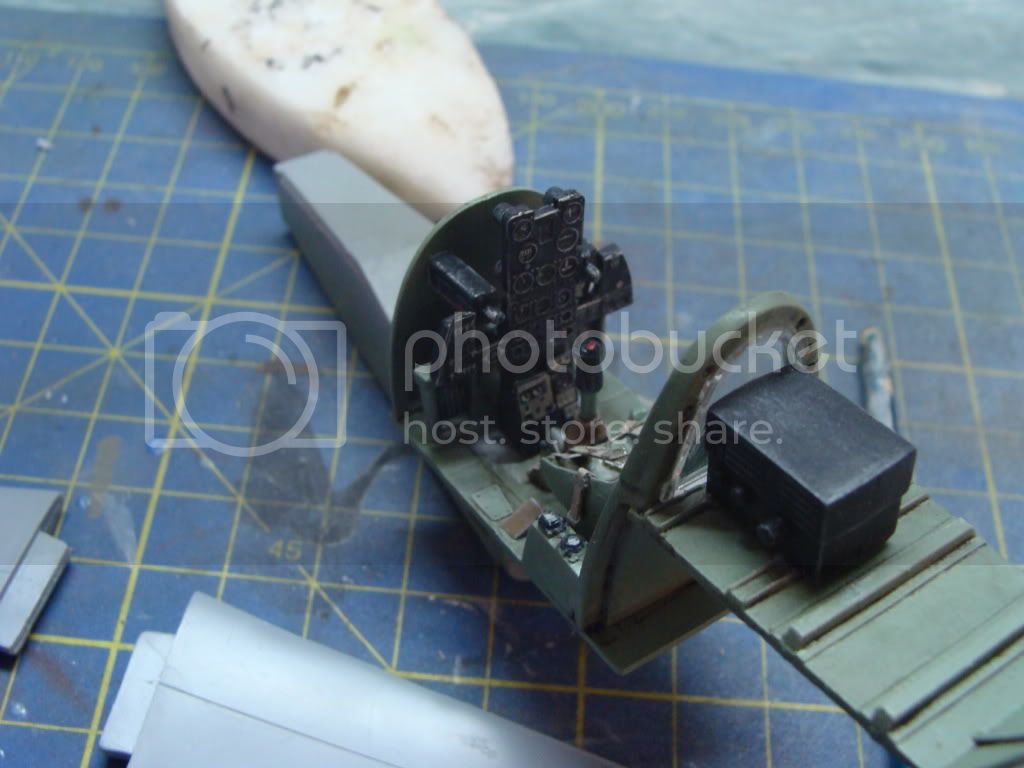
 ) and It's waiting the seatbelts from the Eduard detail set
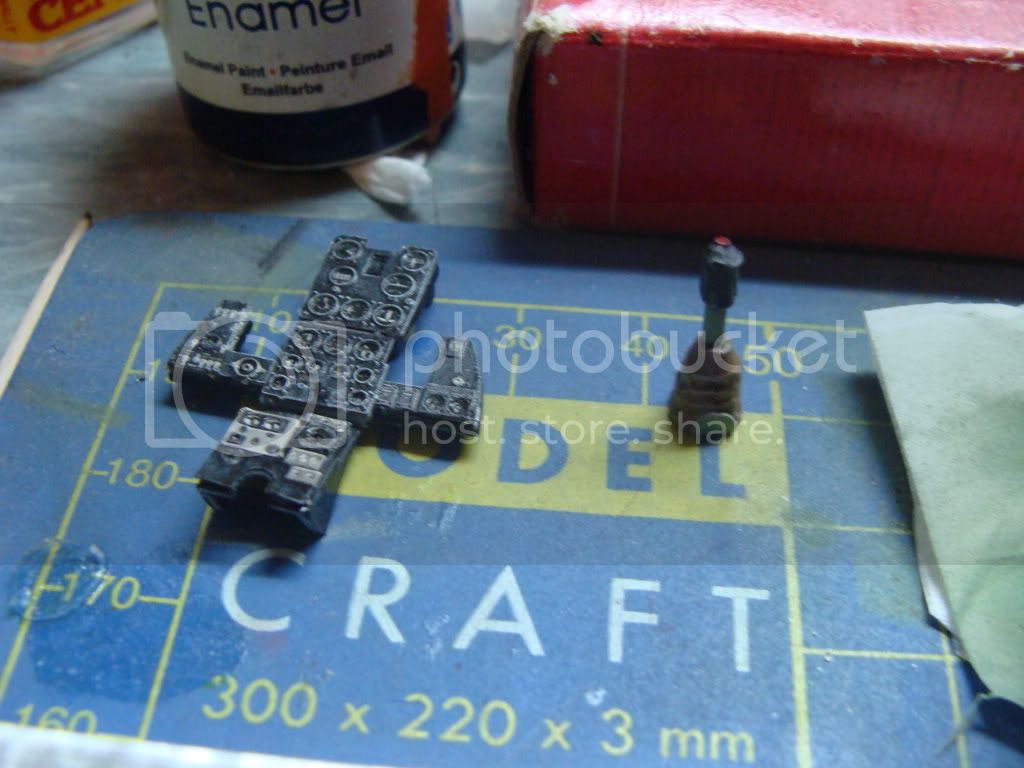
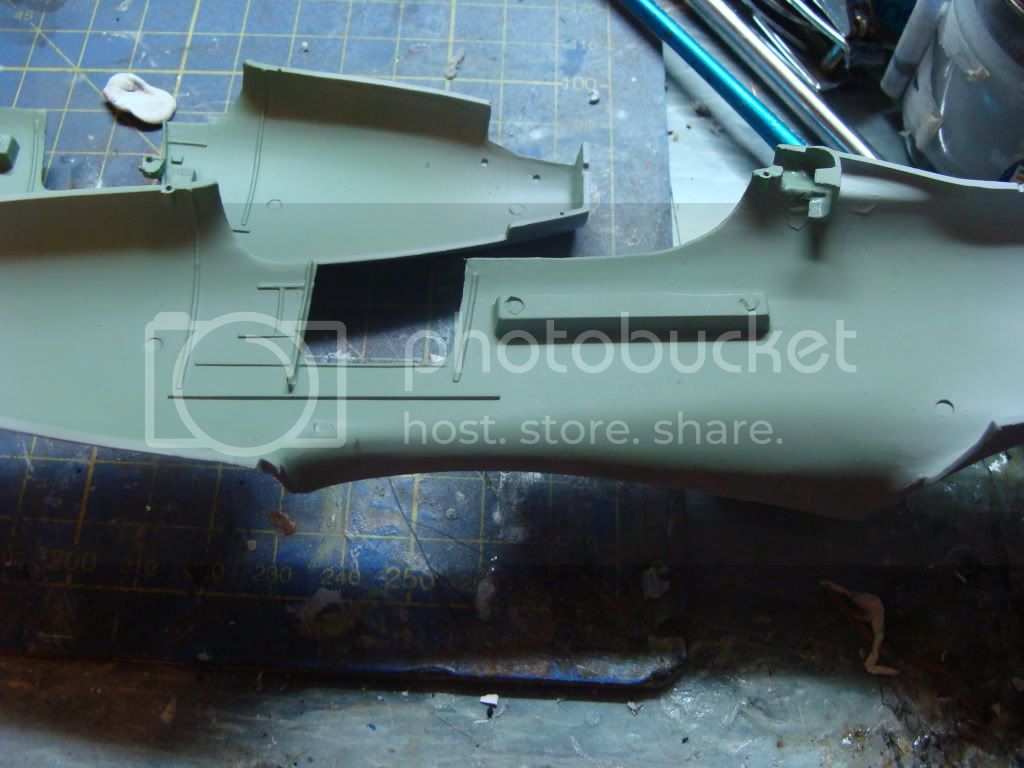
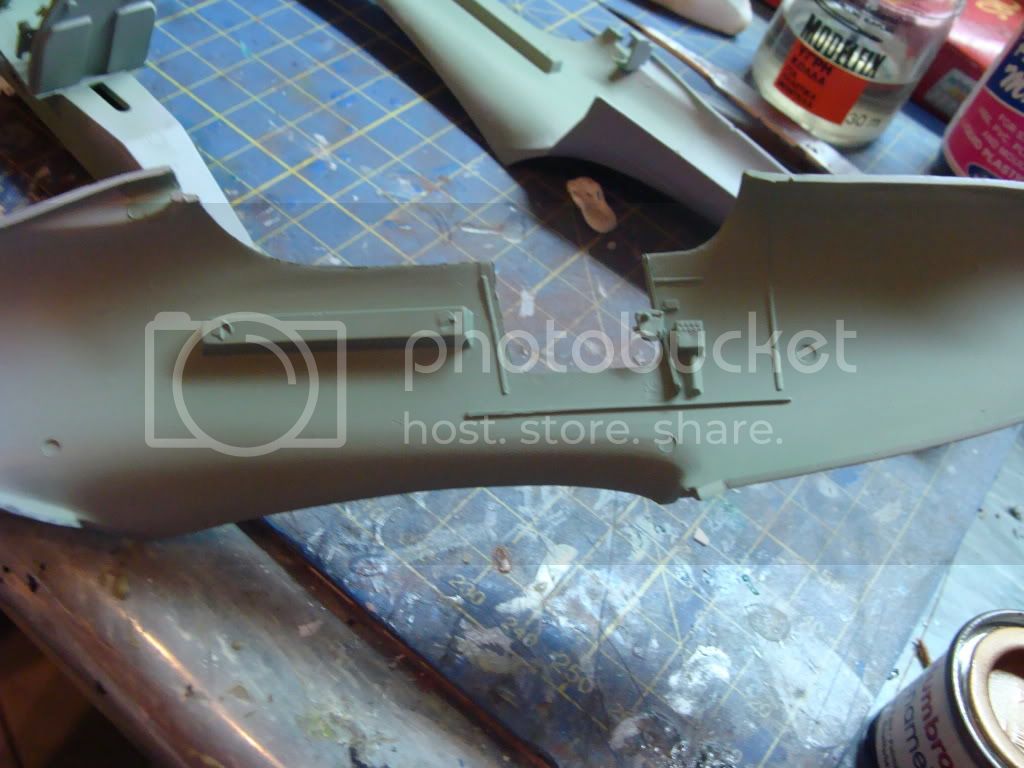
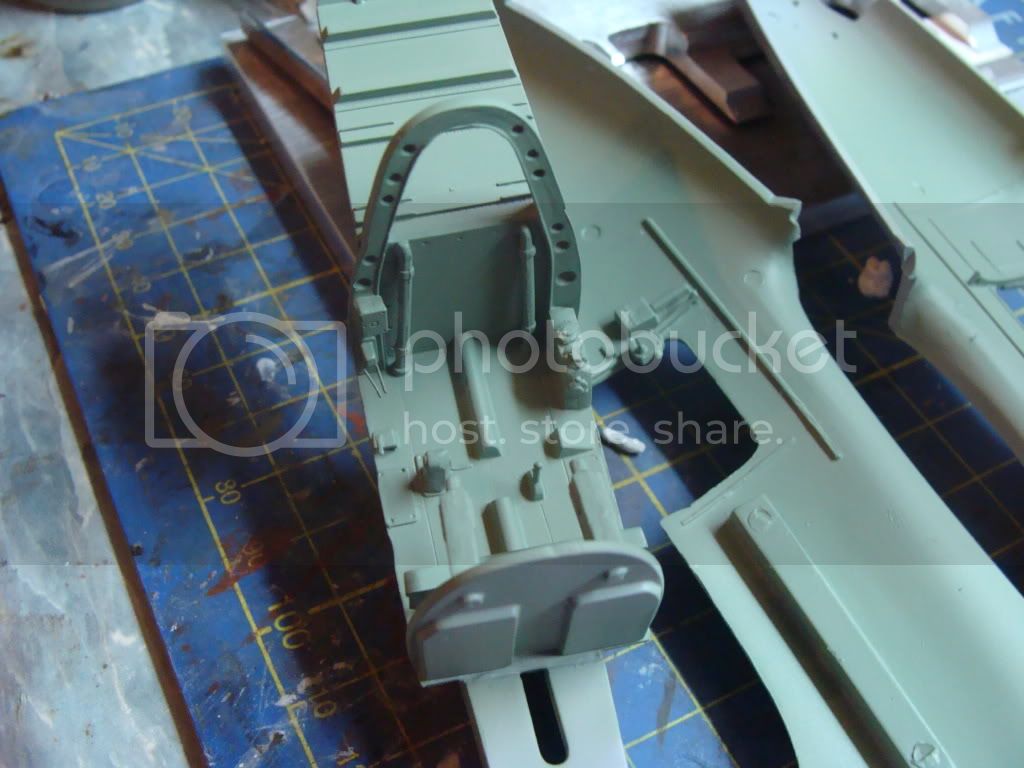





 )
)


 )
) 





 )
)


 )
)
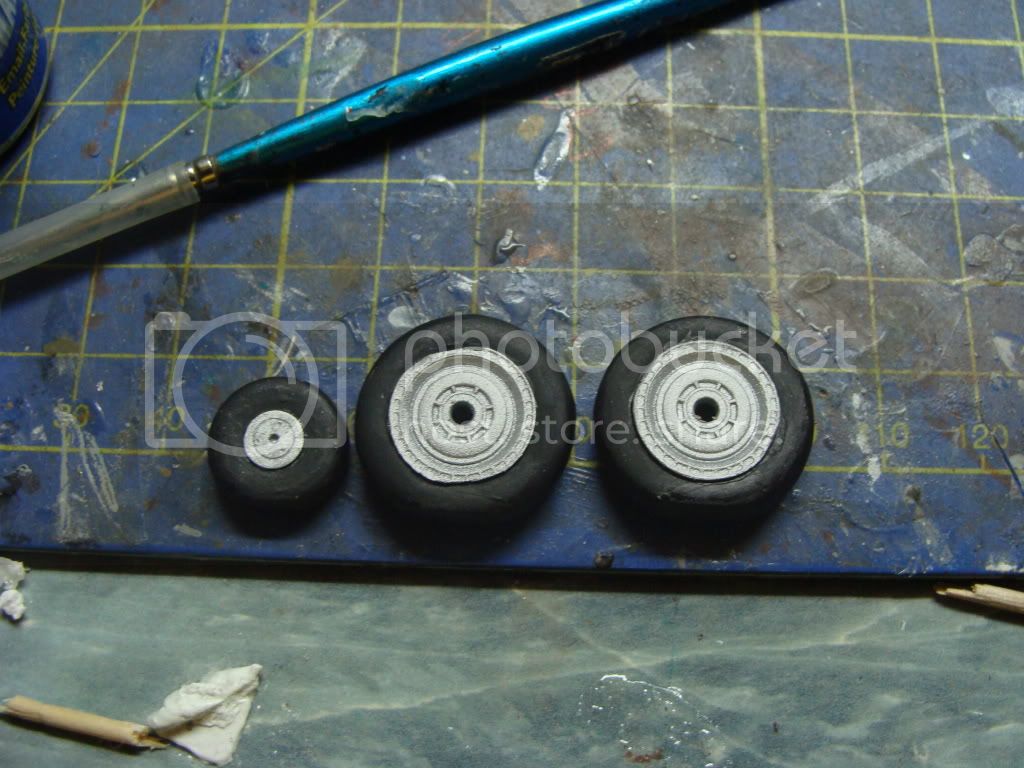
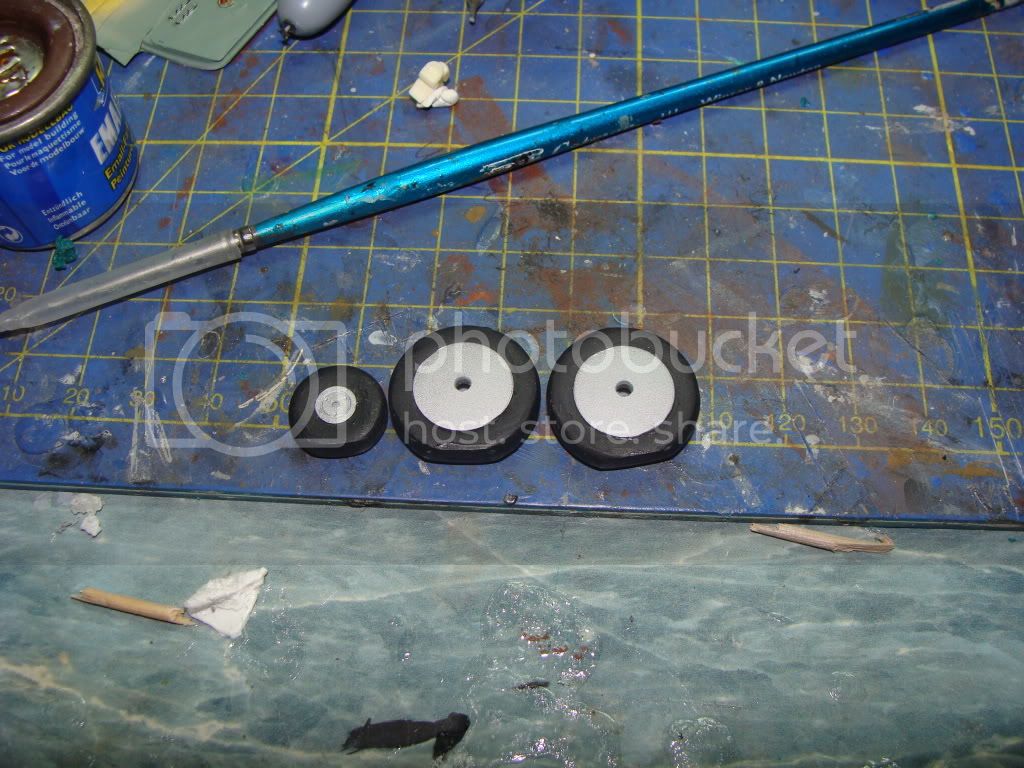

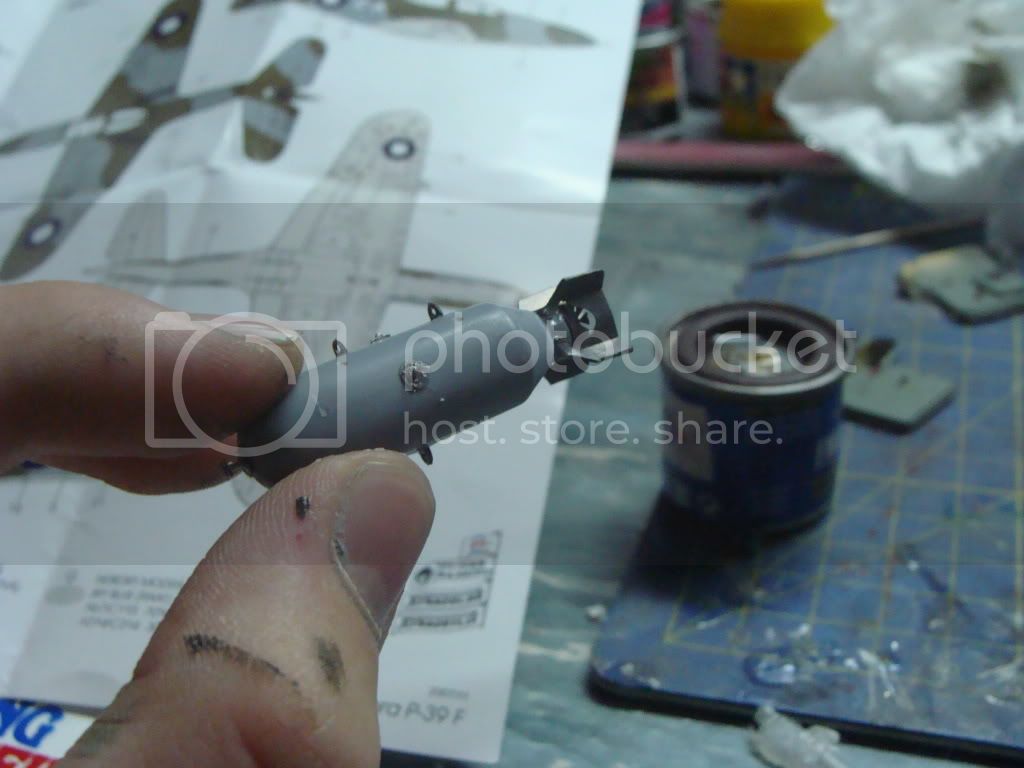
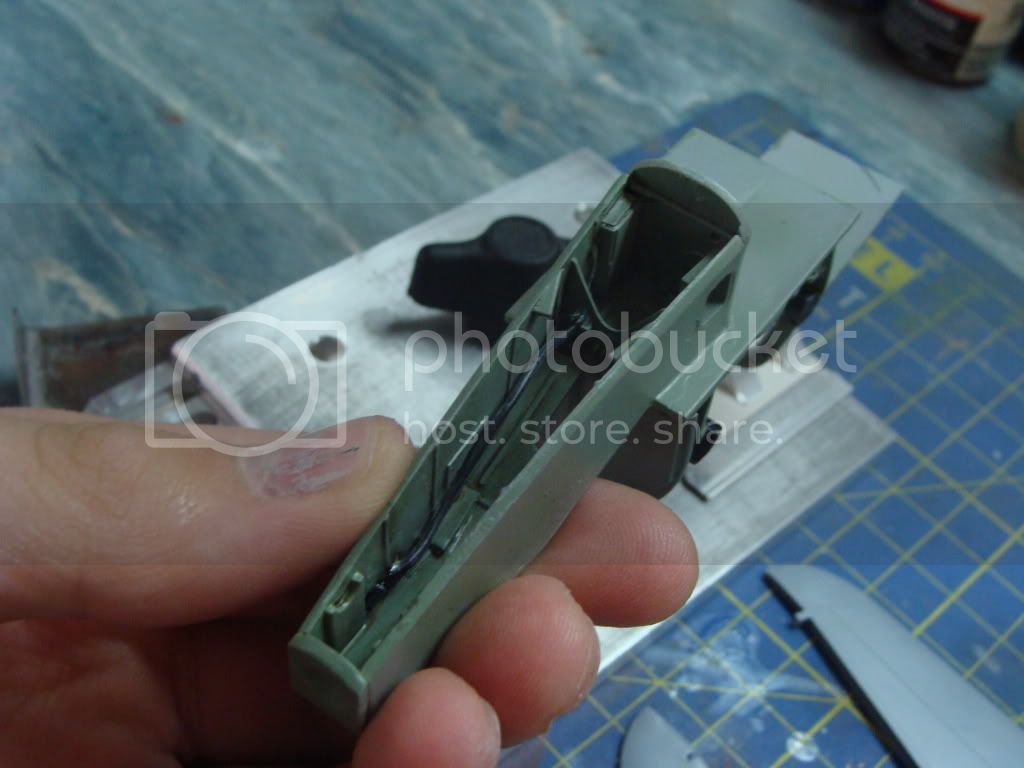
 ) Bomb. What color should I paint it
