Quoted Text
Now we have spent considerable time exploring the orientations, colour designations an covering methods of German 1917 -1918 multicolour printed aircraft fabric camouflage from the modeling point of view. Next "Lozenge Camouflage 201".
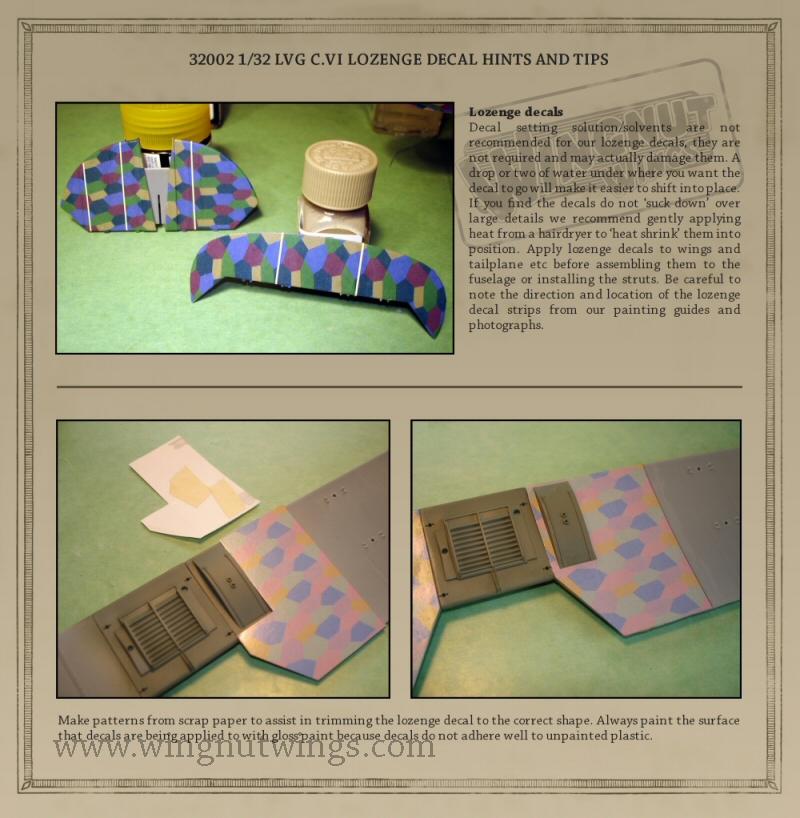
It is time we discuss the best method of laying down Lozenge decal strips and finishing them. This will be aimed as the first effort at the average modeler just learning to work with WWI aircraft models.
The focus of this thread will be to help modelers deal with various "Lozenge" decals available for scale model aircraft;
How to lay them down.
How to deal with surface obstacles.
How to ensure complete coverage.
How to repair in progress damage -patching.
How to finish the applied decals to simulate the look of the original in scale.
First a bit of a refresher. In the first thread we all learned that ;
"The official name for the printed fabric was Flugzeugstoff, originally developed under the name "Ballonstoff", because it was originally concieved to replace the highly visible yellow of the observation balloons.
The Vierfarbiger (four colour) Flugzeugstoff with the terrain camouflage, was the opposite to the more sophisticated Fünffarbiger (five colour) Flugzeugstoff of the NAK. The darker and cheaper dyes were used for the Fünffarbiger (5 colour) Flugzeugstoff.
. . ."
Then we began to discover how the fabric was applied and its orientations on original airframes. We talked about chordwise, spanwise and diagonal layouts. The bolt widths and the methods for the manufacture of printed fabrics of 19178 -18.
Now quick is the word and sharp is the action.
To start you will need tools.
A. Start with a purchase of 100 new sharp #11 Xacto blades. One or two handles for them is a gven. The reason for this is you should not concern yourself with the rationing sharp blades or having a dull one tear decals when in the middle of a project. If a blade can't cut a standard sheet of copy paper by dragging the blade down the edge of the paper its too dull.
B. Micro Set and Sol. I can't tell you how many 2 oz bottles of this stuff I have used over the 30 years, But it has to be in the hundred and fifty range. Set provides a mild Glacial acetic acid (smells similar to vinegar). This gives a goos uniform coverage to bond the decal to the required surface. Sol softens the decal to conform to the model's surface.
C. Spray cans of clear gloss and flat are major components to the process. I use Testors brands and have never had any concern about yellowing in 30 years.
D. Filtered warm water. You have all seen the scented oil candles on an electric warming base. The base can hold an 4 -8 oz glass ( clean jelly jar ). My advantage here is that I have a water filtering system on my house and don't have to purchase filtered water by the gallon at the grocery store. Filtered water has most or 99.9% of the minerals removed. Minerals in the water are harmful to decal adhesion.
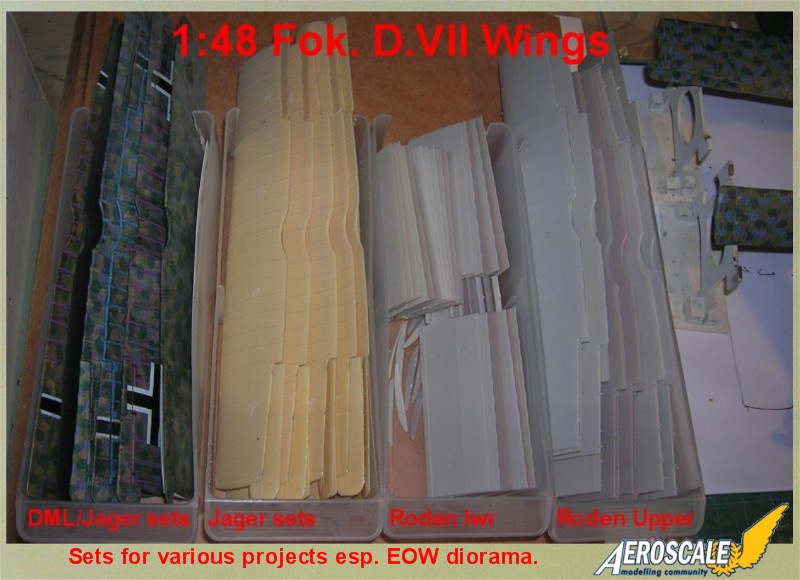
E. Old spray can tops to rest projects on while the decals cure. I have some small stands that I have left over from wing support projects. Note the cut lozenge strip under the cradle for the top wing.
F. Tweezers both sharp and blunt types.
G. Optivisor, strongest power you can buy.
H. Steel 12 - 16 inch ruler.
I. Two - three sheets of each kind of "Lozenge" you will use. So you have to know what you need for a specific project.
J. Flex file. See here.


