After reading up a bit on the DH2 I finally plucked up some courage to actually start building.
I've been seriously impressed with the efforts of some of the other members on this craft from both Eduard and Roden kits (Though how anyone can do so fine work in scales below 1:32 is beyond me).
This will be the very first pushertype I do, and the first real stringbag as well I think the most difficult kit I've done riggingwise before, is the SE5a, and the Sopwith Camel...
Taking a leaf, from among others, Kornbeefs book, I decided to make things a bit harder for myself, just building and rigging would not do no Sir!
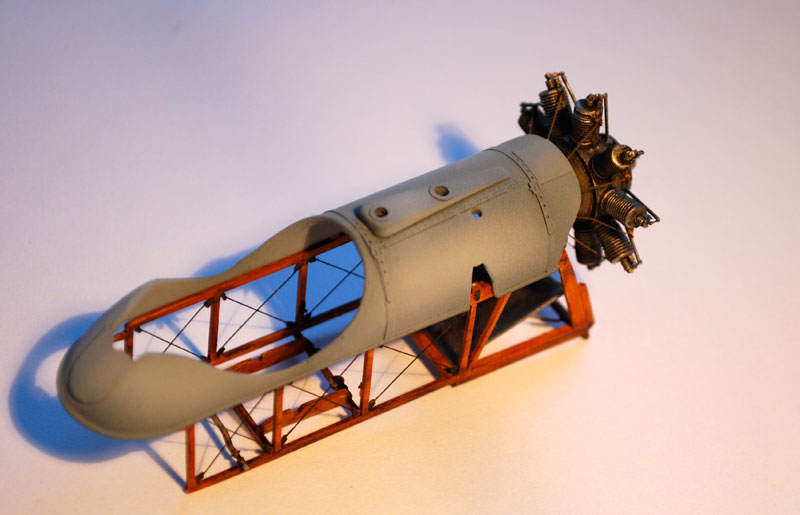
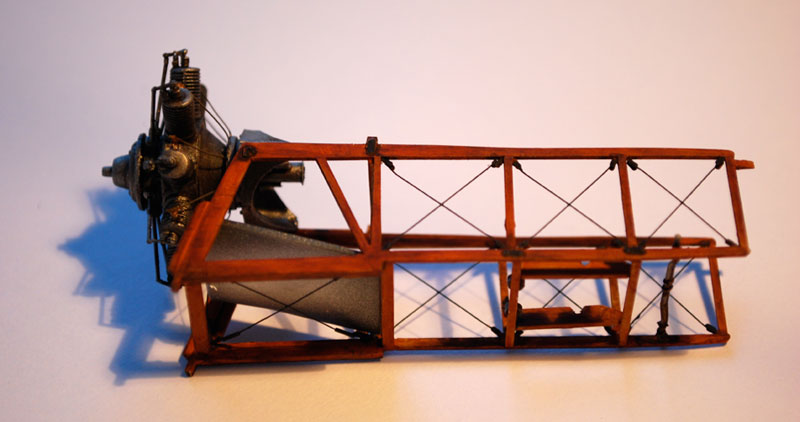
I want to show off the internal structure a bit more, so I've made a decision to show one side of the narcelle sans fabric. This means building a new frame, and deconstructing the kitbits a bit here's how I'm doing at the moment...
Chopping up has begun...
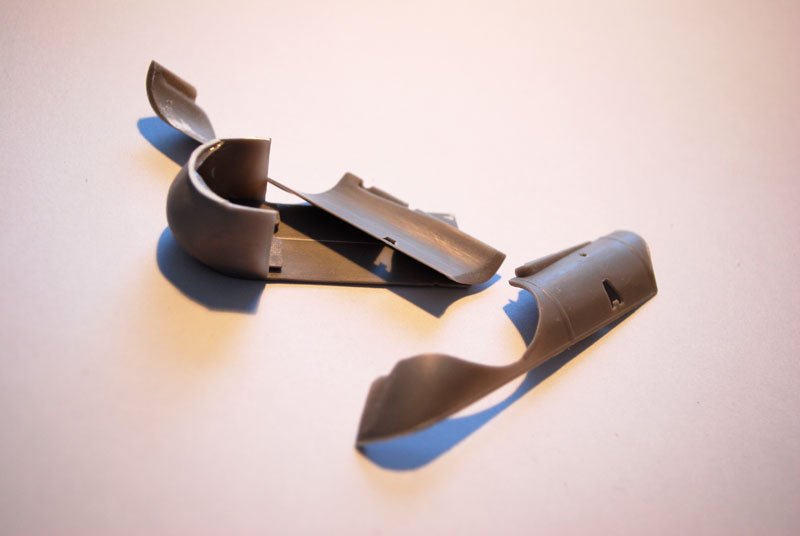
Then I decided to chop some more, and also thin everything down a lot my fingers still feel sore from all the sanding.
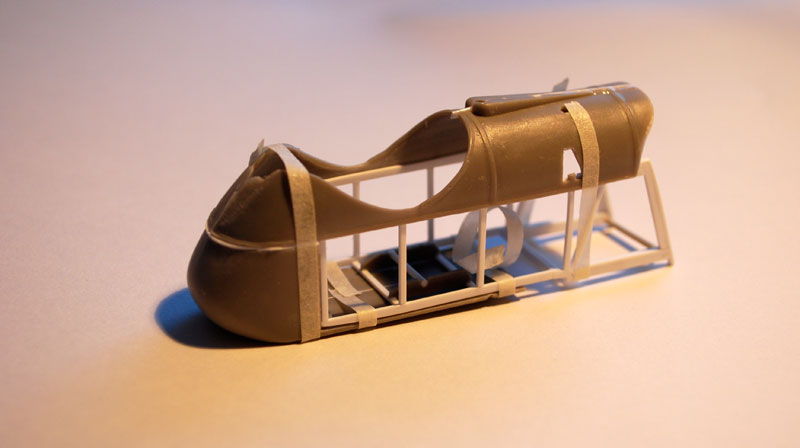
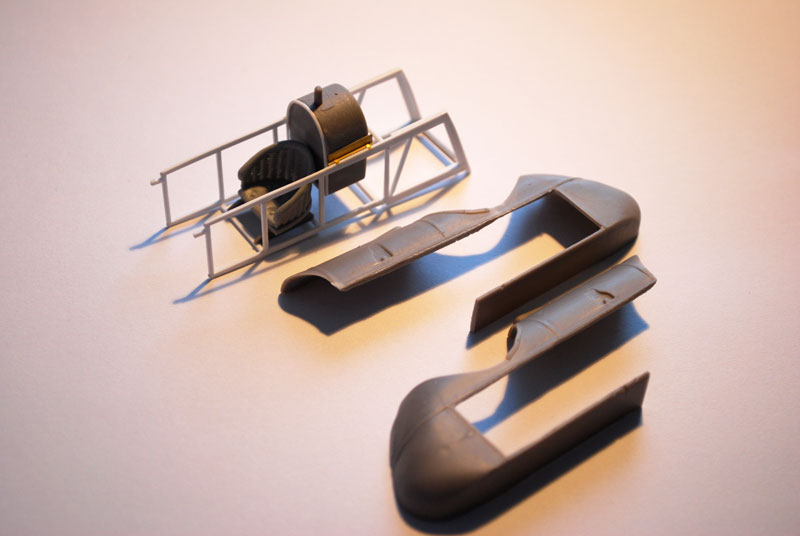
Testfitting the "new" bits together with the frame looks like it could work...
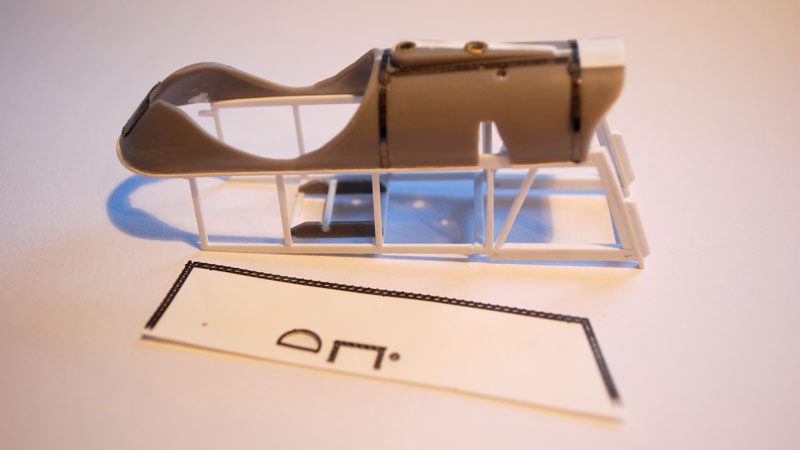
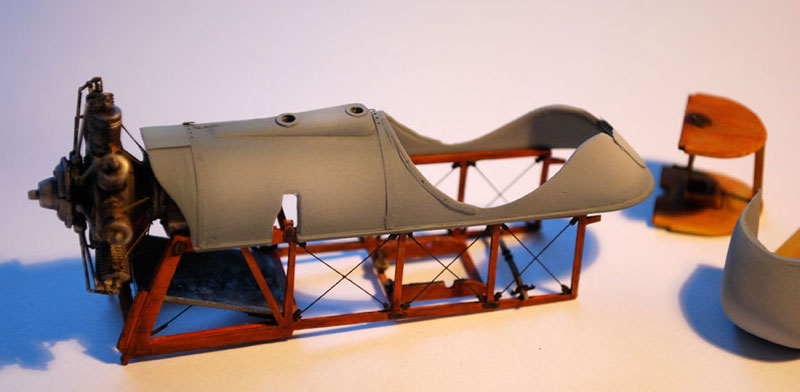
Here's the top parts a bit more detailed up, and the new fabric side cut to size and detailed (I'm using Eduards etchset here) I will try to represent wrinkles in the fabric by burnishing the thin plastic sheet foil just was to flimsy to work here.
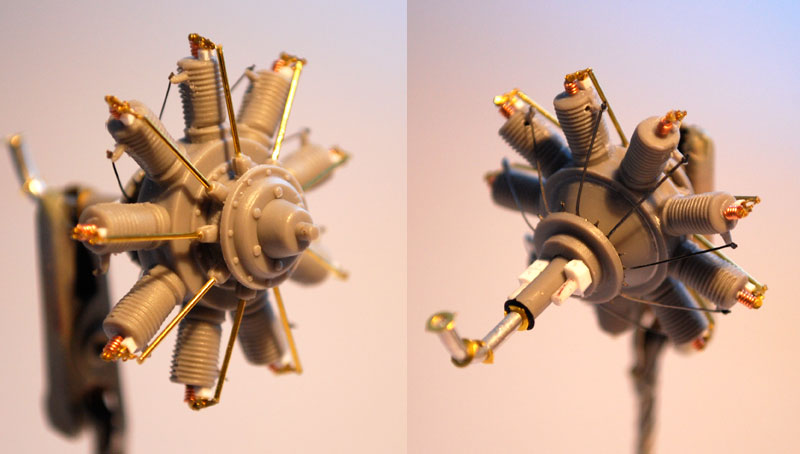
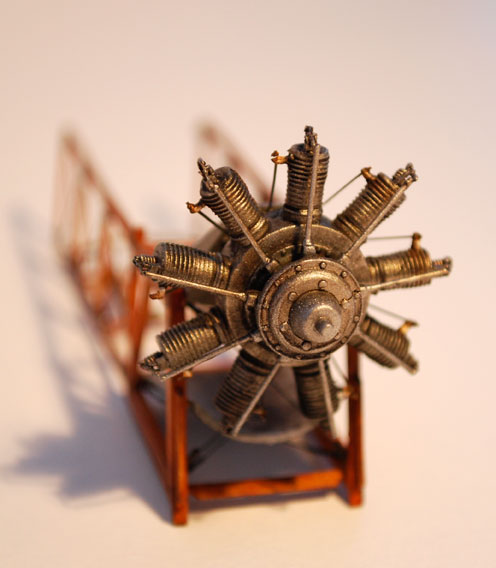
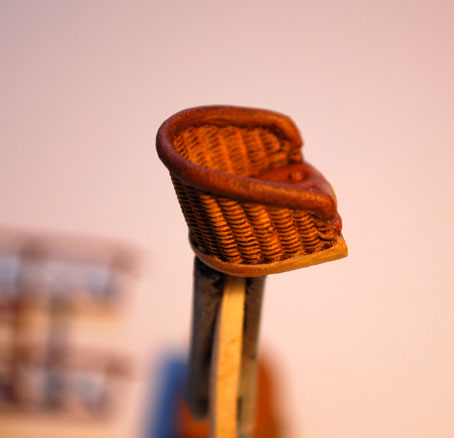
As the engine will be very visible I decided to dress it up a bit new valve springs from a brass set i had handy, pushrods were exchanged. I also decided to represent the airintake, carb, and oilpump on the back of the engine plate... I plan to connect pipes from the tank, pulsator etc to here as well.
Well looks like I'm on a new journey into the slightly unknown thanks to the influence of you Aeroscalians

Thanks for looking any and all comments are as usual most welcome
Mikael