

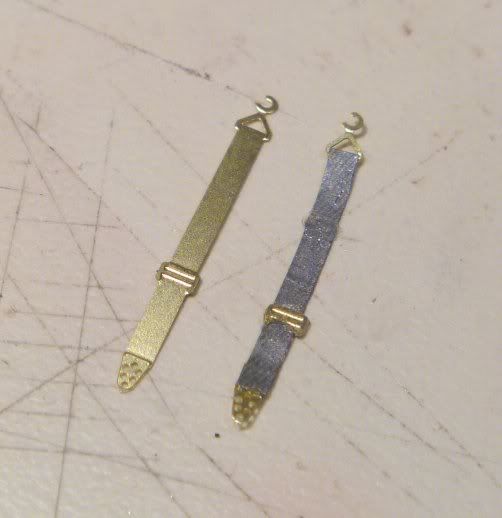
 Great Wood effect. I like the top version. As was noted, you can always add, hard to tone down.
 Best
Mark


 Great Wood effect. I like the top version. As was noted, you can always add, hard to tone down.


but happy AMS if you havent.... laughs demonically
 ... If you are ever in Jersey we should have a beer

 It seems many of us will be able to learn from your build!


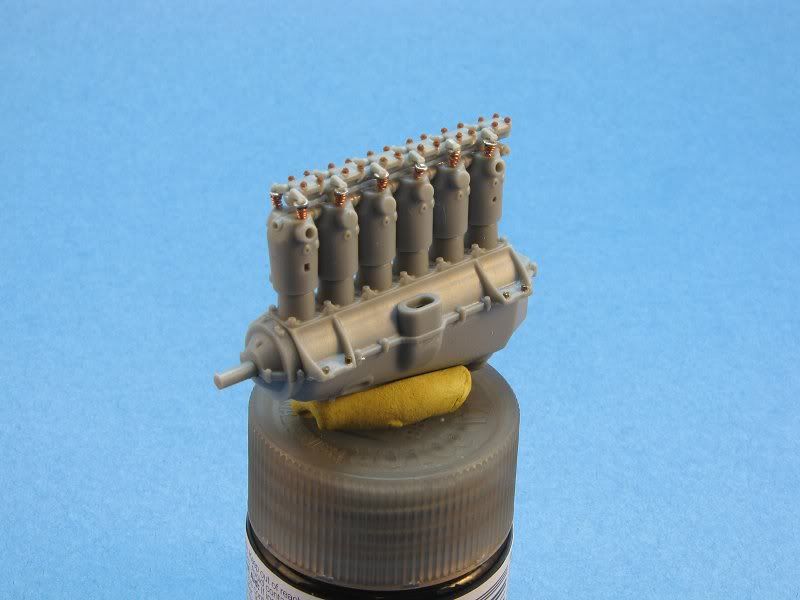
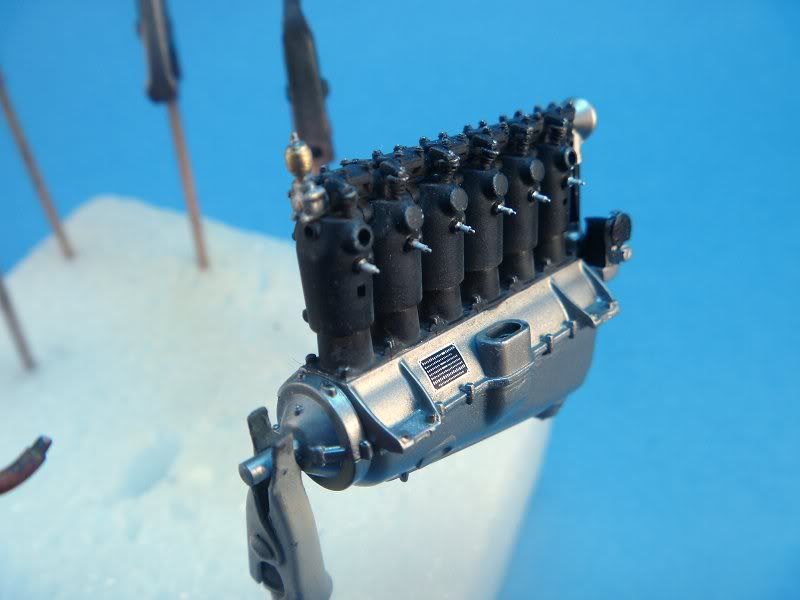
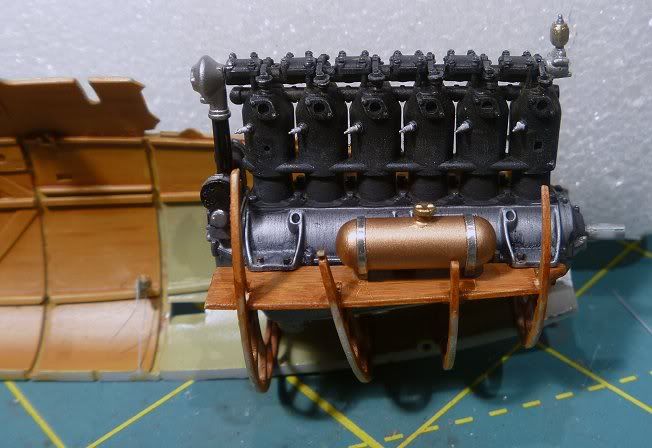
 Your details to the engine are really noteworthy and add so much to it.
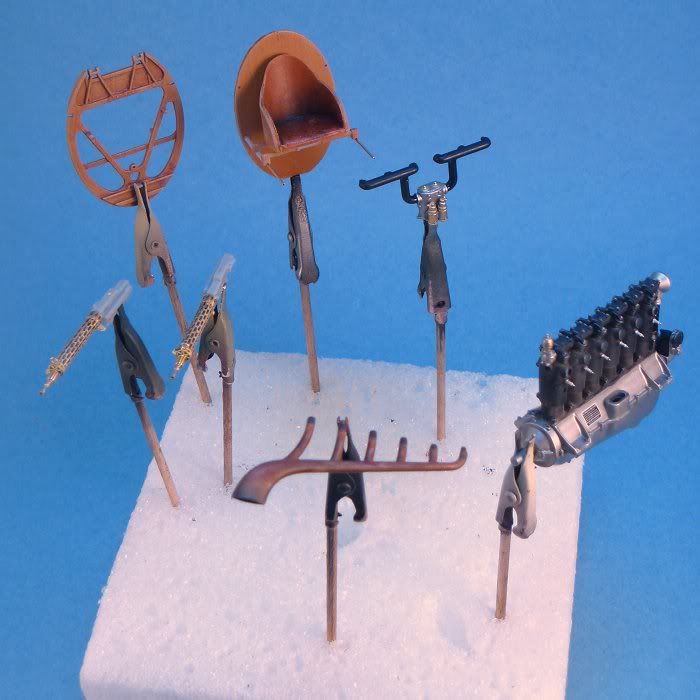
Thanks Lance I appreciate the comments.
The place is R.B. Motion. It's all car stuff but I have found lots of uses for some of his stuff.
RB Motion
Check out Scale Hardware
for other great stuff.
Marc,
Thanks for the info; I've had a look and there are some useful thingies there for sure. I'll be placing an order shortly.
Cheers,
Lance
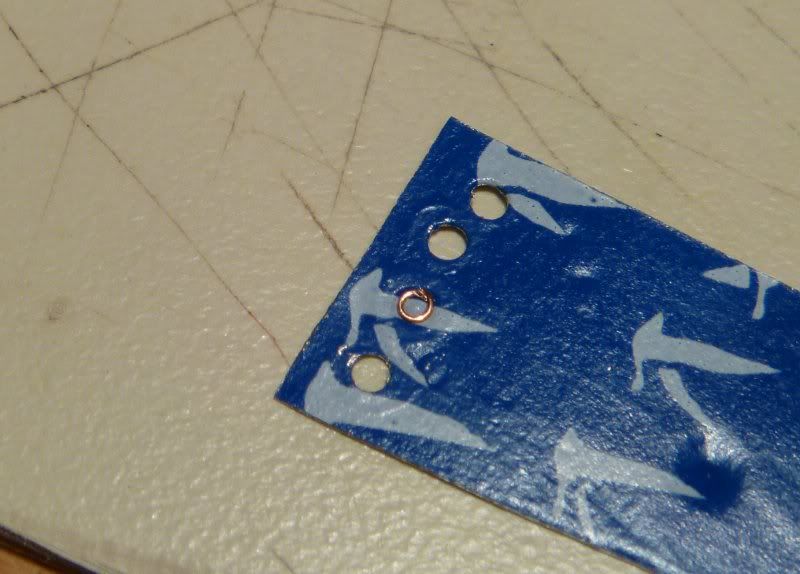
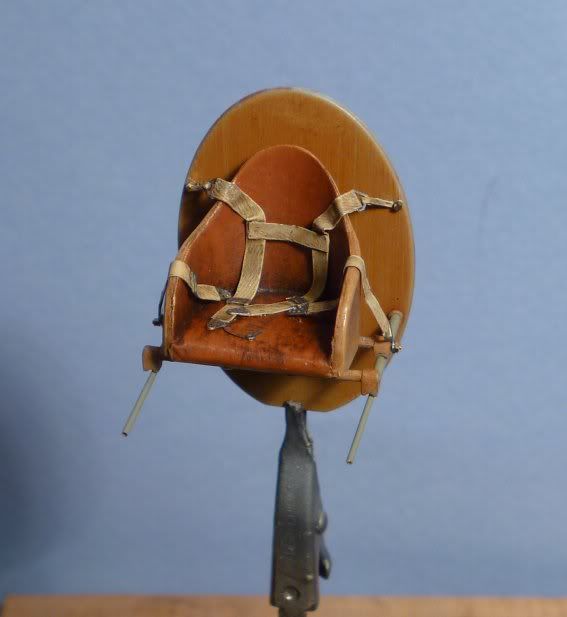
Those plugs are neat! The lead foil when painted really looks like fabric, the way they lay and all that is really neat. It's all looking outstanding.
 Hi Marc:
 |


