Hi Folks
Been busy finishing some other projects. progress on the Skyshark to date.
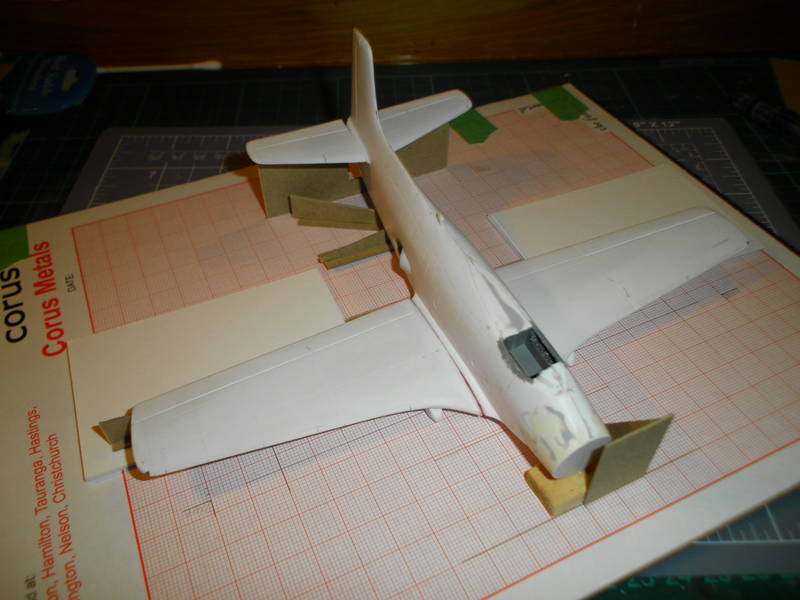
Assembling the components. A basic jig to keep everything in alignment prior to committing to glue. Graph paper and cardboard thingamejigs help here.
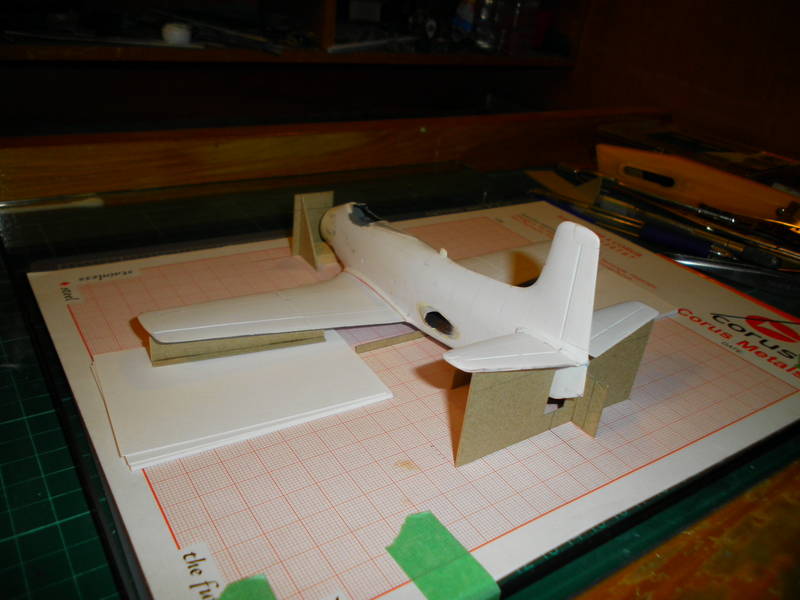
Lines drawn at strategic places help the eyeball get a feel for where the mating surfaces may send things out of whack. Everything is set from the fuselage centreline with perpendicuar lines for wing roots, wingtips etc.
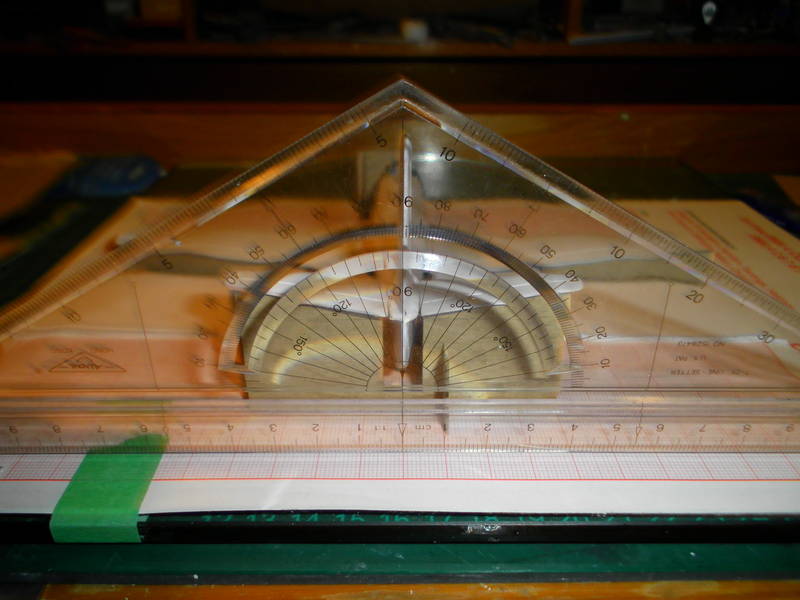
Of course the most important point is that have the fin vertical, which can be quite an act at times. Still not quite right here.
Filling and sanding. A bit of effort required under the port wing root as the bottom of the fuselage isn't flat. Copiuos sanding meant I blew through the plastic, more filler, more sanding, more filler, more sanding...i think you get the picture.
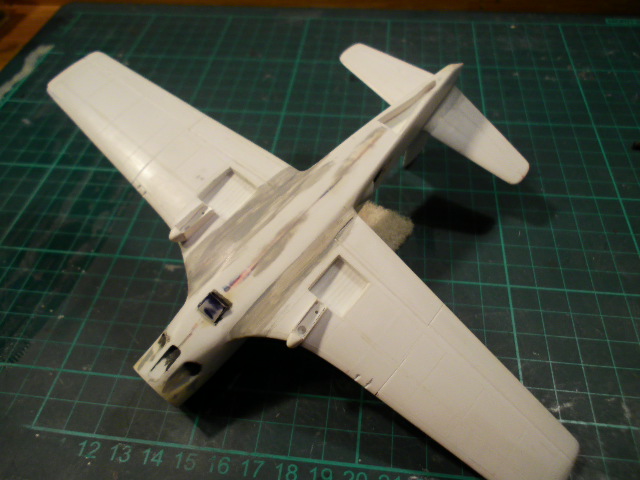
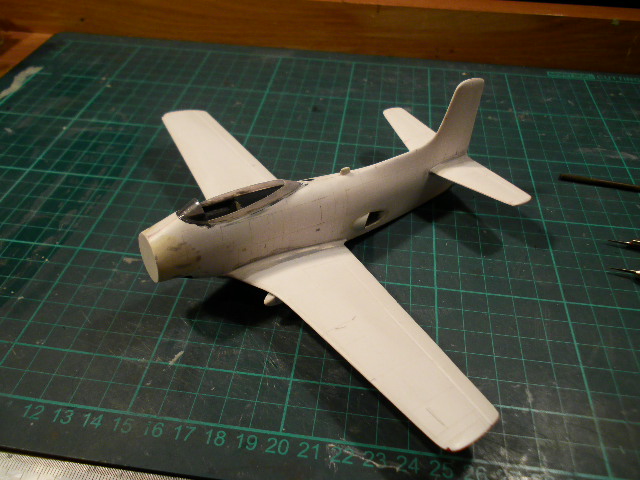
All done, starting to look like a Skyshark now
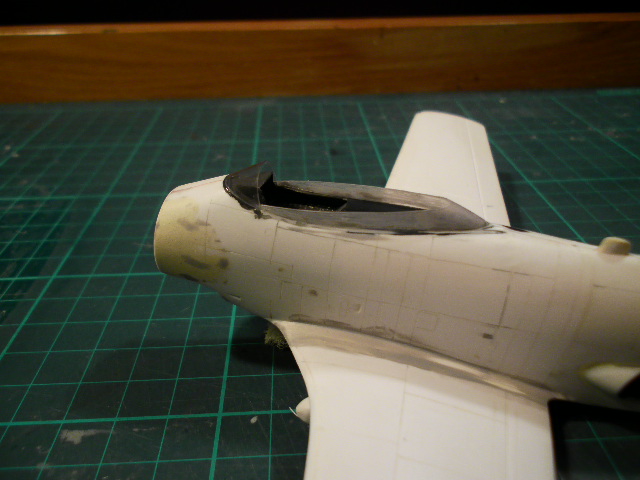
To open the canopy requires the kit part to be split into three pieces. Not sure why Rareplanes did it this way as the carving was a challenge. The foggy appearance isn't a concern as this piece is solid
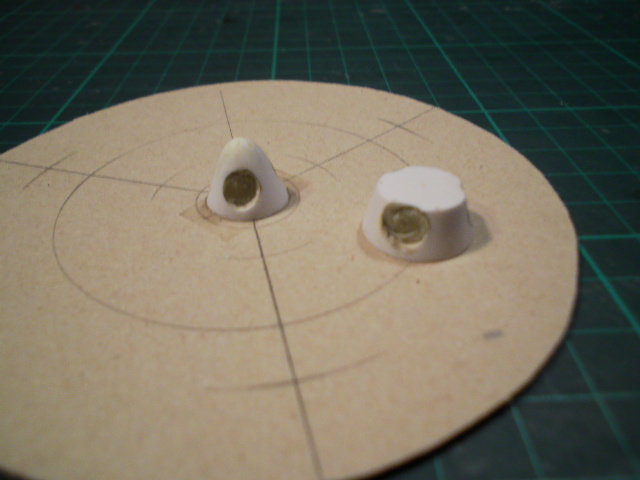
I told you I would make a hash of the spinners. After a couple of attempts to correct my errors the holes have now turned oval. Time to refill with milliput and have another crack. This time a friend has lent me his Dremil drill press. Hopefully that will hold things steady rather than holding onto battery drills by hand (Thanks John)
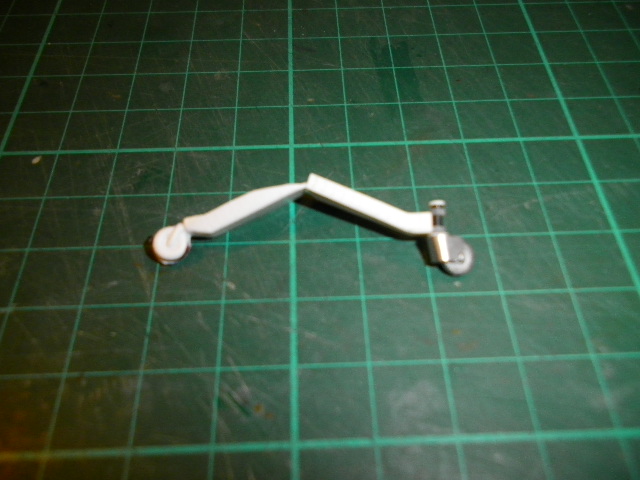
I decided to scratch built the tailwheel assembly as the kit part wasn't up to the task. This was my first attempt which I was pretty please with. (sorry about the poor photo). This has been biffed as it is too big being closer to 48th scale and another has been made. This time I had to build the wheel as well and again I was able to surprise myself with how well it turned out.
Work continues - onto painting soon