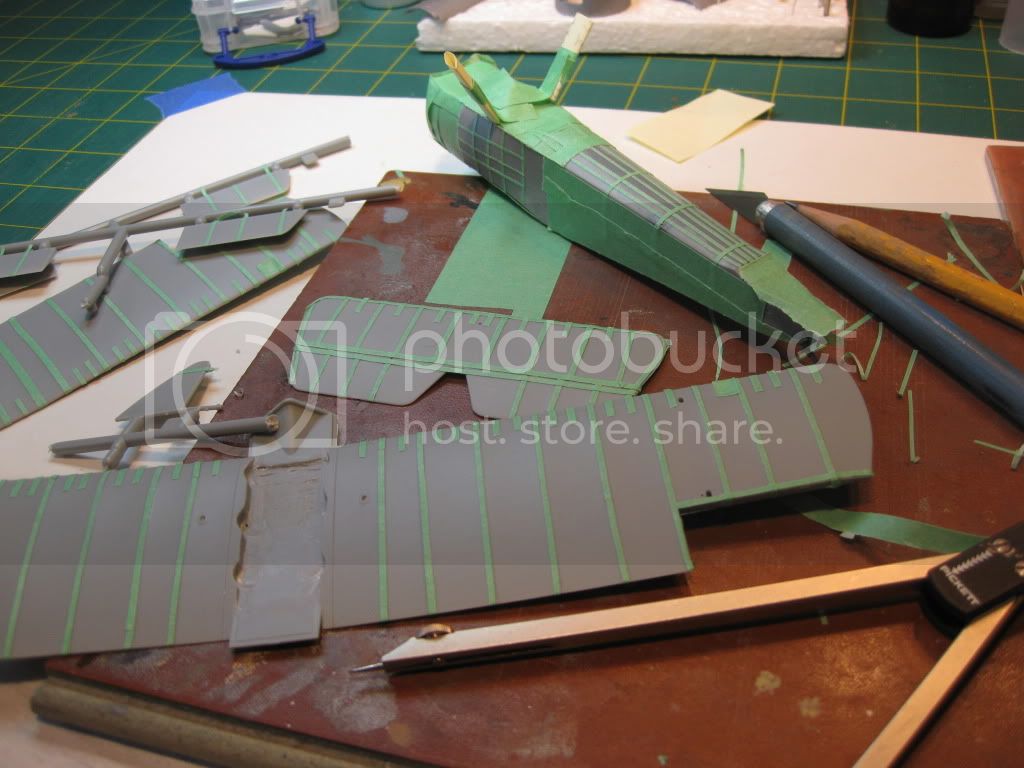
Here we go with the first real posting and evidence of progress. In my typical fashion it's all about "one step forward, two steps backwards " but overall I'm really enjoying this kit, nice to work with real quality.
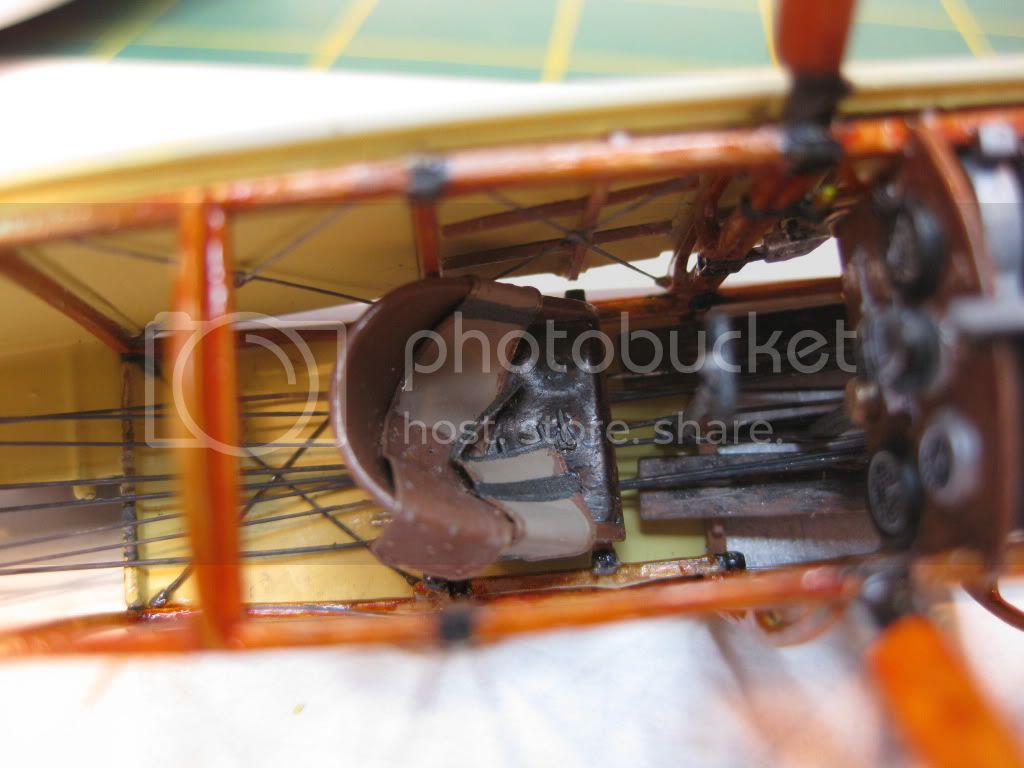
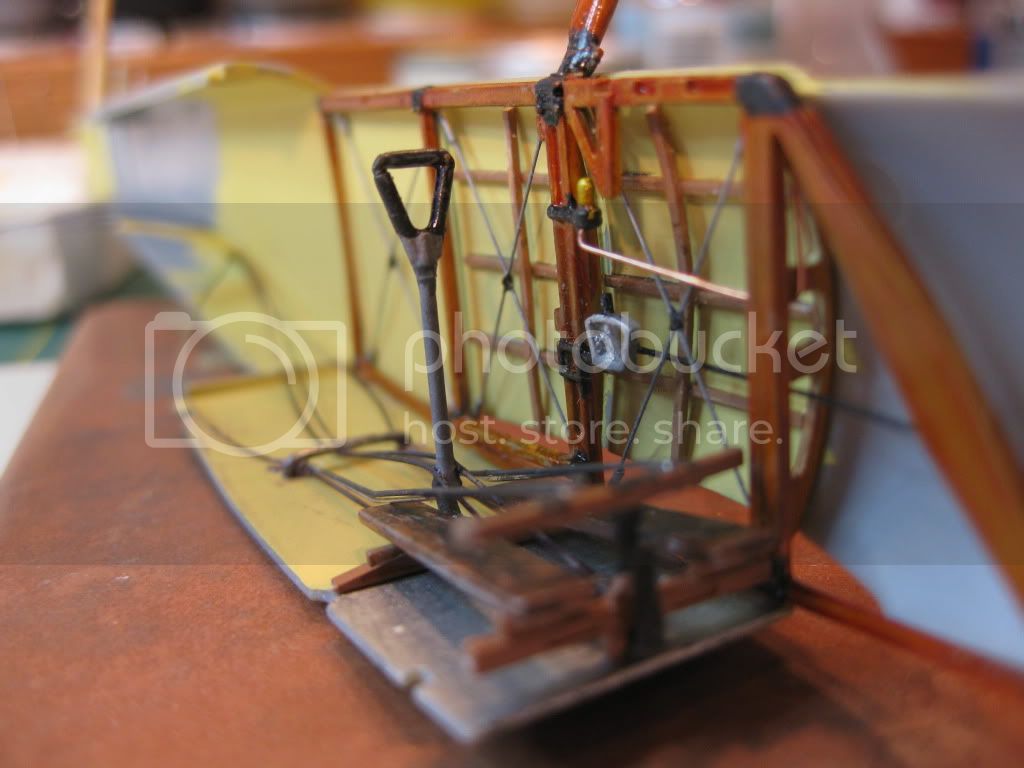
First, all the various components of Phase One. I added strip styrene stringers to the inside Fuselage walls and followed with the wire bracing complete of, course, with Mr. Bob's wonderful buckles. At this point I started the cockpit module and the rigging of the flight control cables using a combination of mono and guitar wire for the shorter runs.
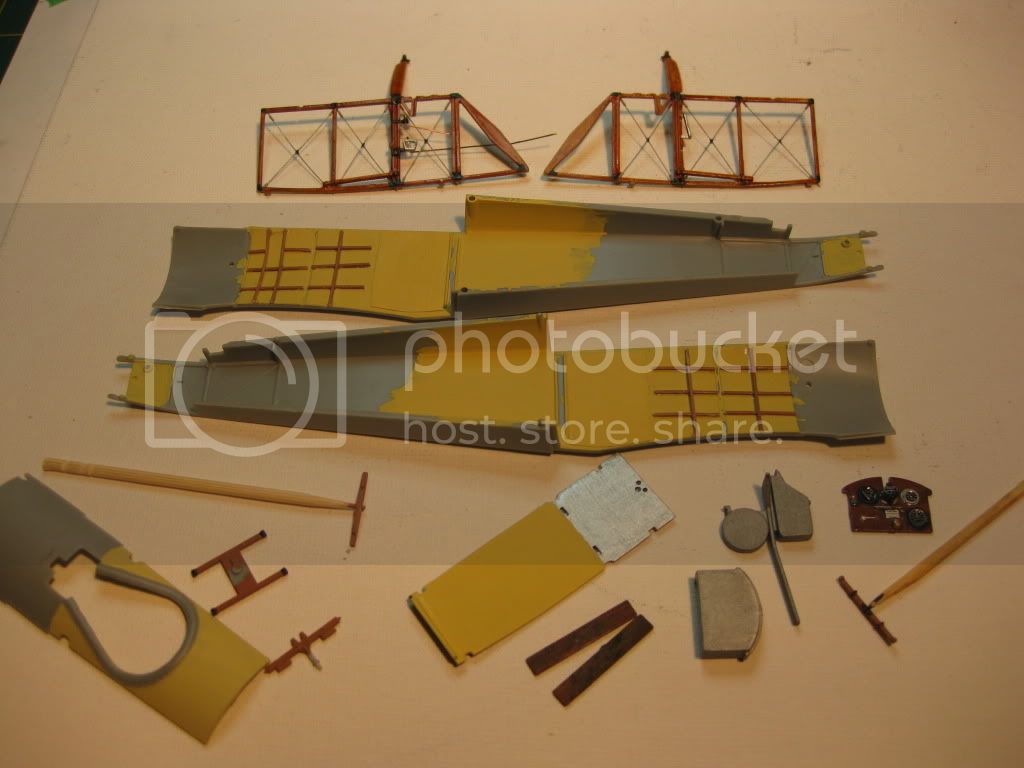
The instrument panel proved a real little jewel; after gathering all the photo etch I had on hand to enhance the bezels etc. it proved to be just fine or better with some careful painting, a testament to the quality of the kit's moldings. All the after-market stuff was returned to the assesories bin. I must add that the instrument decals were top quality and with a drop of future for the glass the instruments look very real.
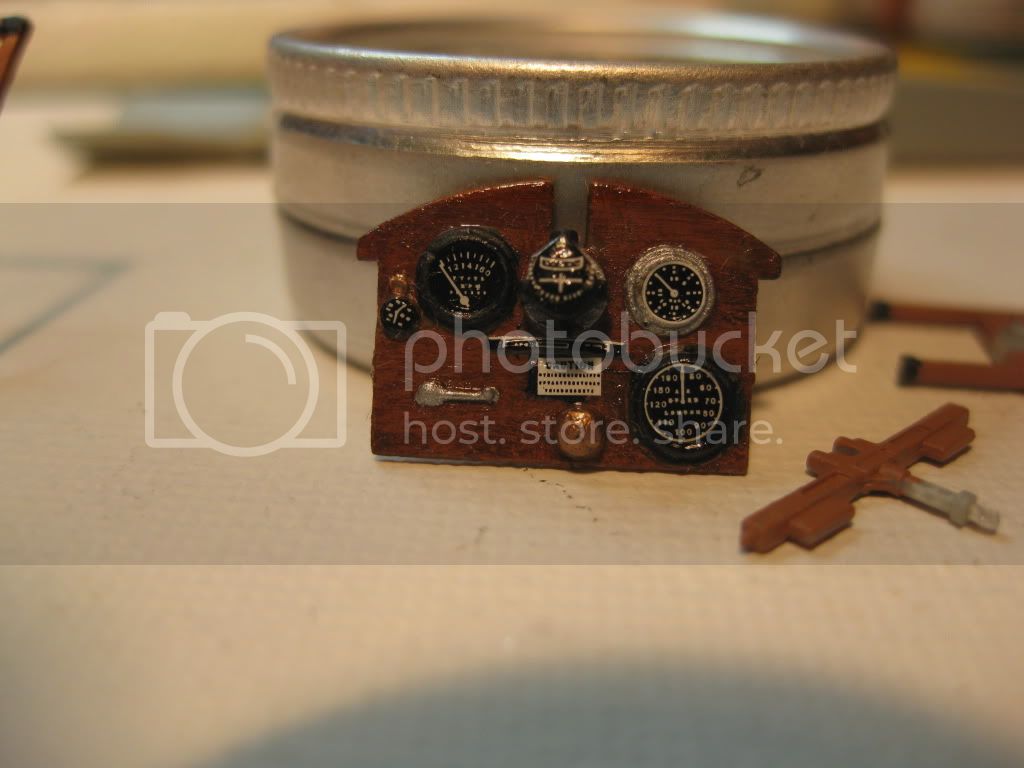
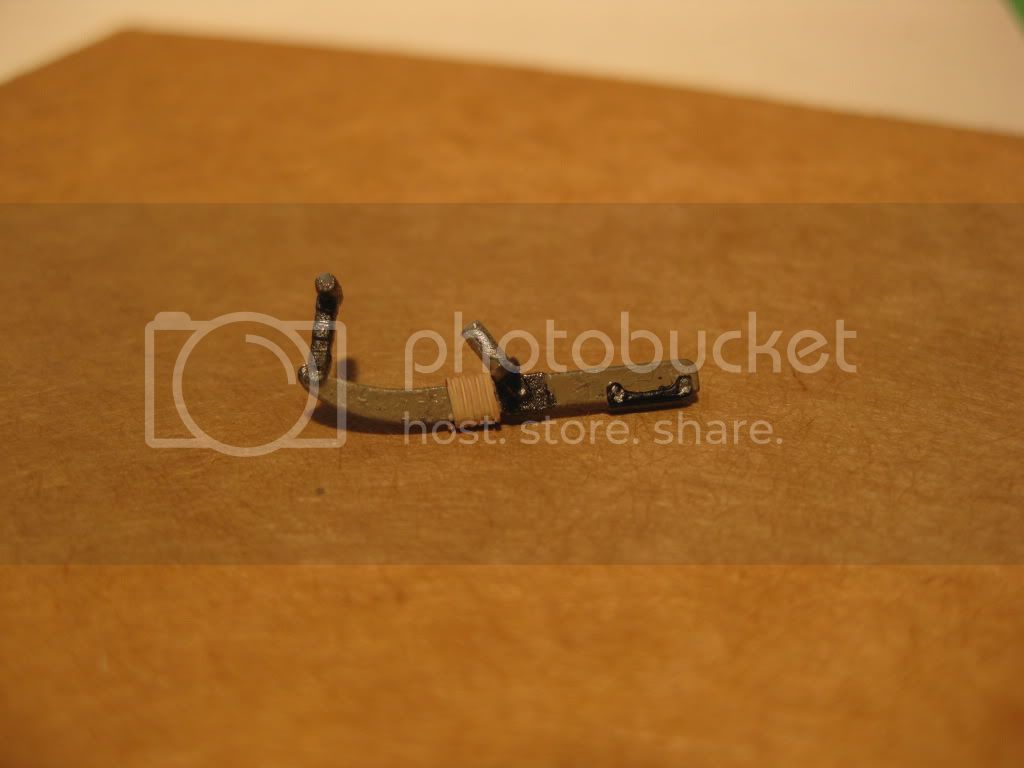
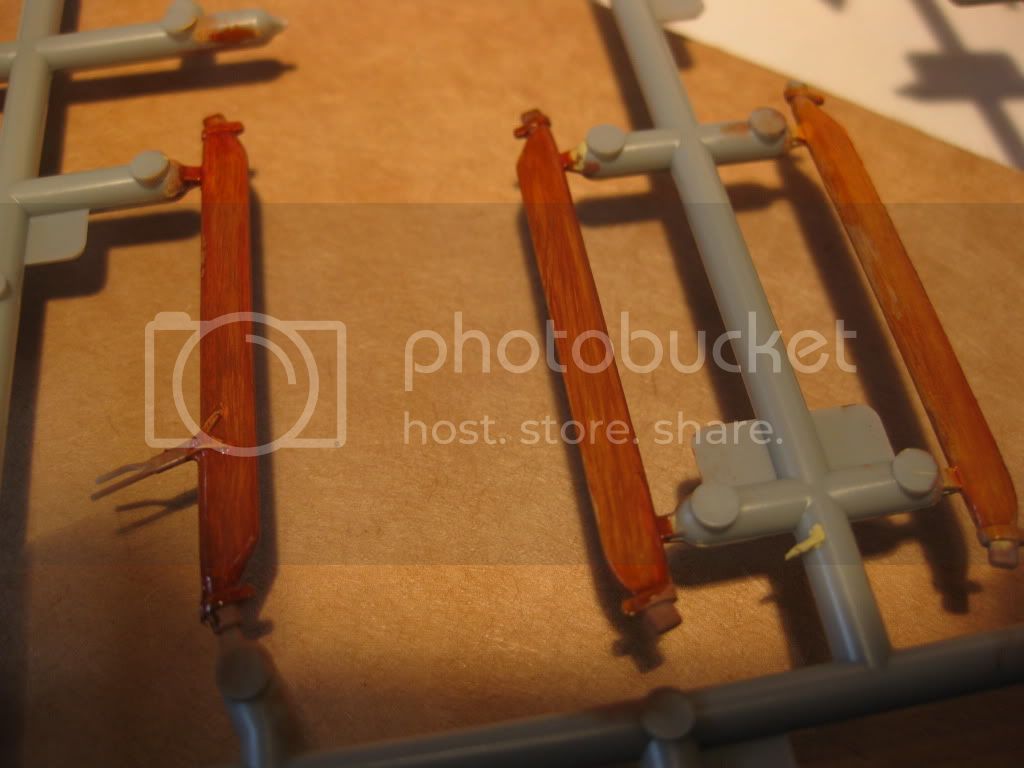
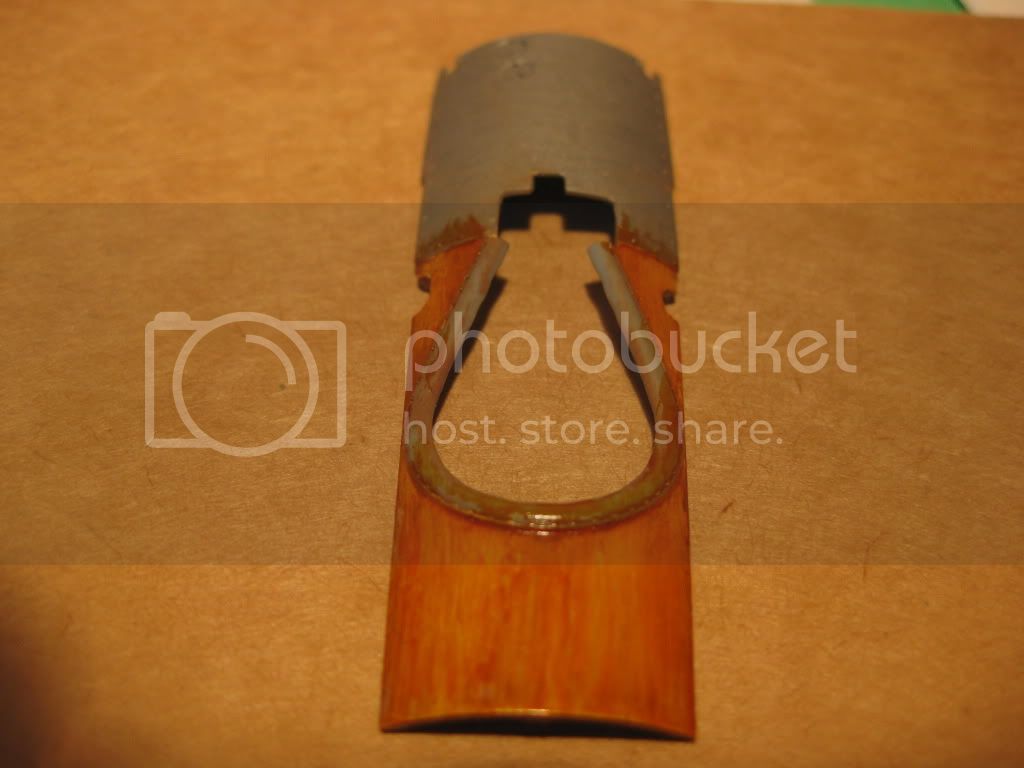
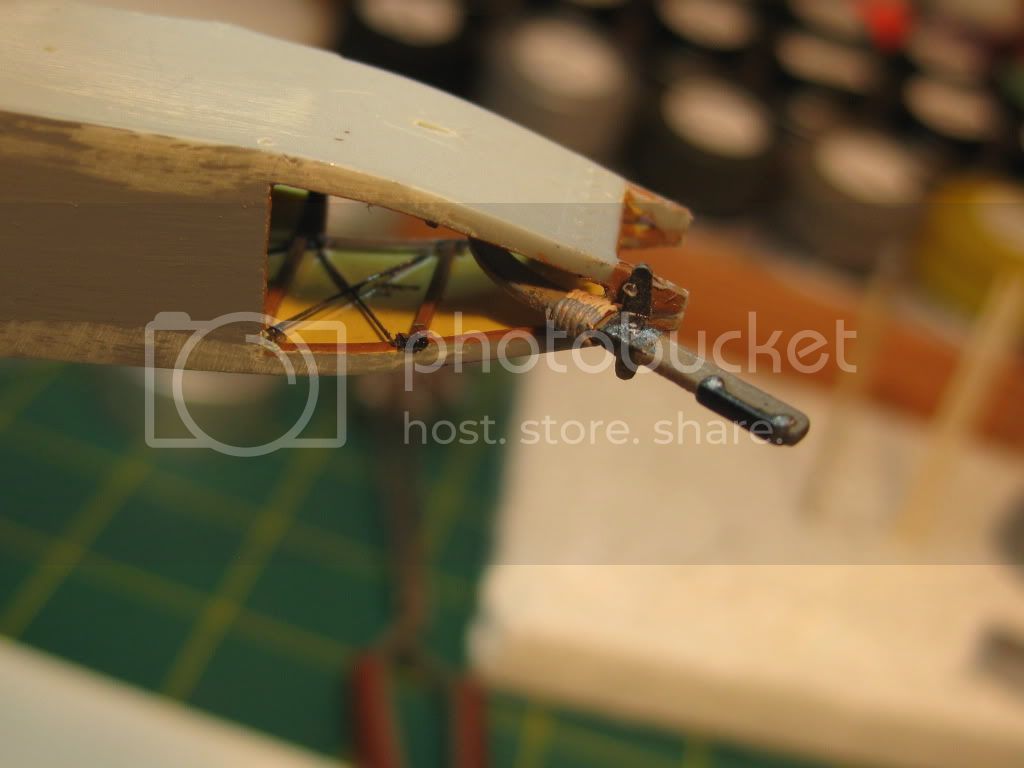
The left side fuselage frame in isolation and then posed on the fuselage. All I had to add was the throttle to engine linkage and a copper line to the instrument above the throttle. Anyone know what it is? In any photos I have it kind of looks like a fuel filter/sight bowl like on the farm tractor I drove as a kid??
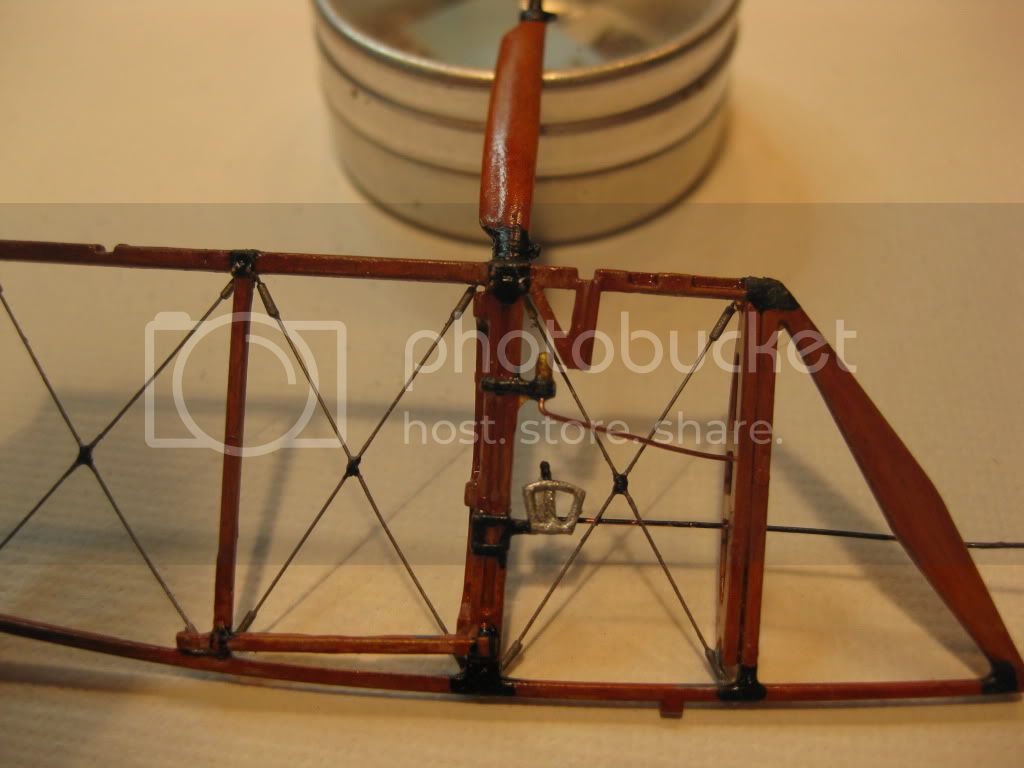
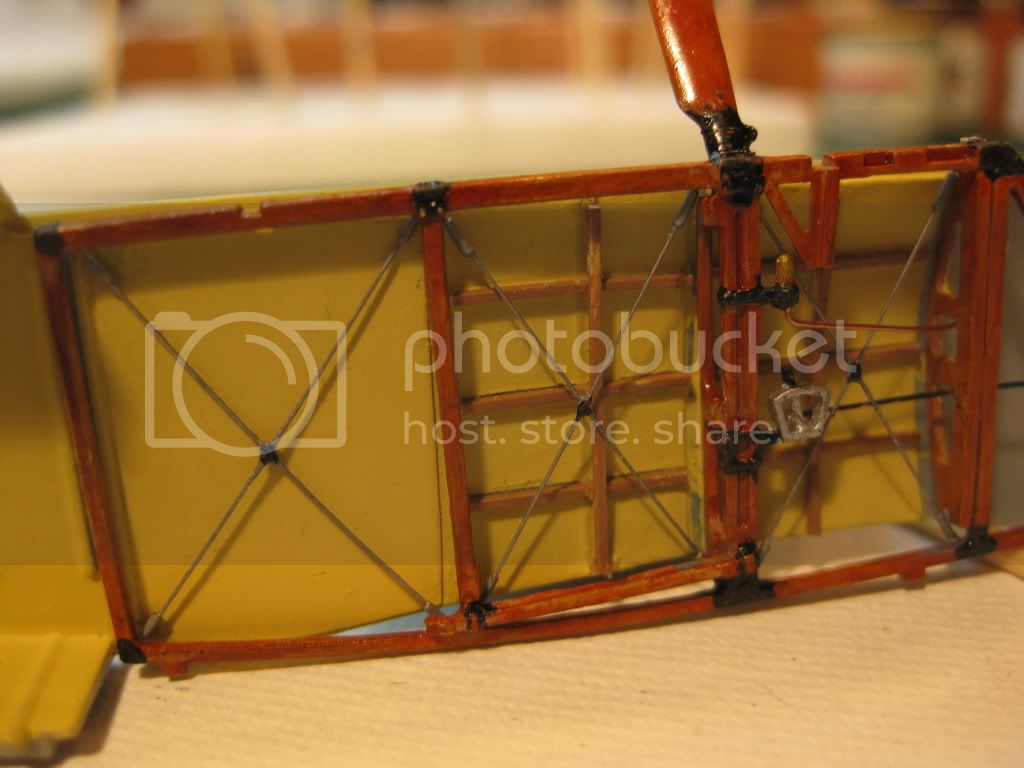
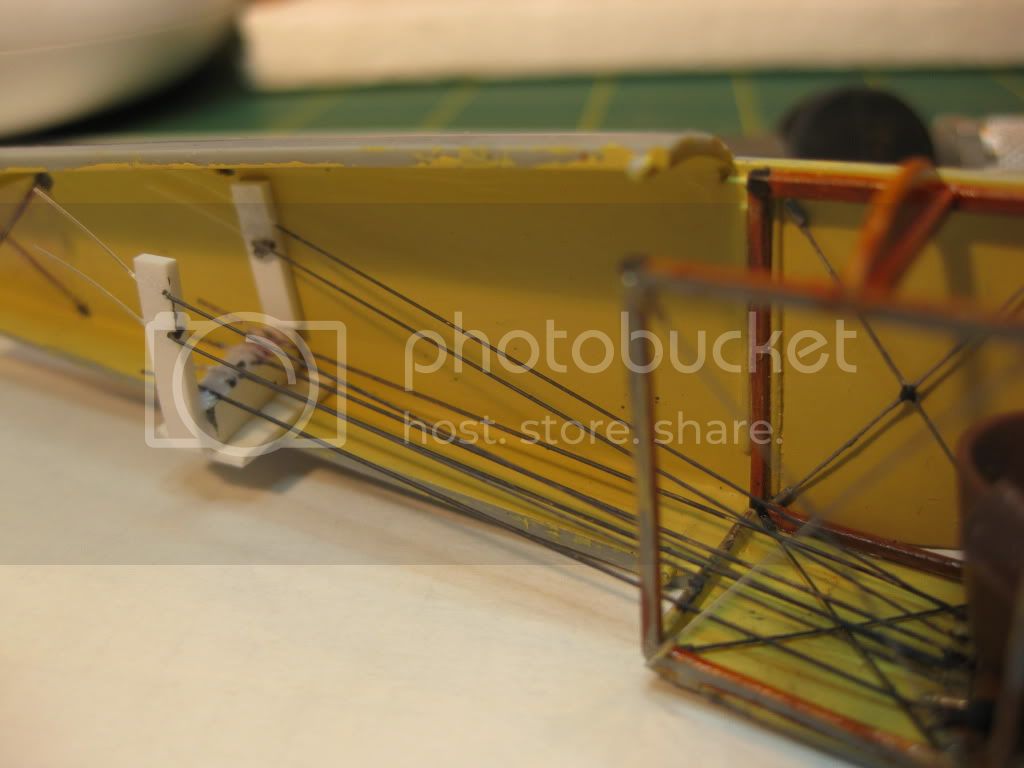
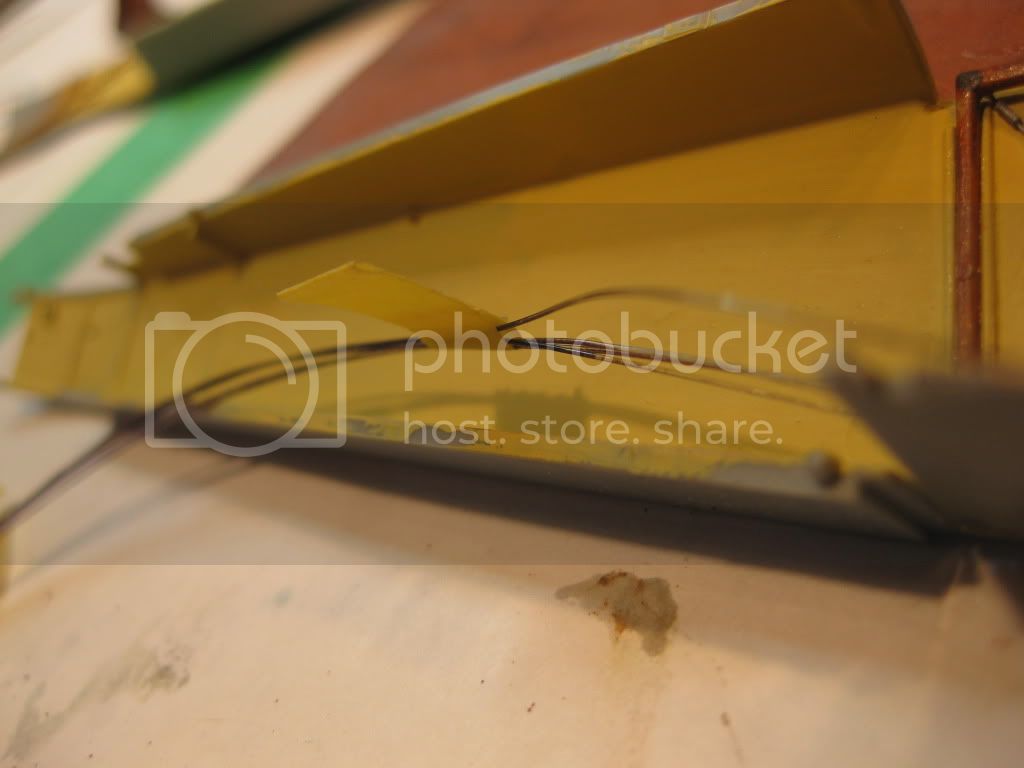
The various control components were installed on the floorboard and cables installed. At this point I mounted the left side frame on the floorboard and then mounted them on the left fuselage side. Lots of fiddleing to get around the extra width caused by the bracing wires, note to self to mount them INSIDE the frame members on future builds!
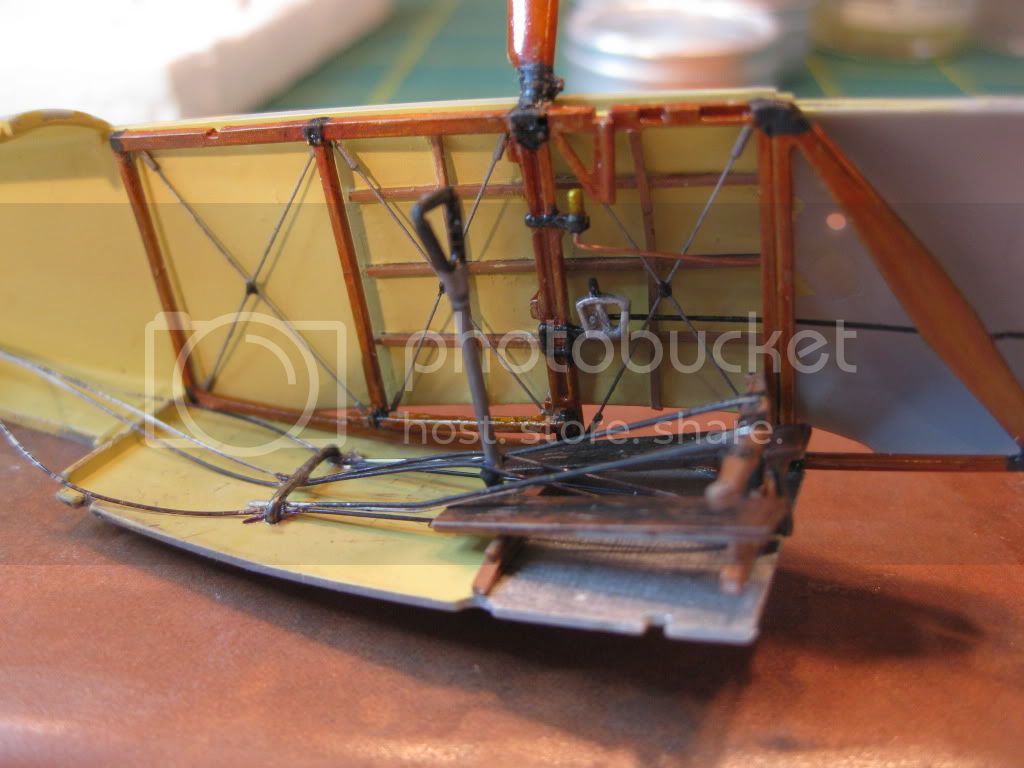
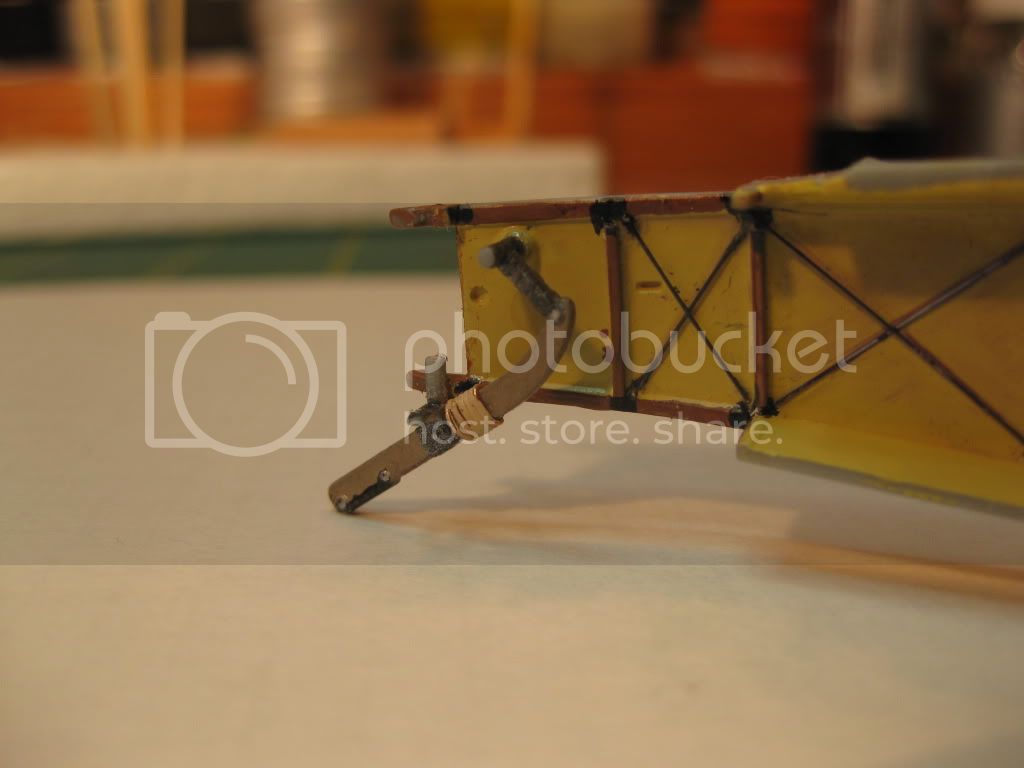
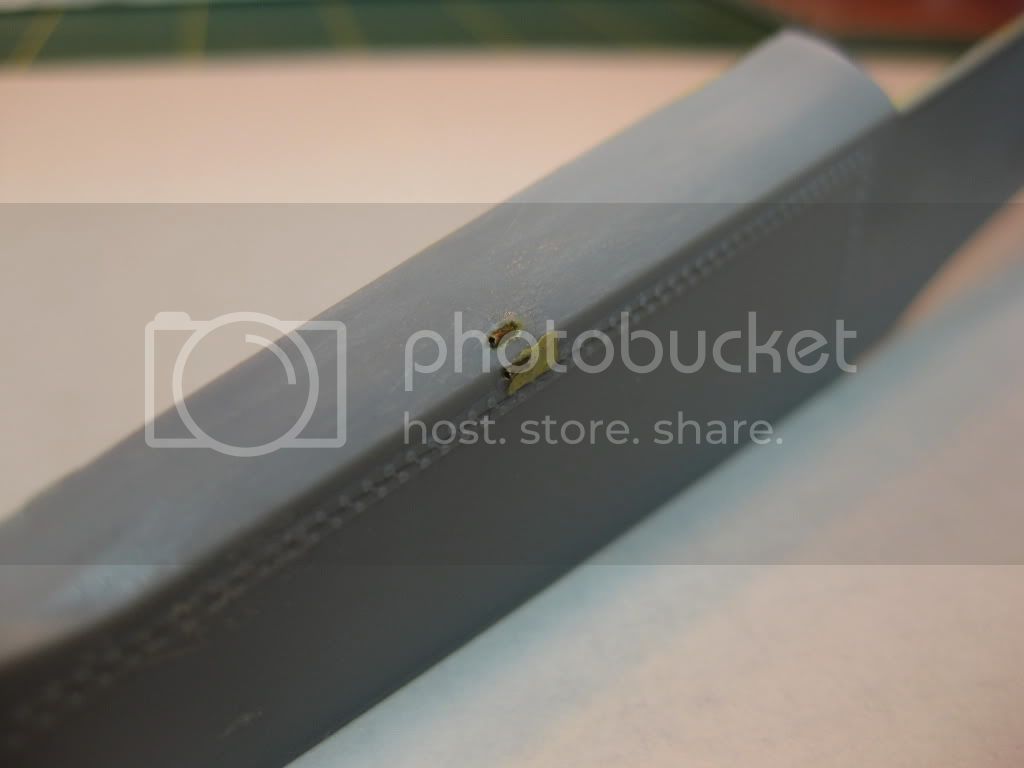
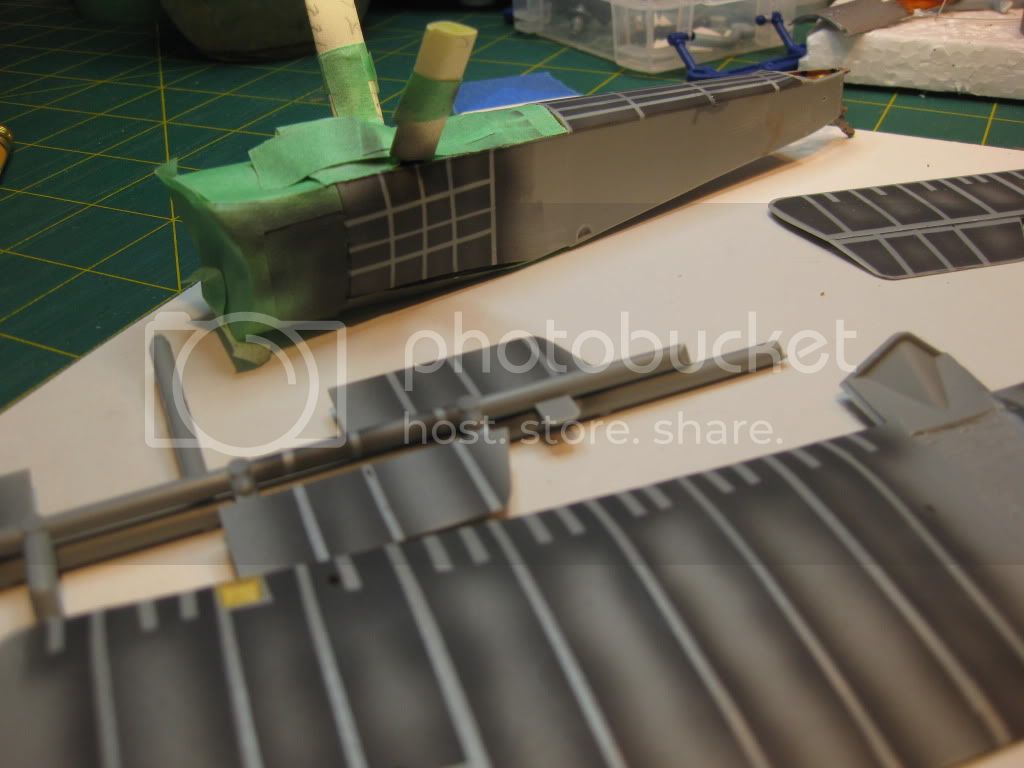
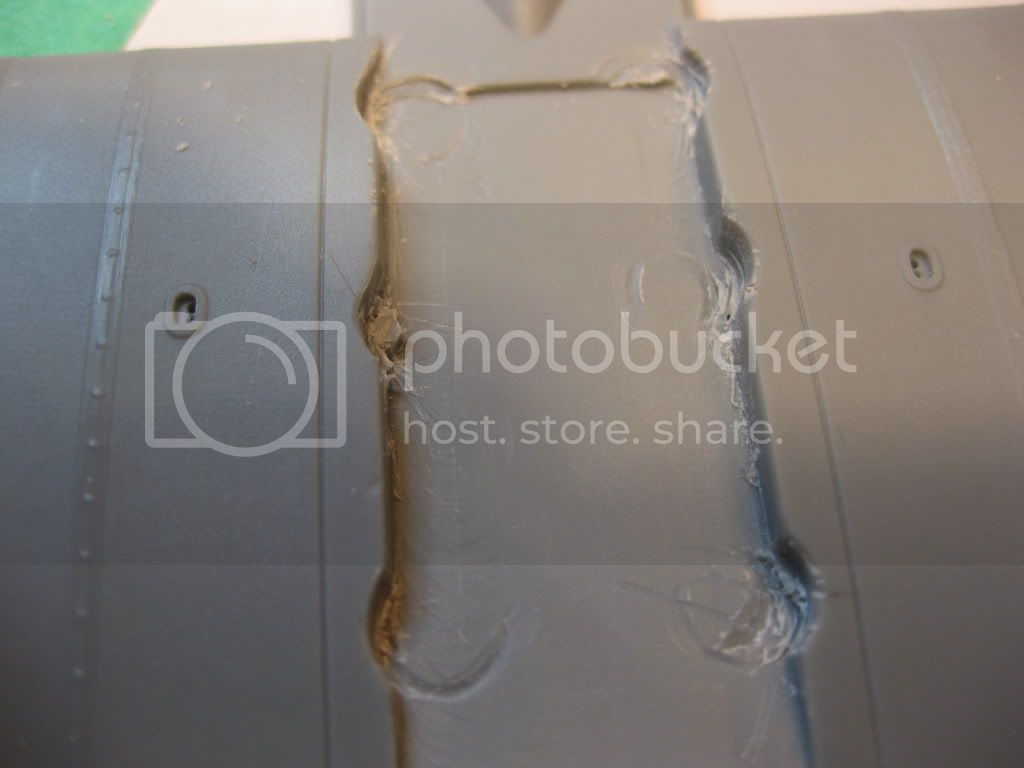
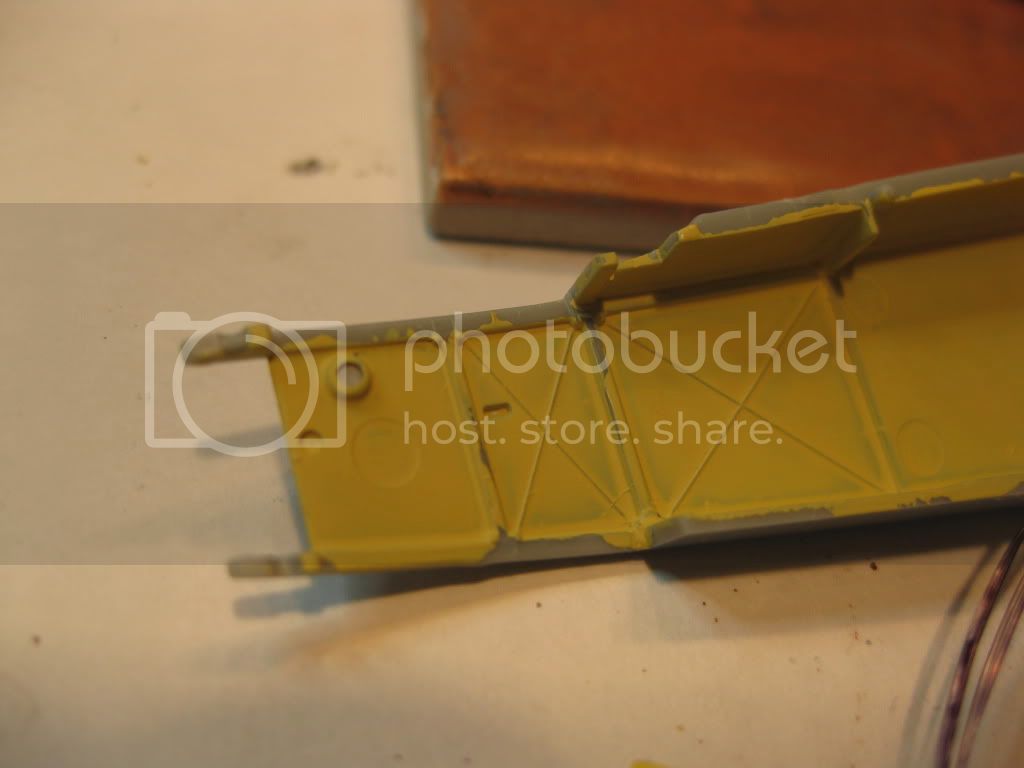
At this point the rapid and smooth progress bubble burst; the test fitting of the right side frame and fuselage member to the lower wing attachment proved problematic due to the slight increase in the width of the module caused by the bracing wires. The problem got fixed with a long combination of careful filing of the wire attachment points on the outsides and a Dremel frenzy on the lower wing "pocket" to accomodate the slight protrusions still there. This allows the wing to fit properly and the fuselage halves to mate as well with only a bit of filling once I button her up.
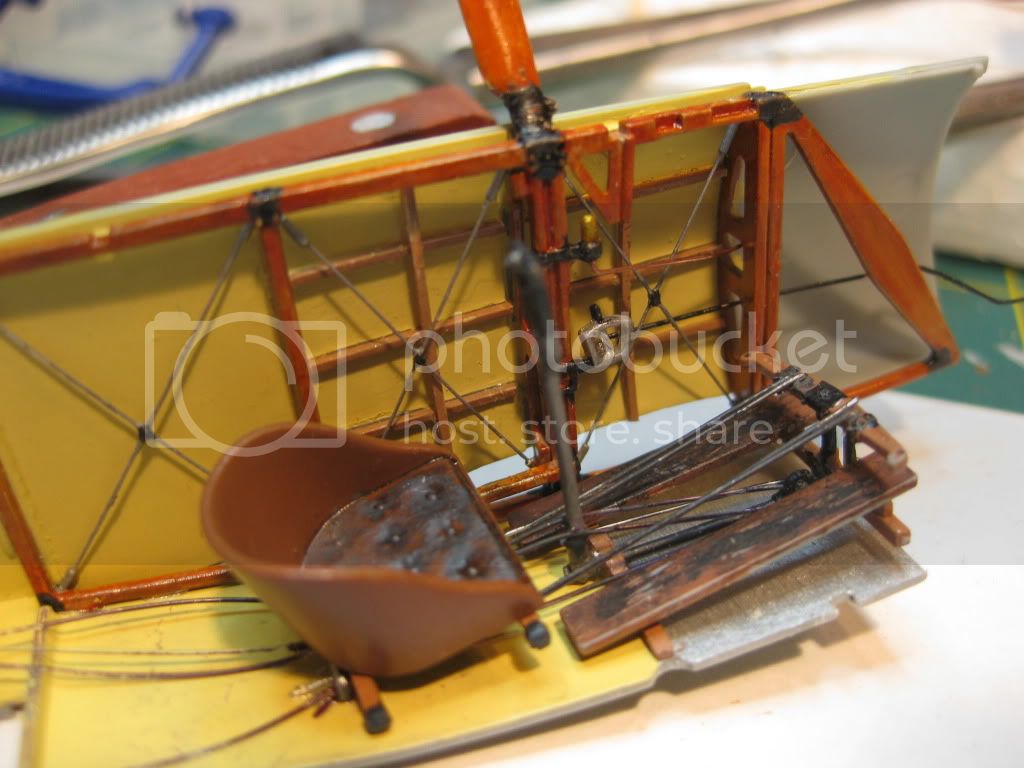
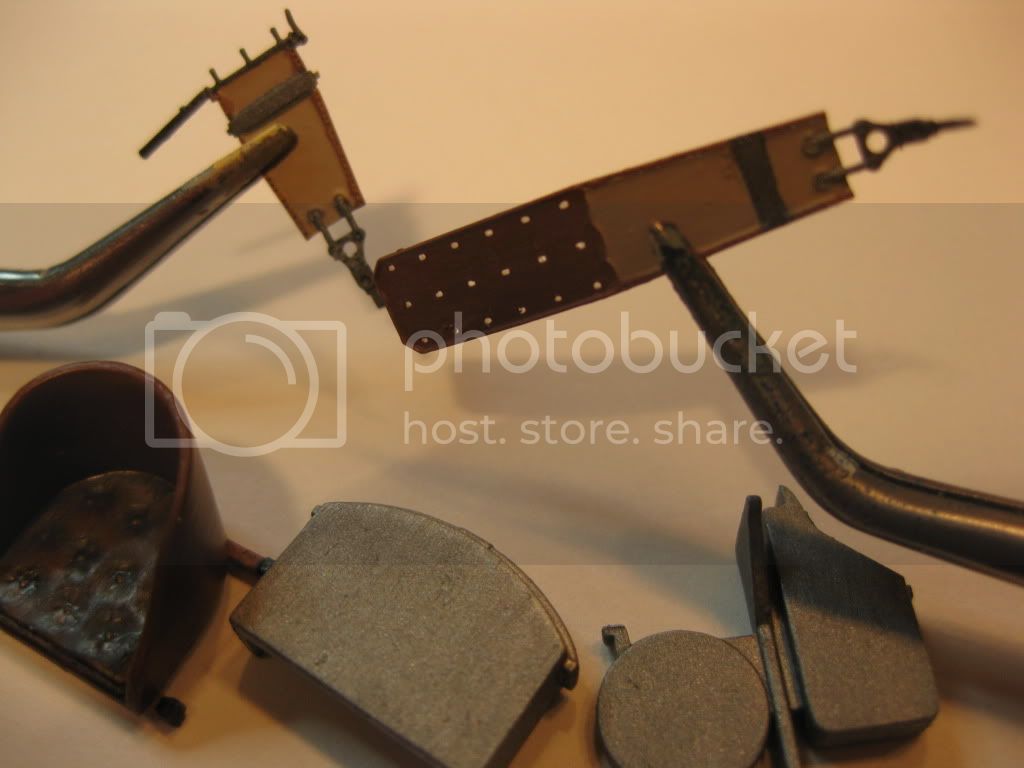
The kit photo etch seatbelts are ready to add to the seat which can then be added to the cockpit.
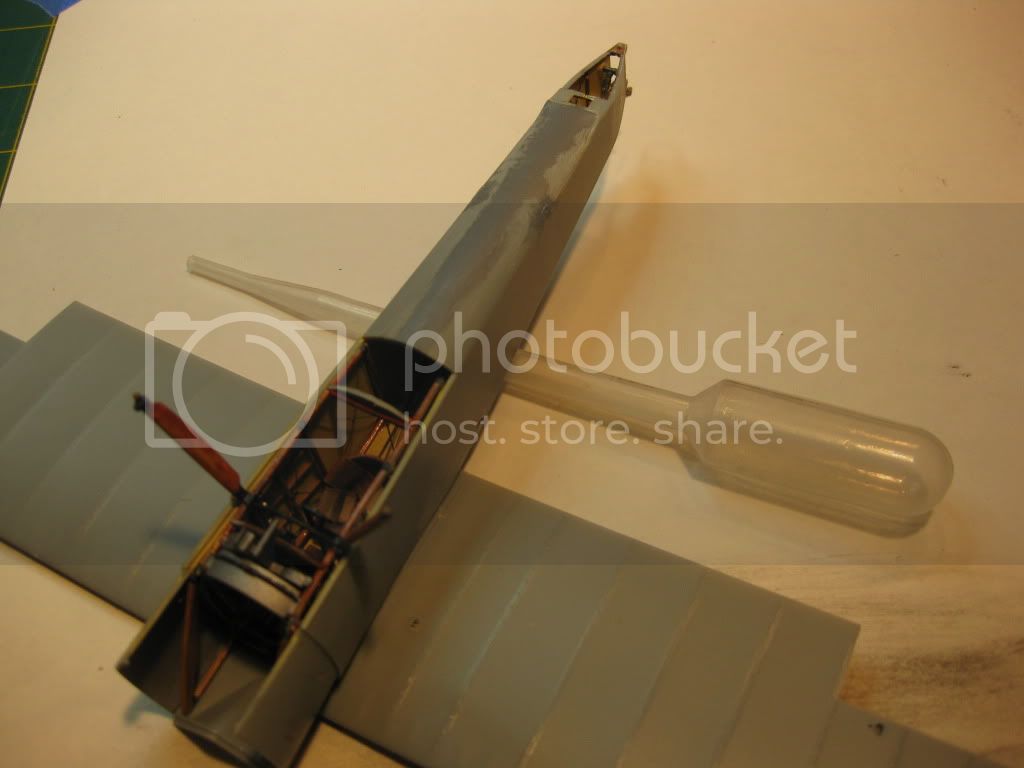
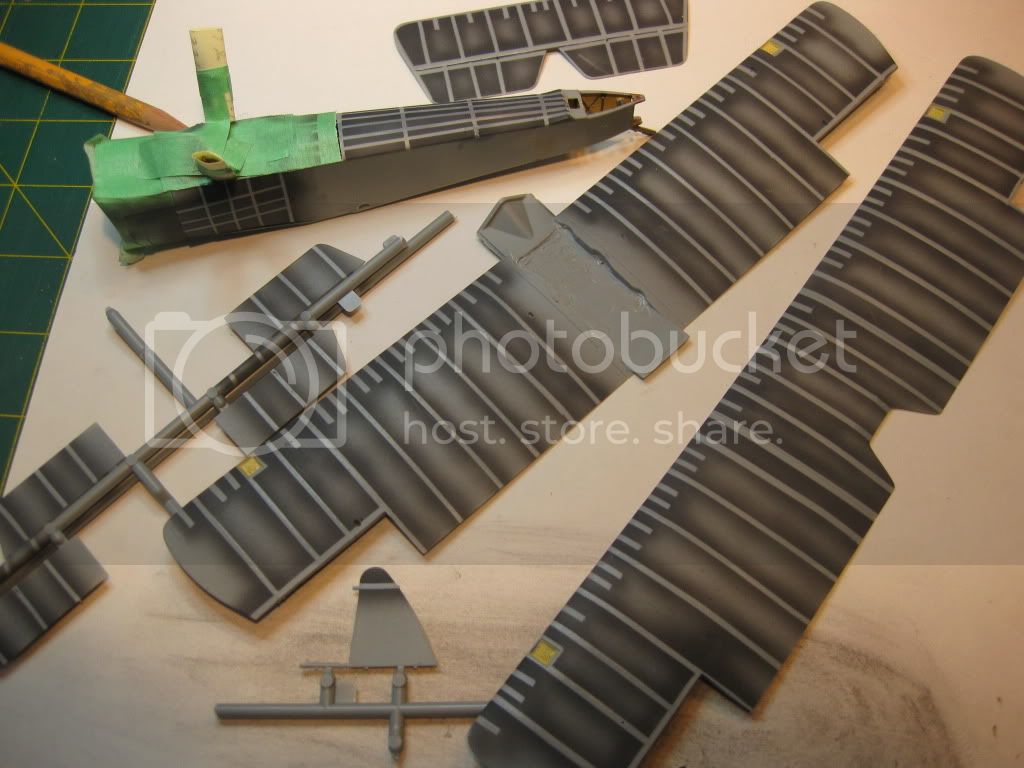
At this point the rear fuselage reared it's ugly little head, AMS dictates that I won't be able to sleep should the open rear fus. section not be completed. Second coat of paint required (hopefully the weather will smarten up and the first coat dries before my 90th Birthday!) and then I'll be adding some stringers and bracing wires.
And that is where I'm at presently. I have a week before leaving on a 10 day vacation so should get a bit more progress done. Any and all feel free to offer suggestions, point out glaring errors, or even the occasional "told you so's" are more then welcome.Always lots to learn from you folks and I enjoy the feedback immensely.
My overall impression at this point of the build, marvellous kit and looking real good. No doubt in my mind these products are well worth their price, I'm already glancing at the stash pile and thinking about which is next on the production line.
Cheers,
Lance
P.S. Meant to include a "bit of fun" regarding the floor. Initially it was all painted CDL, then I noticed the black (carpet??) floor in the photos of the Hendon Reproduction so flat black it was, then found more photos that seemed more logical thus the final version CDL with a metal flooring at the front. Half a jug of Windex later it was done. Contrary to Terri's experience windex does work on enamels; you just have to scrub a lot harder!