pokes the dead... yooo hoo

I've leapt on leaps and bounds I'll try to fill in details where I can so here goes.... and yes I see the fingerprints..funny how such things look glaringly obvious under the lens.
Anyway 1st the motor. I wanted to keep the crankcase for another project, at last I found a use for that battleaxe resin engine thats been gathering dust.


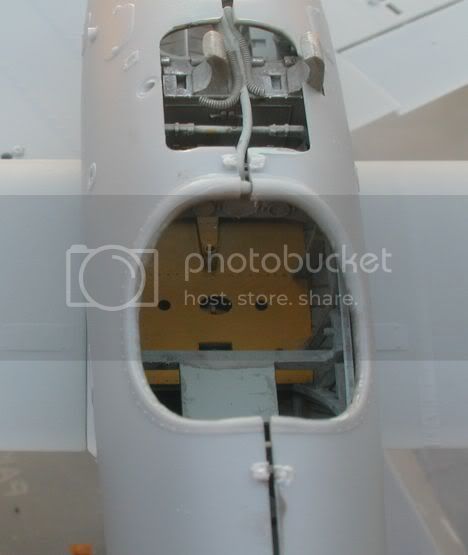
On this build I havent gone OTT with engine detail but was fascinated with pics of Pfalz that showed a strange appearance to the inlet manifold, some look almost as if both braches are joined into one. After much poring over my limoted material I decided to fit am interpretation of what might be a blast deflector. The resin block sits in the fuselage painted, the cowls are on and the cylinders just pop into the opening, yes I have to add air pump lines and oil lines yet but theres little else to see. Rocker is loose BTW which explains the gap.
U/c is pretty OOB just deepened the holes for rigging and brought out some of the detail a little around the brackets on the axle shroud.
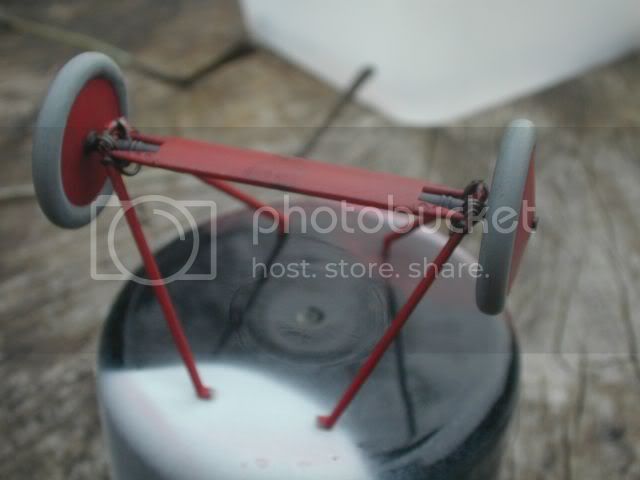
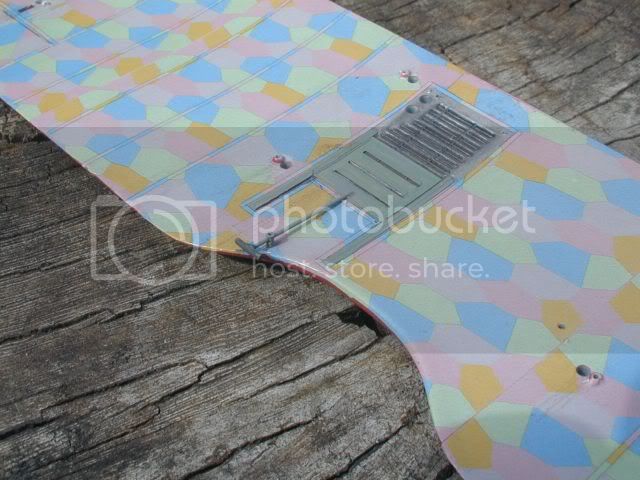
Underside complete with infamous Merc oil leaks

Okay fuselage proper. It just went together like a dream, I thinned the cowlings and fixed them before joining the fuselage even, the nose cowl just slipped behind them nicelty when assembled. I think this a good policy having had cowling issues with my Roli & Albies and hearing of similar with other builds

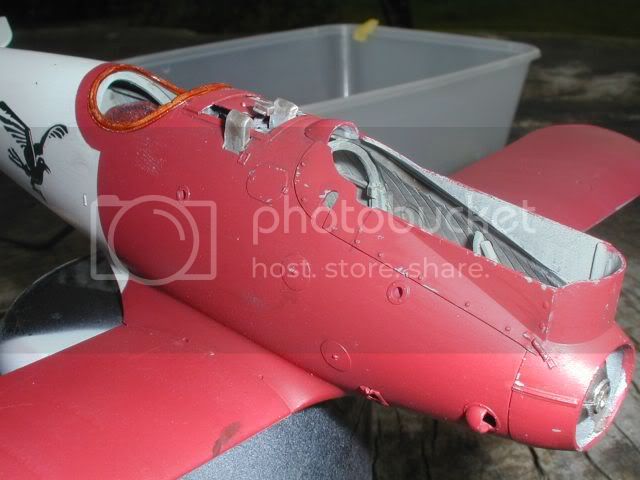

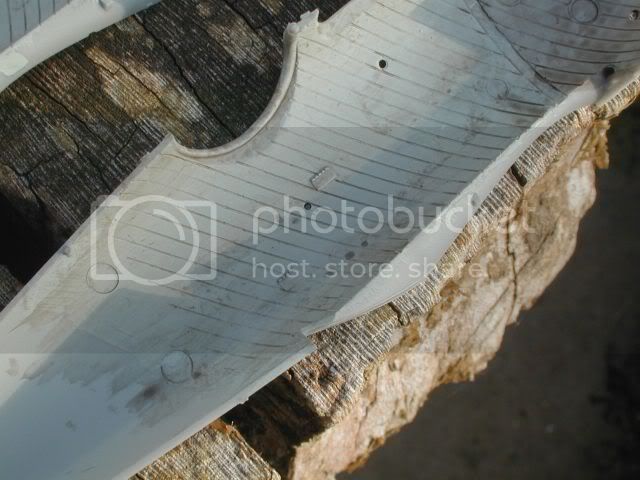
two shots with and without the cylinder block in place, chipping and weathering underway and I'm so glad I spotted those finger prints, some cleaned off, one will be retouched tomorrow.
There really was little to add without going OTT, so I restrained myself to cowl catches made from coiled copper wire and the enclosing panels around the Maxims, some of which is guestimated of course

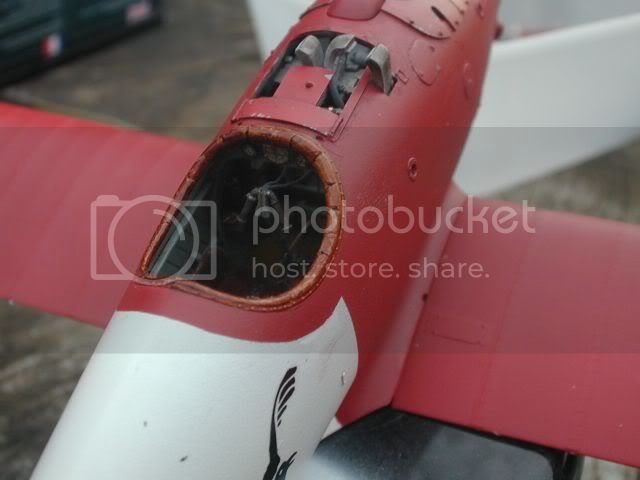
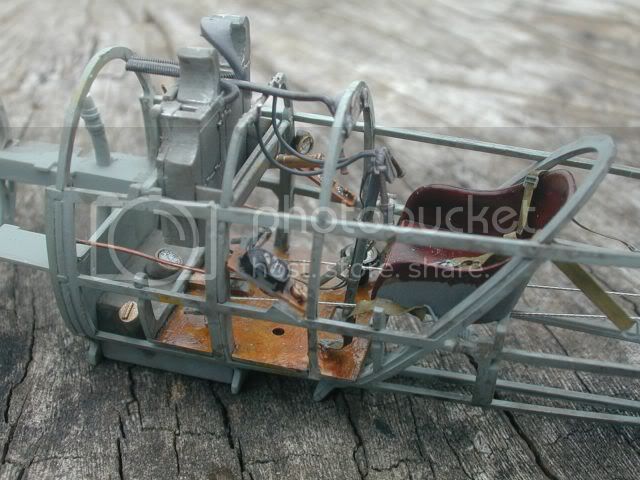
two shots of the pilots nest, a bit dark, the light was turning, the flash worked spradically.
Soon be eyelet and tube time..yay?
Comments always welcome.
K