4 days Messerschmitt (Airfix 1/48 Me-109E)
Slovakia
Joined: October 15, 2010
KitMaker: 825 posts
AeroScale: 476 posts
Posted: Wednesday, November 16, 2011 - 09:47 PM UTC
Slovakia
Joined: October 15, 2010
KitMaker: 825 posts
AeroScale: 476 posts
Posted: Thursday, November 17, 2011 - 01:18 AM UTC
Ontario, Canada
Joined: January 24, 2011
KitMaker: 470 posts
AeroScale: 99 posts
Posted: Thursday, November 17, 2011 - 02:51 AM UTC
That looks like a nice little kit that one.
Slovakia
Joined: October 15, 2010
KitMaker: 825 posts
AeroScale: 476 posts
Posted: Thursday, November 17, 2011 - 06:26 AM UTC
Washington, United States
Joined: January 15, 2011
KitMaker: 224 posts
AeroScale: 223 posts
Posted: Thursday, November 17, 2011 - 07:14 AM UTC
Great progress and looking good so far. Thanks for sharing. Apparently you don't share the disdain for "another" 109 kit that i have heard others whine about lately. To me 109s are just like Spits, you can never have too many of either, in what ever scale. Take care

Jim
Jim Whitbread
Washington State, USA
Slovakia
Joined: October 15, 2010
KitMaker: 825 posts
AeroScale: 476 posts
Posted: Thursday, November 17, 2011 - 07:28 AM UTC
Hi Jim, I saw the announcement about the new Eduard release and also Gastons opinion. I think Airfix has produced a great kit, especialy for the ease of build, on the other side Eduards model will be far more sophisticated, but also complicated and certainly not a weekends job. I plan to build also the one from Eduard, probably in the JG27 North African camouflage. With all those beautifful camouflages which were used, there certainly is room for more Emils, Friedrichs, Gustavs and Karls.
Slovakia
Joined: October 15, 2010
KitMaker: 825 posts
AeroScale: 476 posts
Posted: Thursday, November 17, 2011 - 10:05 AM UTC
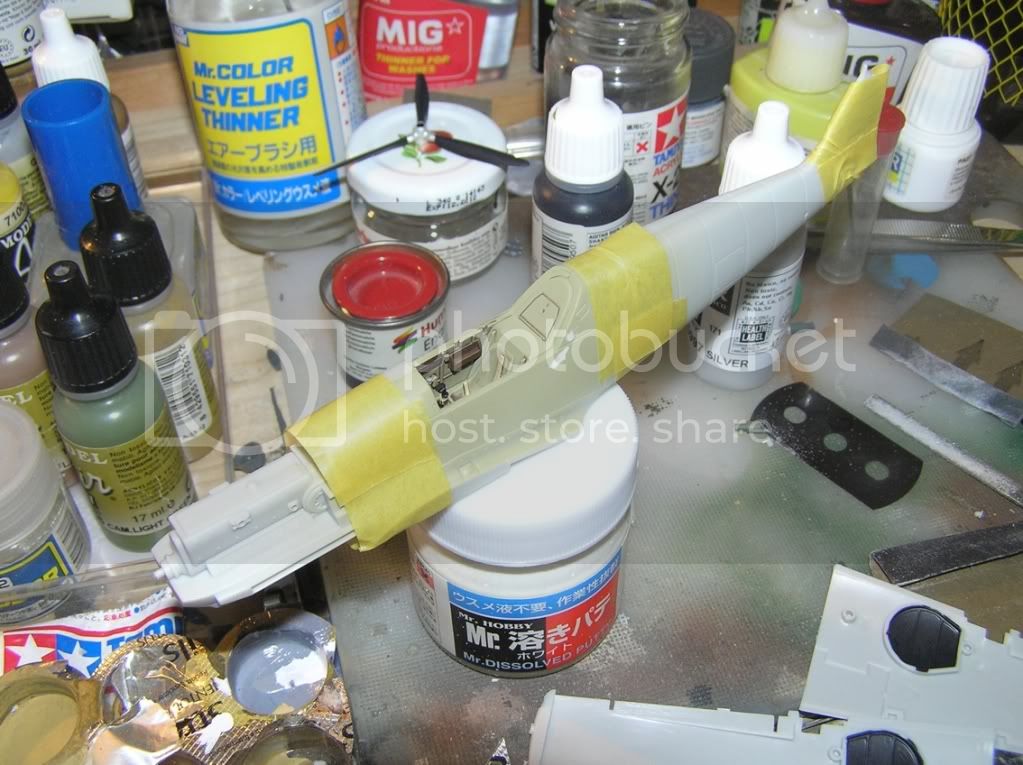
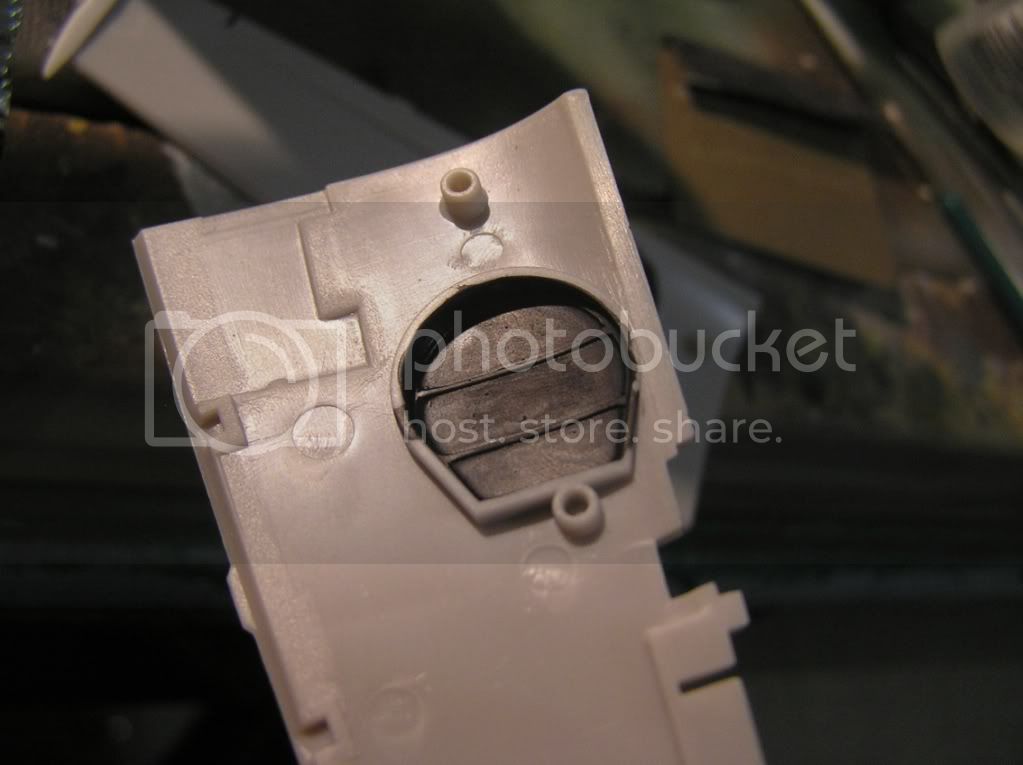
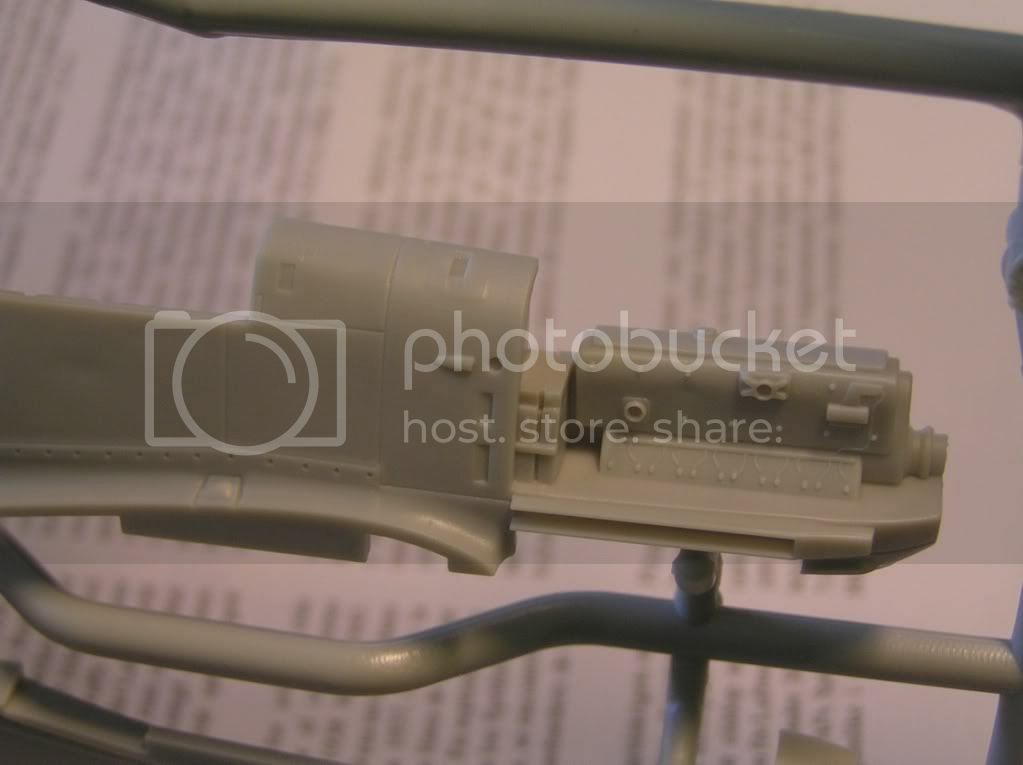
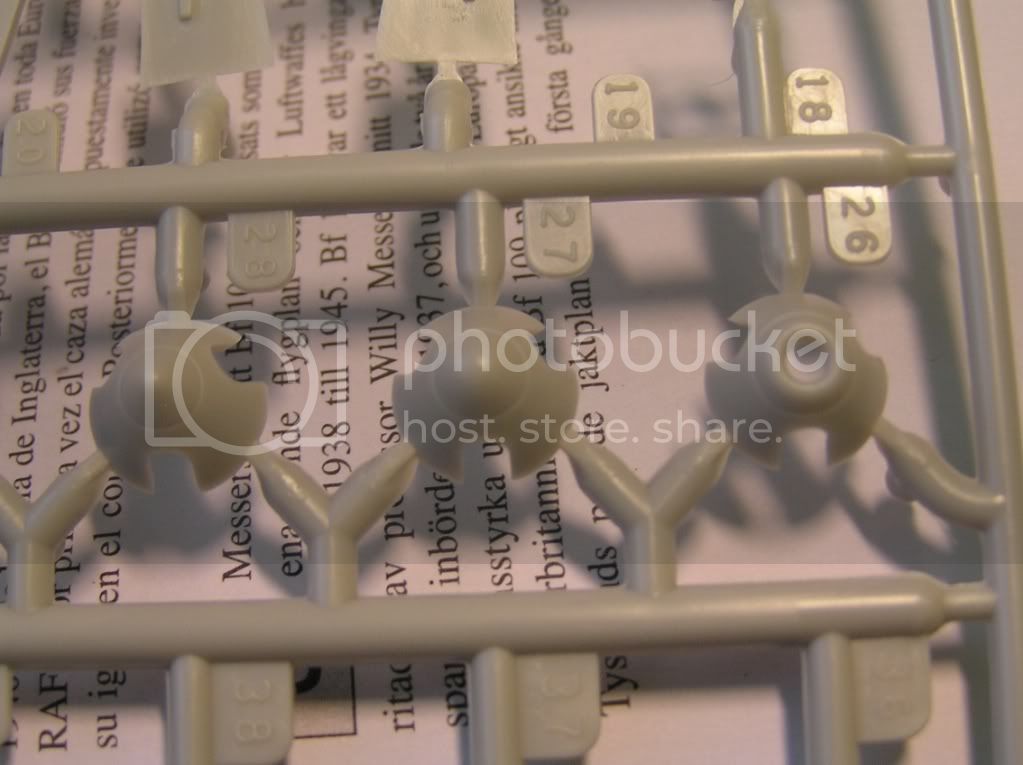
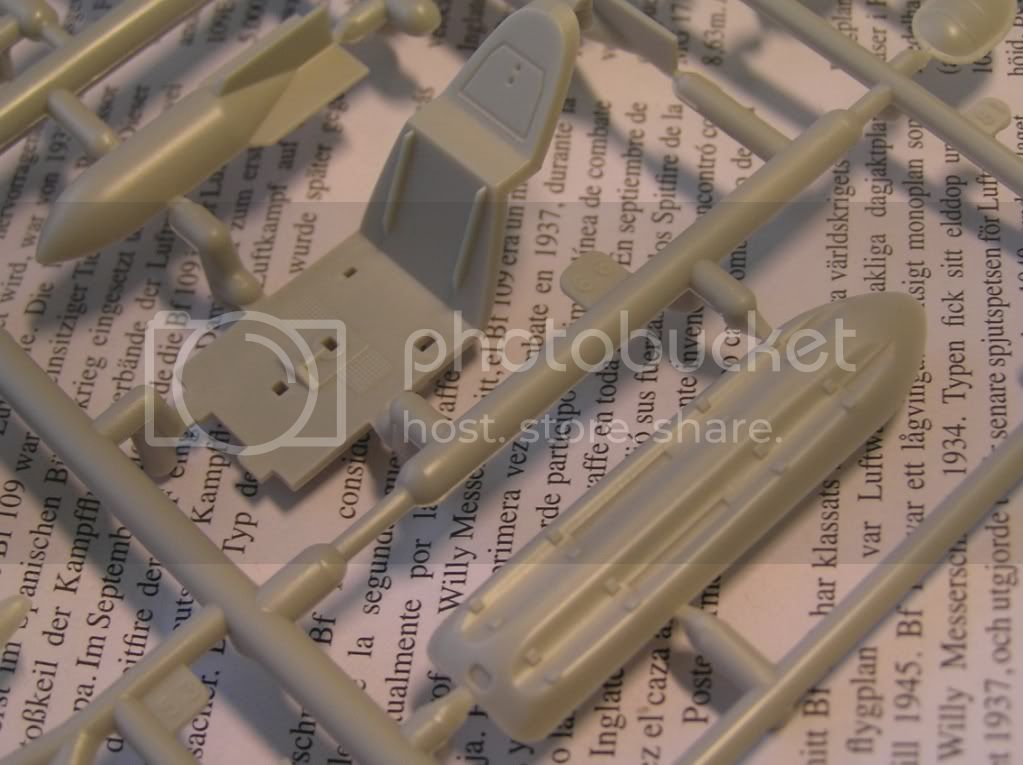
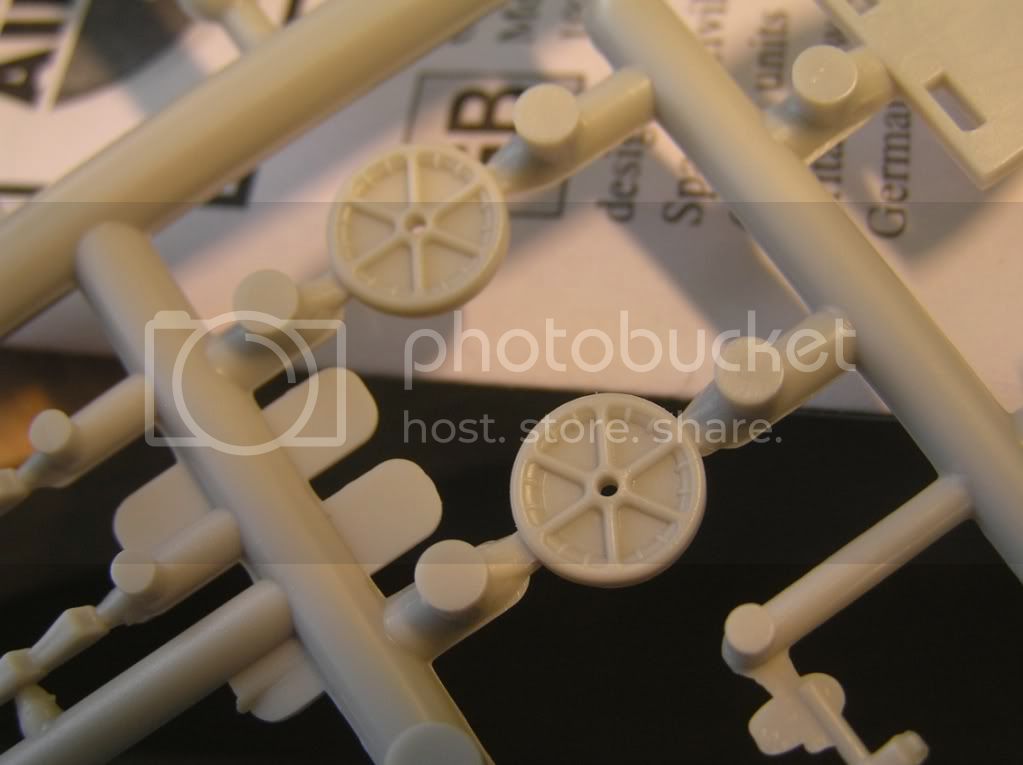
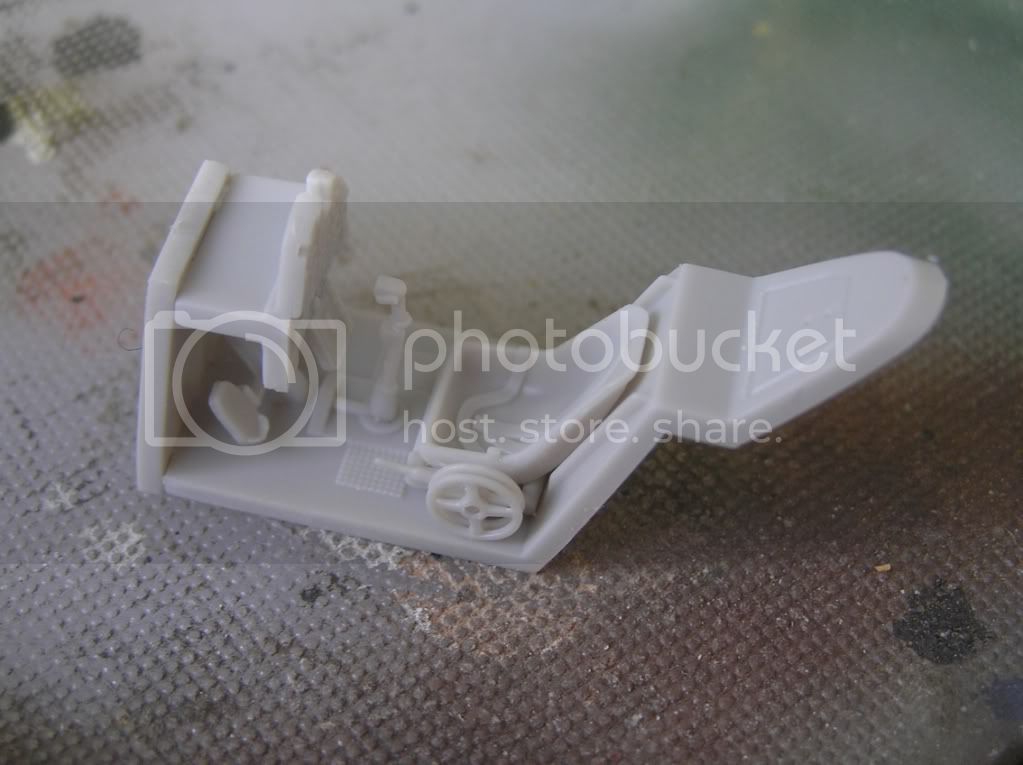
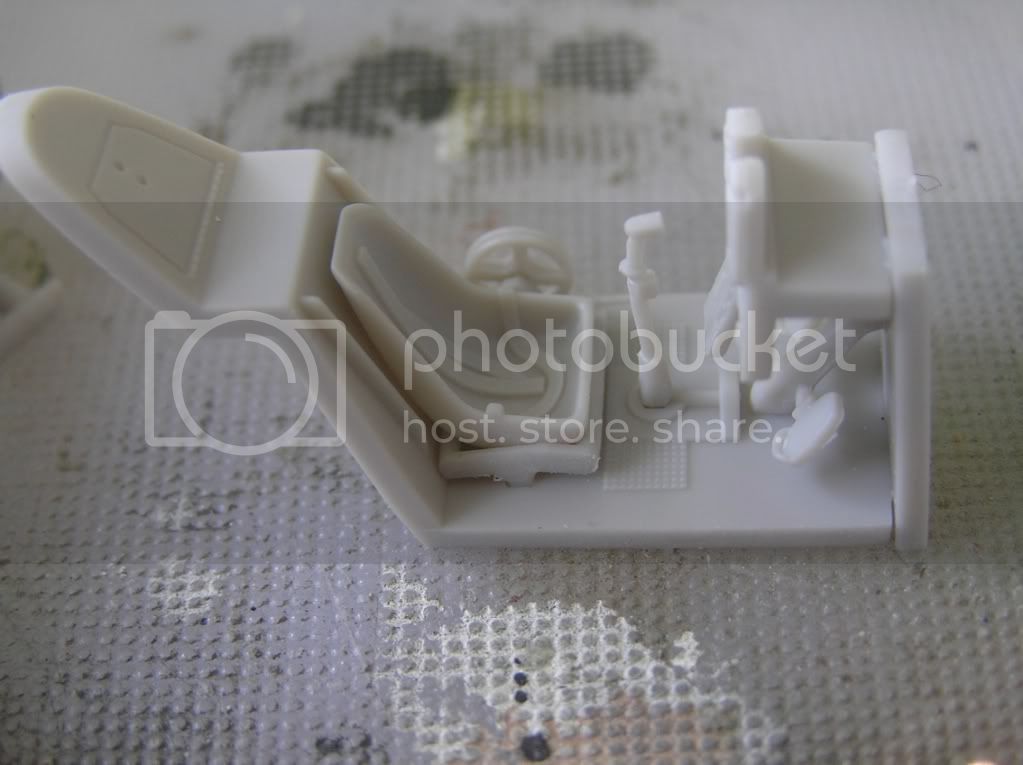
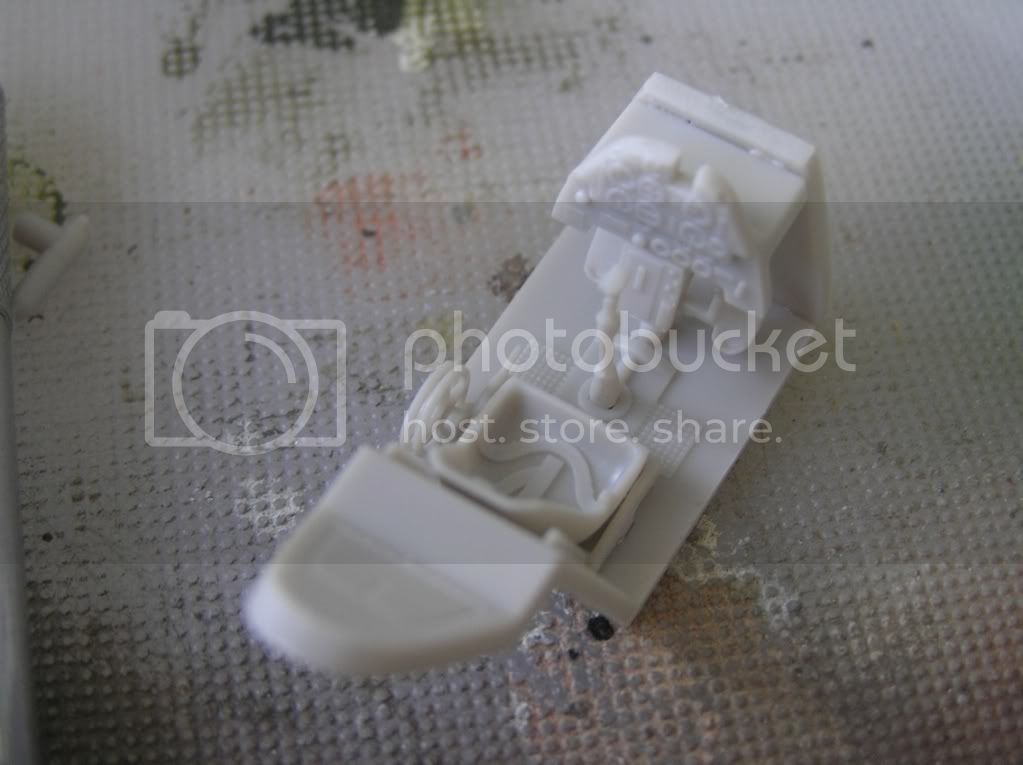
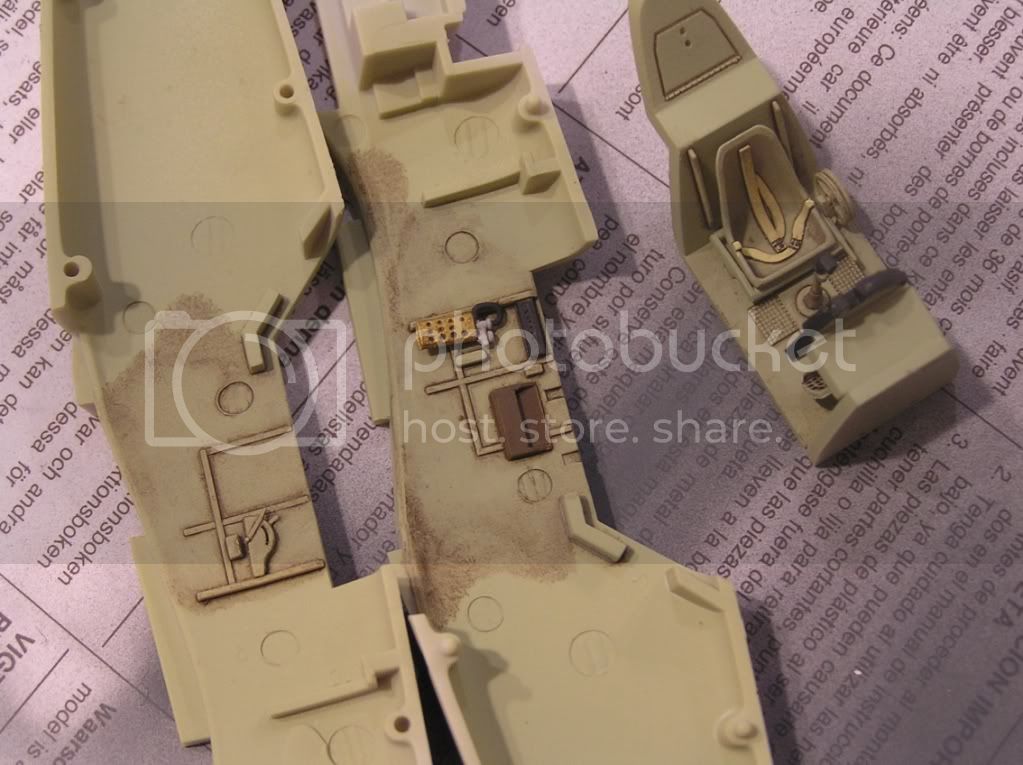
Sooo, its 23.00 PM and this is how far i got today. The fuselage is together and I started to paint the propeller. I also dealth with those nasty ejector marks in the middle of the wheel bays. My camera battery gave up so I guest I call it a day and continue tomorrow. Good night.
AussieReg
 Associate Editor
#007
Victoria, Australia
Joined: June 09, 2009
KitMaker: 8,156 posts
AeroScale: 3,756 posts
Posted: Thursday, November 17, 2011 - 07:45 PM UTC
Quoted Text
Apparently you don't share the disdain for "another" 109 kit that i have heard others whine about lately. To me 109s are just like Spits, you can never have too many of either, in what ever scale. Take care 
Jim
Jim, I have to disagree. There is a serious issue with having so many kits of 109's and Spits, there's just NO WAY I could ever build them all

Naseby, great idea and excellent thread so far.
Cheers, D
ON the bench
Revell 1/24 '53 Corvette (building as '54)
Revell 1/24 BMW 507 Coupe and Cabrio
Italeri 1/48 Me262 B-1a/U1 Nightfighter
Monogram 1/24 '57 Chevy Nomad
Dragon 1/350 USS Frank Knox DD-742
Slovakia
Joined: October 15, 2010
KitMaker: 825 posts
AeroScale: 476 posts
Posted: Thursday, November 17, 2011 - 09:42 PM UTC
Thank You Damian, I do agree with You that as it seems we cant keep the pace with kit producers. Only this year there were like 20 new releases I would like to buid one thay. Most of them 1/35 armour and 1/48 planes, so no way I could ever make it.
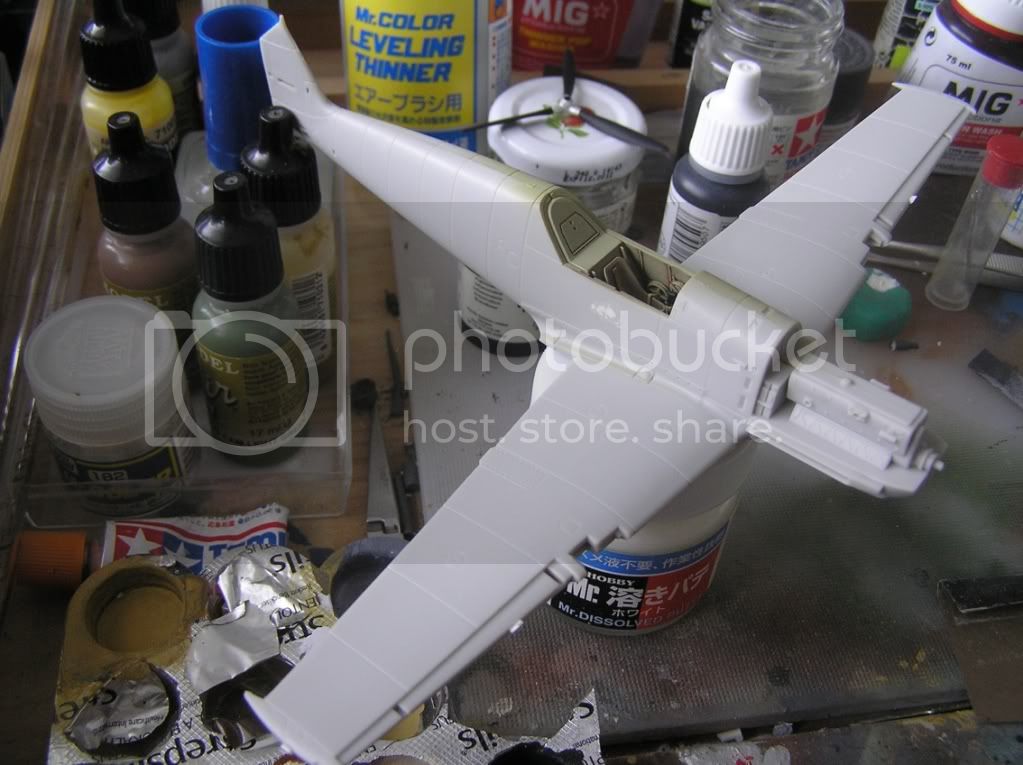
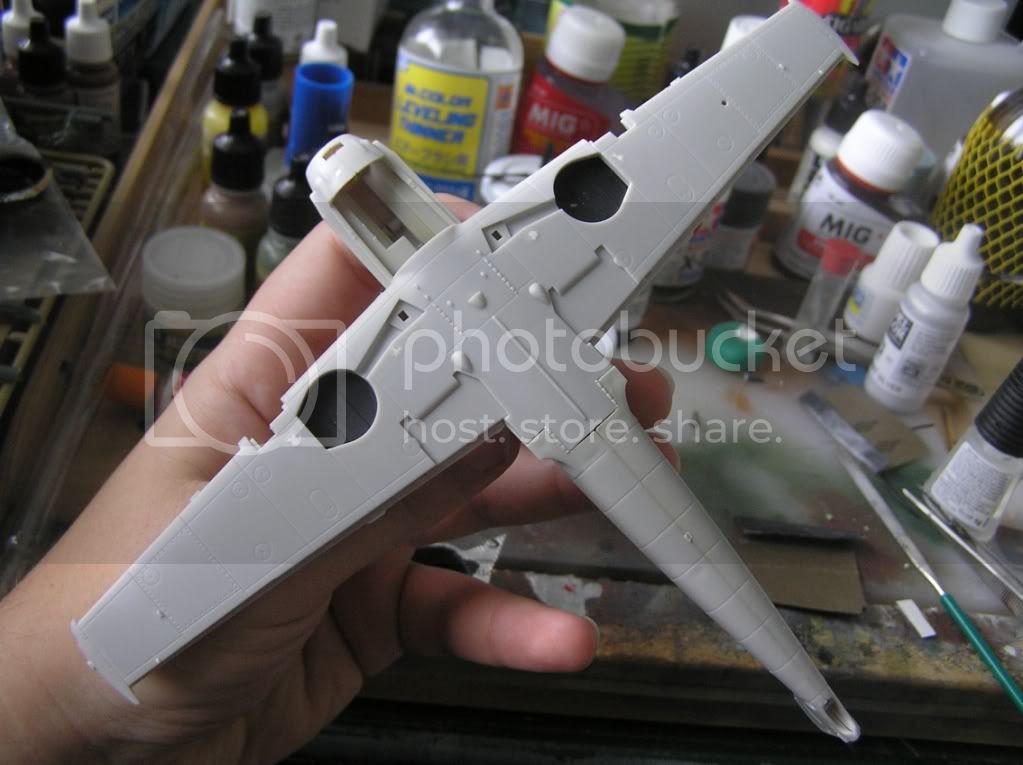
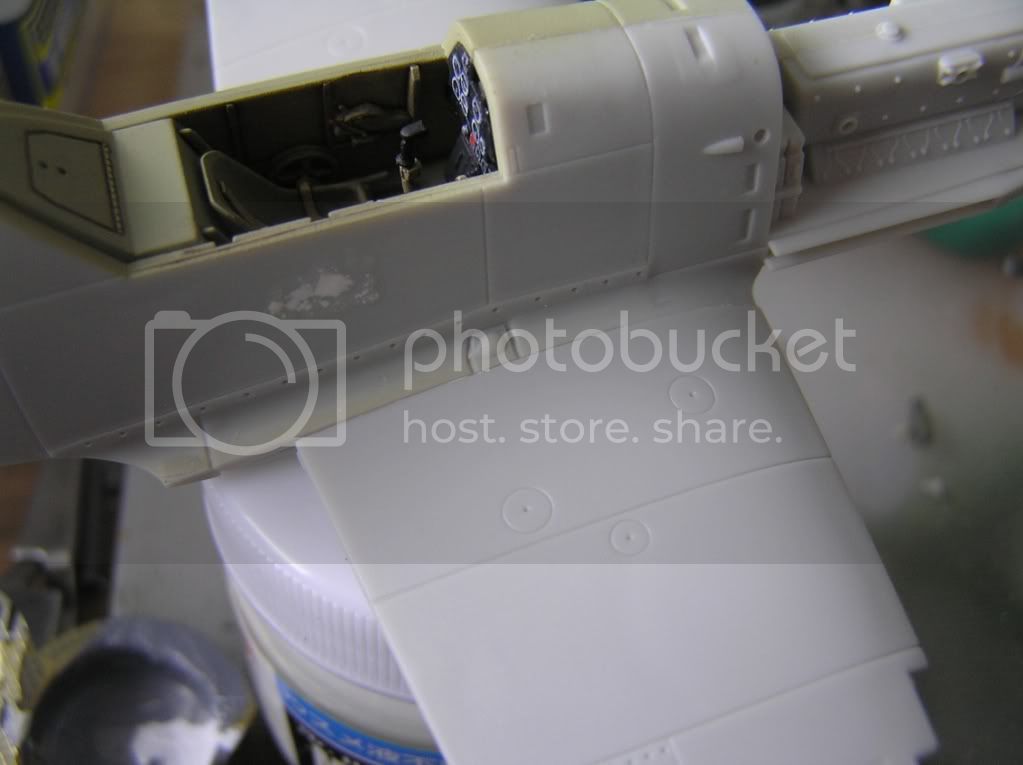
I had to go to the post this morning, so I started the work only at abou 09.30 AM. Now its 10.30 AM and I have the wings and fuselage together. The fit of the upper side of the wing to the fuselage is great, on the underside is a small gap at the end of the wing, but nothing serious. I will have to make some painting on my FLAK88, but I expect to have this one ready for paint by tomorrow.
England - North West, United Kingdom
Joined: August 15, 2009
KitMaker: 203 posts
AeroScale: 57 posts
Posted: Thursday, November 17, 2011 - 11:59 PM UTC
looking good so far , i have to admit i nearly baught that kit the other day as i want to build one !!
Slovakia
Joined: October 15, 2010
KitMaker: 825 posts
AeroScale: 476 posts
Posted: Friday, November 18, 2011 - 02:01 AM UTC
Go for it Paul, its a great kit.
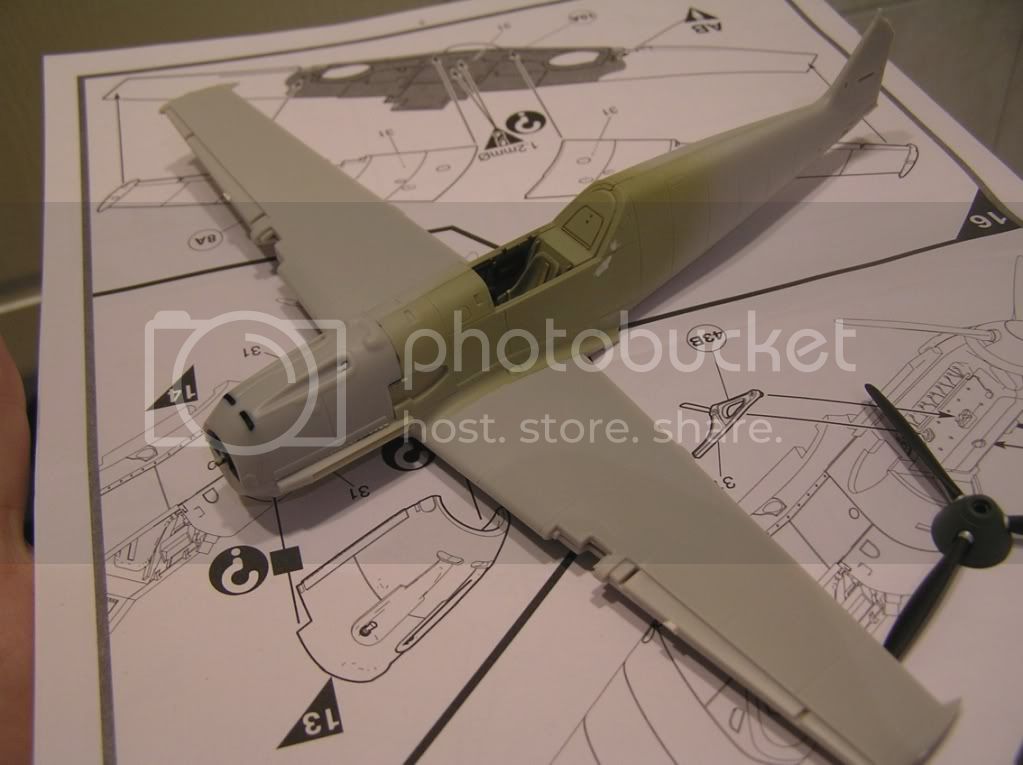
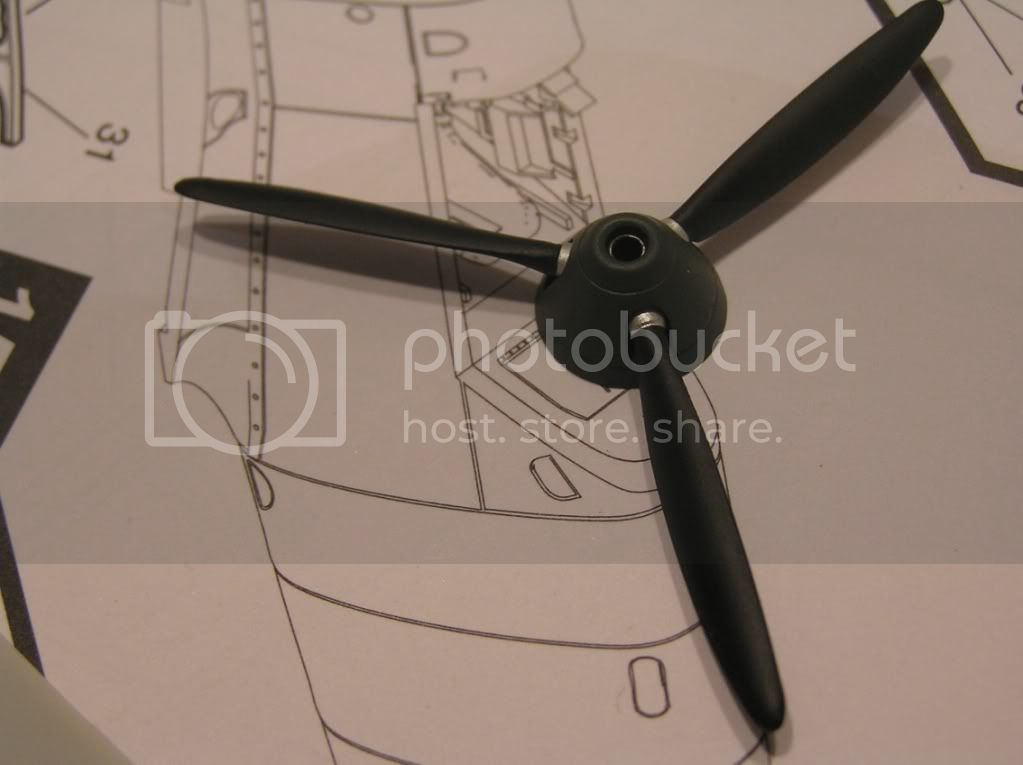
Hm, its 15.00 AM and Im mighty behind schedule. The prop is done, as is the engine cover, but now I have to hurry up since my girlfriend is coming home today and that means less bench time

Slovakia
Joined: October 15, 2010
KitMaker: 825 posts
AeroScale: 476 posts
Posted: Friday, November 18, 2011 - 07:50 AM UTC
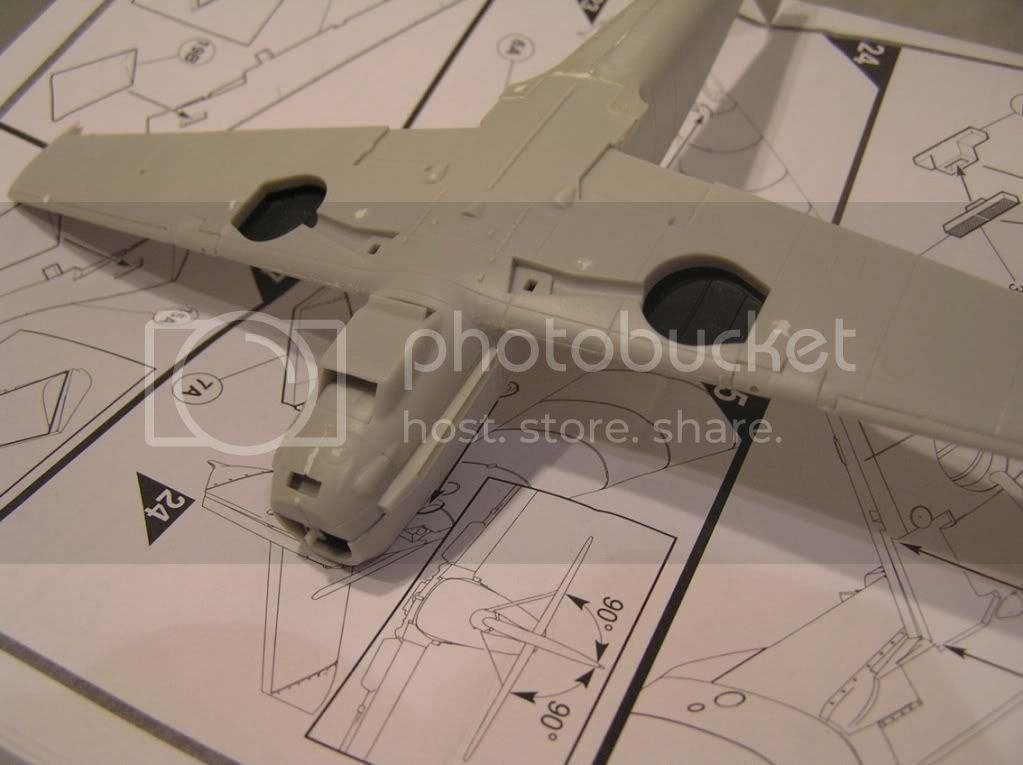
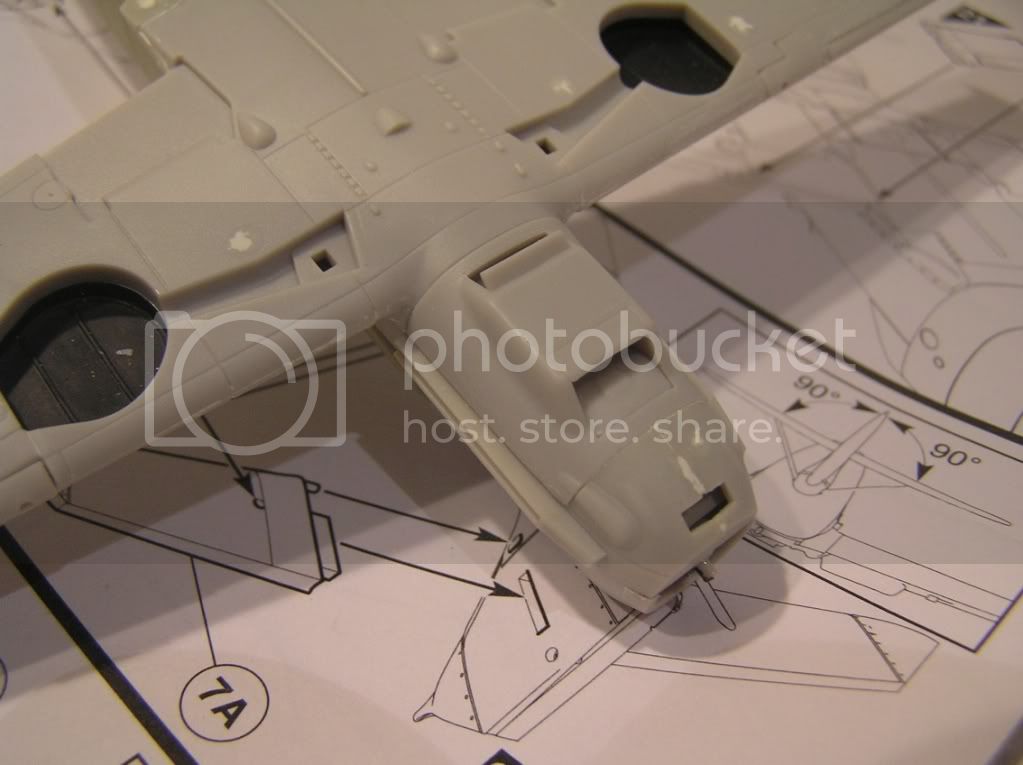
Its past eight o clock PM and I had so little time that only little has been done since my last post. The fit of the engine coller is very good, but I also encounteredfirst issues wih the fit os theailerons and maschinegun inserts on the wings. These will need some putty and sanding tomorrow.
Slovakia
Joined: October 15, 2010
KitMaker: 825 posts
AeroScale: 476 posts
Posted: Saturday, November 19, 2011 - 01:29 AM UTC
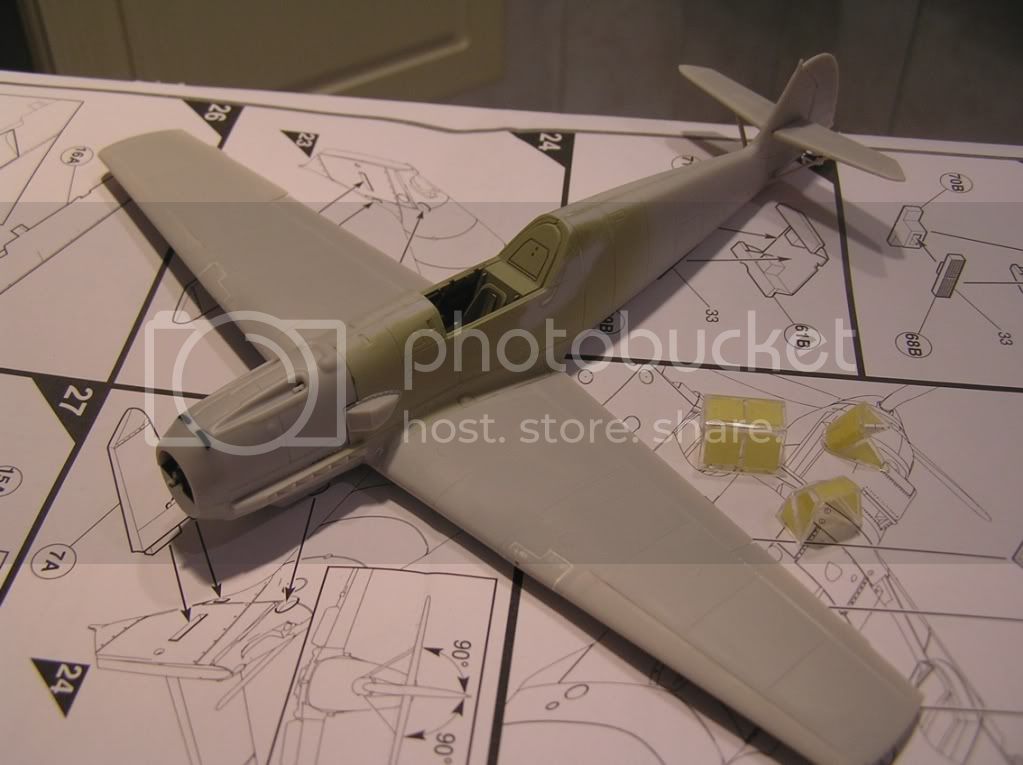
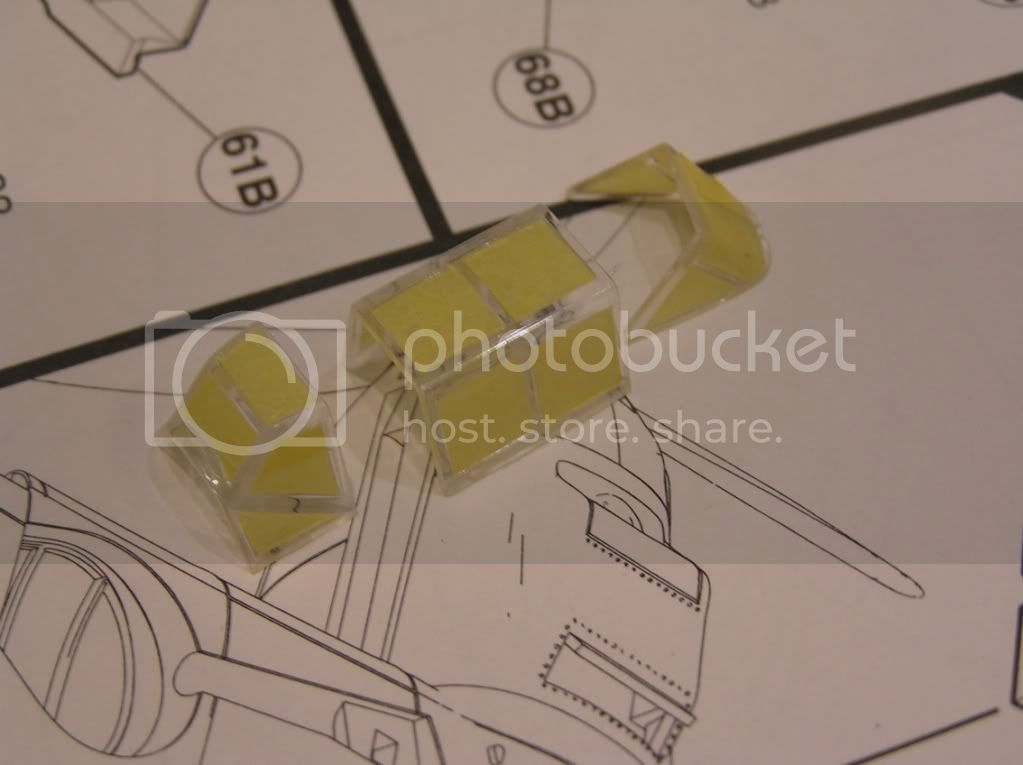
I was bussy today doing other things, but I managed to make some progress nevertheless. As of 1400 PM the wing are done and the rudder almous done. I also cut the mask for the canopy. I know about the issue with the E-1 canopy frame, but I decided to leave it as it is. Hopefully the first paint will go on later this evening.
Slovakia
Joined: October 15, 2010
KitMaker: 825 posts
AeroScale: 476 posts
Posted: Saturday, November 19, 2011 - 06:24 AM UTC
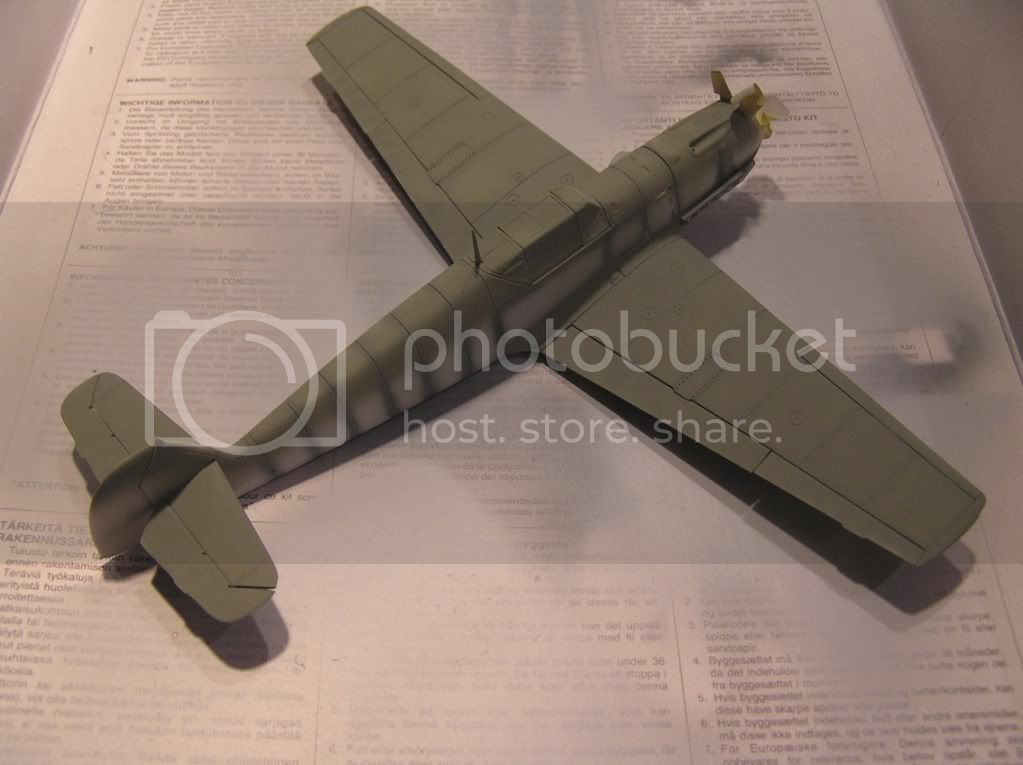
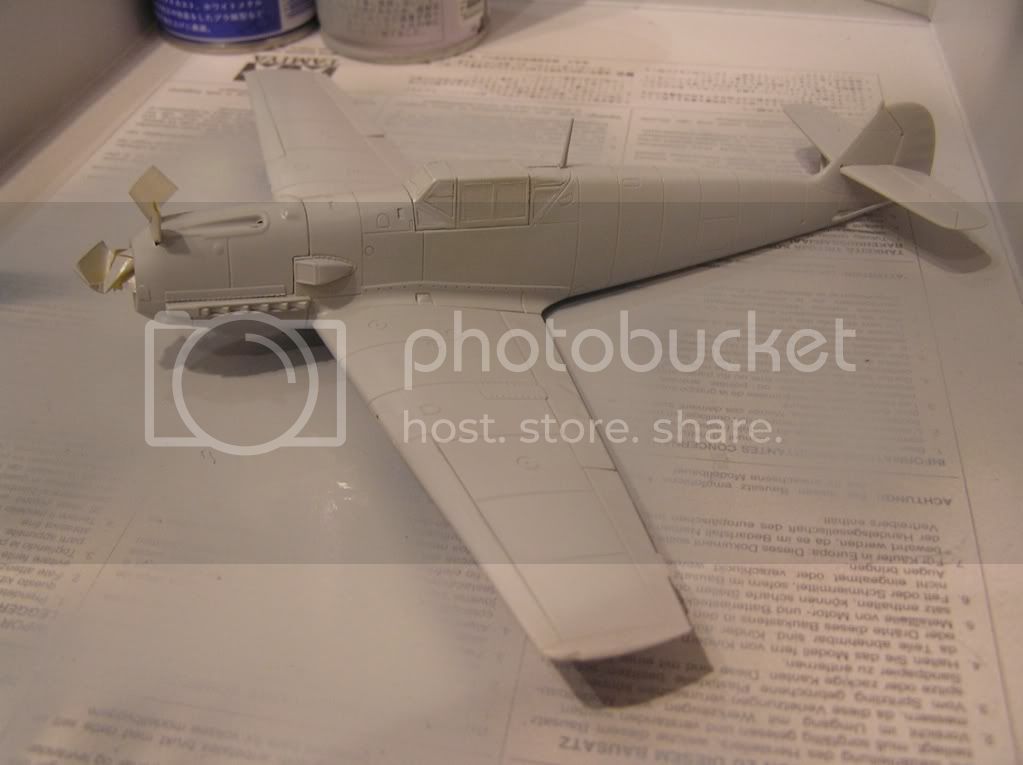
Oh my, I have overstretched myself and it looks like Im not going to make it in time. As of 19.00 o clock PM the surfacer is on, but I see a lot of places which need a patch up with either putty or sandpaper and in best case scenario I will be able to put first paint on the Emil tomorrow morning. Even so There are like 7 colours to paint + decals and coats, so I have to face the truth that It wont be a 4 days build.

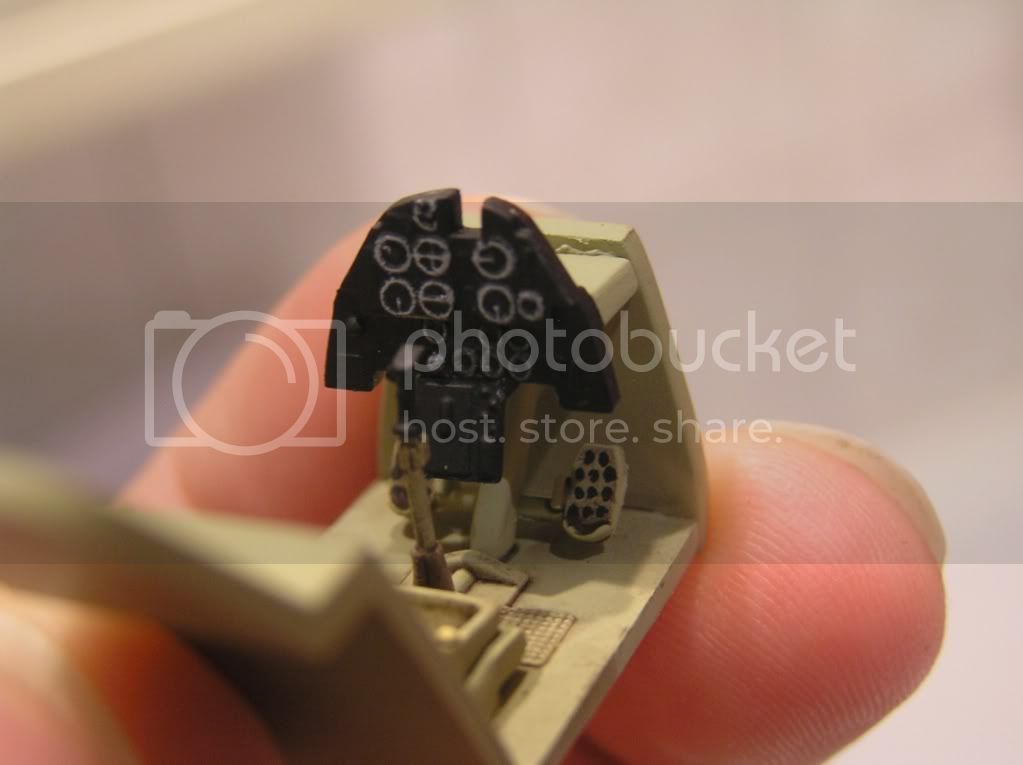
I guess its better not to rush it and slow down a bit so the end result is not messed up. Hope You wont mind and stay tuned for more.
Slovakia
Joined: October 15, 2010
KitMaker: 825 posts
AeroScale: 476 posts
Posted: Saturday, November 19, 2011 - 11:54 PM UTC
He already lunchtime ? And I was just able to paint the first coat of RLM02 (or at least something resembling that colour).

So thats it Im not gona make it. I had to repair some parts after the first surfacer coat and then repair some more after the second. That and the preshading and first colour took most of the morning. And more bad news to come. I will be away from home for a couple of days, so this definitely WONT be a a 4 day buid.

Hope I didnt upset You guys, thaks for watching.
Oh and photobucket just died on me, so I put the pictures into the gallery here on aeroscale and will remove them to photobucket after its working again to save space here.


Slovakia
Joined: October 15, 2010
KitMaker: 825 posts
AeroScale: 476 posts
Posted: Friday, November 25, 2011 - 10:22 PM UTC
Slovakia
Joined: October 15, 2010
KitMaker: 825 posts
AeroScale: 476 posts
Posted: Saturday, November 26, 2011 - 09:38 PM UTC
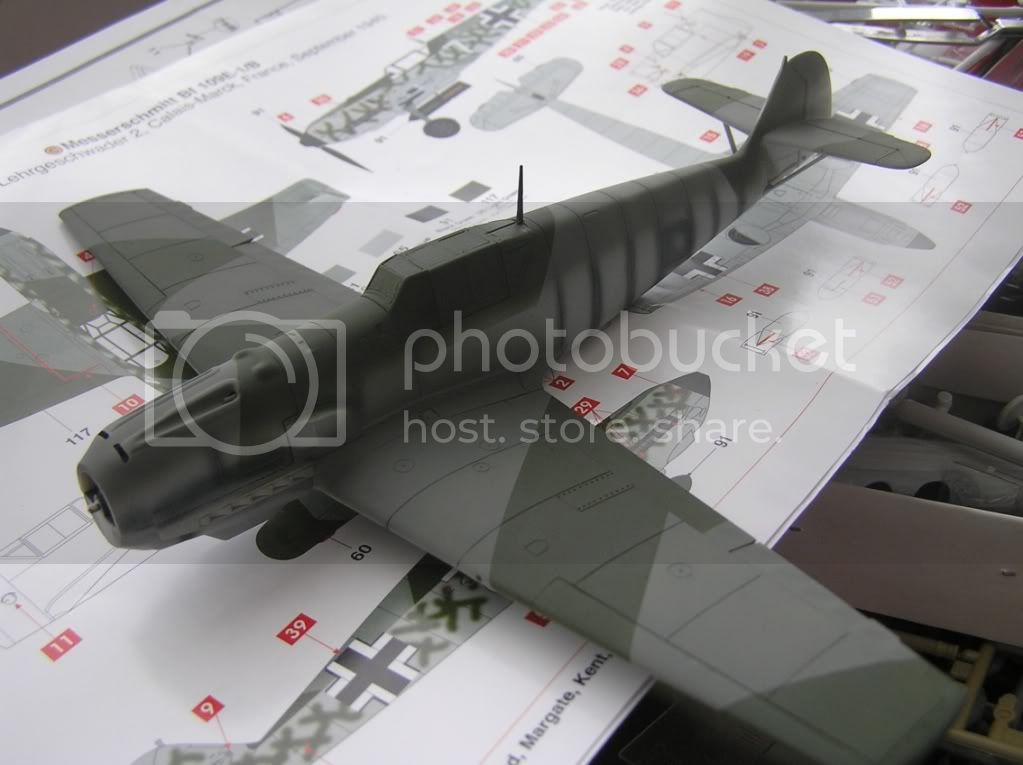
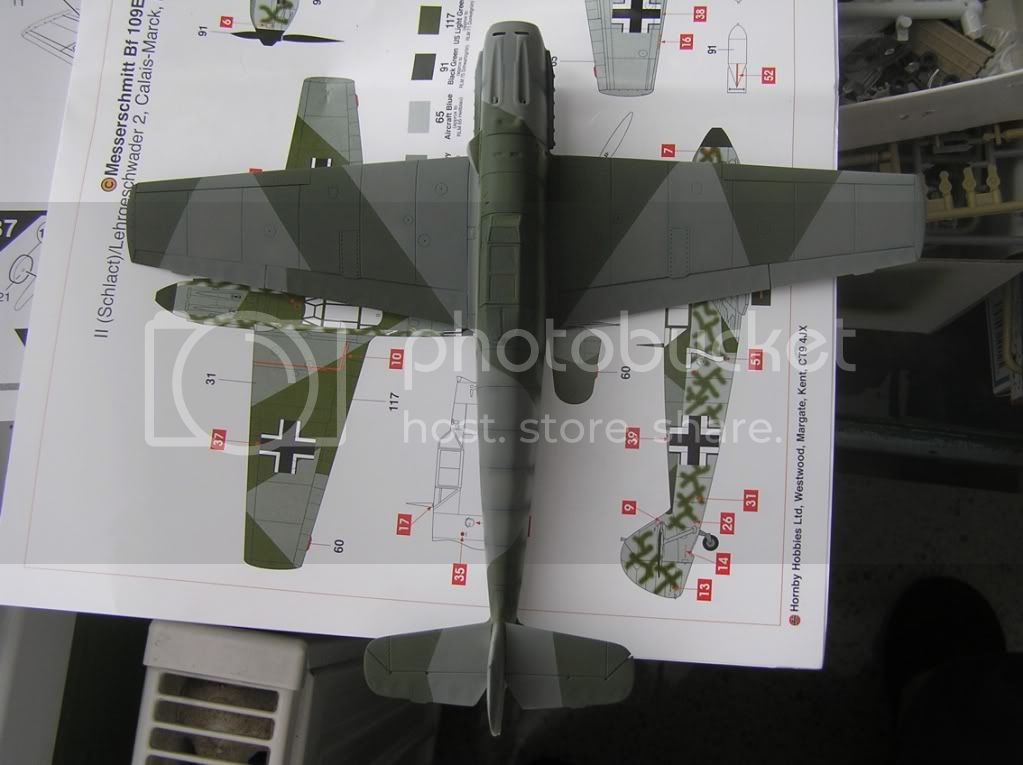
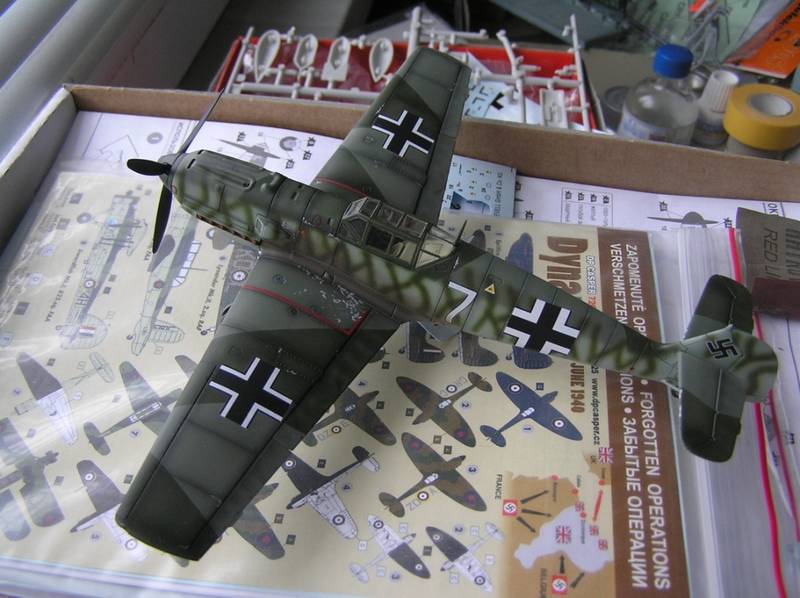
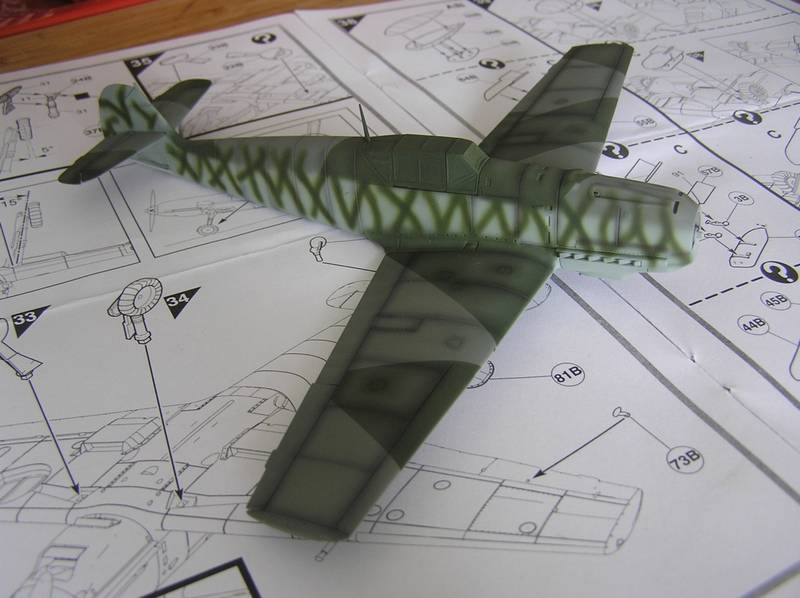
He? Who? What? Photobucket failed me as You can clearly see, so the next pictures will be from the gallery here on Armorama again. Its embarrasing but Im more and more behind schedule. This two pictures show the Emil as it was today morning.
The camouflage is "white 7" of the SchLG2 from the box. I was not able to find the picture of this maschine, but from what I saw on other maschines this should be close enough to the reality althou Im not sure if the green spots on the fuselage were also painted over the top part.

England - North West, United Kingdom
Joined: August 15, 2009
KitMaker: 203 posts
AeroScale: 57 posts
Posted: Sunday, November 27, 2011 - 07:12 AM UTC
nice progress !! lookin good !!
Slovakia
Joined: October 15, 2010
KitMaker: 825 posts
AeroScale: 476 posts
Posted: Monday, November 28, 2011 - 05:54 AM UTC
Thank You Paul for Your comment. Im away from home again and will be back only in few days, but yesterday afternoon, I managed to put on first decals. Airfix decals and especialy stencils and warning signs are horrible, so I had to mix up something from other kits and decal sets.
Quebec, Canada
Joined: April 19, 2008
KitMaker: 595 posts
AeroScale: 507 posts
Posted: Monday, November 28, 2011 - 07:42 AM UTC
I'm surprised to hear new Airfix decals are horrible: Those on their Spitfire Mk XII are the best British roundel decals I have ever seen: They do require Solvaset over/under, but are amazing in register, colour and performance...
And they got Sky correct and perfectly opaque... Amazing...
Superb work on your Me-109: Truly first class...
Gaston
Slovakia
Joined: October 15, 2010
KitMaker: 825 posts
AeroScale: 476 posts
Posted: Monday, November 28, 2011 - 07:55 AM UTC
Hi Gaston and thanks for comment. I will try to post pictures of the Airfix decals from the box and other producers which I used on this build. But unfortunately only in a few days, since Im away from home.
Slovakia
Joined: October 15, 2010
KitMaker: 825 posts
AeroScale: 476 posts
Posted: Monday, December 05, 2011 - 12:06 AM UTC
Well the Me-109 was already finished on saturday, but photobucket is down and also the gallery here, so I guess I have to wait just a while longer to post more pictures.
European Union
Joined: August 09, 2009
KitMaker: 1,732 posts
AeroScale: 1,336 posts
Posted: Monday, December 05, 2011 - 01:51 AM UTC
Well, photobucket works fine with me, haven't had a problem with them yet. But if your troubles stay, then you might try ImageShack:
http://imageshack.us/Happy modelling!
Torsten
My campaigns for 2020:
MiGs - Done !
The Big Three - Done !
65 years Bundeswehr - Done !
40 years Leopard 2 - Done !
Land Lease - Done !
Slovakia
Joined: October 15, 2010
KitMaker: 825 posts
AeroScale: 476 posts
Posted: Tuesday, December 06, 2011 - 02:53 AM UTC
Slovakia
Joined: October 15, 2010
KitMaker: 825 posts
AeroScale: 476 posts
Posted: Tuesday, December 06, 2011 - 12:00 PM UTC
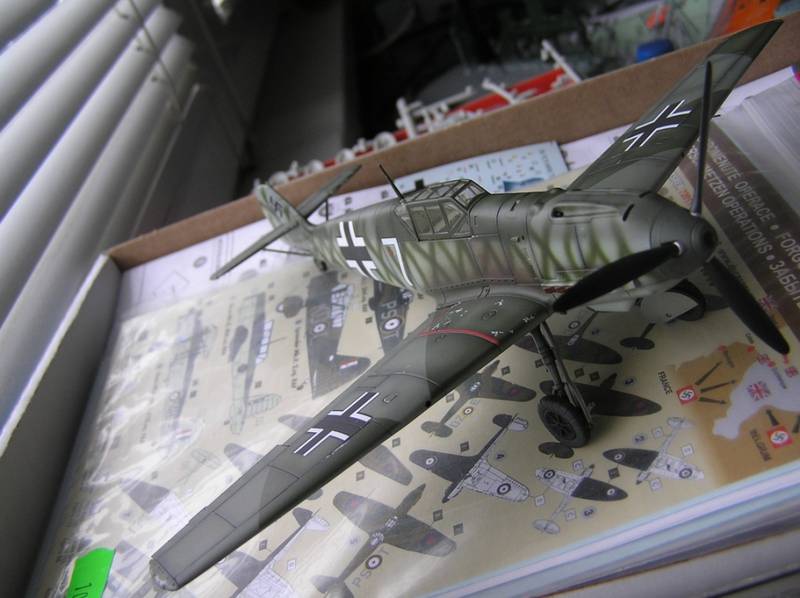
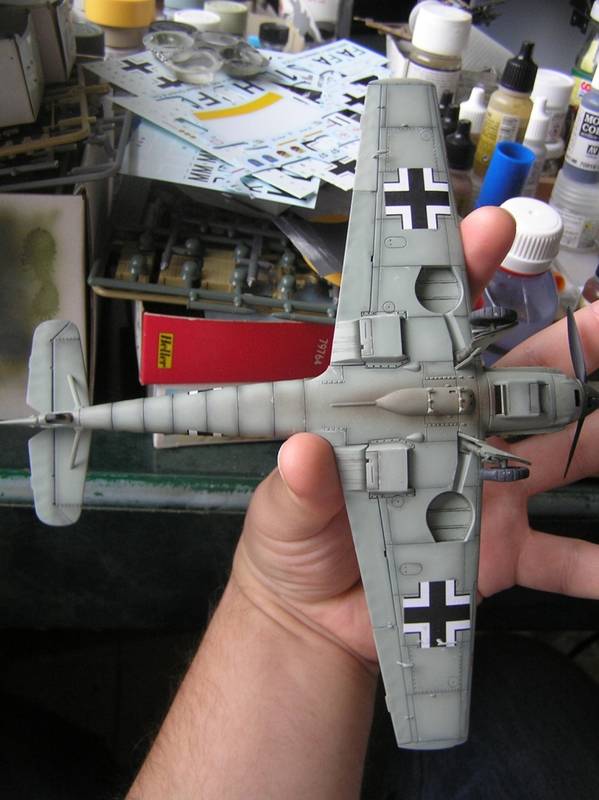
So I woke up early today and since Im on holliday, I can finally get to the conclusion of this build. I finished the Emil on saturday, so it was not a 4 day Messerschmitt, rather a 7 day one, when I count only days I was at home. In the last part of the build I ran into some issues. The first were the long undercarriage legs. I shortened them a bit, but I didnt make a "proportional" shortening, just cut off a piece of both the leg and the leg cover. I dont understand how could Airfix miss this, but its not a huge problem. The second one were the decals. I started with stencils and was dissapointed with the quality. The red caution lines on the wings came apart as soon as they touched the water so I had to put something together from the stash, the second problem was the way the dacals are printed. You can clearly see the raster in the pictures. Tha last one was a bad register, which is visible on the number 7 the only decal I used from the airfix decal sheet. The rest is from Techmod, DP Caster and Cartograph.
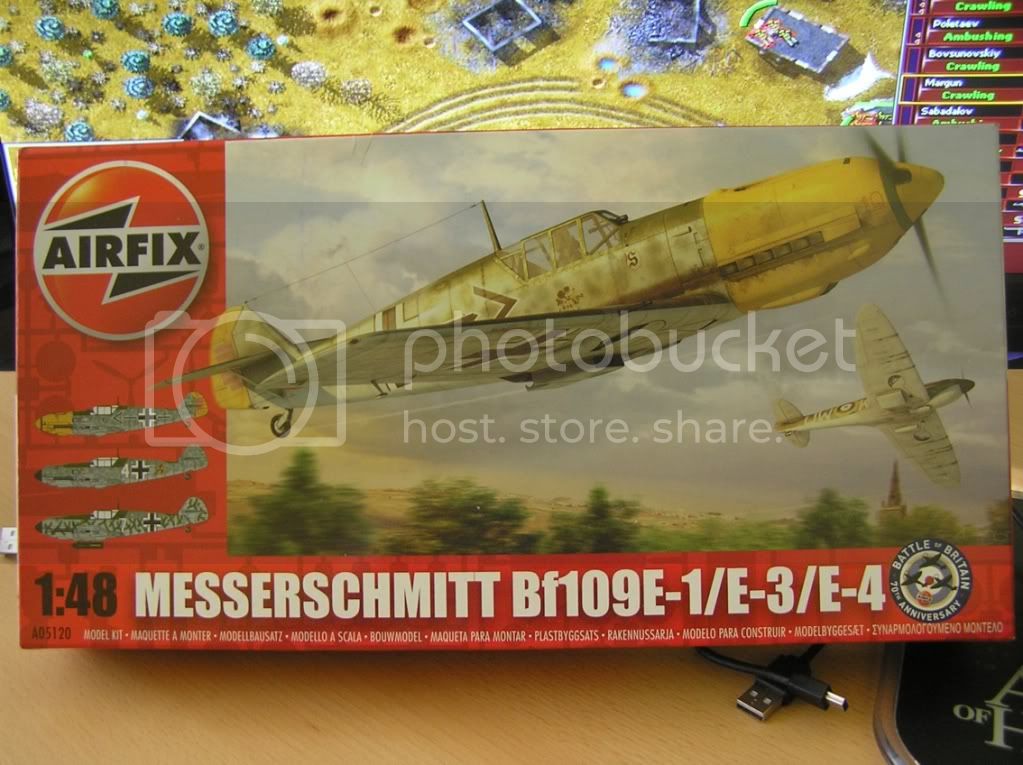
This Emil was m& first new Airfix kit after they came back into the bussiness and Im very pleased with what they offer. Its simple, nice, and cheap, an ideal relaxation build.












 I guess its better not to rush it and slow down a bit so the end result is not messed up. Hope You wont mind and stay tuned for more.


 So thats it Im not gona make it. I had to repair some parts after the first surfacer coat and then repair some more after the second. That and the preshading and first colour took most of the morning. And more bad news to come. I will be away from home for a couple of days, so this definitely WONT be a a 4 day buid.
  Hope I didnt upset You guys, thaks for watching.


