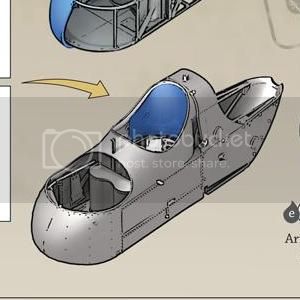
OK, while I'm processing the suggestions and deciding how to handle the above-referenced issue and waiting for some paint to arrive, I've started work on the tail booms.
WnW has thoughtfully molded each side as one unit, which will fit snugly in slots in both wings. They are molded cleanly, but there are mold lines that need to be removed. And due to the nature of these parts, there are lots and lots of them. After several hours of delicate scraping and sanding, I was able to lay down a base coat of Gunze dark yellow (C039).
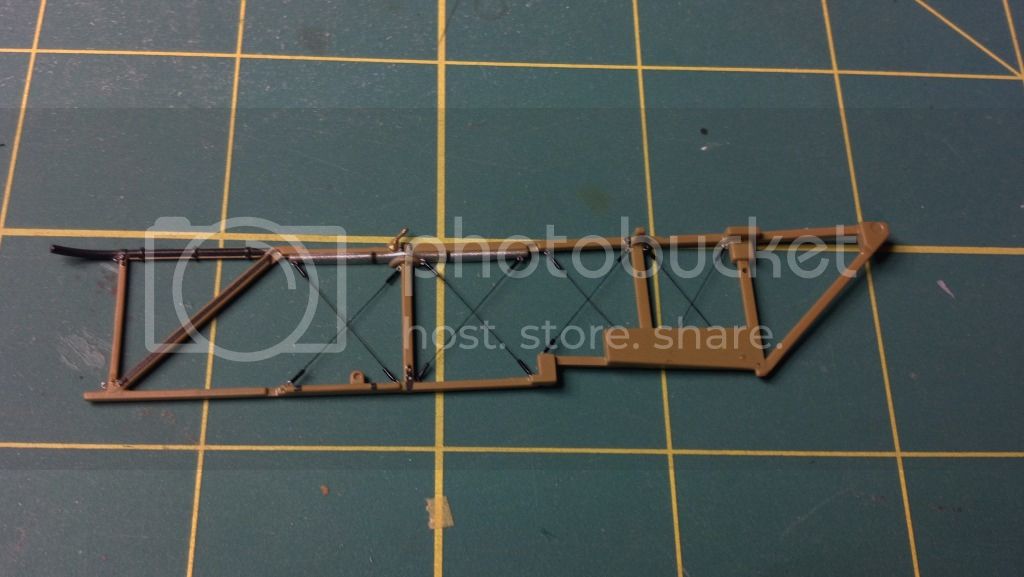
The instructions call for multiple dark brown bands around each boom. Decal strips are provided which are to be cut to 7mm lengths. There are 78 of these to be cut and applied! To save myself from insanity, I opted not to go this route and masked and painted the loops in Wood Brown (C043). There are also some silver and red bands to paint, plus the metal brackets in black. Here are the results:

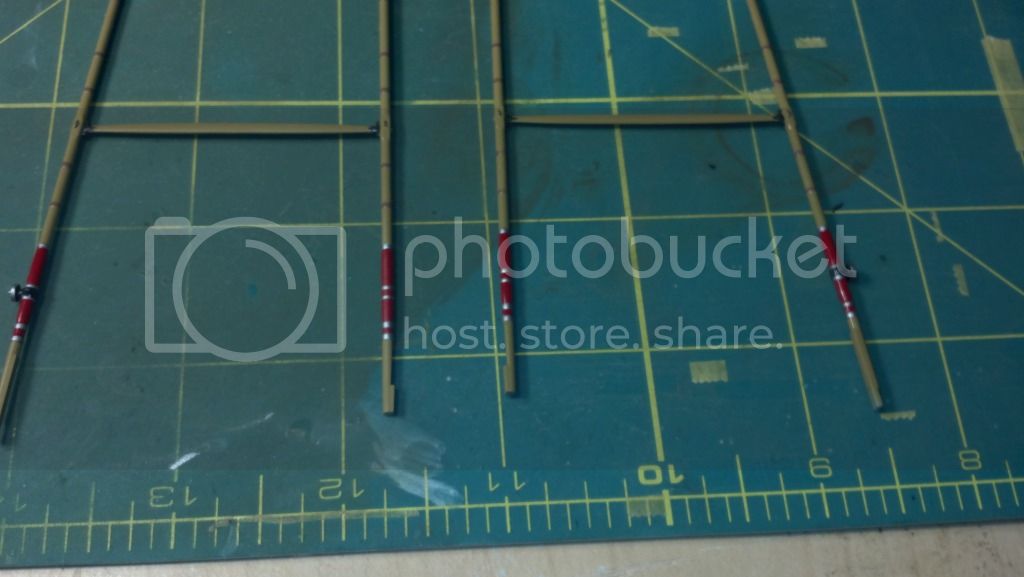
These booms also have to be rigged. Instructions call for RAF aerodynamic flying wire, so to be accurate, my normal route of 14/0 fly tying line won't work. I decided to try RB Productions RAF wire and terminals.
The terminals come in PE fret:
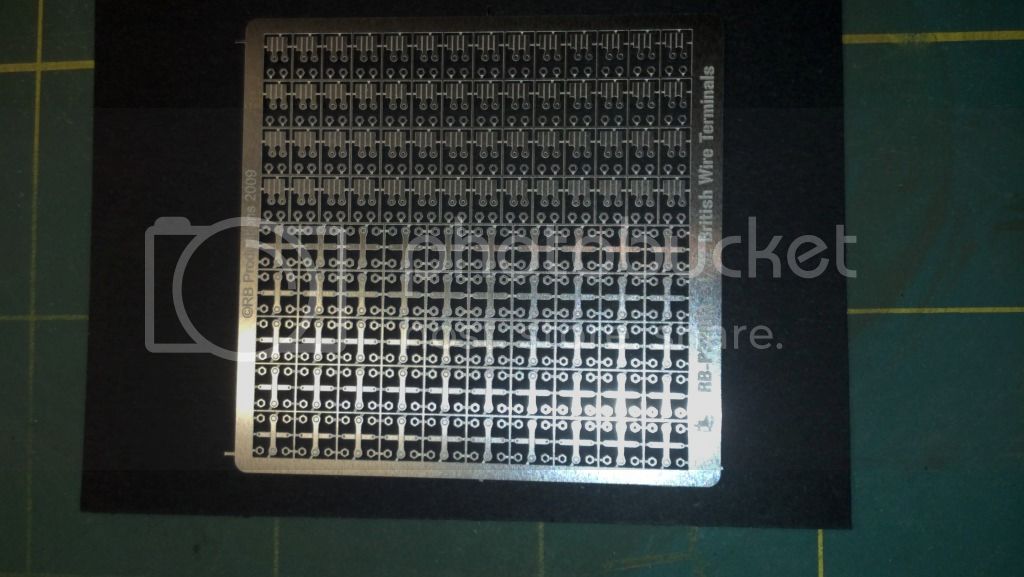
Here is a close up of the terminals:
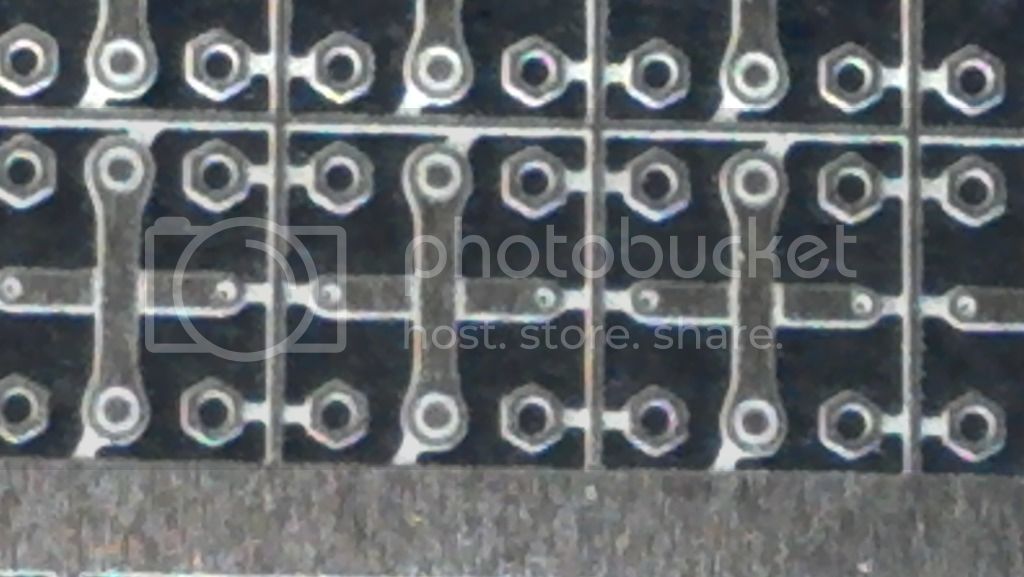
For scale:
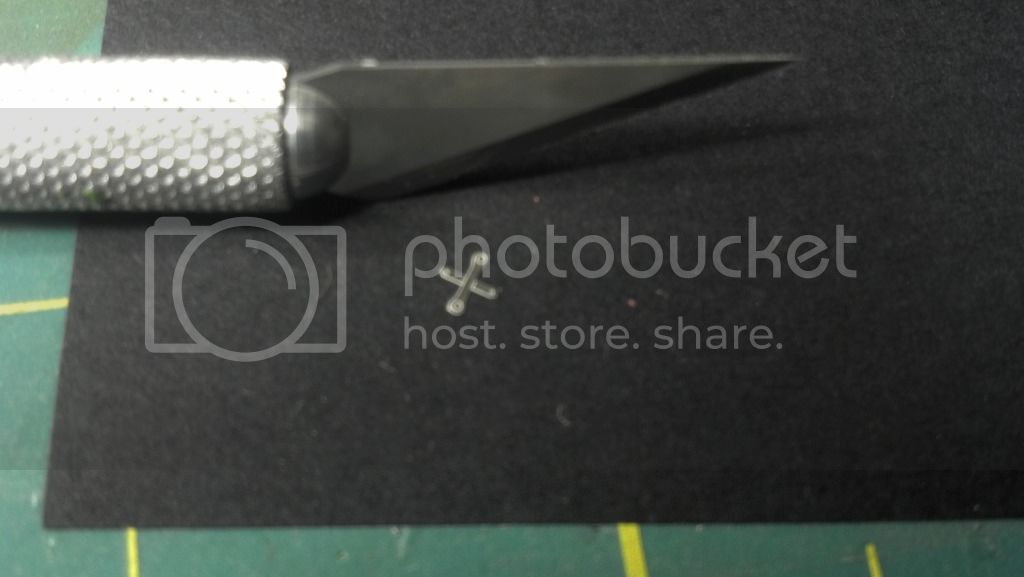
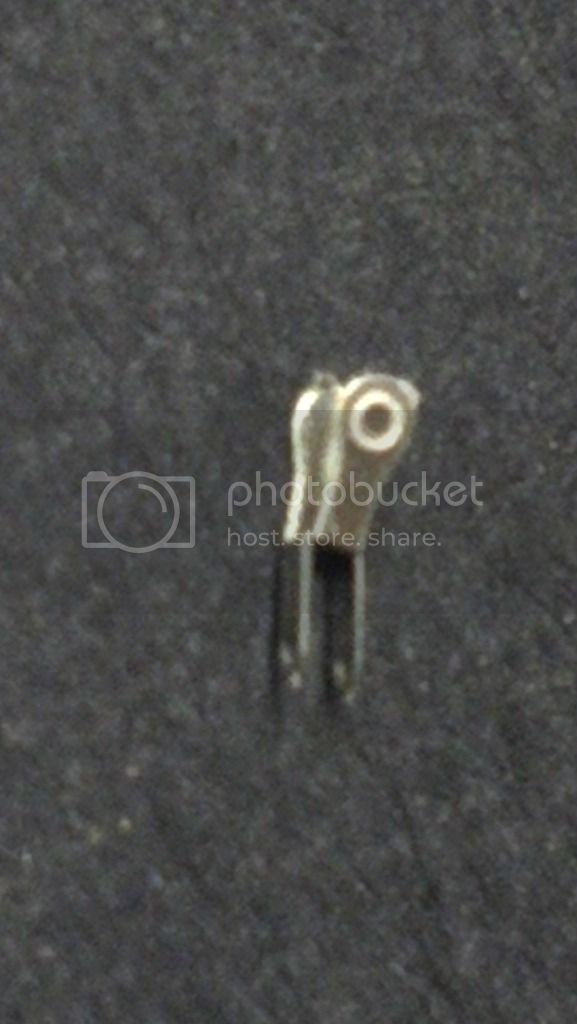
And after breaking a few and losing a few, here is one folded:
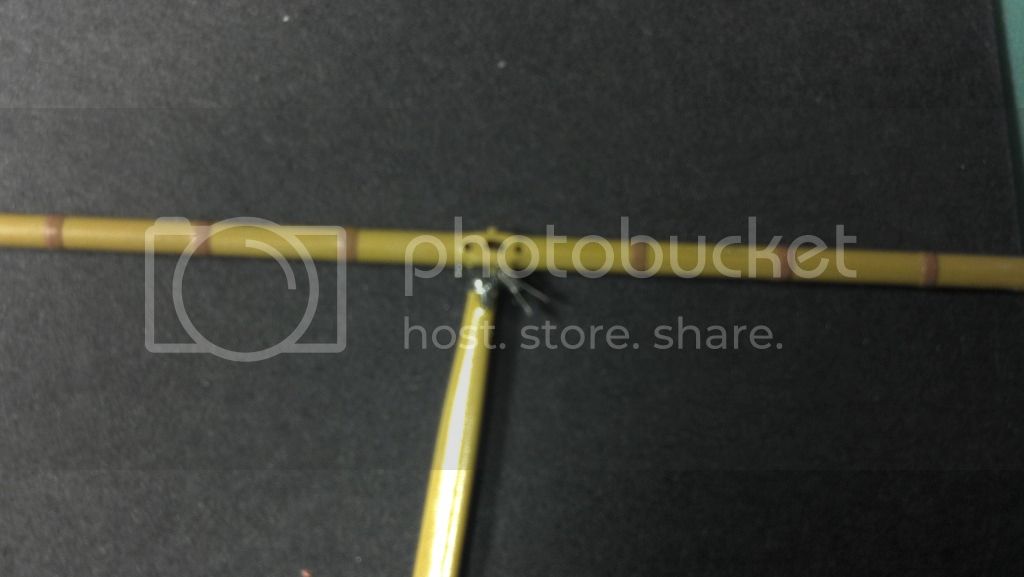
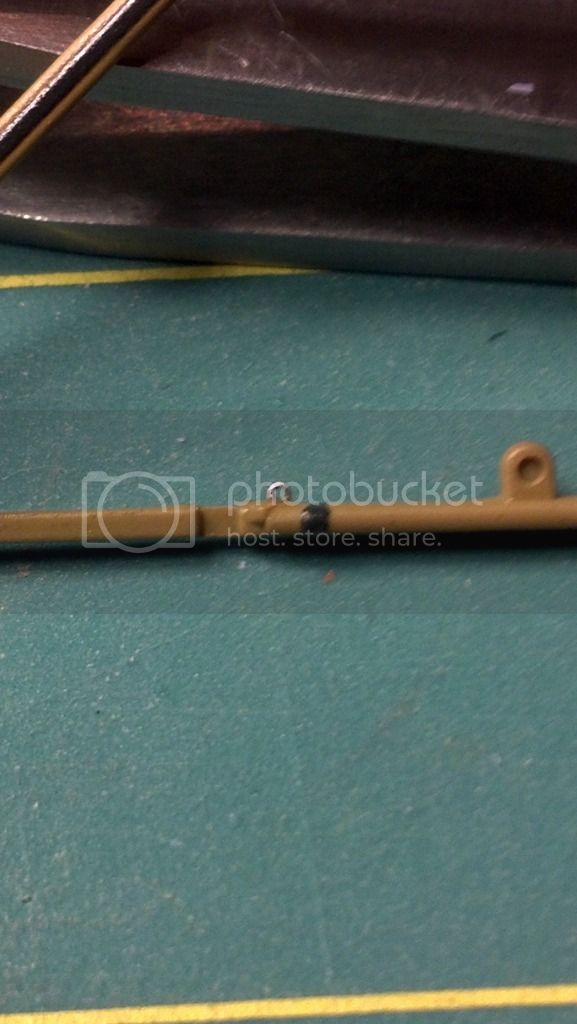
I used Gator's Grip Glue to hold the terminal in place, then I hit it with CA and accelerator to "lock it down". Here is how one looks installed:
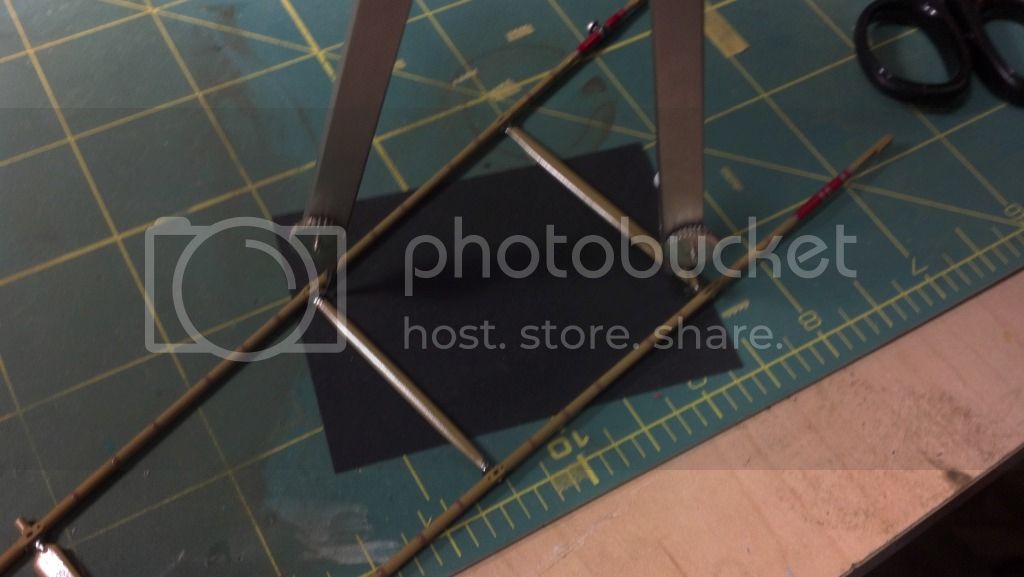
I then used calipers to measure the distance, so I could cut the flat flying wire to length:
There are also very small nuts that go on each end of the wire, against the terminals:

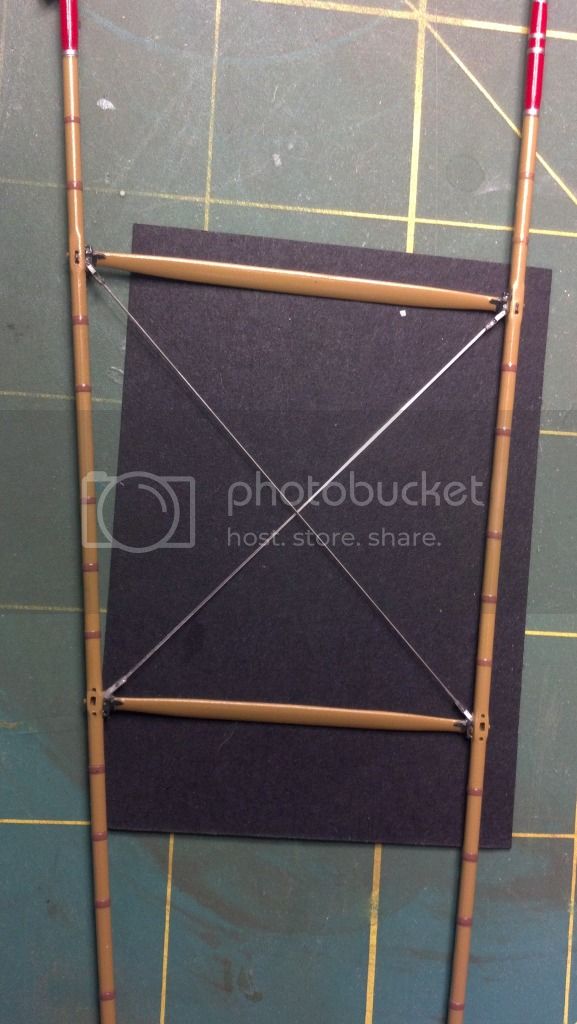
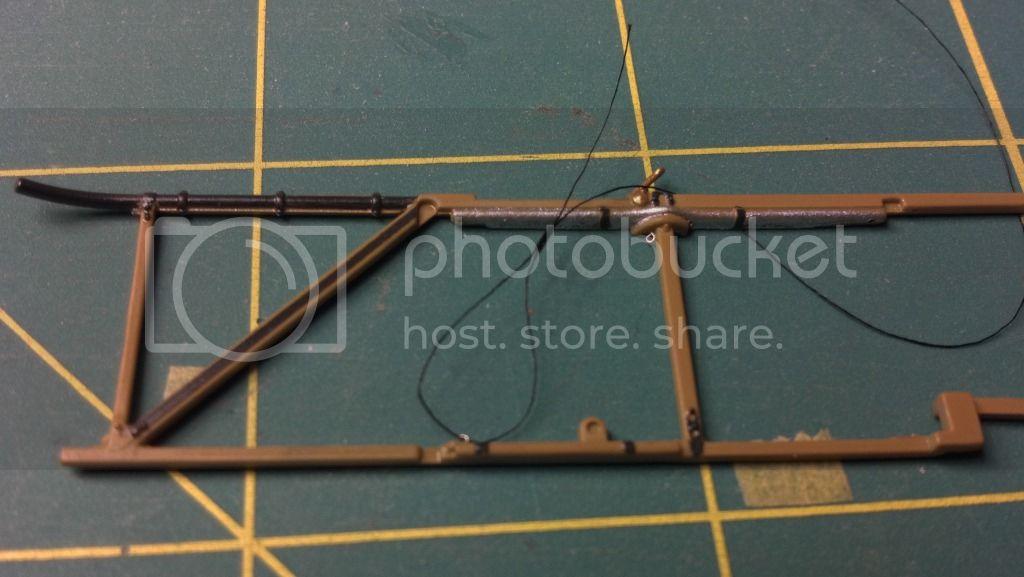
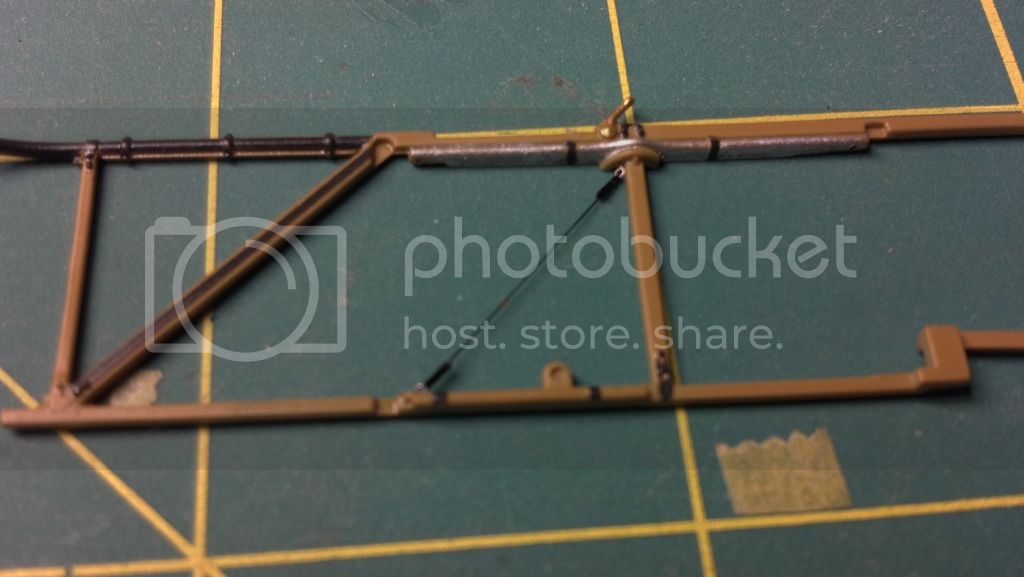
After losing/breaking a few terminals, losing half a dozen nuts, accidentally bending a wire (they can't be straightened), re-cutting a wire, knocking the terminals loose a few times, scaring the dogs and wife with bouts of blasphemous language, and over an hour, I finally have ONE wire installed:
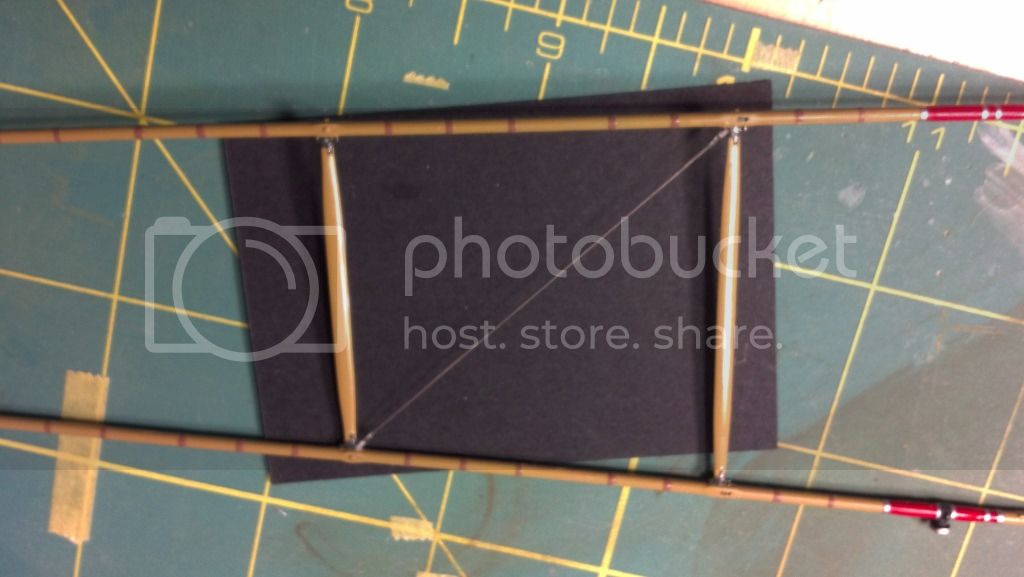
I think I'm going to order some more wires and terminals now, since the attrition rate seems pretty high. There are 70+ flying wires to put on this beast, so at this rate, I'll finish some time in 2014. I can only hope I get faster with experience, and lower the parts attrition rate too.
As always, comments and critiques are welcome.


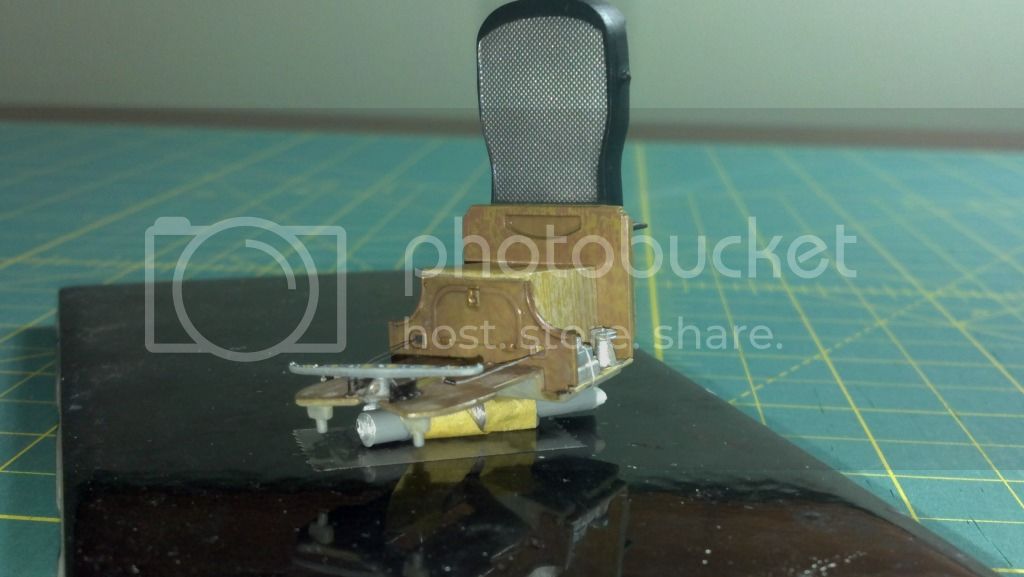
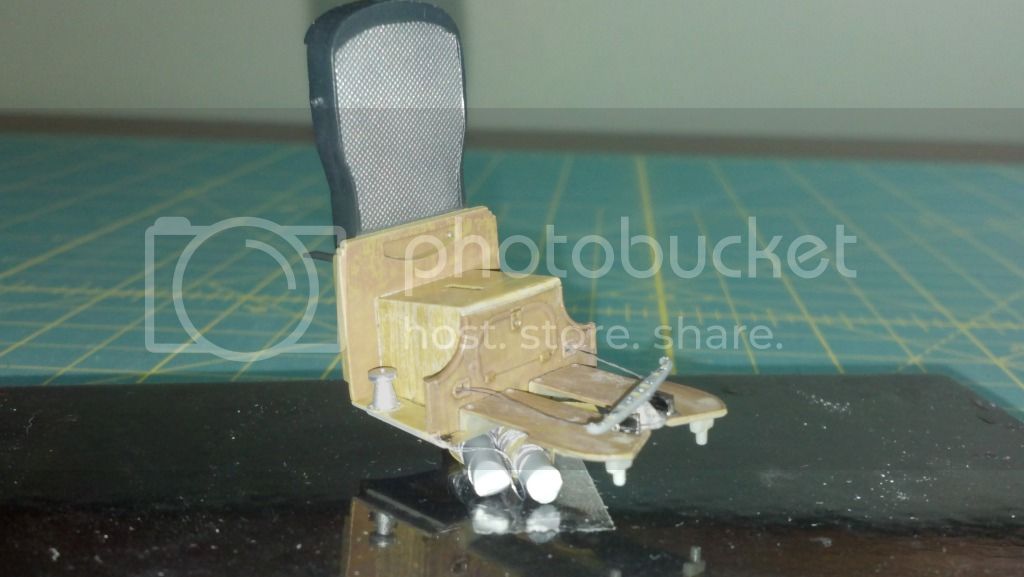


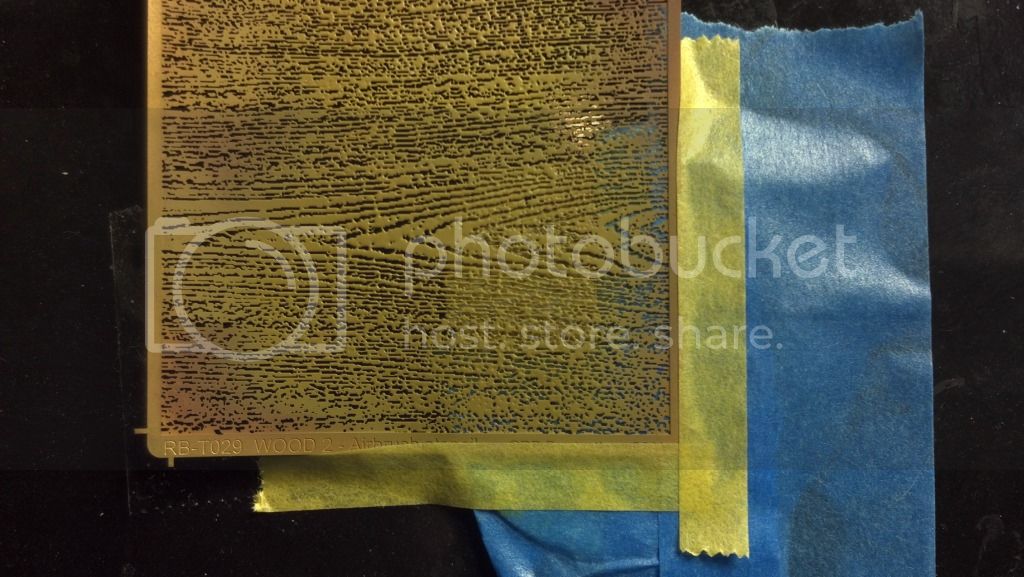

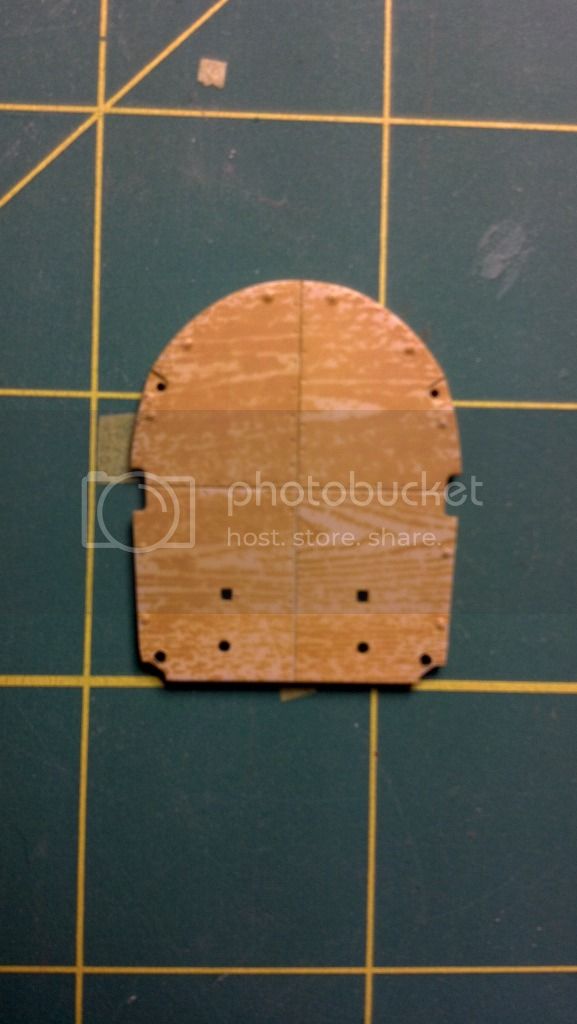
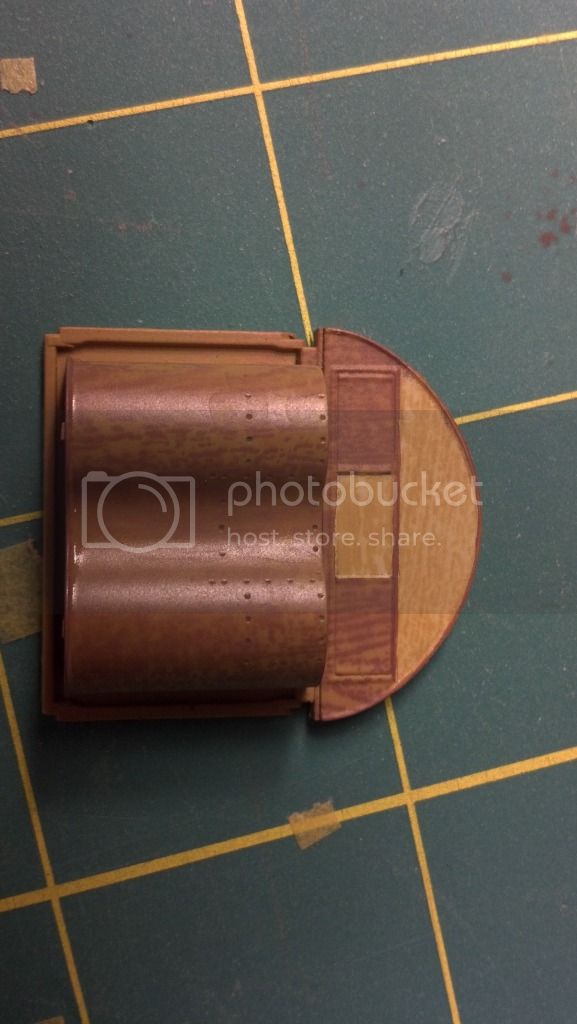

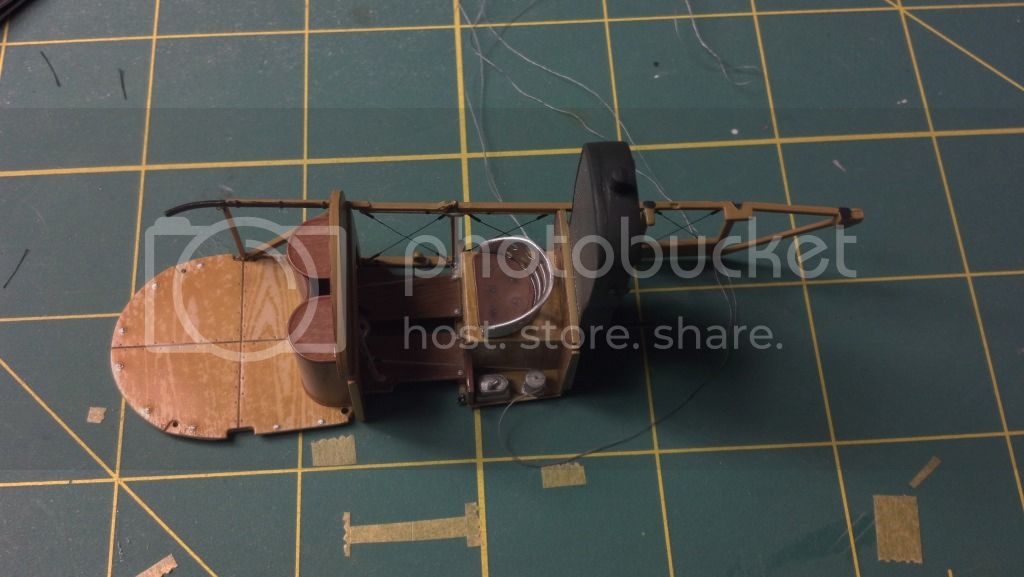


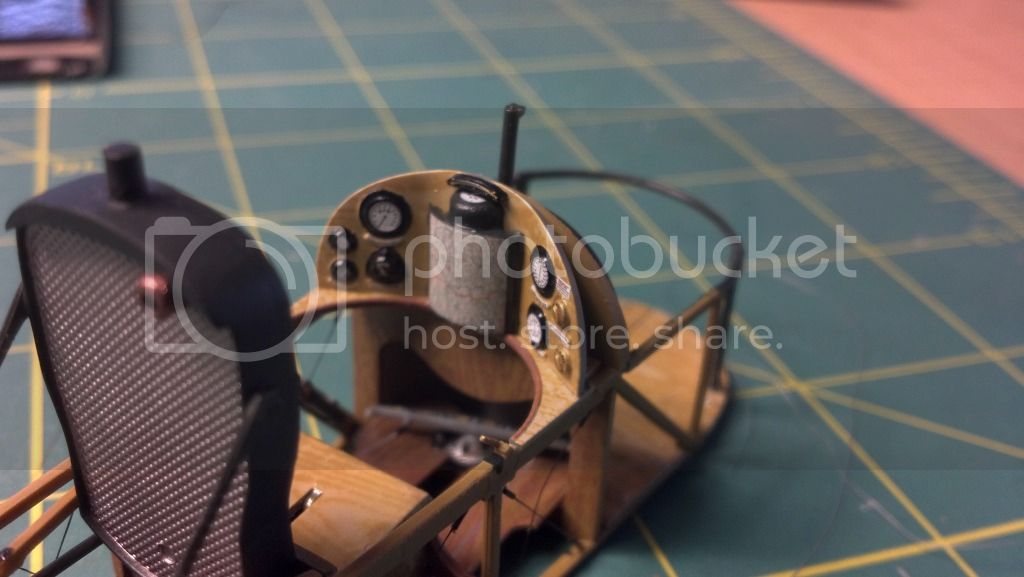
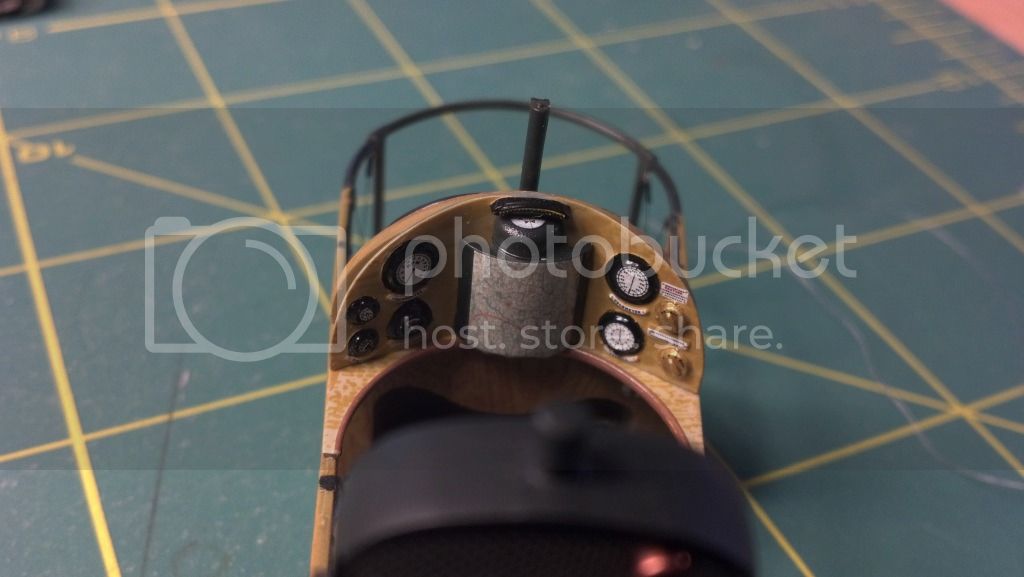


 I really like the work so far. The attention to detail is outstanding. I also like the RB production wood templates. I have never seen those before and am very impressed by the results. Looking good so far. Keep us posted.


