_GOTOBOTTOM
Early Aviation
Discuss World War I and the early years of aviation thru 1934.
KotS GB 2012 Pfalz D.IIIa - MGunns
Mgunns
_VISITCOMMUNITY
Arizona, United States
Joined: December 12, 2008
KitMaker: 1,423 posts
AeroScale: 1,319 posts
Posted: Wednesday, February 01, 2012 - 03:57 PM UTC
Greetings all:

I will be building the WNW 1/32nd Pfalz D.III.a in the Markings of Carl Degelow in JASTA 40 Markings. I will be using the PHEON Decal sheet 32024 Pfalz D.IIIa Volume One.

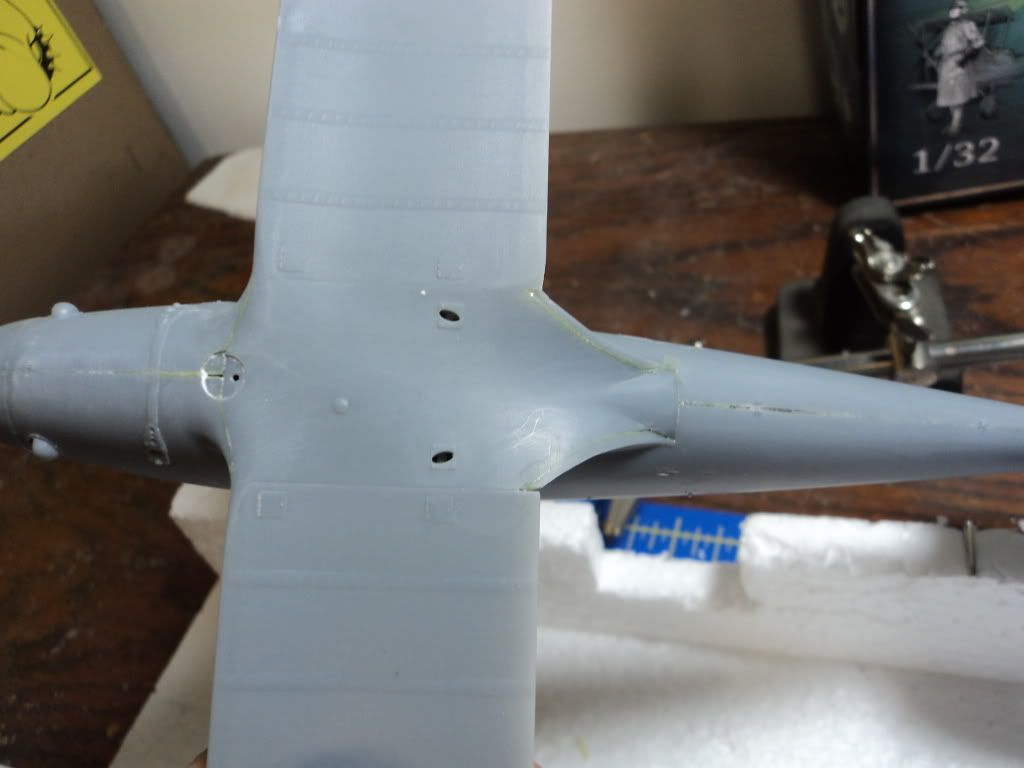
The kit has been reviewed before on this forum and many have posted build blogs, I won't go into a lot of detail, but will post in progress pictures.

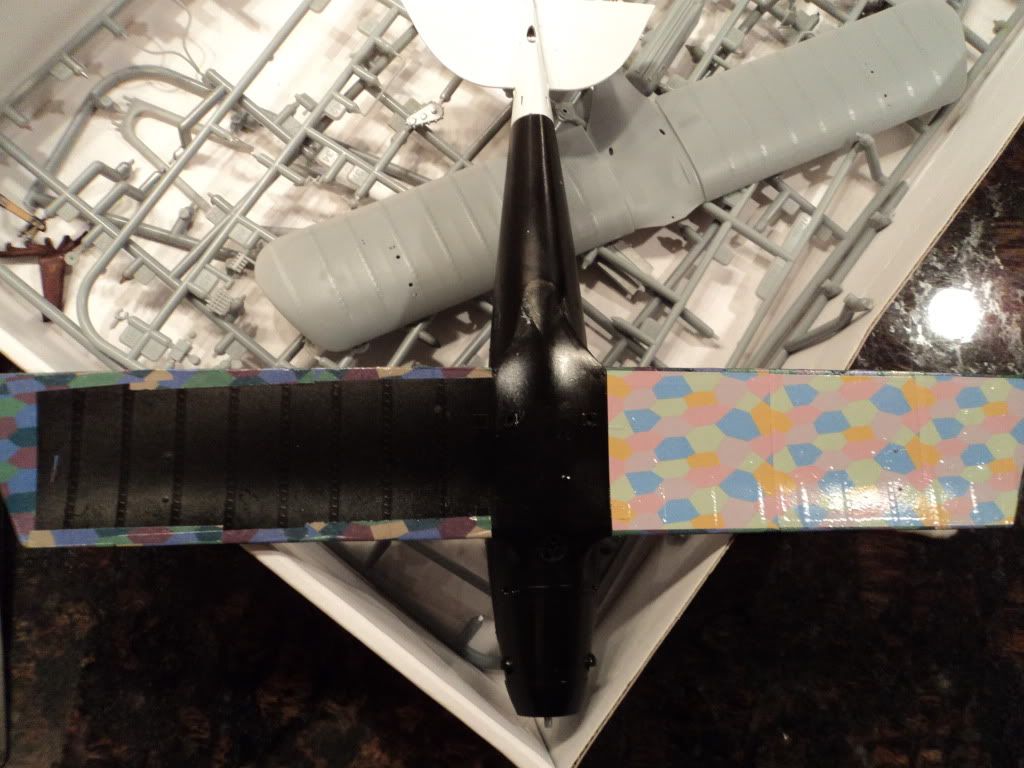
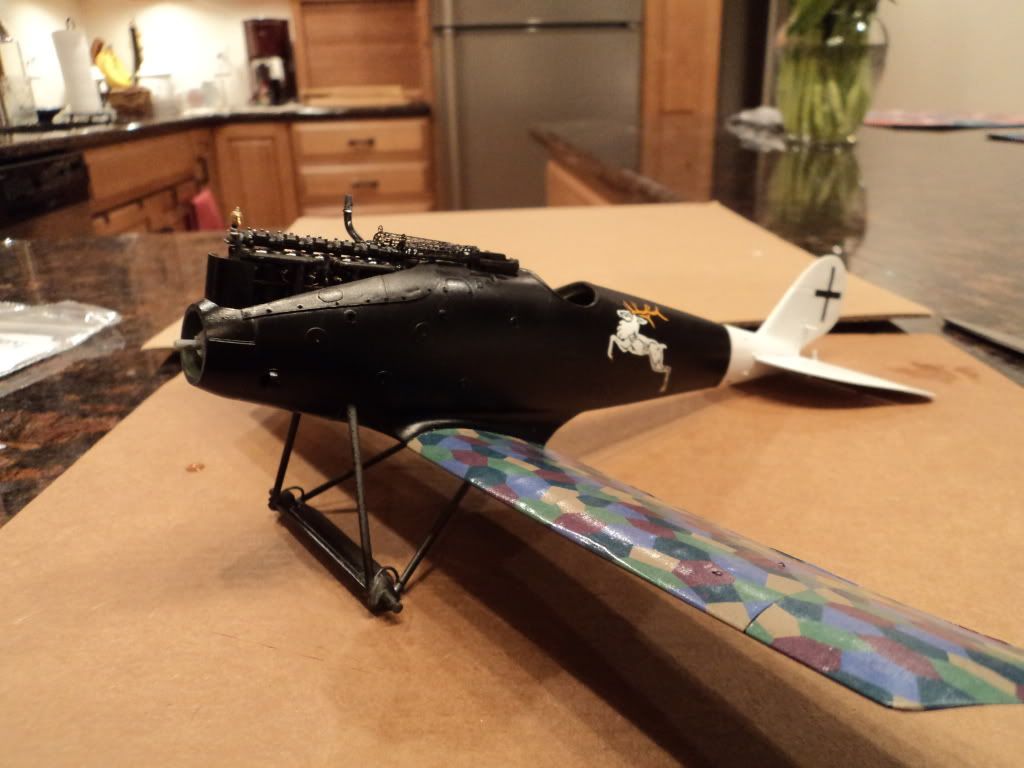
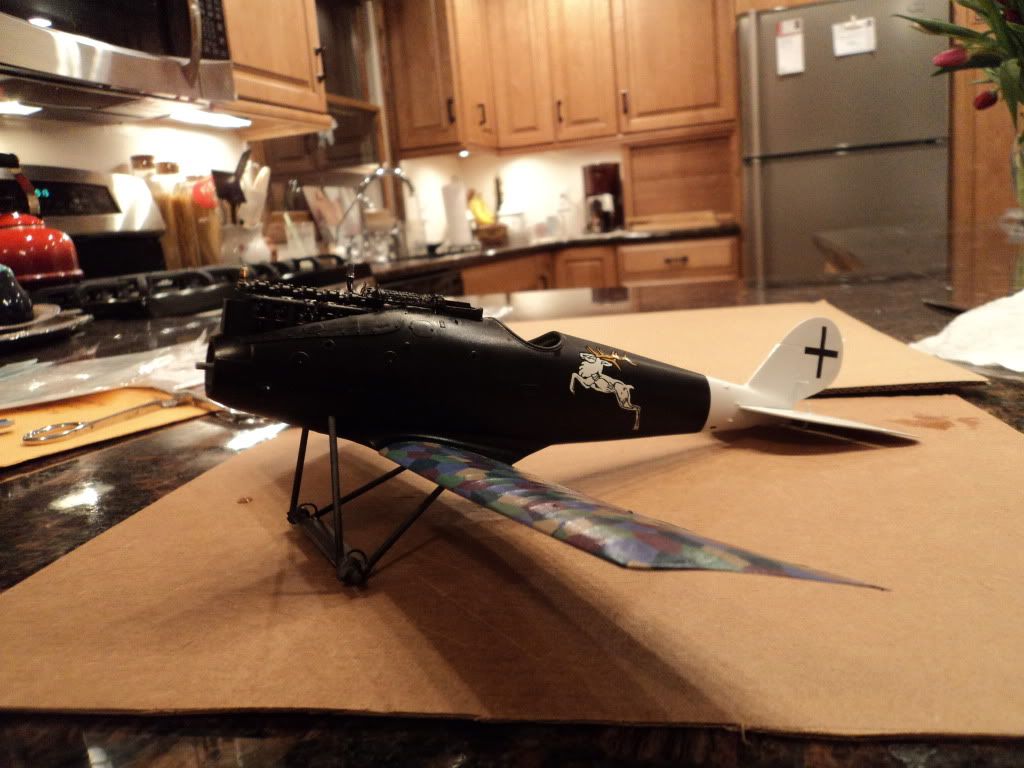
Leutenant Degelow's A/C is number three. It is similar to the WNW Pfalz Flying Circus Sheet 2 with that aircraft representing his a/c when he was in JASTA 7 with just the white rudder, this represents his a/c from Jasta 40. I chose this scheme over the WNW offering because the entire tail surface is white, and it has lozenge on the wing surfaces, which to me adds a little more interest to the overall blackness of the a/c.

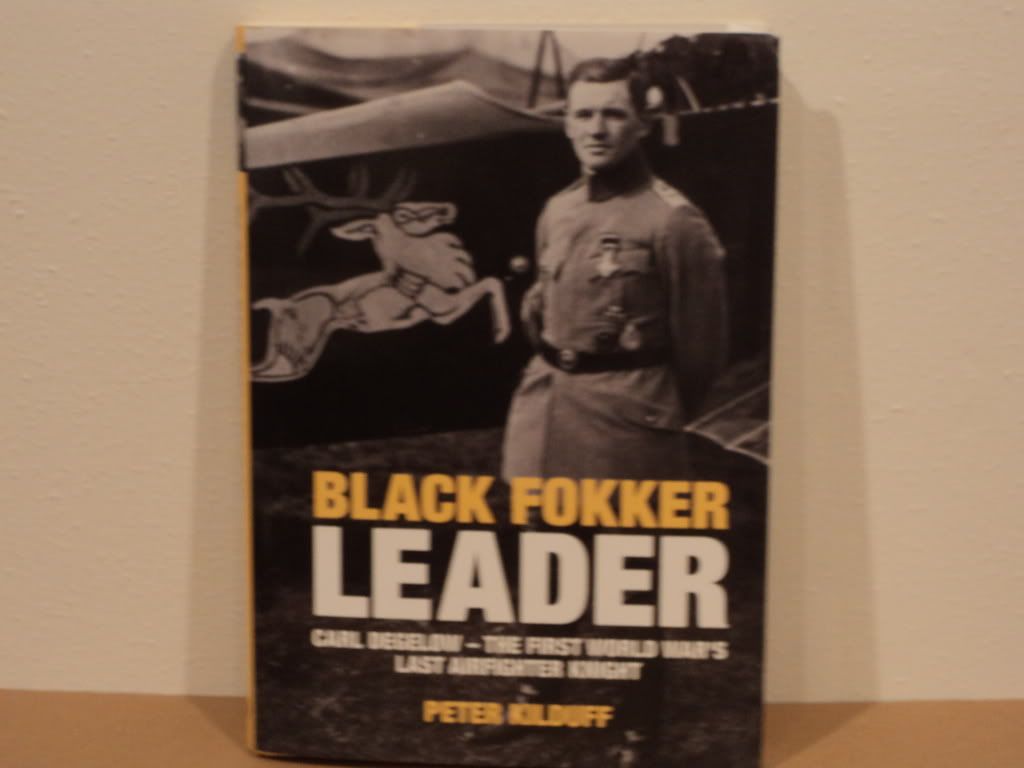
Carl Degelow chose the stag as his personal markings in rememberance of Dr. Lahmann's Sanatorium in Dresden, whose trademark it was and where he had spent some weeks convalescing when recoverng from a wound he had received. Leutenant Degelow would go on and score 30 victories. He was the last German fighter pilot to receive the Pour le Merite "Blue Max", receiving it on 9 November. He would pass away in Hamburg on 9 November 1970, exactly 52 years to the day he received the Pour le Merite

I read the book, "Black Fokker Leader" by Peter Kilduff and wanted to do the aircraft. It is a good book and would recommend it.


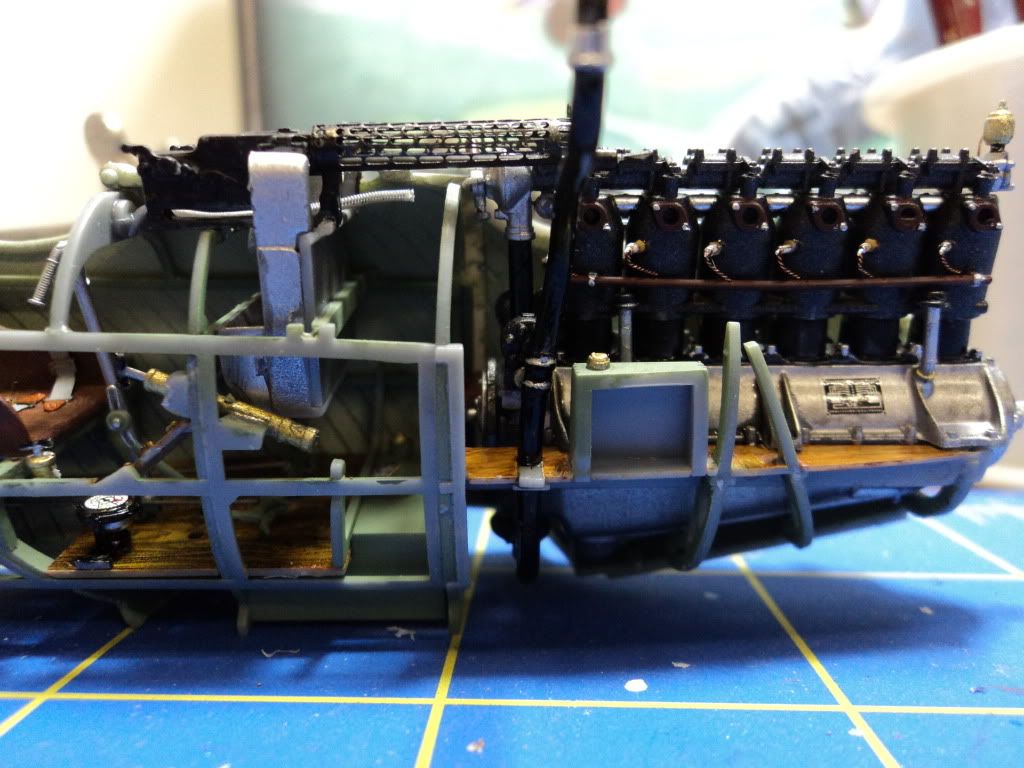
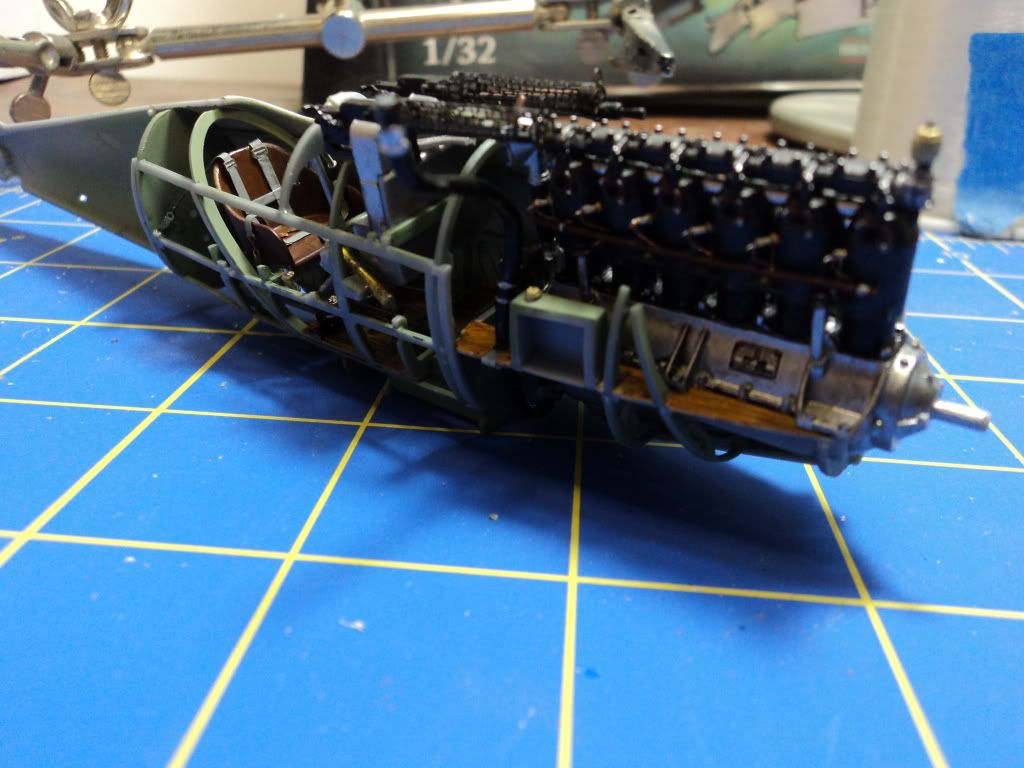
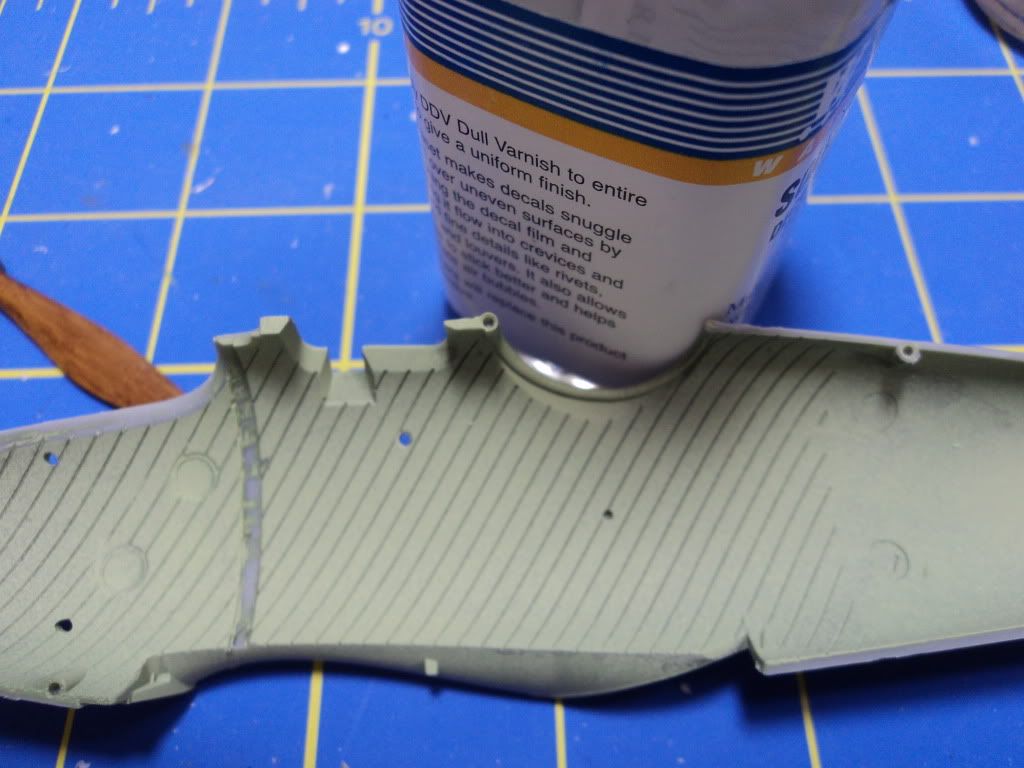
I have made some progress on the model, I painted the interior Humbrol 78, gave it a wash of thinned India ink, then painted it again with Tamiya XF21, painting it at an angle so as not to fill in the seams.

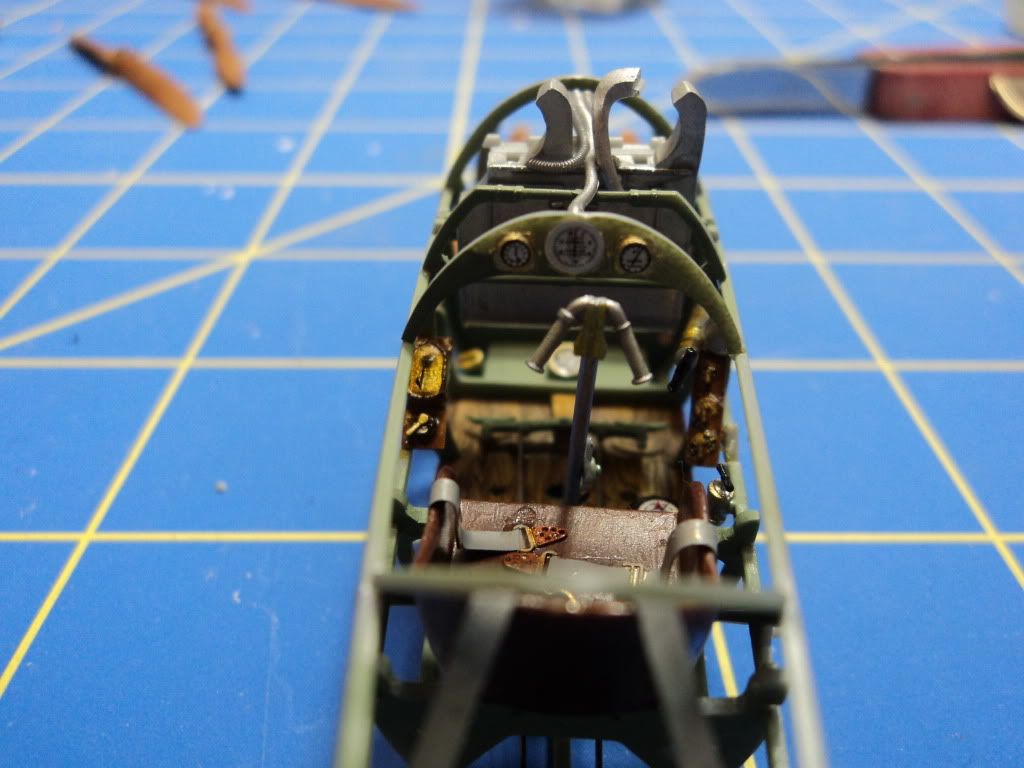
I have the interior finished, I painted the frame work Humbrol 78 to give some contrast to the lighter Tamiya XF 71.

WNW gives the modeler the choice of two instrument panels, one with one instrument, and the other with three, I went with the latter just because it had more instruments and it fills the dash pretty neat.

That's it for tonight folks. Stay tuned for more action as it occurs.

Best
Mark
gajouette
_VISITCOMMUNITY
Texas, United States
Joined: February 01, 2007
KitMaker: 365 posts
AeroScale: 356 posts
Posted: Wednesday, February 01, 2012 - 05:47 PM UTC
Mark,
Excellent first progress my friend.I like your choice of markings too.
Highest Regards,
Gregory Jouette
Kornbeef
_VISITCOMMUNITY
England - South East, United Kingdom
Joined: November 06, 2005
KitMaker: 1,667 posts
AeroScale: 1,551 posts
Posted: Thursday, February 02, 2012 - 08:45 AM UTC
Lovely work on what I think is one of WNW's finest offerings so far. Great choice of markings too, I'm looking forward to seeing how you represent the black.

Keith
lcarroll
_VISITCOMMUNITY
Alberta, Canada
Joined: July 26, 2010
KitMaker: 1,032 posts
AeroScale: 1,025 posts
Posted: Thursday, February 02, 2012 - 11:54 AM UTC
Mark,
Excellent results on the entire interior; very "real".
Did you paint and "pick out" the kit instruments or are they of your own manufacture? I've spent most of today working on an instrument panel and it sure doesn't come off as does this one. Looking forward to more.
Cheers,
Lance
Mgunns
_VISITCOMMUNITY
Arizona, United States
Joined: December 12, 2008
KitMaker: 1,423 posts
AeroScale: 1,319 posts
Posted: Thursday, February 02, 2012 - 01:56 PM UTC
Hi Lance:

I did pick out the instrument bezels with brass paint, and then I used the Kit decals for the instruments. I put a blob of Klear (A.K.A. Future) when set I put the decal on that, and when that was set, I built of layers of Klear until I was satisfied with the results. The photo's don't show it to good effect. The ones that were real a pain, and I almost drove myself mad doing them, were the switch plate backing decals for the three switches on the right side. Optivisor notwithstanding, it was tough, I lost one. I am fairly pleased with it, no AMS, just OOB.
Martini's for me please.
lcarroll
_VISITCOMMUNITY
Alberta, Canada
Joined: July 26, 2010
KitMaker: 1,032 posts
AeroScale: 1,025 posts
Posted: Thursday, February 02, 2012 - 03:06 PM UTC
Thanks Mark,
We do it to ourselves for sure............call it AMS, perfectionism, or just plain old being old and wanting it "our way"! Your build is anything but OOB from what you've presented so far. Should be a real beauty when done.
Keep those updates coming, I have this kit and will be watching your build closely....... (Martinis are good, Scotch is better!)

Cheers,
Lance

PS, We seem to be on the same reading schedule, Flying Fury recently and I read Degelows book only 6 months ago.
OEFFAG_153
_VISITCOMMUNITY
Västra Götaland, Sweden
Joined: February 19, 2010
KitMaker: 1,473 posts
AeroScale: 1,450 posts
Posted: Thursday, February 02, 2012 - 07:52 PM UTC
Nice progress Mark  – your different wood tones turned out really nice, I like it a lot!

Mikael
Mgunns
_VISITCOMMUNITY
Arizona, United States
Joined: December 12, 2008
KitMaker: 1,423 posts
AeroScale: 1,319 posts
Posted: Sunday, February 05, 2012 - 04:27 PM UTC
Thanks Mikael and Lance: I surprise myself when the methods you use actually look like what you want them to. I normally don't get too wrapped around the axle with AMS but I thought I would 'experiment' with the plugs and wires for the engine. Below is where I am tonight. I got the engine finished, and am pretty content with the way it turned out. Sadly, most of it won't be seen, but it was a learning experience for those aircraft with motors that are seen, i.e., the Albatros.
Here we go:

Another view:
.
I drilled out the holes in the cylinders, using the vector cut nuts, copper wire and Bob's Buckles sleeves, I made the spark plugs, for the plug leads I used Bob's Buckles eyebolts. Worked perfect!
Here the guns are in. To my horror, I inadvertantly put one of the PE sleeves on in reverse. I discovered it after a generous application of super glue, oh well, that's what you get for wanting to get one more thing before Downton Abbey.


That's it for tonight folks, tomorrow I button up the fuselage and begin the lozenge work on the wings. I want to get that out of the way early.

Thanks for stopping by.

Best

Mark
OEFFAG_153
_VISITCOMMUNITY
Västra Götaland, Sweden
Joined: February 19, 2010
KitMaker: 1,473 posts
AeroScale: 1,450 posts
Posted: Sunday, February 05, 2012 - 08:21 PM UTC
Plugs and leads worked out really well – looks lite the real thing. Are you going to leave the cowls off?

Mikael
Mgunns
_VISITCOMMUNITY
Arizona, United States
Joined: December 12, 2008
KitMaker: 1,423 posts
AeroScale: 1,319 posts
Posted: Monday, February 06, 2012 - 05:34 AM UTC
Hello Mikael:

I will put the cowls on. I know that none of the stuff will be seen, but; it was more of an experiment to see if I could do it. I will employ these techniques on engines that will be visible, i.e., the Albatros, the LVG and others. Once I figured it out and got a system, it went pretty quickly and the overall effect is nice.

Best

Mark
lcarroll
_VISITCOMMUNITY
Alberta, Canada
Joined: July 26, 2010
KitMaker: 1,032 posts
AeroScale: 1,025 posts
Posted: Monday, February 06, 2012 - 08:51 AM UTC
Mark,
Looking good and no one will notice the reversed gun jacket I'm sure.
What paint, colour, and mode of application (brush or air?) did you use on the guns? they look incredibly clean and much better then the results I get.
Cheers,
Lance
Mgunns
_VISITCOMMUNITY
Arizona, United States
Joined: December 12, 2008
KitMaker: 1,423 posts
AeroScale: 1,319 posts
Posted: Monday, February 06, 2012 - 11:41 AM UTC
Hello Lance:

I painted them by brush with Tamiya Flat Black. I annealed the PE per wing nuts and other instructions and advice, wrapped the jackets around a drill bit, I think a 1/8, which is too small, and then I open them up with a tweezers. I have an old file with a small handle that I use and it just the right size. Works fine, and it surprises me how decent they turned out. I am struggling with the fuselage, it isn't fitting very well, and I can't figure it out as all the internal pieces are in their right spots and fit well on the one side. A little filling and sanding and all will be fine.

L8R

Mark
Kornbeef
_VISITCOMMUNITY
England - South East, United Kingdom
Joined: November 06, 2005
KitMaker: 1,667 posts
AeroScale: 1,551 posts
Posted: Monday, February 06, 2012 - 06:34 PM UTC
Mark, ref your fuselage fit I sent you a PM
Mgunns
_VISITCOMMUNITY
Arizona, United States
Joined: December 12, 2008
KitMaker: 1,423 posts
AeroScale: 1,319 posts
Posted: Tuesday, February 07, 2012 - 01:05 AM UTC

Quoted Text

Mark, ref your fuselage fit I sent you a PM


I see it. That has to be it, anyway, I managed to do some trimming and got it to fit.
More pics on the way. Thanks for the extra set of eyes. On my next Pfalz I will be more attentive to that area. Otherwise a sweet kit, everything going together well.

Best

Mark
lcarroll
_VISITCOMMUNITY
Alberta, Canada
Joined: July 26, 2010
KitMaker: 1,032 posts
AeroScale: 1,025 posts
Posted: Tuesday, February 07, 2012 - 02:36 AM UTC

Quoted Text


Quoted Text

Mark, ref your fuselage fit I sent you a PM


I see it. That has to be it, anyway, I managed to do some trimming and got it to fit.
More pics on the way. Thanks for the extra set of eyes. On my next Pfalz I will be more attentive to that area. Otherwise a sweet kit, everything going together well.

Best

Mark


Mark,
Thanks for the info/advice on the guns. Since this could be my next build can you share the nature of the problem you had with mating the fus. halves?

Cheers,
Lance
Mgunns
_VISITCOMMUNITY
Arizona, United States
Joined: December 12, 2008
KitMaker: 1,423 posts
AeroScale: 1,319 posts
Posted: Tuesday, February 07, 2012 - 03:52 AM UTC
Hello Lance:

I sent you a PM with my thoughts and shared what keith thought may be the problem as well. One more thing I failed to mention is the location of the oil tank. In looking at the photo's that may also have been a problem, so have a care and ensure good fit with those items.

More photo's to follow as I progress through the kit.

Best

Mark
Mgunns
_VISITCOMMUNITY
Arizona, United States
Joined: December 12, 2008
KitMaker: 1,423 posts
AeroScale: 1,319 posts
Posted: Wednesday, February 08, 2012 - 12:55 AM UTC
Greetings Folks:

Not much exciting on the Pfalz Front save I got the lower wings on, upper wing painted readying for lozenge. I trimmed the cowl panels off to better display the engine. I was noticing on the WNW Pfalz D.IIIa sheet that Hertel(sp) cut the panels off for better cooling, so taking that logic further, I am having the panels off on the Degelow A/C because they were in the same squadron and he thoguth it was a good idea.
Here they are:


Here is the seam that I had to fill due to the fit problem. After reviewing my posted photos I can see why there was a problem. I didn't have some parts fit properly, just a tiny bit off, but just enough.

Thanks for stopping by

Mark
lcarroll
_VISITCOMMUNITY
Alberta, Canada
Joined: July 26, 2010
KitMaker: 1,032 posts
AeroScale: 1,025 posts
Posted: Wednesday, February 08, 2012 - 03:33 AM UTC
Mark,
It's coming together very well, nice touch with the trimmed cowlings and the engine looks great as a result. Looking forward to more.....

Cheers,
Lance
Mgunns
_VISITCOMMUNITY
Arizona, United States
Joined: December 12, 2008
KitMaker: 1,423 posts
AeroScale: 1,319 posts
Posted: Friday, February 10, 2012 - 02:31 AM UTC
Greetings all:

Not much on the construction side, but: I managed to get the tail painted white and am in the process of applying the lozenge decals. I am using Doug Baumann's 5 color upper and lower lozenge. They are going on alright, some difficulty over some of the raised portion of the upper wing, but nothing insurmountable. I like the color and the texture, and anyone who has applied lozenge knows it takes time, so I am taking my time and doing a couple of panels an evening, letting them set and doing the next panels. I will be painting the rest of the model over the weekend and will be doing the lower wings in concert with the upper. Phtotos coming when lozenging is complete.
Until that time

Mark
edoardo
_VISITCOMMUNITY
Milano, Italy
Joined: November 30, 2007
KitMaker: 642 posts
AeroScale: 382 posts
Posted: Sunday, February 12, 2012 - 08:30 AM UTC
Hy Mark! Your engine looks just great!
The sparks and the wire are awsome!
Keep up the gret work!
Ciao
Edo
Mgunns
_VISITCOMMUNITY
Arizona, United States
Joined: December 12, 2008
KitMaker: 1,423 posts
AeroScale: 1,319 posts
Posted: Monday, February 13, 2012 - 02:04 AM UTC
Thanks Edo: I will be posting some pictures this evening. I had to peel off the Doug Baumann lozenge decals, as they weren't sticking, edges curling, just didn't look right. I went with the kit decals and they are working just fine.
Stay tuned.

Best
Mark
lcarroll
_VISITCOMMUNITY
Alberta, Canada
Joined: July 26, 2010
KitMaker: 1,032 posts
AeroScale: 1,025 posts
Posted: Monday, February 13, 2012 - 03:34 AM UTC

Quoted Text

Thanks Edo: I will be posting some pictures this evening. I had to peel off the Doug Baumann lozenge decals, as they weren't sticking, edges curling, just didn't look right. I went with the kit decals and they are working just fine.
Stay tuned.

Best
Mark


Mark,
I see you are, like me, suffering from the "one step forward, two steps backwards" stage of the build. I'm glad the solution is in hand, looking forward to your photos.....

Cheers,
Lance
Mgunns
_VISITCOMMUNITY
Arizona, United States
Joined: December 12, 2008
KitMaker: 1,423 posts
AeroScale: 1,319 posts
Posted: Monday, February 13, 2012 - 03:41 PM UTC
Hello Lance:
Tonight I made some steps forward. I have both wings lozenged, save for the ribbing strips. I used the WNW decals, had to rob some from my LVG kit as the stock Pfalz kit only provides enough upper surface for one wing, I think that is the lower. So here is the progress for tonight. Not much but progress none the less.

My method is to do the top, wrap enough around the leading and trailing edge, and then do the bottom, cutting each piece the same length, it evens out the rough edge.

I know this flies in the face of conventional wisdom, but it works for me.
The lower wing upper surface with the White stag and the cross on the rudder.

The Port side

and another port side.


The decals for the stag and cross are off the Pheon sheet as stated above. I think it is coming along nicely. I am glad I cut out part of the cowling to display the engine work I did. I am not sure the Degelow a/c had this, but who knows, he may have had it cut out. Now to find the riggin holes, drill them out, place the eyelets in and away we go.
Thanks for stopping by.

Stay tuned for more.
Best

Mark
lcarroll
_VISITCOMMUNITY
Alberta, Canada
Joined: July 26, 2010
KitMaker: 1,032 posts
AeroScale: 1,025 posts
Posted: Tuesday, February 14, 2012 - 03:42 AM UTC
Mark,
Great progress and looking better with every update. You are moving along very quickly and the scheme is very attractive, the lozenge provides a nice contrast to the mainly uniform black effect.
Keep those pics coming........
Cheers,
Lance
Mgunns
_VISITCOMMUNITY
Arizona, United States
Joined: December 12, 2008
KitMaker: 1,423 posts
AeroScale: 1,319 posts
Posted: Thursday, February 16, 2012 - 12:46 AM UTC
Greetings all:

I will not be posting for about 11 days, as I am taking vacation and won't be back until 29 February. At that point I plan on finishing the kit up. I don't have much left, as the wing lozeng and rib strips is complete, on to the markings, final assembly, rigging and viola.

Take care all

Best
Mark
 _GOTOTOP