OFFICIAL: Support Aircraft Campaign
Wisconsin, United States
Joined: September 11, 2009
KitMaker: 1,917 posts
AeroScale: 563 posts
Posted: Thursday, May 10, 2012 - 01:36 AM UTC
Hey, Fred! you've done an awesome job with those simple pieces, making a very neat, detailed cockpit! That's how I always hope mine would turn out.

thanks for posting!
...and looking at the campaign list, I see this one DOES seem to have one already, so we're all good there.
-Sean H.

Current: model railroad layout
Stalled a while ago:
. 1950's Chrome, WW II Twins
Last completed: Police Car
Kuching, Malaysia
Joined: June 19, 2002
KitMaker: 216 posts
AeroScale: 128 posts
Posted: Sunday, May 13, 2012 - 01:27 PM UTC
Kuching, Malaysia
Joined: June 19, 2002
KitMaker: 216 posts
AeroScale: 128 posts
Posted: Tuesday, May 15, 2012 - 04:08 AM UTC

#330
Queensland, Australia
Joined: July 15, 2011
KitMaker: 175 posts
AeroScale: 103 posts
Posted: Thursday, May 17, 2012 - 07:04 PM UTC
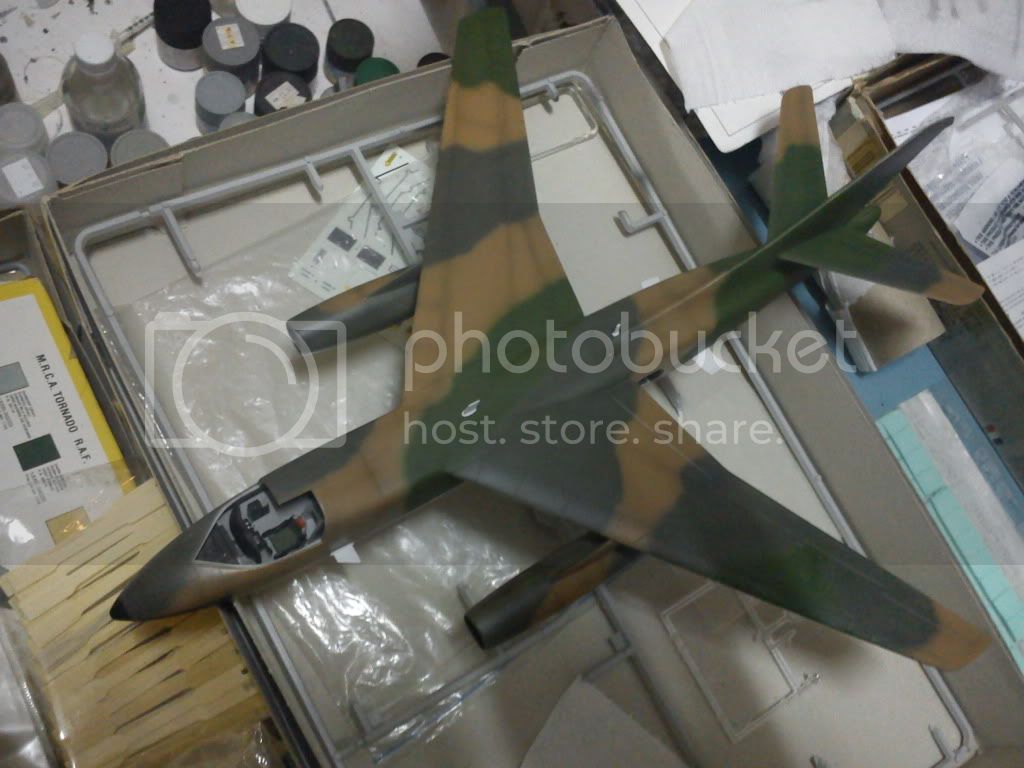
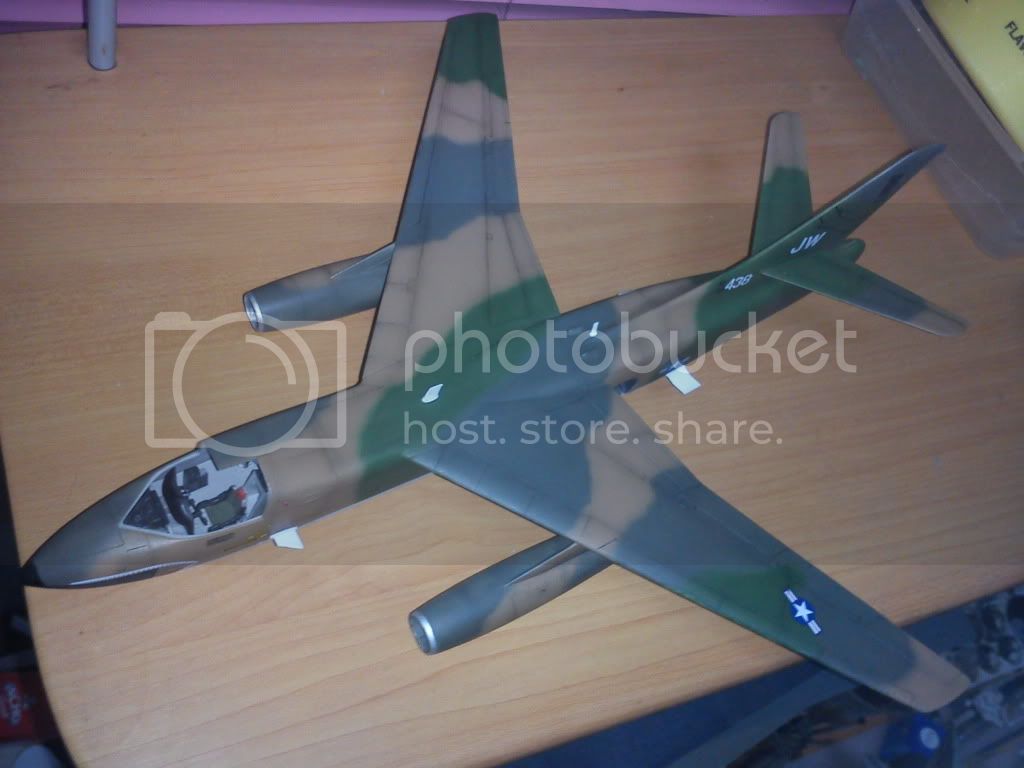
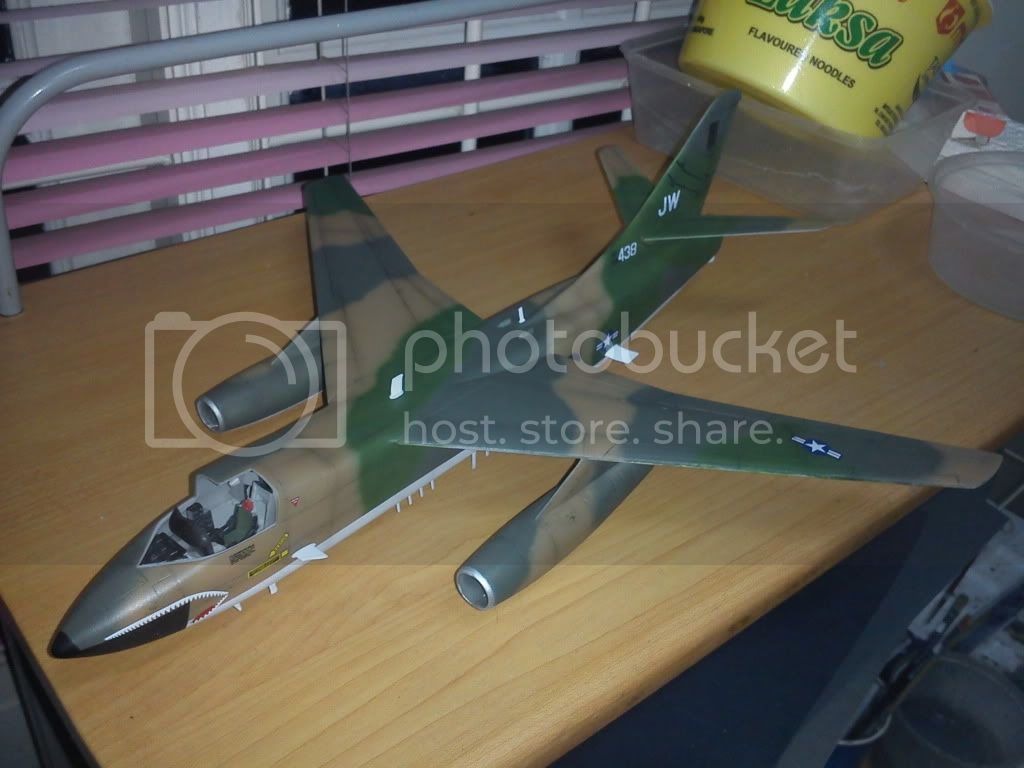
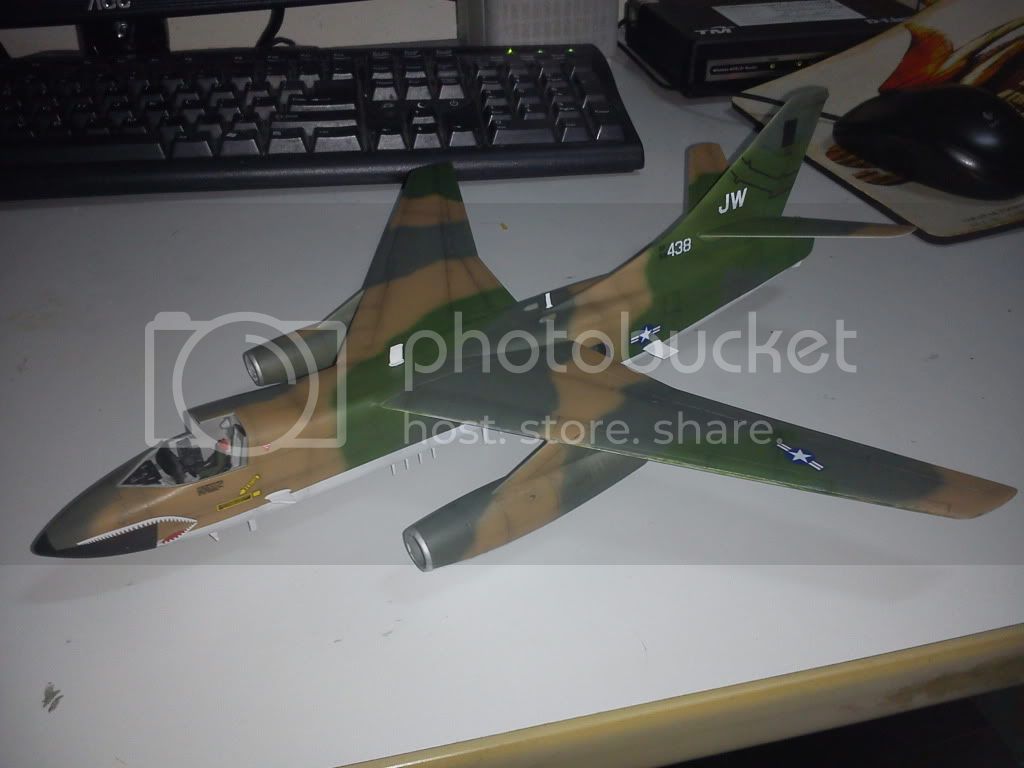
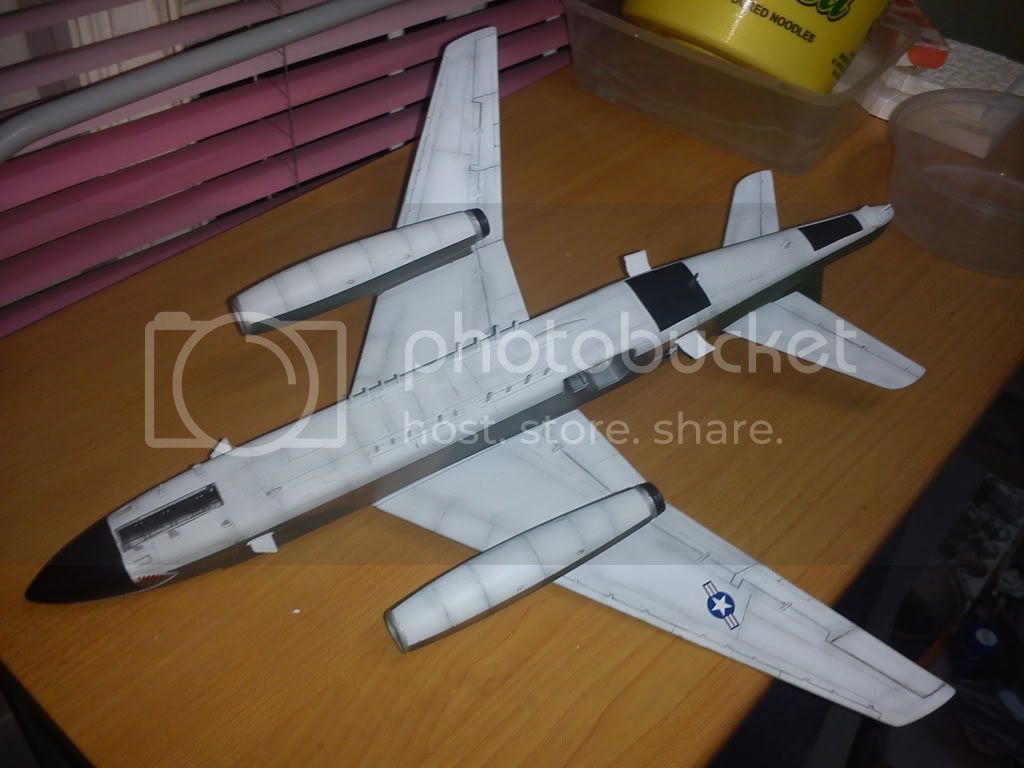
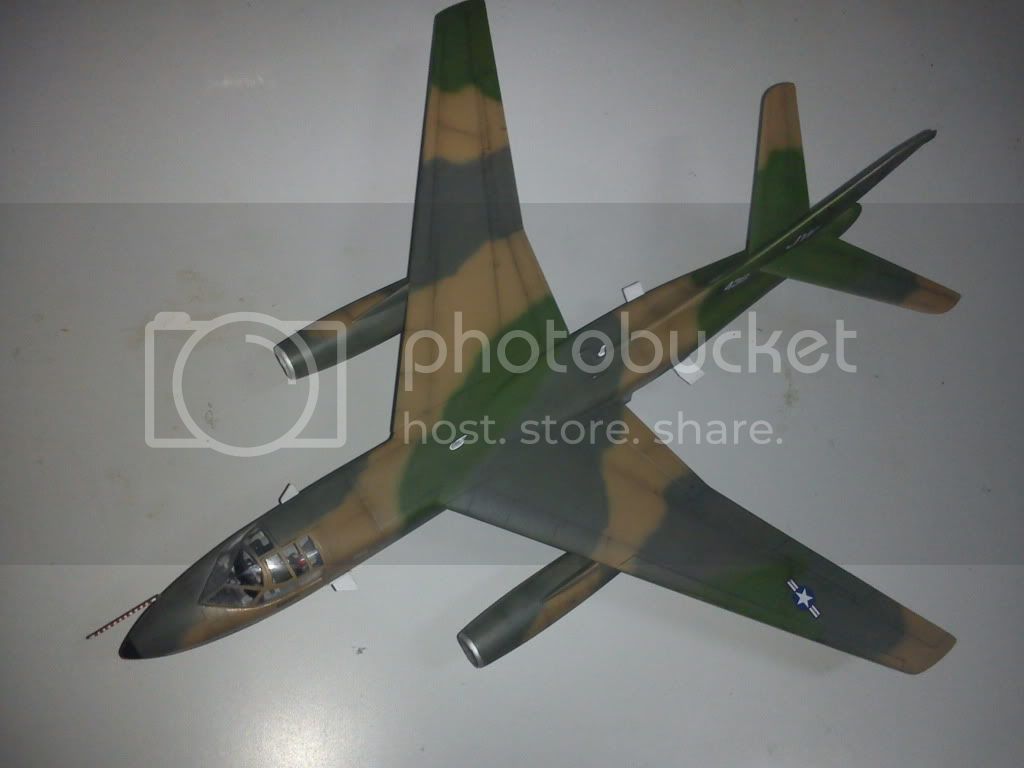
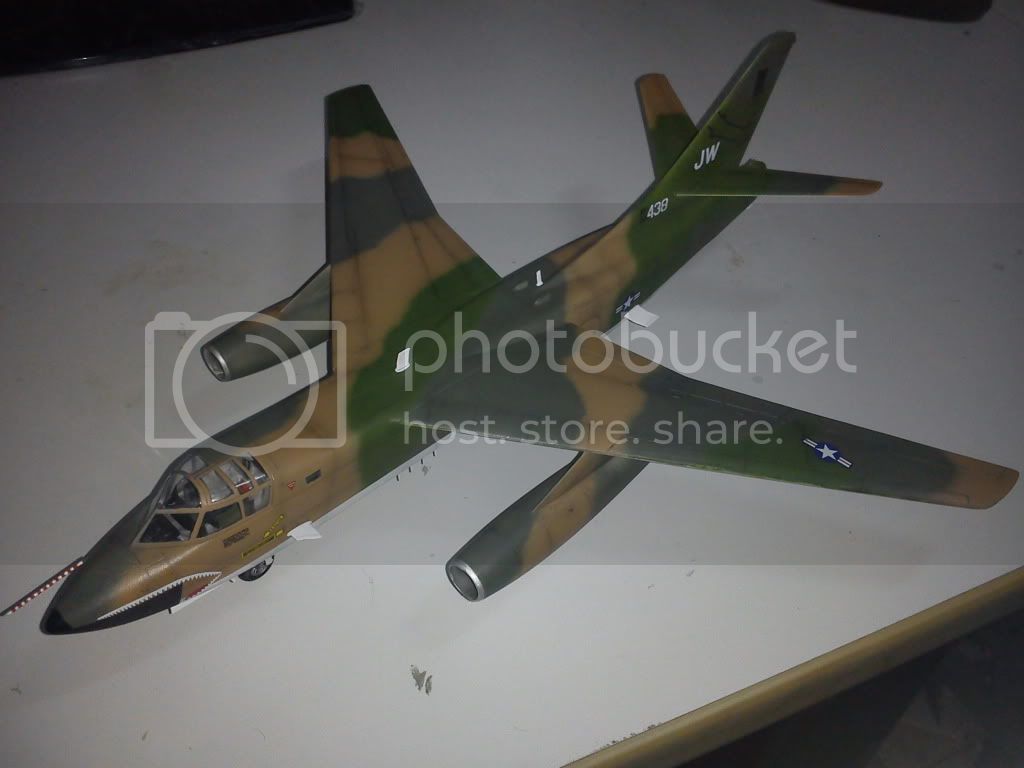
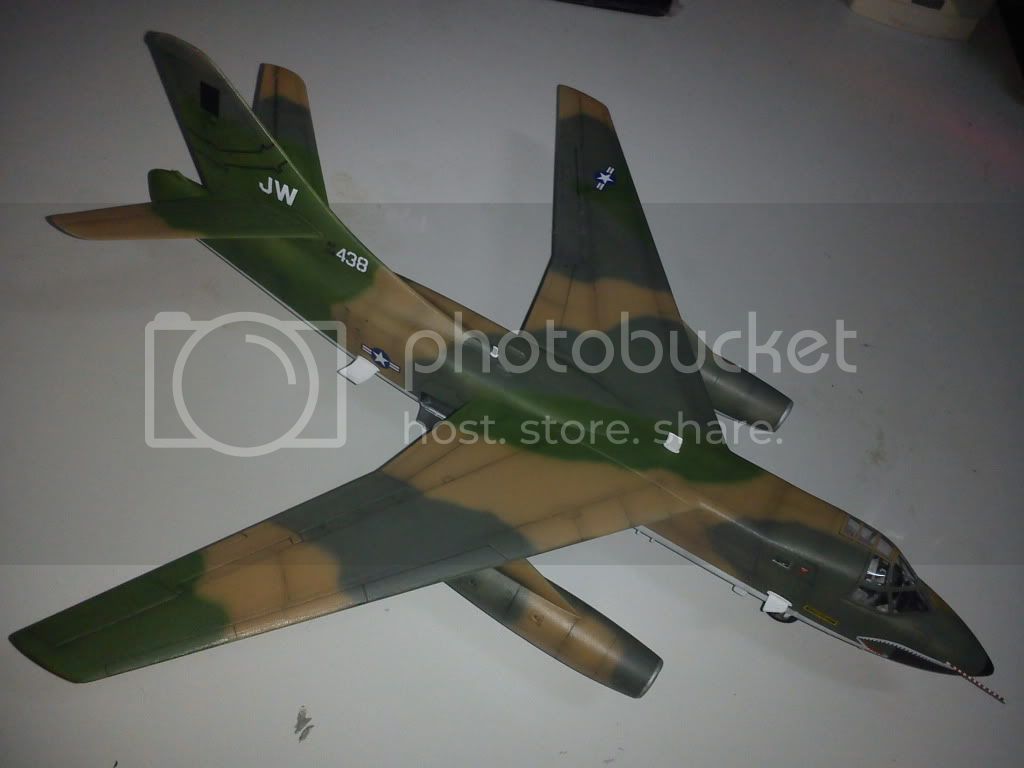
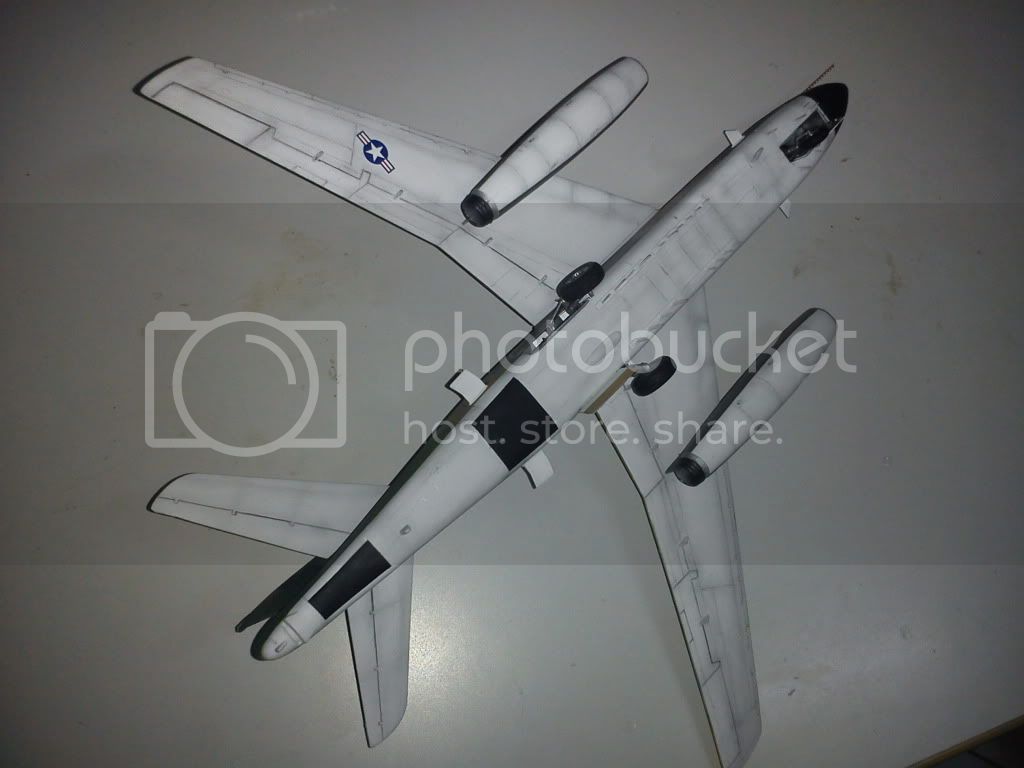
Ken the EB-66 has turned out very well. The pre shade came through nice and I like the paint job alot.
New York, United States
Joined: March 08, 2010
KitMaker: 3,662 posts
AeroScale: 174 posts
Posted: Friday, May 18, 2012 - 12:51 AM UTC
Active Campaigns on the bench:
Operation Fall Gelb - Pz.Kpfw. IV Ausf. C
Engineering the Future - M-26 Recovery Vehicle
115 Campaigns completed
Cordoba, Argentina
Joined: January 27, 2011
KitMaker: 268 posts
AeroScale: 264 posts
Posted: Friday, May 18, 2012 - 01:14 AM UTC
Yes Sir...!!!
Really good...!!!
Congrats Ken,
BTW

Indiana, United States
Joined: January 13, 2009
KitMaker: 419 posts
AeroScale: 378 posts
Posted: Friday, May 18, 2012 - 02:26 AM UTC
That's the way its done, Ken! Really nice bird.
The F-5 is proving to be a case o '2 steps forward, 1 step back'. Every day I find a new problem to correct with the kit. Kinda like "whack-a-mole" with kit defects.Last night I nearly chucked it back in the closet when, while polishing seams, the armored seat back came separated from the already closed fuse. I managed to put that fire out only to notice the canopies won't sit flush in the fuse without a dangerous amount of stretching. If I don't address that there will be a tremendous step in the aft canopy where it joins the fuse.

Must find an easy build to salve my frustration.

Cheers,
Fred
Current Builds:
Hawk 75/Saetta: Club Med Campaign
Me410: FROG Campaign
Mystery Build (insert here)
Kuching, Malaysia
Joined: June 19, 2002
KitMaker: 216 posts
AeroScale: 128 posts
Posted: Friday, May 18, 2012 - 02:45 AM UTC
Thanks for the kind comments, guys.
Fredrick, I hope your kit will turn out fine.
British Columbia, Canada
Joined: September 03, 2009
KitMaker: 6,965 posts
AeroScale: 6,247 posts
Posted: Saturday, May 19, 2012 - 05:40 PM UTC
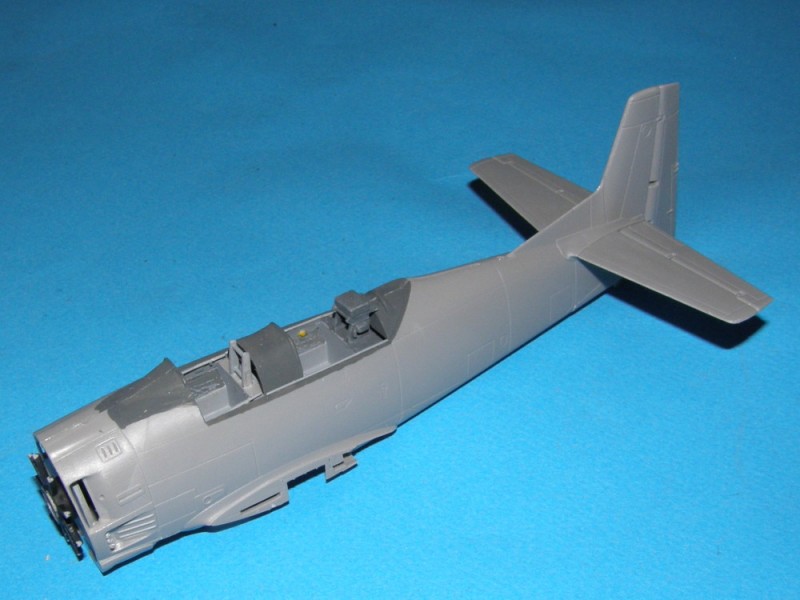
I've reached the subassembly stage.
Fuselage
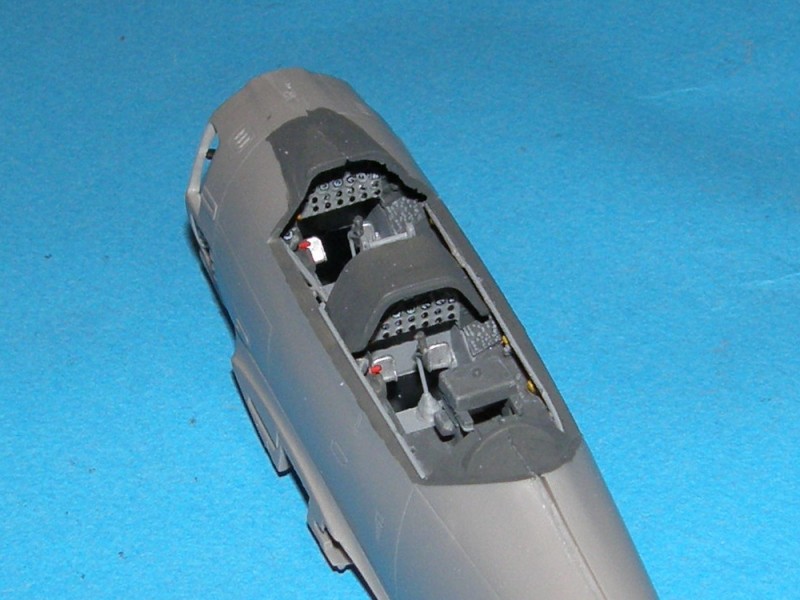
A peek into the office
Wings

Something doesn't look right here. I think we have some maintenance issues...

When once you have tasted flight you will walk the Earth with your eyes turned skyward.
For there you have been, and there you will always long to return.
-Leonardo Da Vinci
Ontario, Canada
Joined: February 04, 2008
KitMaker: 2,507 posts
AeroScale: 1,814 posts
Posted: Saturday, May 19, 2012 - 09:33 PM UTC
Jessica
Is that what is meant by a wheels up landing?

" The Die Hards"
43rd MIDDLESEX REGIMENT
MACHINE GUN CORPS
XXX CORP
The most effective way to do it, is to do it.
- Amelia Earhart

#259
Massachusetts, United States
Joined: October 23, 2011
KitMaker: 2,265 posts
AeroScale: 1,715 posts
Posted: Sunday, May 27, 2012 - 06:48 PM UTC
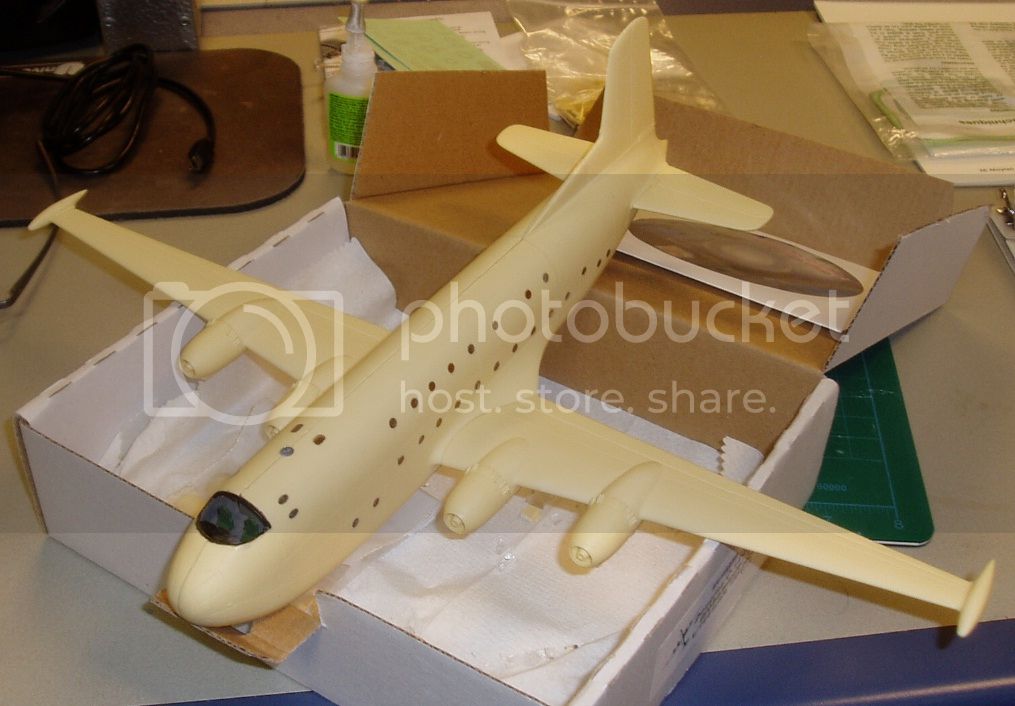
I got a good bit of work done on the C-124 this weekend. There are no less than 53 little round windows to plug into the fuselage on this beast. They come cast in strips or various lengths, but the strips dont correspond to any locations in the plane, they have to be cut apart and then individually glued in.
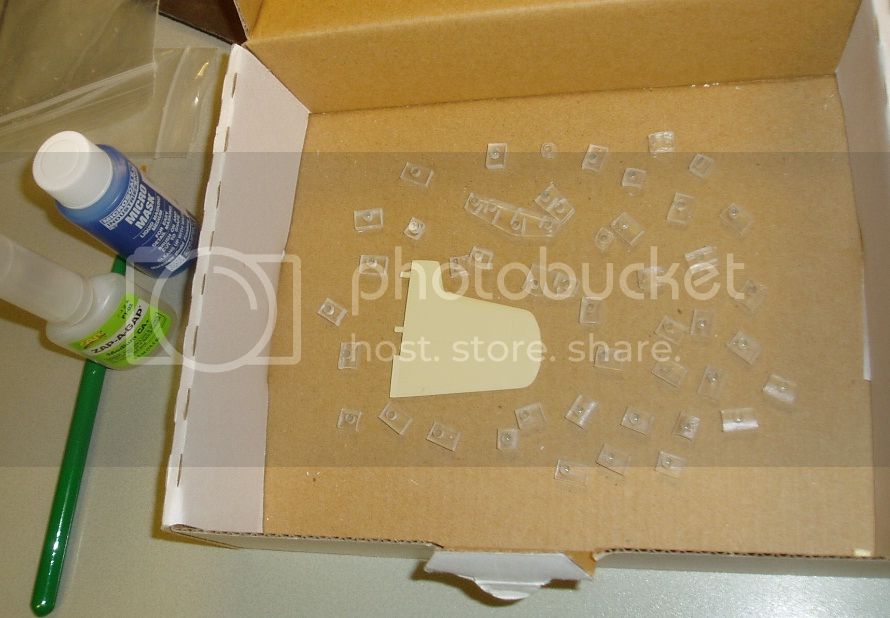
individually masked too, I dabbed each one with MicroMask.
There they all are. I had been putting this off for weeks, but now its done.
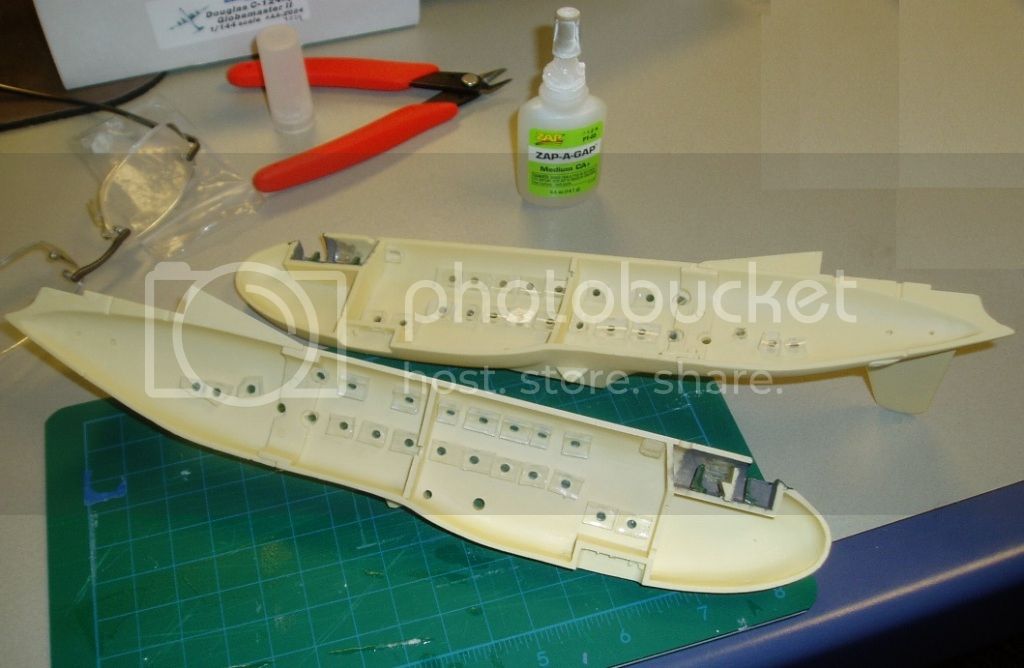
Assembling the fuselage front to rear sections means the project no longer fits in its box. The joints are a very good fit. looks just like a panel line, will not need any filling.

The halves glued together, wings and tail on. There is some filling and fairing to be done now.
Ontario, Canada
Joined: November 14, 2009
KitMaker: 270 posts
AeroScale: 264 posts
Posted: Thursday, May 31, 2012 - 12:28 PM UTC
Haven't posted an update on the Spit PR.XIX yet. Got it together, but the wing joint is lousy, so it needs some filling
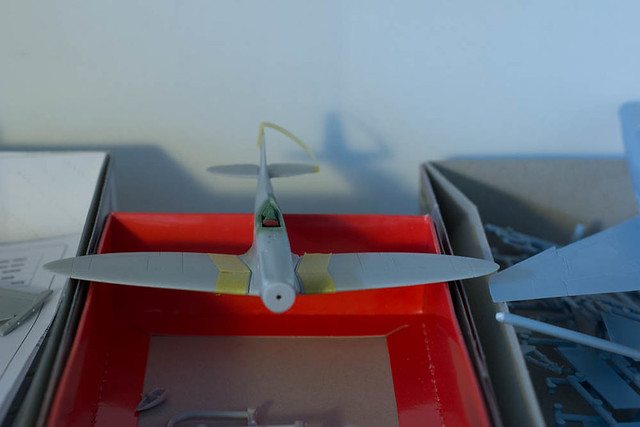 Airfix Spitfire PR.XIX 1/72
 by
mawz_models, on Flickr
Filled it up and painted the rad interiors
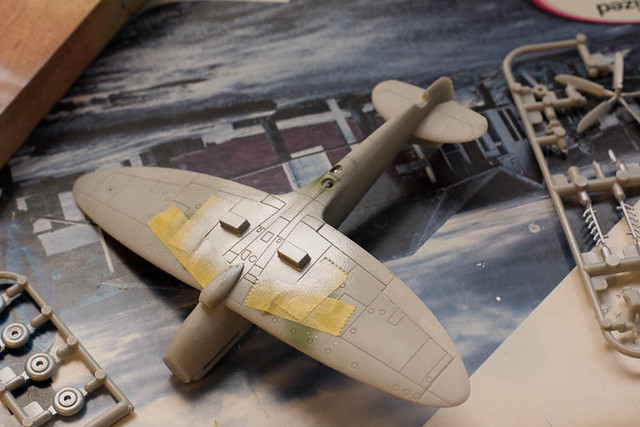 Airfix Spitfire PR.XIX 1/72
 by
mawz_models, on Flickr
Feels a bit weird to be building an unarmed Spit, but it is something of a classic and I need a few PR birds for my Spit collection.
British Columbia, Canada
Joined: September 03, 2009
KitMaker: 6,965 posts
AeroScale: 6,247 posts
Posted: Friday, June 01, 2012 - 04:11 PM UTC
The Trojan is wearing primer, and is beginning to look like an airplane.

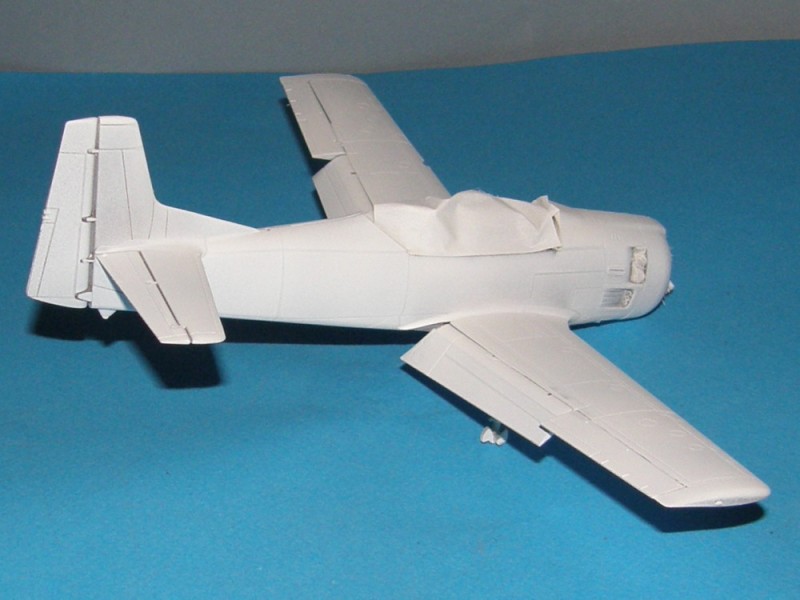
I haven't installed the nose gear leg for fear of breaking it. All the build reviews I've read mention its fragility so I won't take any chances with it.
When once you have tasted flight you will walk the Earth with your eyes turned skyward.
For there you have been, and there you will always long to return.
-Leonardo Da Vinci

#330
Queensland, Australia
Joined: July 15, 2011
KitMaker: 175 posts
AeroScale: 103 posts
Posted: Saturday, June 02, 2012 - 12:44 AM UTC
A update on my Arado, Have completed the cockpit and put the floats together.So far I like this kit very much, everything is fitting together well.

Ontario, Canada
Joined: November 14, 2009
KitMaker: 270 posts
AeroScale: 264 posts
Posted: Saturday, June 02, 2012 - 07:22 AM UTC
The PR.XIX is coming along nice and quickly. Had a little scare when I thought I'd lost the backing plate for the spinner, but I found it (only after picking up a spare kit though)
It's in the paint shop now, with the PRU Blue down.
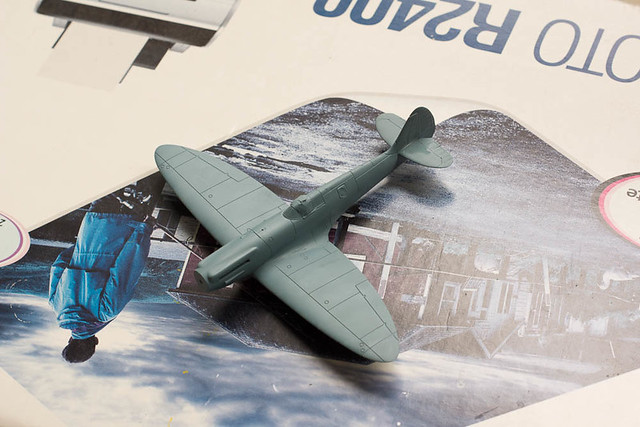 Airfix Spitfire PR.XIX 1/72
 by
mawz_models, on Flickr
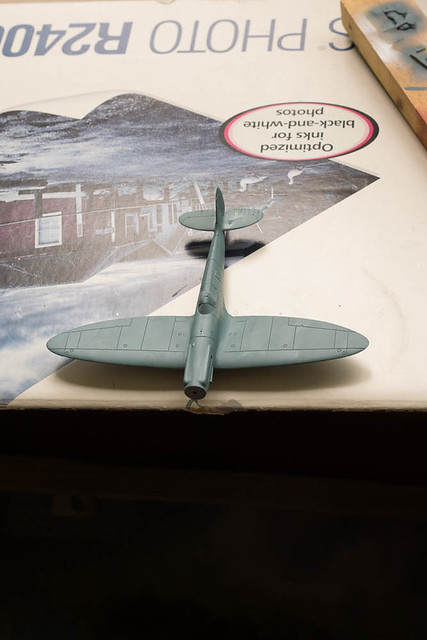 Airfix Spitfire PR.XIX 1/72
 by
mawz_models, on Flickr
Next up is gloss and decals on the airframe and spraying the red for the spinner (I dislike 2-tone spinners, they're a real pain to paint).
Ontario, Canada
Joined: November 14, 2009
KitMaker: 270 posts
AeroScale: 264 posts
Posted: Sunday, June 03, 2012 - 05:57 AM UTC
Got the fiddly bits on
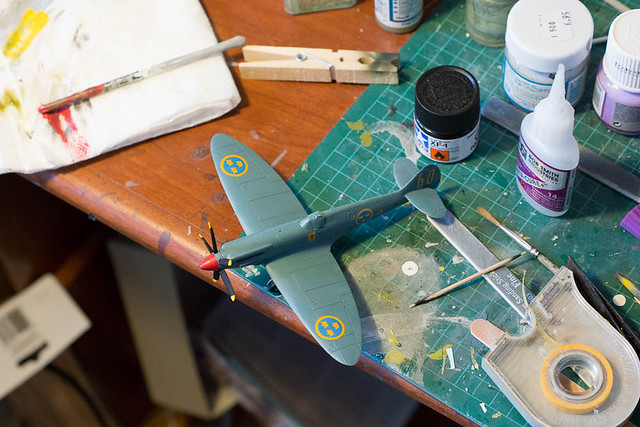 Airfix Spitfire PR.XIX 1/72
 by
mawz_models, on Flickr
and then I dullcoted and added the exhausts, calling this one done.
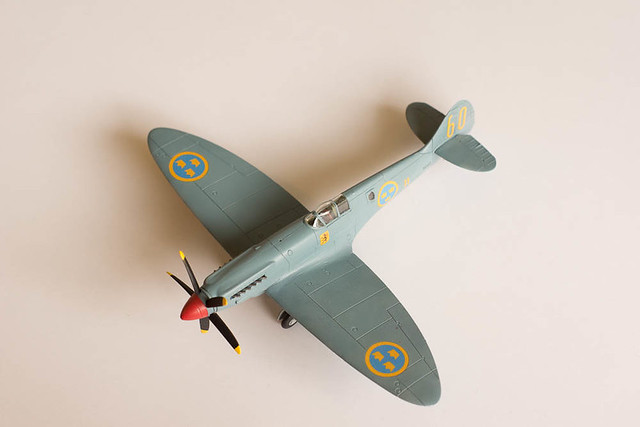 Airfix Spitfire PR.XIX 1/72
 by
mawz_models, on Flickr
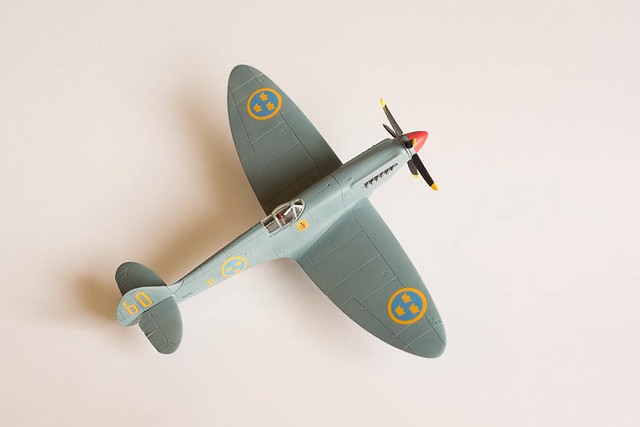 Airfix Spitfire PR.XIX 1/72
 by
mawz_models, on Flickr
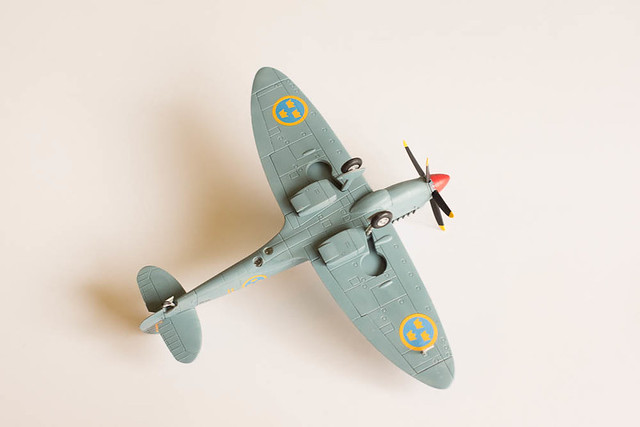 Airfix Spitfire PR.XIX 1/72
 by
mawz_models, on Flickr
Think I might do a second build, probably a Growler in CoNA markings.
Victoria, Australia
Joined: September 19, 2003
KitMaker: 708 posts
AeroScale: 674 posts
Posted: Tuesday, June 12, 2012 - 03:22 AM UTC
Hi All,
I managed to get the Revell OA-10a {PBY-5a} kit over the Expo weekend, [not the kit I wanted for this Campaign], but I did find in my ref's an RAAF Comms Flight PBY-5a Catalina, which is what I'll build as my subject.
More to follow later.
President:- Southern Model Club.
Those who never learn from history will always repeat it.
"When you go home tell them of us and say.
For your tomorrow we gave our today."
British Columbia, Canada
Joined: September 03, 2009
KitMaker: 6,965 posts
AeroScale: 6,247 posts
Posted: Monday, June 18, 2012 - 08:31 AM UTC
The Trojan's centre canopy section was much too wide for the cockpit opening. I used boiling water to reshape it. Since it was flexible, I used a strip of tape to hold it to the correct width (which I established by matching the curve to the other canopy sections). Then I plunged it into just-boiled water, and immediately into ice water. Now it holds the correct shape.
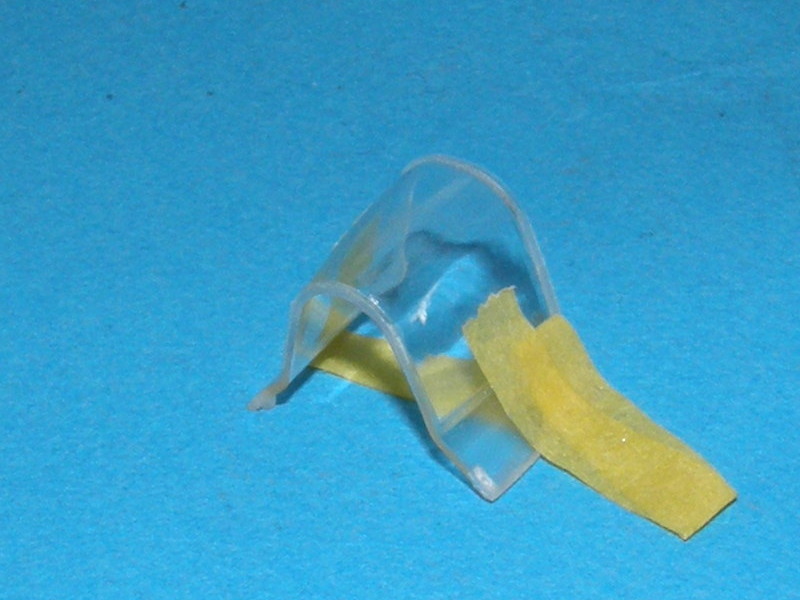
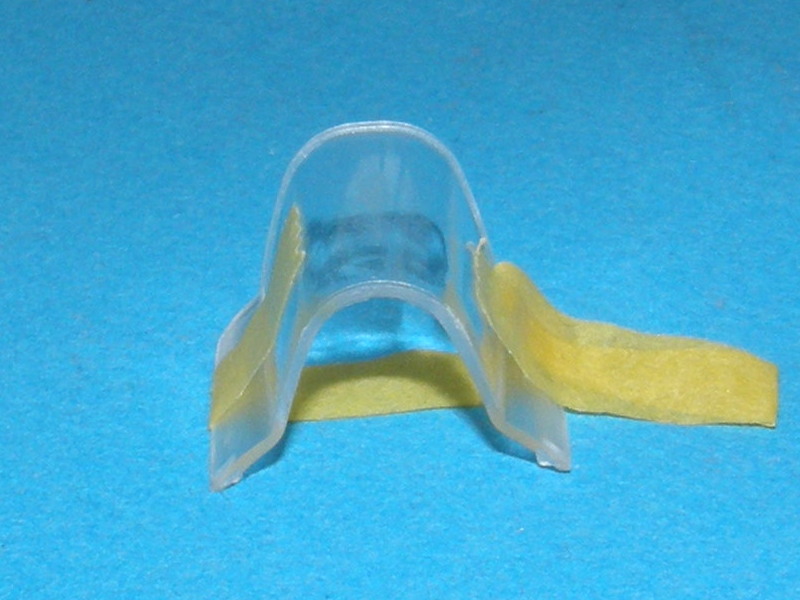
A plunge into a jar of Future and the canopies are sparkling.

Quick! Cover them up to prevent dust from being magically attracted to the wet Future!

When once you have tasted flight you will walk the Earth with your eyes turned skyward.
For there you have been, and there you will always long to return.
-Leonardo Da Vinci
Indiana, United States
Joined: January 13, 2009
KitMaker: 419 posts
AeroScale: 378 posts
Posted: Monday, June 18, 2012 - 08:41 AM UTC
Ah,
Canopy under glass. (one of my favorite dishes).

Cheers,
Fred
Current Builds:
Hawk 75/Saetta: Club Med Campaign
Me410: FROG Campaign
Mystery Build (insert here)
Dublin, Ireland
Joined: April 07, 2010
KitMaker: 42 posts
AeroScale: 29 posts
Posted: Tuesday, June 19, 2012 - 10:11 AM UTC
Great work here everyone!
When I last posted the UK Police EC-135, it had some paint on...
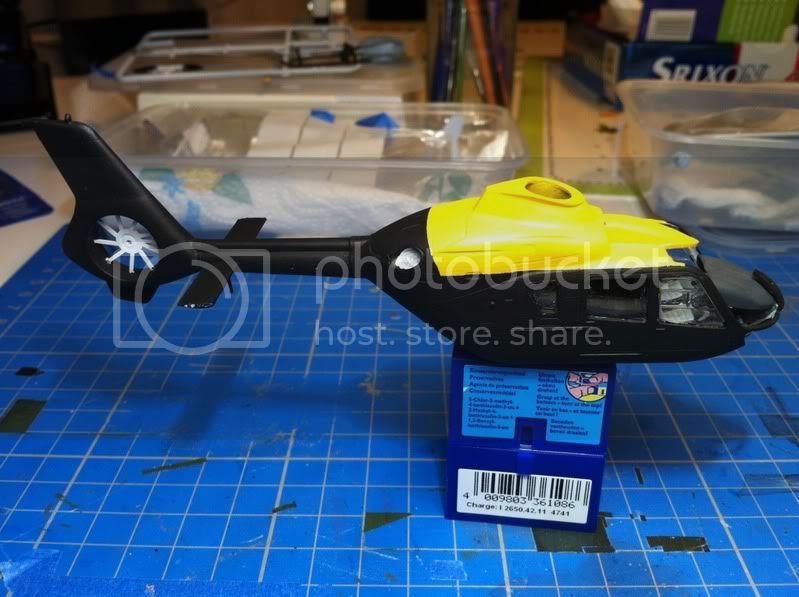
But as was pointed out to me later, it was the wrong colour

- it should be a very deep blue to black. So off to hunt the hobby shop for a suitable acrylic. I tried Revell's Gloss Midnight Blue on the tail but just didn't look right. So I went with Vallejo Dark Prussian Blue and am much happier how it turned out..
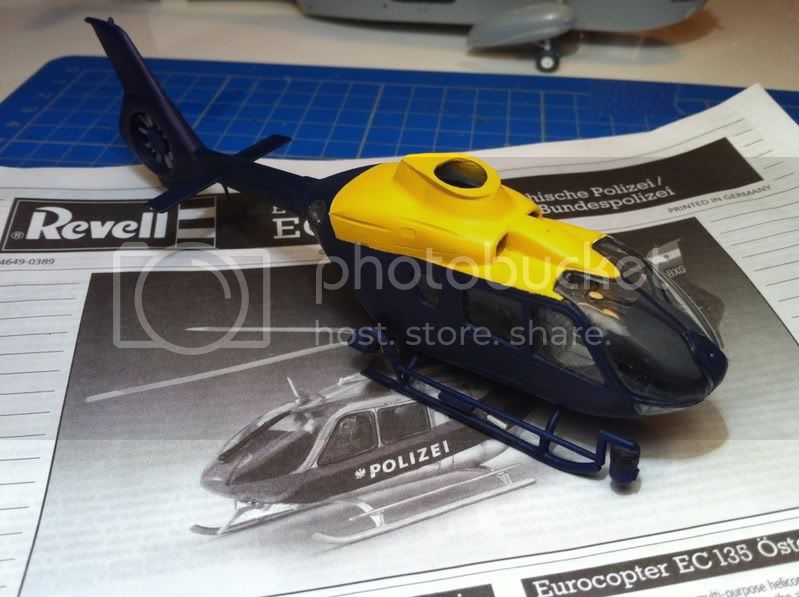
And now with the great decals from Peddinghaus added and the FLIR/Nitesun equipment..
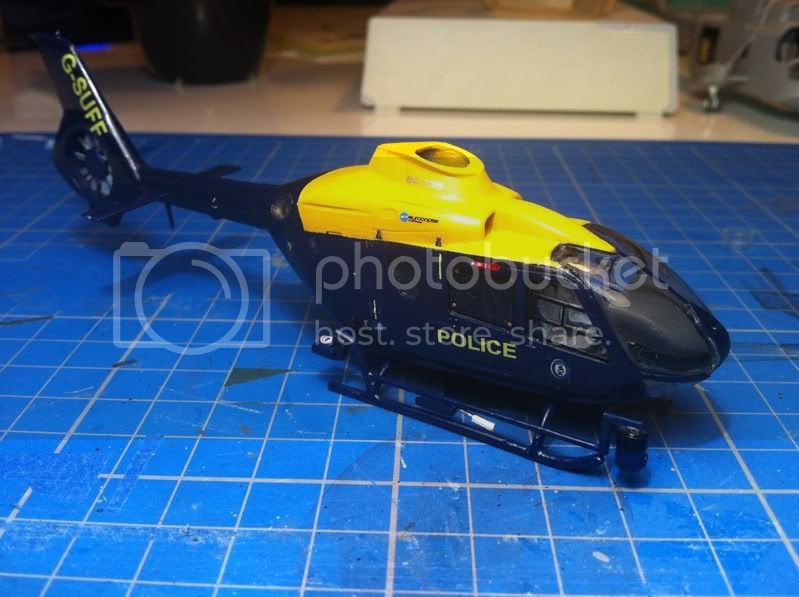
These went a treat and were a delight to use but very delicate so take care not to move around too much!
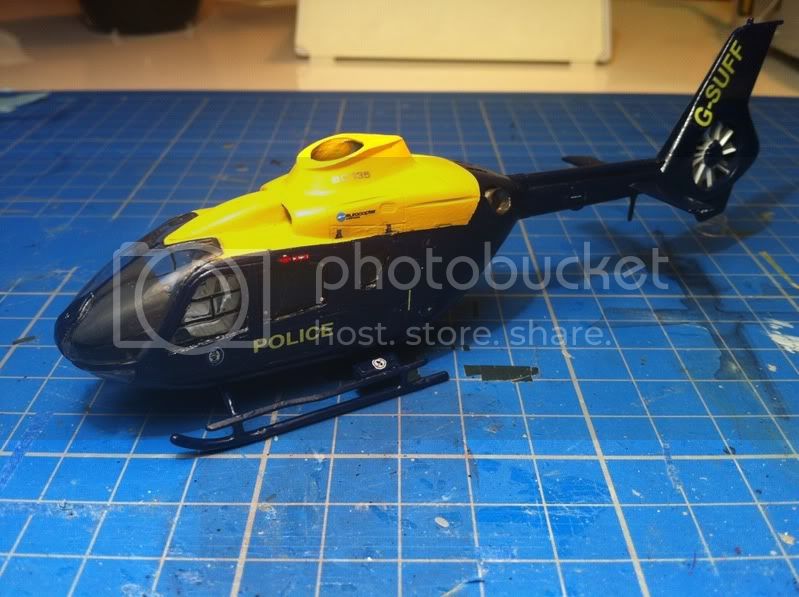
Just a final gloss coat, some panel lines, aerials and she's done! Thanks for reading and enjoy your modelling.
All the best,
Dermot
British Columbia, Canada
Joined: September 03, 2009
KitMaker: 6,965 posts
AeroScale: 6,247 posts
Posted: Tuesday, June 19, 2012 - 11:03 AM UTC
Orange you glad it's got colour on it now?
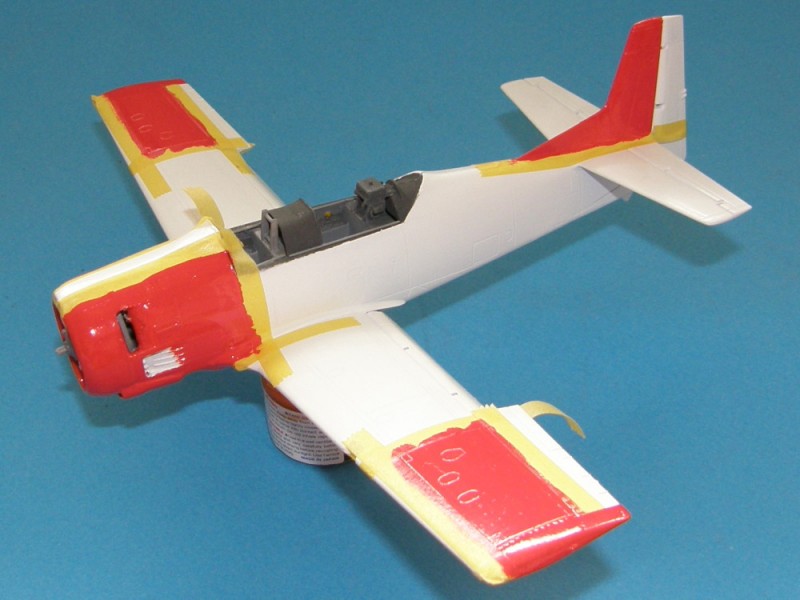
When once you have tasted flight you will walk the Earth with your eyes turned skyward.
For there you have been, and there you will always long to return.
-Leonardo Da Vinci
Victoria, Australia
Joined: September 19, 2003
KitMaker: 708 posts
AeroScale: 674 posts
Posted: Monday, July 02, 2012 - 03:59 PM UTC
Hi All,
Some great builds going on here.
I've done a little on my PBY 5a 'Green Cat' now to seal up the fuselage and press on.
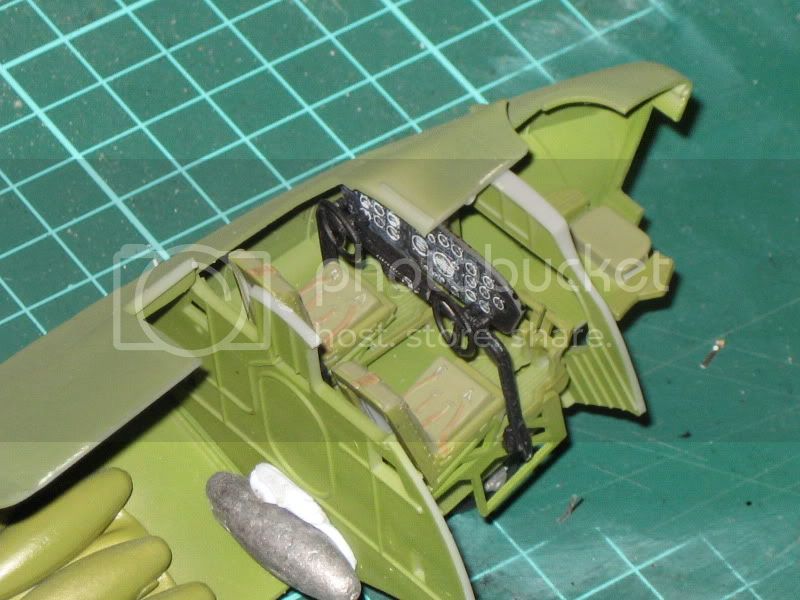
President:- Southern Model Club.
Those who never learn from history will always repeat it.
"When you go home tell them of us and say.
For your tomorrow we gave our today."

#041
Kobenhavn, Denmark
Joined: July 20, 2006
KitMaker: 10,069 posts
AeroScale: 3,788 posts
Posted: Sunday, July 08, 2012 - 05:35 AM UTC
Beautiful build, Ken. The camouflage and markings look great!
Cool Spitfire, Adam. Very cool markings.
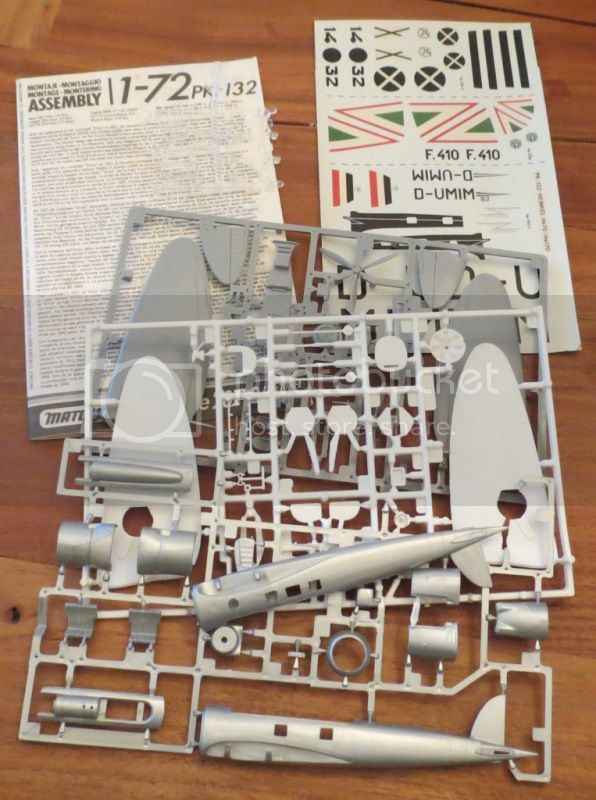
I am finally getting ready to start on this campaign. I will be doing the Matchbox He 70 recon aircraft. More to follow

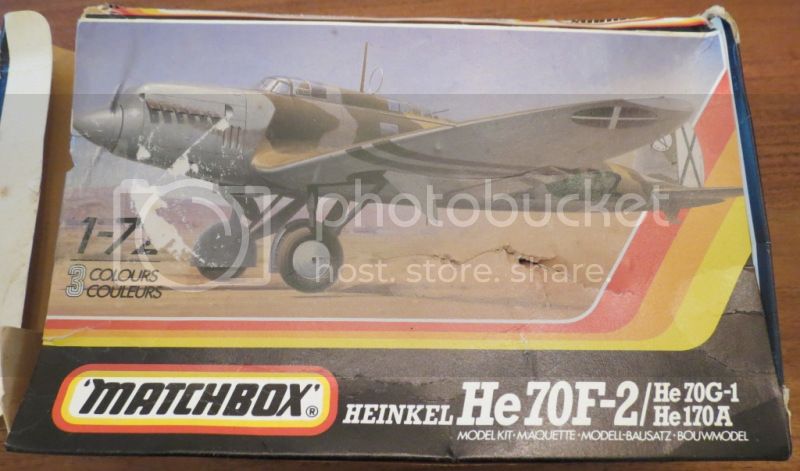
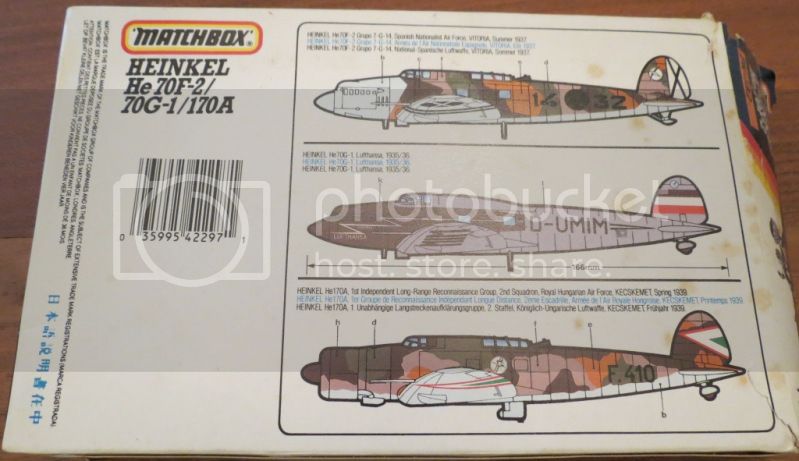
Campaign'oholic - 252+ campaigns completed
Victoria, Australia
Joined: September 19, 2003
KitMaker: 708 posts
AeroScale: 674 posts
Posted: Monday, July 09, 2012 - 01:13 AM UTC
Hi All,
Some interesting subjects and builds on this campaign so far.
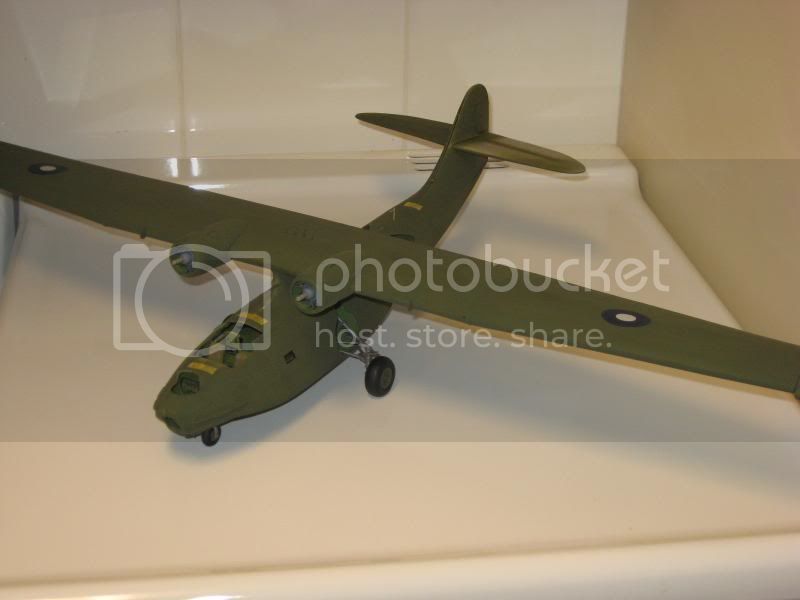
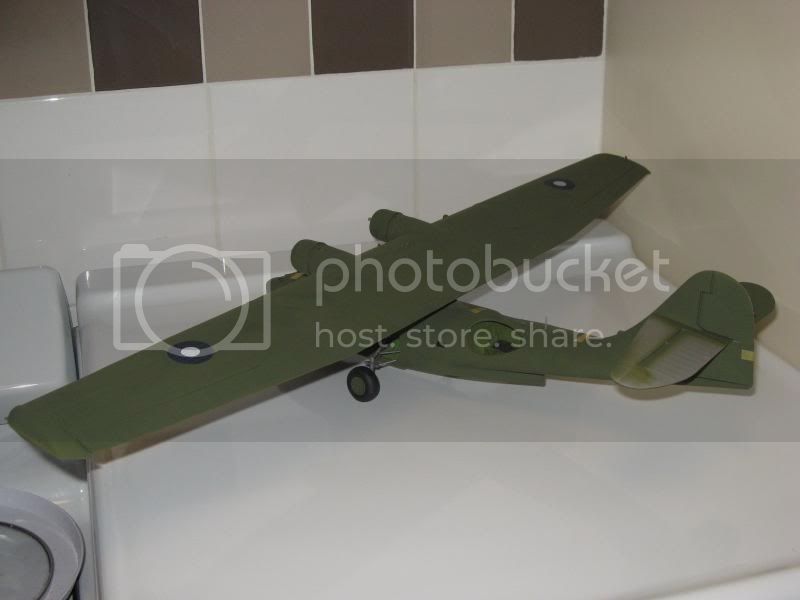
I've done a little more on my RAAF PBY 5a 'Green Cat', all the insignia, code and serial are painted, only the insignia masks of the wing have been removed. The green is Humbrol #117 the fuselage is yet to be glued together and tail plane are yet to be finished. Awaiting on the Eduard canopy mask set before adding all the clear parts.
More to follow later.
President:- Southern Model Club.
Those who never learn from history will always repeat it.
"When you go home tell them of us and say.
For your tomorrow we gave our today."

#041
Kobenhavn, Denmark
Joined: July 20, 2006
KitMaker: 10,069 posts
AeroScale: 3,788 posts
Posted: Wednesday, July 11, 2012 - 01:49 PM UTC
Nice progress, Rob. Nice looking Cat.
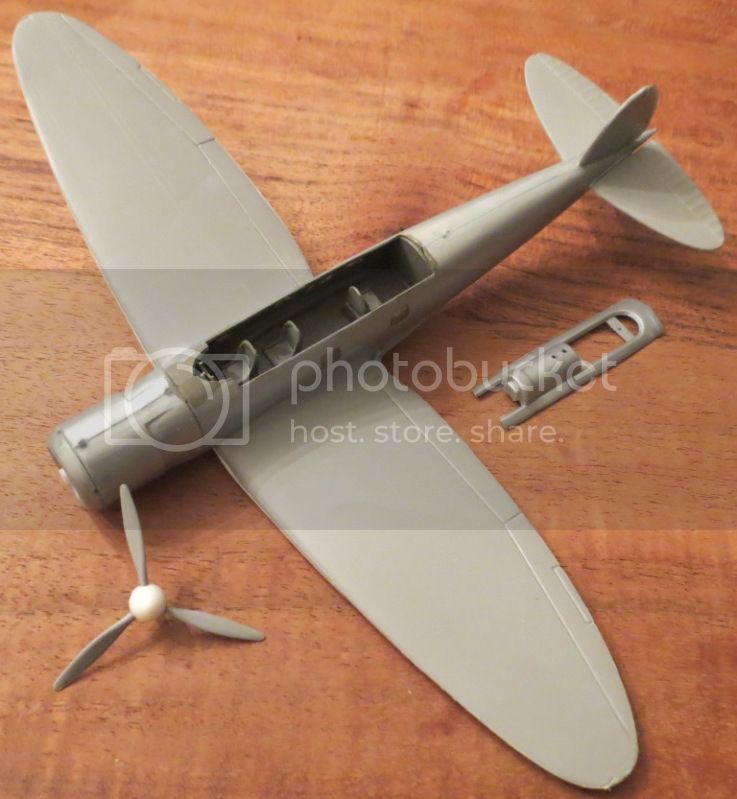
A little more progress on my He 70. The basic construction is done. Since I want to make this wheels up, I have had to find a couple of pilots from the spares box.
More to follow

Campaign'oholic - 252+ campaigns completed








 individually masked too, I dabbed each one with MicroMask.




 - it should be a very deep blue to black. So off to hunt the hobby shop for a suitable acrylic. I tried Revell's Gloss Midnight Blue on the tail but just didn't look right. So I went with Vallejo Dark Prussian Blue and am much happier how it turned out..


