
Early Aviation
Discuss World War I and the early years of aviation thru 1934.
Discuss World War I and the early years of aviation thru 1934.
Hosted by Jim Starkweather
WNW 1:32 SE.5a Phoenix Project
B24Liberator

Joined: November 07, 2008
KitMaker: 134 posts
AeroScale: 113 posts

Posted: Wednesday, October 31, 2012 - 01:25 PM UTC
Indeed! Baal be praised...! Has he come to visit? 


Mgunns

Joined: December 12, 2008
KitMaker: 1,423 posts
AeroScale: 1,319 posts

Posted: Thursday, November 01, 2012 - 05:21 AM UTC
Quoted Text
All the recent pics turned into little red X's. Oh the horror.
It must have been the halloween hobgoblins and ghouls on their annual round of hijinx and chicanery, not to mention the occasional spell!


Mgunns

Joined: December 12, 2008
KitMaker: 1,423 posts
AeroScale: 1,319 posts

Posted: Thursday, November 01, 2012 - 11:05 AM UTC
 Okay Folks:
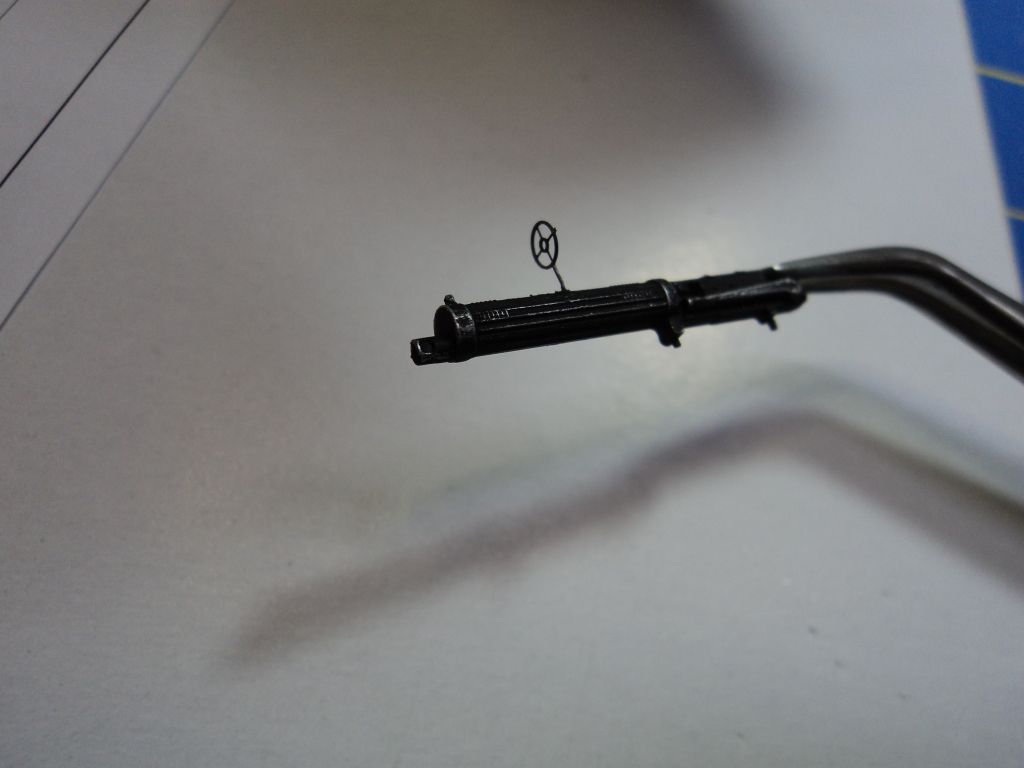
A little Progress here, I managed to go back to the Eduard PE that I got 4 years ago, and used some pieces for the guns. Behold the Vickers:
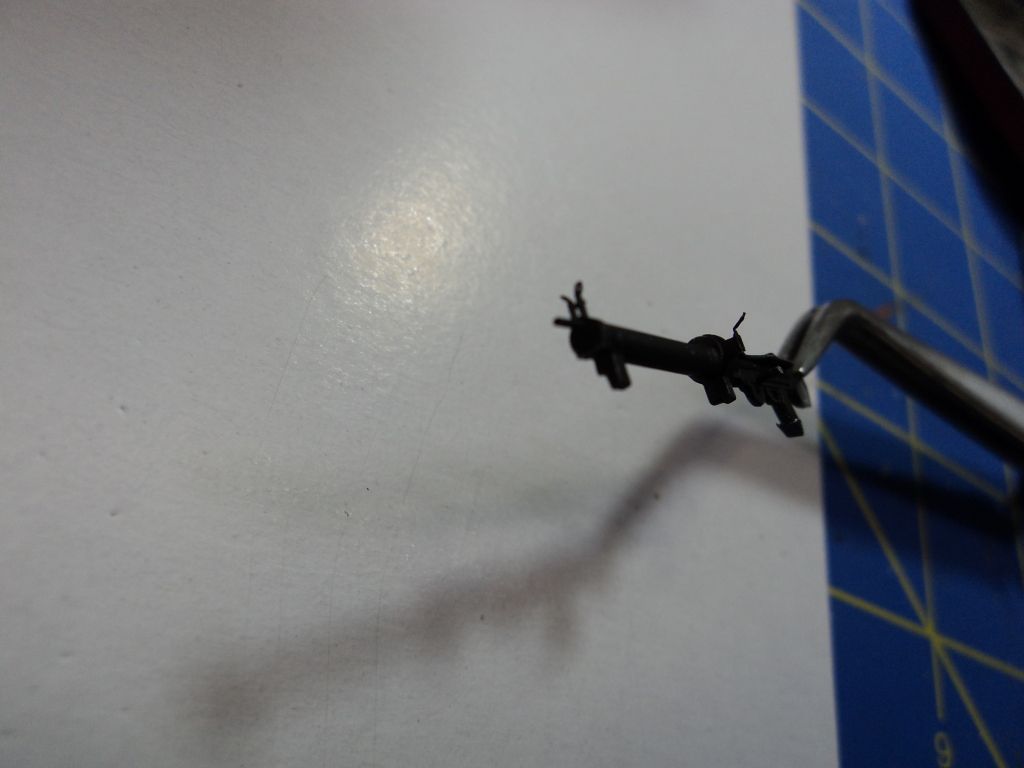
And mister Lewis with the new front sight blade, and other items:

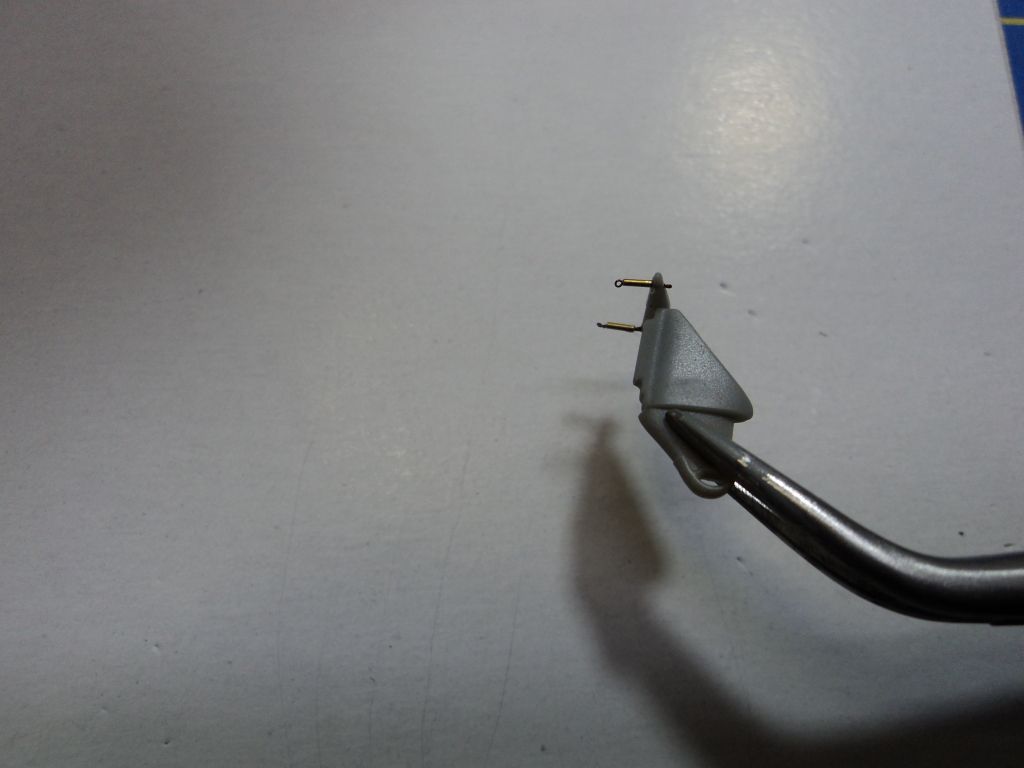
I put some of "Bob's Buckles" turnbuckls on the tail skid:
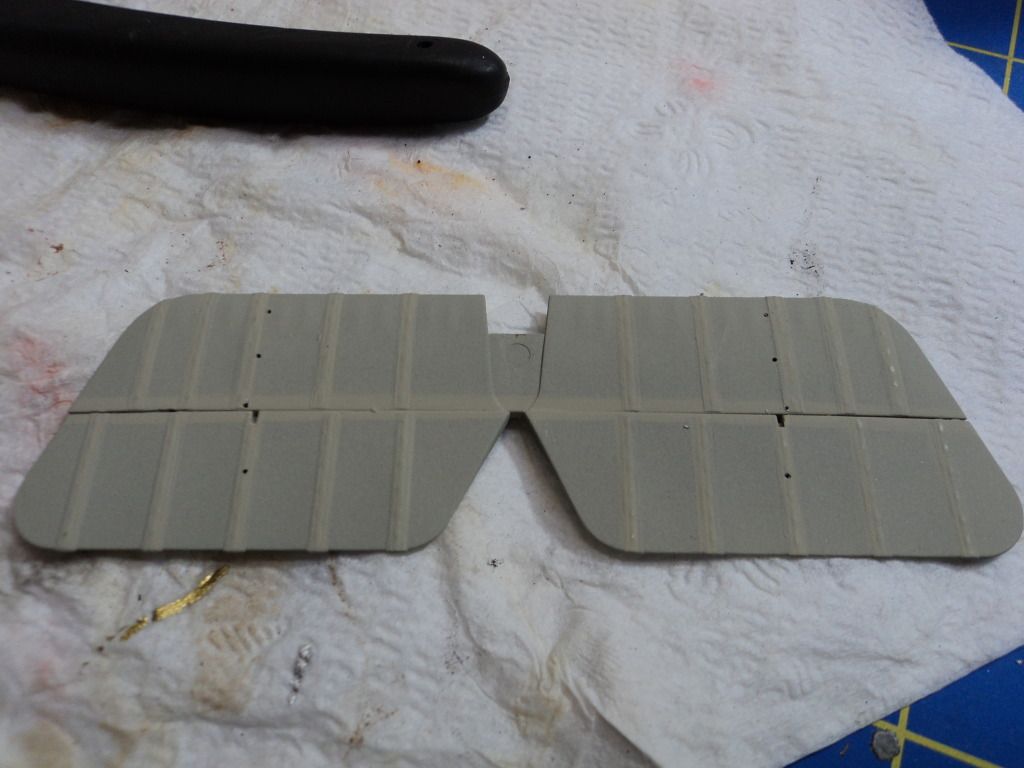
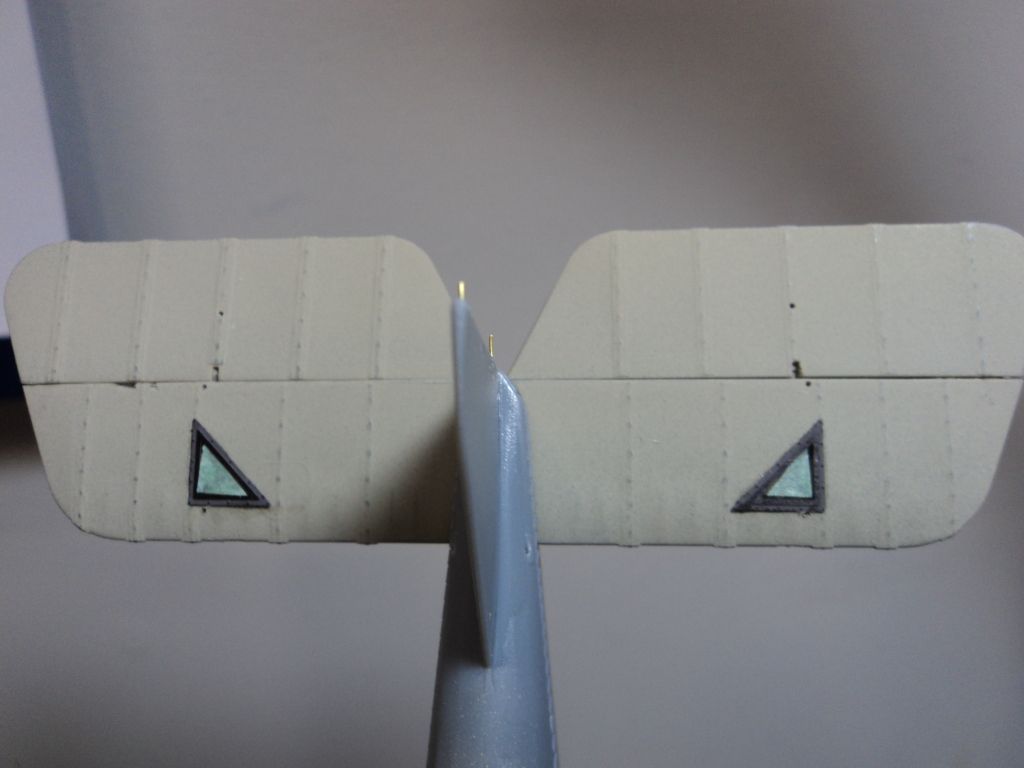
I also used the Eduard PE Inspection port framing on the tail plane:
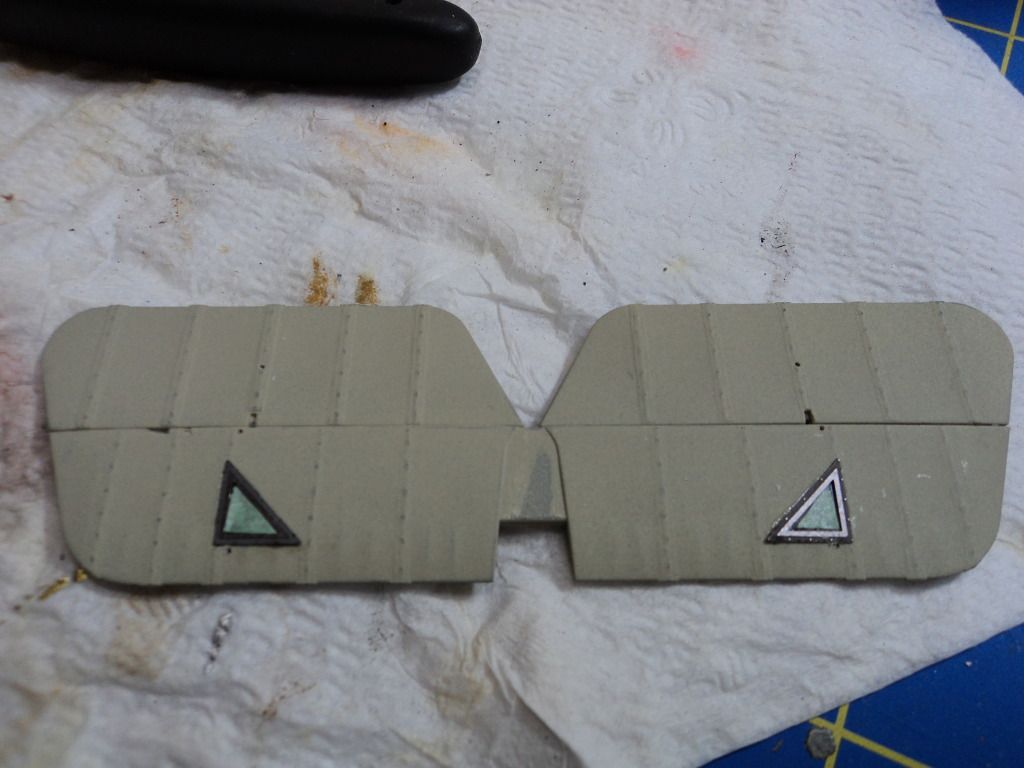
And of course a little pre-shading
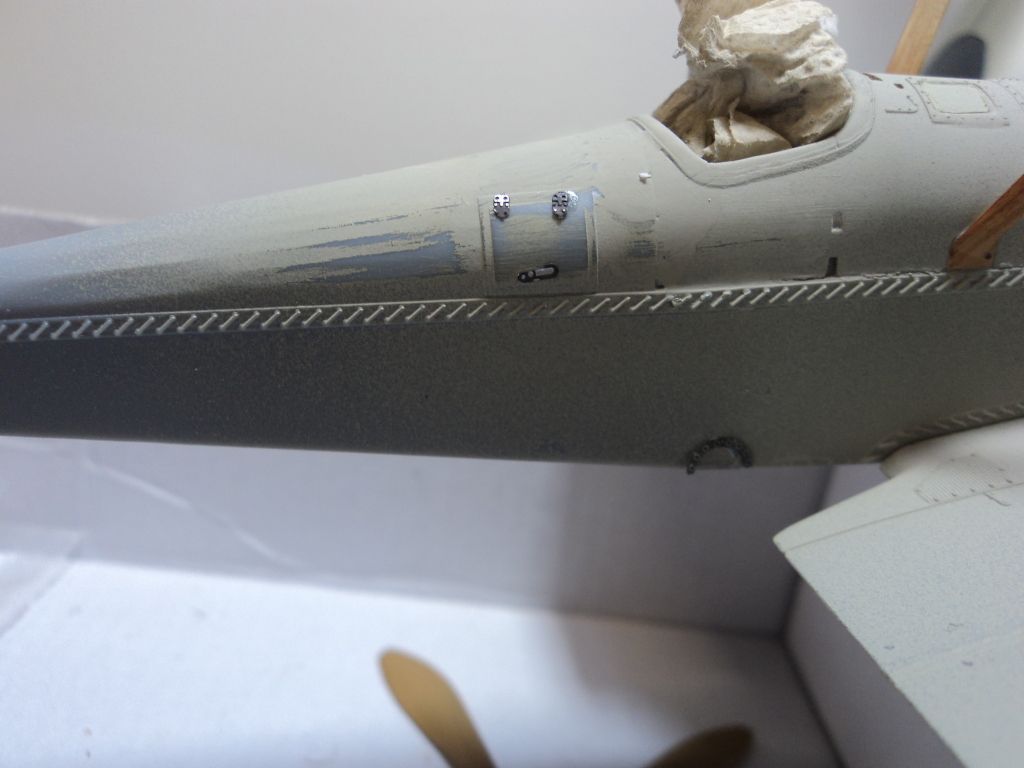
I also managed to use the hinges for the inspection door
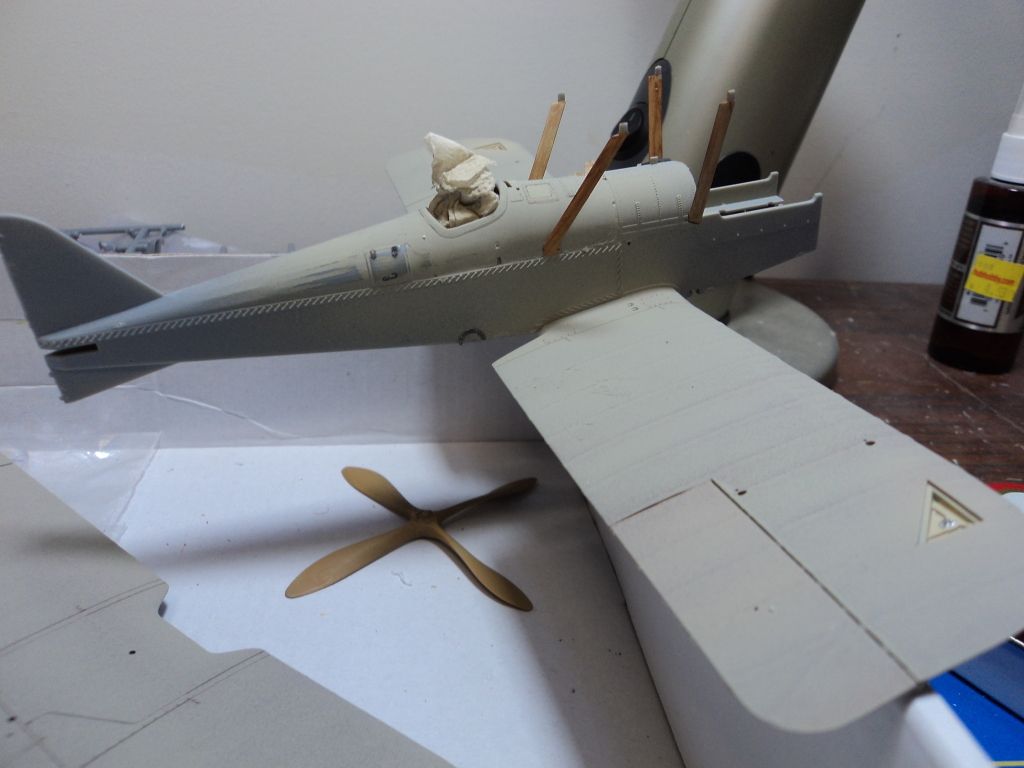
And pinned the rudder assembly not sure how well this is going to turn out, but I pinned the rudder as from previous experience it is a real night mare trying to get this to stick once painted and decaled.
That's about it for now folks. More exciting news as it happens. Stand by.

Best
Mark

Mgunns

Joined: December 12, 2008
KitMaker: 1,423 posts
AeroScale: 1,319 posts

Posted: Friday, November 02, 2012 - 12:24 AM UTC
Greetings again:
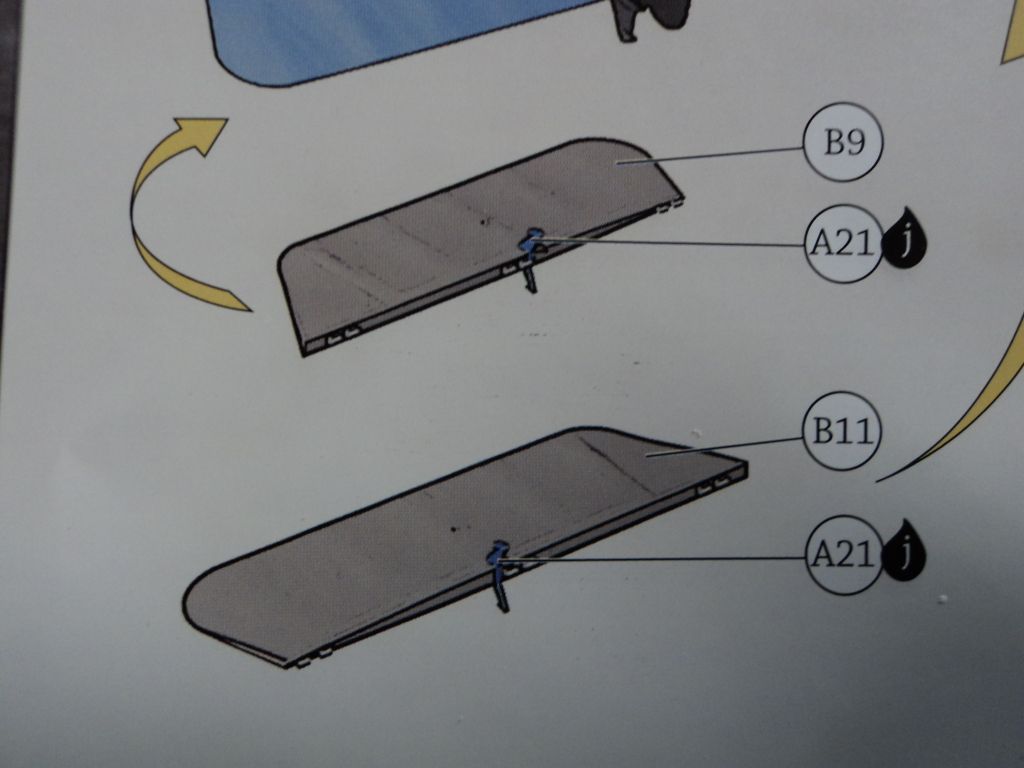
One thing I did was I got ahead of myself with the tail section and elevators. I failed to install the control horns prior to assembly as seen on page 12. I assembled the assembly for ease of painting. The Control horns can be split and fixed that way. Just don't get too far ahead before checking this option out.
I left them out for ease of painting:
It is starting to take shape:
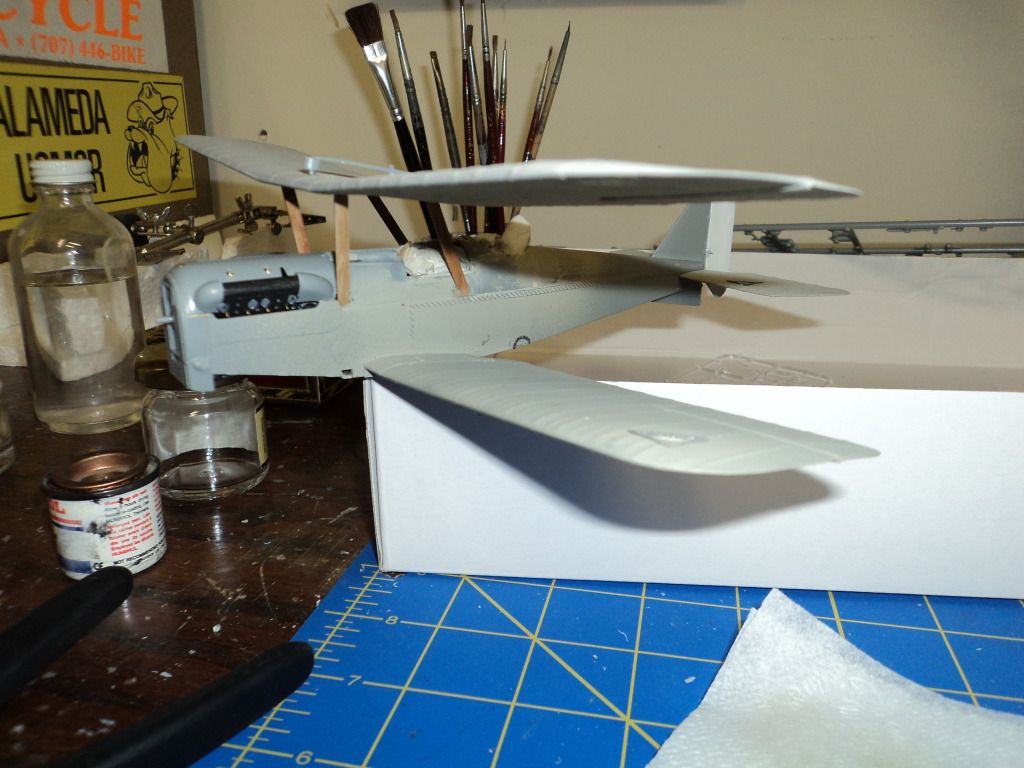
As I didn't plan on showing off the engine, I cemented the engine, radiator assembly, the cover and the engine valve cover covers. I will mask the exposed engine pieces for painting.
I am going to do the a/c in the markings of Capt. G.H. Lewis of 40 Squadron

That's about it for now folks.
Thanks for stopping by.
Best
Mark
One thing I did was I got ahead of myself with the tail section and elevators. I failed to install the control horns prior to assembly as seen on page 12. I assembled the assembly for ease of painting. The Control horns can be split and fixed that way. Just don't get too far ahead before checking this option out.

I left them out for ease of painting:

It is starting to take shape:

As I didn't plan on showing off the engine, I cemented the engine, radiator assembly, the cover and the engine valve cover covers. I will mask the exposed engine pieces for painting.
I am going to do the a/c in the markings of Capt. G.H. Lewis of 40 Squadron

That's about it for now folks.
Thanks for stopping by.
Best
Mark

Mgunns

Joined: December 12, 2008
KitMaker: 1,423 posts
AeroScale: 1,319 posts

Posted: Saturday, November 03, 2012 - 01:26 PM UTC

Okay folks:
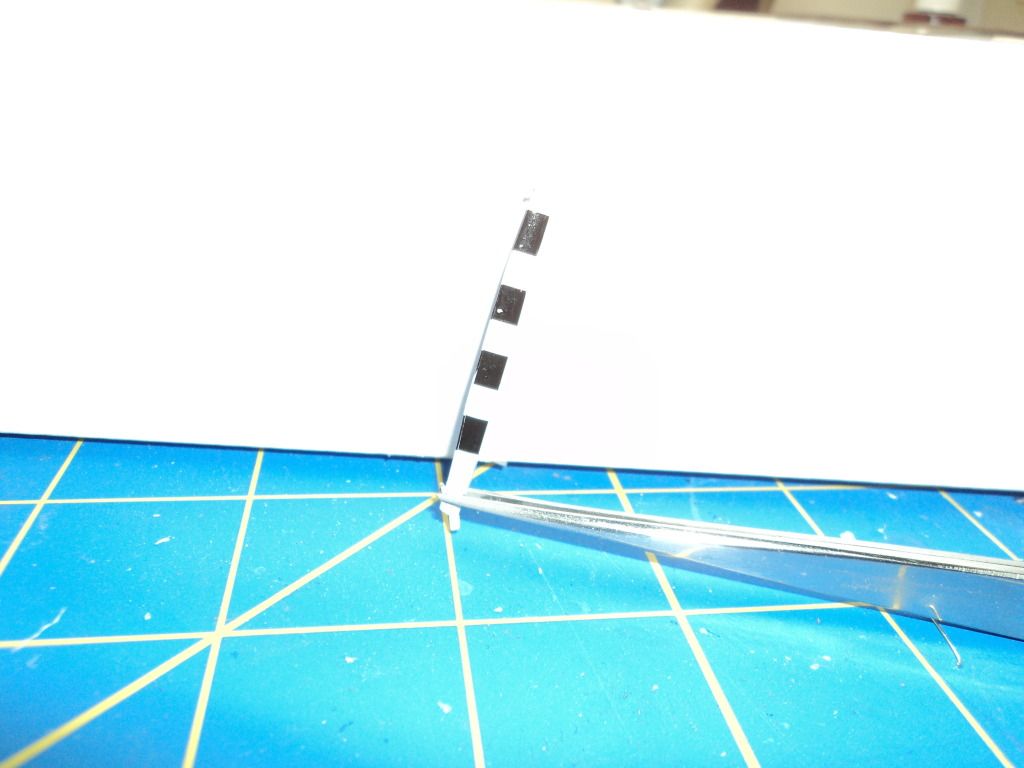
I got the scheme. Now, to decal the struts. WNW gives you the decals to do the struts but they aren't really tailored for the strut, so...what to do. Prior to decaling I painted the struts gloss white, drilled out the holes and am now ready to decal.
I outlined both sides of the strut on the back of the decal and did one side at a time.
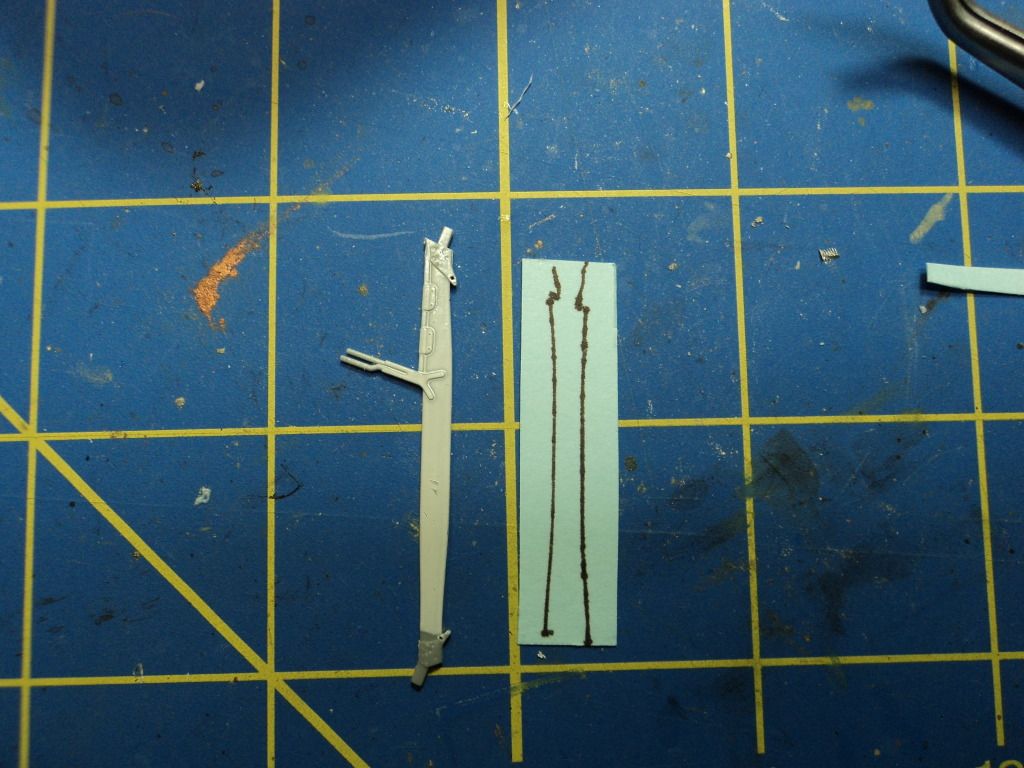
Turned out real nice as you can see.
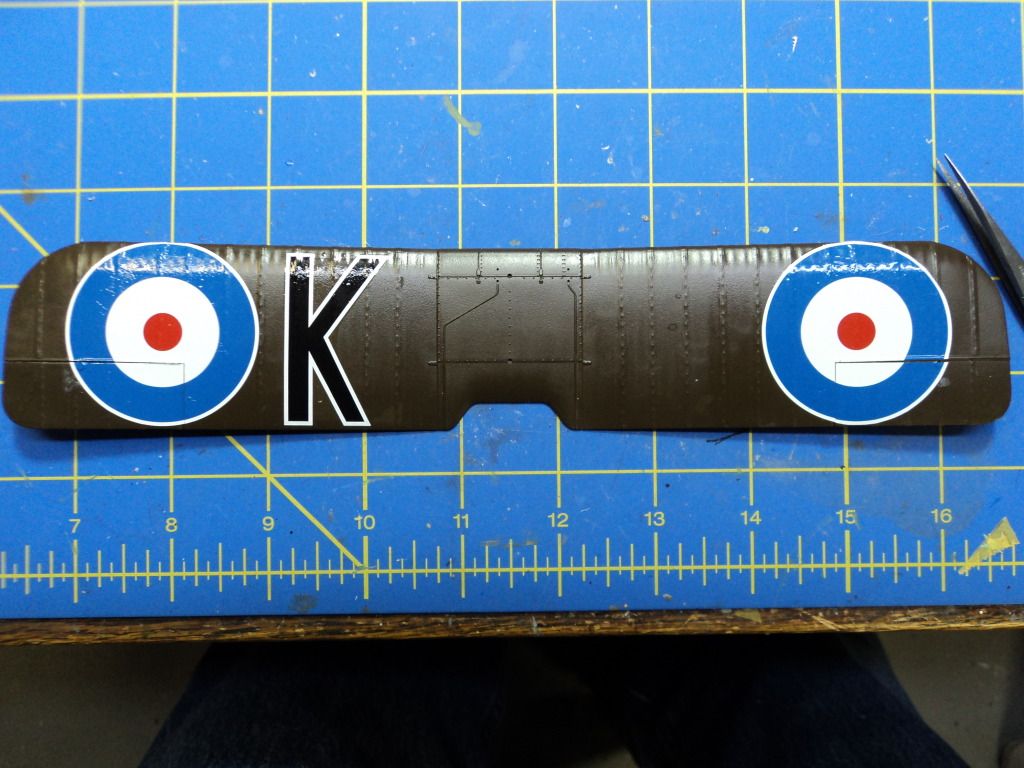
I applied the decals to the top wing first. I didn't put any of the parts to the under side of the wing as I knew I would trash them during the decaling, so the modeler should hold off on doing any assembly to the underside of the upper wing until it is painted and decaled. I did the aeleron portion first, figuring I could align the main portion of the cockade to the aeleron.
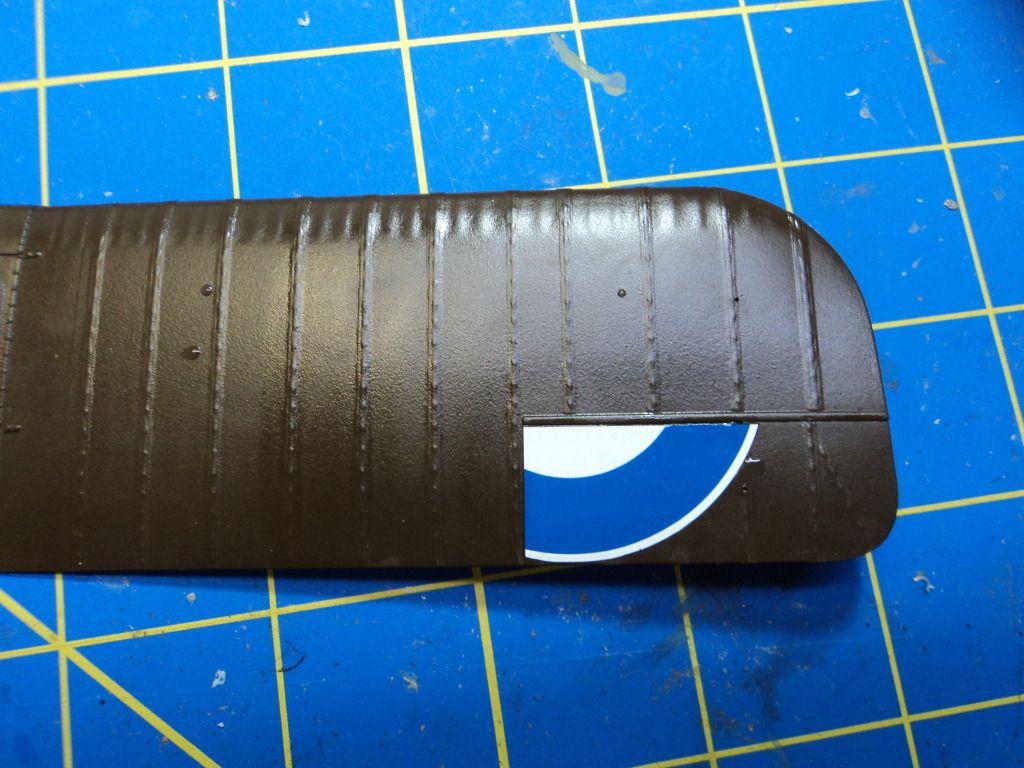
The upper wing now decaled.
And the port side of the fuselage
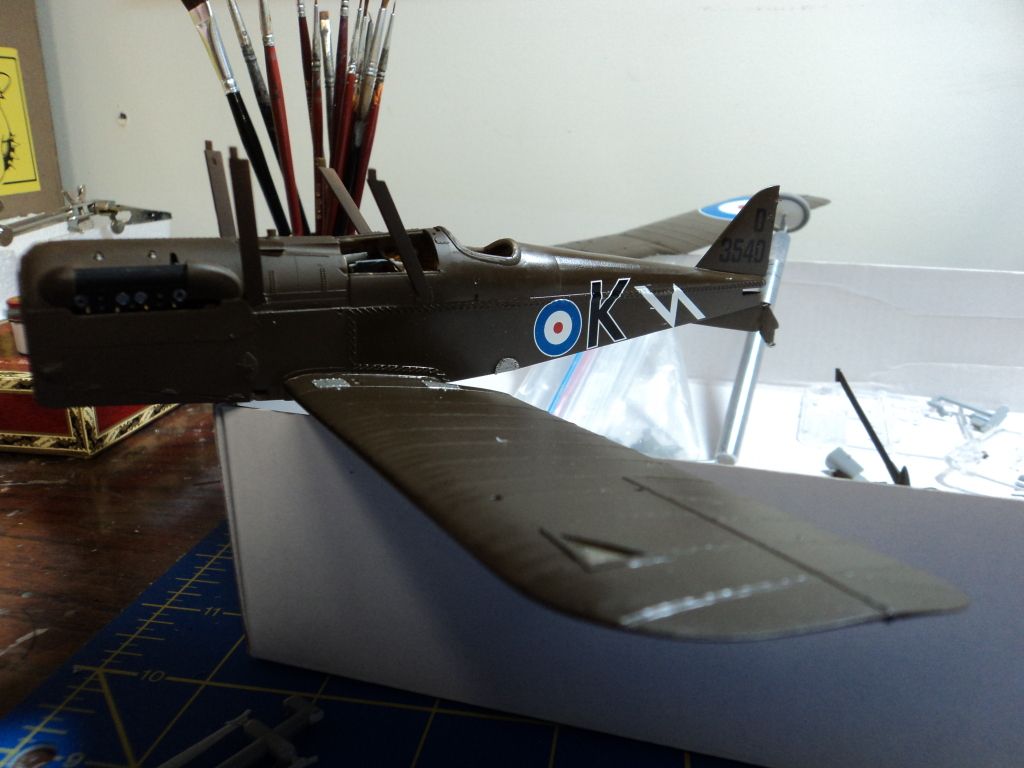
I will be finishing up the decal work, turnbuckles and then continue on with assembly and rigging.
Thanks for stopping by.
Best
Mark
Posted: Saturday, November 03, 2012 - 01:56 PM UTC
Hi Mark,
Really nice progress! Press on!
Really nice progress! Press on!


Mgunns

Joined: December 12, 2008
KitMaker: 1,423 posts
AeroScale: 1,319 posts

Posted: Saturday, November 03, 2012 - 02:55 PM UTC
Thanks For stopping by Fred:
I am really enjoying seeing this seemingly wreck come back to life.
Best
Mark
I am really enjoying seeing this seemingly wreck come back to life.
Best
Mark

JackFlash

Joined: January 25, 2004
KitMaker: 11,669 posts
AeroScale: 11,011 posts

Posted: Saturday, November 03, 2012 - 03:12 PM UTC
This is a great reminder as to how fine this kit really is. Model On Mark!

Mgunns

Joined: December 12, 2008
KitMaker: 1,423 posts
AeroScale: 1,319 posts

Posted: Sunday, November 04, 2012 - 02:23 AM UTC
 Hello Stephen:
It really is a fine kit. The aftermarket stuff is just icing on the cake, except for small details on the guns, the kit is great right out of the box. As we get caught up in the latest releases and what and when is coming up next, there is a vast array of great kits out there right now that build up quite nicely, this one included.
Thanks for stopping by
Best
Mark

Kornbeef

Joined: November 06, 2005
KitMaker: 1,667 posts
AeroScale: 1,551 posts

Posted: Sunday, November 04, 2012 - 03:57 AM UTC
Mark,
Good to see you back on this, to my shame mine which I started around the same time still sits unfinished... the old rigging horrors I used to suffer being to blame, Now just to many projects on the go to ever get one sorted. So don''t feel bad about it taking so long I remember the trials and tribulations you went through the first time well enough.
Now get her finished
Keith
Good to see you back on this, to my shame mine which I started around the same time still sits unfinished... the old rigging horrors I used to suffer being to blame, Now just to many projects on the go to ever get one sorted. So don''t feel bad about it taking so long I remember the trials and tribulations you went through the first time well enough.
Now get her finished

Keith

Mgunns

Joined: December 12, 2008
KitMaker: 1,423 posts
AeroScale: 1,319 posts

Posted: Sunday, November 04, 2012 - 05:55 AM UTC
 Hello Keith:
I am girding my loins now to face the rigging horrors. Armed with "Bob's Buckles", I feel can accomplish the task with minor amounts of anquish.
I thought you did one? I remember seeing one and used the blog as a guide for preshading. I thought it was yours. Either way, finish that kit!

Thanks for stopping by
Mark

Kornbeef

Joined: November 06, 2005
KitMaker: 1,667 posts
AeroScale: 1,551 posts

Posted: Sunday, November 04, 2012 - 10:41 AM UTC
It was Mark, just stalled at the rigging stage, she suffered a little while lingering in the derelict pile on the corner of my workbench. To my shame.
Posted: Sunday, November 04, 2012 - 10:56 AM UTC
Looking superb Mark a true Phoenix,you have inspired me to rebuild my frapped LVG
Andy
Andy

Mgunns

Joined: December 12, 2008
KitMaker: 1,423 posts
AeroScale: 1,319 posts

Posted: Sunday, November 04, 2012 - 11:29 PM UTC
Quoted Text
Looking superb Mark a true Phoenix,you have inspired me to rebuild my frapped LVG
Andy
Hello Andy:
Thanks Andy and Good luck with your LVG. I think any model is salvageable, it just requires the motivation. That is a neat model to relegate the scrap heap.
A few updates. Spent most of the day decaling, doing small rigging like the tail skid and undercarriage. I dry fitted the top wing, with the striped struts to see the effect. I like it; I also painted the propeller covering Tamiya Sea Gray.
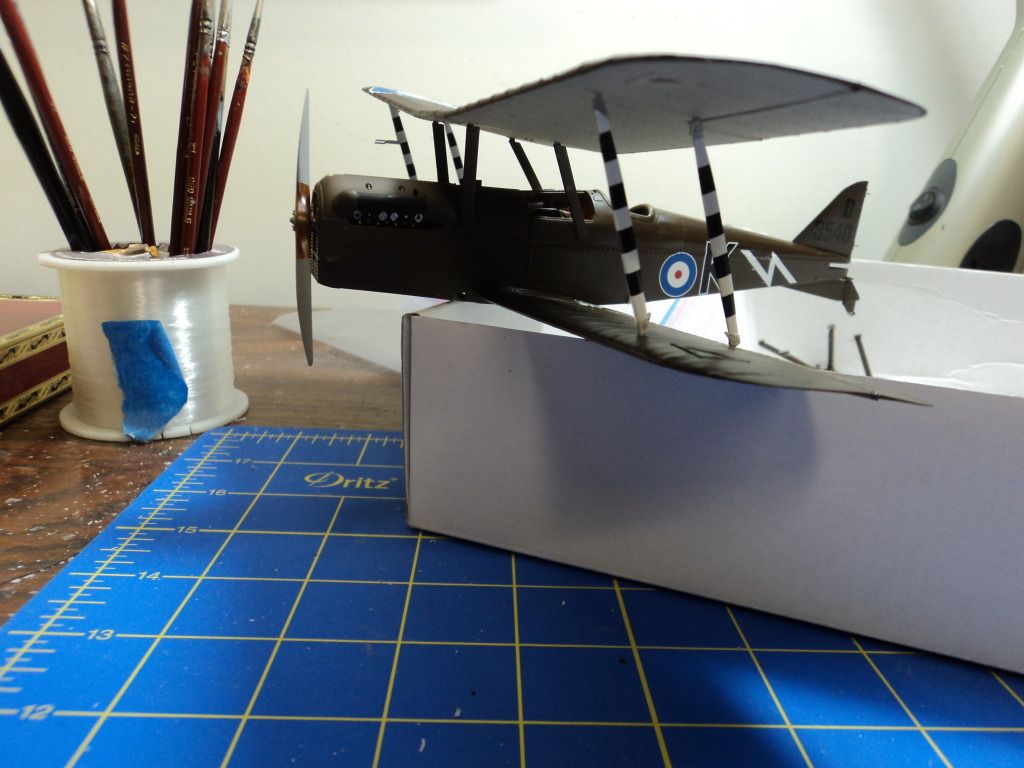
Another view.
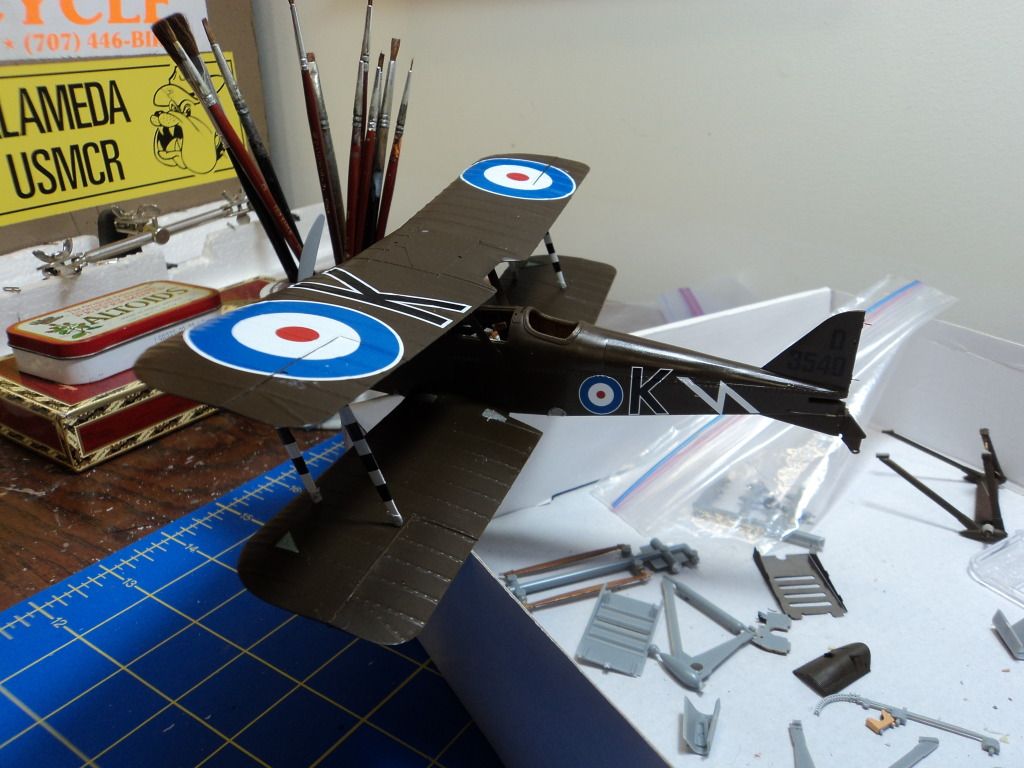
Outlining the struts on the back side of the decal and cuttnig them in two worked pretty nicely for me. I was trying to figure out how to best put them on as they were, and this seemed to do the job satisfactorily.
As I had fixed the elevators prior to cementing the control horns on the elevators, I had to cut them in half, using MEK as my cement, glued them in place. They are quite firm and it sure eased and simplified the painting process.
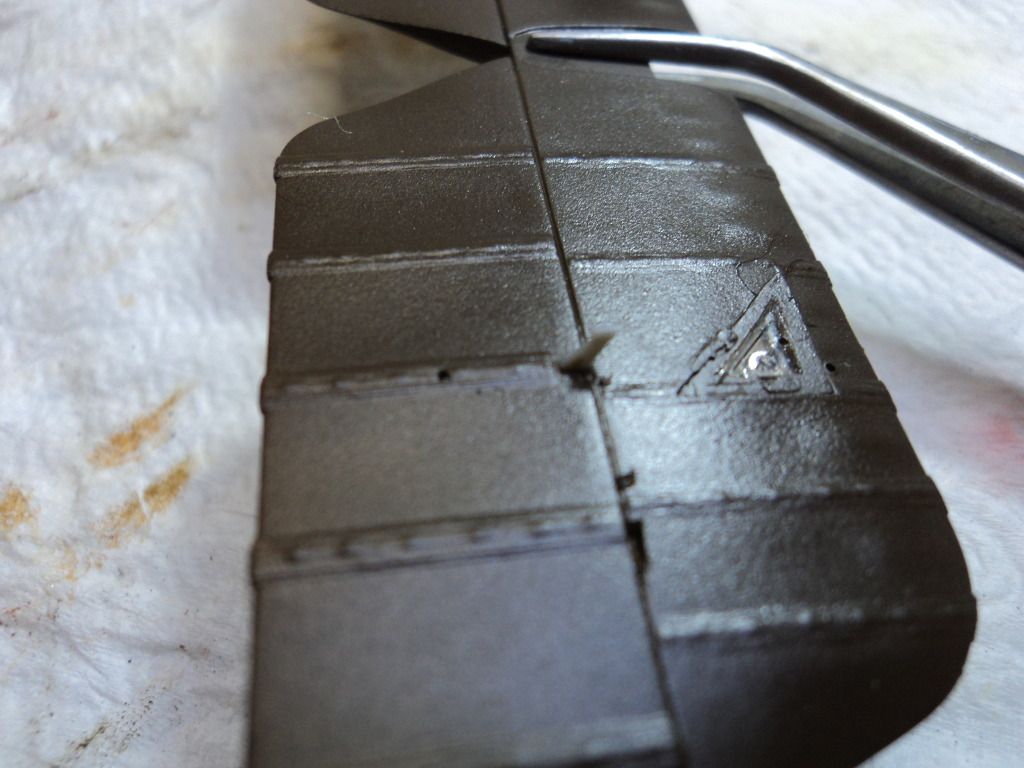
That's it for now folks. With a backed up septic system, I took a day off work and will be awaiting the pumper and have time to work on this today.
Stay tuned for more.
Thanks for stopping by.
Best
Mark

Mgunns

Joined: December 12, 2008
KitMaker: 1,423 posts
AeroScale: 1,319 posts

Posted: Thursday, November 08, 2012 - 07:19 AM UTC
Quoted Text
It was Mark, just stalled at the rigging stage, she suffered a little while lingering in the derelict pile on the corner of my workbench. To my shame.
Hello Keith: I enjoyed your blog and your simple but effective method of pre-shading. Your's was the inspiration for me to do this kit in the first place. I will be posting progress pictures soon as I have the rigging almost complete and pointers on how to ease the rigging and assembly.
Best
Mark

Mgunns

Joined: December 12, 2008
KitMaker: 1,423 posts
AeroScale: 1,319 posts

Posted: Thursday, November 08, 2012 - 12:51 PM UTC
Okay, another installment as the Phoenix rises: I left off the landing gear, exhaust, tail, rudder, aileron control horns, and the 'things' on the top surface of the upper wing to ease the rigging. I drilled all the holes, insertd the Bobs Buckles eyelets, and rigged the upper wing. I taped the loose ends so they weren't in the way. I also pre rigged the interplane struts at the top for ease of rigging these. I fixed the upper wing and then began rigging starting with the cabane struts cusing the loop method. I also predrilled the holes and used the Bob's Buckles eyelets here too. It is important to not install the exhaust prior to rigging as it will be in the way and cause great consternation trying to rig the cabane struts plus they are in the way for handling purposes.
I also pre rigged the landing gear to ease the rigging there as well.
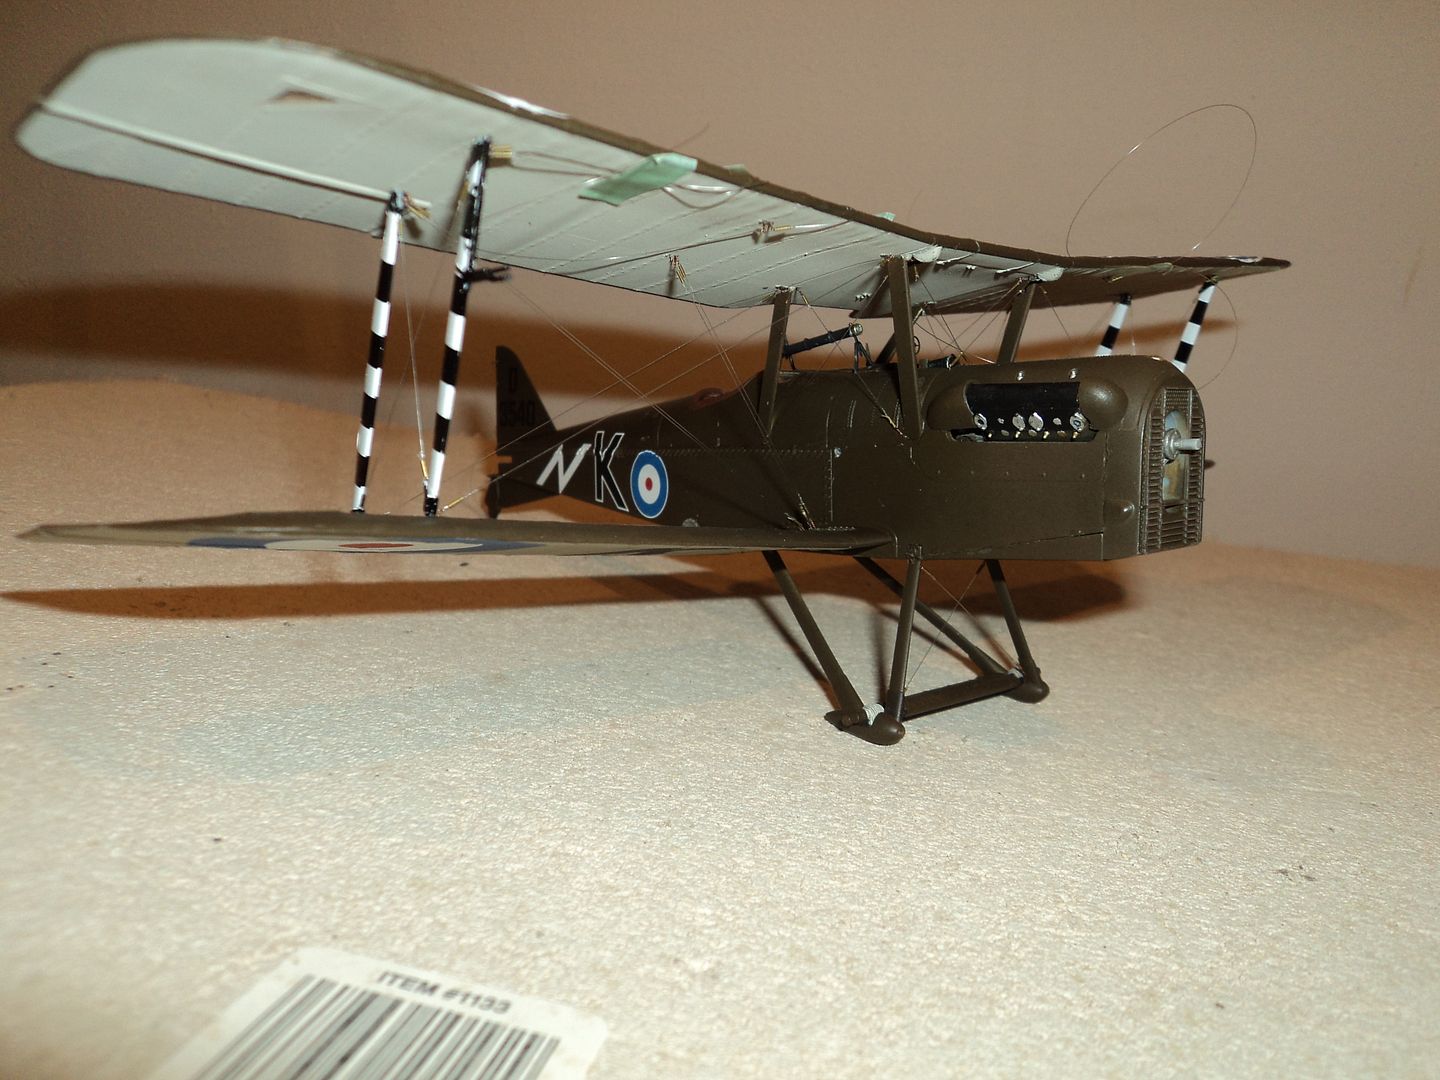
I then moved to the front of the airplane and rigged the cross bracing, moving from there to the wing bays. Working one side and then the other.
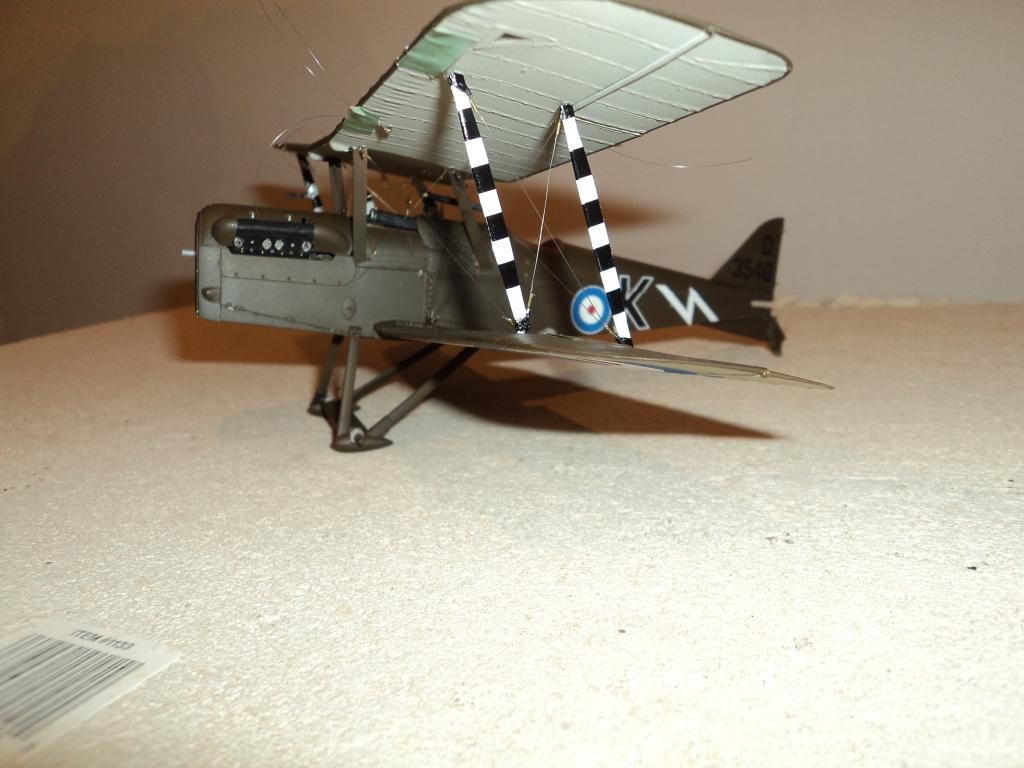
Once the wing bays and the interplane struts were rigged, I installed the landing gear.
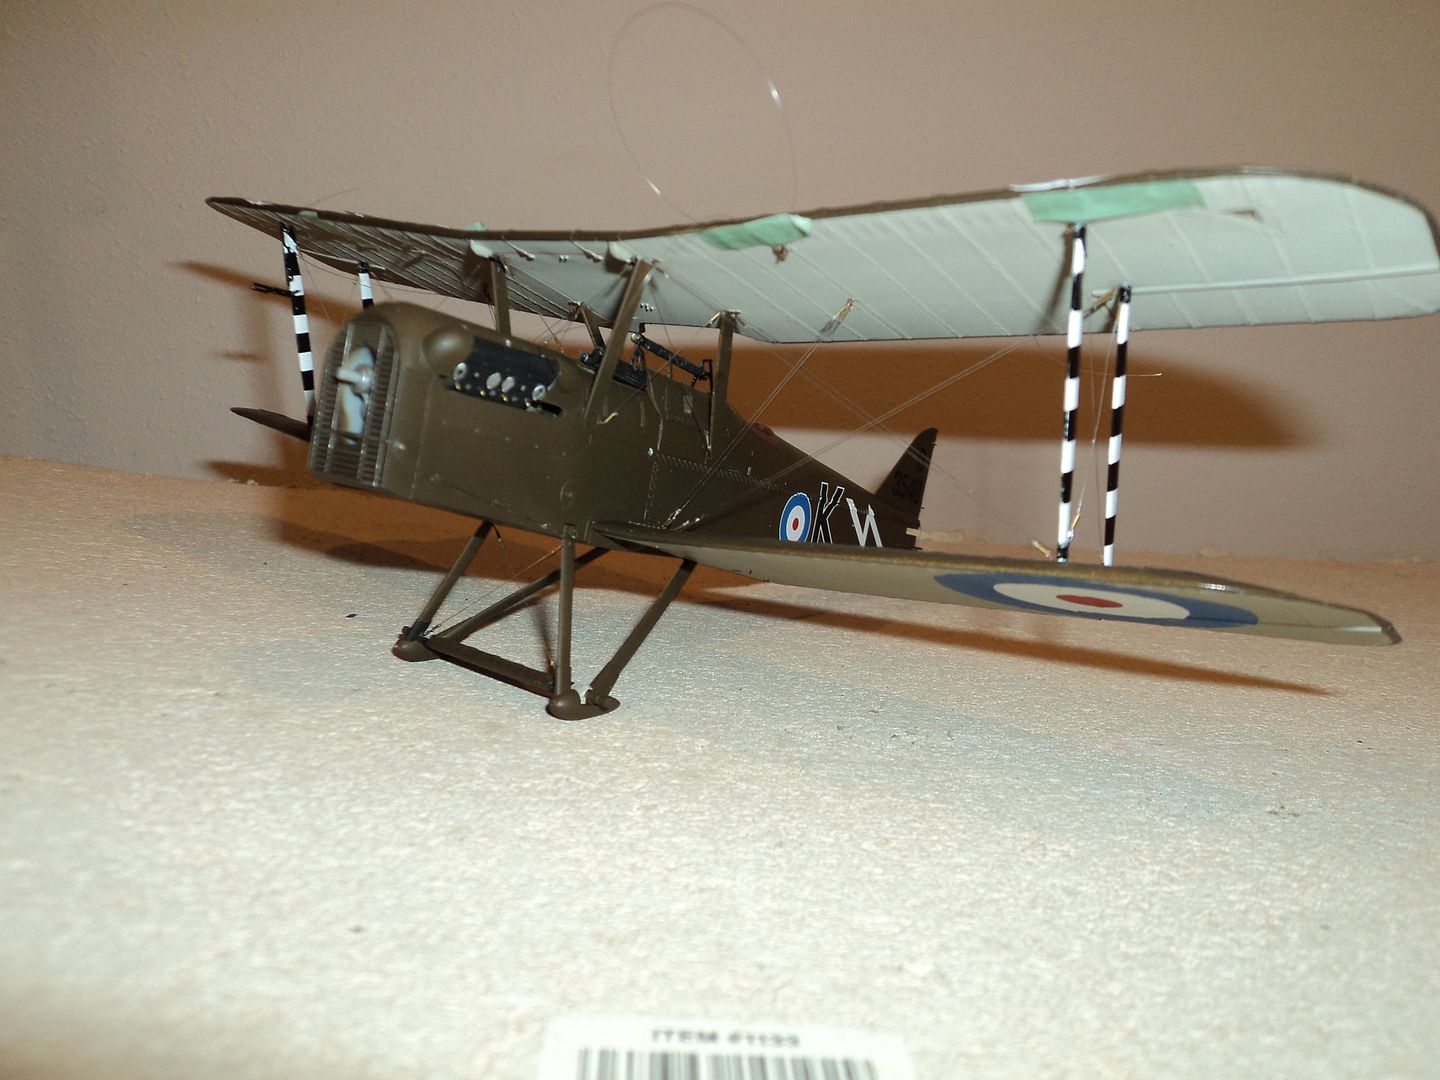
I will now fix the four eyelets per side and rig and be ready to fix the exhaust and the other items.
More pics to follow.
Thanks for stopping by
Best
Mark
I also pre rigged the landing gear to ease the rigging there as well.

I then moved to the front of the airplane and rigged the cross bracing, moving from there to the wing bays. Working one side and then the other.

Once the wing bays and the interplane struts were rigged, I installed the landing gear.

I will now fix the four eyelets per side and rig and be ready to fix the exhaust and the other items.
More pics to follow.
Thanks for stopping by
Best
Mark
lcarroll

Joined: July 26, 2010
KitMaker: 1,032 posts
AeroScale: 1,025 posts

Posted: Friday, November 09, 2012 - 02:38 AM UTC
Hi Mark,
I just returned from a 10 day holiday, great progress on this one and really nice to see her not only rescued but also turning out so very well. The rigging is indeed a "bear", just take your time and a few breaks will help(perhaps working on the (*&*&^$%&$!!! Septic System - I can relate, been there several times! Joys of country living etc)
Nicely done!
Cheers,
Lance


Mgunns

Joined: December 12, 2008
KitMaker: 1,423 posts
AeroScale: 1,319 posts

Posted: Saturday, November 10, 2012 - 04:11 AM UTC
Quoted Text
Hi Mark,
I just returned from a 10 day holiday, great progress on this one and really nice to see her not only rescued but also turning out so very well. The rigging is indeed a "bear", just take your time and a few breaks will help(perhaps working on the (*&*&^$%&$!!! Septic System - I can relate, been there several times! Joys of country living etc)
Nicely done!
Cheers,
Lance
Thanks Lance and welcome back. Yes, the joys of country living soon to be amplified with the onset of snow and windrows, that being said:
The Phoenix is risen, these aren't the greatest photos, light in the basement is horrible, but just to give you an idea, for those that remember my entry on this forum 4 years ago, it is nice to have this complete and looking mighty sporty I mmight ad.
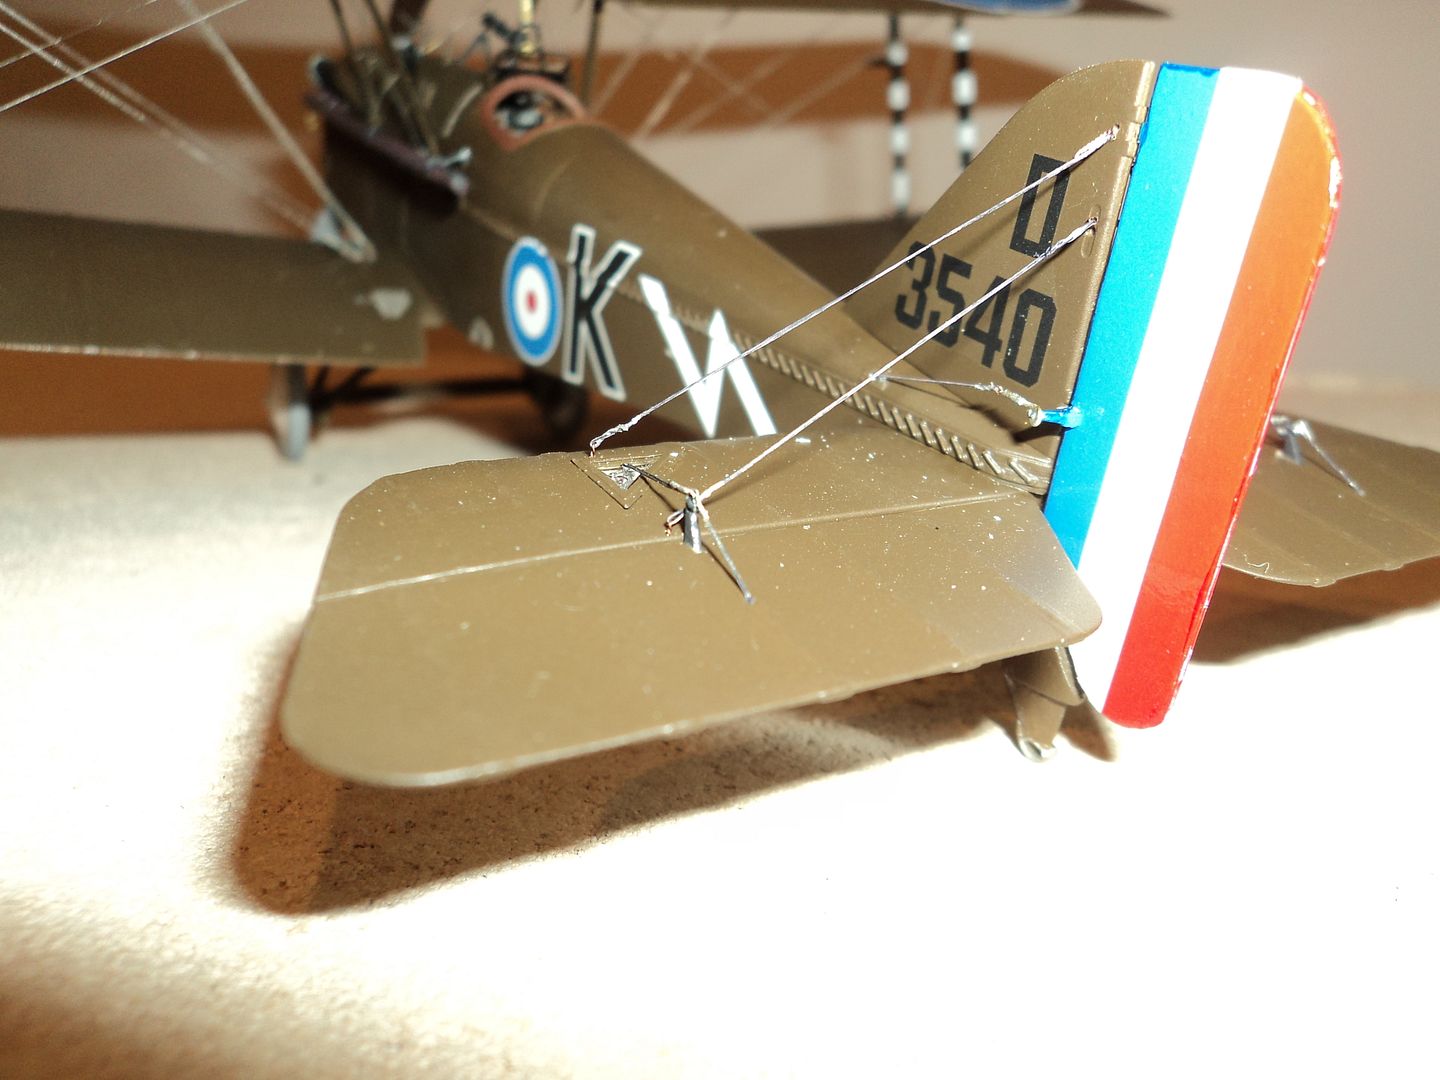
The macro lens sure picks up the dust and flecks of the tail assembly. I fashioned a turnbuckle out of brass wire and Bob's Buckles for the rudder as the points are too fine to drill out. I am happy with the compromise. I used a combination of EZ line and Invisible thread.
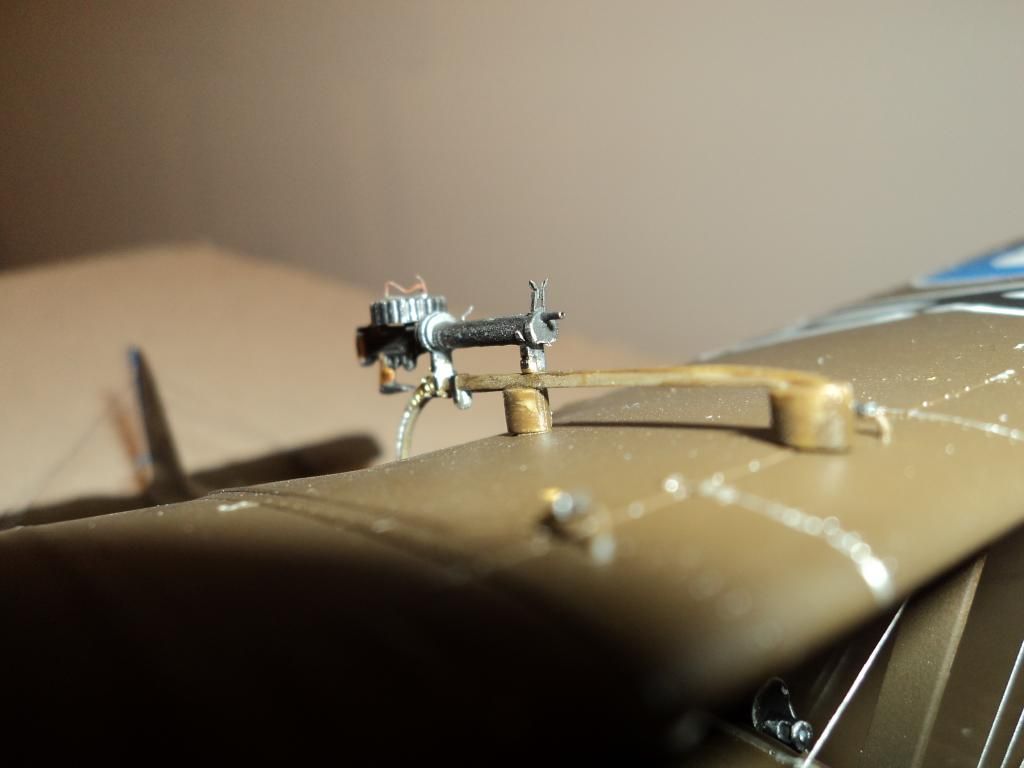
The Lewis gun, I used Eduards PE and a tube from Bob's Buckles for the barrel.
The cockpit area, I used three different colors for the exhause to try to simulate the heat effect, I painted it black, then rust brown and mist sprayed it pink.
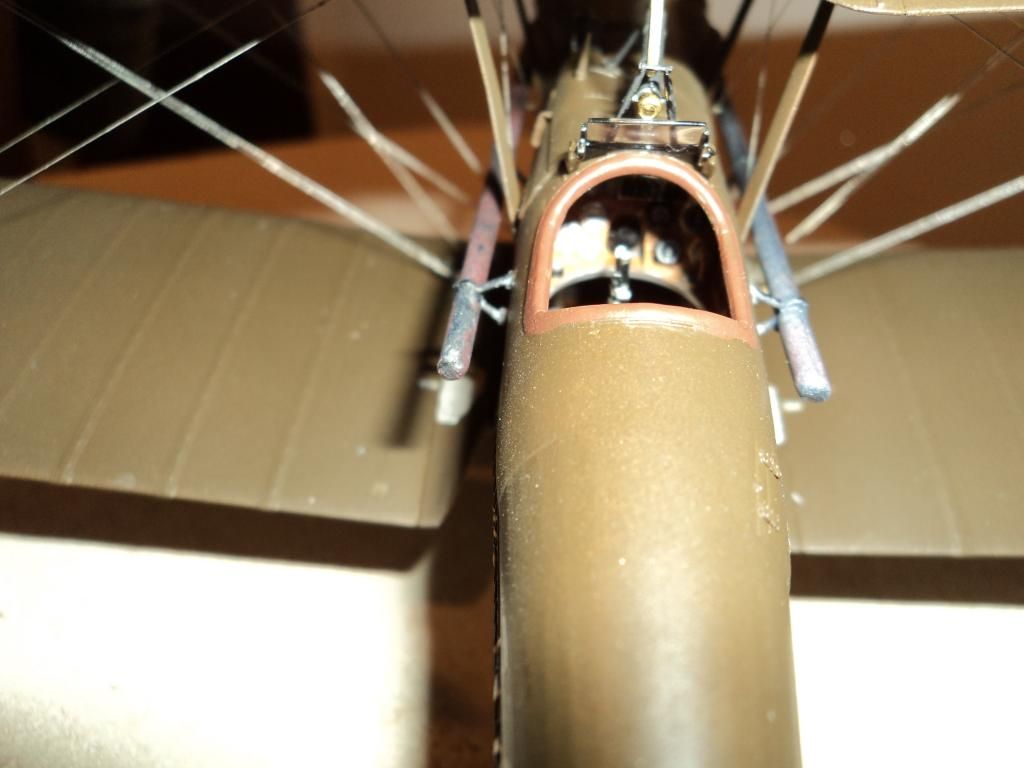
That's about it. The photos are bad, I know, I will take some in better light and post them.
Thanks for stopping by and the encouragement.
Best
Mark

Mgunns

Joined: December 12, 2008
KitMaker: 1,423 posts
AeroScale: 1,319 posts

Posted: Sunday, November 11, 2012 - 07:04 AM UTC
Okay Folks:
Some updated better pictures of the completed model.
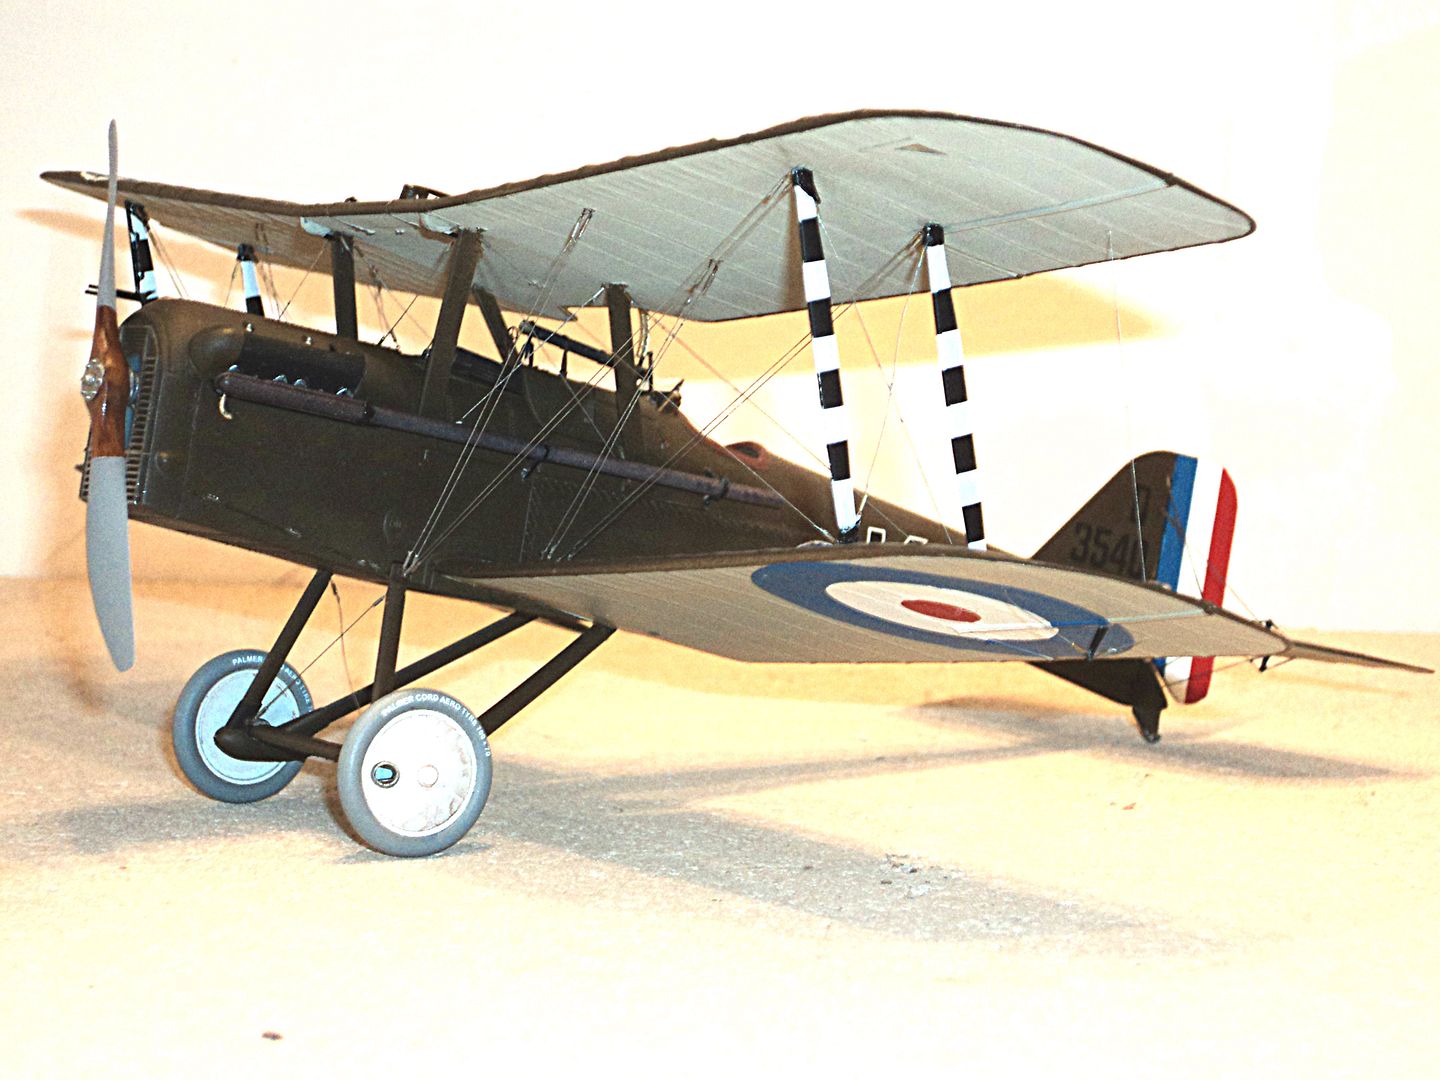
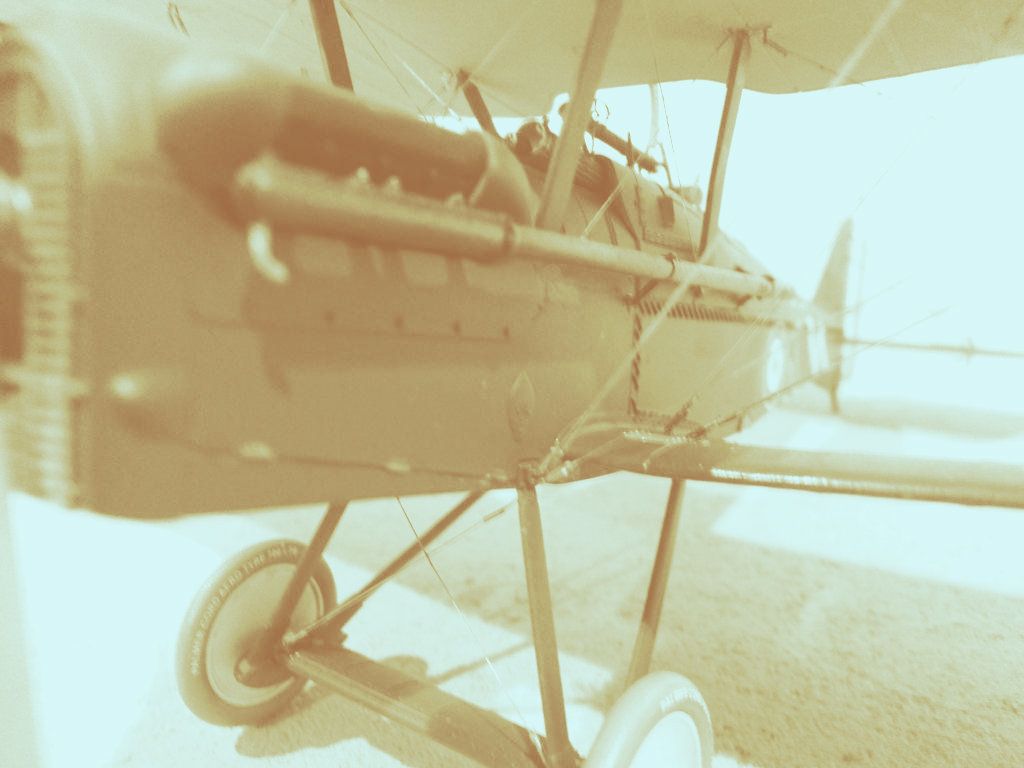
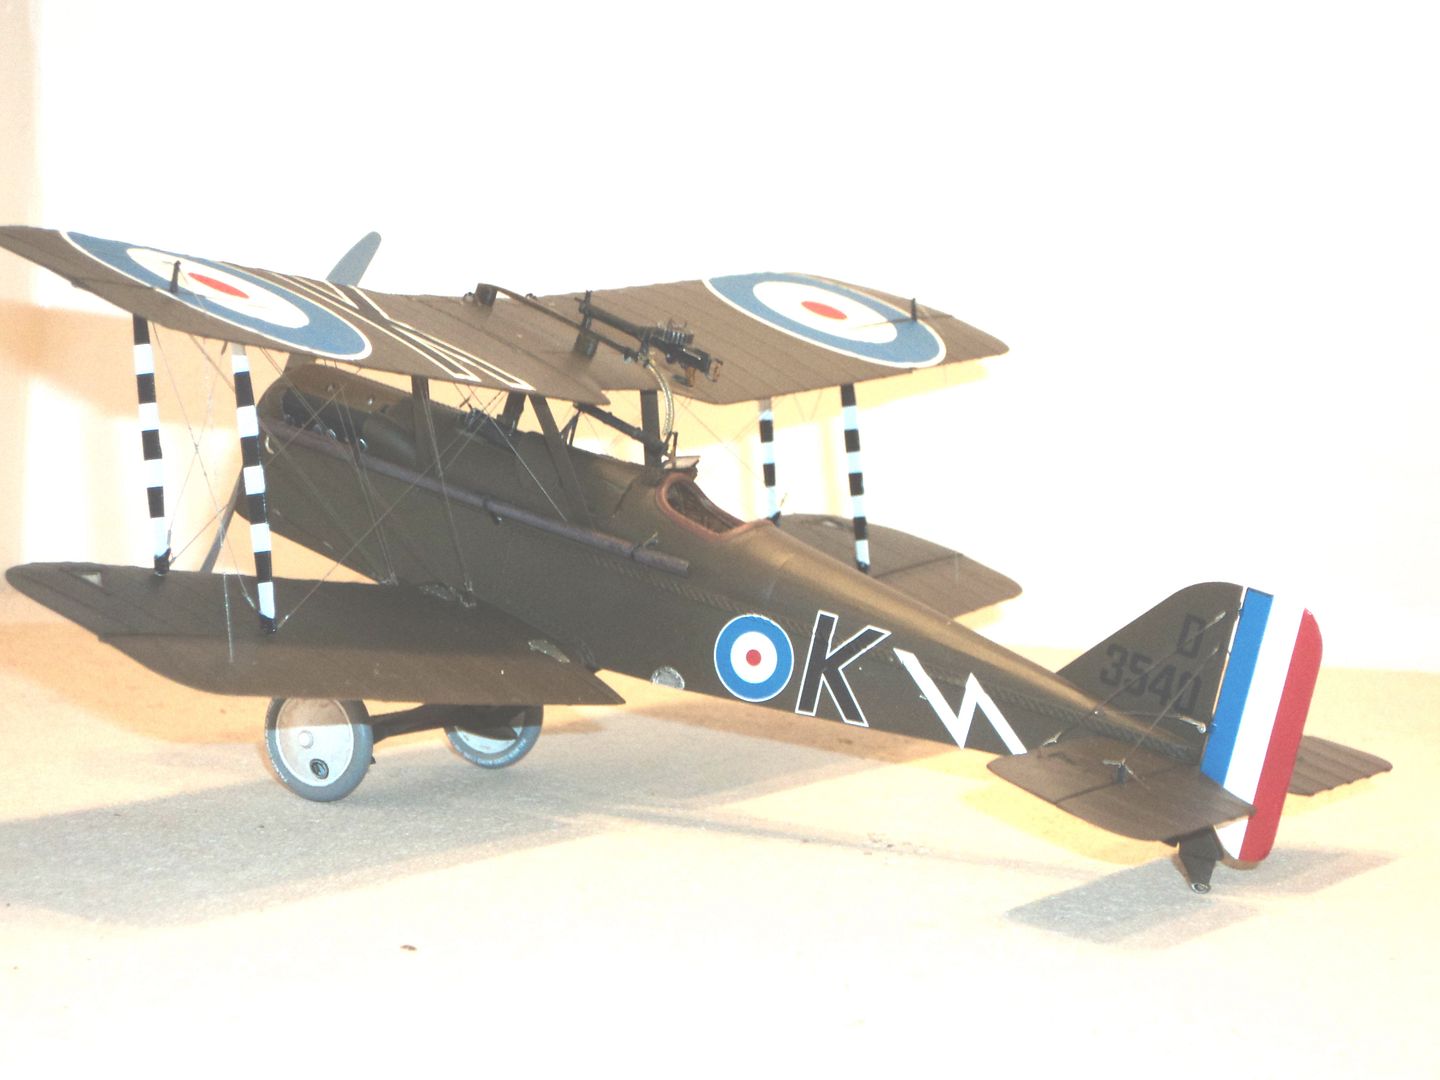
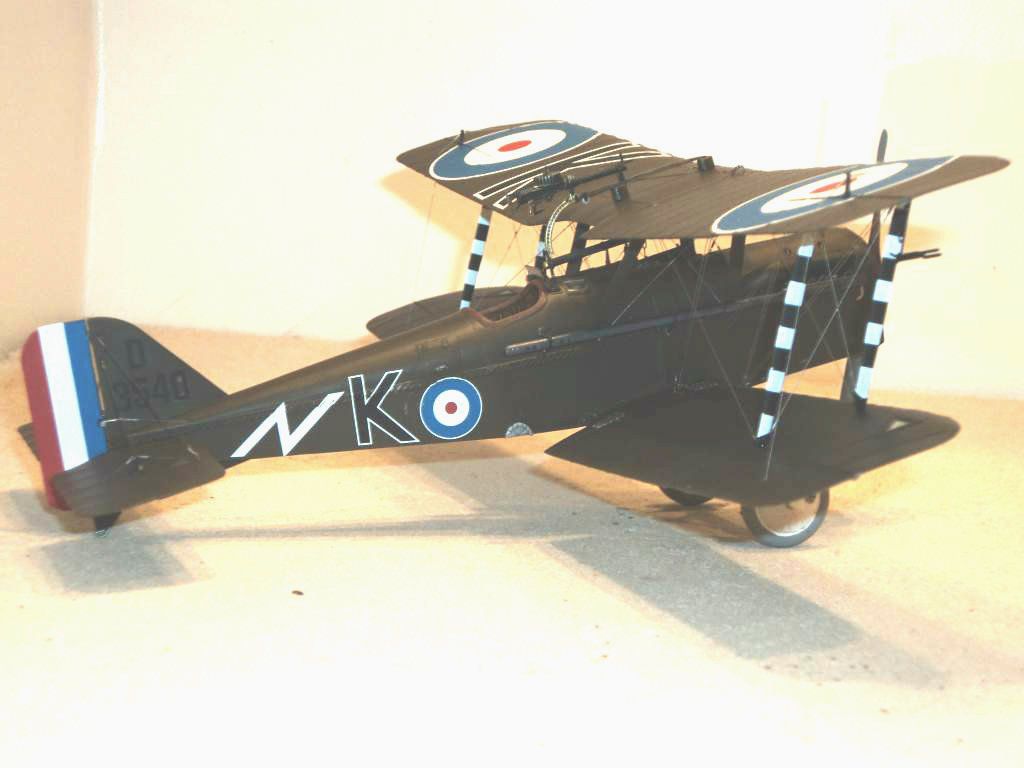
And I like this one too.
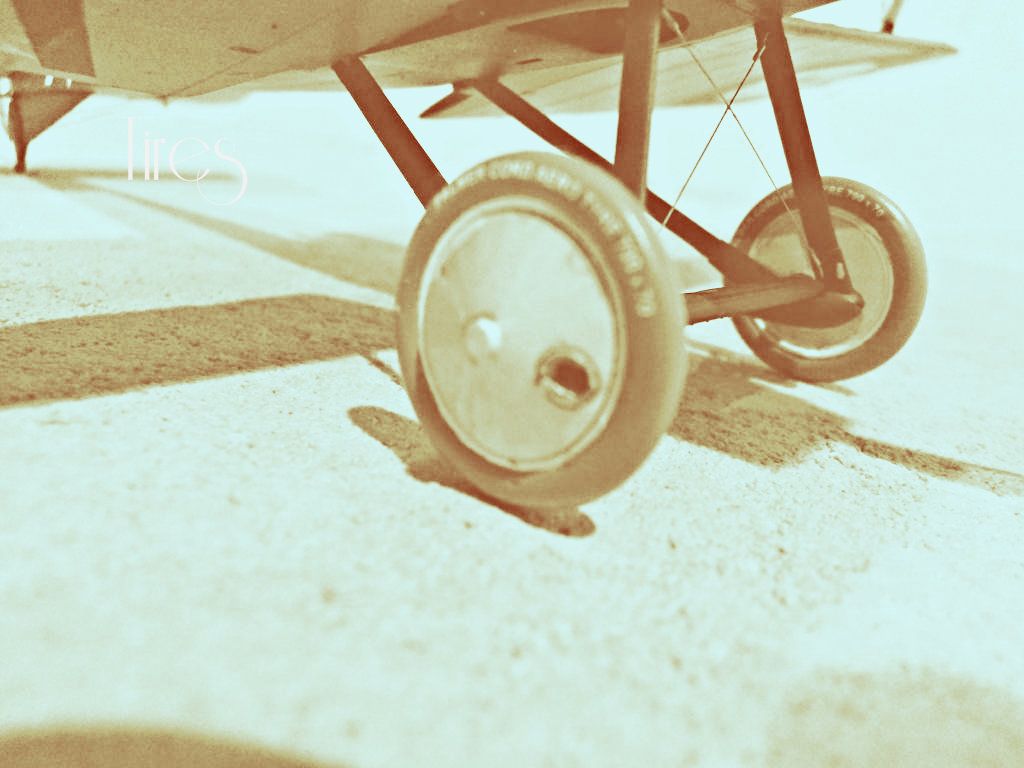
I am glad I didn't toss this four years ago, it turned into a pretty decent model.
Thanks for looking and your comments.
Best
Mark
Some updated better pictures of the completed model.


And I like this one too.

I am glad I didn't toss this four years ago, it turned into a pretty decent model.
Thanks for looking and your comments.
Best
Mark
Dwaynewilly

Joined: December 15, 2006
KitMaker: 365 posts
AeroScale: 344 posts

Posted: Sunday, November 11, 2012 - 07:13 AM UTC
Mark,
I'm glad you didn't toss it either. You did a fantastic job breathing life back into this stalled project. Without a doubt it's a keeper.
Great work,
Dwayne
I'm glad you didn't toss it either. You did a fantastic job breathing life back into this stalled project. Without a doubt it's a keeper.
Great work,
Dwayne

Mgunns

Joined: December 12, 2008
KitMaker: 1,423 posts
AeroScale: 1,319 posts

Posted: Sunday, November 11, 2012 - 08:56 AM UTC

Hello Dwayne:
Thanks for the kind words. It was fun and it didn't take that long, but I did work on it steadily.
Best
Mark
lcarroll

Joined: July 26, 2010
KitMaker: 1,032 posts
AeroScale: 1,025 posts

Posted: Sunday, November 11, 2012 - 02:36 PM UTC
One very fine looking "failure/throwaway" Mark. Full marks for hanging in there and a truly impressive finish.....she's a beauty.
Cheers,
Lance
Cheers,
Lance

OEFFAG_153

Joined: February 19, 2010
KitMaker: 1,473 posts
AeroScale: 1,450 posts

Posted: Sunday, November 11, 2012 - 10:00 PM UTC
Hi Mark,
Great to see this one finally finished, such an epic build! – She is looking mighty fine too!
Congratulations! This deserves a few beers


Mikael
Great to see this one finally finished, such an epic build! – She is looking mighty fine too!
Congratulations! This deserves a few beers


Mikael

Mgunns

Joined: December 12, 2008
KitMaker: 1,423 posts
AeroScale: 1,319 posts

Posted: Monday, November 12, 2012 - 01:37 AM UTC
 Thanks Lance and Mikael:
 I am pretty pleased with it, my approach to assembly and rigging is the result of others here on this Forum. Hopefully my methods will help a future modeler with this kit.
Best
Mark
thegirl

Joined: January 19, 2008
KitMaker: 6,743 posts
AeroScale: 6,151 posts

Posted: Wednesday, November 14, 2012 - 01:45 PM UTC
Mark , every project you do just keeps getting better and better !
You did a fantastic job on this build
Terri
You did a fantastic job on this build

Terri
 |


