Hi Rowan,
The "good" AM single seater kit cannot be salvaged because its wings were borrowed, so cutting it up is no great loss... Neither is the Tamiya kit whose propeller will be gone, as well as a few other items.
Resin props are typically offered as separate blade items, and try as I might I have never been able to assemble separate blade props to my satisfaction, plastic or resin, but especially not when using resin (though I came closest to success with Vector resin props, because of the extreme precision in the moulding pin-hole fit and alignment)...
The alignment is especially hard on 3 blade props compared to 4 blade props, and for this reason my Monogram P-38, whose one-piece props leave a lot to be desired, will not be able to use either the Academy or Hasegawa props, and will be represented with its spinners spinning bladeless... (The Hasegawa kit will provide its clear parts to the Monogram kit -severely adapted for the completely different shape of the rear fixed part, but feasable- and Academy will also provide some parts like the turbochargers etc: They cannot compare to the 1964 vintage Monogram kit for outline accuracy, despite the Monogram's 3 mm shortfall in span, and so are not a great loss either...)
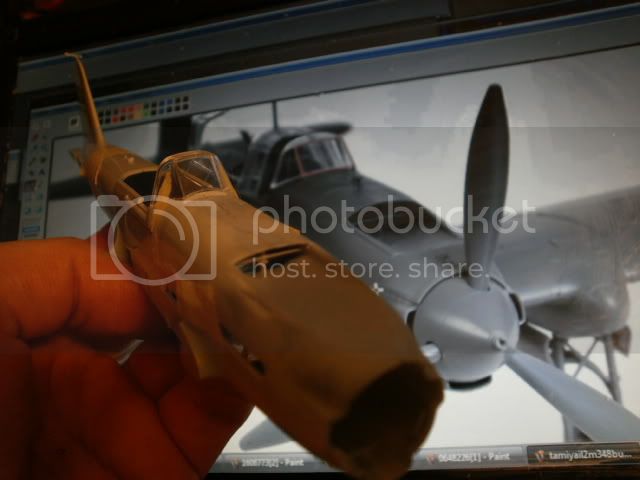
The Tamiya Il-2 prop IS a one-piece prop, and that beats any other consideration, as the Il-2 would not look good with a bladeless spinning spinner (neither does the Me-109G: Some types look OK done like that, especailly radials, some don't, more often inlines with smooth "unstepped" nose contours).
Several parts may be borrowed from the Tamiya Il-2, so it is not that extravagant...
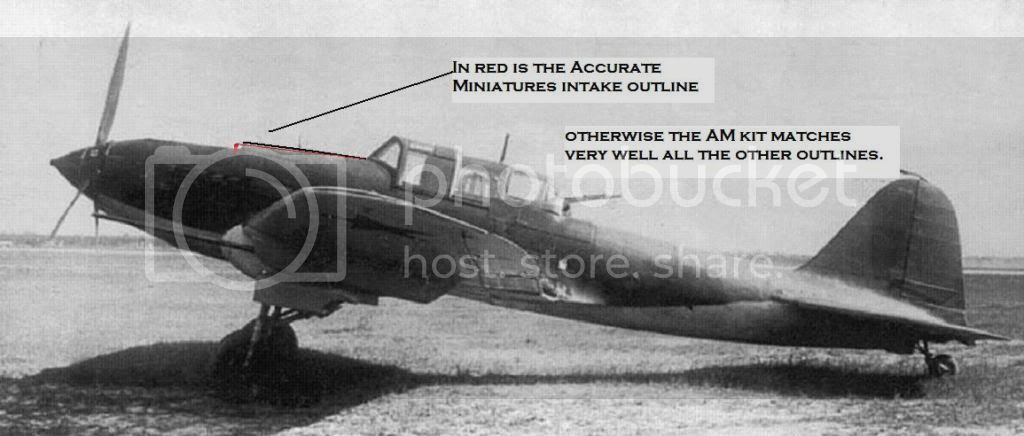
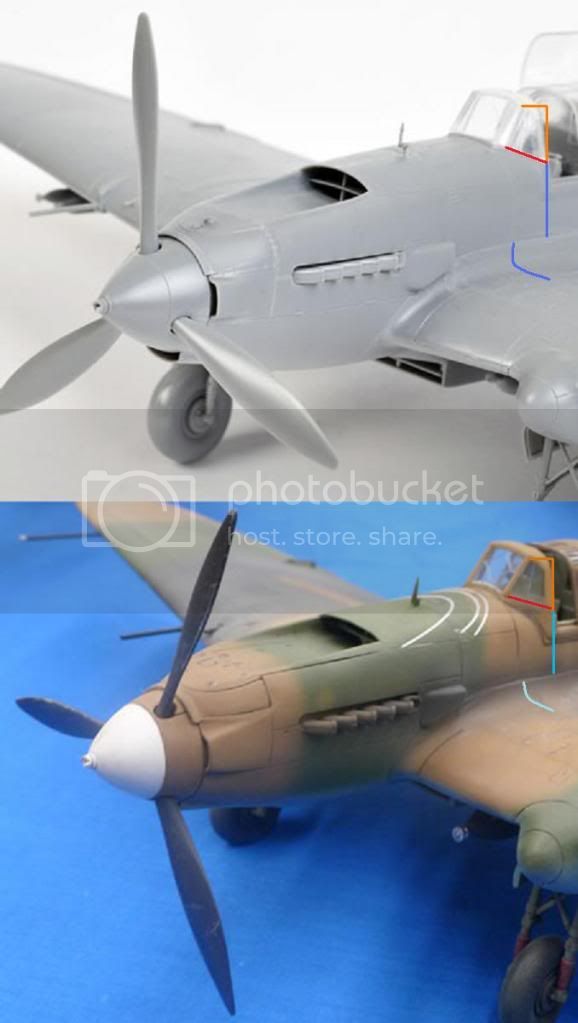
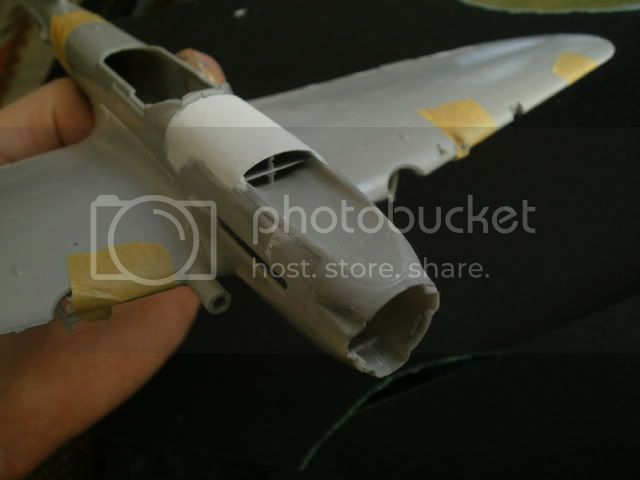
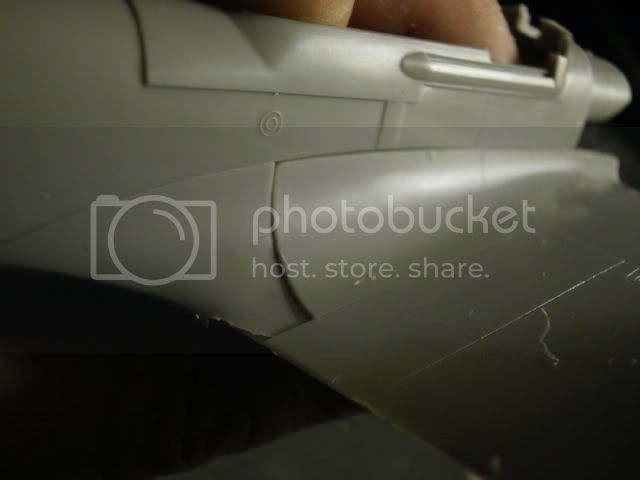
The upper intake lip was done by carving the Accurate Miniatures opening 1.5 mm back, then building up the putty in thin layers (as thick layers will melt the plastic): The curve was gradually increased by shaping the putty still "wet" with a large number of clean #11 blades, which are good for shaping wet putty "clean" only once each... About 12-20 blades were used..
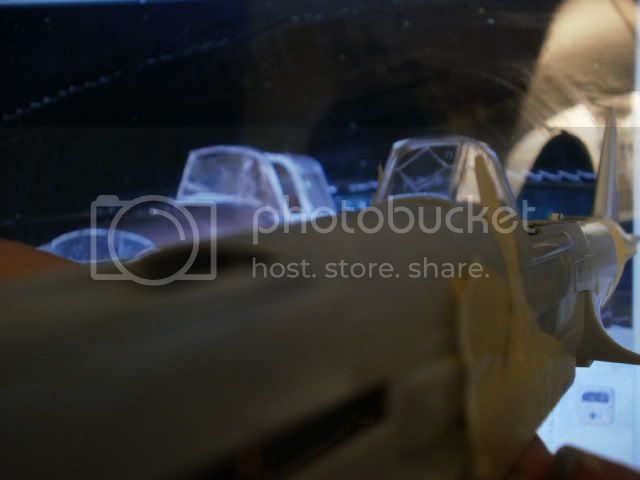
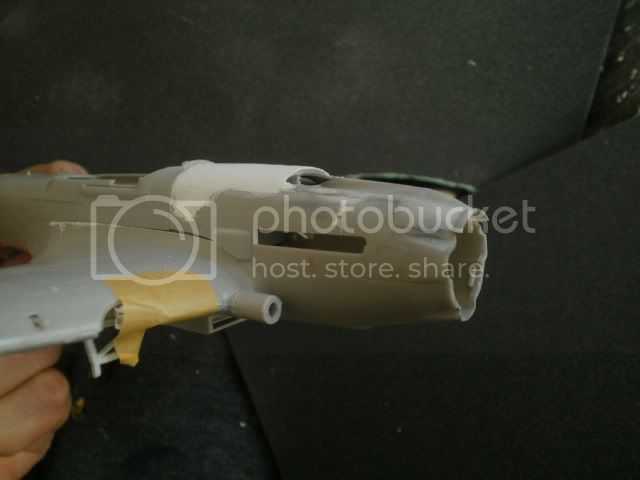
The opening was then thinned from the inside by cutting into the dried, but not yet fully hard (10-20 min) white putty with a yet another bunch of fresh #11 blades: At the extreme lip edge there is no plastic, only putty, but putty can be surprisingly resilient, even without support, when it is fully dry. I have found Tamiya's white putty to be less brittle than their gray putty when used like this, and it has also much less of a smell. The only advantage of the gray putty is on extremely thin application, where its colour give the impression of feathering better, or at least of doing so in a more controlled manner: I hardly ever use the Tamiya gray putty anymore except for filling very minor flaws, or over paint to level out small depressions...
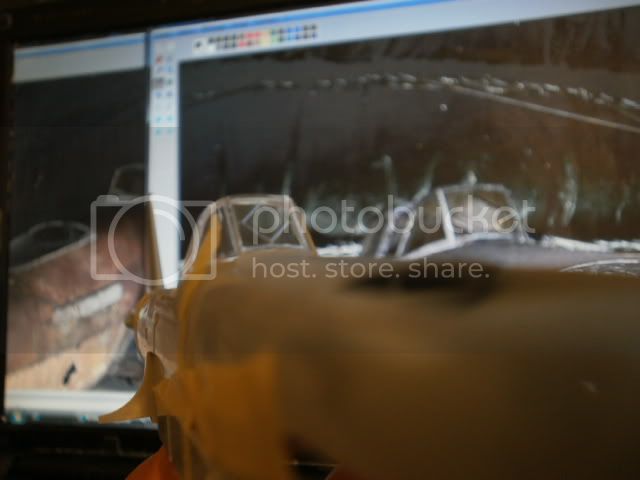
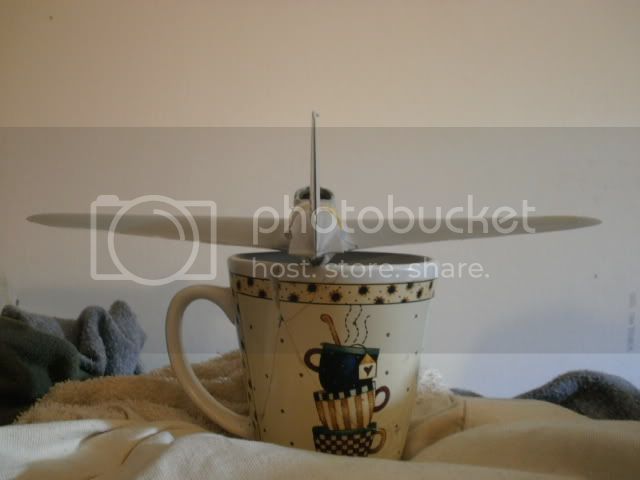
The issue of dihedral symmetry has plagued my previous builds of the Il-2, but I wasn't aware of it at the time as I probably did what most everybody else did and, consciously or not, emphasized a slight drop to the left wing in my glueing.
The real problem then appears in that this model wants to build with a dihedral too flat or even "negative", at least for the top surface of the wings: This is a severe problem of this model that ruined my previous attempts at buiding it: I always knew its accuracy was otherwise excellent.
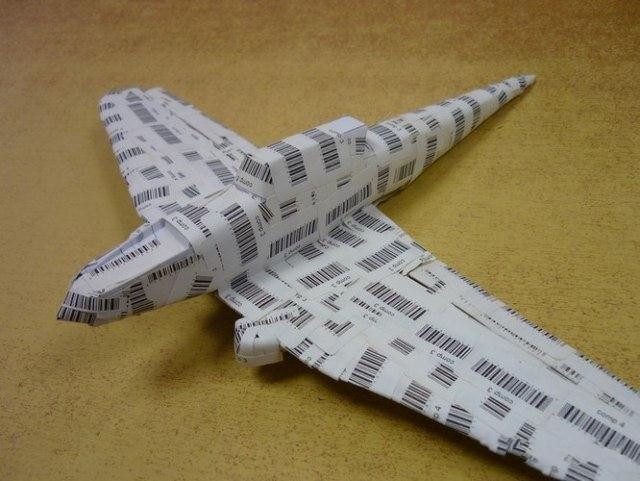
Here is a graphic example of negative wingtop dihedral on a model most of us can only dream about building to such a level (model by Ricardo Rodrigez):
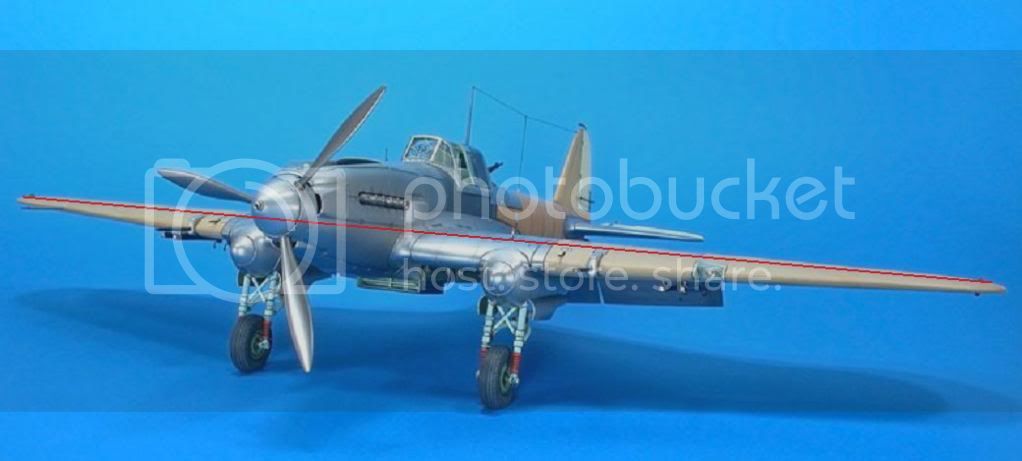
Just to give you an idea of what level of building we are talking about here:
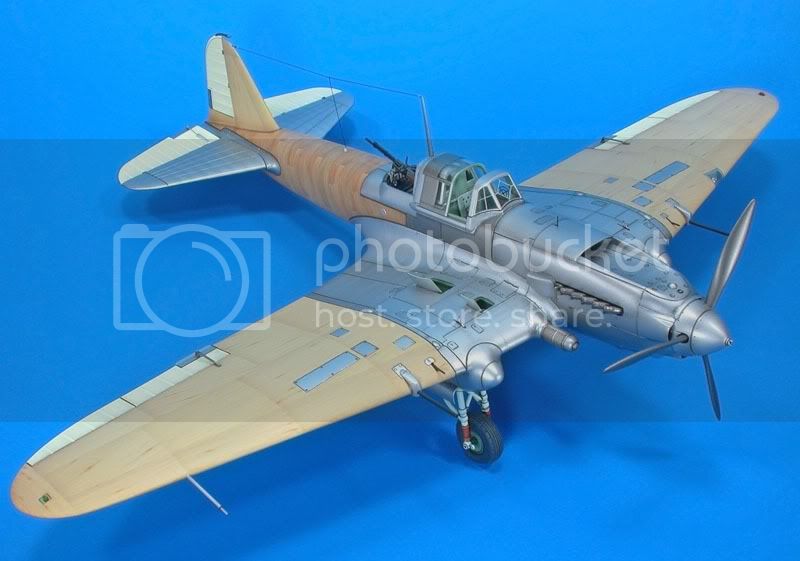
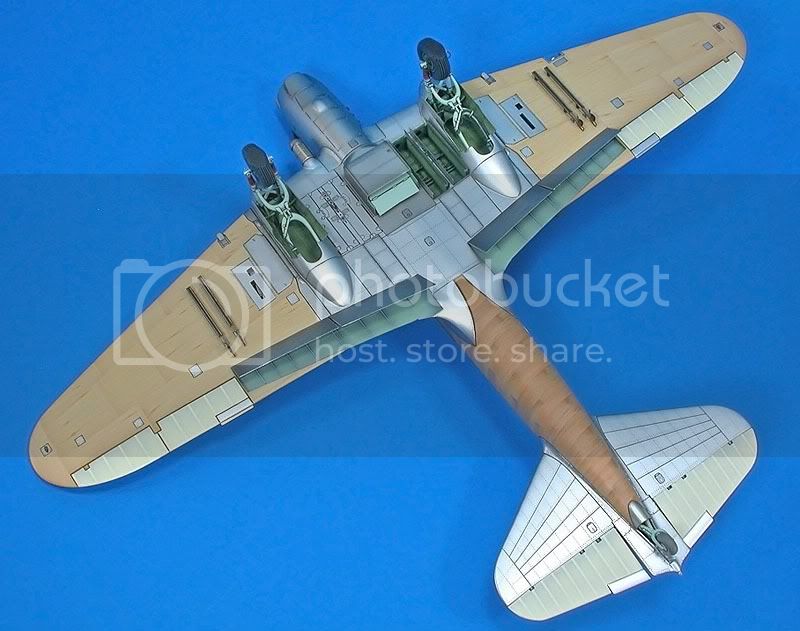
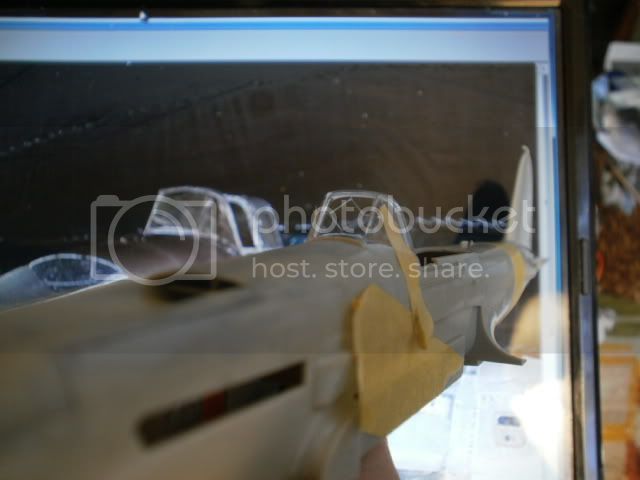
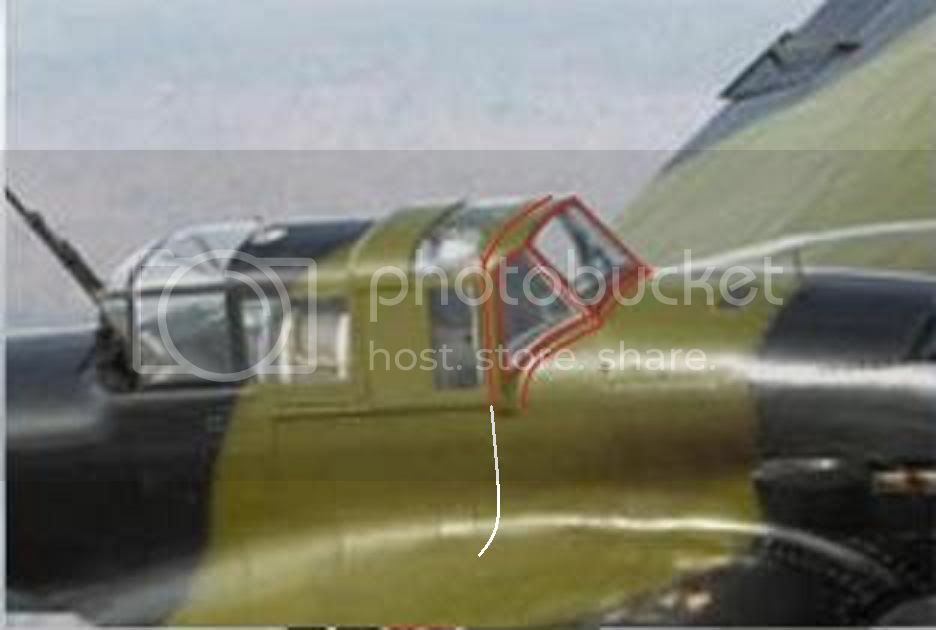
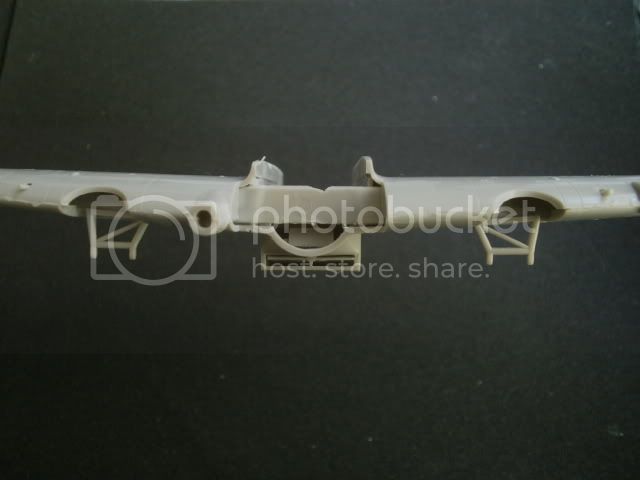
The Il-2's wing top outlines should not even be straight and true: They should have a slight amount of dihedral themselves, despite the wing taper, or the kit will look wrong: I am almost sure the real aircraft did not have simply flat wingtops, and the kit looks wrong even if a lot of serious bending succeeds in achieving flat wingtops: Only a newly found method of shaving off the top of the right wing's "karman" (wingroot fairing), and carving heavily the rear of the right wing's bearing surfaces, provided a solution. This still required a heavy assymetrical emphasis in wing bending, heavily tilted towards the right wing... But the ventral radiator now looked a bit tilted and so had to be carved on its right bottom outside surface (and a little inside its mouth) to match the now more tilted right wing. I am happy with the result now.
My failure at building the AM kit's dihedral was why I was initially very glad to see Tamiya release an Il-2: I never could have imagined that after 44 months of NO all-new WWII aircraft release in that scale, they would come up with such a monstrosity. This is why I initially dismissed the odd impression the cellphone photos made...
Gaston


