I will however be posting this elsewherein much the same format. Saying that, this site is home for me.
So...
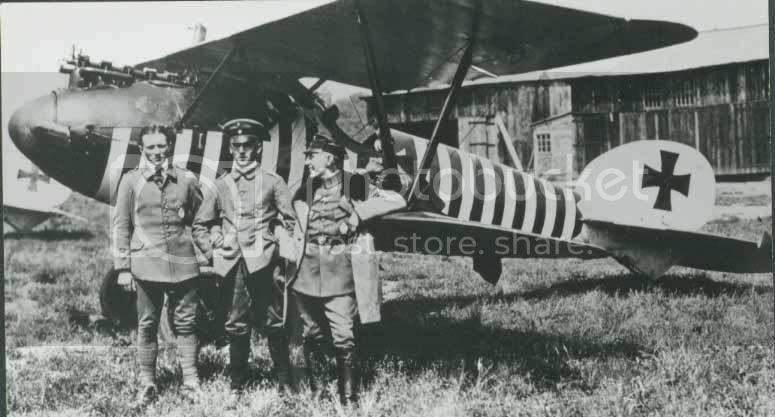
Here I go again. I blame Jamo...... I have to blame someone. I love the Albatros and until WNW think of releasing a DIII with correct interior and all those wonderful WNWish bits Ill sate my craving with a D.V o two. Its an early Birthday pressie SWMBO must have thought I deserved it... or she has something in the pipeline she has sweetened me up nicely to announce. So I decided to let AMS free its been a while since I have. And in my style I started every part of the kit at once. Chaos ensues. Though I try to concentrate on one area for a short while at a time.
So seeing as Im starting the blog earlyish for me Ill try to show what I change and explain why. Now I dont wish anyone to take this as a WNW bashing exercise as its not, not at all.
Reference used is....
The two new Albatros at war datafiles, the old Albatros Fighters Special datafile, WNWs own website, Tvals website, info gleaned over the years from the members on Aeroscales Early aviation forum and other great sites, some now not so great.
So on with the boring diatribe...lol
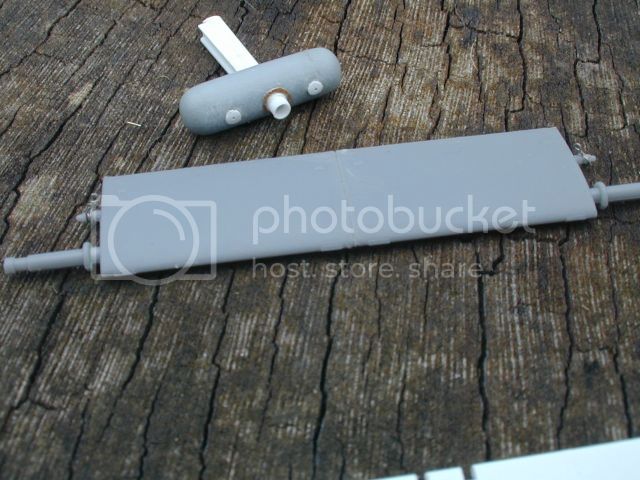
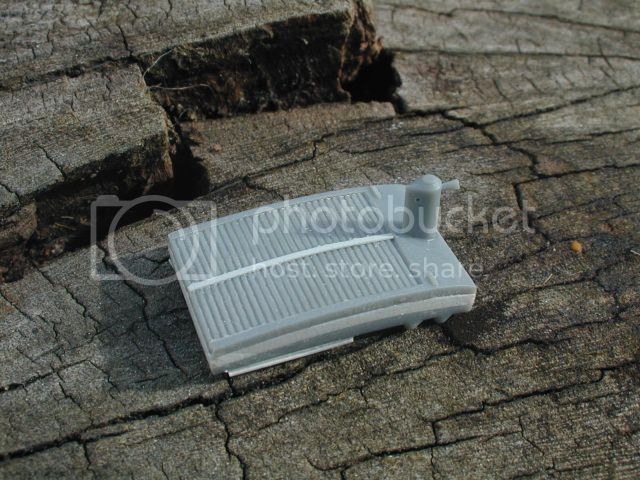
Fuel tank
Going by reference and TVALs pictures it would seem the tank is slightly wider than it should be. Not a problem for most builds of course when its tucked out of sight.
Using TVAL pics I rebuilt it shaving about 1.25mm off each side, the bottom is different but will be out of sight. I sanded all detail off, cut the two tanks apart and redid the seam/lip with thin plasticard wrapped around the basic tanks. To get the look right I drilled clear through the reserve tank to show the two pipes that come up through it, adding the filler pipe to this at the same time. I started the mountings and pipework connections.
Former/bulkhead
Ive removed the forward gun mounts for 3 reasons- 1. AMS 2. Ejection pin marks 3. Theres detail to add behind them. Hopefully the half built D.Va I have will be enough to realign the rebuilt parts when needed.
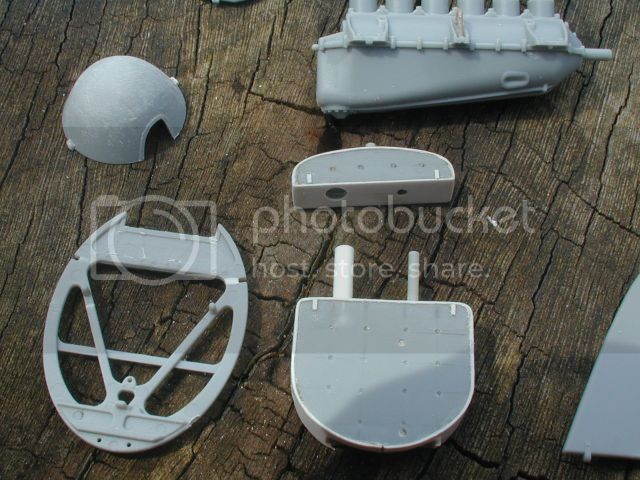
Spinner
Trying to reprofile the kit spinner as it seems too pronounced, if it doesnt look okay Im considering grafting a spare Roden one I have.

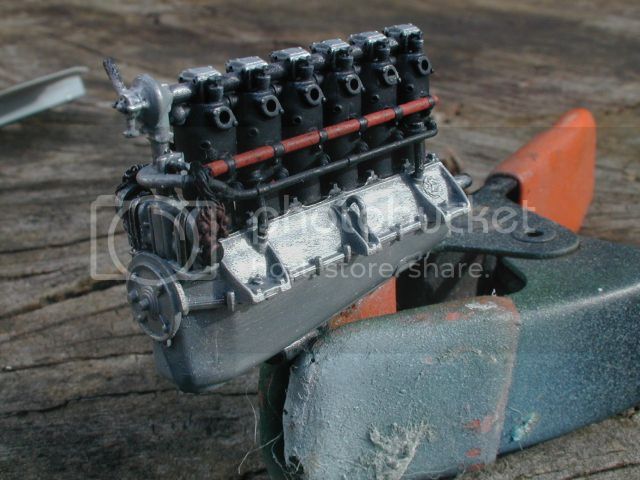
Exhaust
I managed to open out the exhaust without trashing it. Welds will be added from milliput and or stretched sprue.
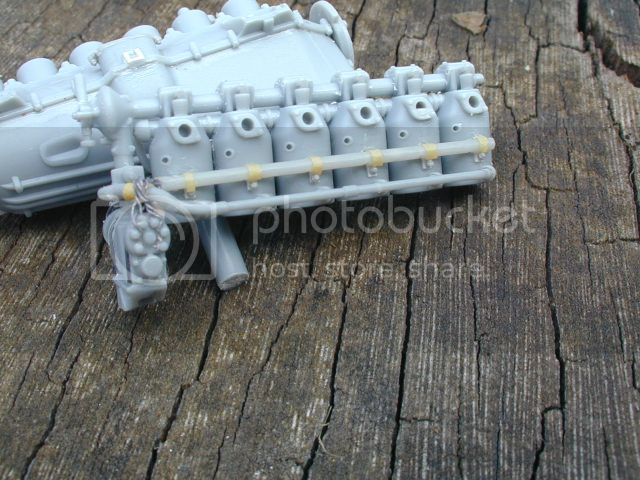
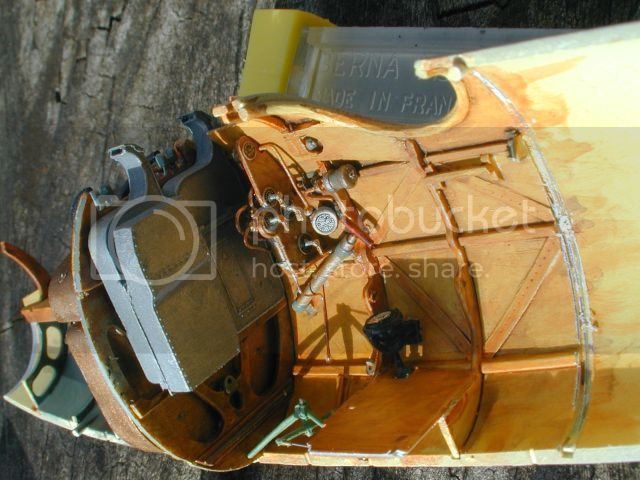
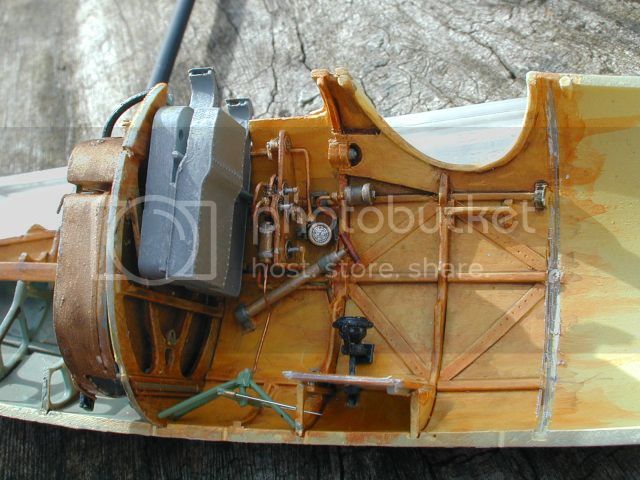
Engine bearers
Big step away from the program here... To facilitate the extra details I intend to put in assembling the fuselage in halves will make most far easier. So I cut the formers in half assembled each in their corresponding fuselage halves to set off after adding some details (oil tank mountings) and some basic amendments. Once these are filled tidied and readied theyll be assembled into the fuselage for detailing proper.
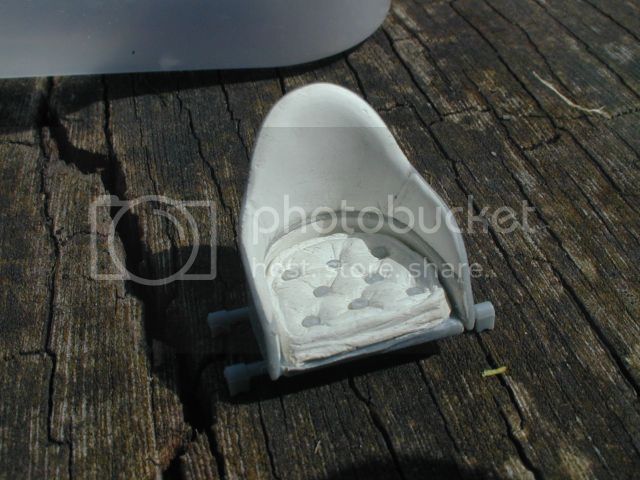
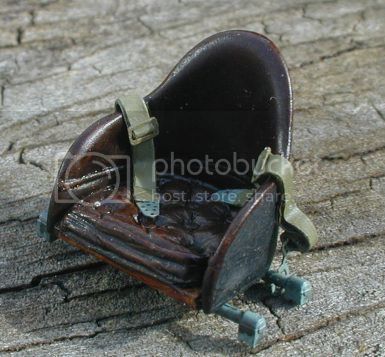
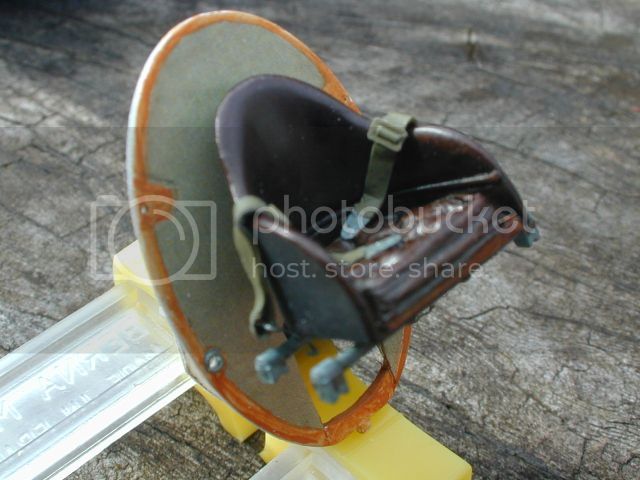
Cockpit sides
I felt the thin diagonal strips were a bit too wide, I had considered stripping the internal detail and sanding the interior thinner (Ive done that before!) but decided removing some detail and remaking it would be easier and just as effective. I intend to build up the coaming padding and remake the two panels that brace the gun mount to the fuselage former (flat with half moon cut outs. These are poorly presented by the kit I thought. The two wooden rails/handles beside the seat are to be remade and the formers need packing in places. To my odd mind this method of construction seems the most practical way to achieve this, of course theres going to be major hiccups when it comes to fitting the pulley assemblys seat etc but Im confident (gulps) on over coming these.
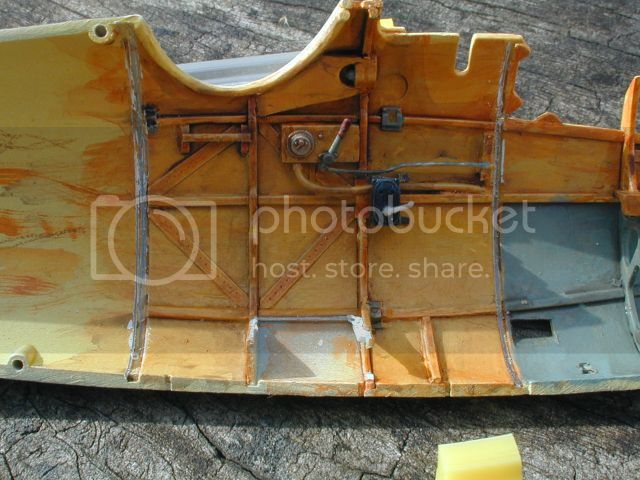
The fuel control panel. I believe its too far back. So I filled the slots.

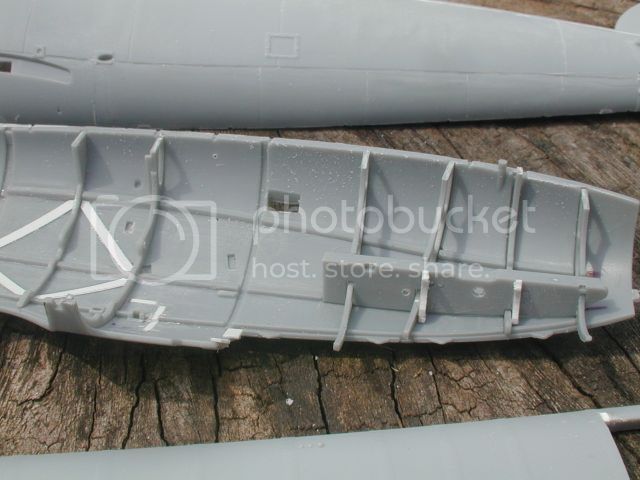
External fuselsage.
Fun time. Making the planking effect... close examination of pics show the panels lay over each other in places. I overlapped the side over the underside and upperside spine panels over the side ones using a clear pic of an OAW D.Va only to realise when researching which to build that on the D.V the side panel appears to overlap both, hence the white plastic strip sanded into shape (DOH!) . Cowling fastener mountings are to be thickened and sanded to achieve the right profile again. Cable slots are opened up awaiting final detailing. Ive also tried to replicate the rippling effect seen on many period pictures where the skin seems to have gone out of shape in places, how this has worked its hard to tell till the paint starts being laid on and thats weeks away I think.

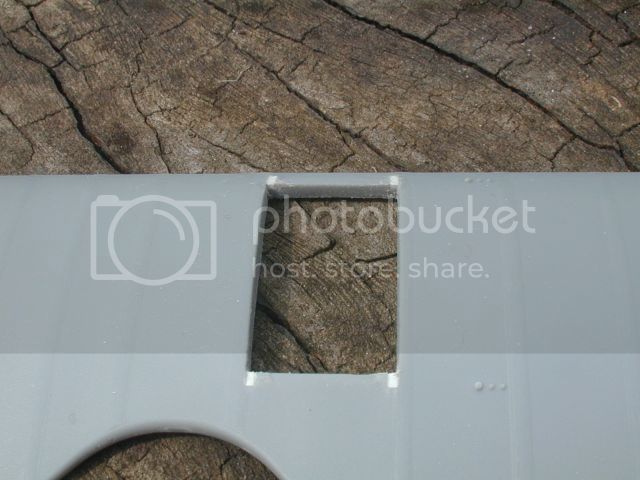
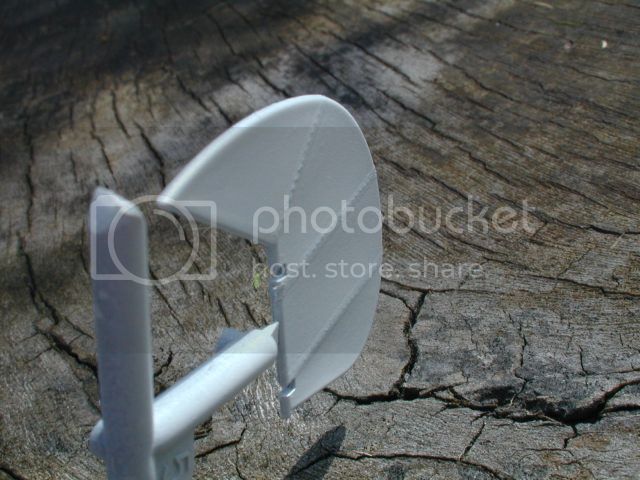
Upper wing
I filled the 4 slots for the rad mounting then in a fit of insanity found myself removing the plastic in the opening, whey? To build the rad as a unit and make detailing the mountings better. Using the TVAL pics again I made slight profile differences to the surface and added the spar inspection window. Opening out the shrouds for the actuating cables for the ailerons too while I was on and filling the rather obvious gap around them. I drilled the wing ready for pinning the ailerons whilst I was on.

Lower wings
I added the slot near the upper front of each wing, and am on scoring the join between wood and fabric, there some extra details bolt heads etc to add and I need to scrutinise just how the rigging attaches. I chamfered the edges of the wingroots, and the slot in the fuselage dryfitting to try to ensure she doesnt have that unwanted wing sag once that stage of building comes.
So far so good, and not a drop of kornbeef blood shed, or tears YET.
Cheers Keith