


Mikael


 - I might manage a couple of hours at the table. Anyway, can't wait to see the finished Kitten purring.
 But they get the job done. Model On please!
With all of your builds going on, wherever do you find the time?


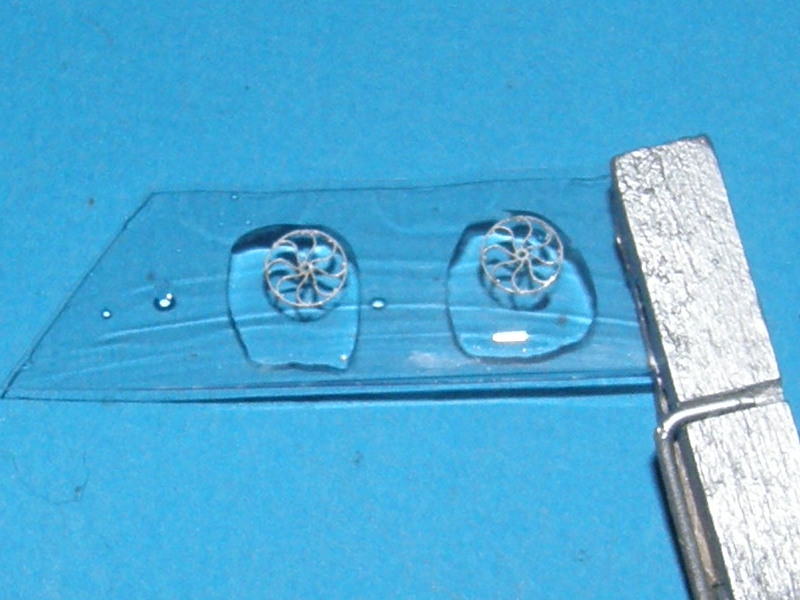
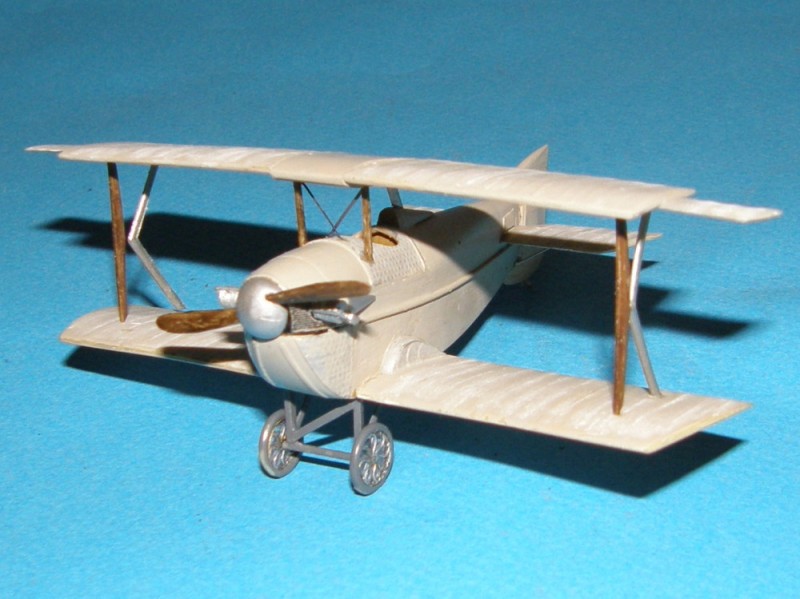
". . .I'll turn my attention to those funky Art-Deco wheels."
 I remember Wingnut doing his WNW Albatros and posting a link to the company that did the scale tools and it was there I saw some PE frets with these wheels of scale valve machines.


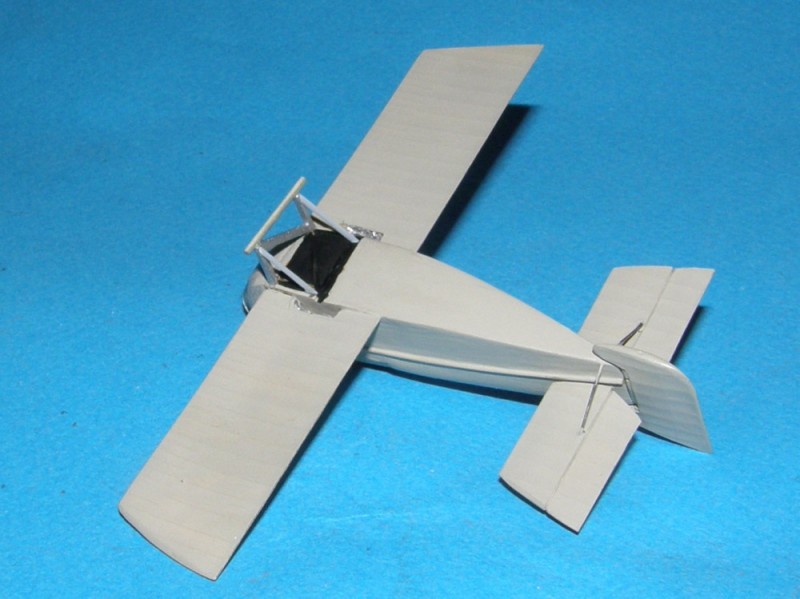
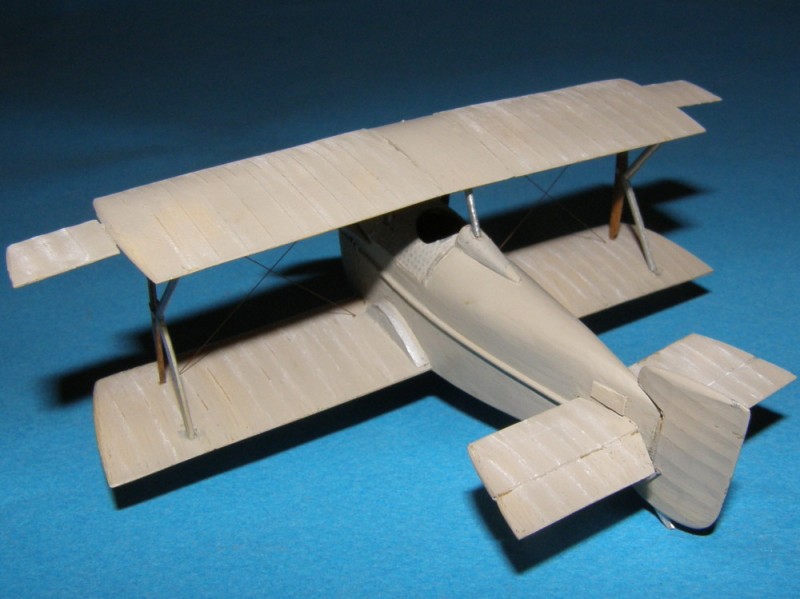
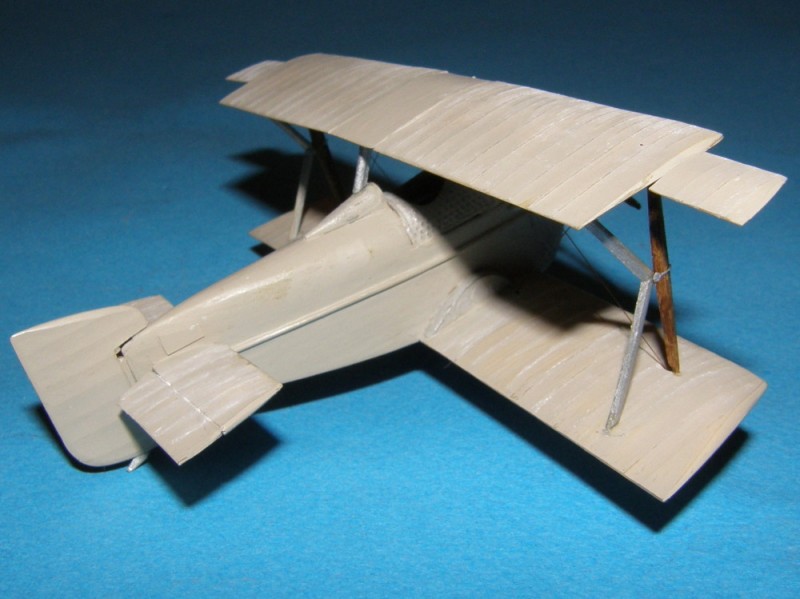
 Yesterday it was fine, but tonight when I was rigging it I popped the left wing off the struts. When I glued it back I must have jiggered the allignment. Then when I was putting on the wingtip skids one vanished into the 8th Dimension, so I took the other one off because I noticed that I had glued it on upside down. Shucks and related comments.
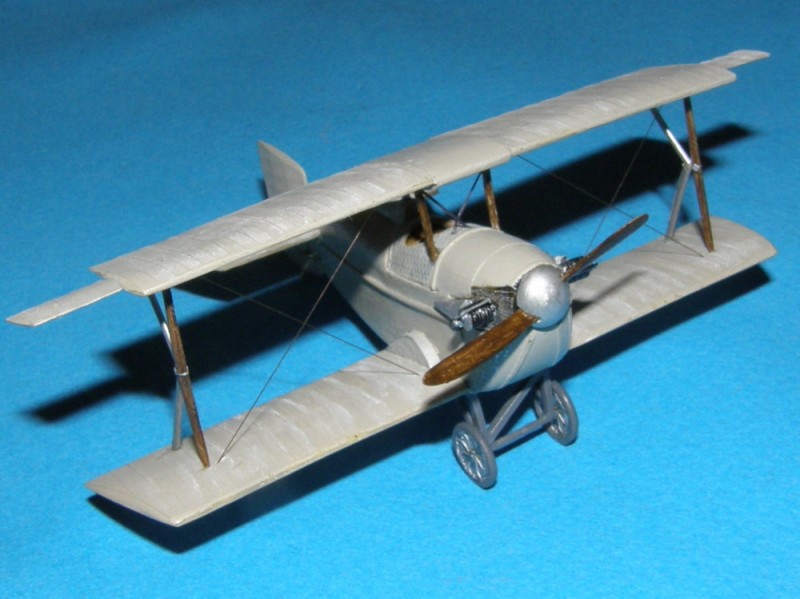


I sense a campaign idea brewing...
 |


