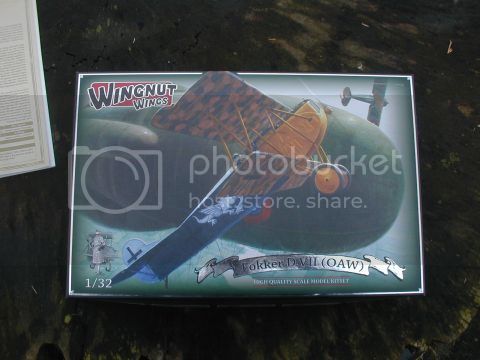
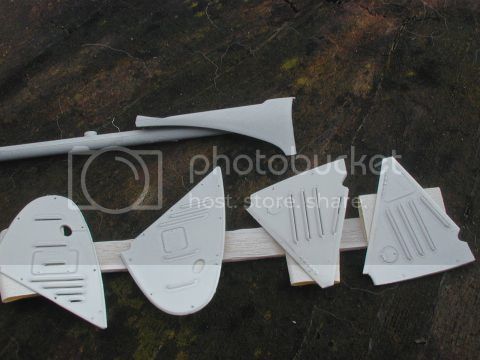
Okay I've been a busy bee when time has allowed. a few mods to the kit so far including those below.
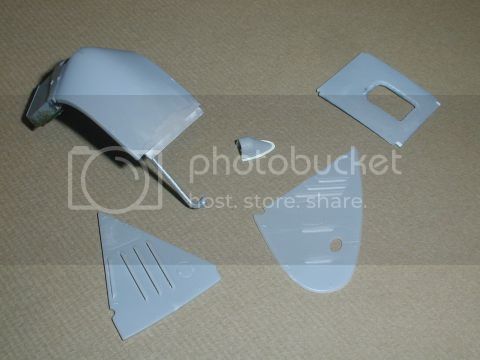
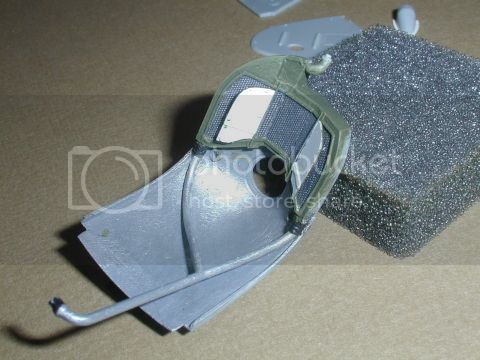
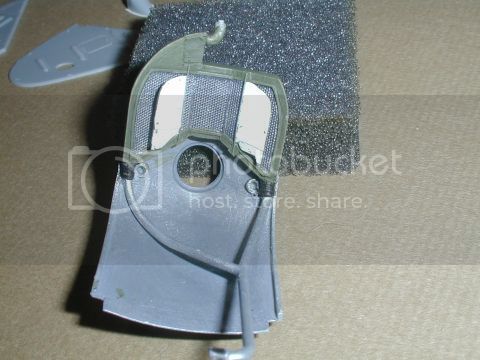
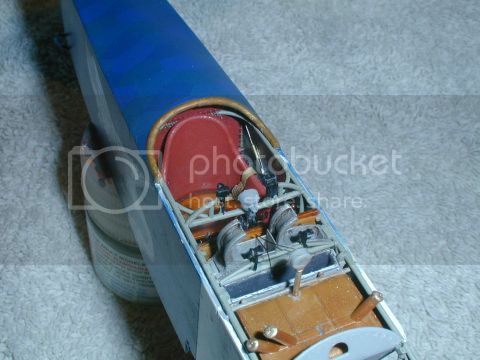
the rad on my reference seems deeper, fuller so I set about modding it using of all things a spare rad from the Hanover kit as the core panels, shortening the cooling pipes a little and reattaching the mountings and fixing the complete assembly to the chin panel. The chin panel has been quite heavily modded, extended to the rear the over scale sides trimmed thinner and sanded to a more scale thickness. the panel behind has been flattened in shape thinned and the front undercarriage/strut mount made sjightly more to scale. Other mods were to the top cowl and fuselage sides to facilitate the lip seen on ALL pics of D.VII's I don't know how or why WNW failed to pick this up.
Okay a brief rundown on the construction of the fuselage.
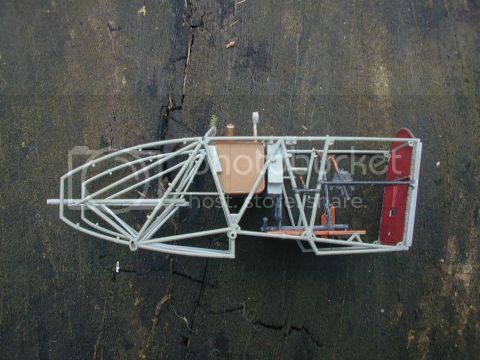
I constructed the rear section seperately, built it compleyely without the interior module inside. Using Gaspatch 1/48th turnbuckle as terminalls for the control cables (sadly I dropped her on her tail and pulled most these free sighs. NVM)
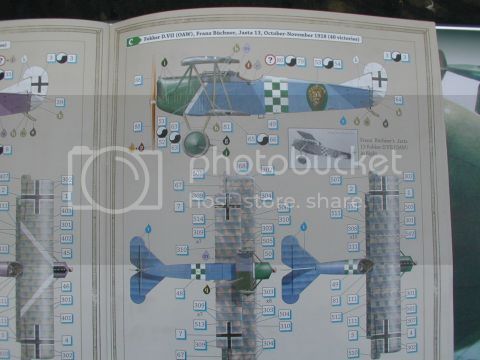
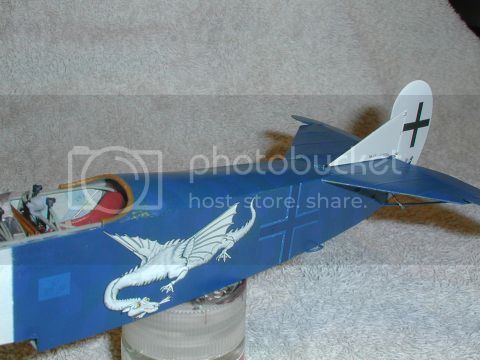
The WNW fuselage decals were used, cut down to suit the scheme, markings and rigging diagram and the weight table applied along with serial no's taken from profile C then once dry versprayed with blue till the loz and details just shows through, Careful sanding brings the underlying setails out in high wear areas.
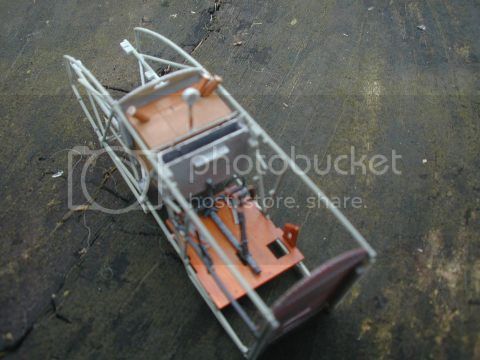
Now to the main inner assmbly.
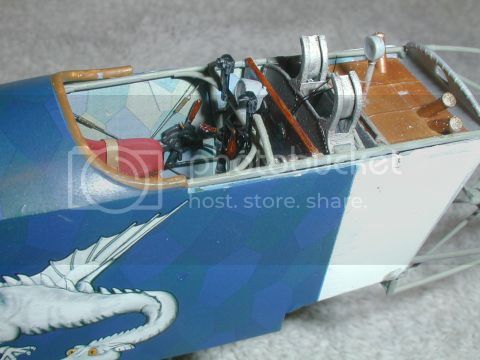
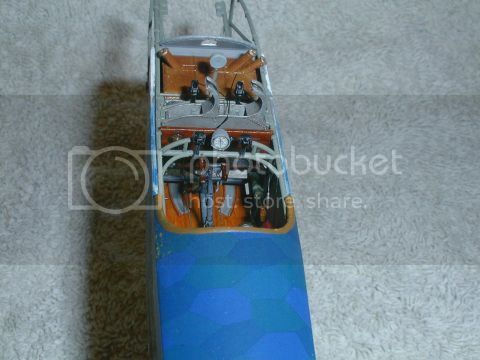
I built this up in skeleton form at first just the firewall and rear panel and side structures with some of the smaller details added and fited everything else one by one finding the fit of the ammo and belt containers to be the cheif culprits on making the assembly bulge. sanding and shaving mounting points and stubs and thinning the top of the rudder support where it fits between the ammo can and the belt container helped. Added the throttle and spark advance rod, the bowdens for the MGs and the secondary throttle cables to both the stick and the throttle quadrant. The seat belts are WNW's but the shoulder belts will be scratche and draped over the turtledeck. One point that had me flumoxed for a while. WNW dictate to use the Albatros Style Dash panel layout. The D.DII anthology states OAW used the Fokker style and theres pics of the NASM OAW machine in th anthology supports this so I went the Fokker route. Luckily the Fokker version has optional decals for the fuel taps I could use from the spares. Airscale decals for the guages and she was good to go.
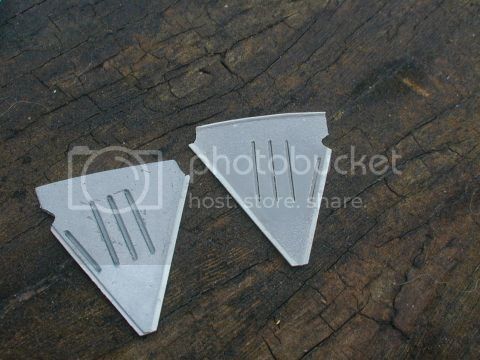
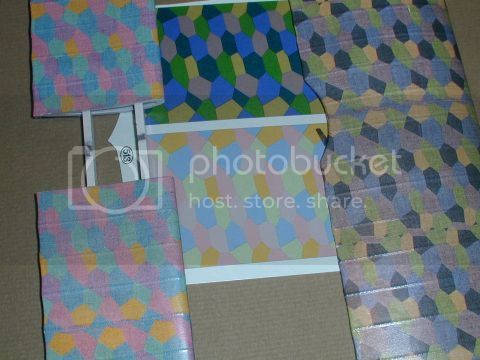
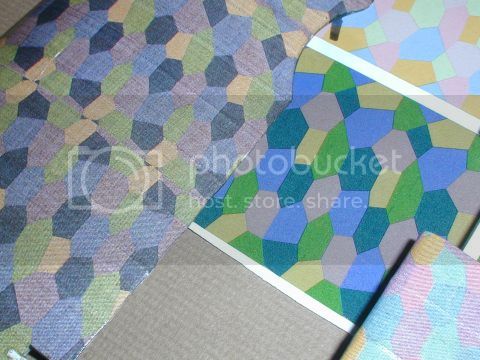
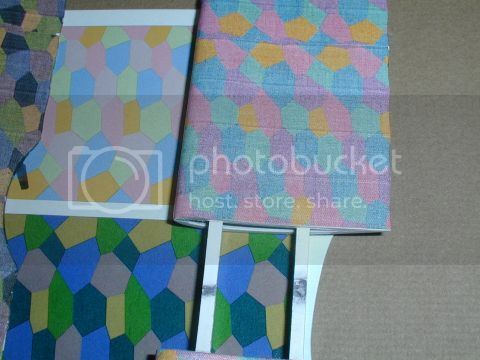
Now the bone of contention with WNW Lozenge, I had a nightmare, maybe its just me but WNW's lozenge refused to play ball, lifting, cracking and peeling so I soaked it off and purchased some Wood and Wire faded loz. Pics below show the comparisons between the two.
Wod and Wires isnt the easiest to use but the difference in appearance speaks for itself I feel.
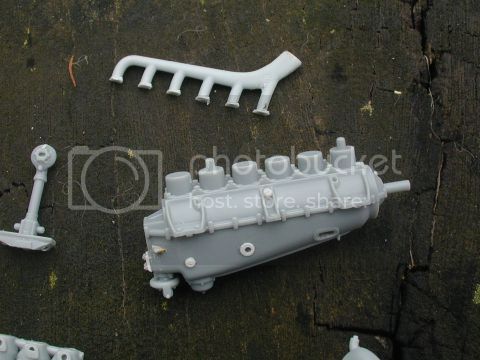
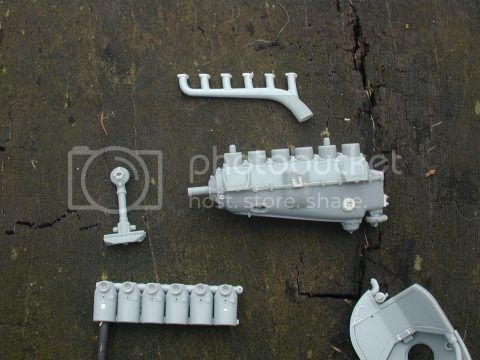
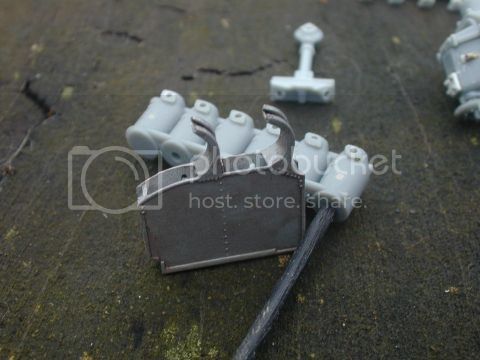
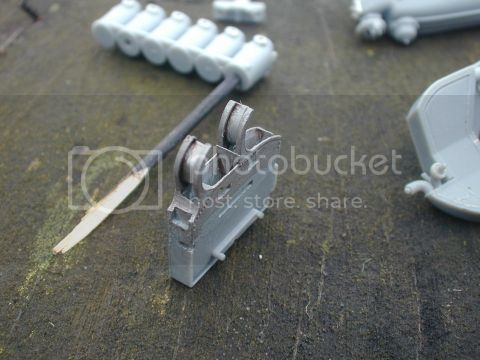
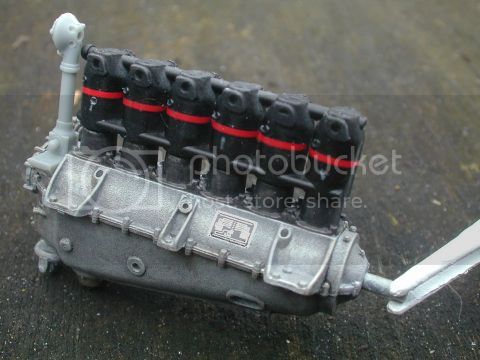
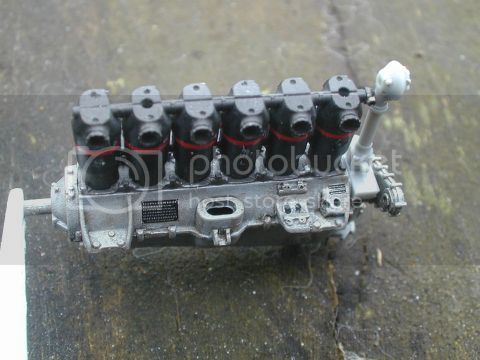
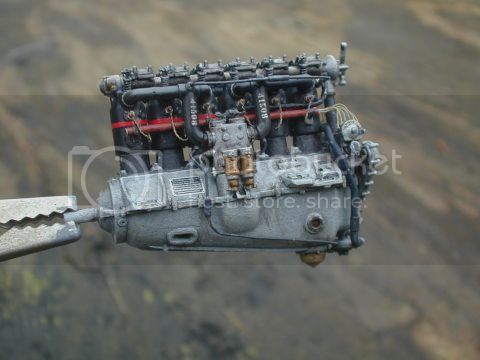
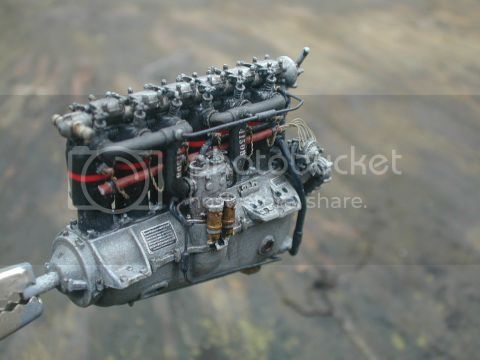
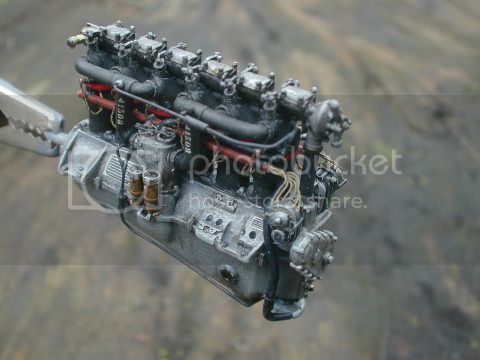
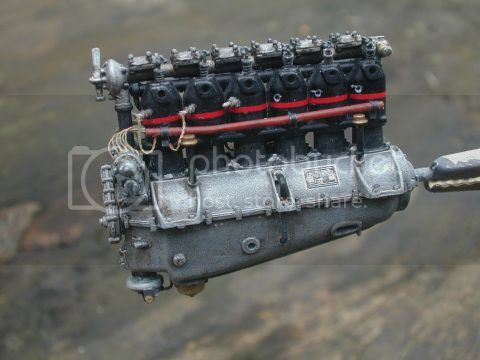
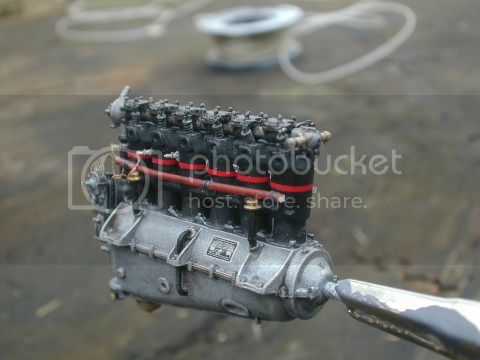
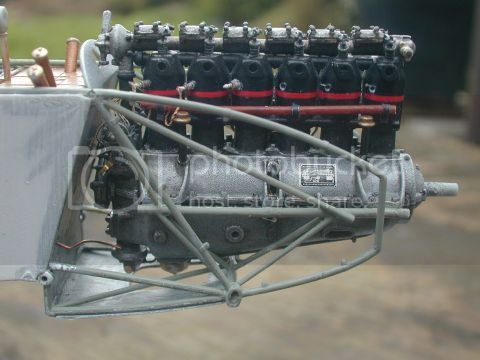
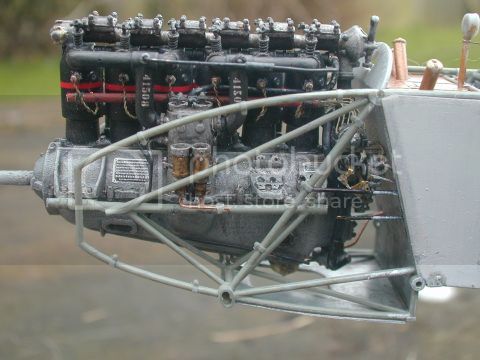
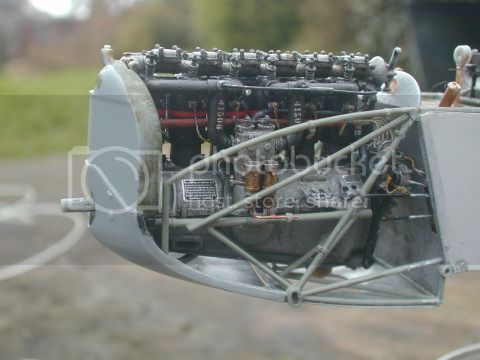
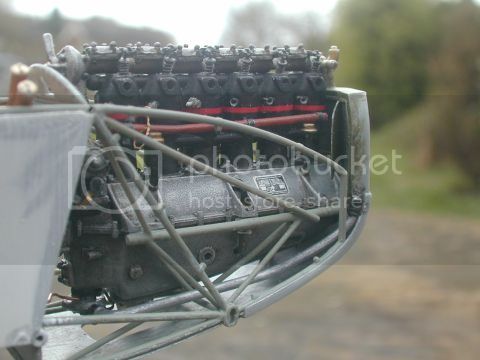
I've been working on the motor too but thats top secret in development stuff.

A broken in transit cabane is my main concern a time to fit them comes close. Still though much to do in the engine bay before that day comes.
Right back to the grind, just didnt want you think I was slacking off guys and girls.
Keith