South Australia, Australia
Joined: August 14, 2007
KitMaker: 5,926 posts
AeroScale: 2,201 posts
Posted: Wednesday, October 30, 2013 - 07:02 PM UTC
Hello all.
It would appear that I posted the first part of my build log in the wrong forum.. DOH!!
So I will post the photos here as well and let the other topic stagnate..

The subject of my build is SMER's 1/72 Amiot 143, an ex-Heller kit.
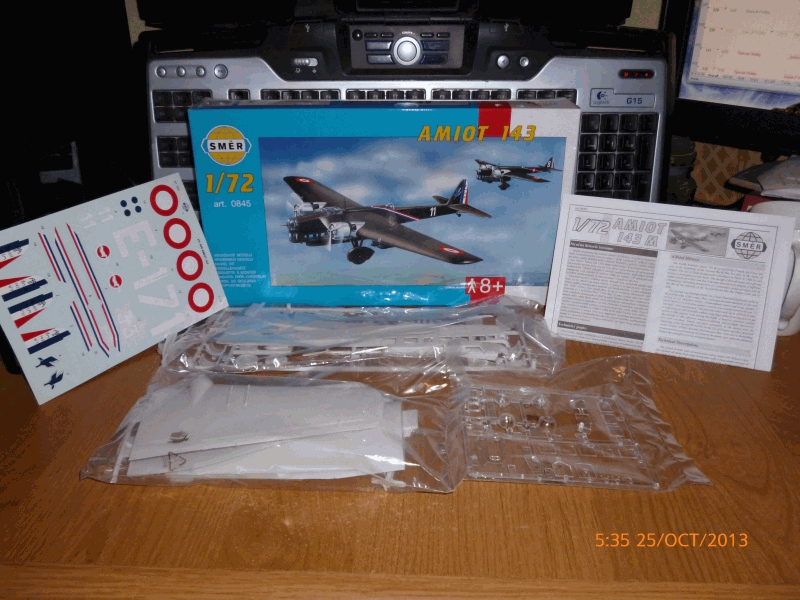
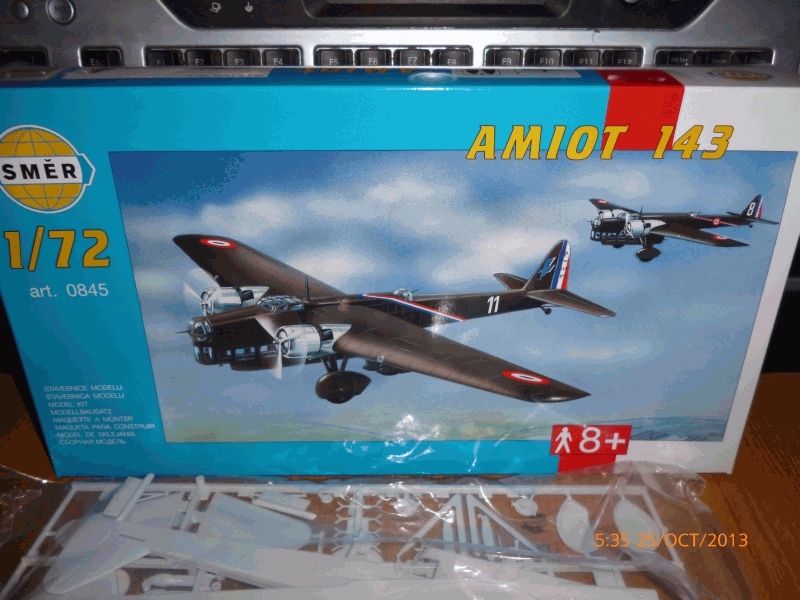
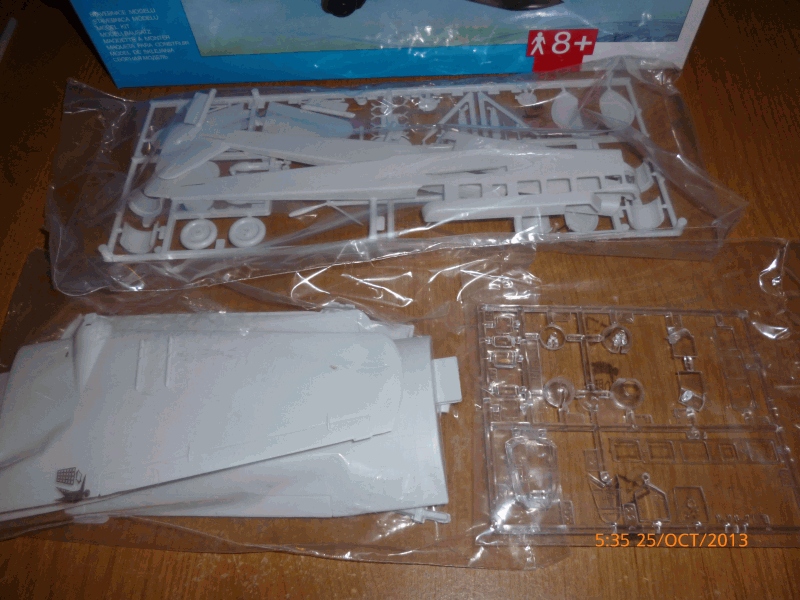
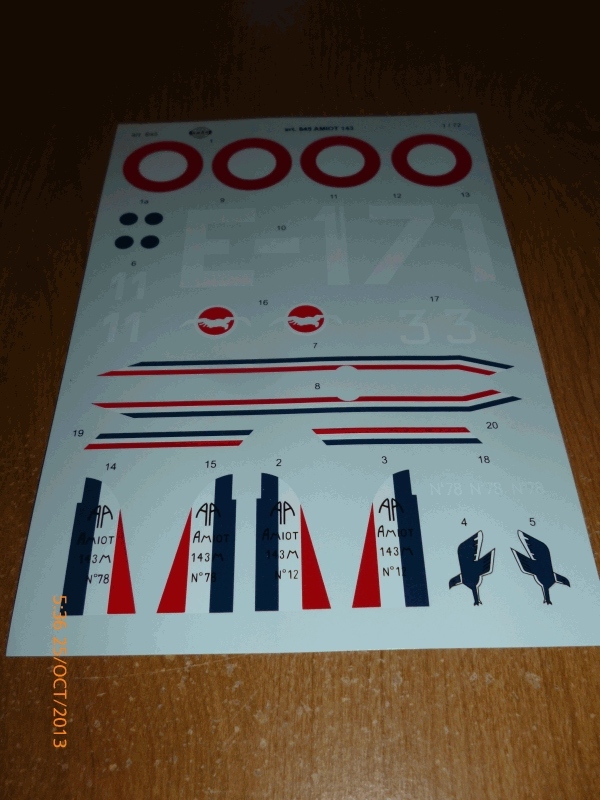
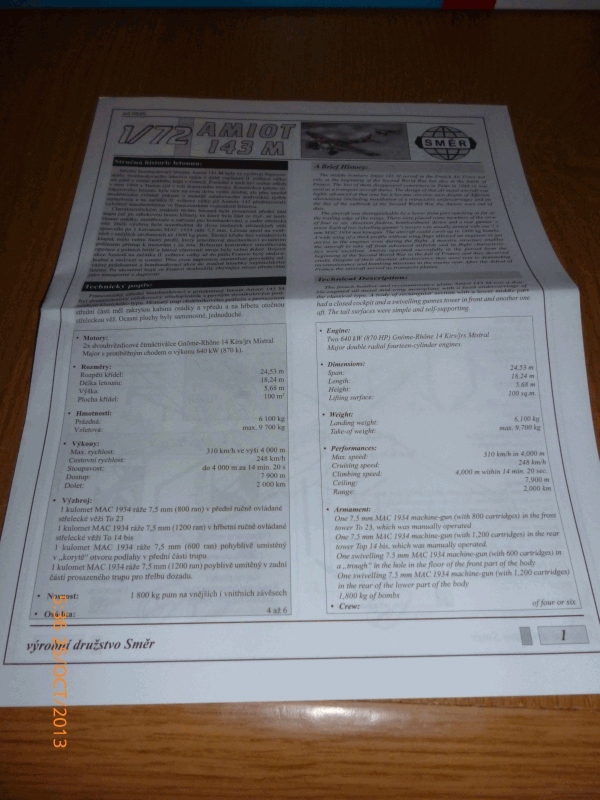
The Amiot 143 first flew on the 1st of August 1934 and was basically an update of the 140 with more powerful engines.
So anyway, I have made some progress on my French beauty..
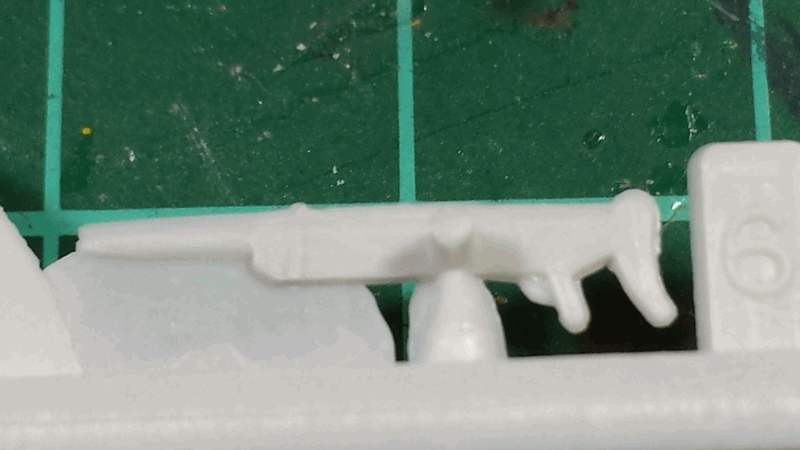
Now where was that machine gun??
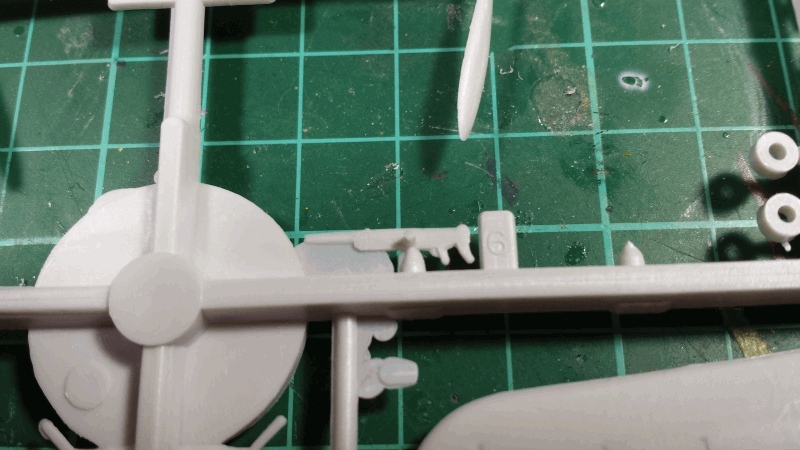
Ah there it is!!
A few clamps..
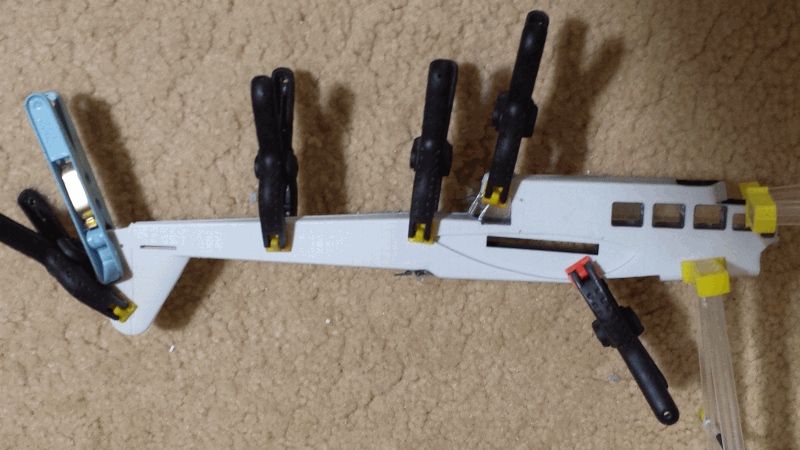
The fuselage interior has been painted, transparencies put in place, turret installed and two halves glued together. Due to a severe lack of any paint guide, and the fact this was a night bomber, I painted the interior black. This also helps disguise the fact that there is absolutely no interior provided at all.. This is an OLD Heller kit but the moulds have stood up quite well.. and this is the only 1/72 injected Amiot 143 in town so it will have to do.

Cheers
Warren
You may be right, I may be crazy.
South Australia, Australia
Joined: August 14, 2007
KitMaker: 5,926 posts
AeroScale: 2,201 posts
Posted: Thursday, October 31, 2013 - 07:42 PM UTC
Got a lot done today..
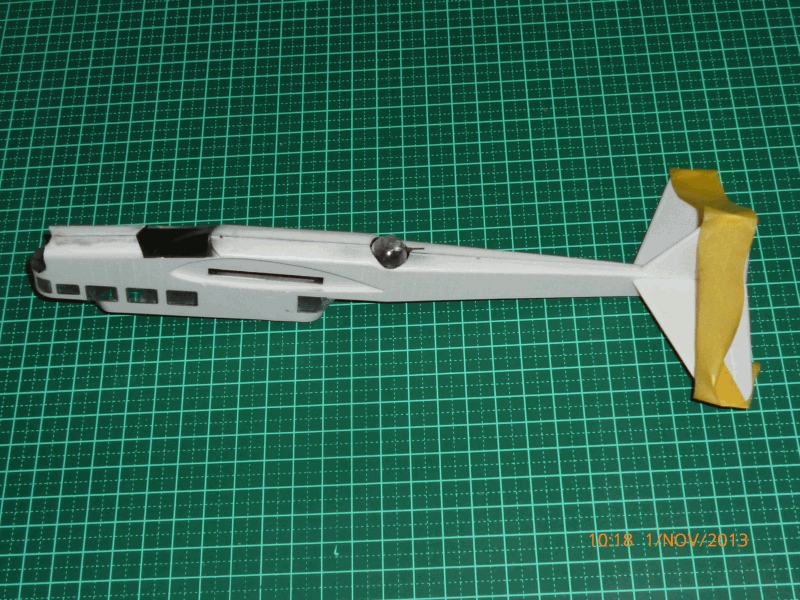
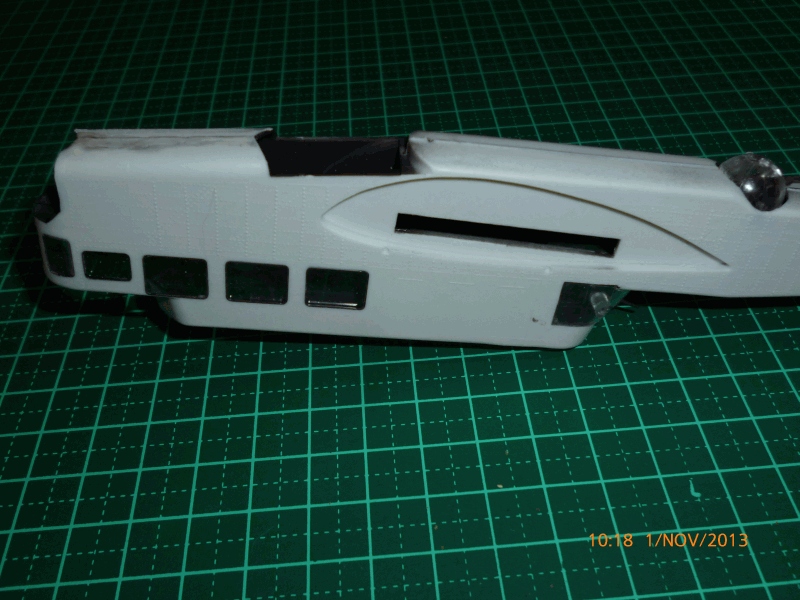
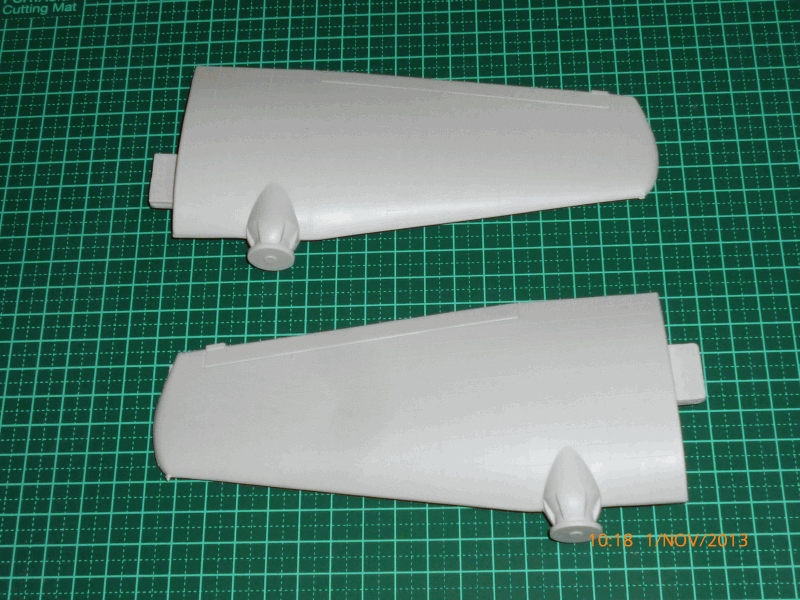
I have also got the wings prepared for attachment to the fuselage. The fit of the wings to the body is perfect after a little trimming and no filler will be needed.
Beware, It is possible to glue the two halves of the canopy together completely wrongly as I found out. I was wondering why the hell the canopy looked absolutely nothing like it was supposed to look and didn't go close to fitting. Then I had a closer look at the framing and realised I had glued it together wrongly.. DOH!!!
All fixed now
Cheers
Warren
You may be right, I may be crazy.

#372
United Kingdom
Joined: March 10, 2010
KitMaker: 2,568 posts
AeroScale: 1,619 posts
Posted: Friday, November 01, 2013 - 05:41 AM UTC
I'll be watching with interest. I've often thought about picking one up so I'll be keen to see how it turns out.
On the bench: 1/72 Mosquito, Lightning F.6, DH.2,
AMT Vulcan Shuttle Surak.
Cyber-Hobby 1:35 Sherman Firefly IC - still stalled.
South Australia, Australia
Joined: August 14, 2007
KitMaker: 5,926 posts
AeroScale: 2,201 posts
Posted: Friday, November 01, 2013 - 06:47 AM UTC
They are more than worth the pittance you pay for them.

You may be right, I may be crazy.

#372
United Kingdom
Joined: March 10, 2010
KitMaker: 2,568 posts
AeroScale: 1,619 posts
Posted: Friday, November 01, 2013 - 11:54 AM UTC
There are some real gems in Smer boxes sometimes. I think my best find was the Fokker Eindekker I bought for pocket-money price and it contained the Eduard kit! And there was me expecting an ancient Heller or Aurora tooling.
On the bench: 1/72 Mosquito, Lightning F.6, DH.2,
AMT Vulcan Shuttle Surak.
Cyber-Hobby 1:35 Sherman Firefly IC - still stalled.
South Australia, Australia
Joined: August 14, 2007
KitMaker: 5,926 posts
AeroScale: 2,201 posts
Posted: Friday, November 01, 2013 - 06:49 PM UTC
Greetings from Amiot lend..

First up, the model had a strange ridge running around the vertical join for the fuselage. I looked through about 15 million of photos on the internet and saw no evidence of said ridge so I removed it..

Further progress, I have all the windows except the canopy with Maskol. I will use decal stripes to add the window frames to the turrets and bottom pieces of glass..
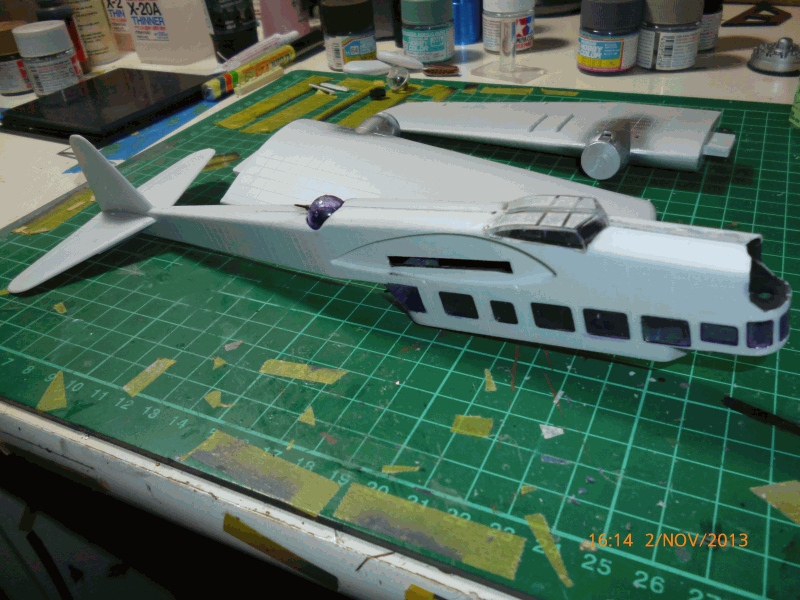
I also painted the engine nacelles and fairings on the wings with aluminium paint from Vallejo in the Model Air range.
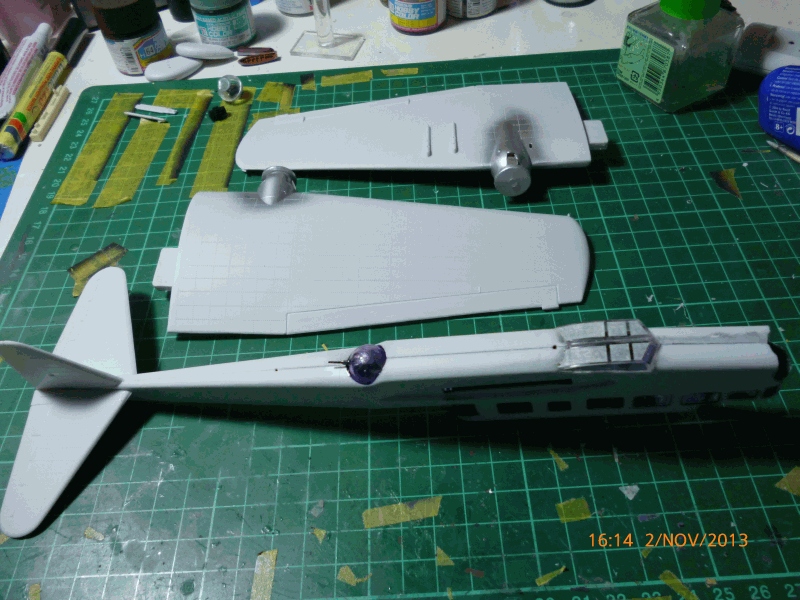
Contrary to what I have heard the paint needs thinning before you can spray with it. First I used my normal thinner and the paint did not like it. I then used normal water and it was fine! Produces a nice fine grained aluminium finish, much better than Tamiya flat aluminium with its huge metal flakes.
That;s it for now. Will put the wings on later and leave them to set overnight.
Cheers
Warren
You may be right, I may be crazy.
South Australia, Australia
Joined: August 14, 2007
KitMaker: 5,926 posts
AeroScale: 2,201 posts
Posted: Saturday, November 02, 2013 - 08:34 PM UTC
Hi everyone.
You have all heard of the biscuit bombers of the Berlin Airlift, well this is my chocolate (coloured) bomber..
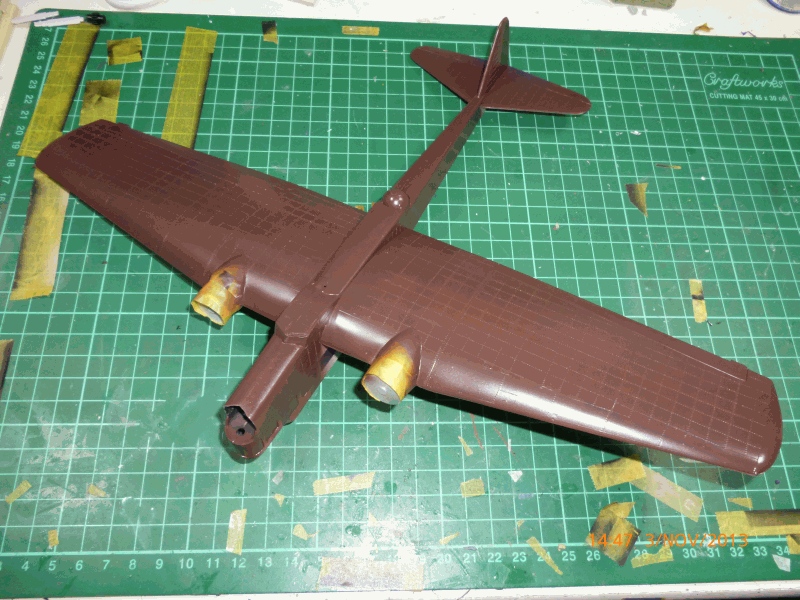
I think this is the first plane I have ever painted this colour. There was a scheme where they were chocolate all over, but I am doing one that has matt black undersides. It is surprising the number of schemes they used on the Amiot.
After I attach the undercarriage tomorrow I will paint the undersides and sides of the fuselage.
Cheers all
Warren
You may be right, I may be crazy.

#372
United Kingdom
Joined: March 10, 2010
KitMaker: 2,568 posts
AeroScale: 1,619 posts
Posted: Monday, November 04, 2013 - 10:35 AM UTC
Wow! Its very boxy and brown! Did they see any use in the early stages of the war?
On the bench: 1/72 Mosquito, Lightning F.6, DH.2,
AMT Vulcan Shuttle Surak.
Cyber-Hobby 1:35 Sherman Firefly IC - still stalled.
British Columbia, Canada
Joined: September 03, 2009
KitMaker: 6,965 posts
AeroScale: 6,247 posts
Posted: Monday, November 04, 2013 - 10:54 AM UTC
From that angle it looks a lot like an underfed Bristol Freighter.
When once you have tasted flight you will walk the Earth with your eyes turned skyward.
For there you have been, and there you will always long to return.
-Leonardo Da Vinci
South Australia, Australia
Joined: August 14, 2007
KitMaker: 5,926 posts
AeroScale: 2,201 posts
Posted: Monday, November 04, 2013 - 12:27 PM UTC
Quoted Text
Wow! Its very boxy and brown! Did they see any use in the early stages of the war?
Sure did Stephen, and they lost quite a few as you can imagine. I can see where Handley Page got the inspiration for the Hampden...
You may be right, I may be crazy.
South Australia, Australia
Joined: August 14, 2007
KitMaker: 5,926 posts
AeroScale: 2,201 posts
Posted: Monday, November 04, 2013 - 12:48 PM UTC
Quoted Text
From that angle it looks a lot like an underfed Bristol Freighter.
VERY underfed...

You may be right, I may be crazy.
South Australia, Australia
Joined: August 14, 2007
KitMaker: 5,926 posts
AeroScale: 2,201 posts
Posted: Monday, November 04, 2013 - 07:53 PM UTC
Hello again.
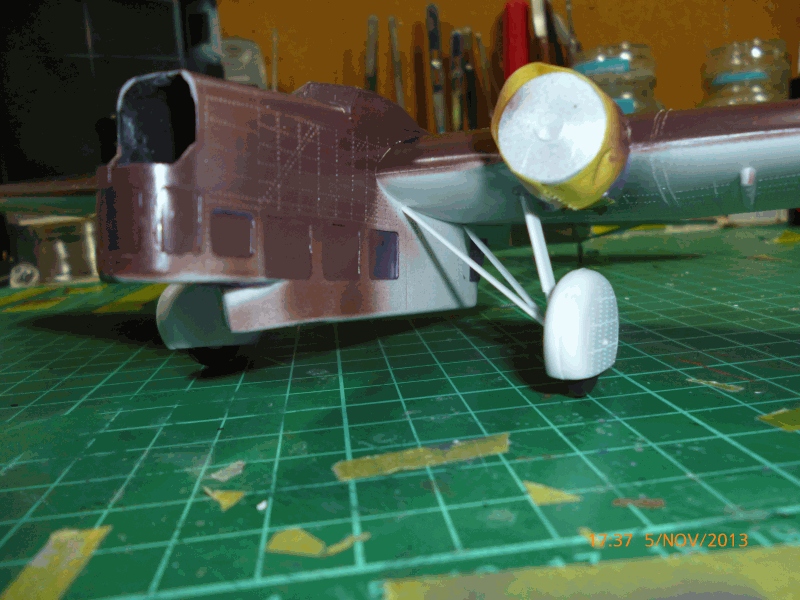
The Amiot with the aerodynamics of block of flats can now stand on its own three wheels..

Cheers
Warren
You may be right, I may be crazy.
Västra Götaland, Sweden
Joined: February 19, 2010
KitMaker: 1,473 posts
AeroScale: 1,450 posts
Posted: Monday, November 04, 2013 - 08:33 PM UTC
Wow, in that colour, it does look like a flying brick

I just love the un-aerodynamic lines of this one. Great looking build Warren!
Mikael
_________________________________________________________
Just finished the Wingnut Wings Taube. On to the Junkers D.1
South Australia, Australia
Joined: August 14, 2007
KitMaker: 5,926 posts
AeroScale: 2,201 posts
Posted: Monday, November 04, 2013 - 08:54 PM UTC
Thanks Mr Terfors!

I think I read somewhere that the French designed aircraft with such thick wings so that mechanics could service the engines in flight. One would wonder why they just wouldn't use more reliable engines..

I am sue the black going on tomorrow will break up the chocolate colour.
Cheers
Warren
You may be right, I may be crazy.

#372
United Kingdom
Joined: March 10, 2010
KitMaker: 2,568 posts
AeroScale: 1,619 posts
Posted: Tuesday, November 05, 2013 - 10:51 AM UTC
Coming along nicely. Even though it does look like the product of the unholy communion of a Heyford and a Hampden, it is growing on me. Its not as ugly as the Potez 540 that they also kit.
I think I may have to order one in the new year.
On the bench: 1/72 Mosquito, Lightning F.6, DH.2,
AMT Vulcan Shuttle Surak.
Cyber-Hobby 1:35 Sherman Firefly IC - still stalled.
South Australia, Australia
Joined: August 14, 2007
KitMaker: 5,926 posts
AeroScale: 2,201 posts
Posted: Tuesday, November 05, 2013 - 07:48 PM UTC
Yet another update ladies and gentlemen..
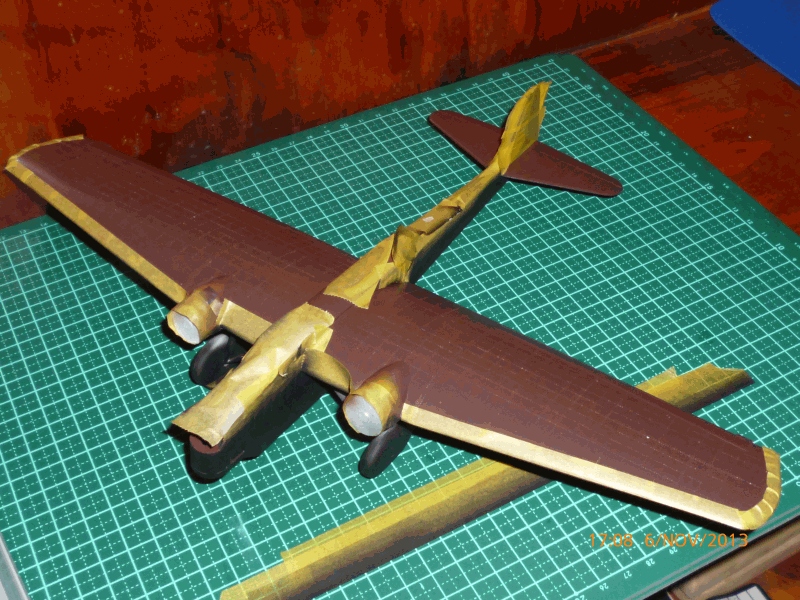
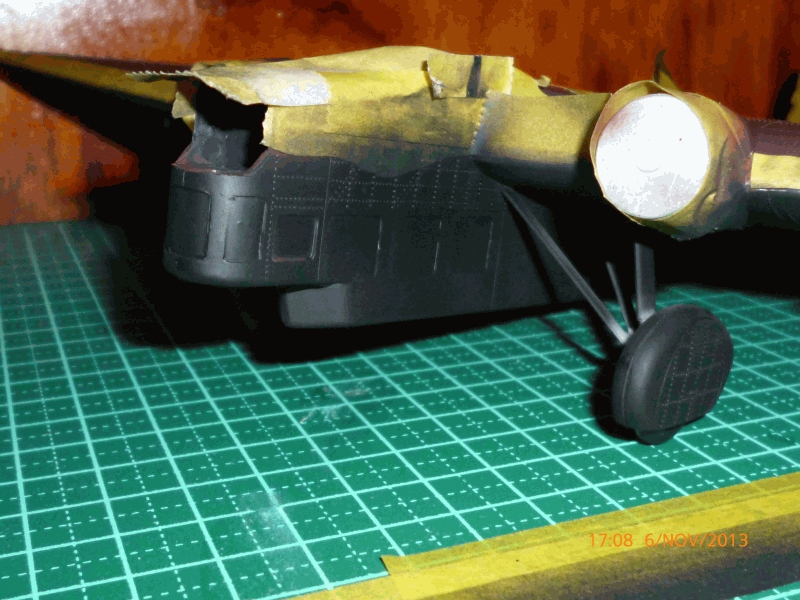
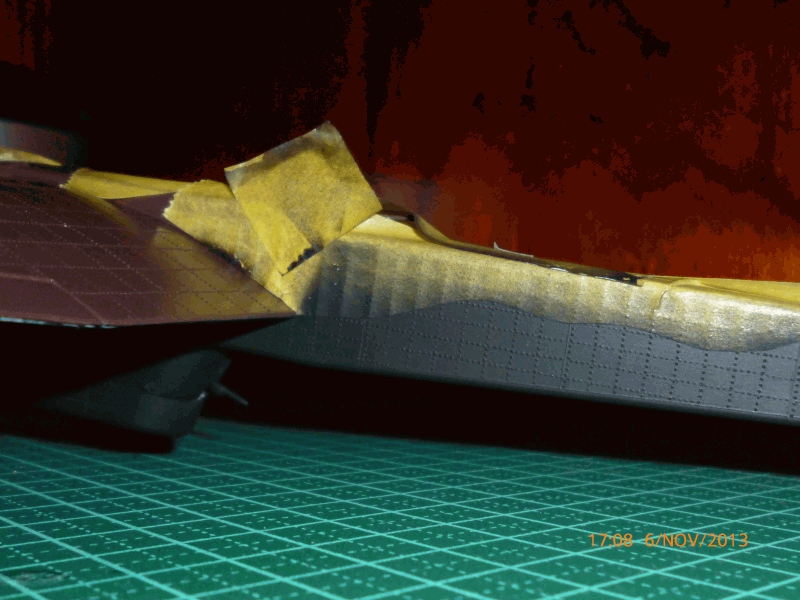
The black has been applied but no touch ups yet, as you can see from the pale bits around the undercarriage braces and wing trailing edge..

Until tomorrow
Cheers
Warren
You may be right, I may be crazy.
Västra Götaland, Sweden
Joined: February 19, 2010
KitMaker: 1,473 posts
AeroScale: 1,450 posts
Posted: Tuesday, November 05, 2013 - 09:03 PM UTC
Coming along very nicely Mr Inman

Mikael
_________________________________________________________
Just finished the Wingnut Wings Taube. On to the Junkers D.1
South Australia, Australia
Joined: August 14, 2007
KitMaker: 5,926 posts
AeroScale: 2,201 posts
Posted: Tuesday, November 05, 2013 - 09:19 PM UTC
Quoted Text
Coming along very nicely Mr Inman 
Mikael
Thanks mate!

You may be right, I may be crazy.
South Australia, Australia
Joined: August 14, 2007
KitMaker: 5,926 posts
AeroScale: 2,201 posts
Posted: Wednesday, November 06, 2013 - 07:49 PM UTC
I am calling this one finished.
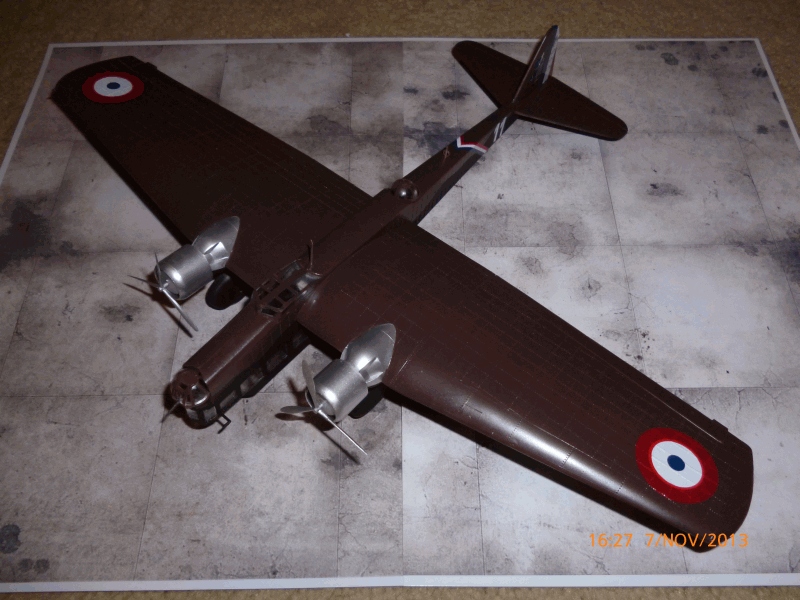

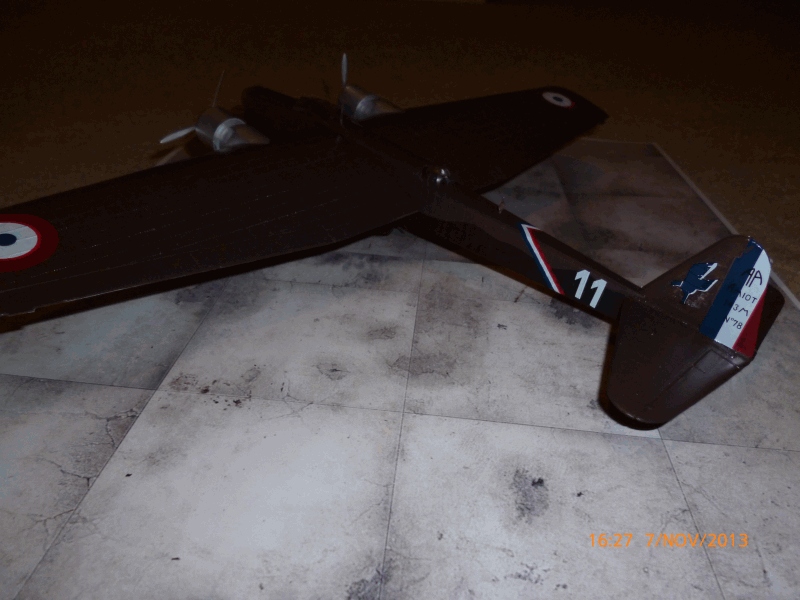
Hmmm... These are too dark. I will take some more next week as I am going away for a few days to sit on the Maroochy River and fish all day, then go to the local Service Club to eat, drink amd be merry each night.

A bit of advice, the decals looked great on the paper, vut the red turned out to be very transparent. I haven't got anything even close to the size needed so I just applied them anyway. Do yourself a favour and get some aftermarket decals or spray your own. But these models are so cheap I can always get another one.

Cheers for now
Warren
You may be right, I may be crazy.
British Columbia, Canada
Joined: September 03, 2009
KitMaker: 6,965 posts
AeroScale: 6,247 posts
Posted: Wednesday, November 06, 2013 - 08:26 PM UTC
I wonder how painting some white where the markings should go would work out? Other than the transparent markings it looks perfectly ugly, the way a good Amiot should do : )
When once you have tasted flight you will walk the Earth with your eyes turned skyward.
For there you have been, and there you will always long to return.
-Leonardo Da Vinci
South Australia, Australia
Joined: August 14, 2007
KitMaker: 5,926 posts
AeroScale: 2,201 posts
Posted: Wednesday, November 06, 2013 - 09:09 PM UTC
Quoted Text
I wonder how painting some white where the markings should go would work out? Other than the transparent markings it looks perfectly ugly, the way a good Amiot should do : )
:) Thanks for that Jessica. I suppose I could always put other roundels over the top. White wouldn't have helped as they are also out of register with part of the red near the white much denser than the rest of the red. As I said, they looked great on the decal sheet..

You may be right, I may be crazy.
Västra Götaland, Sweden
Joined: February 19, 2010
KitMaker: 1,473 posts
AeroScale: 1,450 posts
Posted: Friday, November 08, 2013 - 05:20 AM UTC
Very Nice build Warren, and an unusual subject too! Congrats on finishing

Mikael

_________________________________________________________
Just finished the Wingnut Wings Taube. On to the Junkers D.1
South Australia, Australia
Joined: August 14, 2007
KitMaker: 5,926 posts
AeroScale: 2,201 posts
Posted: Friday, November 08, 2013 - 08:23 AM UTC
Thanks mate..

You may be right, I may be crazy.
Bangkok, Thailand / ไทย
Joined: September 17, 2013
KitMaker: 1,617 posts
AeroScale: 212 posts
Posted: Friday, November 08, 2013 - 08:36 AM UTC
Might be a stupid question, but what does KotS III mean?
I'm new here so... Please explain.
Robert Jan
British Columbia, Canada
Joined: September 03, 2009
KitMaker: 6,965 posts
AeroScale: 6,247 posts
Posted: Friday, November 08, 2013 - 09:24 AM UTC
Group builds here in the Kitmaker network are called "Campaigns". KoTS is the
"Knights of the Sky" campaign, featuring aircraft from the early years of aviation. Most of these are from the Great War, but some are from the post-war years up until 1934, such as this one. If you look in the early aviation forum, you'll see several build logs detailing the active builds entered in the campaign. The
gallery holds those builds which have been completed.
KoTS III is the third annual Knights of the Sky campaign we've run, and almost certainly not the last. Watch for the announcement of KoTS IV and come join the fun!
When once you have tasted flight you will walk the Earth with your eyes turned skyward.
For there you have been, and there you will always long to return.
-Leonardo Da Vinci


