You may have noticed that there have been no updates to my P-39 thread in a long time. Fear not - they will resume. For now, I have taken on the responsibility of building this beautiful kit on commission and as such it will be my only project until it's finished. I've decided to post progress as a blog out of interests sake, to share in your knowledge and so my client can see progress and to keep me working away.
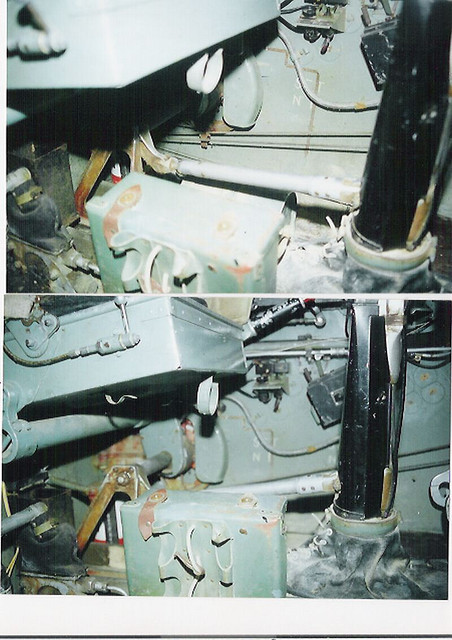
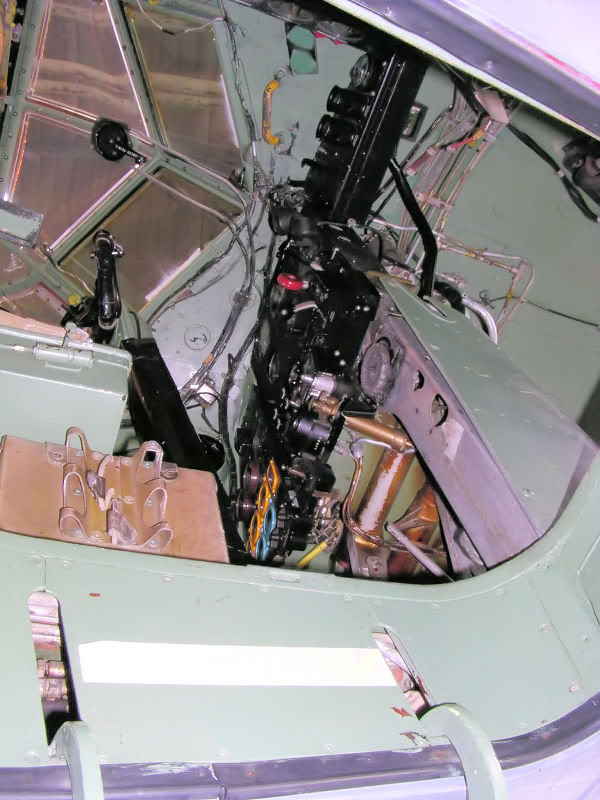
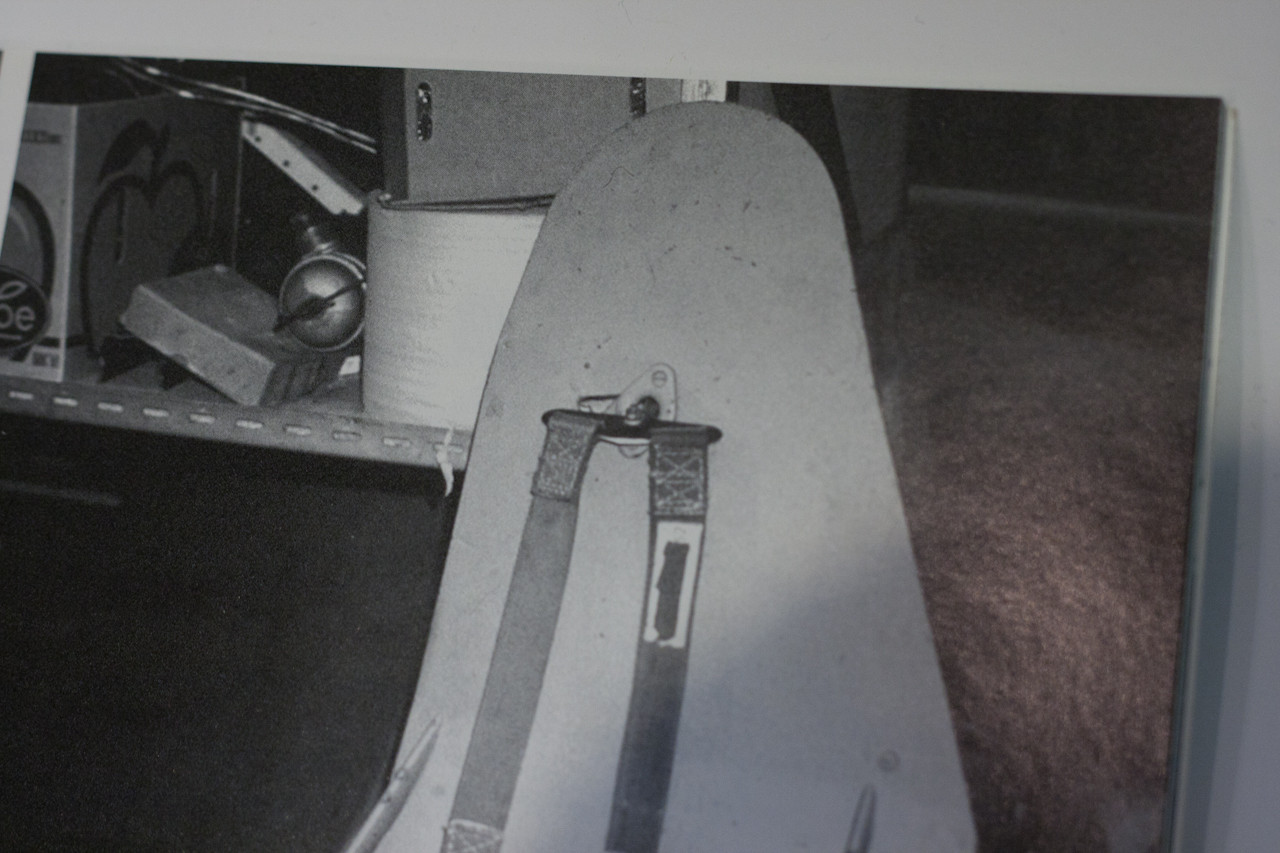
I started with a whack of research. I'm surprised how hard it has been to find Mosquito colour schemes. The ones in our usual references are either of different variants or they're not of enough importance to deviate from the kit markings.
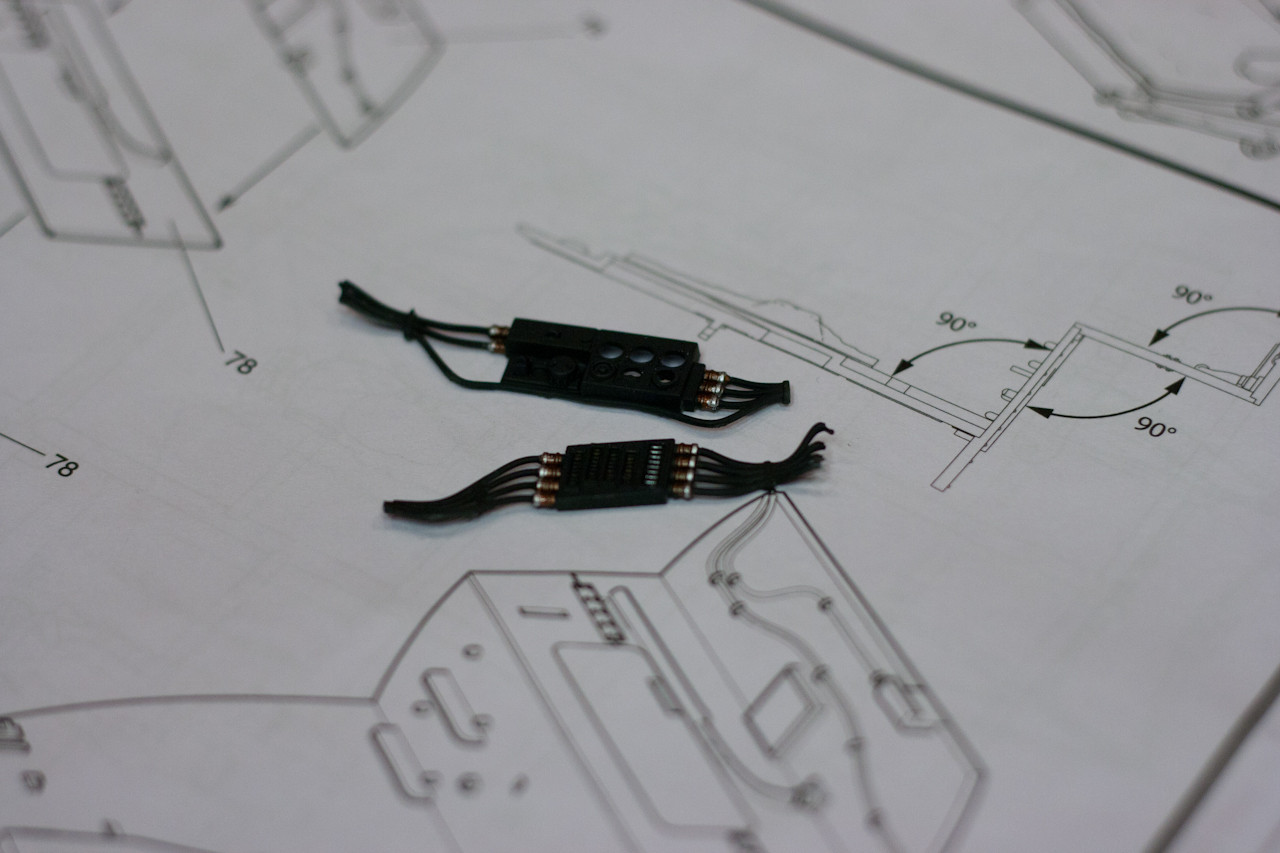
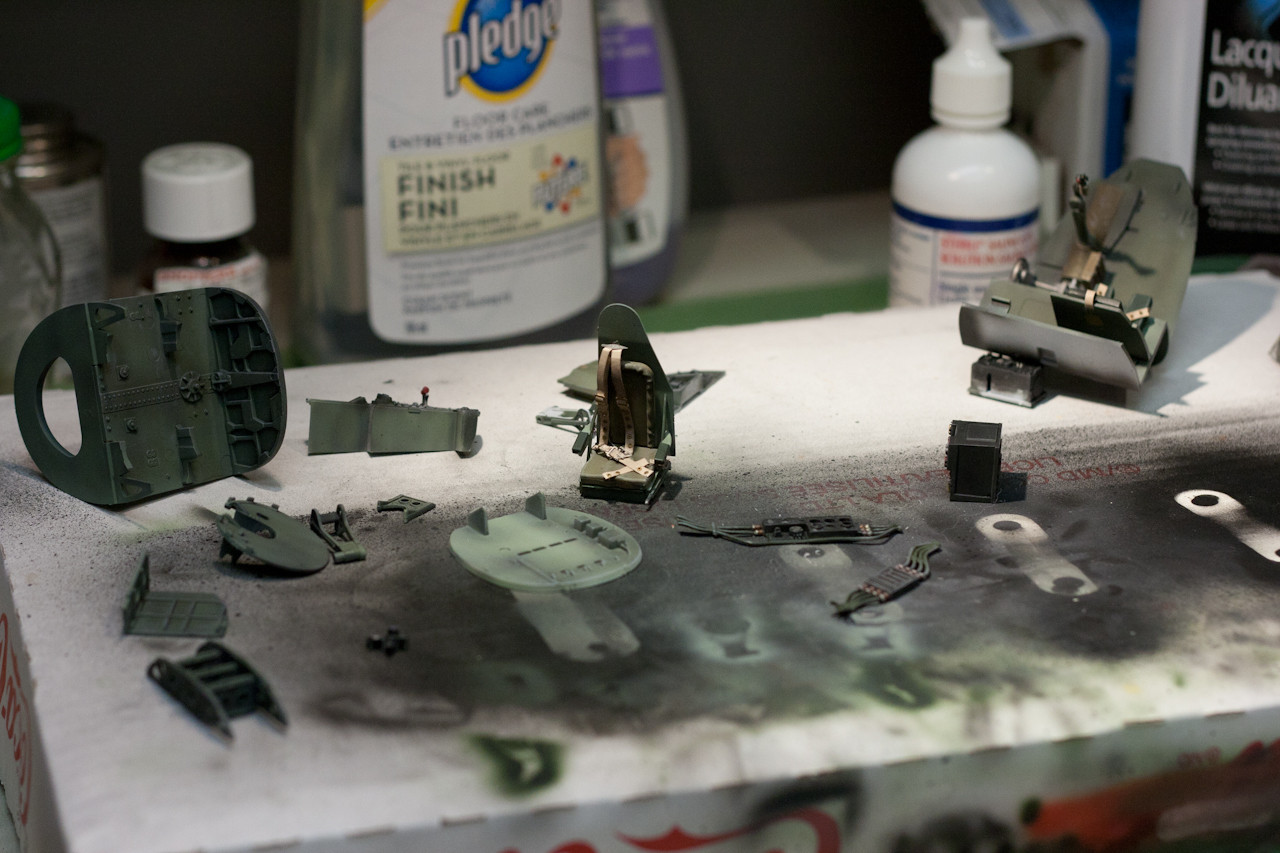
After research I set about filling as many of the ejector pin markings as I could - mostly those that could be seen once assembled (you'll see some in photos still). I have never seen so many EP markings in my life, I ended up attaching disks of sandpaper to various diameter dowels and putting those in a cordless drill, once sanded smooth with various grades, the parts were primed with Alclad Primer/Filler - similar to Mr. Surfacer, but readily available here in Canada.
I have since done my base coat of black for shading and then my interior Green. I have a lot of time in already, progress doesn't look like much, but will speed up quickly in the next few days as parts start to be glued into the fuselage.
It should be noted that the fit is finicky, alignment is tricky with the complete absence of alignment pins and tabs like we've become used to.
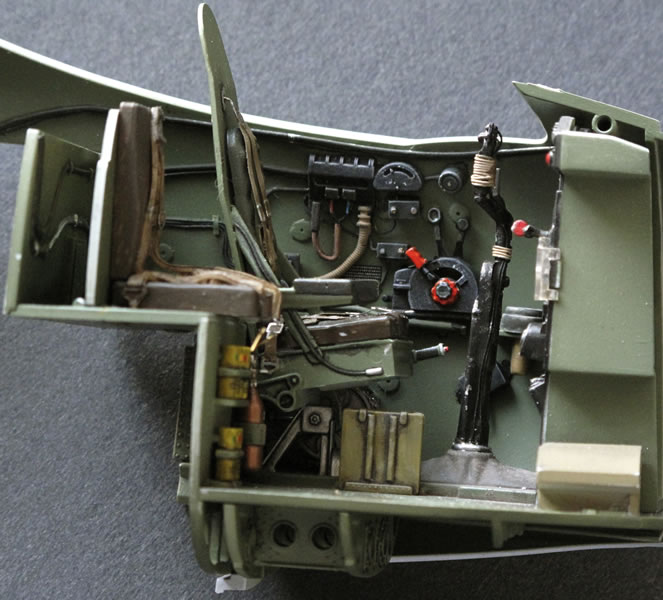
For the interior painting, I've used a technique called Zenithal Lighting - I've used it with great results in the past,http://www.hyperscale.com/2012/galleries/sbd532mo_1.htm = but never knew its name. You paint the parts a dark colour, then spray the interior colour in the direction that light shines, leaving natural shadows. Think of it as pre-shading for the interior and you'd be right on.
Pics;

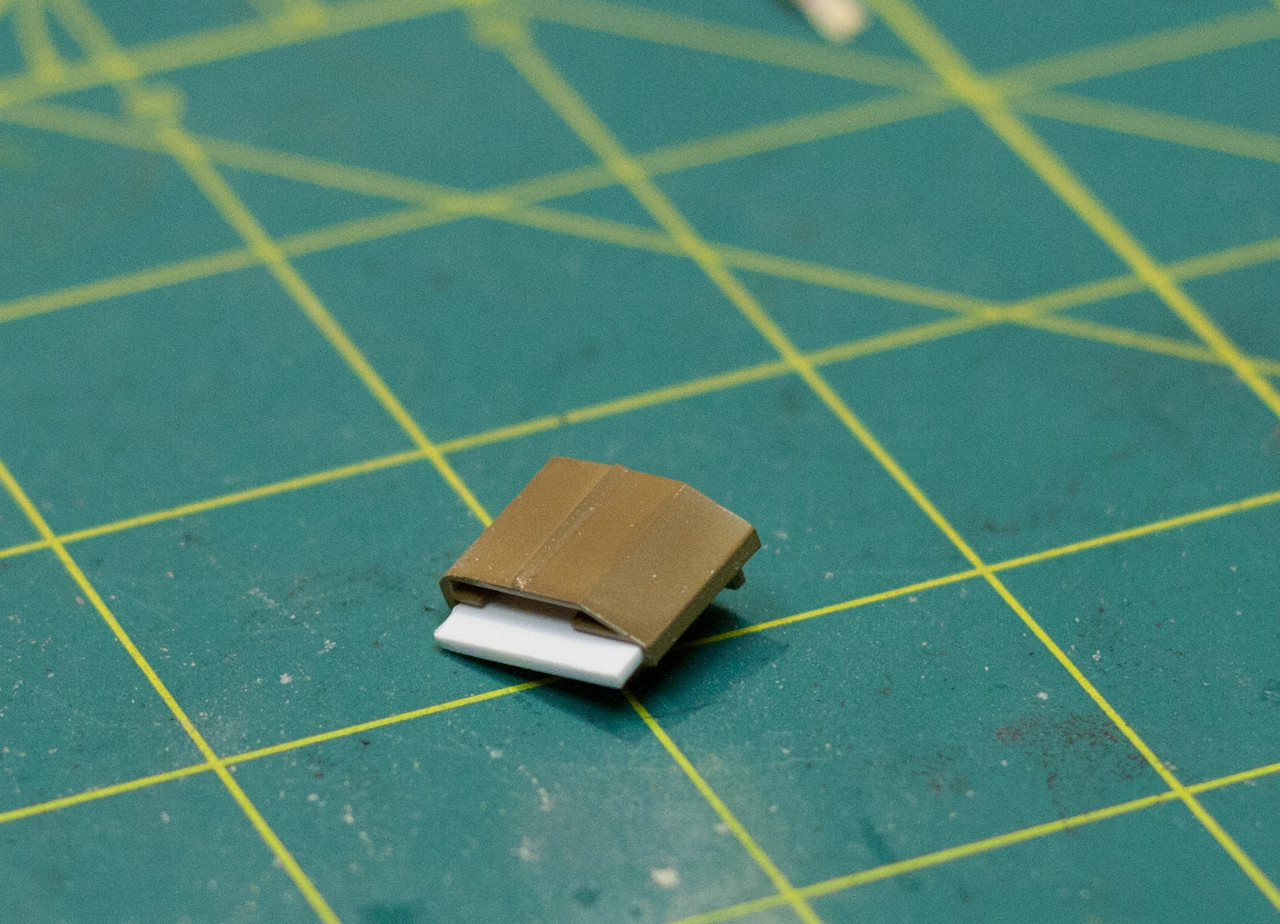
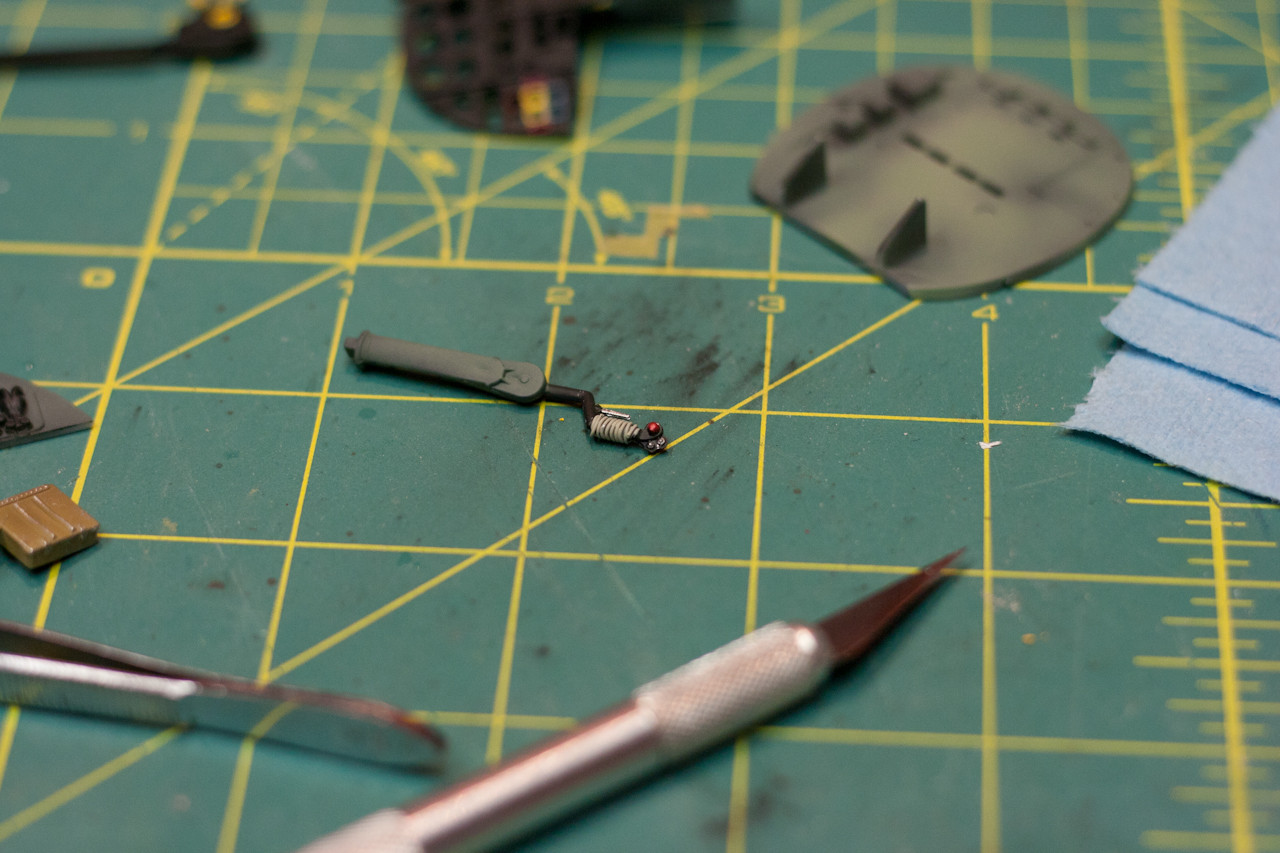
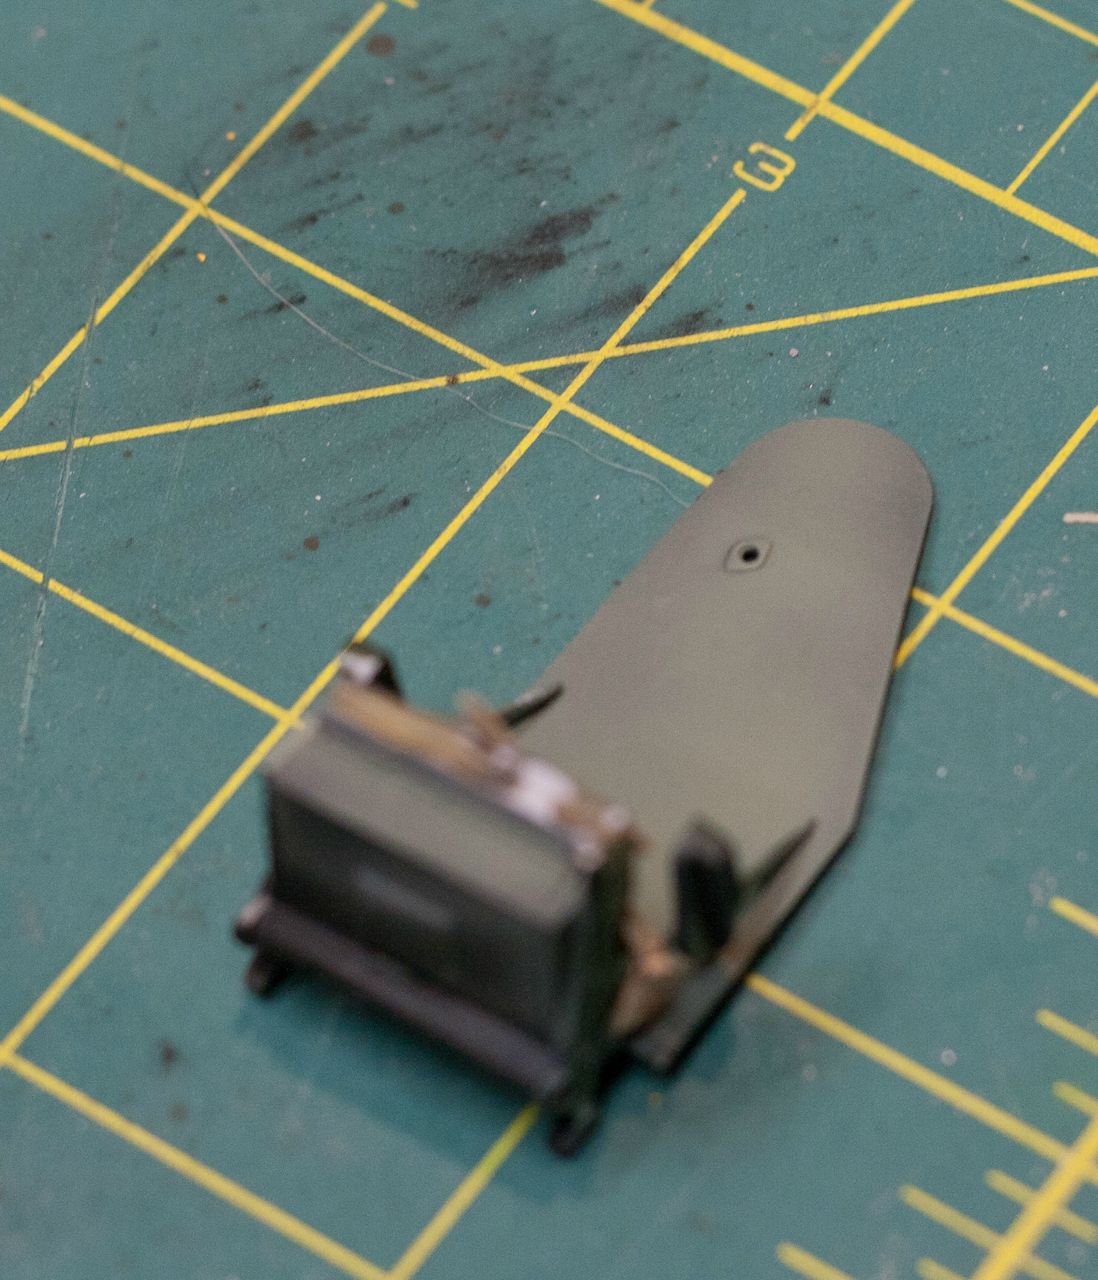
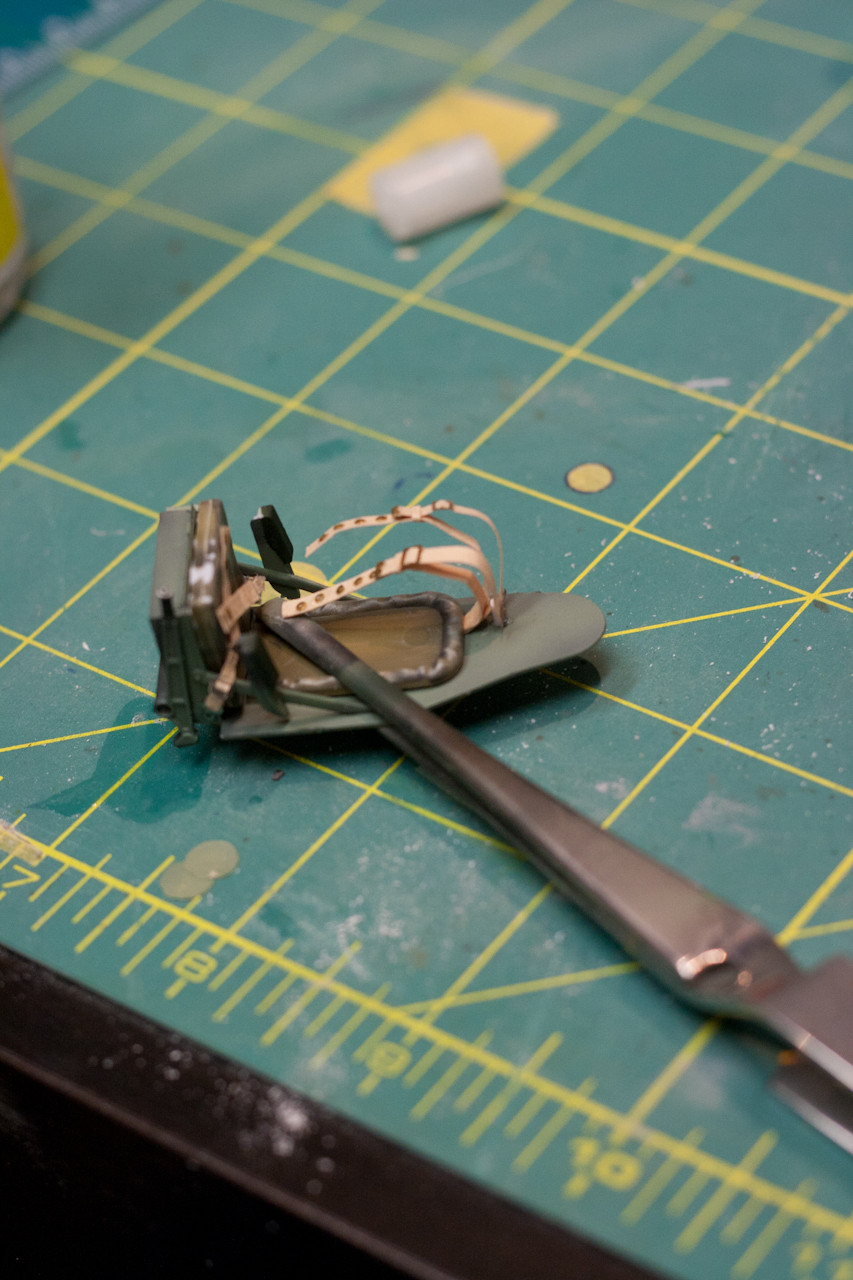
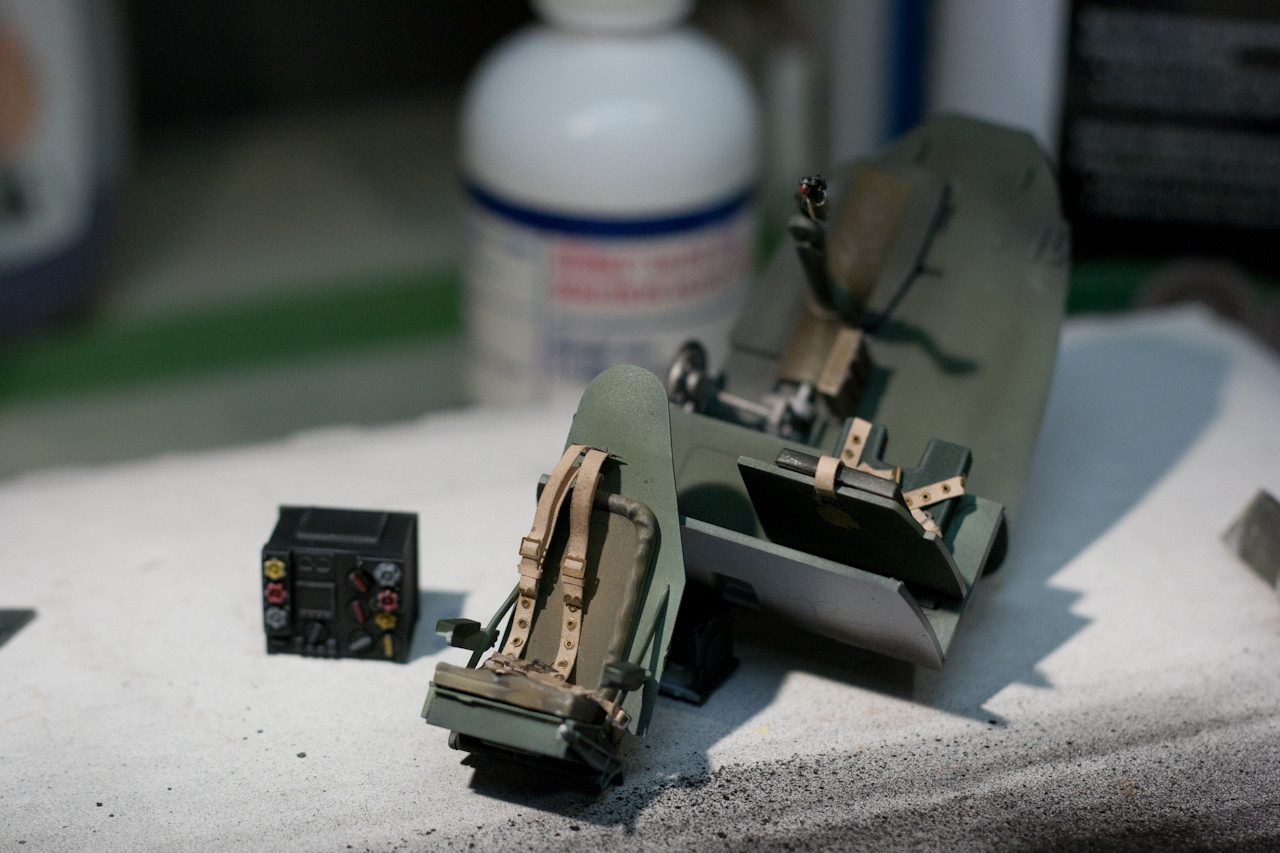
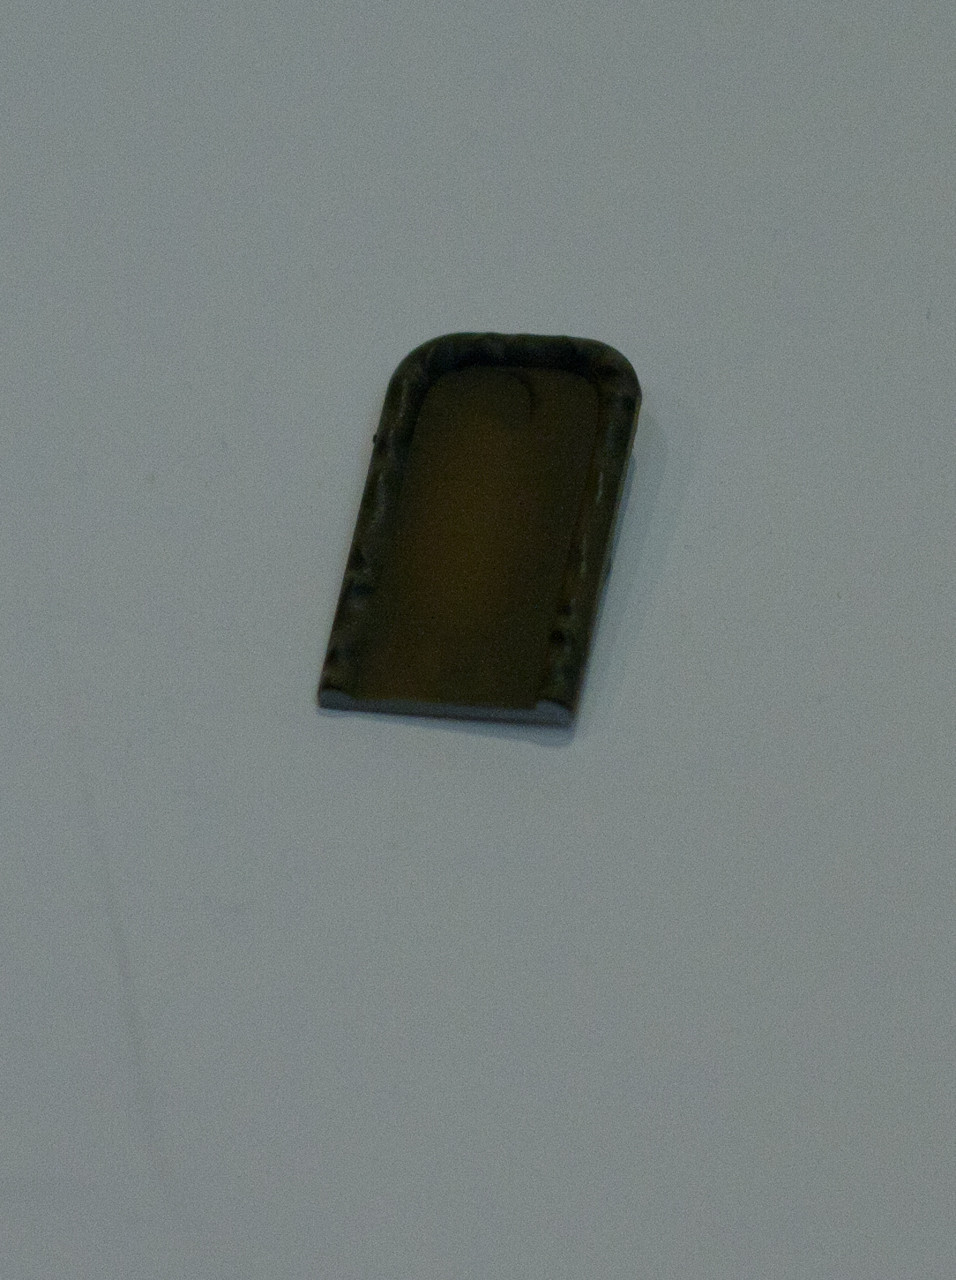
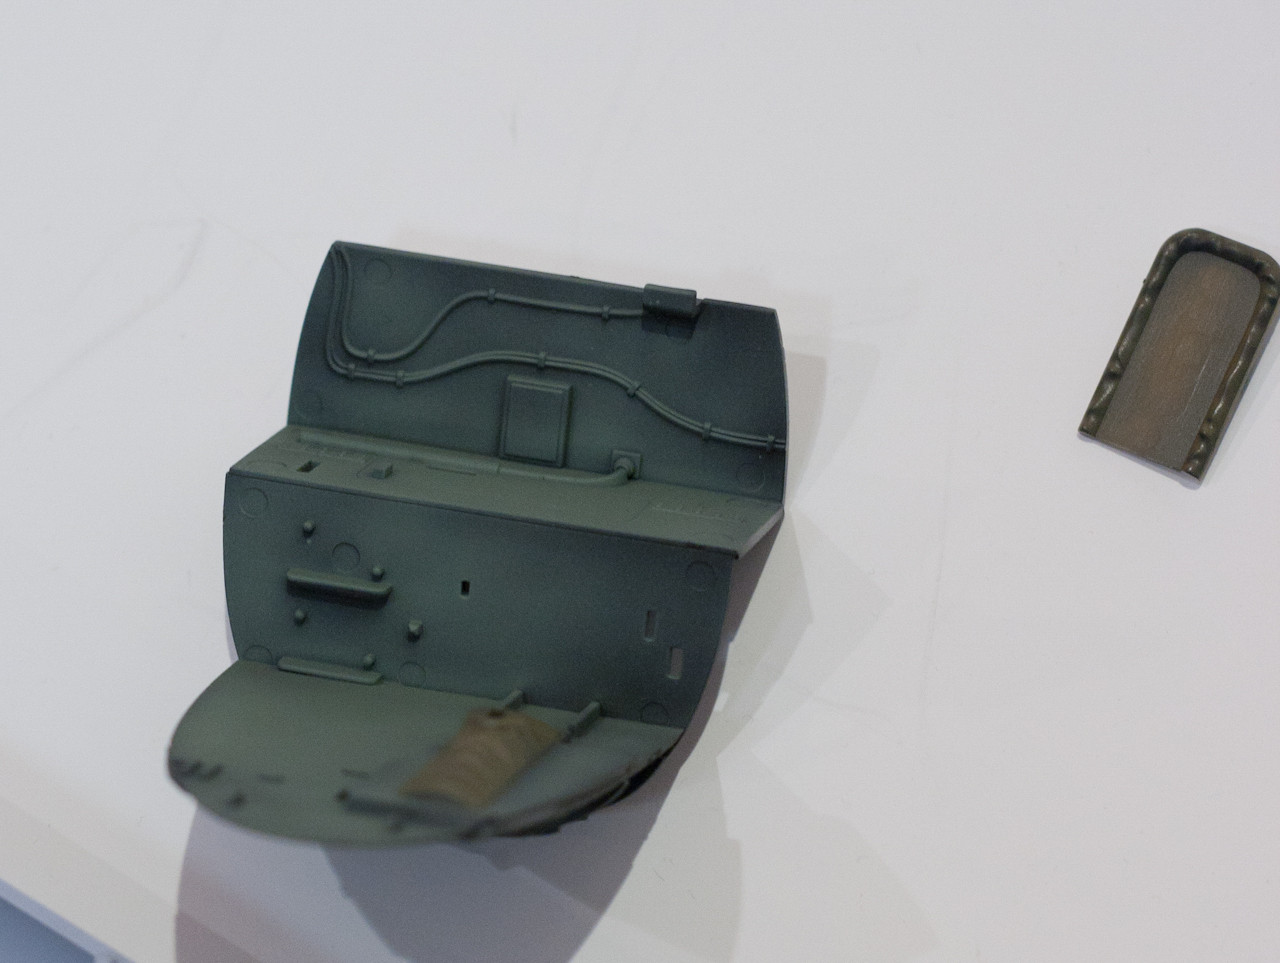
Shoddy photo of the pilots backrest cushion, but you get the idea of the technique, the khaki was sprayed directly downwards. This sill still be washed and drybrushed
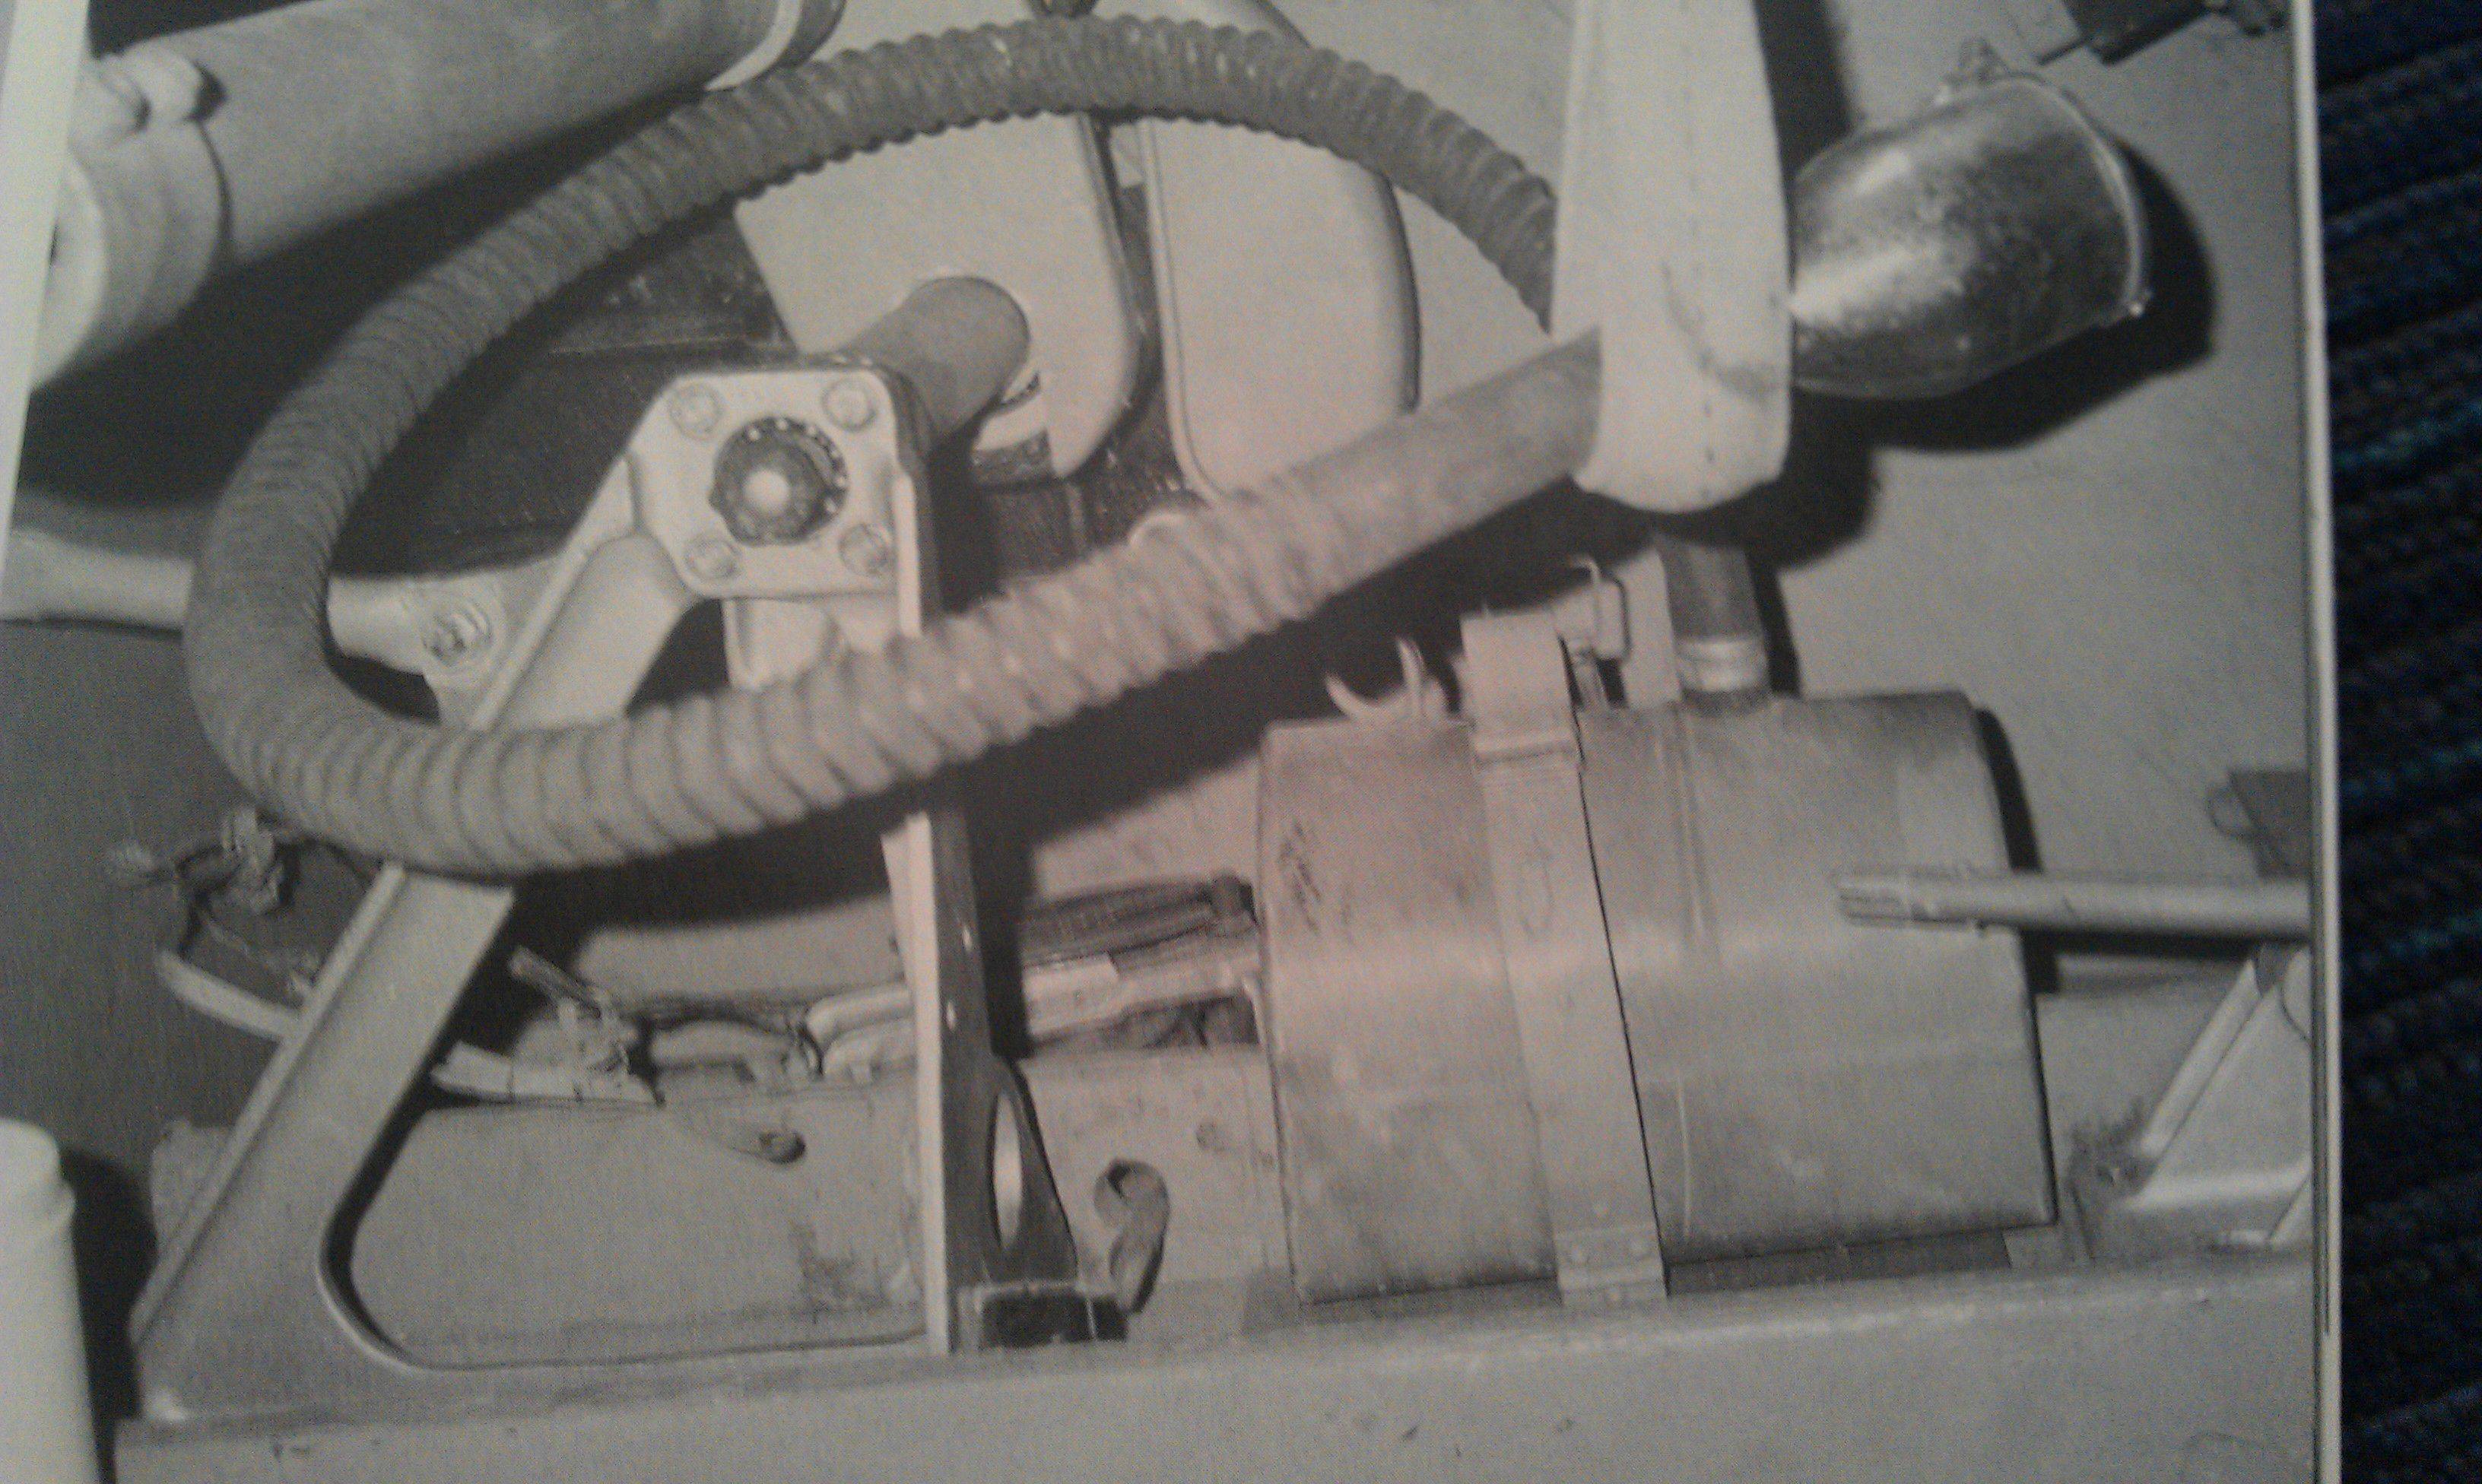
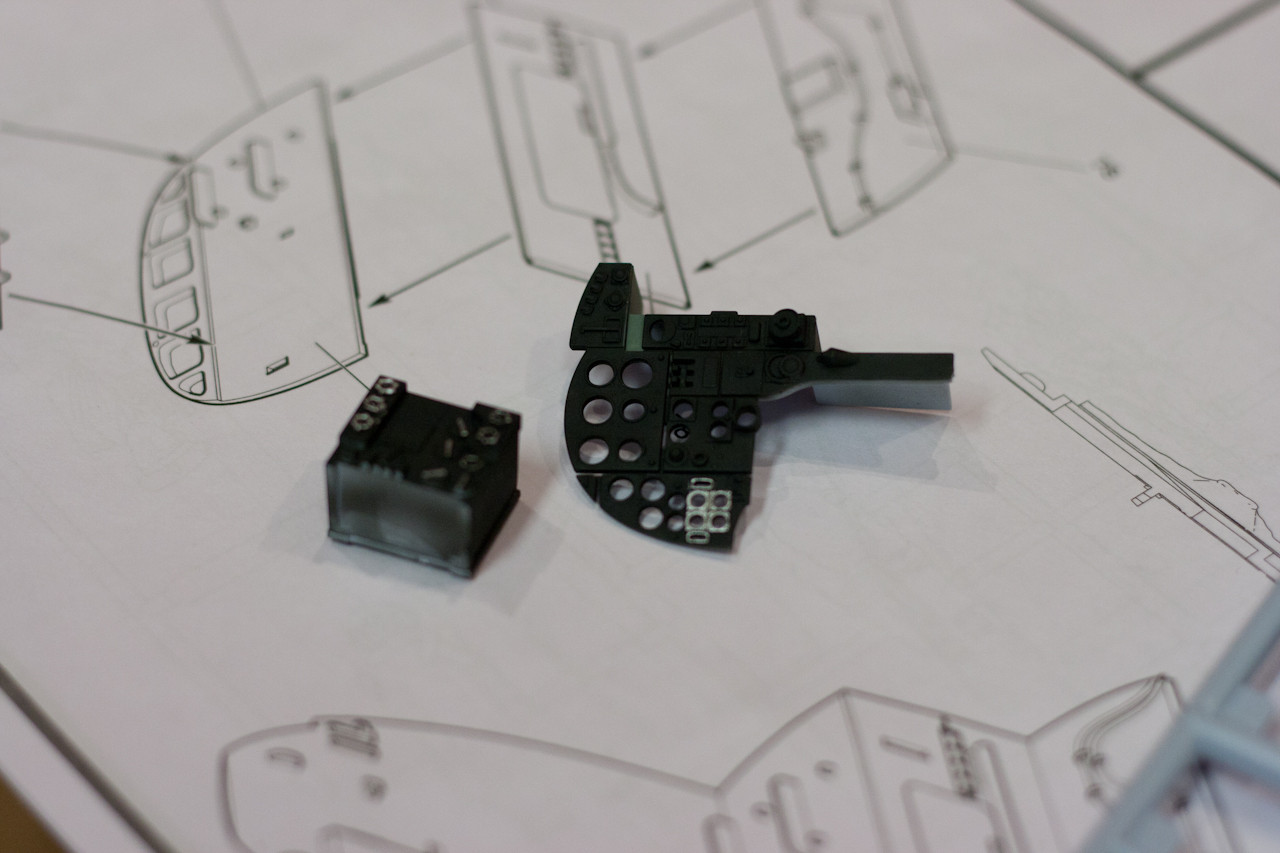
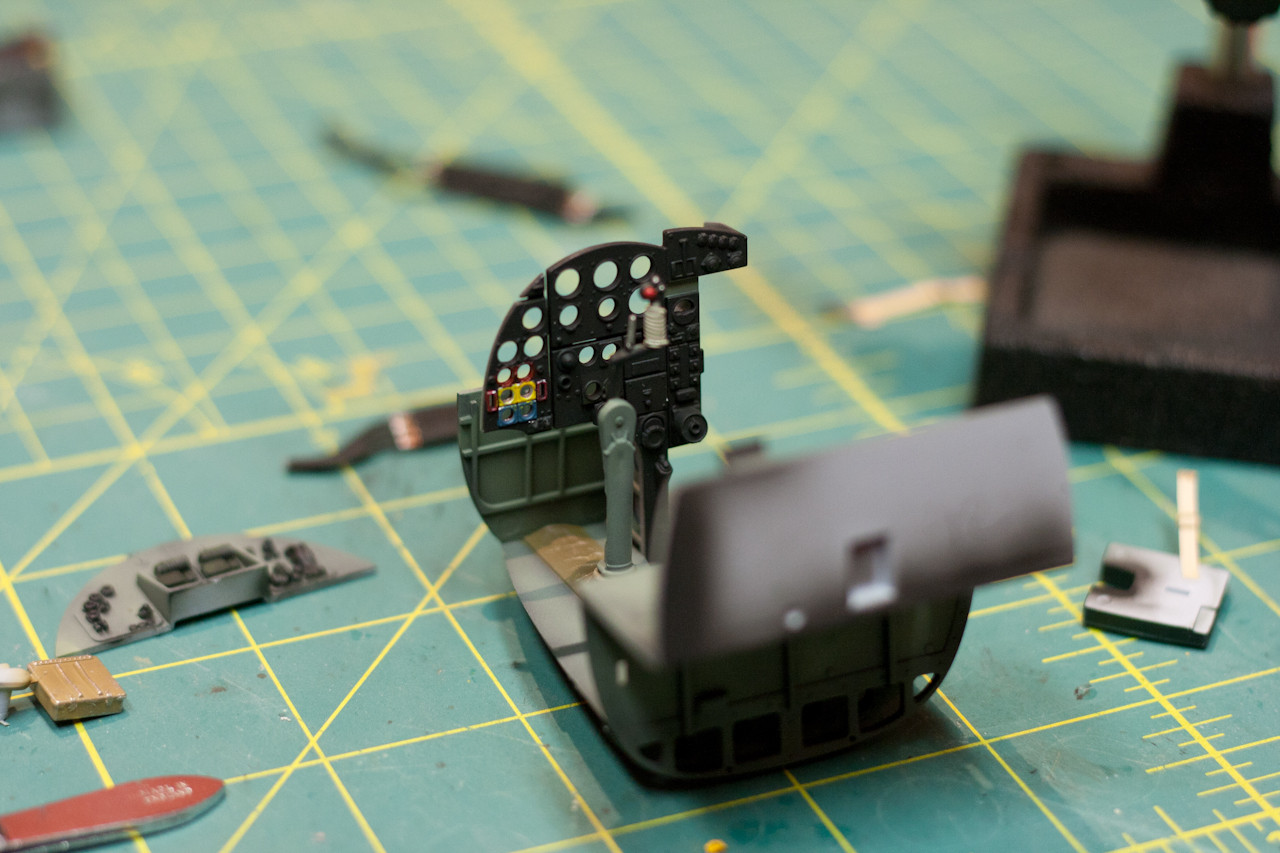
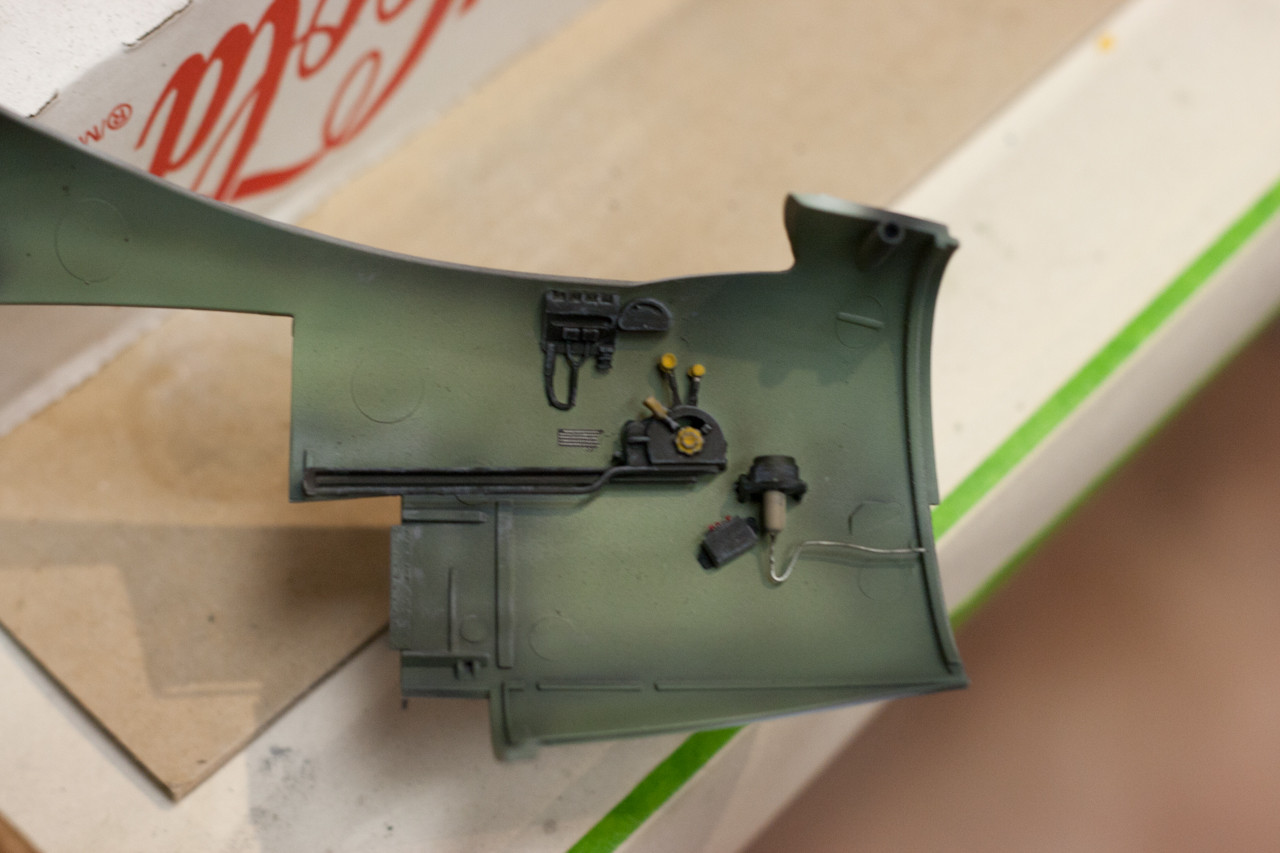
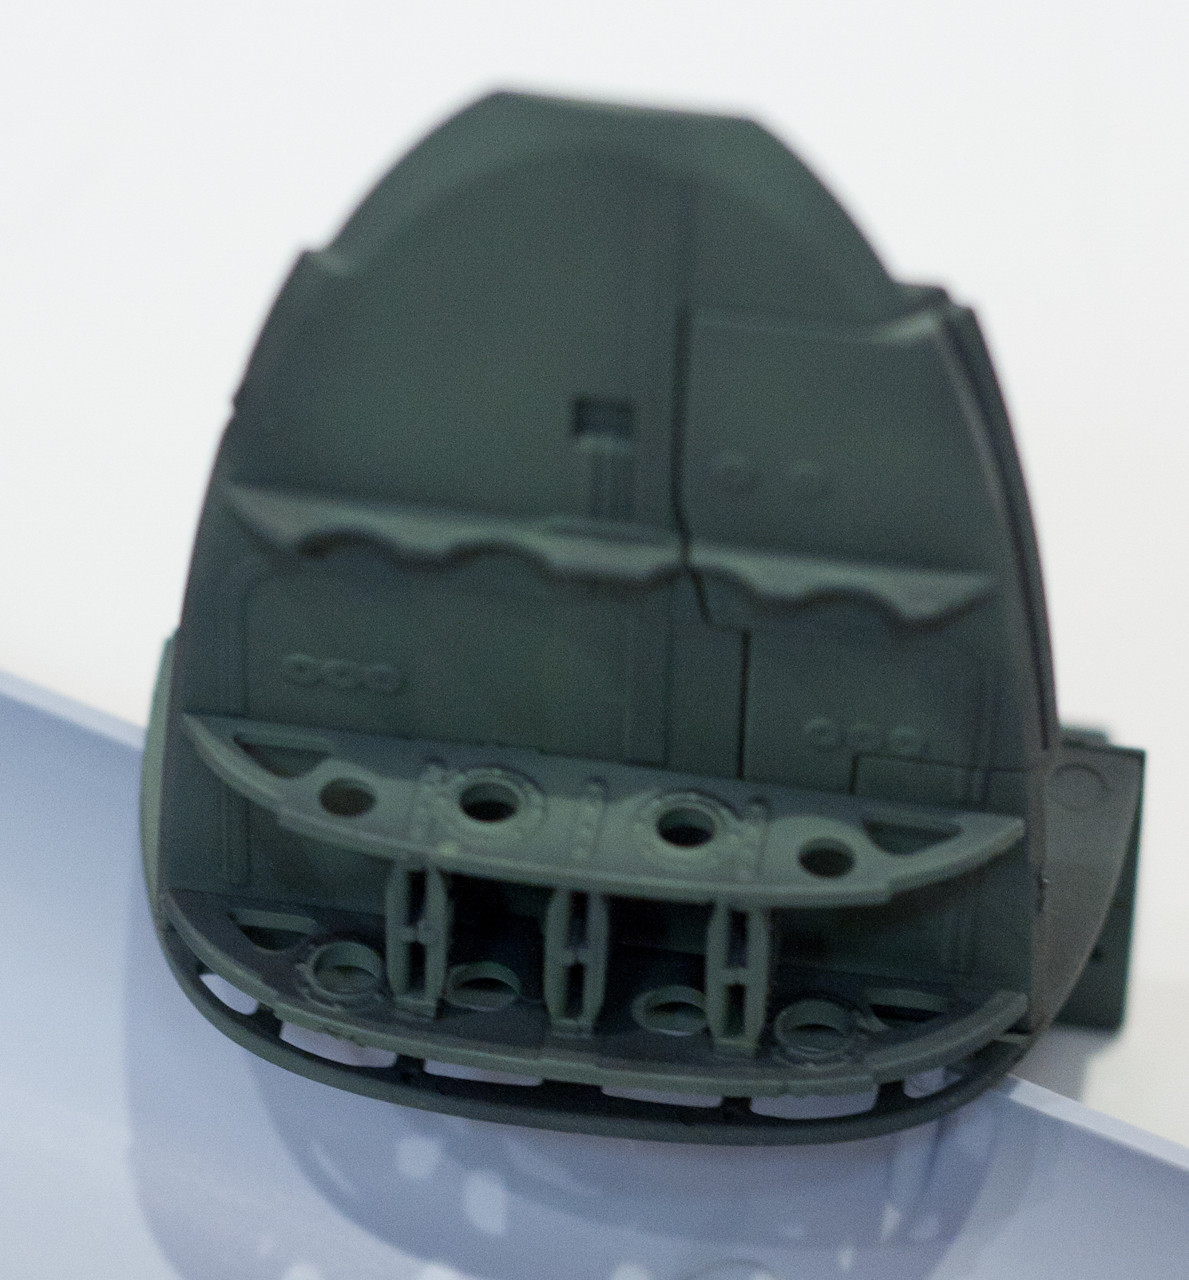
Roof of the gun compartment in the nose
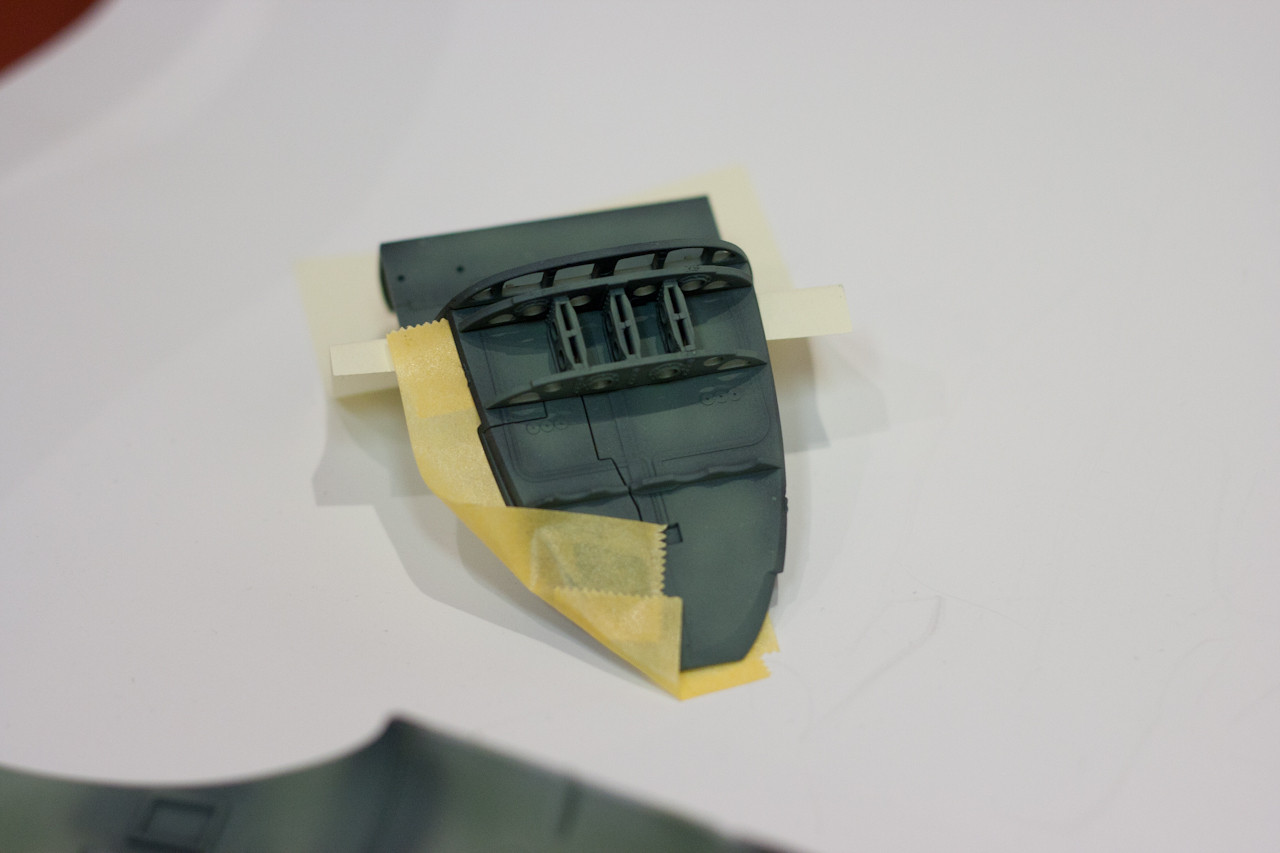
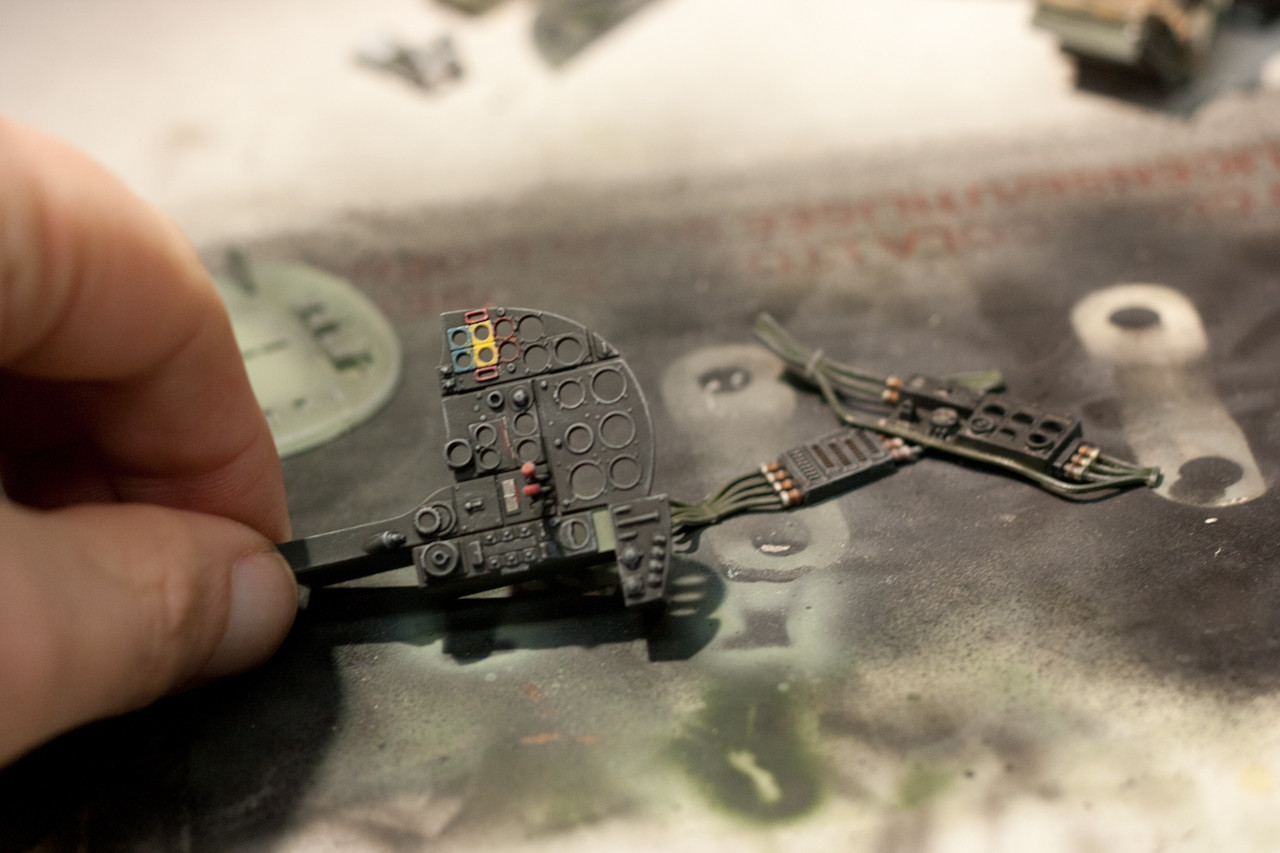
Airbrushed always looks better

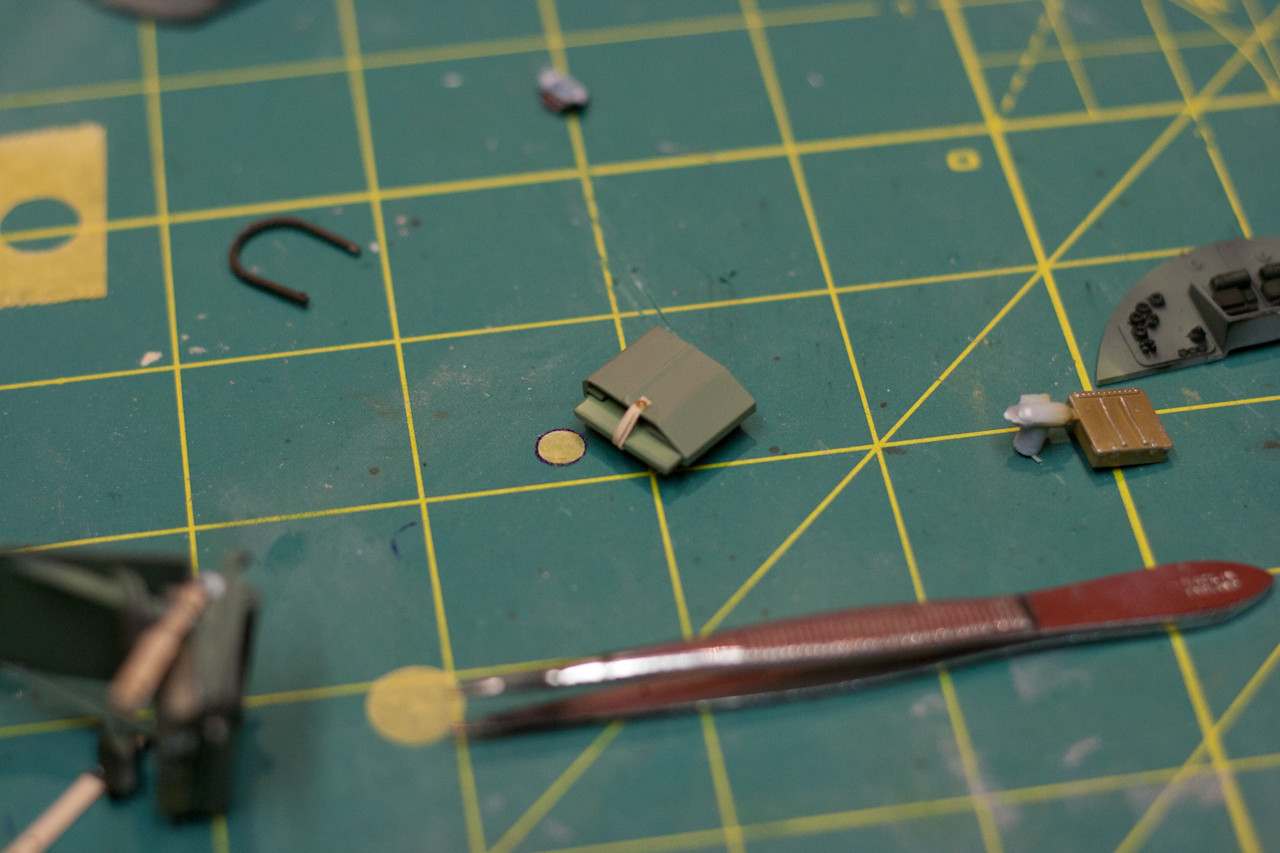
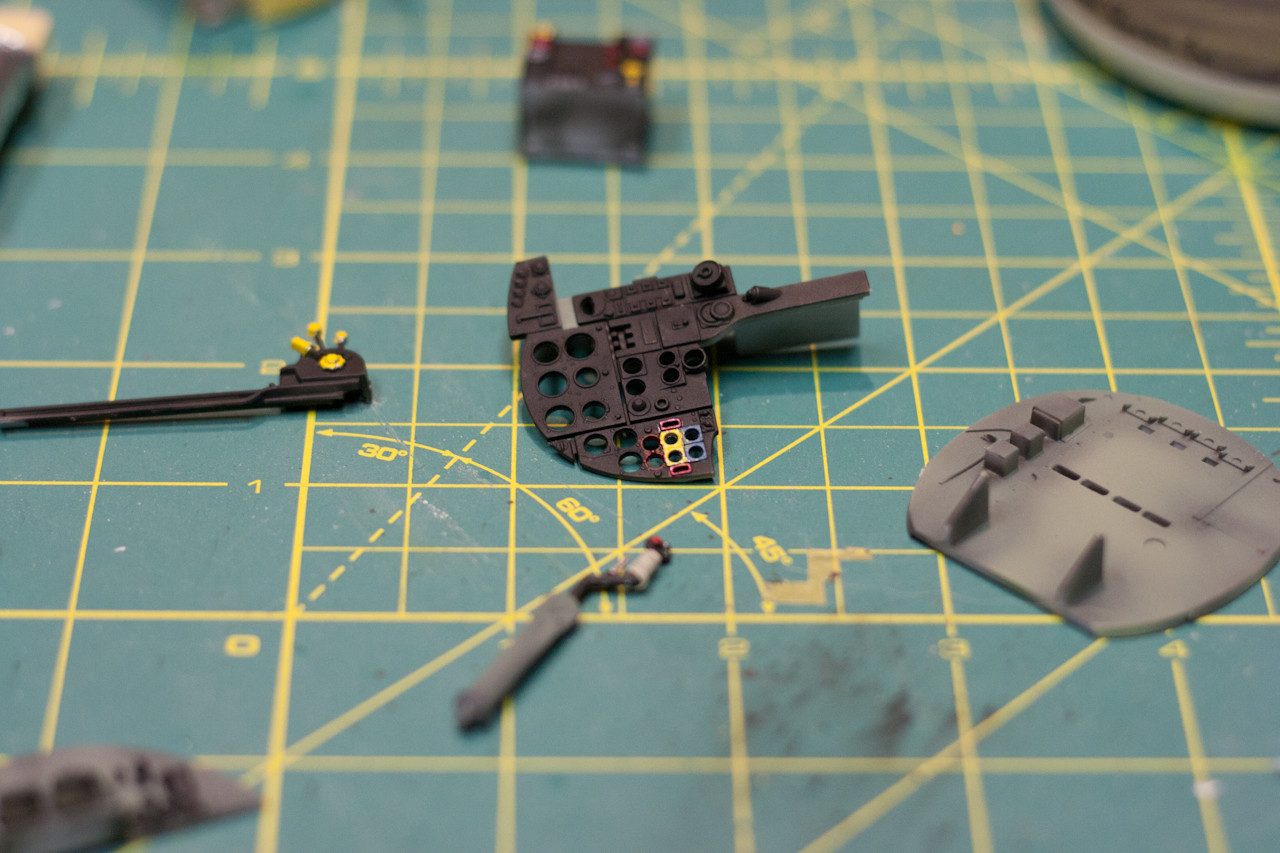
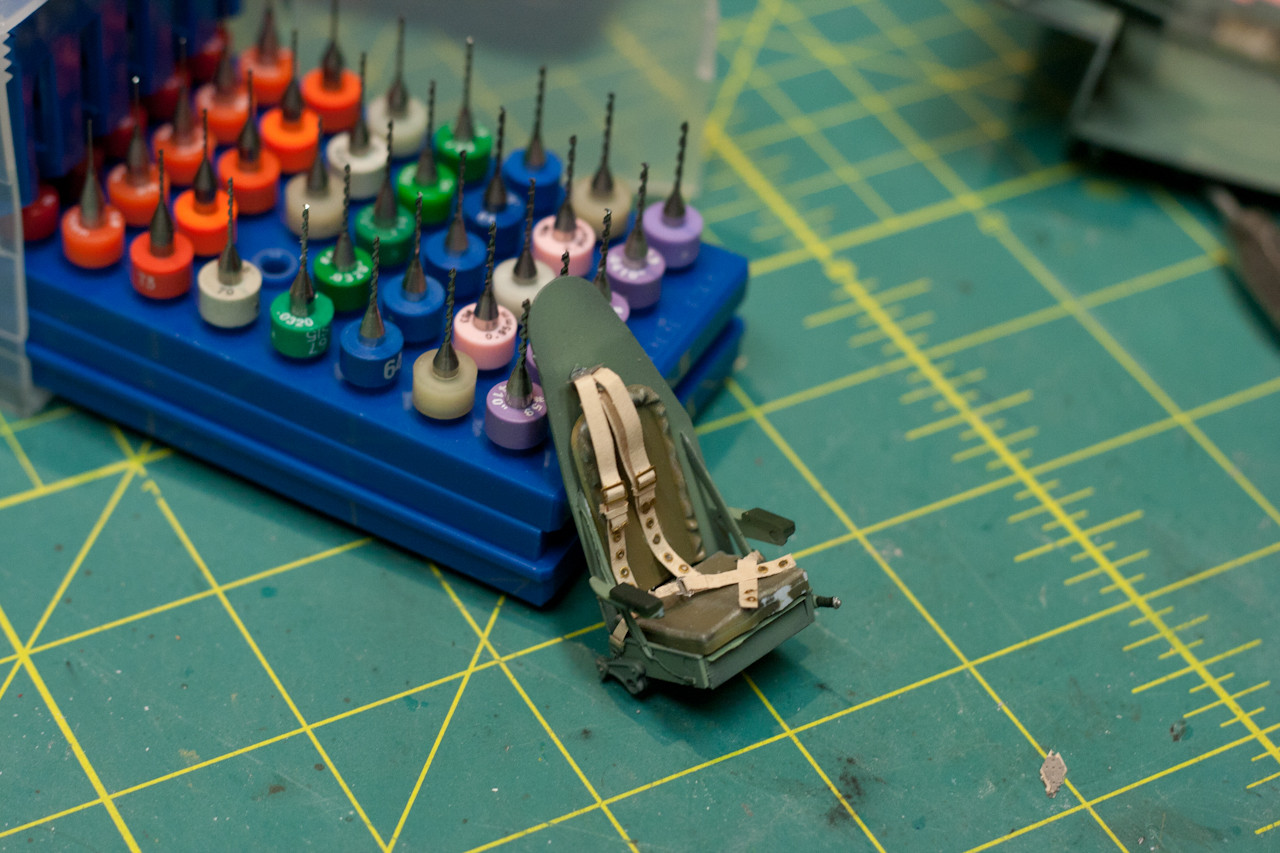
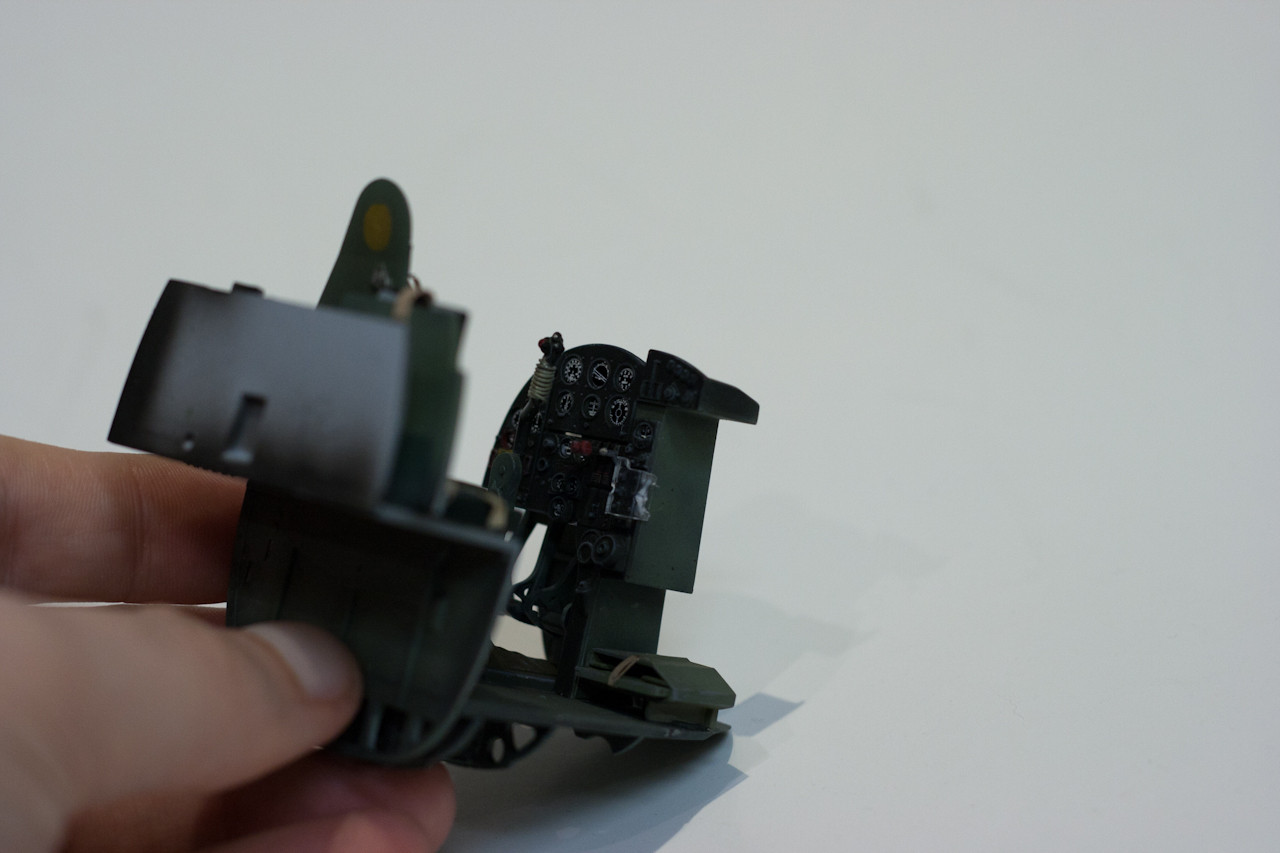
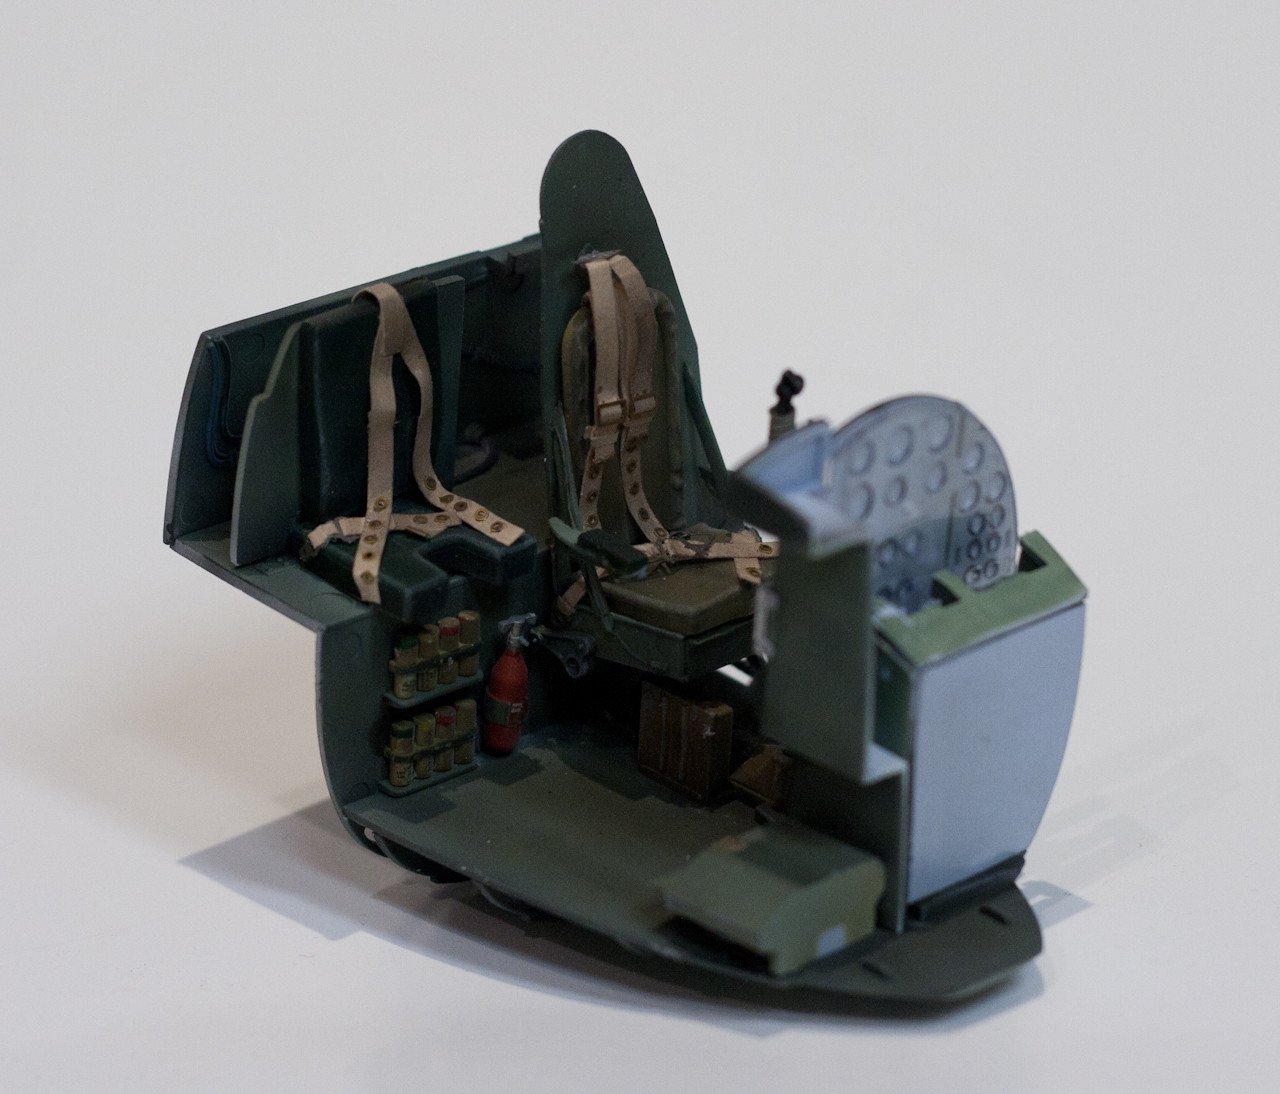
Mask removed, shown with backrest
Surprisingly good fit, the floors and bulkheads were glued together using a square though - no alignment pegs or tabs, edge on edge.
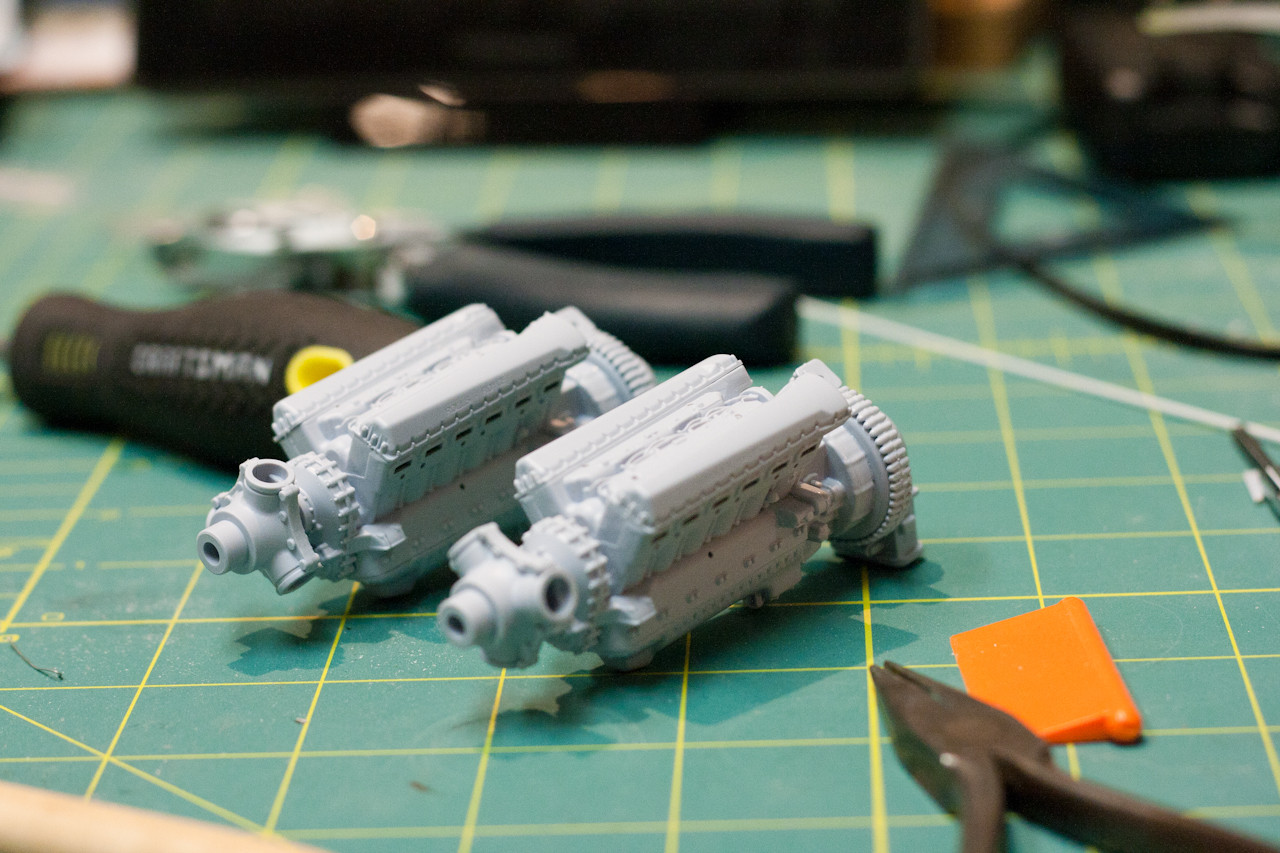
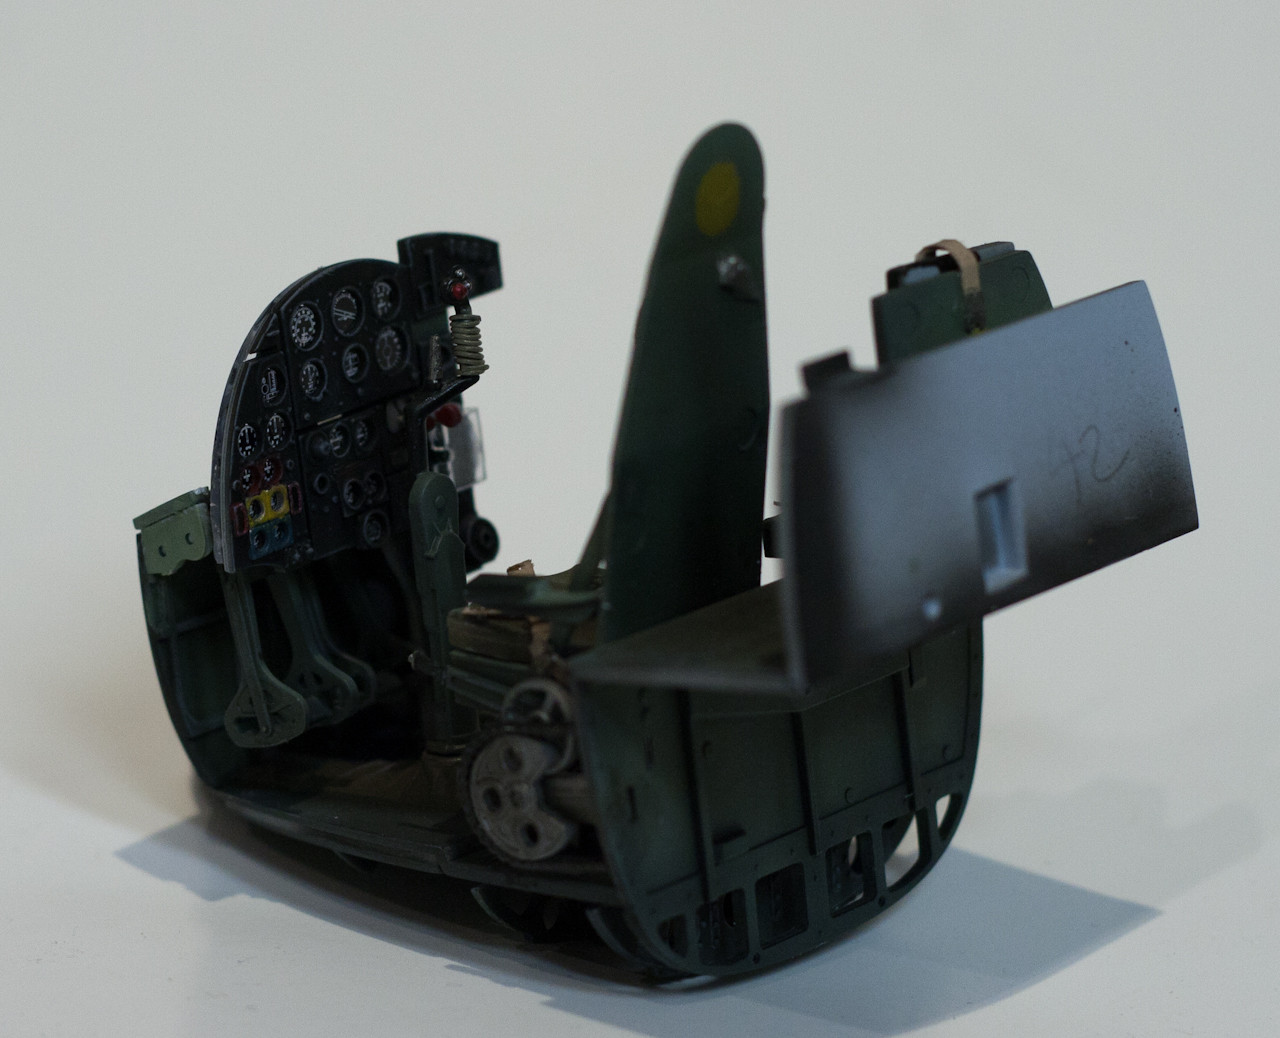
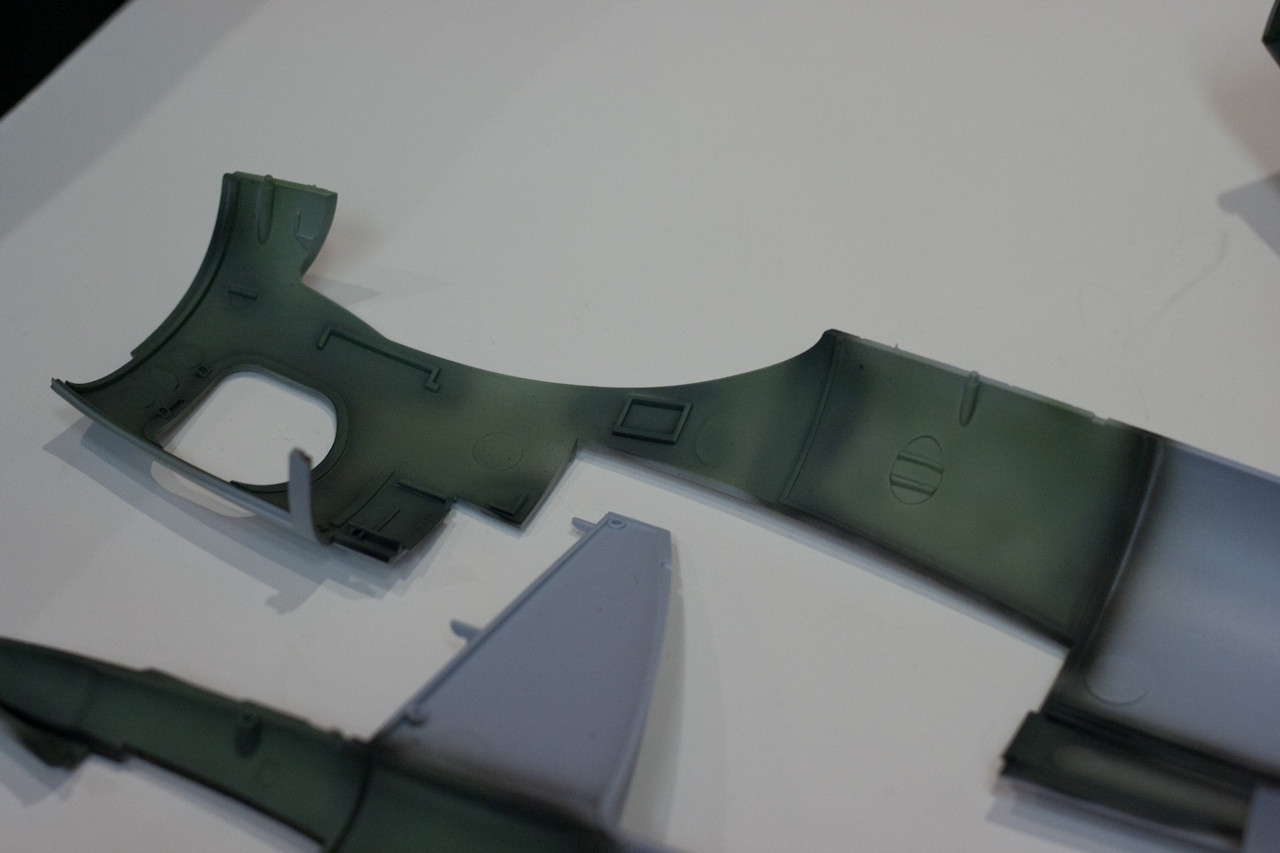
Same shading technique used on the fuse halves
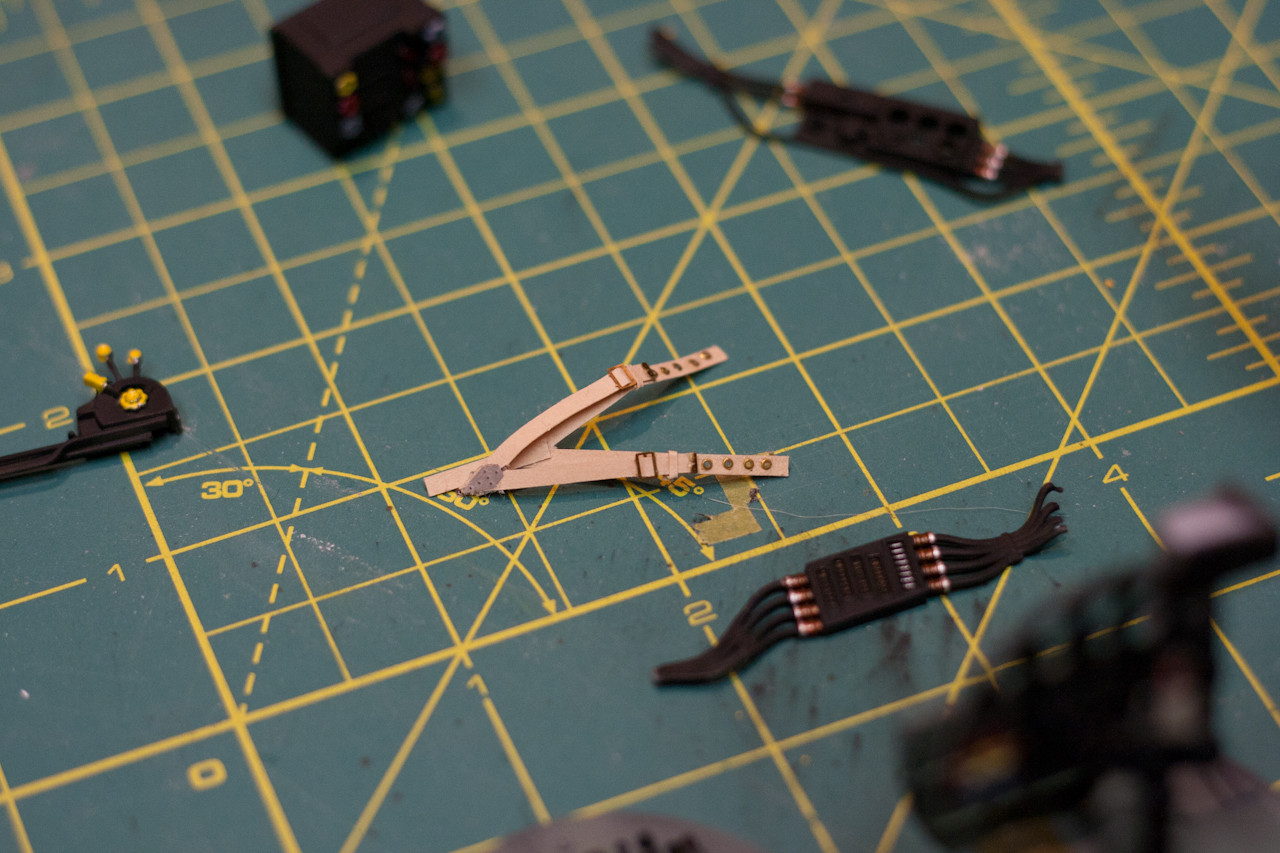
I HATE brush painting, and since my last masking tutorial was so popular, here's a quick little SbS. The pilots seat has padded armrests.
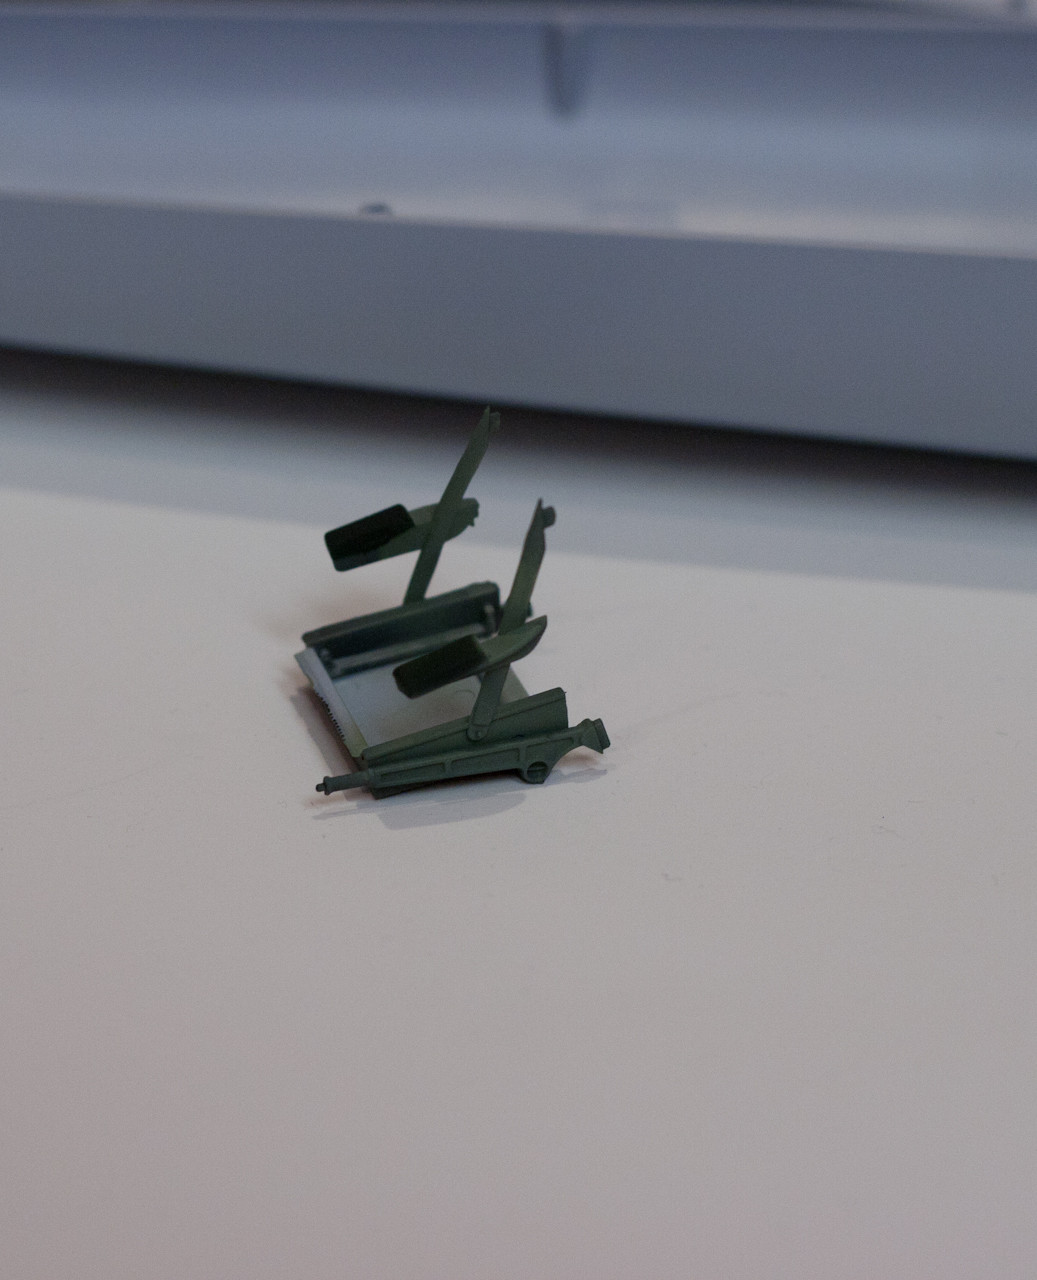
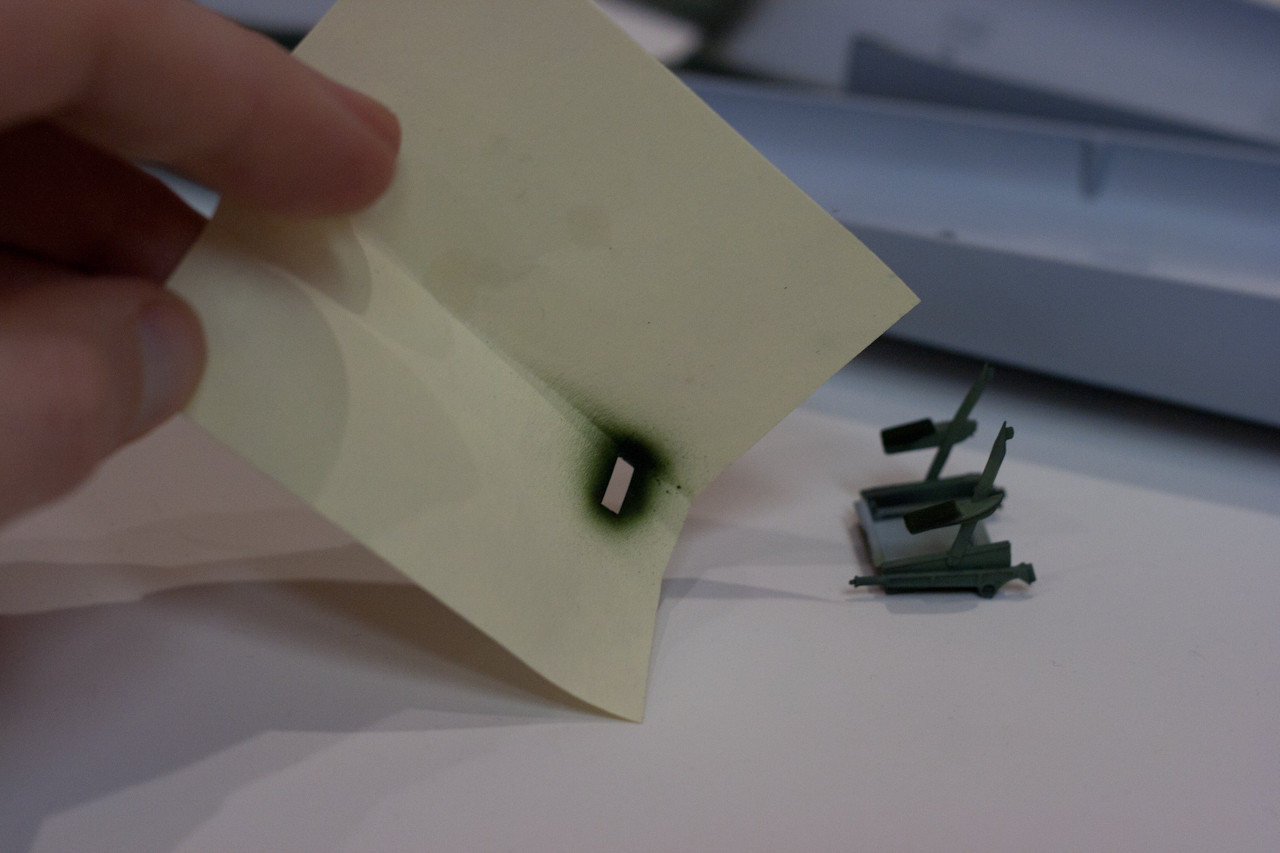
I used a caliper to measure the length and width of the armrests, I marked this on my favourite masking medium - Post Its - and cut the shape out. I could then push the whole armrest through the hole and safely airbrush. spray across the post it for the sides, front and rear. Neater than hand brushing, looks better and even with 'masking' it's faster.
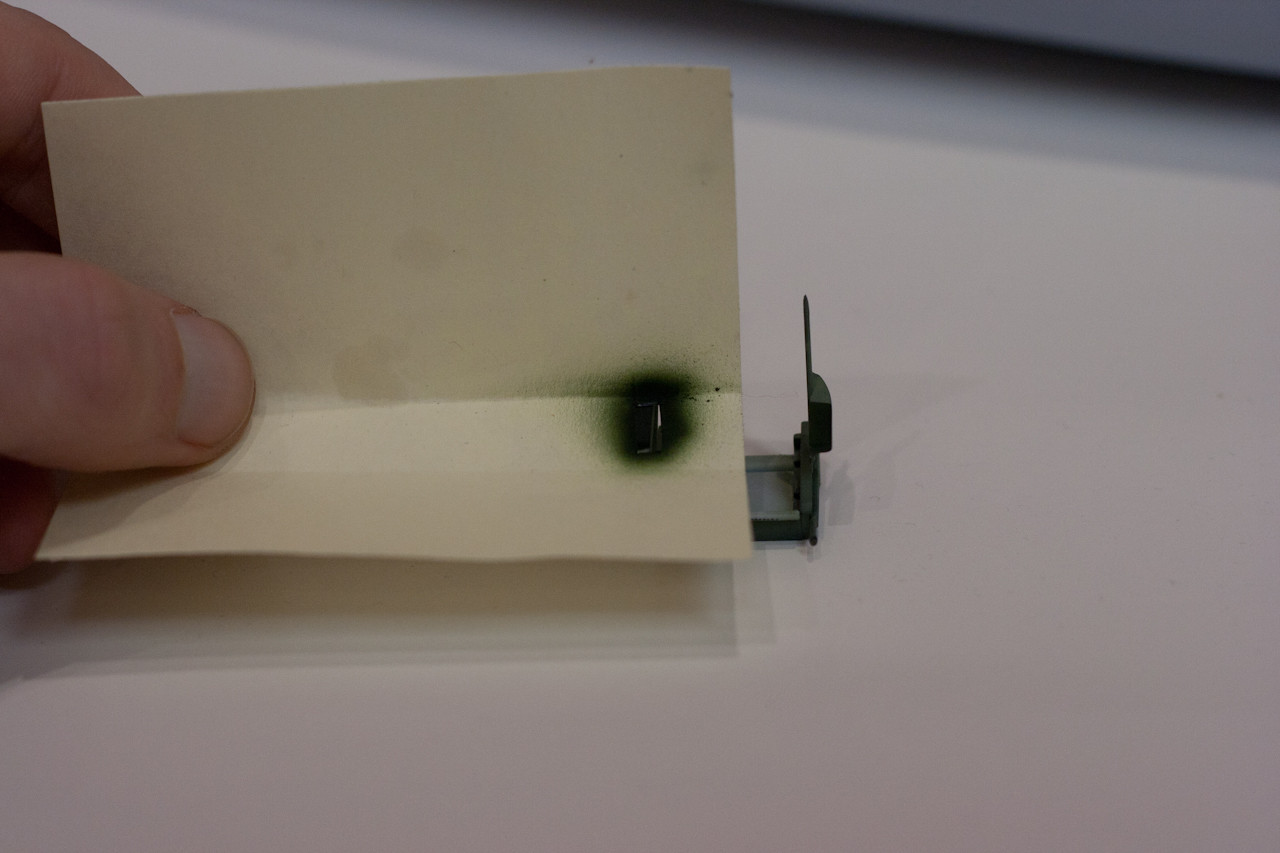
Mask was originally tighter. This one could still be used though - pull it in the direction opposite the airbush and you'll be fine.
Feedback welcome! More updates as we go through the week!