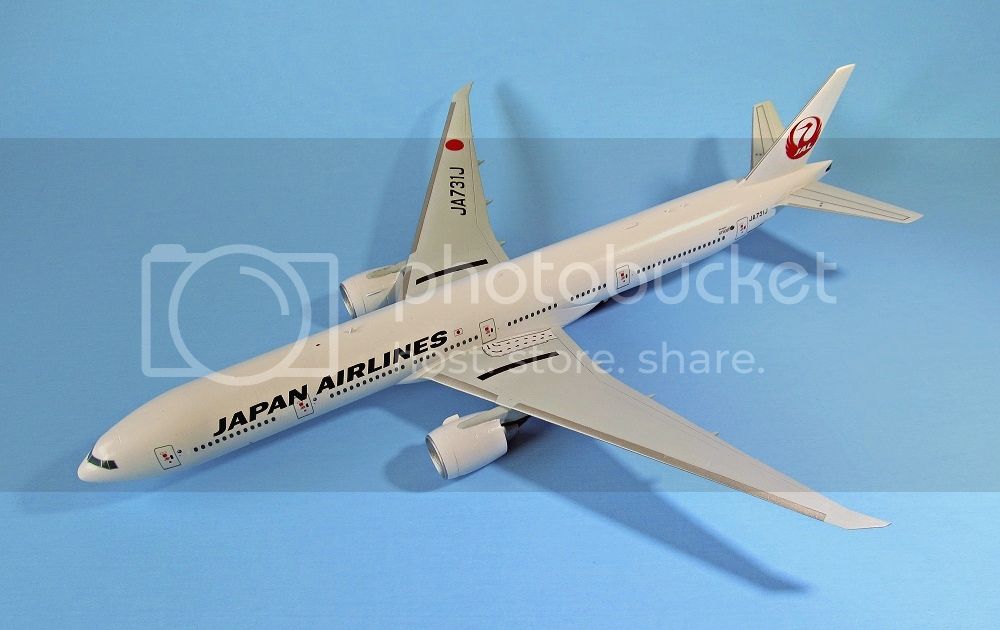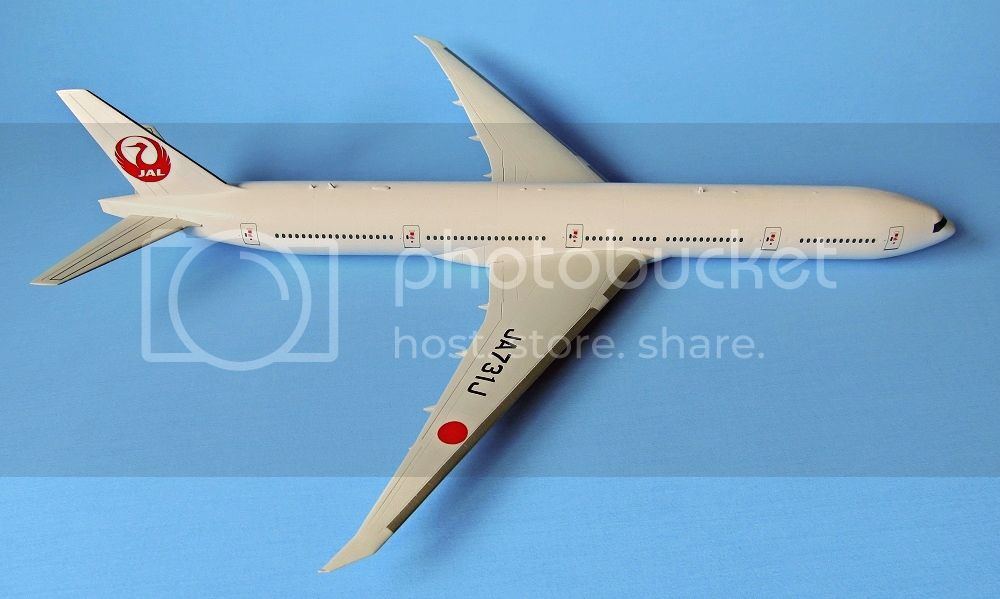
The decals have been going on:
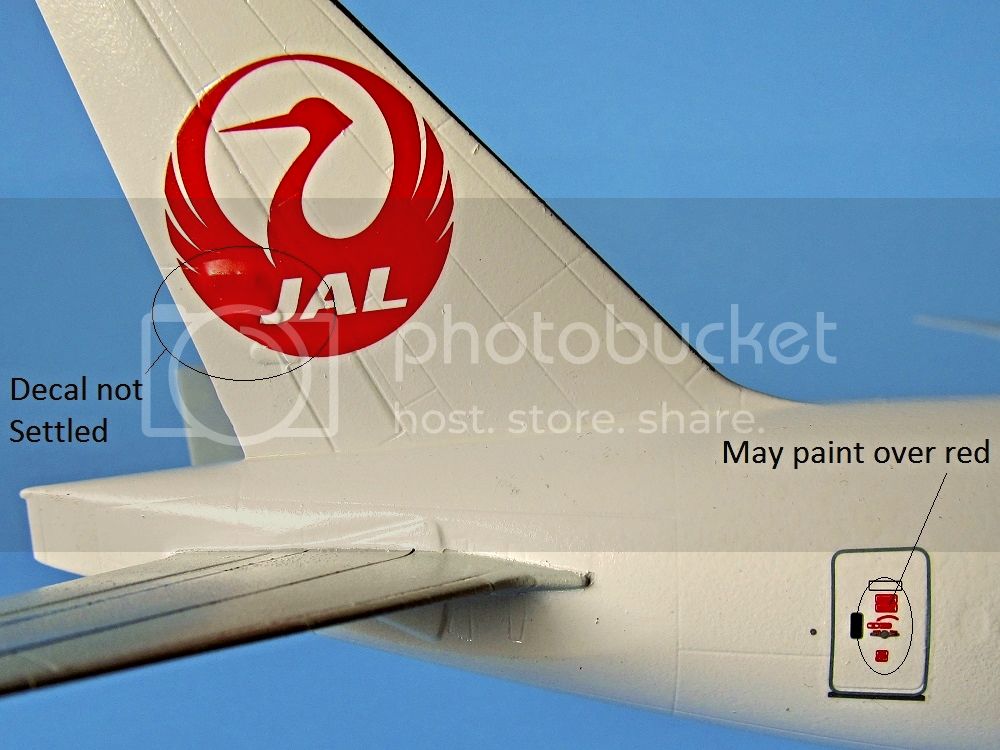
However, they're not going on without some issues:
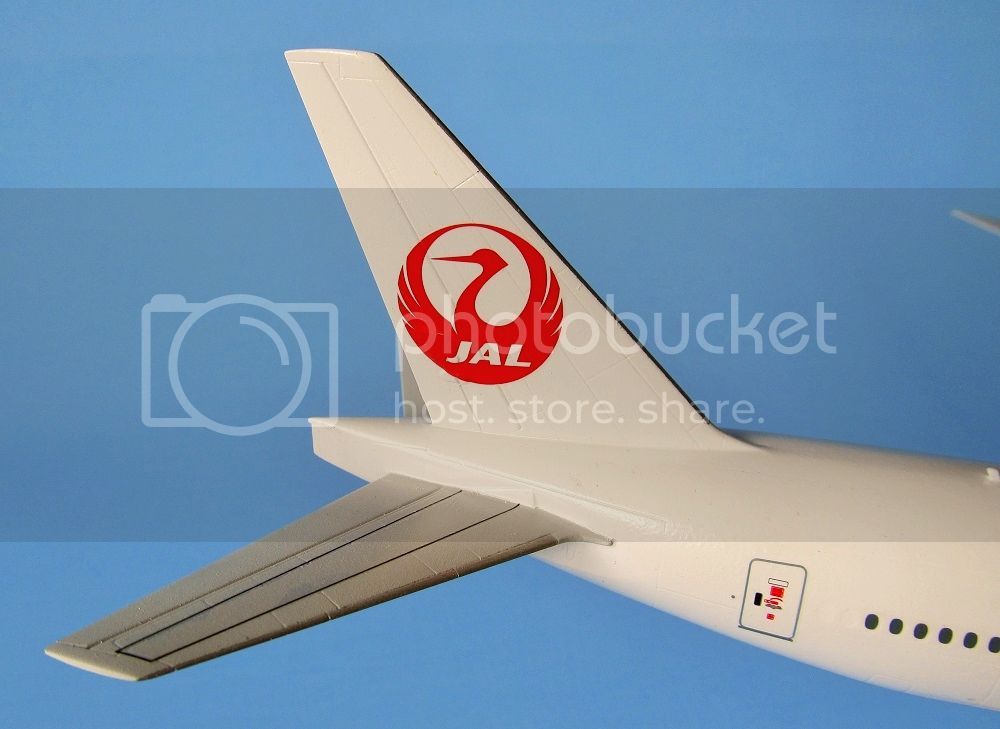
I have used two applications of setting solution on the unsettled decal, without total success. I'm thinking to poke a few pinholes into the red, and trying a third solution application. Just worried the decal will tear.
I'm not thrilled with all the red Hasegawa put on the doors. I don't see it on photos of the real thing, and the decals don't improve the toy-like appearance. I'm considering to dab on a little white paint to eliminate it.
The build continues
Modern (1975-today)
Discuss the modern aircraft age from 1975 thru today.
Hosted by Jim Starkweather
Dual build Boeings: 777 and 777
Mcleod
Alberta, Canada
Joined: April 07, 2010
KitMaker: 1,028 posts
AeroScale: 939 posts
Joined: April 07, 2010
KitMaker: 1,028 posts
AeroScale: 939 posts
Posted: Sunday, June 15, 2014 - 02:35 PM UTC
Jessie_C
British Columbia, Canada
Joined: September 03, 2009
KitMaker: 6,965 posts
AeroScale: 6,247 posts
Joined: September 03, 2009
KitMaker: 6,965 posts
AeroScale: 6,247 posts
Posted: Sunday, June 15, 2014 - 05:01 PM UTC
I had a similar problem with the tail decals on mine. In the end I accepted the little tears which developed and touched them up with paint. Before going that route, perhaps you could try the boiling water trick: Get yourself a soft sponge or cloth and dip it into just-boiled water then press straight down onto the decal to soften it and press it into the contours of the model. You'll want to poke some holes in the decal to let the trapped air out, and be very careful to only press down; don't let any sideways motion happen. Hold for 30 seconds or so and then lift the sponge up and see how it looks.
Remember to protect your fingers from the heat
Apart from that little problem it looks very clean and tidy. It's going to look great when it's finished.
Remember to protect your fingers from the heat
Apart from that little problem it looks very clean and tidy. It's going to look great when it's finished.
Mcleod
Alberta, Canada
Joined: April 07, 2010
KitMaker: 1,028 posts
AeroScale: 939 posts
Joined: April 07, 2010
KitMaker: 1,028 posts
AeroScale: 939 posts
Posted: Sunday, June 15, 2014 - 06:10 PM UTC
Thanks for the excellent sponge idea, Jessica.
It sounds a little dangerous; I know what would happen with some side motion, and I'd hate to totally ruin such an obvious feature at this point. Honestly, I might just leave it well enough alone.
More decals are on, so for tonight, I leave her dry.
It sounds a little dangerous; I know what would happen with some side motion, and I'd hate to totally ruin such an obvious feature at this point. Honestly, I might just leave it well enough alone.
More decals are on, so for tonight, I leave her dry.
Joel_W
Associate Editor
New York, United States
Joined: December 04, 2010
KitMaker: 11,666 posts
AeroScale: 7,410 posts
Joined: December 04, 2010
KitMaker: 11,666 posts
AeroScale: 7,410 posts
Posted: Monday, June 16, 2014 - 01:57 AM UTC
Ben,
Kit decals are usually somewhat thicker then AM ones. Believe me I know. Even the Cartograf decals that came with the F-4B were on the thick side, and some took several applications of Microscale Set to eventually settle into the nooks and crannies. For the few that just didn't cooperate, I very carefully using a brand new #11 blade sliced them right down the middle of the panel line or partially around a raised detail, then flooded them with Set, when dry they had settled in nicely. I did have to touch up some of the decals as the contrasting base coat was visible.
One method that I just never seem to do is use Solvoset. Honestly, I keep on forgetting to buy some. I'm always worried that increased strength will damage the decals.
As for Jessica's hot water method, I've never tried it. Somehow hot water applied to modeling media really scares me.
Joel
Mcleod
Alberta, Canada
Joined: April 07, 2010
KitMaker: 1,028 posts
AeroScale: 939 posts
Joined: April 07, 2010
KitMaker: 1,028 posts
AeroScale: 939 posts
Posted: Tuesday, June 17, 2014 - 04:28 PM UTC
Nearly done; working on the touch-ups required:
The raised detail is very hard for the thick decals to work over, as was said before.I used some little bit of red paint. I'm going to try again, adding a drop of white this time:
All-in-all, I'm very happy with the model. It looks alright to me so far. The aircraft looks ugly with those evil shaped wings, but, it is a nice model:
Next set of photos will be the finale, after the touch ups, gear, and final protective coating. Perhaps two days.
Jessie_C
British Columbia, Canada
Joined: September 03, 2009
KitMaker: 6,965 posts
AeroScale: 6,247 posts
Joined: September 03, 2009
KitMaker: 6,965 posts
AeroScale: 6,247 posts
Posted: Tuesday, June 17, 2014 - 04:58 PM UTC
The wings look much better when it's in its element. They flex quite gracefully.
Mcleod
Alberta, Canada
Joined: April 07, 2010
KitMaker: 1,028 posts
AeroScale: 939 posts
Joined: April 07, 2010
KitMaker: 1,028 posts
AeroScale: 939 posts
Posted: Thursday, June 19, 2014 - 11:41 AM UTC
Mcleod
Alberta, Canada
Joined: April 07, 2010
KitMaker: 1,028 posts
AeroScale: 939 posts
Joined: April 07, 2010
KitMaker: 1,028 posts
AeroScale: 939 posts
Posted: Thursday, June 19, 2014 - 01:21 PM UTC
Jessie_C
British Columbia, Canada
Joined: September 03, 2009
KitMaker: 6,965 posts
AeroScale: 6,247 posts
Joined: September 03, 2009
KitMaker: 6,965 posts
AeroScale: 6,247 posts
Posted: Thursday, June 19, 2014 - 02:08 PM UTC
That looks delightfully crisp.
Posted: Thursday, June 19, 2014 - 02:31 PM UTC
Great work by both of you!
magnusf
Stockholm, Sweden
Joined: May 02, 2006
KitMaker: 1,953 posts
AeroScale: 1,902 posts
Joined: May 02, 2006
KitMaker: 1,953 posts
AeroScale: 1,902 posts
Posted: Thursday, June 19, 2014 - 06:14 PM UTC
Two really good looking 777s,very well done both of you!
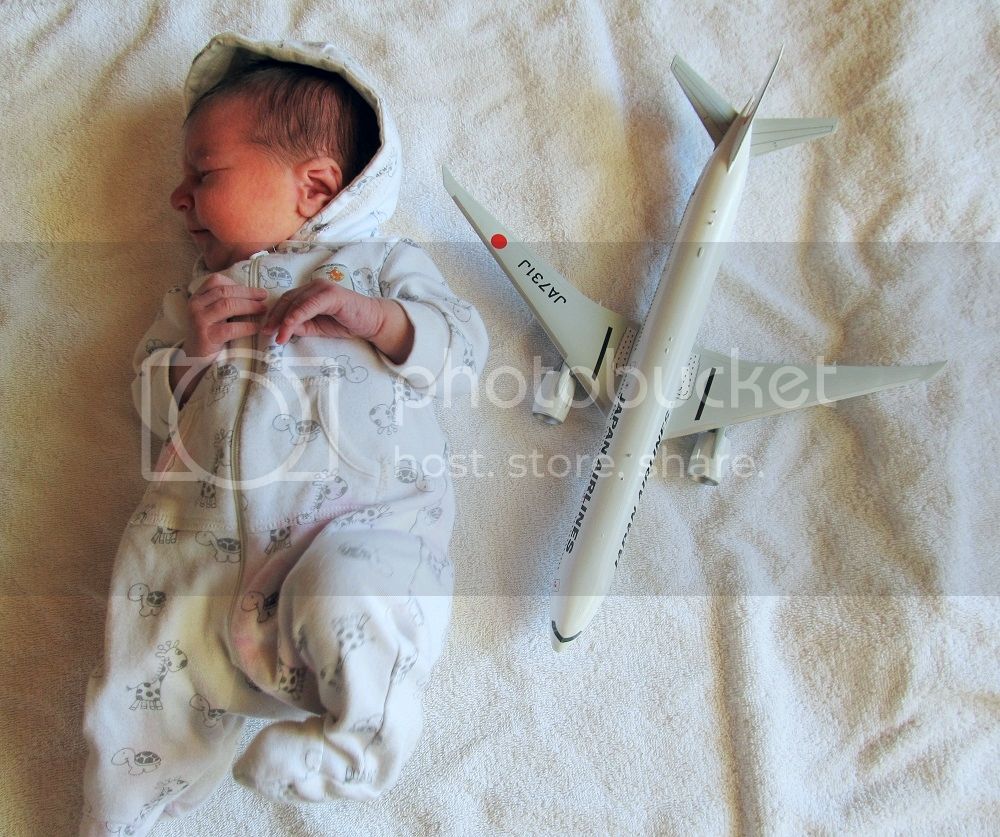
As for the baby photo: that won't work in a few months, they get tremendously fast very quickly! Congratulations!
Magnus
As for the baby photo: that won't work in a few months, they get tremendously fast very quickly! Congratulations!
Magnus
Posted: Friday, June 20, 2014 - 03:00 AM UTC
Delightful thread, Wonderful results! hat off to our master builders!
Joel_W
Associate Editor
New York, United States
Joined: December 04, 2010
KitMaker: 11,666 posts
AeroScale: 7,410 posts
Joined: December 04, 2010
KitMaker: 11,666 posts
AeroScale: 7,410 posts
Posted: Friday, June 20, 2014 - 04:18 AM UTC
Ben,
Congratulations of both models. I'm fairly confident that the Triple 7 will just seat there in your display case waiting to be looked at and admired, as you did a splendid job of building, painting, and decaling.
Your Son/Daughter (really can't tell from the one picture, so please don't be mad at me),will require a lot more TLC, time & effort, but will most certainly turn out to be your favorite. I wouldn't really count on the finished product in just 18 years. I've got a 26 year old who still thinks that this is a hotel with free room/board/phone/cable/etc.
Joel
Mcleod
Alberta, Canada
Joined: April 07, 2010
KitMaker: 1,028 posts
AeroScale: 939 posts
Joined: April 07, 2010
KitMaker: 1,028 posts
AeroScale: 939 posts
Posted: Friday, June 20, 2014 - 06:49 AM UTC
Thanks everyone for your comments and for paying the odd visit. The build was quite a bit of fun.
Joel, that's actually my new grandson, who I'm happy to say lives with us along with his brother, my son and his wife. Soon enough, I'll finally have a modelling club nearby.