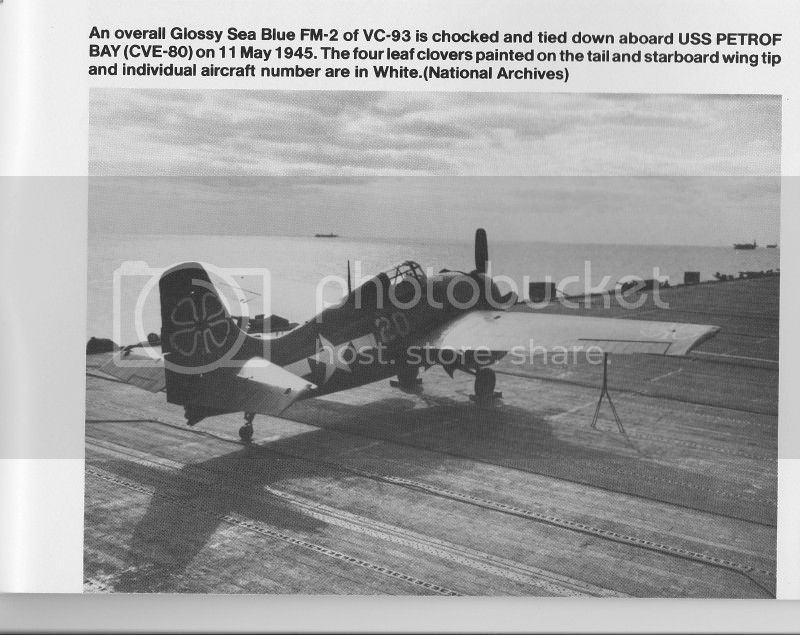
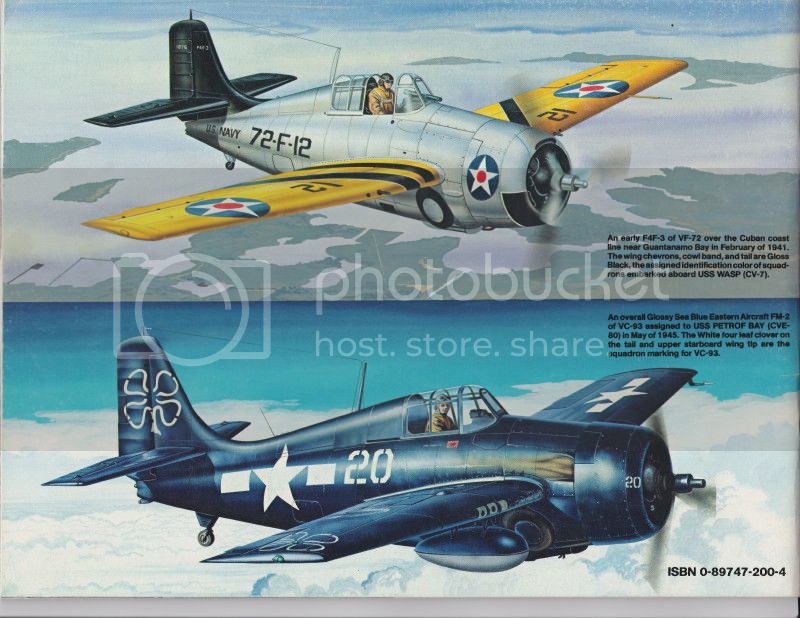
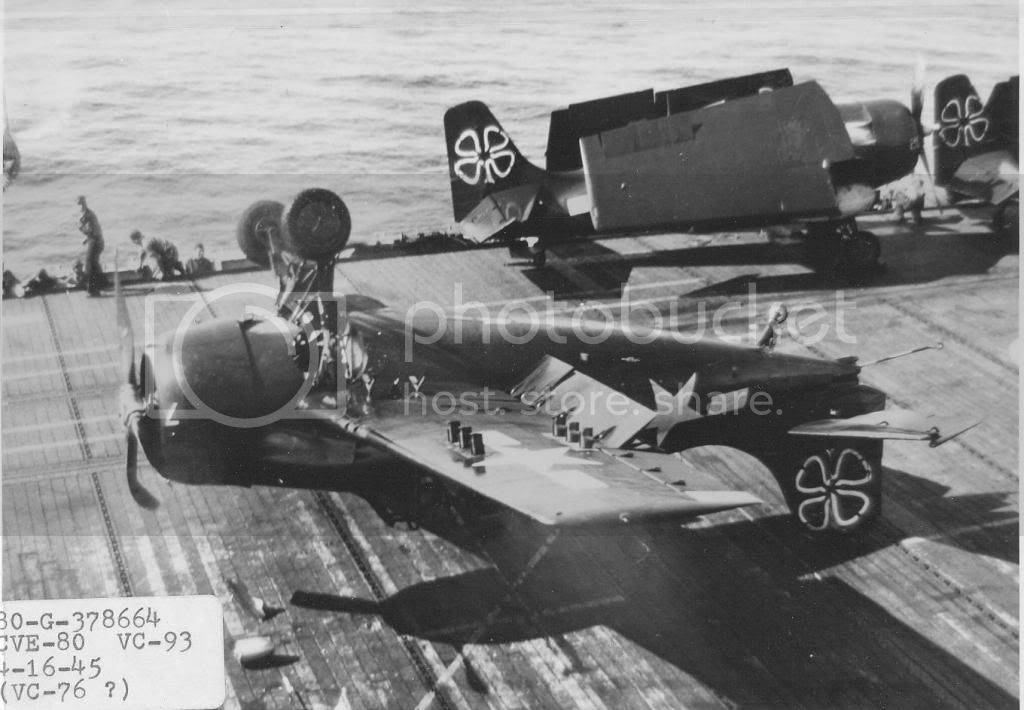
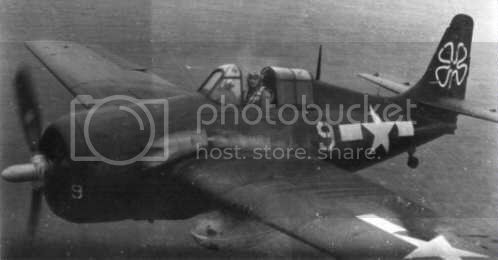
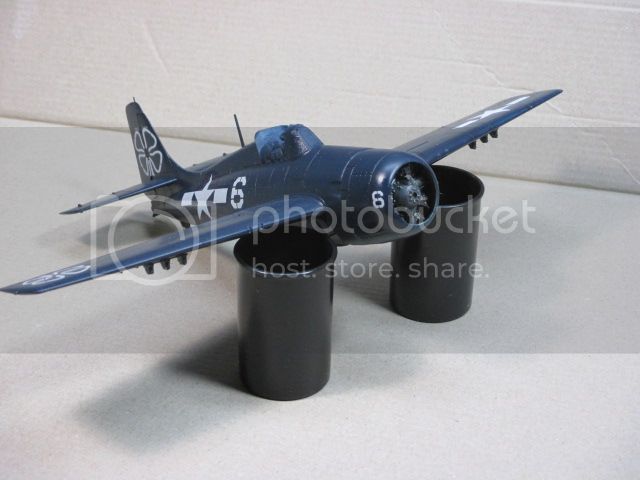
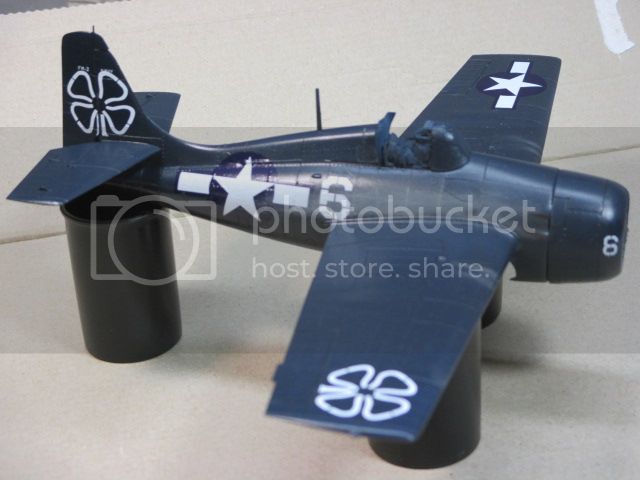
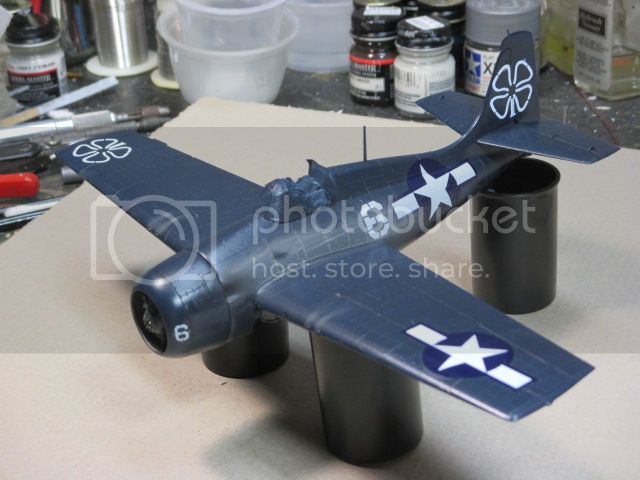
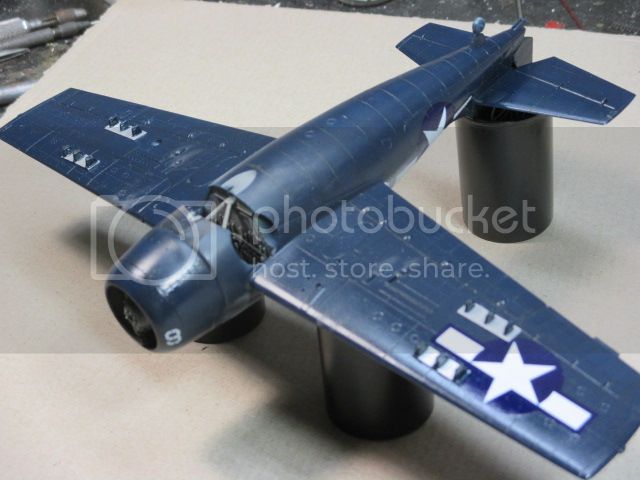
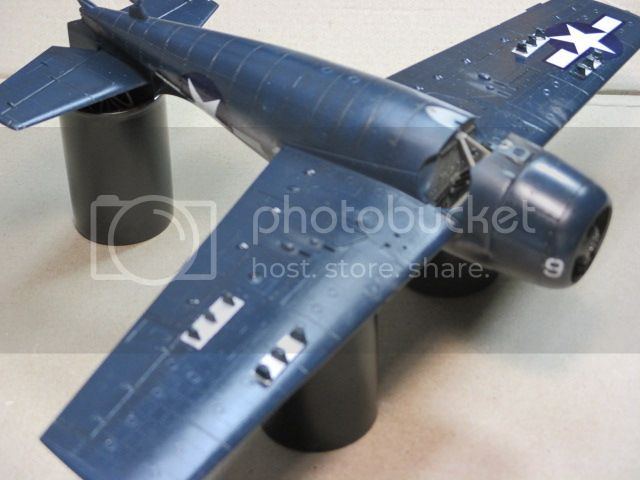
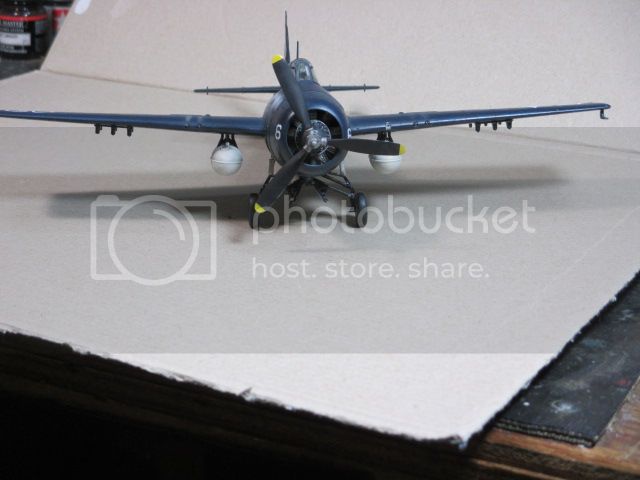
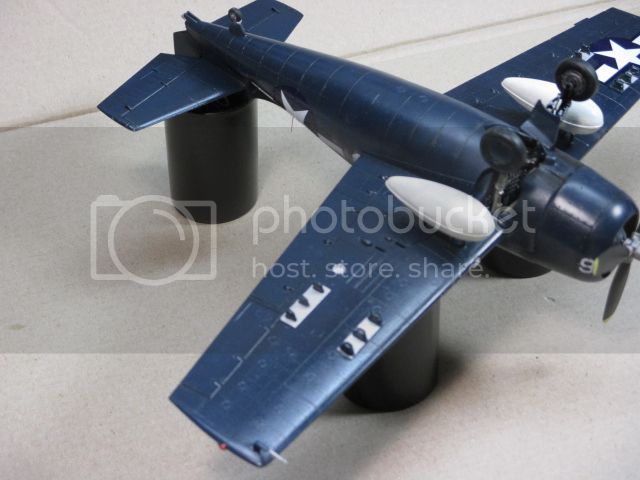
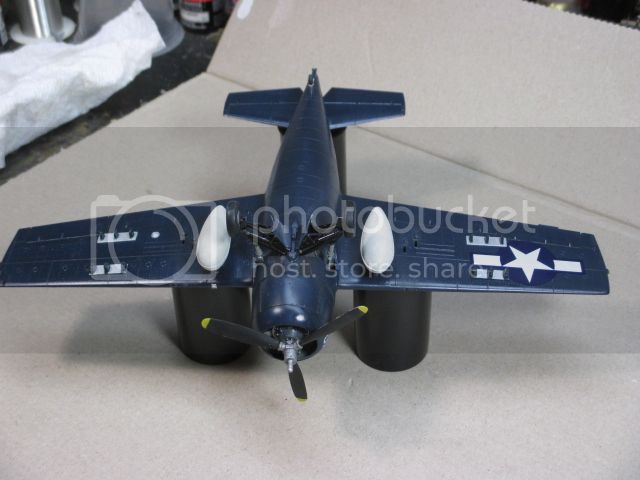
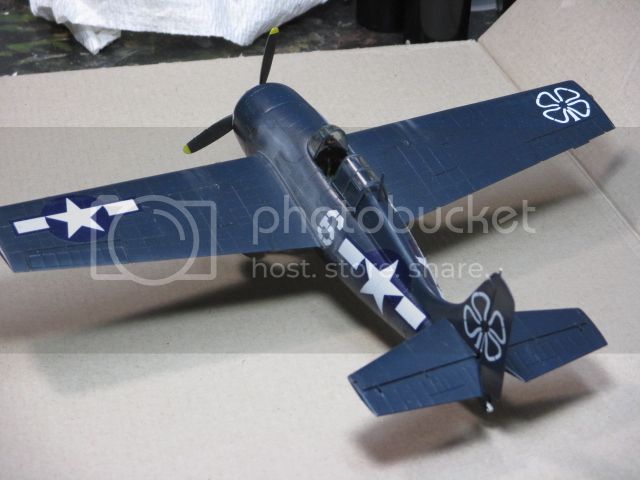
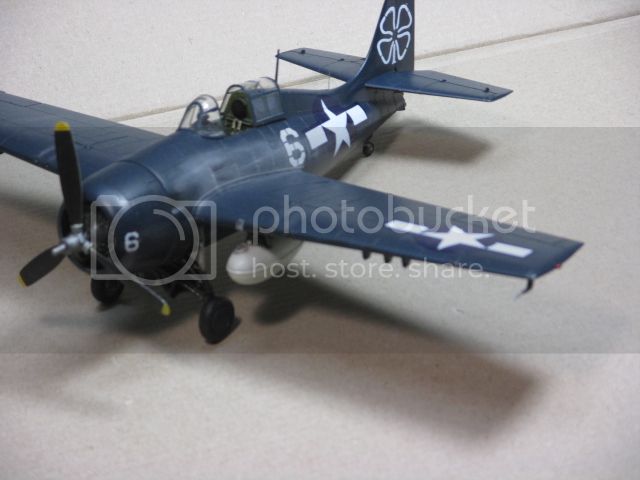
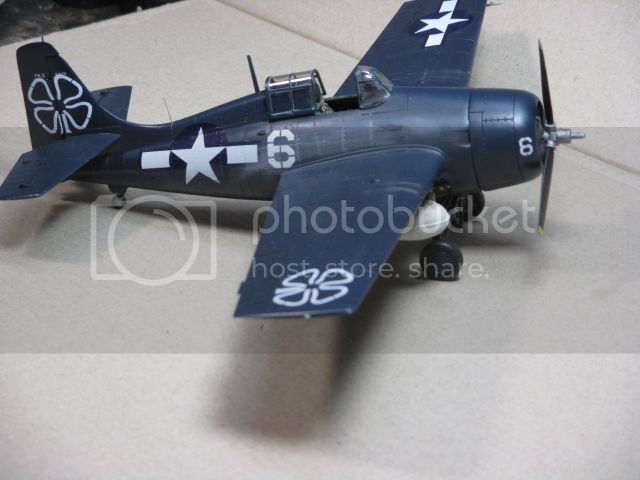
Finally got the main landing gear attached and she's standing on her own and looking pretty level.
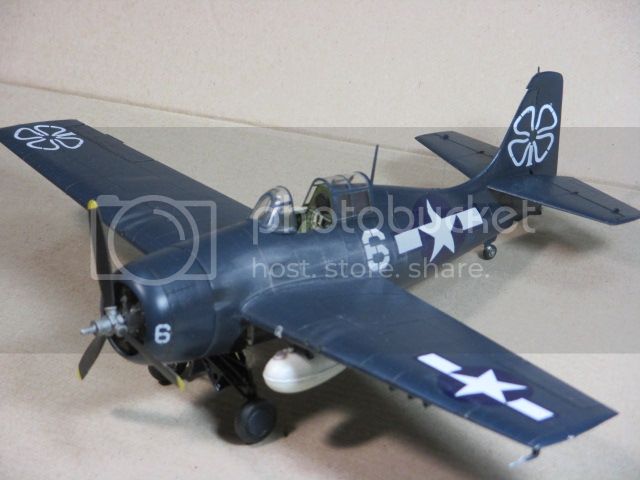
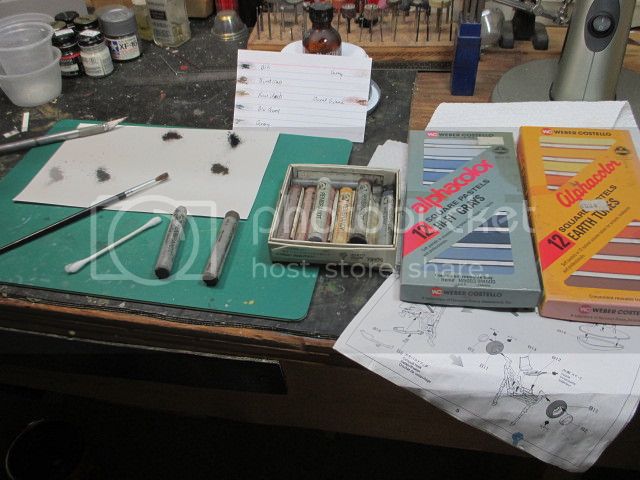
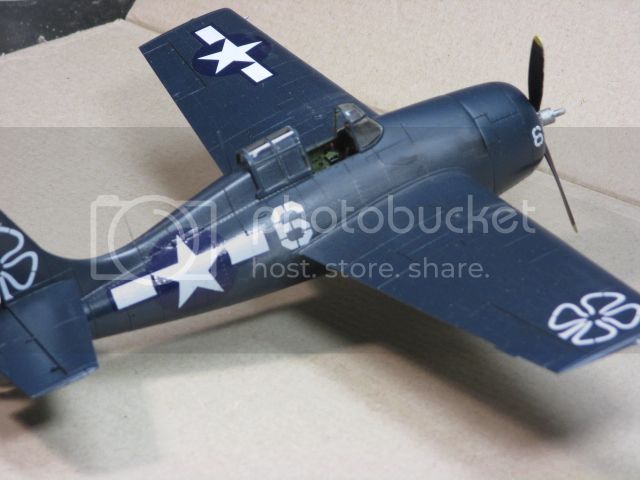
In many ways this is the most nerve wracking part of the build, all those little pieces I left off so as not to break anything now have to go on (with all the aforesaid risk of breakage). The main gear went in without problems (that good Tamiya fit again), but care does have to be taken to ensure it doesn't go in backwards. It will fit the wrong way (from past experience) and only very close examination can tell back from front. The main tires received my usual US tire finish of a flat black base with FS36081 Euro I gray dry brushed on that to show wear. Particularly where the rubber meets the road. The tail wheel was done with steel and a flat black wash for the rim and yoke and Tamiya NATO black for the tire. NATO black is a new paint for me, but I've read good things about it and thought I'd give it a shot. I'm basically an enamel paint kind of guy but I've got a feeling that the less toxic acrylics are the wave of the future so I'd better figure out how to best use them. While I'm on the topic of FS36081 gray another use I have for it is US small arms. From the 2nd World War or just prior to it, US rifles, pistols and machine guns were parkerized rather than blued. This finish has a definite gray hue rather than a deep blue black. My preferred method is a base coat of FS36081 gray followed by a flat black wash to pick out the shadows, then drybrush another coat of gray, and then a light drybrush of steel to give it a metallic feel. These things are cleaned constantly which puts a lot of wear on them, so having a little bare metal showing is realistic. I'll use use gunmetal or black for European or Japanese weapons, again with the wash and drybrush overcoats. Granted not much of the guns show in this aircraft, but they got the treatment anyway (can you say anal-retentive), plus I drilled out the bore with a #79 drill (I think I have therapy on Wednesday afternoons). Photos of the wing drop tanks showed most of them pretty scruffed up, so I finished them with my usual treatment for large white areas. I use a base coat of Model Master FS36622 which is a little darker than the standard shows, then I drybrush a couple of different shades of white on top of that. Unfortunately the camera/lighting arrangement I use doesn't pick this up well and they come across in the photos as being more white than they are. The sliding canopy is typical of kits with a raised dorsal spine and designed to look correct in the closed position, hence they ride to high when posed open. I used my only Falcon vacuform F4F canopy quite some time back so I was stuck with what Tamiya gave me. I have used the following tools on clear plastic in the past with good results on windows and light lenses but never on a major canopy piece before:
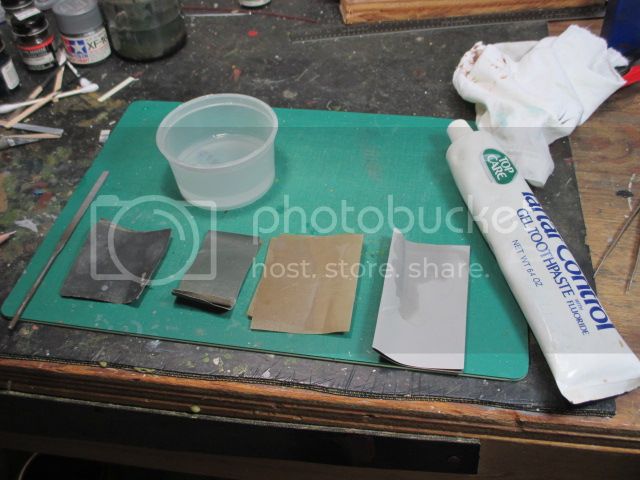
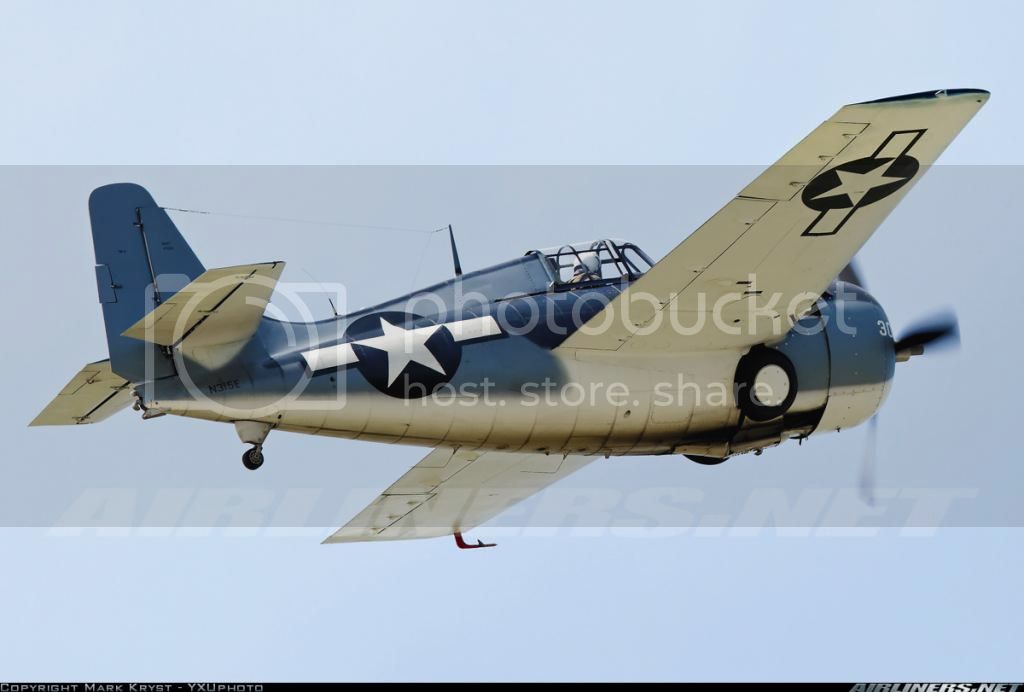
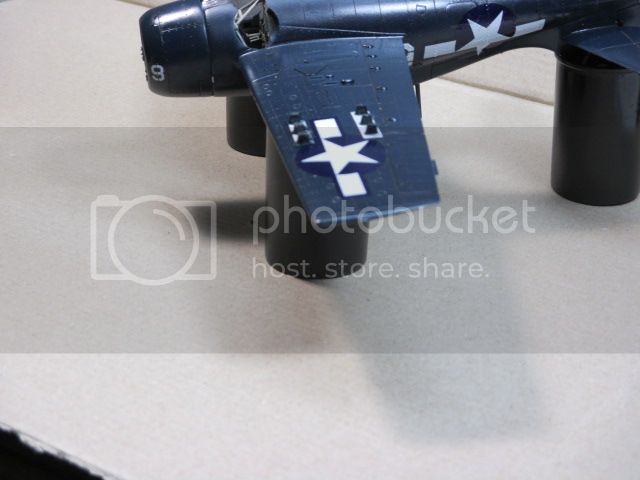
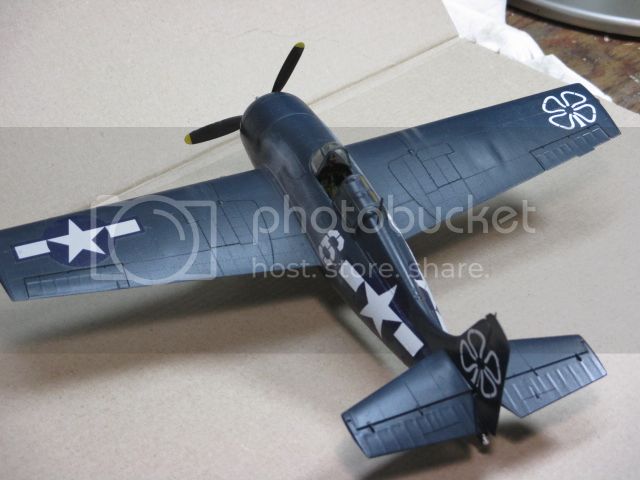
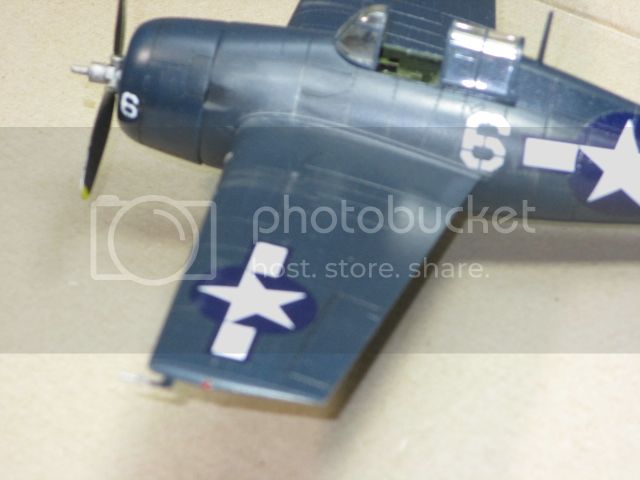
After a quick feasibility study using the canopy of my test dummy which worked well, I launched into a little canopy thinning exercise. I went after the sides of the canopy with a jewler's file until I got a fairly good sit on the aircraft, looking at your only canopy at this stage of the game is not for the faint of heart. The next step is to start wet sanding with 400 to 1200 grit wet&dry paper until you get a nice uniform cloudy canopy. I then use gel toothpaste as a polishing compound on a clean piece of old t-shirt and buff away. I don't know if I'd actually put that stuff in my mouth, but I got it ages ago, cheap, it still works like new and at the present rate of consumption, will last well into the 22nd century. The finishing touch is a quick brush of pledge floor polish, and low and behold better than new. The final solution for the navigation lights was a base coat of Model Master steel with a coat of the Tamiya clear red and green. I went with the steel because it's a little darker than aluminum but still gives a light background to the clear colors. The red turned out good, but I think the green deserves another coat to darken it a bit. If one strains, and the photo is just right, you can see the IFF (Identification Friend or Foe) antenna along the spine just aft of the national star made from stretched sprue and painted steel.
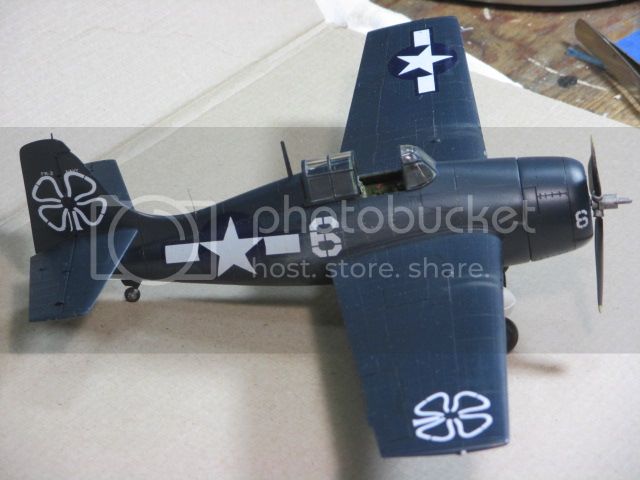
I'll finish up with some overall thoughts on the build once I get my wits about me and hopefully my final solution for the antenna wire.


