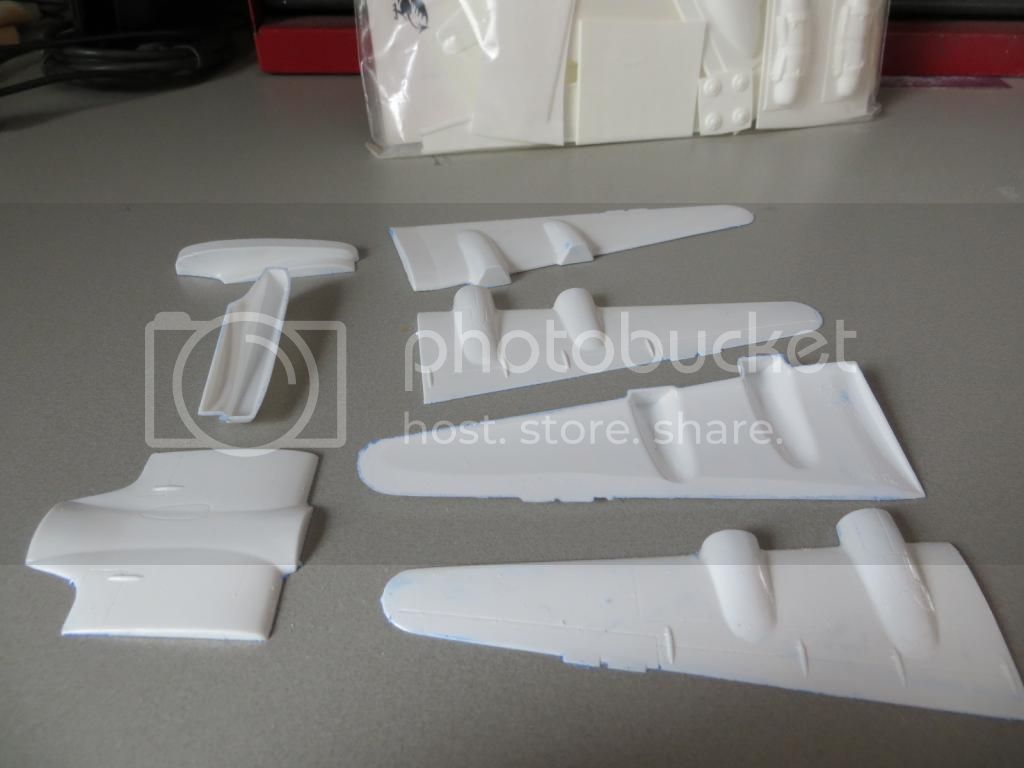
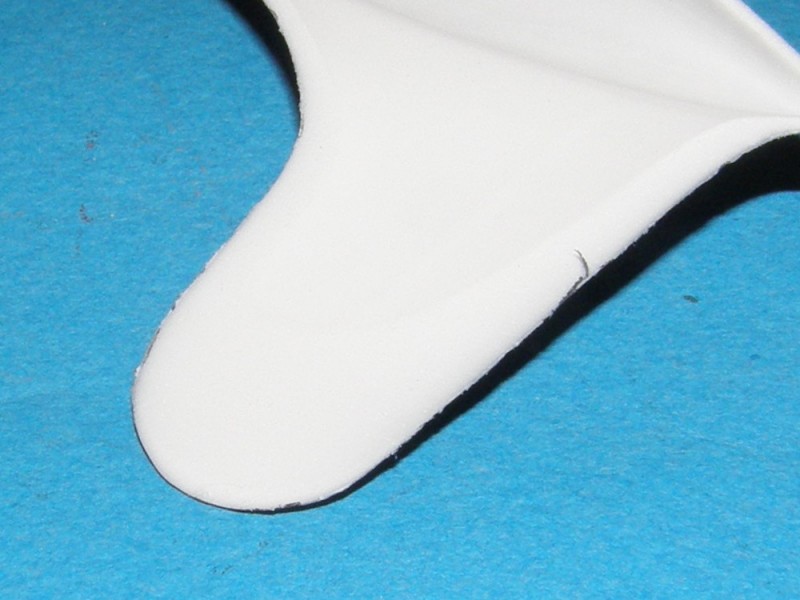
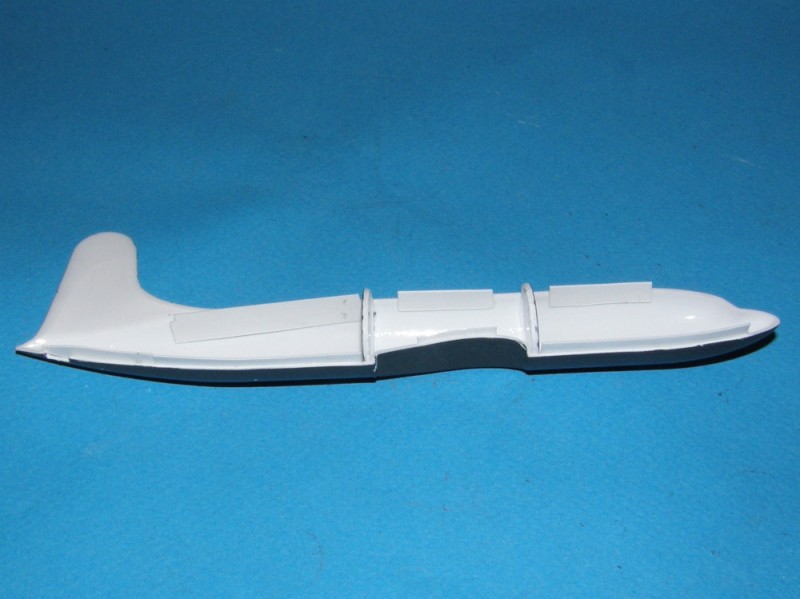
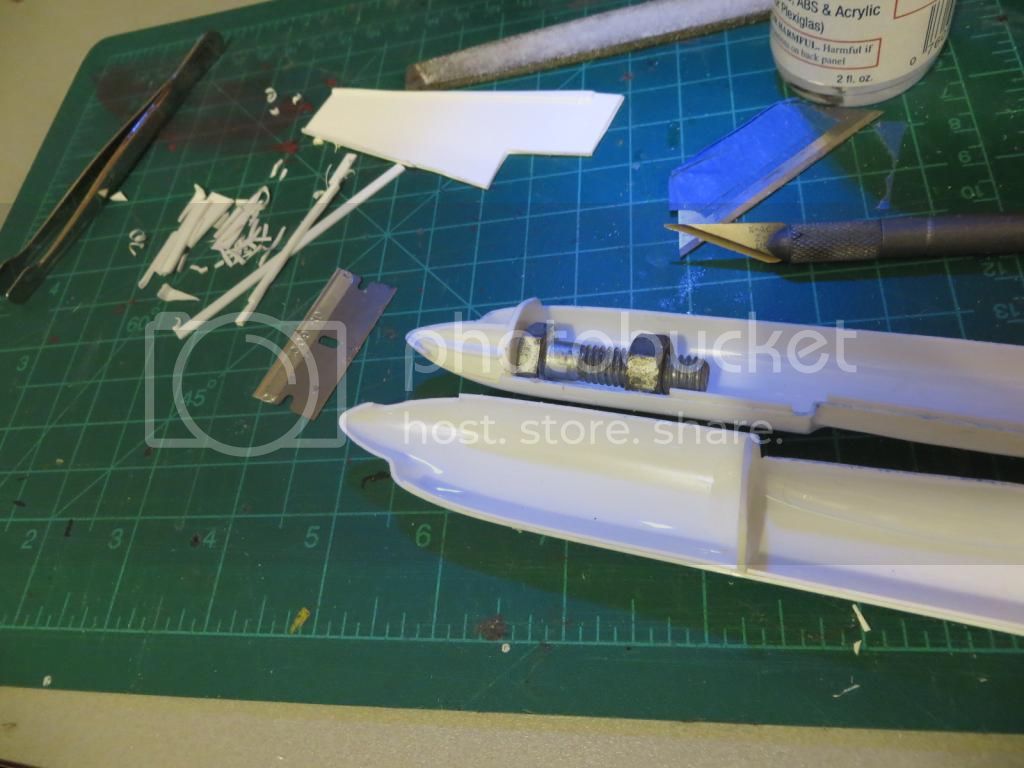
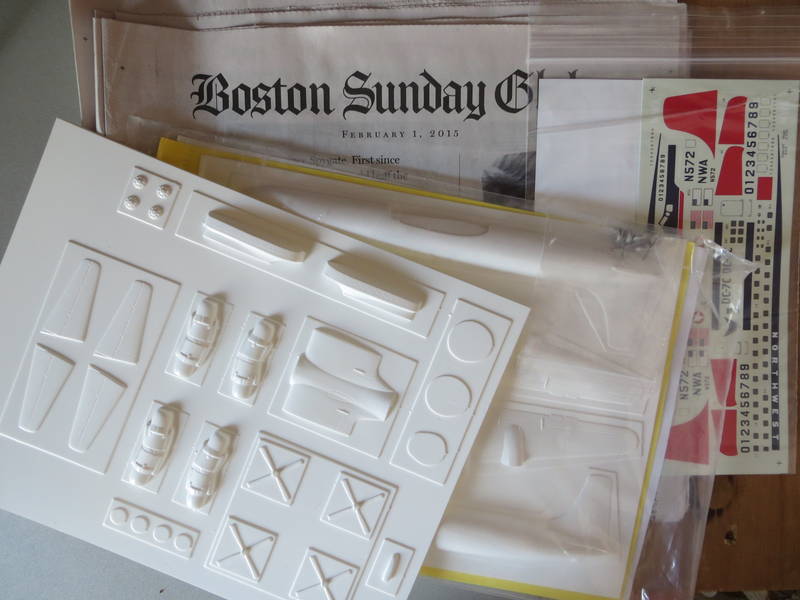
At this point, for the benefit of the curious observer, Ill lay out a very brief how-to. first, here is the key piece of information to unlock the vacuform parts from the sheet

.
Since it is virtually impossible to cut parallel to the sheet, we cut out around the part leaving a narrow flange, and then sand the flange off. Use a Sharpy pen to color the intersection of the part and the backing sheet.

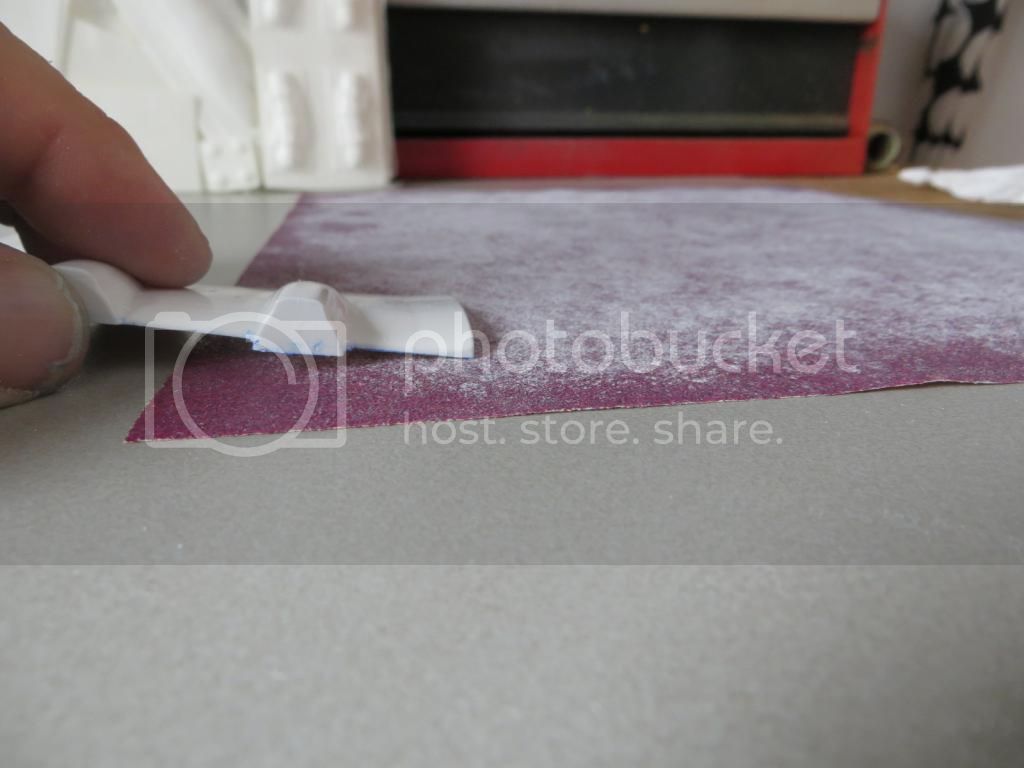
The masking tape handle makes it very easy to rub the piece around and around on the sheet of sand paper.
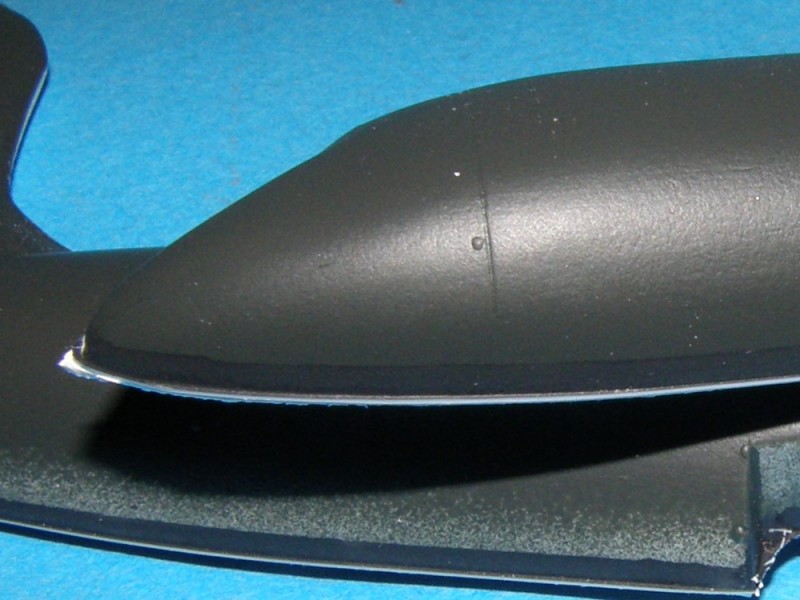
keep checking the bottom, as the flange gets thinner, the color ink will begin to show through, revealing the true outline of the part.
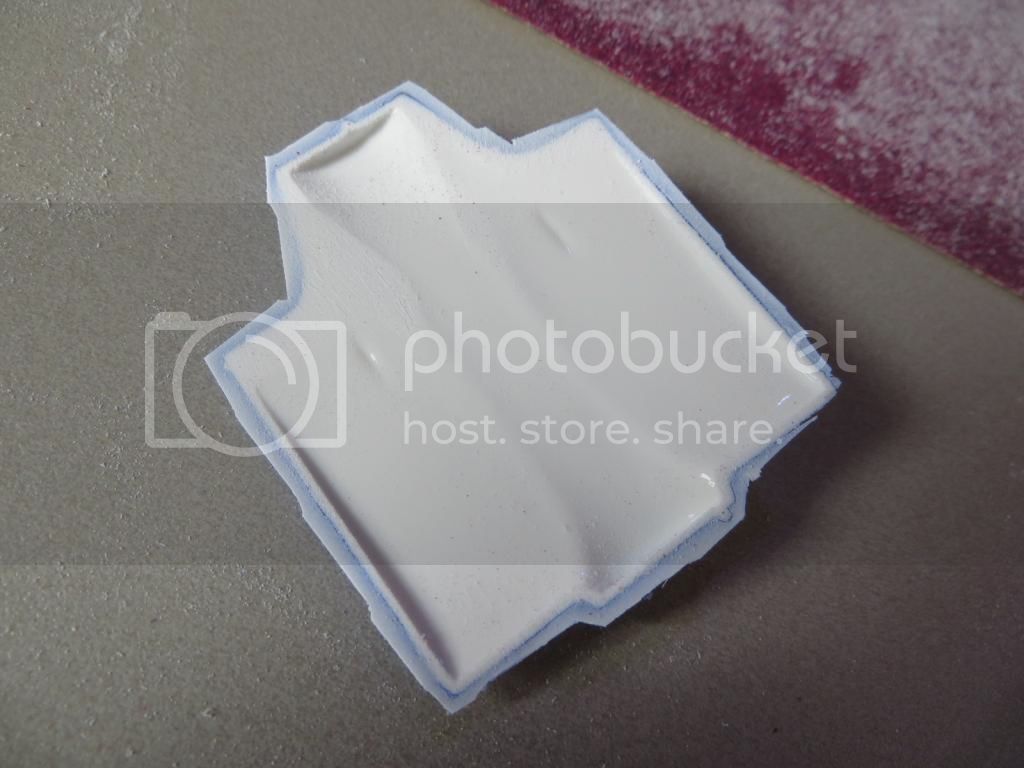
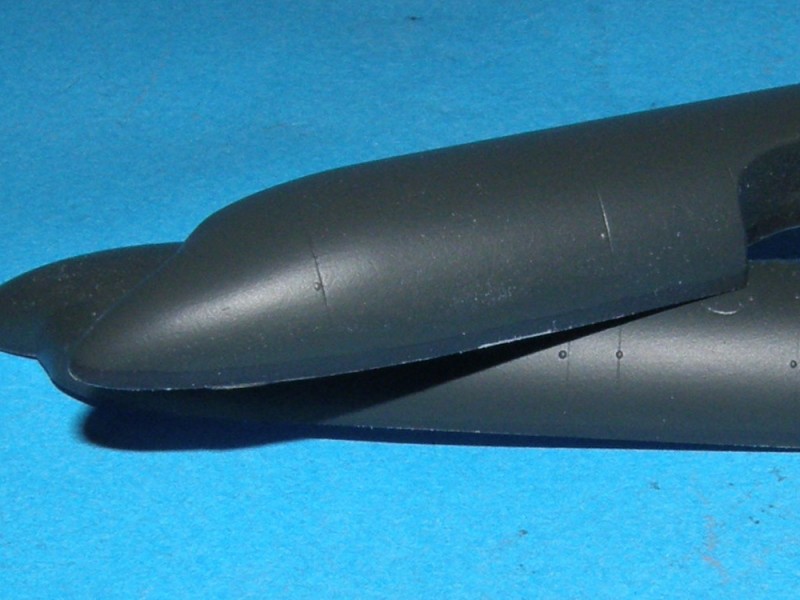
little by little, it becomes the thinnest flash and drops away.

you will need to apply different amounts of pressure and time to different edges. the wing tip and trailing edge need alot more material removed than front edge.


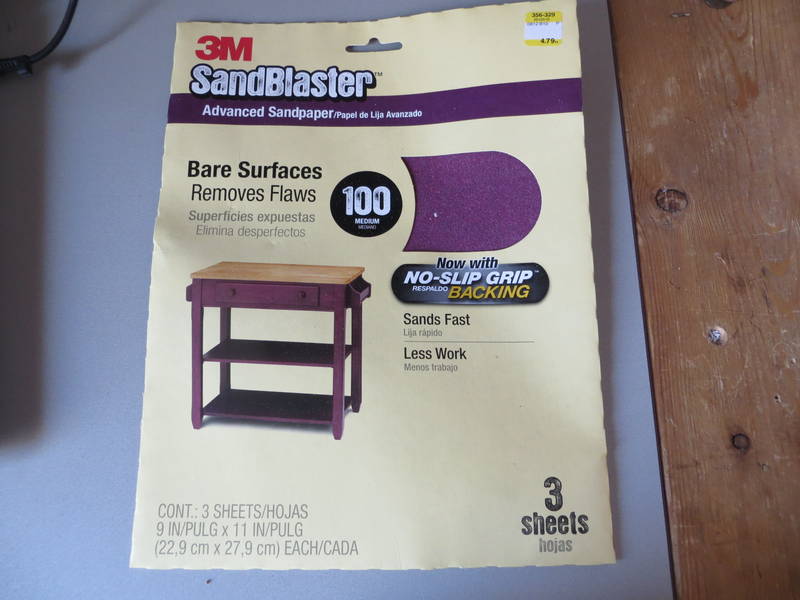
I like 100 grit sand paper for this. it cuts fast, holds alot of dust,and the finish it leaves on the mating surface loves liquid welder.
when done sanding, the ink wipes right off with isopropyl alcohol on a paper towel.
And once again,
here is the last vacuform campaign thread. There is a post at the bottom of the first page by
Dunners01 that explains the process in further detail, and at the end of the thread some brilliant finished models.







 .
.


