_GOTOBOTTOM
Air Campaigns
Want to start or join a group build? This is where to start.
OFFICIAL: Vac and Resin Campaign
MichaelSatin
Staff MemberCampaigns Administrator
AEROSCALE
_VISITCOMMUNITY
Colorado, United States
Joined: January 19, 2008
KitMaker: 3,909 posts
AeroScale: 2,904 posts
Posted: Saturday, January 31, 2015 - 04:21 AM UTC
Welcome to the Vac and Resin Campaign!

The campaign will run from February 1, 2015 through August 31, 2015.

If you haven't signed up yet, or want to see the rules, go here.

Please post your initial and in-progress photos as well as campaign discussion in this thread. Please post your finished build photos in the campaign gallery.

Looking forward to some interesting vac and resin builds! On with the show!

Michael
BoiseBlade
#523
_VISITCOMMUNITY
Idaho, United States
Joined: February 28, 2014
KitMaker: 342 posts
AeroScale: 250 posts
Posted: Saturday, January 31, 2015 - 11:08 PM UTC
OK Jessie and Michael, I am taking the challenge!
I have 2 Vac kits of Italian birds. I have never done a Vac before.
I have read previous posts and write-ups on how to do Vac kit and I will dive in.........

I will do the Breda-65......
But if I mess it up to bad may switch to IMAM Ro.57
JClapp
#259
_VISITCOMMUNITY
Massachusetts, United States
Joined: October 23, 2011
KitMaker: 2,265 posts
AeroScale: 1,715 posts
Posted: Saturday, January 31, 2015 - 11:17 PM UTC
Excellent! We are off and running.

Jeff those are both very intriguing subjects. good luck!

Ive decided to go with the Welsh DC-7 and Northwest Airline red tail decal.

My entry in "National Pride" is a Northwest 707, so I'm keen to see them side by side.

edit to add new photo with date stamp and -
my weapon of choice

JClapp
#259
_VISITCOMMUNITY
Massachusetts, United States
Joined: October 23, 2011
KitMaker: 2,265 posts
AeroScale: 1,715 posts
Posted: Saturday, January 31, 2015 - 11:36 PM UTC
Bringing forward my prototype pictures


just imagine the sound of all those pistons...
Jessie_C
_VISITCOMMUNITY
British Columbia, Canada
Joined: September 03, 2009
KitMaker: 6,965 posts
AeroScale: 6,247 posts
Posted: Saturday, January 31, 2015 - 11:45 PM UTC
Watch out for the upper wing root inserts. Mine didn't mate to the wing very well when I matched them to the curve inset in the fuselage. I'd recommend that you mate them to the lower wing part and fill the resulting gap in the fuselage side with epoxy putty. Other than that, it goes together very well.


Some nice noise here:
JClapp
#259
_VISITCOMMUNITY
Massachusetts, United States
Joined: October 23, 2011
KitMaker: 2,265 posts
AeroScale: 1,715 posts
Posted: Saturday, January 31, 2015 - 11:47 PM UTC

Quoted Text

Watch out for the upper wing root inserts. Mine didn't mate to the wing very well when I matched them to the curve inset in the fuselage. I'd recommend that you mate them to the lower wing part and fill the resulting gap in the fuselage side with epoxy putty. Other than that, it goes together very well.


I havent even looked at the "instructions" yet.
An engineering challenge is to be expected,

and of course masses of miliput.
Bigrip74
_VISITCOMMUNITY
Texas, United States
Joined: February 22, 2008
KitMaker: 5,026 posts
AeroScale: 2,811 posts
Posted: Wednesday, February 04, 2015 - 10:02 PM UTC
I will pull the two kits out of a pile tonight and make a decision on which to use.

Bigrip74
_VISITCOMMUNITY
Texas, United States
Joined: February 22, 2008
KitMaker: 5,026 posts
AeroScale: 2,811 posts
Posted: Thursday, February 05, 2015 - 05:33 PM UTC
The two vac kits that I have. Now to choose one for the campaign, I am leaning towards the SB2U.


Bob
Bigrip74
_VISITCOMMUNITY
Texas, United States
Joined: February 22, 2008
KitMaker: 5,026 posts
AeroScale: 2,811 posts
Posted: Friday, February 06, 2015 - 09:33 AM UTC
I went ahead and cut out the major parts:


JClapp
#259
_VISITCOMMUNITY
Massachusetts, United States
Joined: October 23, 2011
KitMaker: 2,265 posts
AeroScale: 1,715 posts
Posted: Saturday, February 07, 2015 - 06:10 AM UTC
I've made a start on the Welsh DC-7 as well.
snapping the parts out of the sheets, the fuselage looks nice, unlike almost all Welsh airliners, the windows are not dimpled in, no pretense of drilling them out and no need to fill the dimples.

Ill set that aside for later.

Havent decided if ill use the kit props or buy some metal ones.


The engines look pretty OK. i can work with that. no need methinks to search for resin replacements.


Given Jessie's information about the challenging wing, ill start with that. Seven parts.

besides the wing root fillets that need razor cutting, there is also a challenging dihedral to attend to.

I have a job to do tommorrow morning, so I probobly wont be able to get back this until monday.

V2Phantom
_VISITCOMMUNITY
United States
Joined: December 26, 2008
KitMaker: 288 posts
AeroScale: 195 posts
Posted: Sunday, February 08, 2015 - 09:34 PM UTC
Hi everyone! I signed up for the GB way back when, so I might as well get going on the build. I like building aircraft flown by NASA so I thought I would pick NASA's KC-135A (Weightless Wonder V aka Vomit Comet) as my build of choice. Here's the real aircraft as it looked when I photographed it at the Pima museum back in 2010:


Nose art:


I will be starting with the Welsh 1/144 KC-135A along with decals from Ronin Decals:


Have fun modeling!
Mike
JClapp
#259
_VISITCOMMUNITY
Massachusetts, United States
Joined: October 23, 2011
KitMaker: 2,265 posts
AeroScale: 1,715 posts
Posted: Sunday, February 08, 2015 - 09:42 PM UTC
the Vomit Comet! Excellent subject!

Nice kit too, I have one of those, not far down from the top of the pile.
JClapp
#259
_VISITCOMMUNITY
Massachusetts, United States
Joined: October 23, 2011
KitMaker: 2,265 posts
AeroScale: 1,715 posts
Posted: Thursday, February 12, 2015 - 07:56 AM UTC
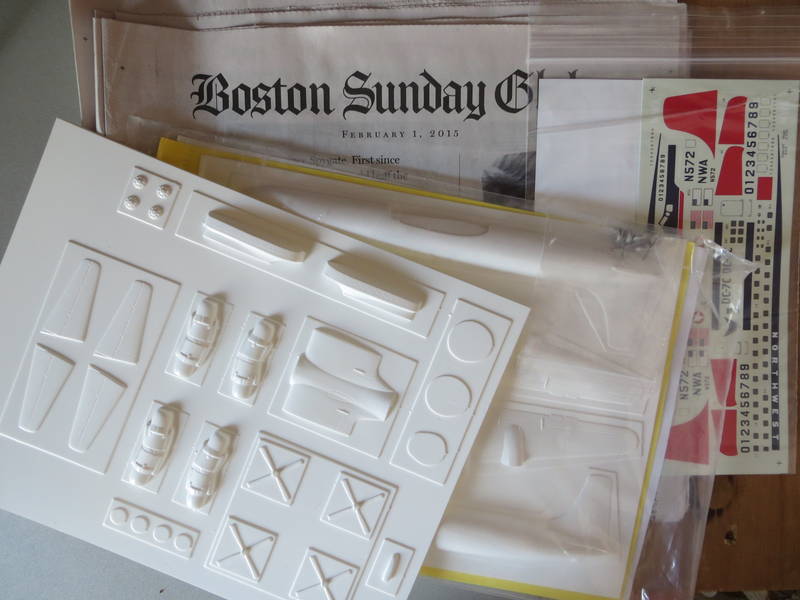
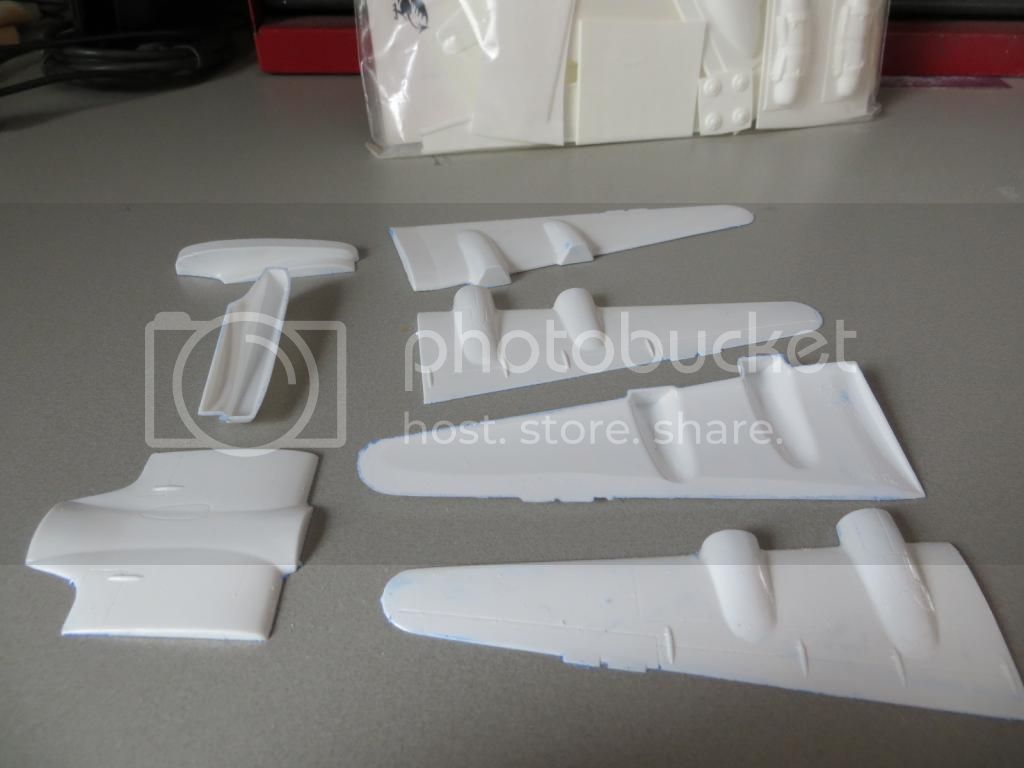
At this point, for the benefit of the curious observer, Ill lay out a very brief how-to. first, here is the key piece of information to unlock the vacuform parts from the sheet
.
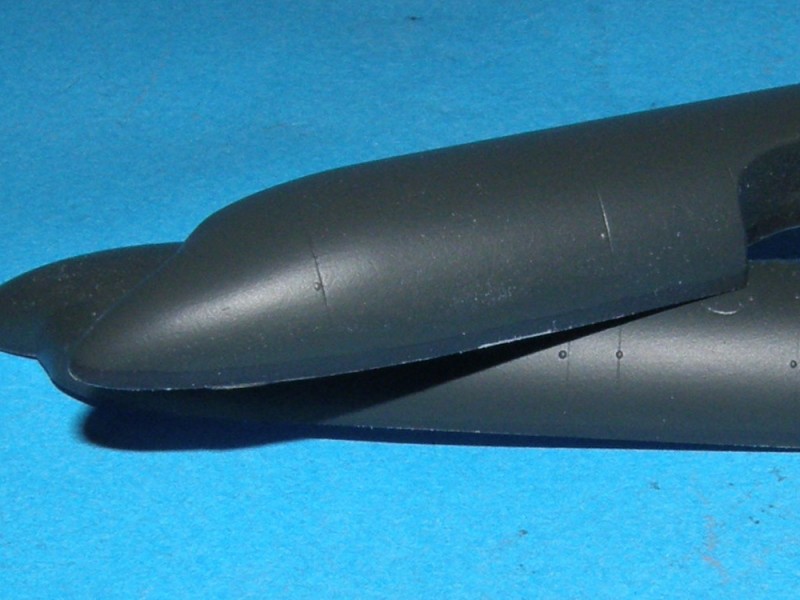
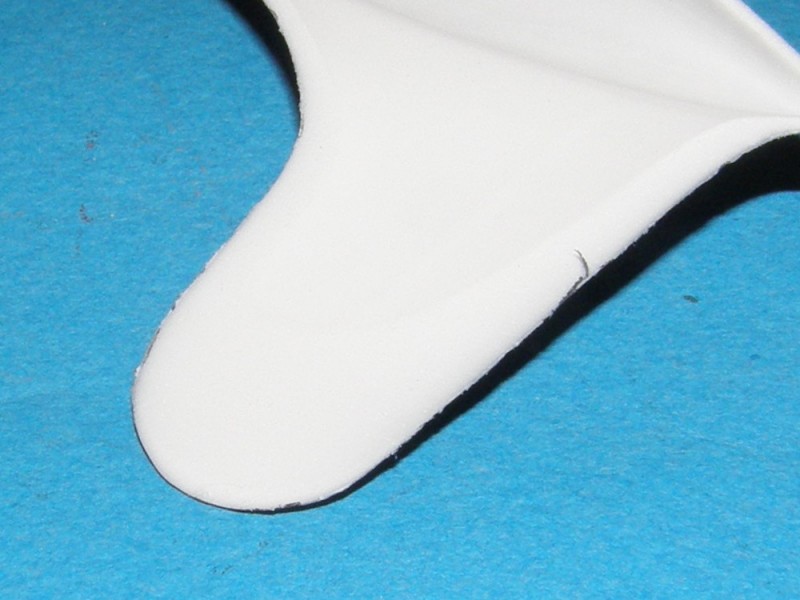
Since it is virtually impossible to cut parallel to the sheet, we cut out around the part leaving a narrow flange, and then sand the flange off. Use a Sharpy pen to color the intersection of the part and the backing sheet.

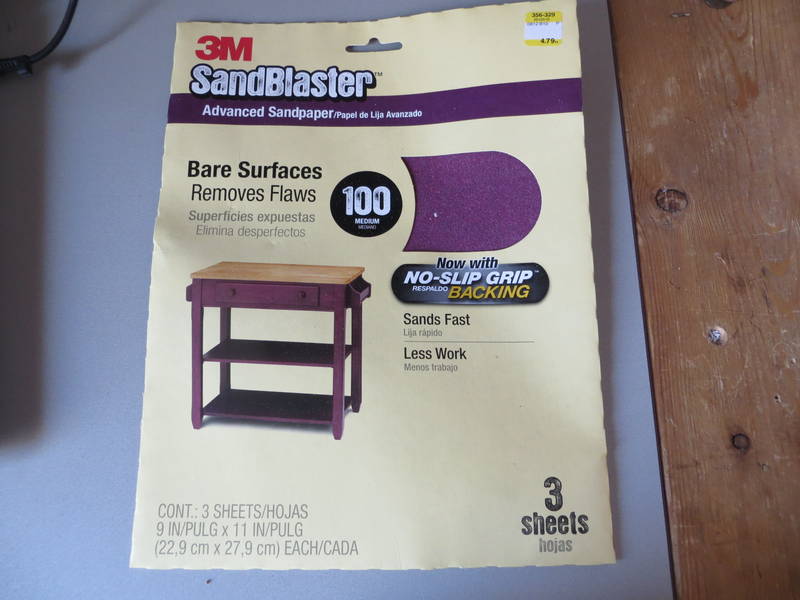
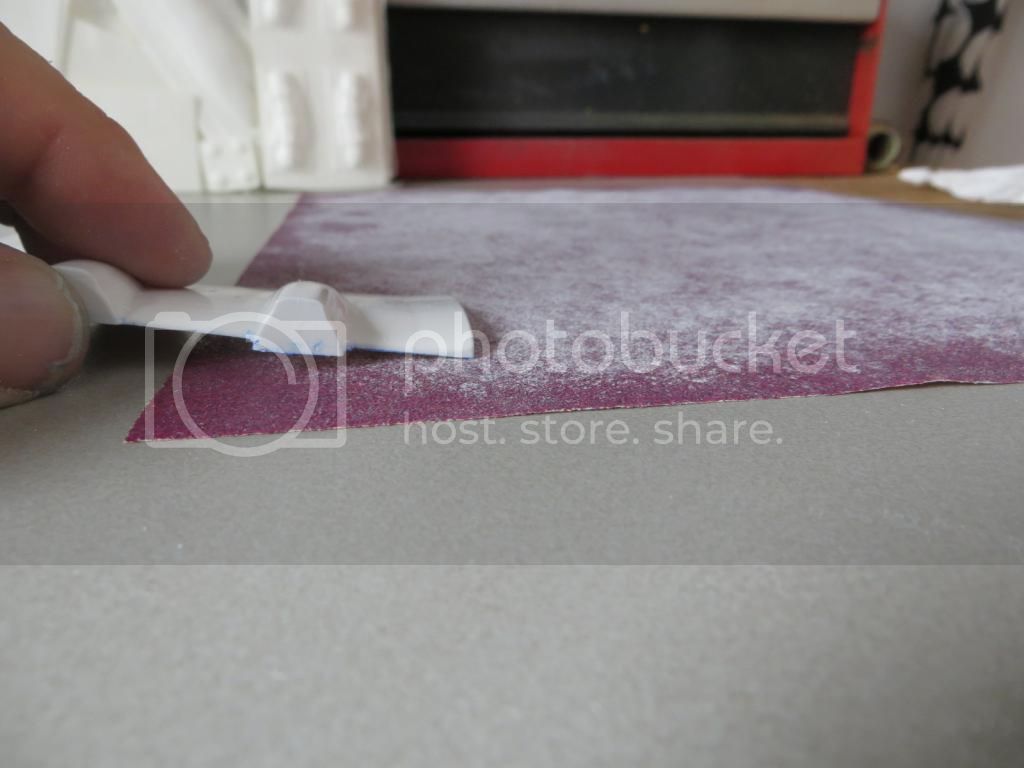
The masking tape handle makes it very easy to rub the piece around and around on the sheet of sand paper.
keep checking the bottom, as the flange gets thinner, the color ink will begin to show through, revealing the true outline of the part.

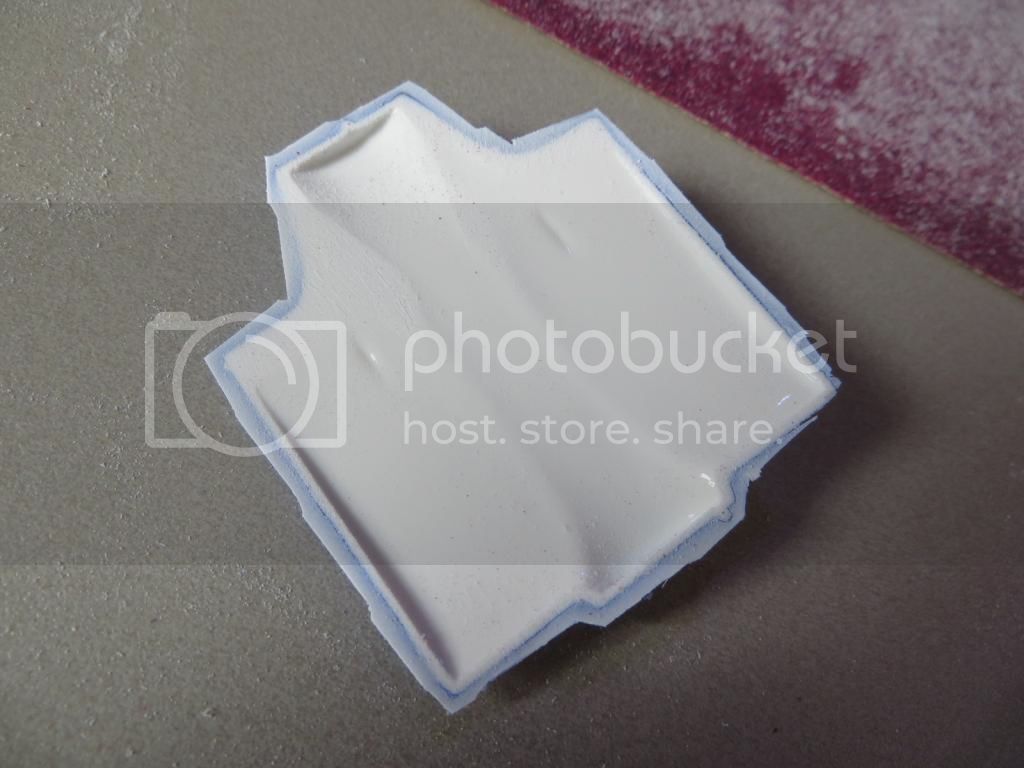
little by little, it becomes the thinnest flash and drops away.

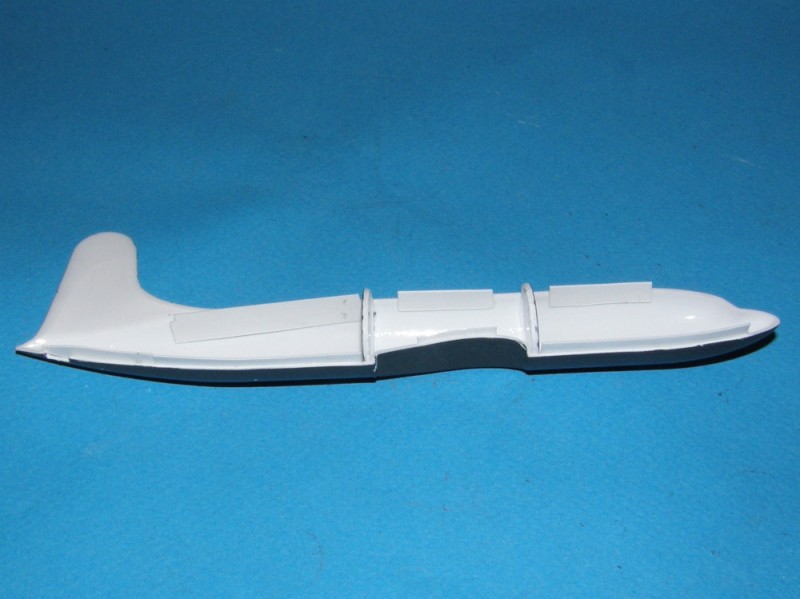
you will need to apply different amounts of pressure and time to different edges. the wing tip and trailing edge need alot more material removed than front edge.


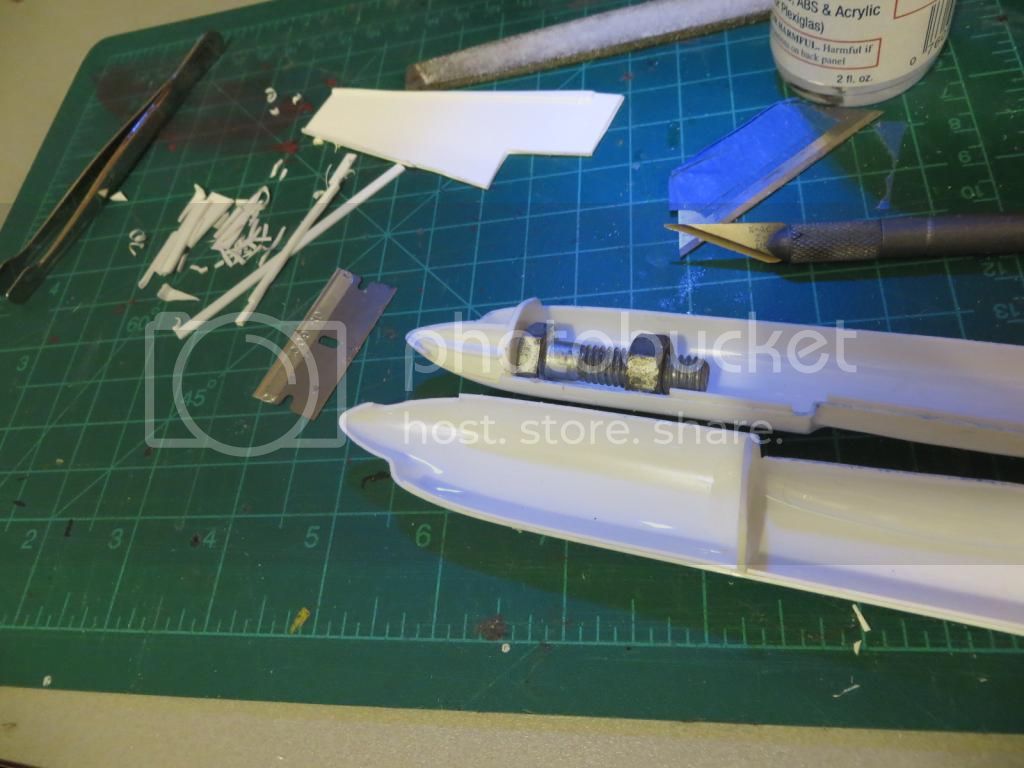
I like 100 grit sand paper for this. it cuts fast, holds alot of dust,and the finish it leaves on the mating surface loves liquid welder.

when done sanding, the ink wipes right off with isopropyl alcohol on a paper towel.

And once again, here is the last vacuform campaign thread. There is a post at the bottom of the first page by Dunners01 that explains the process in further detail, and at the end of the thread some brilliant finished models.

JClapp
#259
_VISITCOMMUNITY
Massachusetts, United States
Joined: October 23, 2011
KitMaker: 2,265 posts
AeroScale: 1,715 posts
Posted: Thursday, February 12, 2015 - 08:20 AM UTC
Now an update on the DC-7
Ive sanded out and cleaned all the wing parts.


the outer wings have a dihedral, so an angle must be sanded onto the upper surface where it overlaps the center panel


the kit has nicely inscribed panel lines, and the trailing edge is nice and thin.


the wheel well doors are closed on the part, so have to be cut out. Ill pack some Milliput in the hole later.


the wing root fillets are separate parts that had to be cut in two planes.

I got it wrong and had to weld back on a sliver that I had cut off.

the wing all welded together.


The assembled wing has a good solid feel.

tomorrow Ill get the fuselage halves sanded out and see how the wing fits on.
BoiseBlade
#523
_VISITCOMMUNITY
Idaho, United States
Joined: February 28, 2014
KitMaker: 342 posts
AeroScale: 250 posts
Posted: Thursday, February 12, 2015 - 08:31 AM UTC
Awesome Jonathan!!!!!!
Are you the one who provided this step by step a previous Build a while back?
If so this is the method I am going to be trying since this is my first VAC..... SO any other info you can provide during your build I will be following very closely!
Thanks again for a nice step by step....
Next up for me is the sanding parts.

Regards

Jeff D
Jessie_C
_VISITCOMMUNITY
British Columbia, Canada
Joined: September 03, 2009
KitMaker: 6,965 posts
AeroScale: 6,247 posts
Posted: Thursday, February 12, 2015 - 08:53 AM UTC
Here's my trick to sanding out fuselages. You don't need to leave as much waste around the edges. I also like to spray my fuselages with primer while they're still on the sheet to make the waste very visible. Score around the edges of the fuselage halves at a 45 degree angle, then snap off the excess plastic.

Now you see it

Now you don't

It took me less than 15 minutes to sand out both fuselage halves. Most of that time was spent getting the trailing edge of the fin acceptably thin


Before you glue the fuselage halves together, you need a bit of re-enforcement inside. Bulkheads (given in some kits, and scratch built for others) and tabs give the glue something to grip to. Don't forget nose weight if your kit will need it.
BoiseBlade
#523
_VISITCOMMUNITY
Idaho, United States
Joined: February 28, 2014
KitMaker: 342 posts
AeroScale: 250 posts
Posted: Thursday, February 12, 2015 - 12:30 PM UTC
Thanks Jessica,
Now I have 2 methods to try out......
I am thinking of added a bit more interior to the model I am doing for support structure as well.
V2Phantom
_VISITCOMMUNITY
United States
Joined: December 26, 2008
KitMaker: 288 posts
AeroScale: 195 posts
Posted: Friday, February 13, 2015 - 09:34 PM UTC
Jonathan, Jessica

Outstanding tips for working with vacuforms! Both your descriptions and photos really make this part of the process clear. I hope to have the first steps on my road to getting a finished build posted by the end of this weekend.
Have fun modeling!
Mike
JClapp
#259
_VISITCOMMUNITY
Massachusetts, United States
Joined: October 23, 2011
KitMaker: 2,265 posts
AeroScale: 1,715 posts
Posted: Saturday, February 14, 2015 - 02:23 AM UTC
Painting the whole sheet before scoring and snapping is a chuffing good idea. I may that next time.
In any case it's important to keep site of the plane of reference while sanding your way toward it.


if one side goes faster than the other, you can work 'over the edge' until the slow side catches up.


Yup, a vertical fin may take as much time as the rest of the part, and is basically treated as a separate part.


Some people recommend wet sanding, to prevent potentially hazardous respirable particulate. I don't like wet sanding. I find going slowly with the 100 grit, the dust is course enough to stay on the sheet, and I can just vacuum it off periodicly.
I do keep a damp paper towel at hand to wipe the table and my hands.

The DC-7 fuselage halves complete


and the dry fit to the wing looks good.


next I have to cut out the nose wheel doors and cobble up a wheel well.

JClapp
#259
_VISITCOMMUNITY
Massachusetts, United States
Joined: October 23, 2011
KitMaker: 2,265 posts
AeroScale: 1,715 posts
Posted: Sunday, February 15, 2015 - 05:12 AM UTC
nose wheel doors cut out and set aside


bulkheads and nose weight epoxied in place, and a box for the nose wheel well installed

Fuselage welded shut


that's a nice thin fin and rudder.

Went ahead and welded the wing to the fuselage


starting to look like a DC7.
Bigrip74
_VISITCOMMUNITY
Texas, United States
Joined: February 22, 2008
KitMaker: 5,026 posts
AeroScale: 2,811 posts
Posted: Sunday, February 15, 2015 - 05:22 AM UTC
Jonathan, I like the nose weight. What type or brand of abrasive are you using, it seems to really be serving you well with the looks of your photos? Well done so far.


Bob
JClapp
#259
_VISITCOMMUNITY
Massachusetts, United States
Joined: October 23, 2011
KitMaker: 2,265 posts
AeroScale: 1,715 posts
Posted: Sunday, February 15, 2015 - 01:28 PM UTC
This has proven to be very good stuff


V2Phantom
_VISITCOMMUNITY
United States
Joined: December 26, 2008
KitMaker: 288 posts
AeroScale: 195 posts
Posted: Sunday, February 15, 2015 - 08:46 PM UTC
Well, I need to start somewhere on this build! Here's the starting sheet with the wings outlined with a marker before I start the separation and clean-up.


I did the same with the fuselage halves and then proceeded to cut them out and sand the fuselage parts flush:


It has been many years since I touched a vacuform and I am more than a little rusty! You can see where I managed to tear the base on one of the vertical fins. I also see where the tail is slightly shorter on one of the fuselages so I'll need a bit of Apoxie Putty for a fix there!
Have fun modeling
Mike
phantom_phanatic309
#372
_VISITCOMMUNITY
United Kingdom
Joined: March 10, 2010
KitMaker: 2,568 posts
AeroScale: 1,619 posts
Posted: Monday, February 16, 2015 - 01:48 AM UTC
Some interesting models being built here. And some good tips too for newbies like me.

I've decided against getting a Valetta conversion from Airmodel. An interesting looking model, but the need to buy props and spinners has put me off. Not sure what would be right for the model or what would fit.

So, looking at what I have it's either a Rareplanes A-3 Skywarrior.


Or, a Joystick Models Albatros J1.


I've got a couple of buildings to finish off to give me some space on the desk so I have some time to decide. I am leaning towards the whale though, seems a lot more straight forward despite its size. And I did spend a long time hunting for some decals for it.
JClapp
#259
_VISITCOMMUNITY
Massachusetts, United States
Joined: October 23, 2011
KitMaker: 2,265 posts
AeroScale: 1,715 posts
Posted: Monday, February 16, 2015 - 03:16 AM UTC
Stephen, Those are both very interesting kits. I would lean toward the A3 as well, but don't let my interests influence you.
I can just see in your photo, on the instructions that wing spars are recommended, and a design suggested, possibly even materials provided.

Mike I.'s KC-135 is apparently going to require that too, but I havent looked at the instructions of that kit, and there is no reason to think they are are explicit.

Welsh models DC-4 kit has plain but joints for wing to fuselage as well, and I can tell you that type of joint needs internal spars. (I am still struggling with that kit after a few years in the hanger - never again)

my DC7 has plain butt joints for the tail plane, and Ive already determined to add a spar to that, so we will have much discussion of airframe engineering in the coming weeks, me thinks.
 _GOTOTOP