Finally, the last bits are on the AT-11. The aircraft serial numbers were as anticipated a hassle due to their small size compounded by having to be made up of individual numbers. Of course not to be satisfied with the inherent hassle, I managed, in spite of taking precautions not to get the lettering on the opposite side (right side) misplaced, I did just that. I discovered my mistake about three numbers into the "807" (remember there is quite a delay between numbers) so I was only able to move the 80 part. Naturally the "7" was the one number that I didn't have a back-up for on my decal sheet. After an extensive and time consuming search, I managed to pirate a passable 7 from an ancient F4J phantom sheet. Good thing too, my plan-B was to order another sheet from Hannants, that would have set the old project back. The aircraft data stencil under the pilot's window was just prominent enough that I thought I ought to add it. Of course I'm fresh out of AT-11 data stencils, so if someone is inclined to read it, it's for a P-39, but what the hell, it looks the part. With the exception of one of the right cowling numbers wandering out of position while drying (caught and corrected) everybody else went on with out much extra drama.


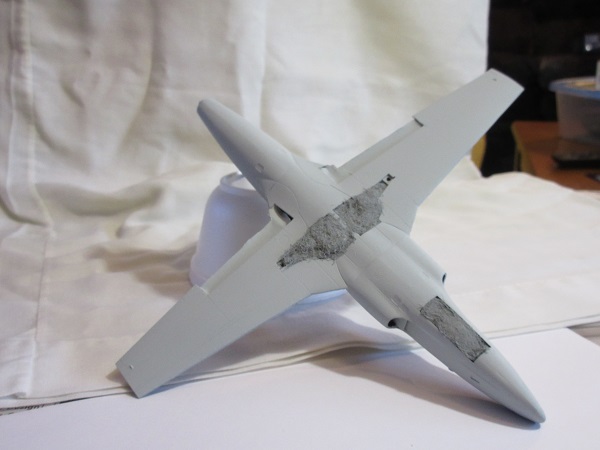
All the various doors were attached at this point along with the landing gear. The C-45 doors were used, but required a bit if filing with a half-round file to get them into any sort of useable shape. The main gear torque struts were laboriously filed out to look like struts and not an aluminium wedge. This was done to make up for my wimping out on dealing with the brake lines on the gear struts (too much hassle at this scale, at this point in the build) The final item was putting the aft crew door back on. It was a laminate affair made up of the original scribed door from the AT-11 fuselage, which by the time I got it out was a bit smaller that the resulting opening. It is now the inner door lining and was used as a pattern for a slightly larger version made for 10 thou. styrene sheet made for the outer portion.
Beech's version:

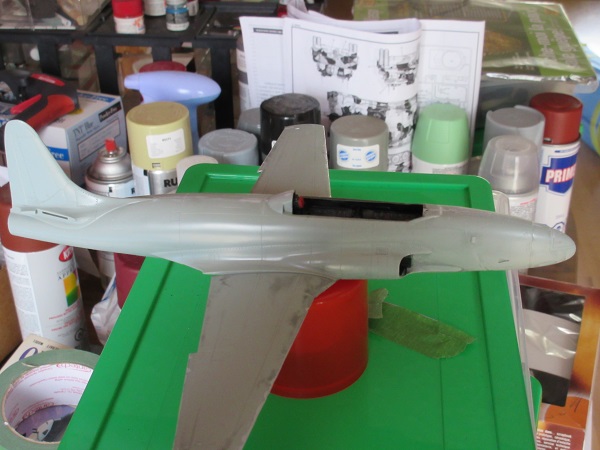
My version:

The holes drilled in the original door were beveled on the inside to make it look more like a separate sheet.
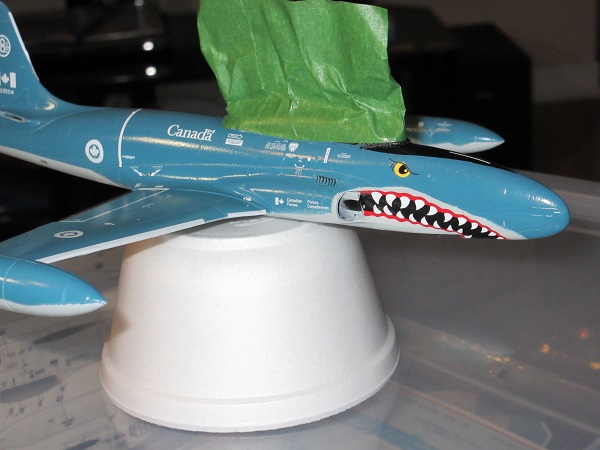
So as not to use too many of the same number off my decal sheet (remember the near disaster no. 7?) my inspiration was the second aircraft in this line-up.

Submitted for your approval:

I also blew off the antenna wires, I've already broken off one very flimsy antenna mast, and the wires mount to the leading edge of the vertical stabilizers which are exceedingly thin on this kit. The gain to loss ratio at this point is in the negative range.
A few more shots to round this out:


Some final thoughts: This build accomplished what I set out to do, namely it was a test bed to see just what I could do at detailing in this scale. I've got some ambitious plans for my MC-130E build and wanted to make sure I wasn't biting off more than I could chew. There are some alignment issues with the final result, some are inherent in the AT-11 kit, some are of my own devising, and some just in the Frankenstein nature of the build. If I had it to do over, I'd probably just scribe the bomb bay doors which would give a little more support to the fuselage in the wing root area. Thicker plastic for the vacuformed cockpit roof would also be a plus. In it's native form, I wouldn't recommend the basic AT-11 kit to anybody for any reason. There ain't enough lipstick in all of Christendom to make this pig pretty. If you really got to have an AT-11, wait for ICM or somebody to make a conversion for their 1/48 scale C-45 kit, you'll be way ahead.
Carry on


 ), and I've only managed to break the tail-wheel off once
  . Quite an achievement for me.


 )
)