Fantastic extra wirk, Martin! I'm really looking forward to seeing your model put together!
Gary
Early Aviation
Discuss World War I and the early years of aviation thru 1934.
Discuss World War I and the early years of aviation thru 1934.
Hosted by Jim Starkweather
Revell Fokker Dr.I scale 1:28
Posted: Monday, January 25, 2016 - 11:14 PM UTC
radio167

Joined: May 10, 2014
KitMaker: 84 posts
AeroScale: 64 posts

Posted: Tuesday, January 26, 2016 - 12:45 AM UTC
Thank you very much Gary.
Cheers
Martin
Cheers
Martin

JackFlash

Joined: January 25, 2004
KitMaker: 11,669 posts
AeroScale: 11,011 posts

Posted: Tuesday, January 26, 2016 - 09:13 PM UTC
radio167

Joined: May 10, 2014
KitMaker: 84 posts
AeroScale: 64 posts

Posted: Sunday, February 07, 2016 - 01:21 AM UTC
Sorry Stephen for my late reply.
At this build time I will not change it now.
But have you some technikal Skins about this photo?
Cheers
Martin
At this build time I will not change it now.
But have you some technikal Skins about this photo?
Cheers
Martin
radio167

Joined: May 10, 2014
KitMaker: 84 posts
AeroScale: 64 posts

Posted: Sunday, February 07, 2016 - 01:27 AM UTC
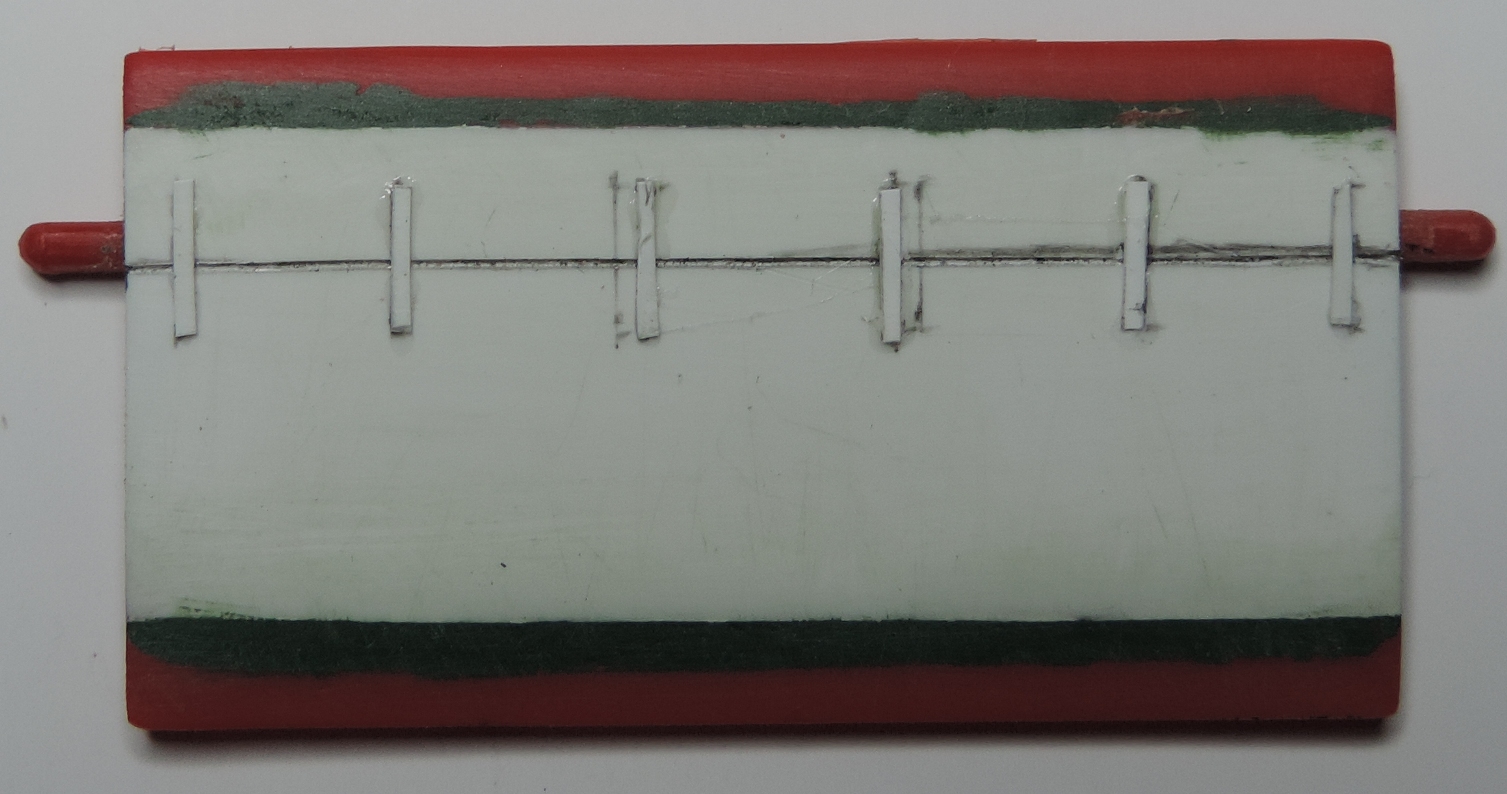
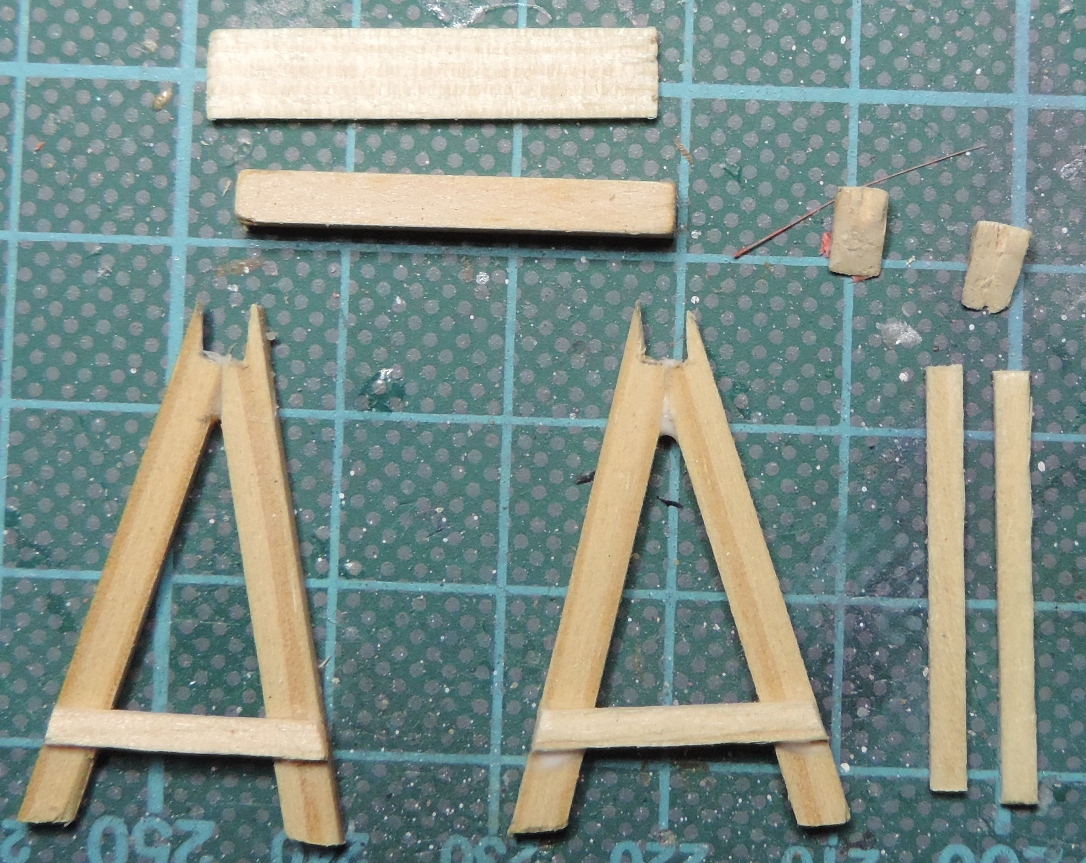
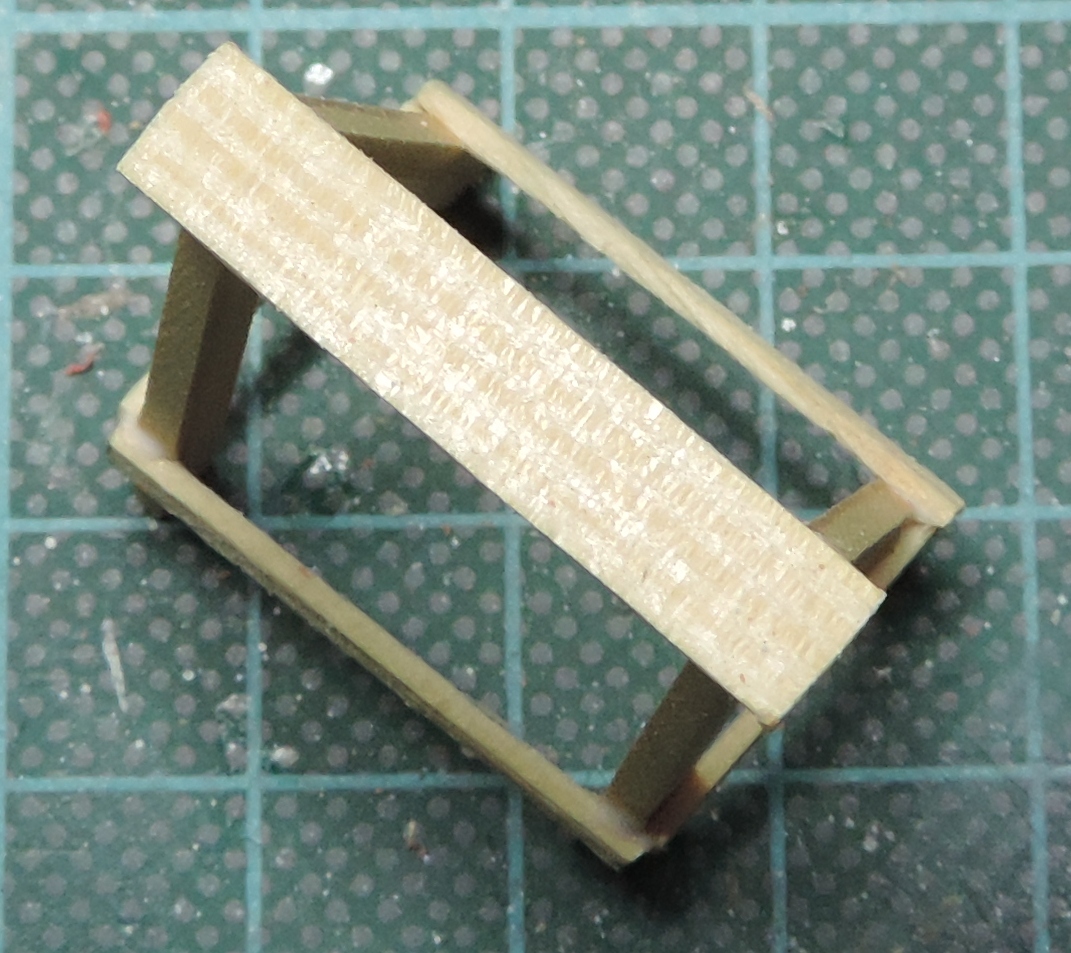
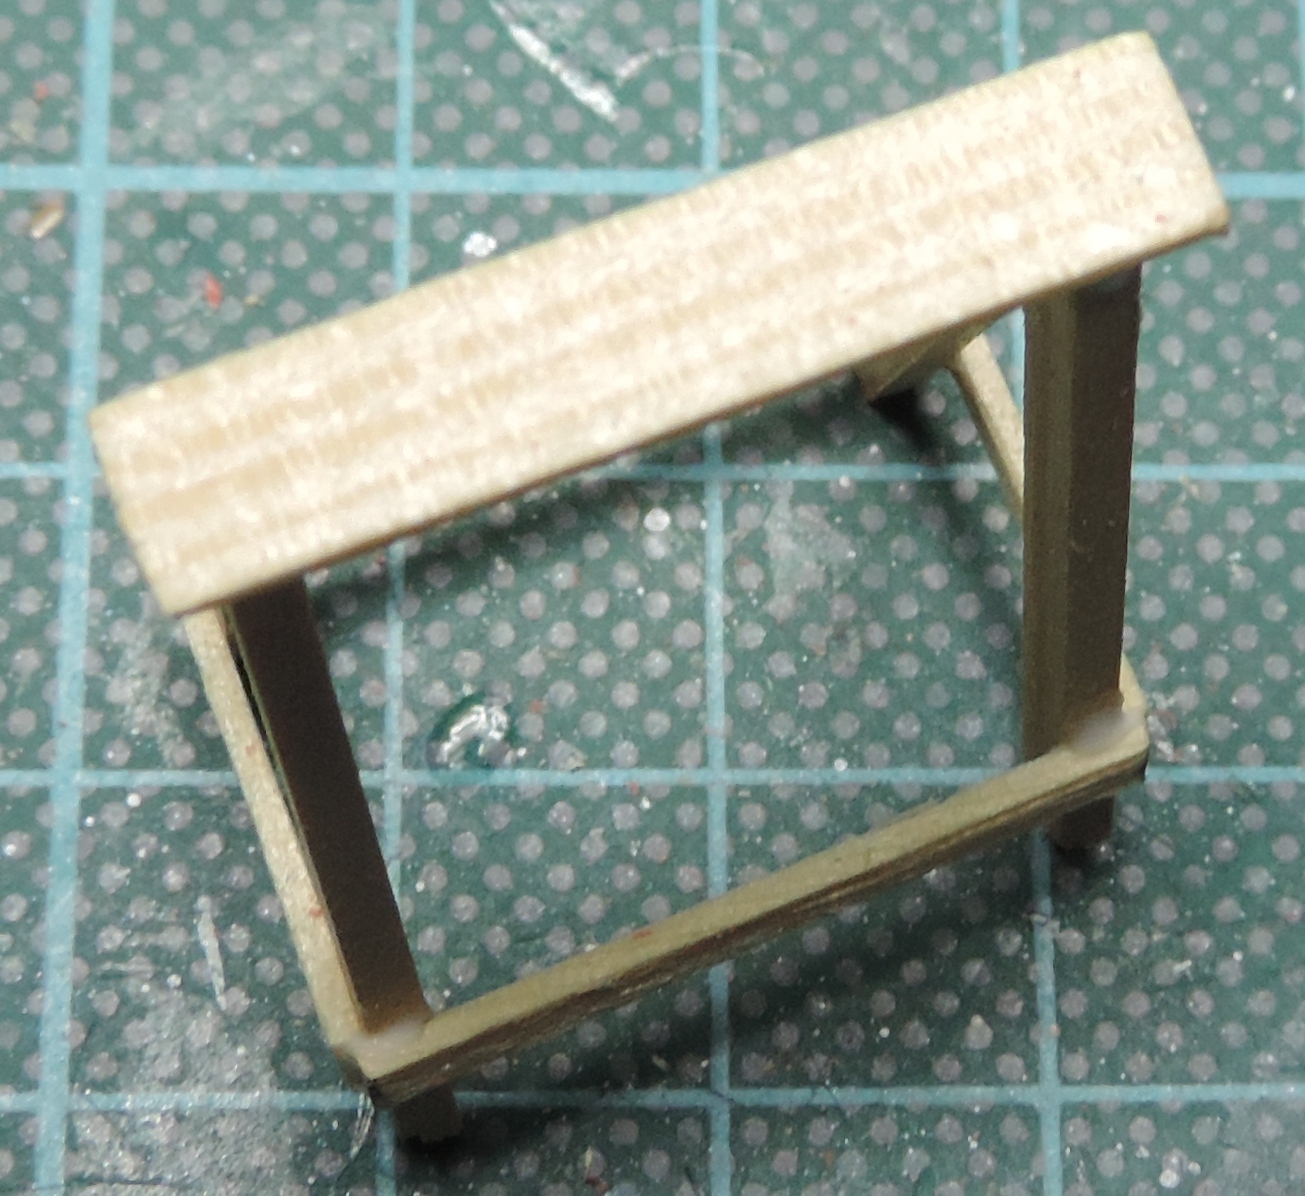
It went even further back. In addition to the painting of the surfaces, tail and other things.
Have I built from pine strips a Jack Stand and brake pads for this plane.
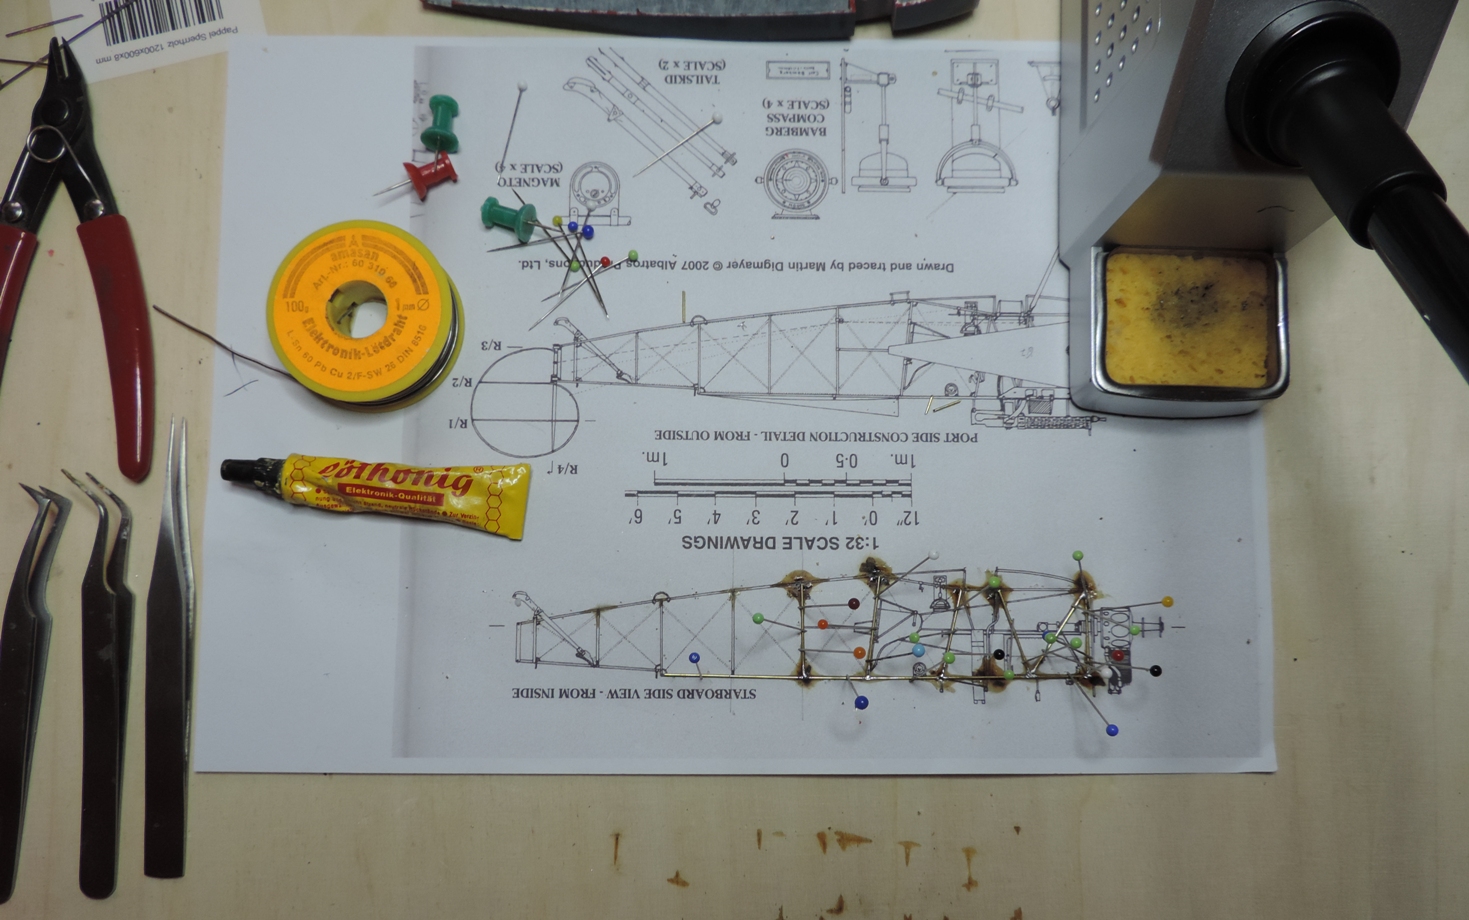
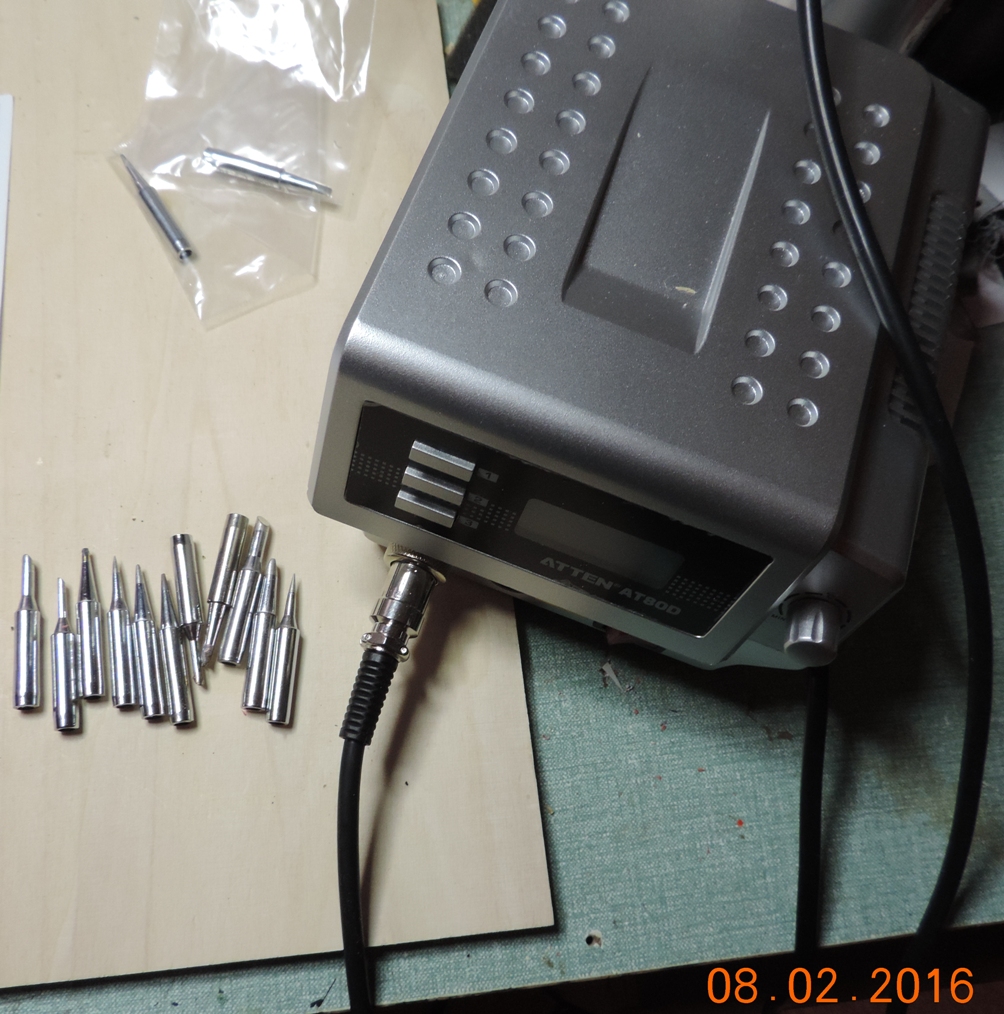
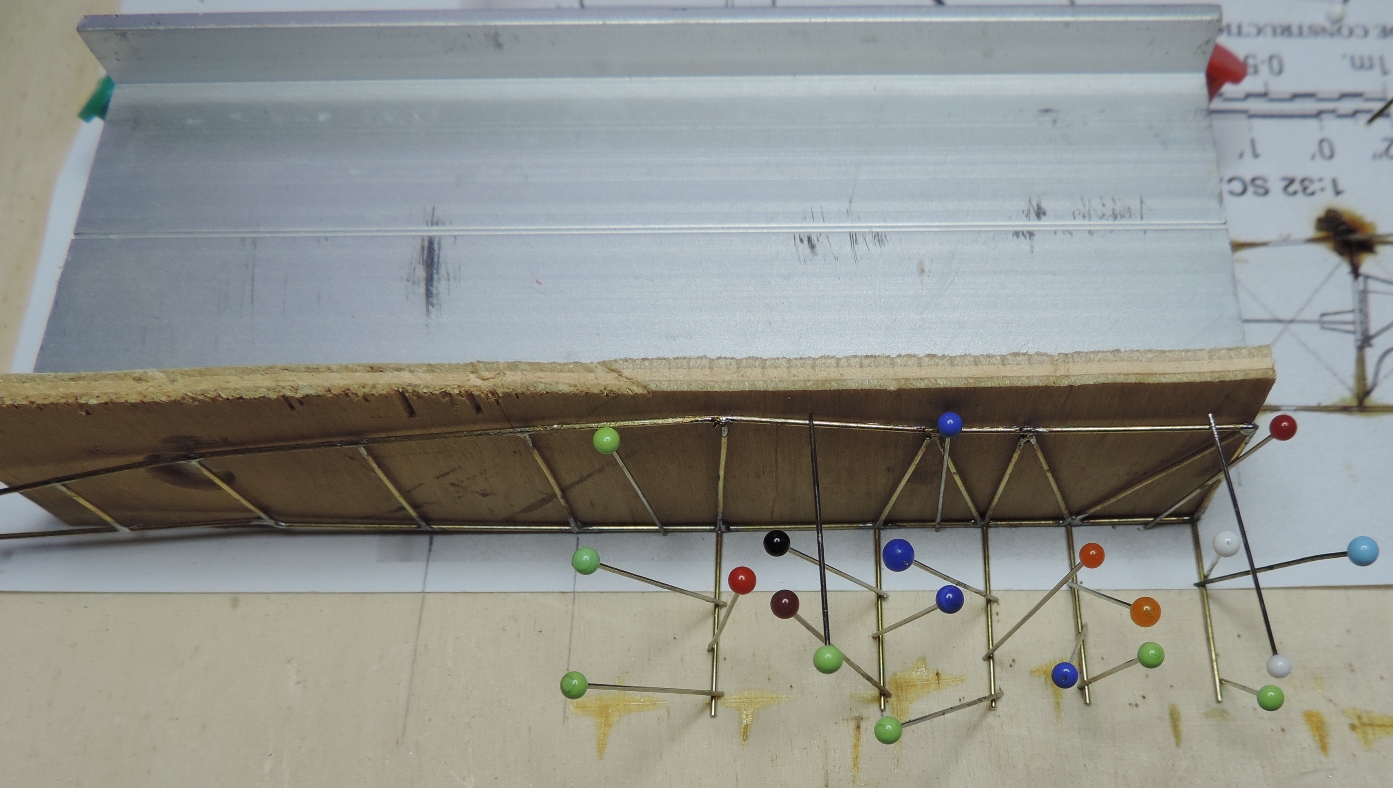
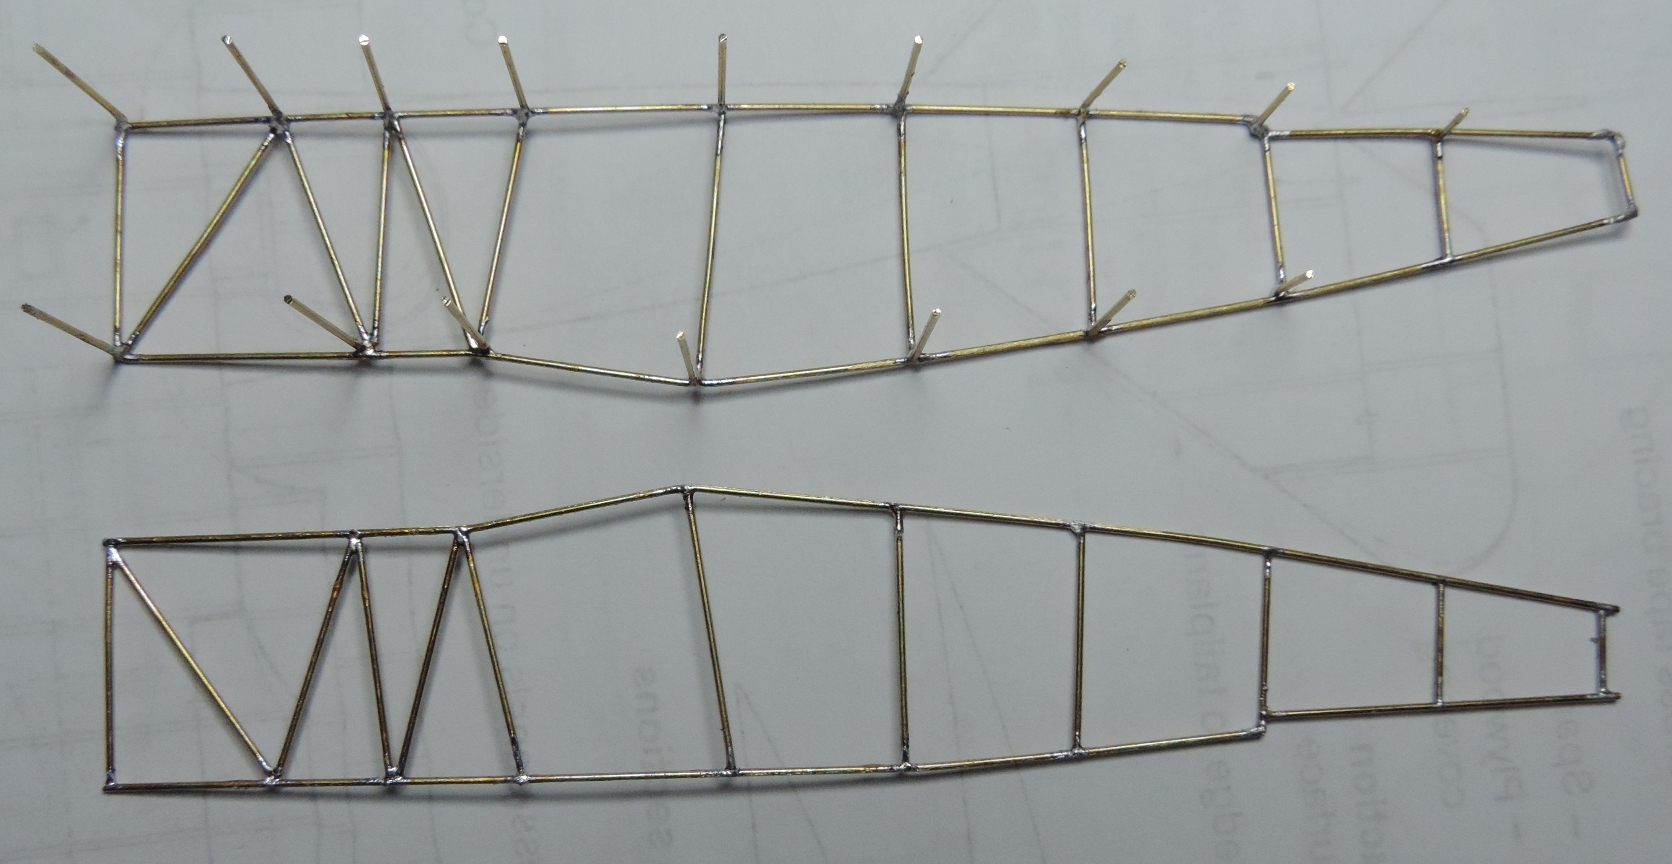
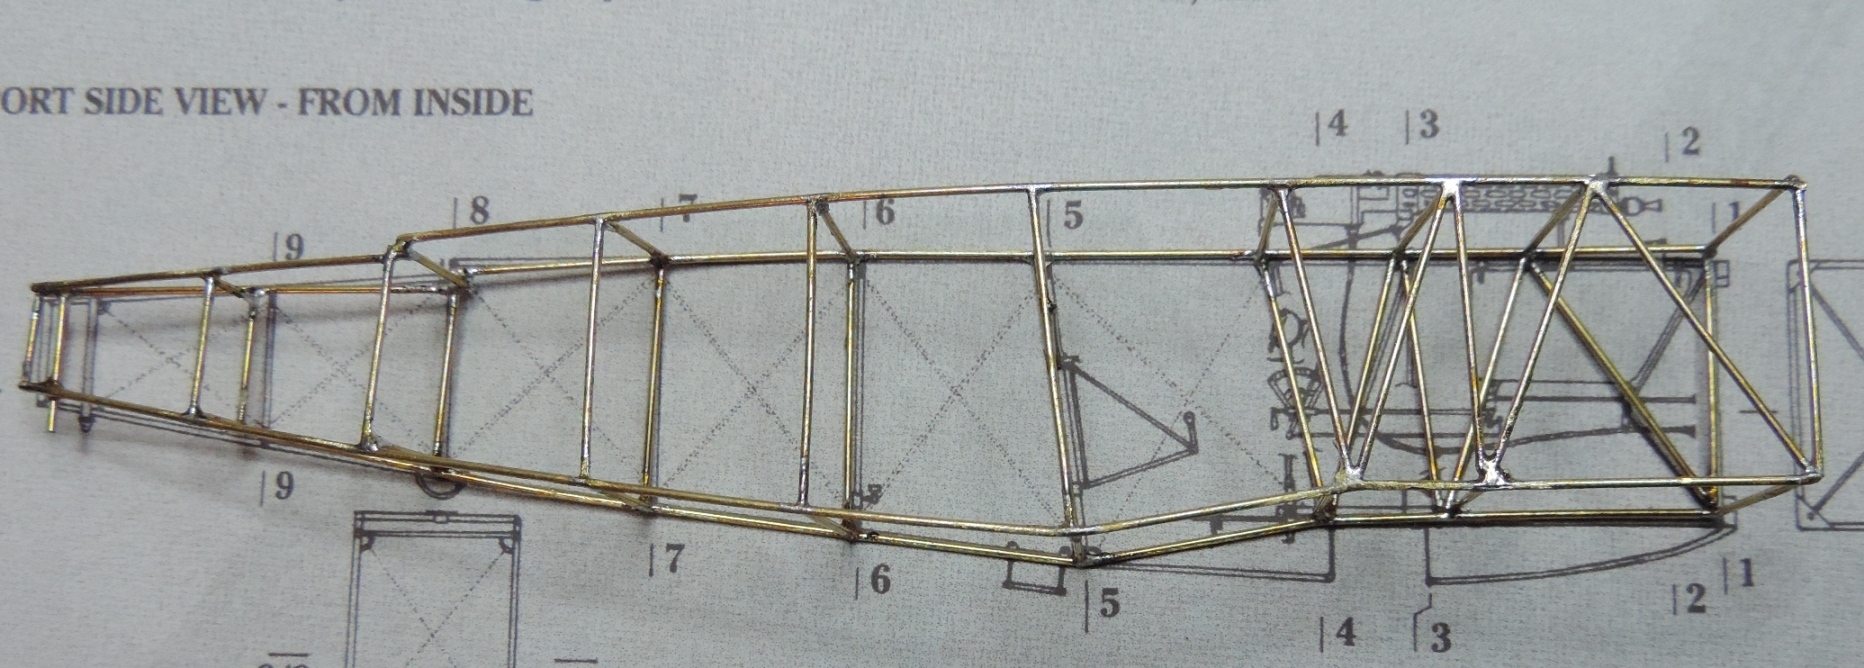
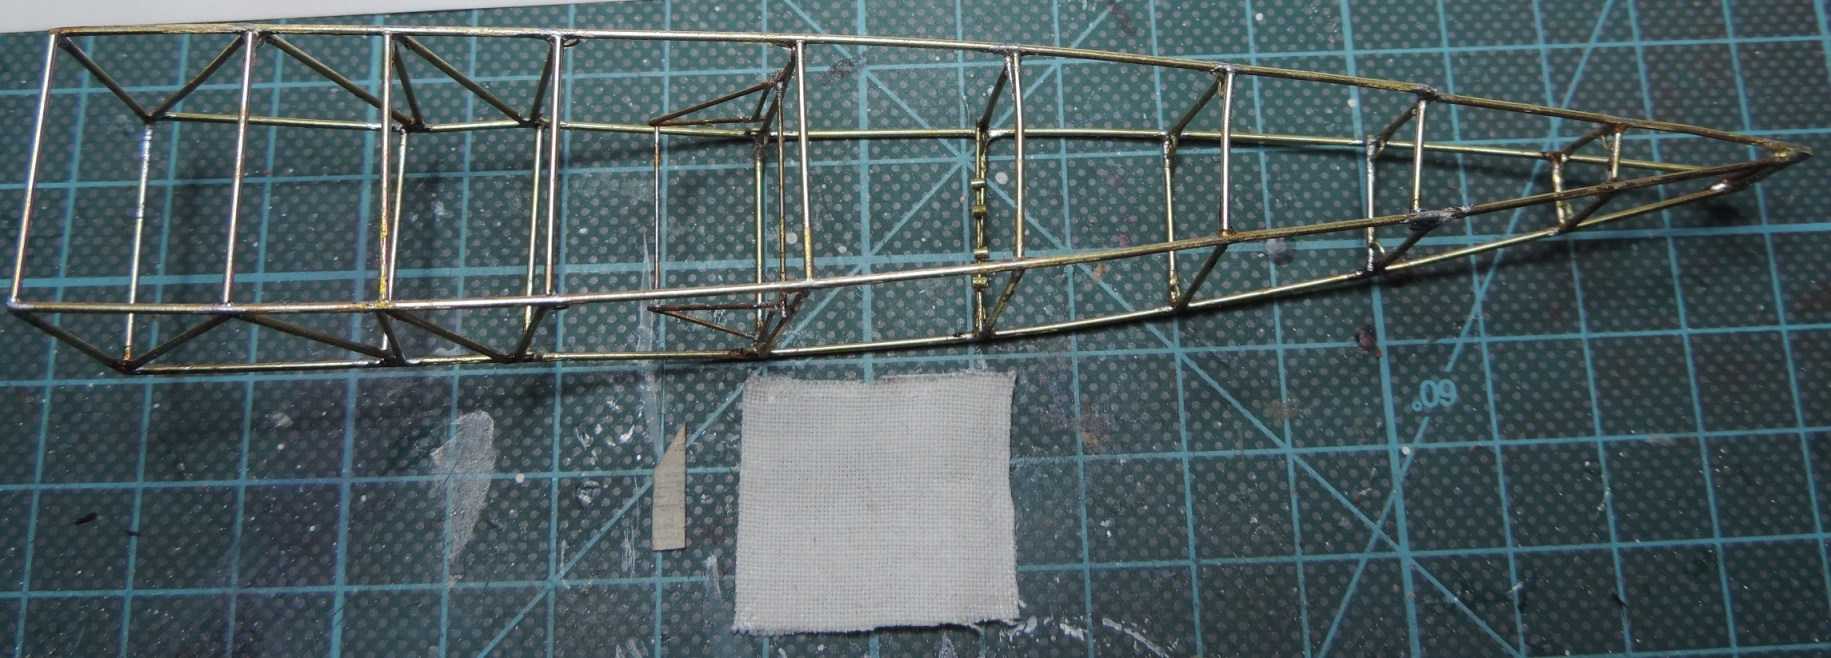
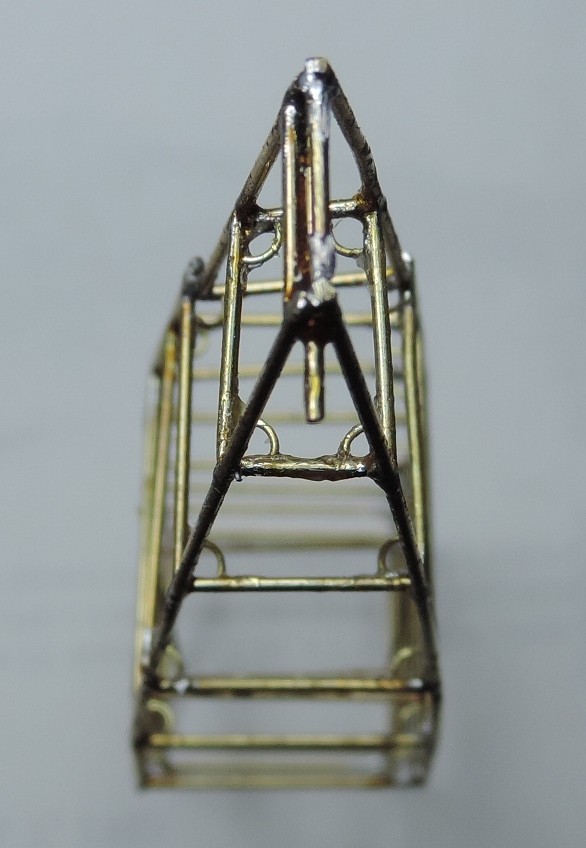
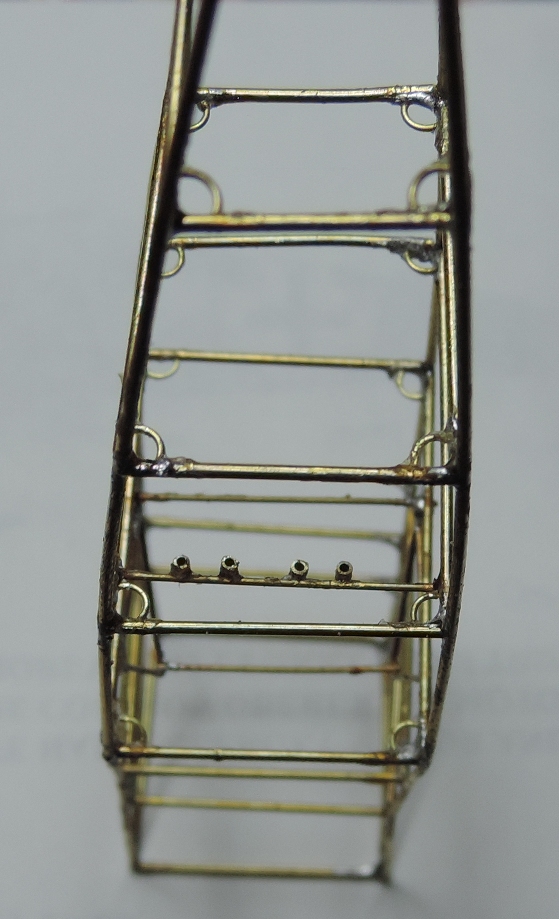
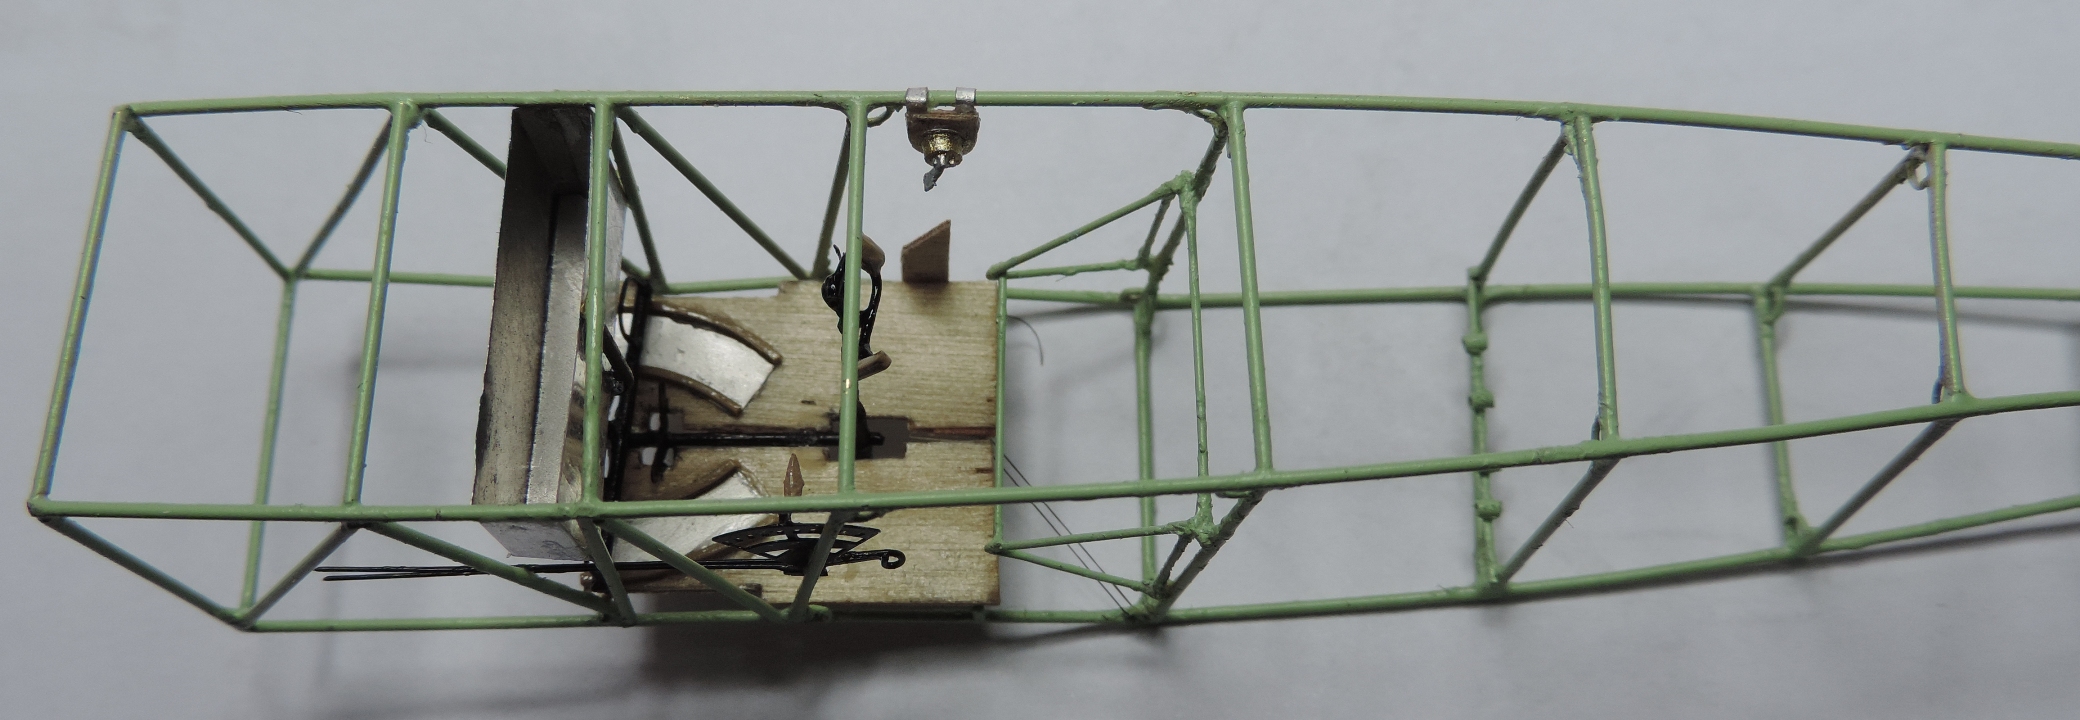
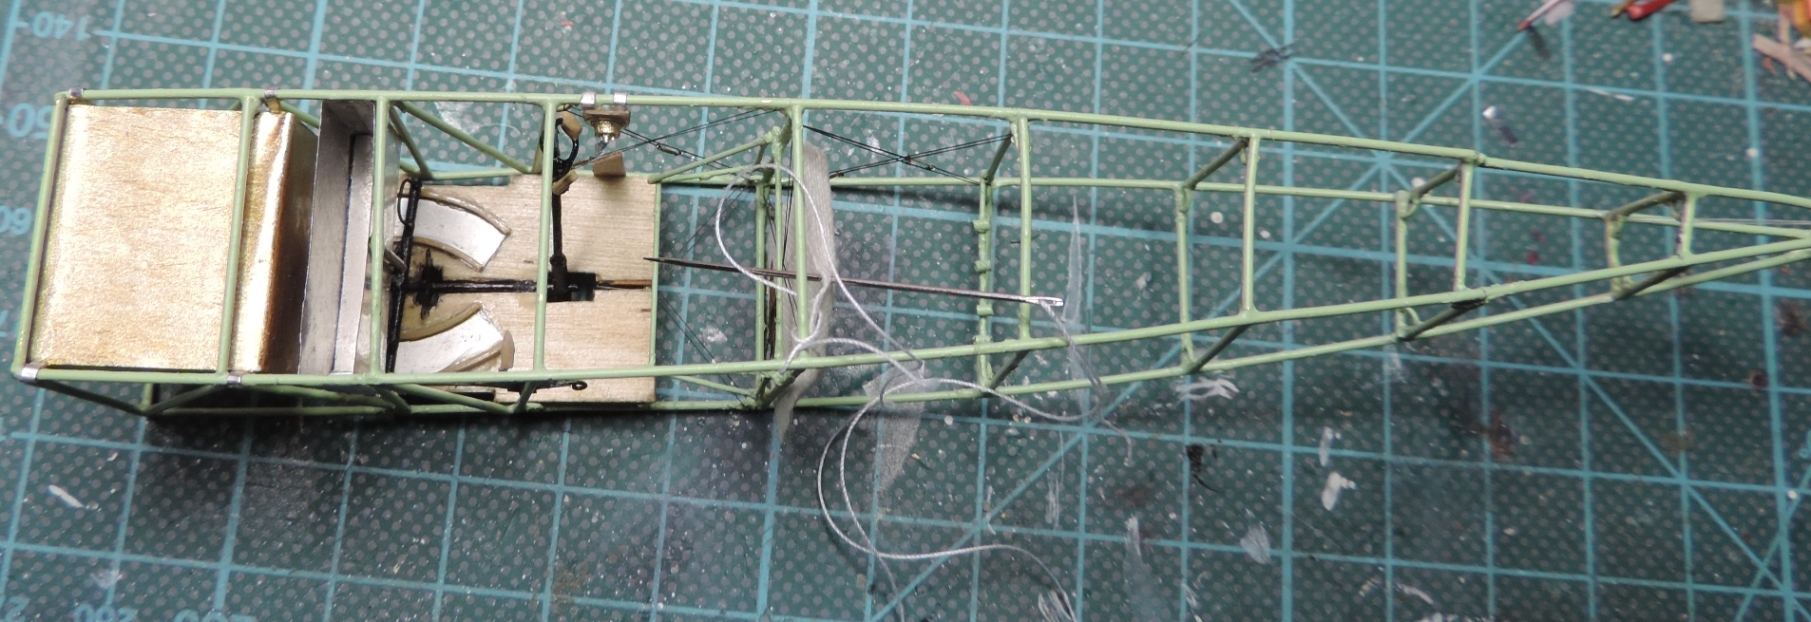
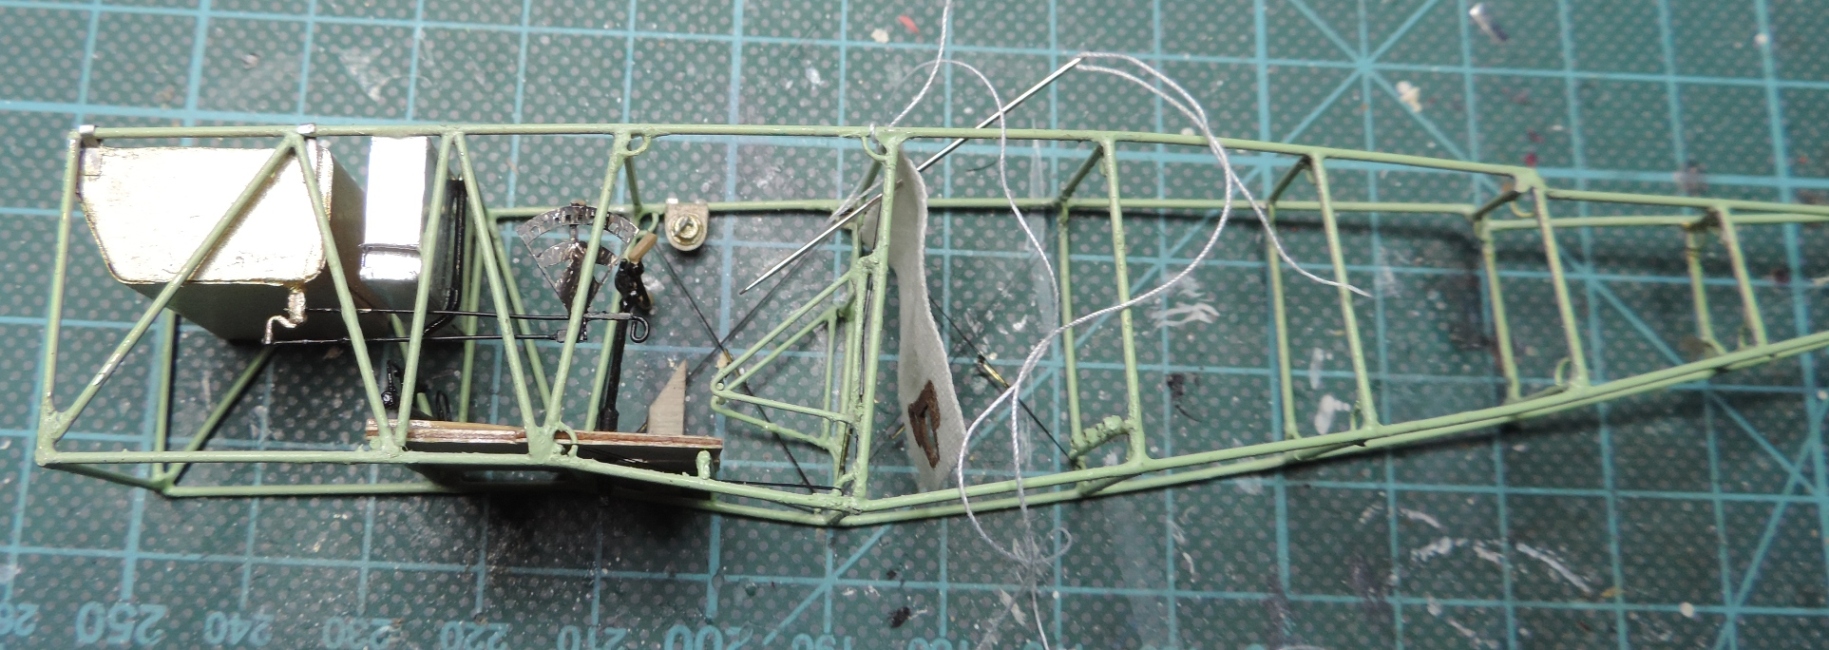
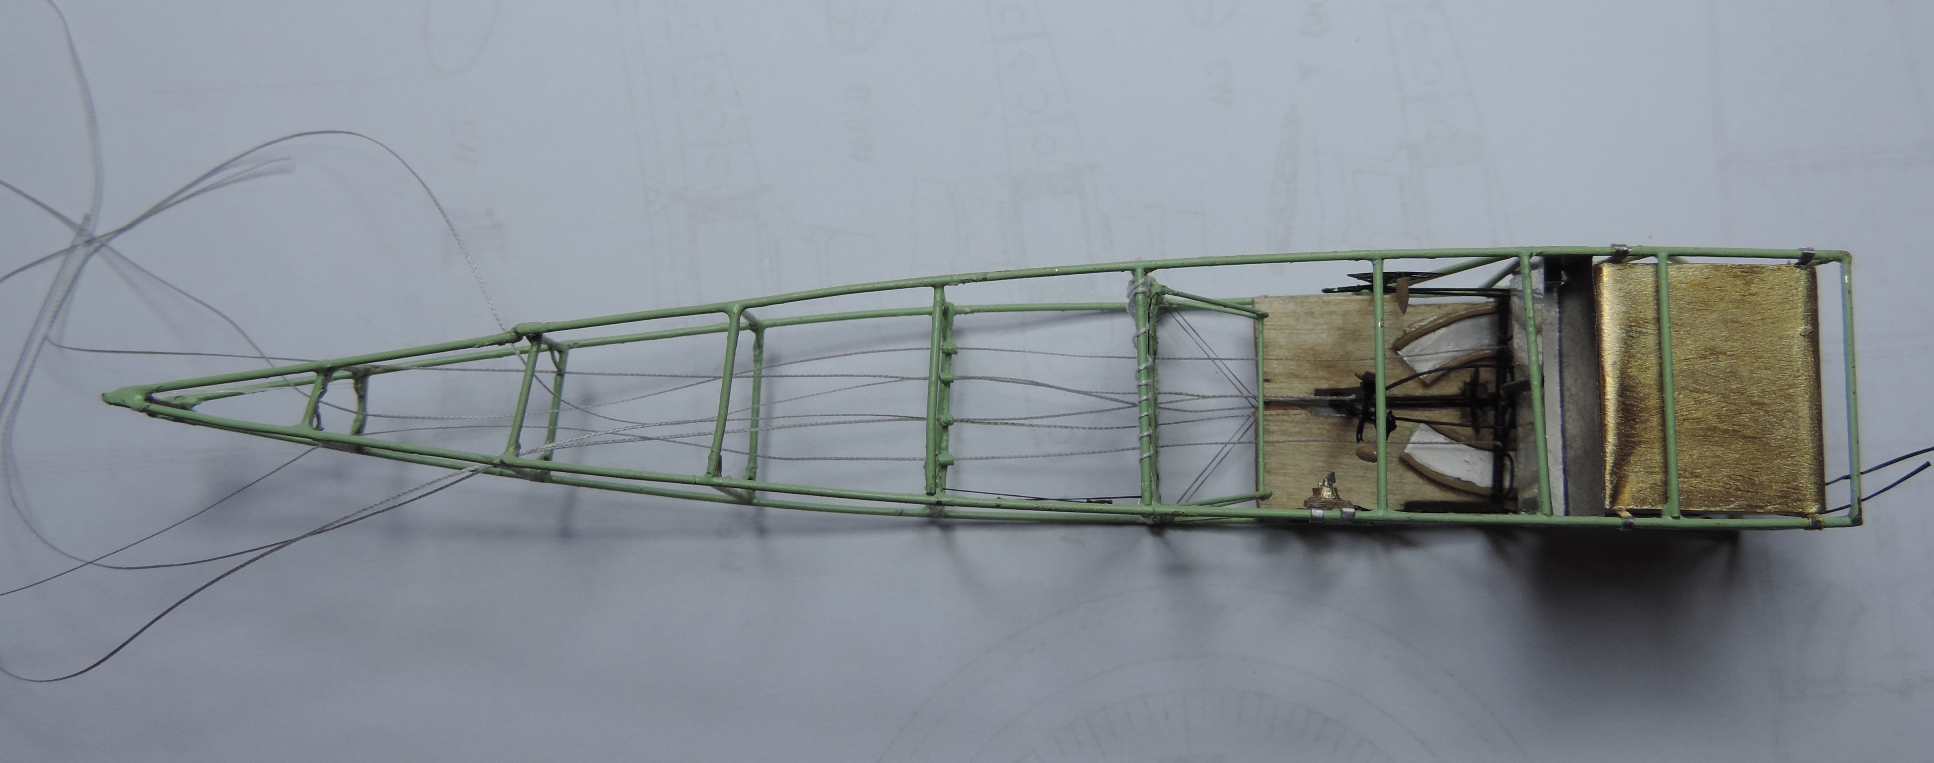
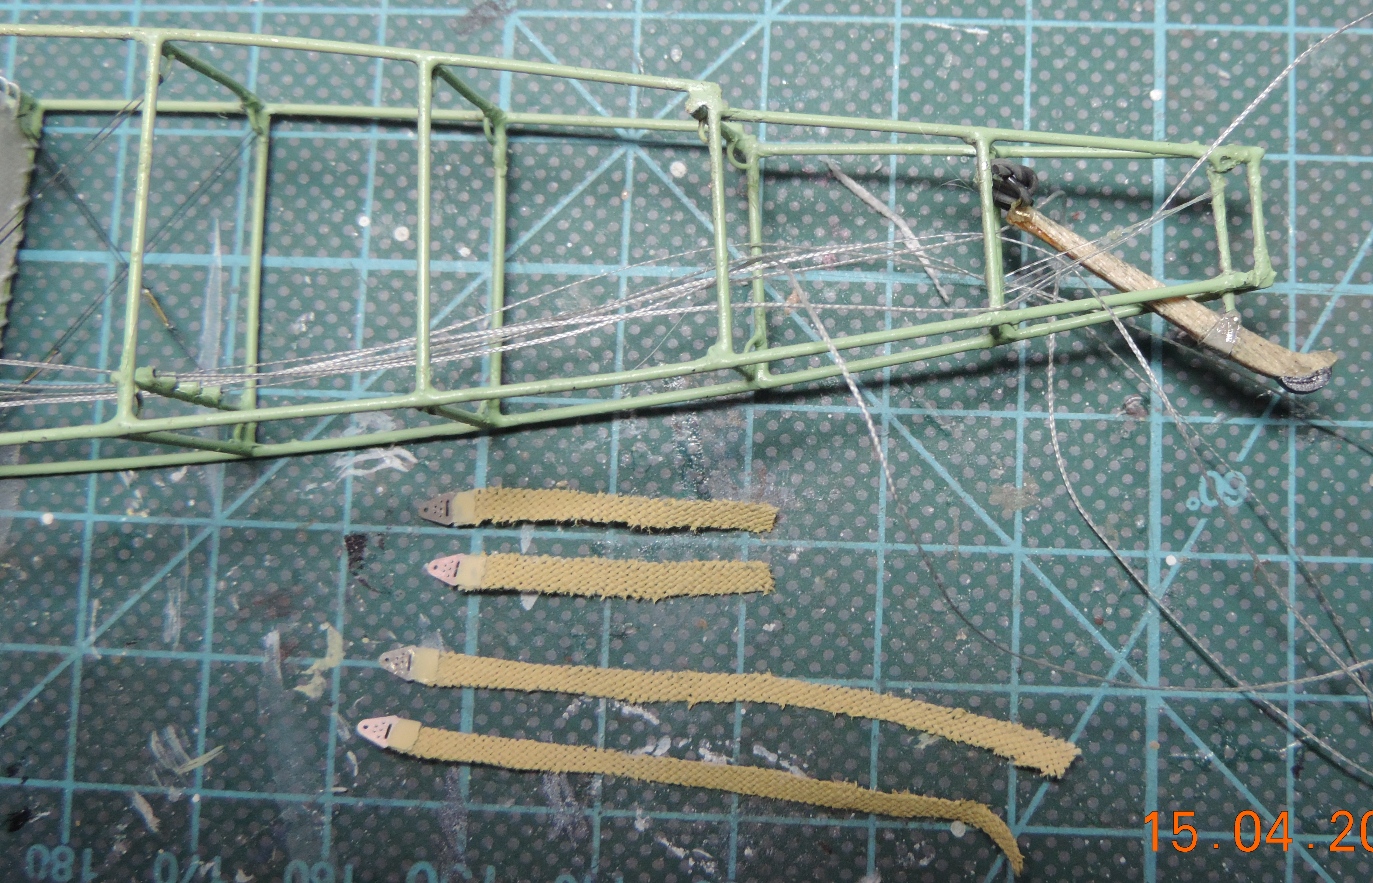
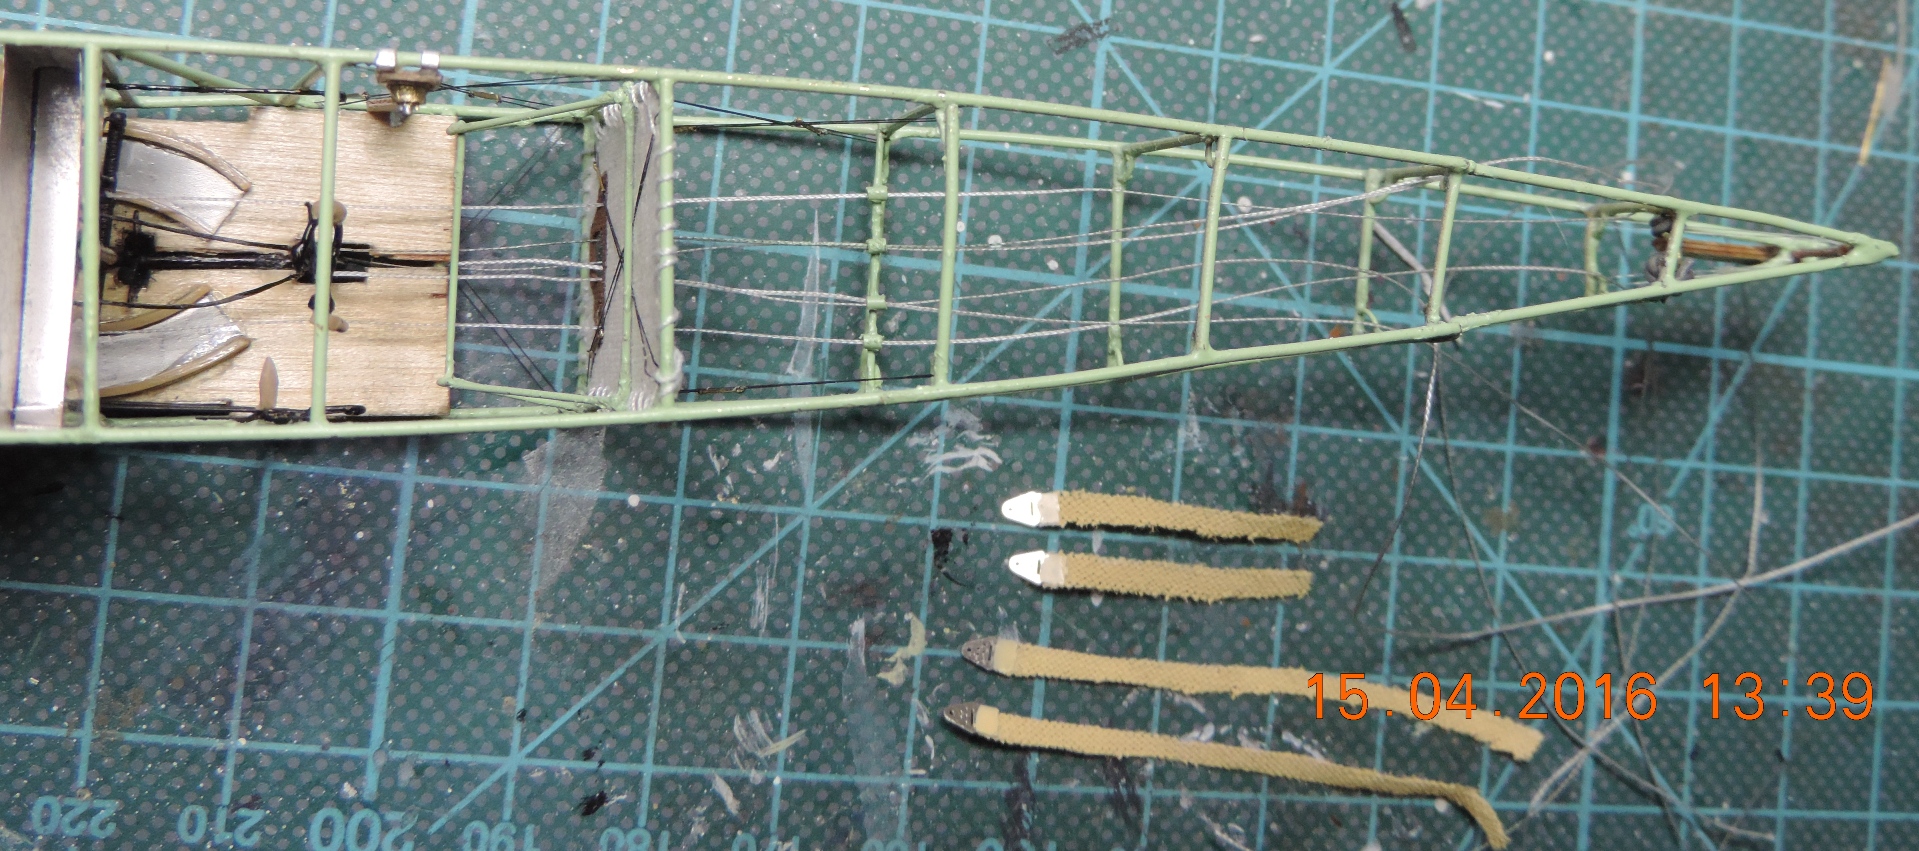
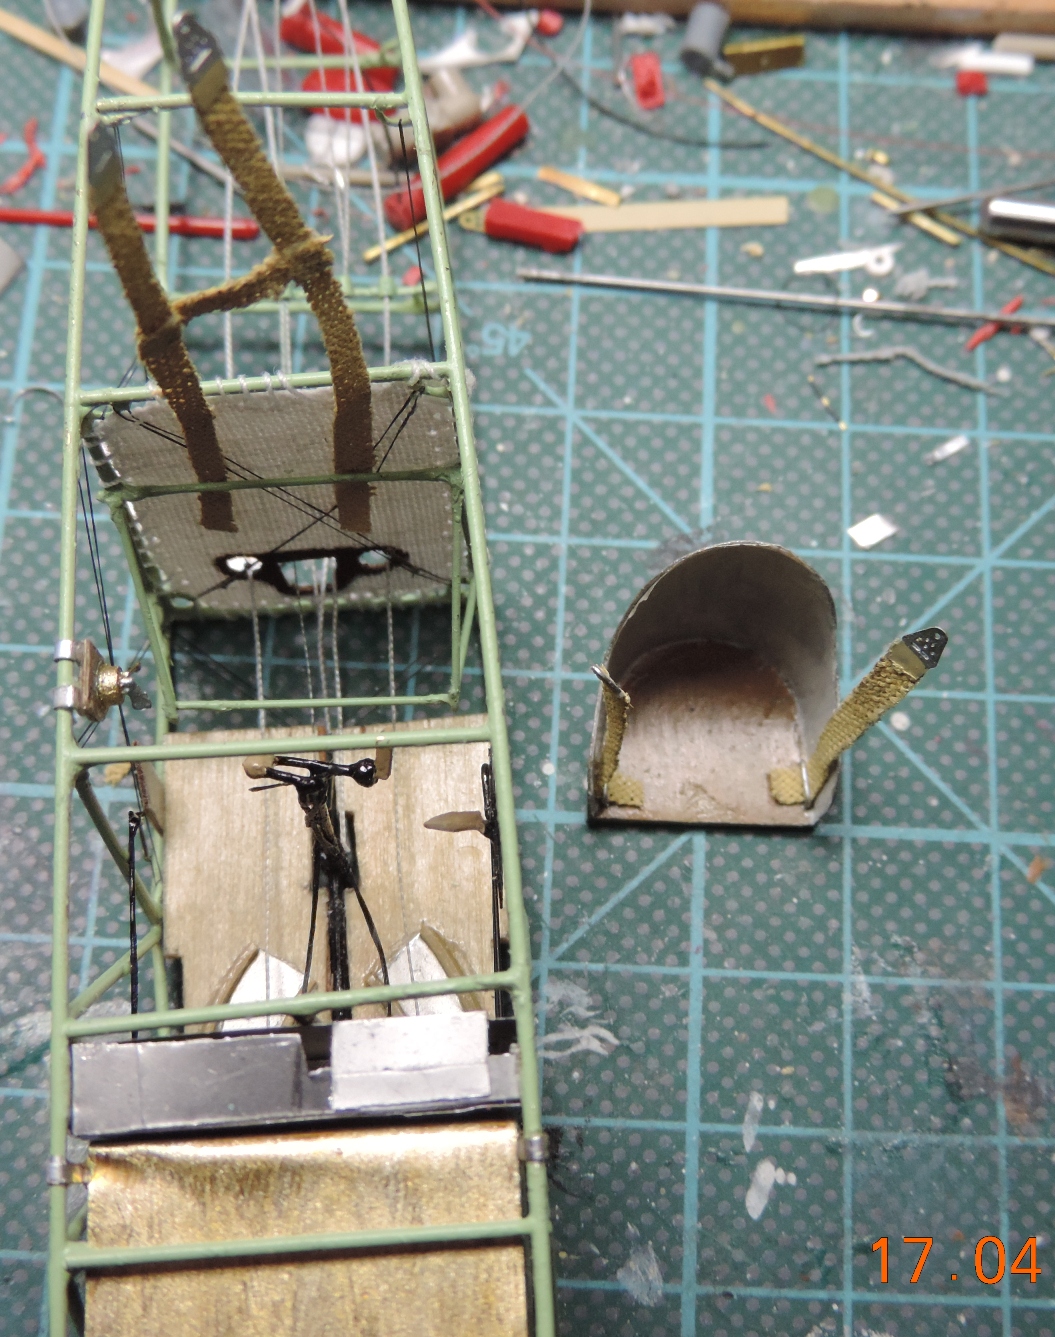
Unfortunately, the steel wire lies not solder even after several attempts. That's why I started from brass wire to solder the body cage. The first side is finished and the other I started with the remaining wire. New wires are ordered.
Cheers
Martin


Posted: Sunday, February 07, 2016 - 11:28 AM UTC
Nice work! That's really beyondche call of duty.
radio167

Joined: May 10, 2014
KitMaker: 84 posts
AeroScale: 64 posts

Posted: Sunday, February 07, 2016 - 08:06 PM UTC
Thank you. 
Cheers
Martin

Cheers
Martin
radio167

Joined: May 10, 2014
KitMaker: 84 posts
AeroScale: 64 posts

Posted: Sunday, February 07, 2016 - 08:45 PM UTC
Posted: Sunday, February 07, 2016 - 10:07 PM UTC
Martin,
Incredible work you are doing here. I'll be watching.
I am always amazed and gratified by what folks are willing to do with these old models.
Incredible work you are doing here. I'll be watching.
I am always amazed and gratified by what folks are willing to do with these old models.

radio167

Joined: May 10, 2014
KitMaker: 84 posts
AeroScale: 64 posts

Posted: Sunday, February 07, 2016 - 10:38 PM UTC
Thank you for your compliment Frederick.
Cheers
Martin
Cheers
Martin
radio167

Joined: May 10, 2014
KitMaker: 84 posts
AeroScale: 64 posts

Posted: Thursday, February 11, 2016 - 10:18 PM UTC
Posted: Friday, February 12, 2016 - 05:02 AM UTC
Very Impressive! You could almost scratch build the entire aircraft with only small extra effort.
Gary
Gary
radio167

Joined: May 10, 2014
KitMaker: 84 posts
AeroScale: 64 posts

Posted: Saturday, February 13, 2016 - 07:54 PM UTC
Thank you Gary.
Cheers
Martin
Cheers
Martin
radio167

Joined: May 10, 2014
KitMaker: 84 posts
AeroScale: 64 posts

Posted: Monday, February 15, 2016 - 10:19 PM UTC
radio167

Joined: May 10, 2014
KitMaker: 84 posts
AeroScale: 64 posts

Posted: Saturday, February 20, 2016 - 08:45 PM UTC
Posted: Sunday, February 21, 2016 - 01:40 AM UTC
Nice!
radio167

Joined: May 10, 2014
KitMaker: 84 posts
AeroScale: 64 posts

Posted: Sunday, February 21, 2016 - 02:22 AM UTC
Thank you.
Cheers
Martin
Cheers
Martin
radio167

Joined: May 10, 2014
KitMaker: 84 posts
AeroScale: 64 posts

Posted: Saturday, March 05, 2016 - 08:28 PM UTC
Posted: Monday, March 07, 2016 - 03:19 AM UTC
Fantastic work Martin. I can't wait to see the final result.
Like a lot of people I have this kit in my stash, even bought the Copper State PE guns and cockpit details for it. Your build has inspired me to get started on it.
Like a lot of people I have this kit in my stash, even bought the Copper State PE guns and cockpit details for it. Your build has inspired me to get started on it.
radio167

Joined: May 10, 2014
KitMaker: 84 posts
AeroScale: 64 posts

Posted: Monday, March 07, 2016 - 05:59 AM UTC
Thank you very much for compliment.
But it better you buy a Roden Dr, This kit is more correct.
Cheers
Martin
But it better you buy a Roden Dr, This kit is more correct.
Cheers
Martin
radio167

Joined: May 10, 2014
KitMaker: 84 posts
AeroScale: 64 posts

Posted: Wednesday, March 30, 2016 - 07:14 PM UTC
radio167

Joined: May 10, 2014
KitMaker: 84 posts
AeroScale: 64 posts

Posted: Saturday, April 16, 2016 - 05:07 PM UTC
redcap

Joined: November 06, 2005
KitMaker: 753 posts
AeroScale: 311 posts

Posted: Saturday, April 16, 2016 - 06:31 PM UTC
Considering what you started with Martin, this is magnificent model making skills in evidence.
Just incredible!
Gary
Just incredible!
Gary
Posted: Saturday, April 16, 2016 - 07:20 PM UTC
Martin,
you are making diamonds from coal!
Spectacular work!


you are making diamonds from coal!
Spectacular work!


radio167

Joined: May 10, 2014
KitMaker: 84 posts
AeroScale: 64 posts

Posted: Monday, April 18, 2016 - 12:04 AM UTC
Thank you for your compliments, gents.
Cheers
Martin
Cheers
Martin
 |


