Revell Fokker Dr.I scale 1:28
Bayern, Germany
Joined: May 10, 2014
KitMaker: 84 posts
AeroScale: 64 posts
Posted: Thursday, November 26, 2015 - 03:53 AM UTC
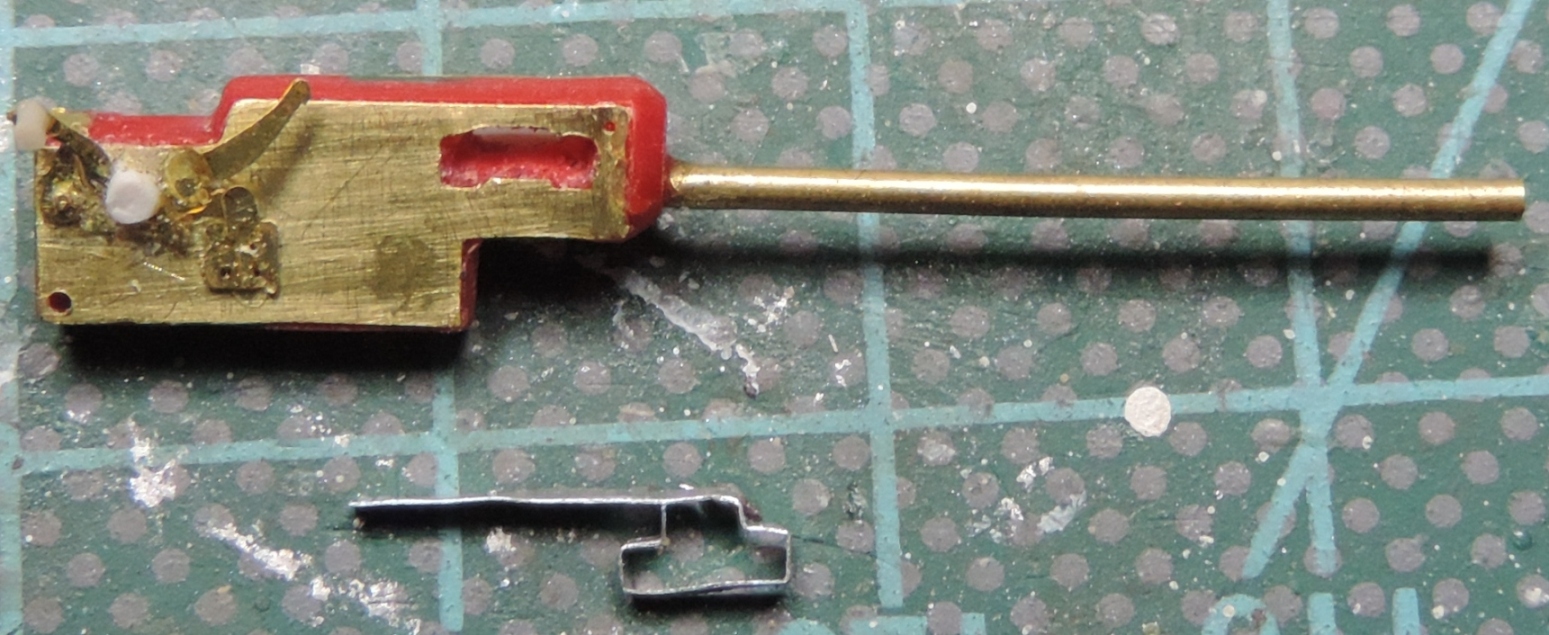
Next, I have the decals affixed to the seat and fuselage halfs.
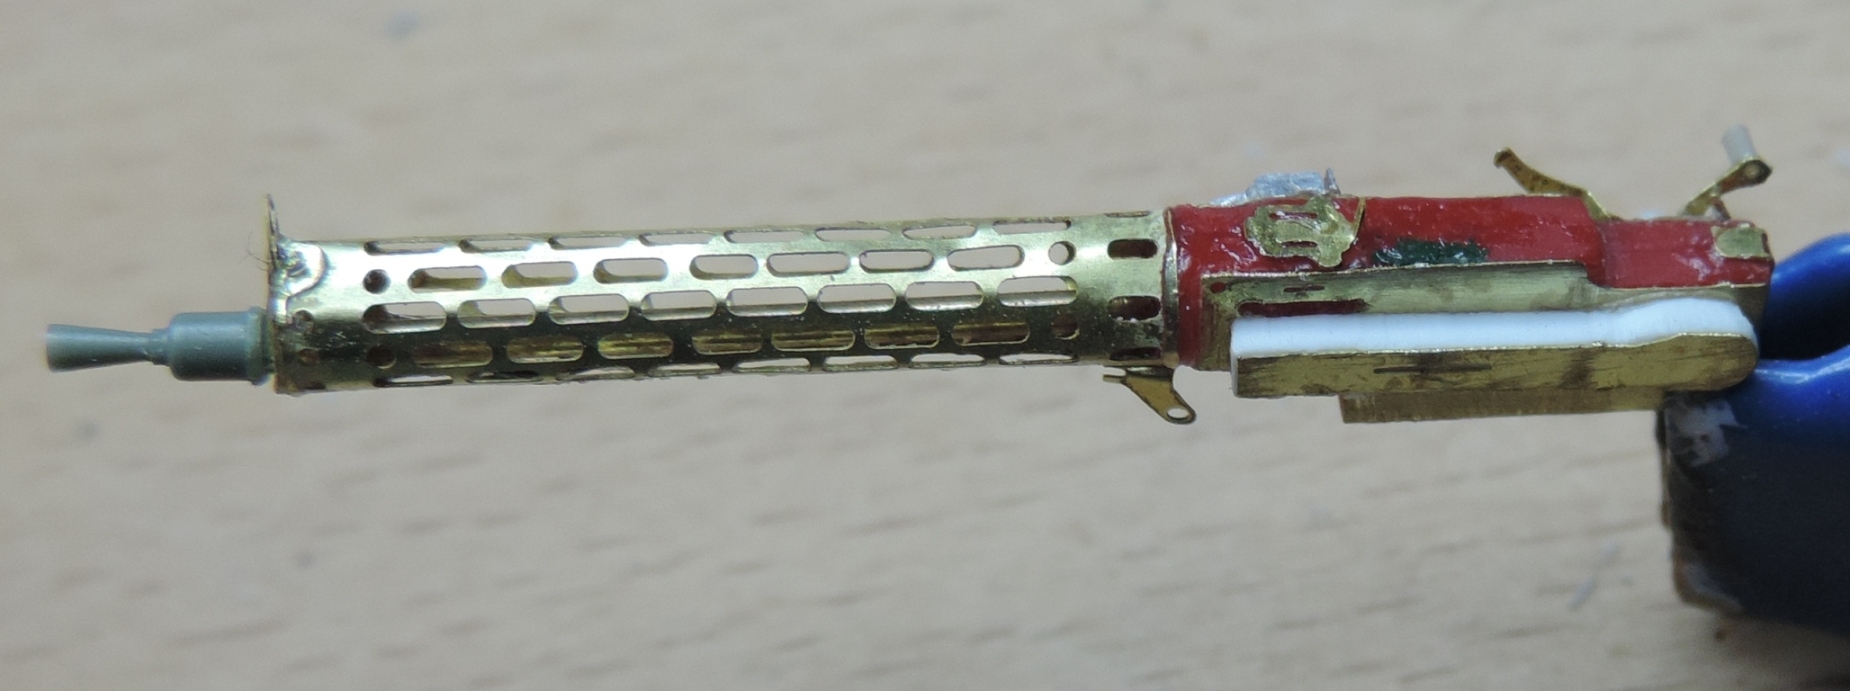
On the second MG I have bent the belt feed from aluminum and glued to the MG. Was so taken even the first mg.
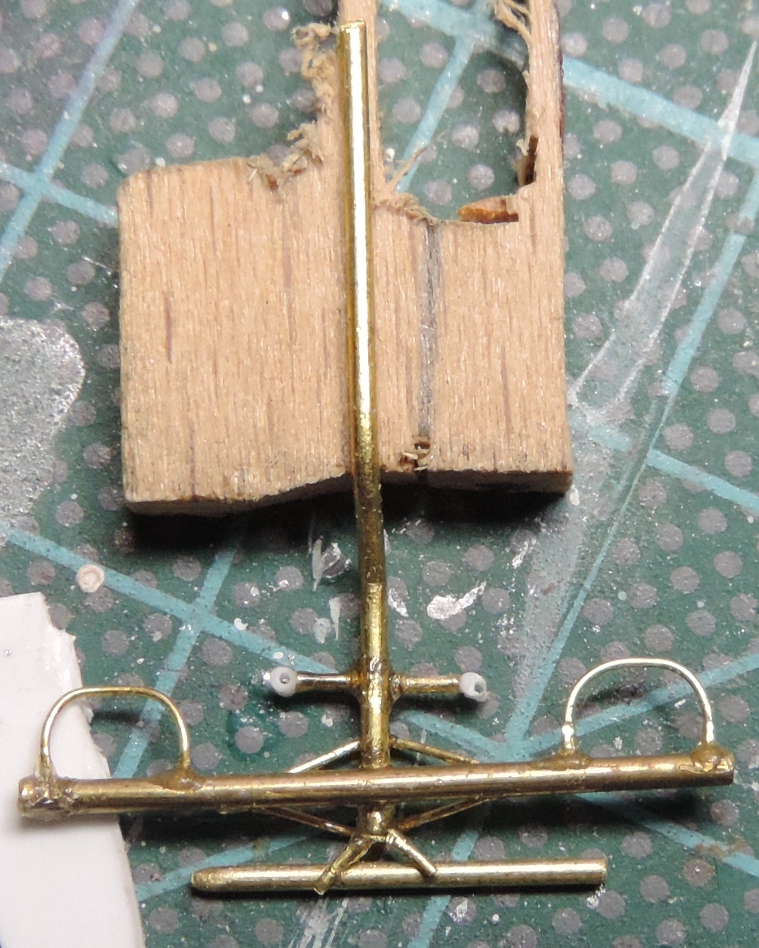
Also the two struts supporting the ruder bar.
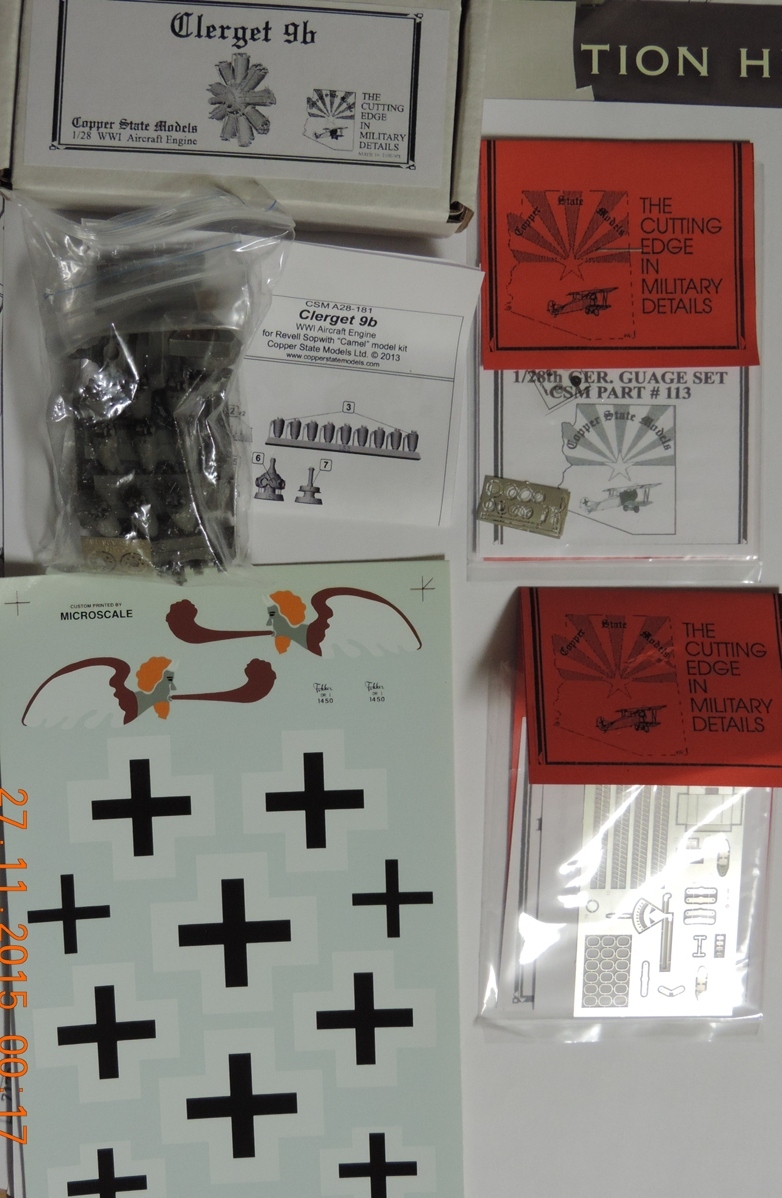
Now the Copper State have come parts. There are the Clerget engine, Jacobs Decals, German Fokker DR1 and instruments set.
Cheers
Martin

Bayern, Germany
Joined: May 10, 2014
KitMaker: 84 posts
AeroScale: 64 posts
Posted: Friday, November 27, 2015 - 10:32 PM UTC
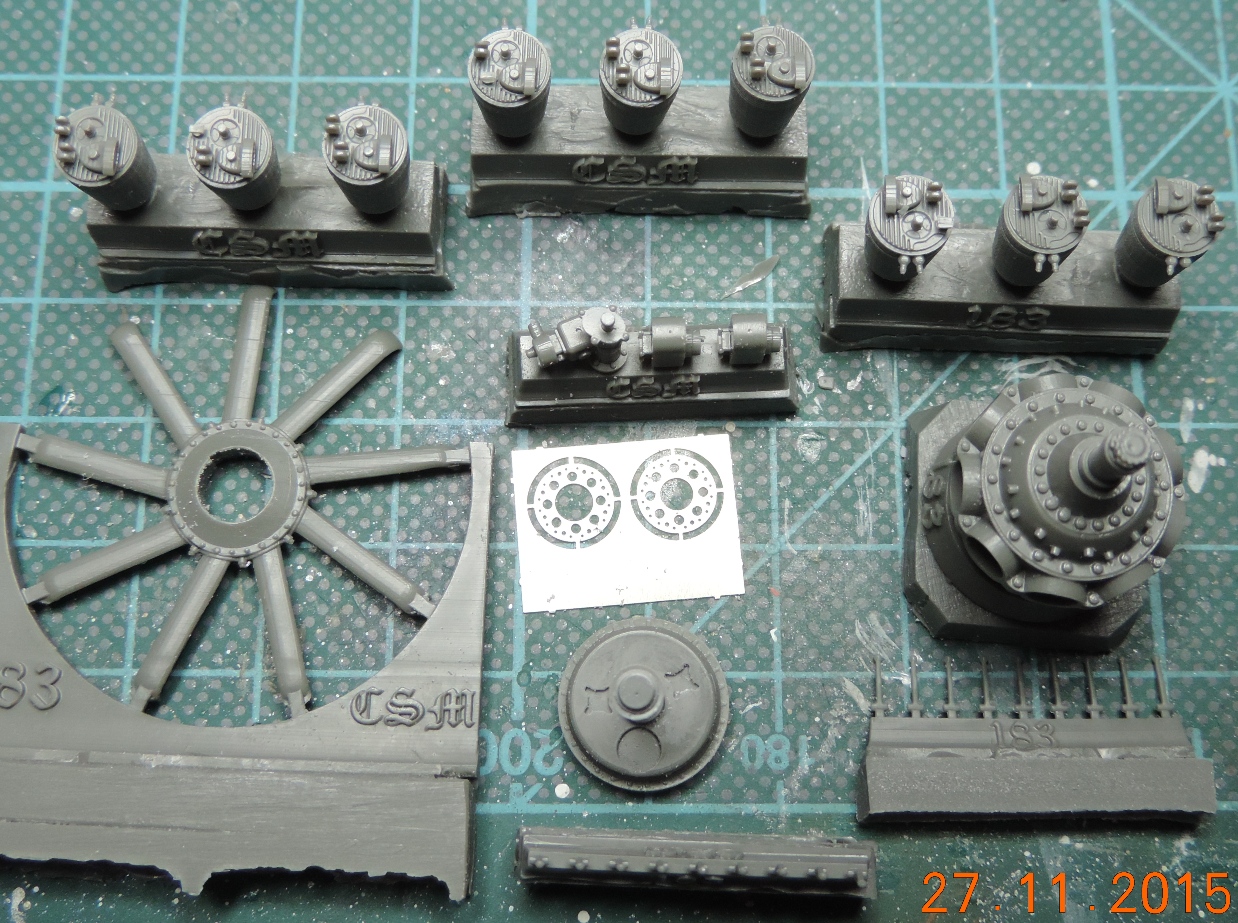
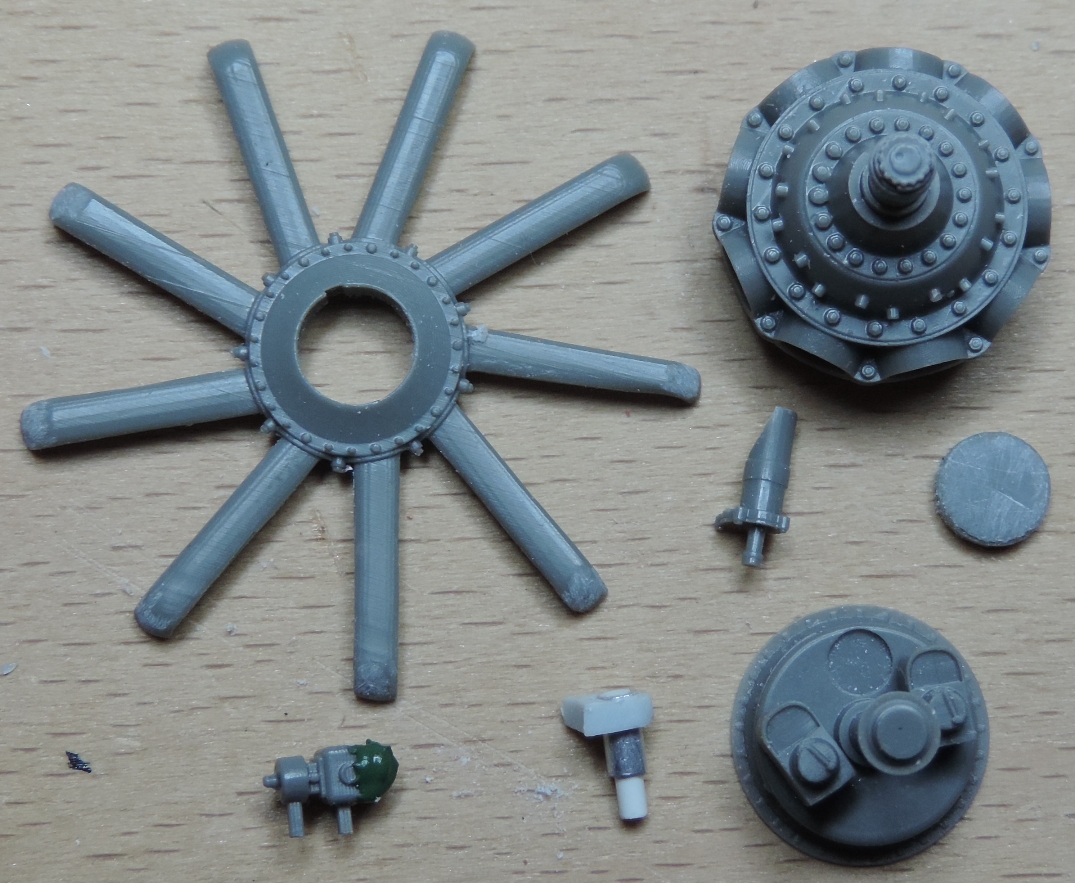
Have now started passing the Clerget build engine for the Jacobs Fokker.
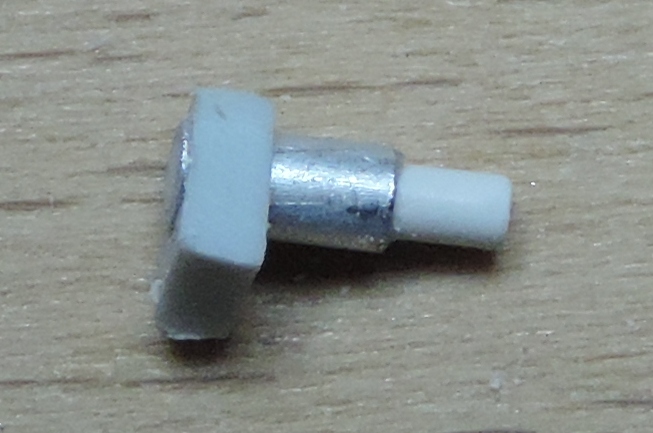
The resin parts are beautifully cast but I will also perform here or attach a few changes by selfmade. Here you can see already the first. Inspiring example are drawings of the Sopwith Camel.
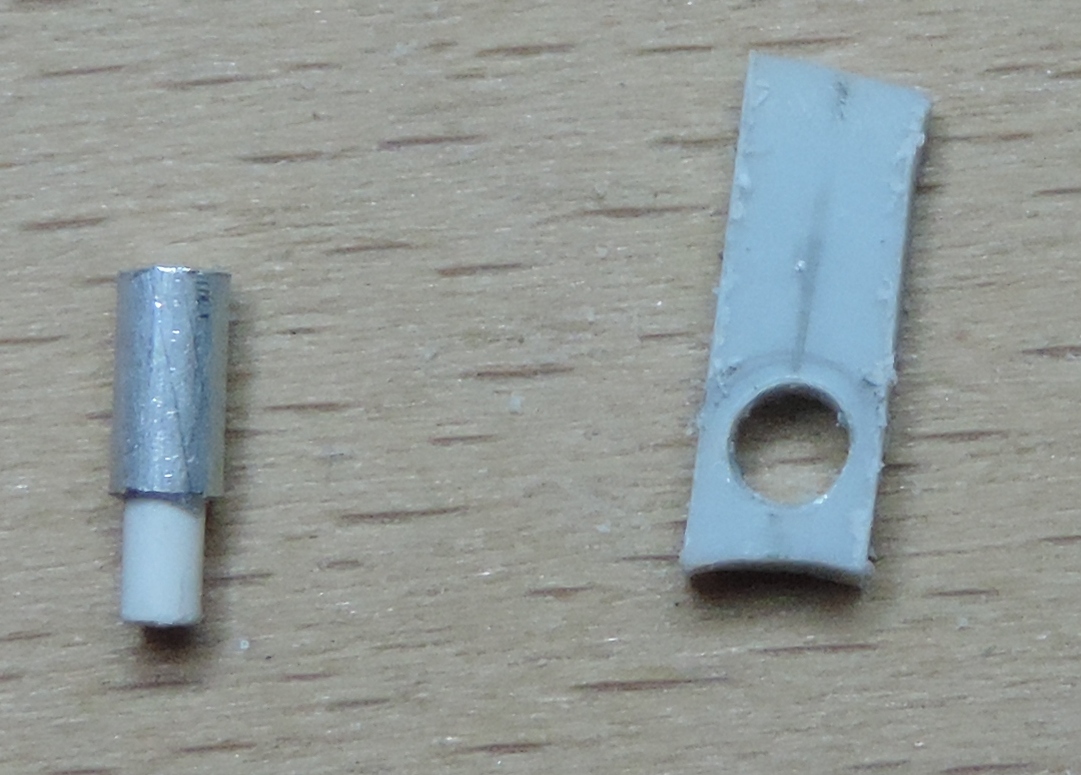
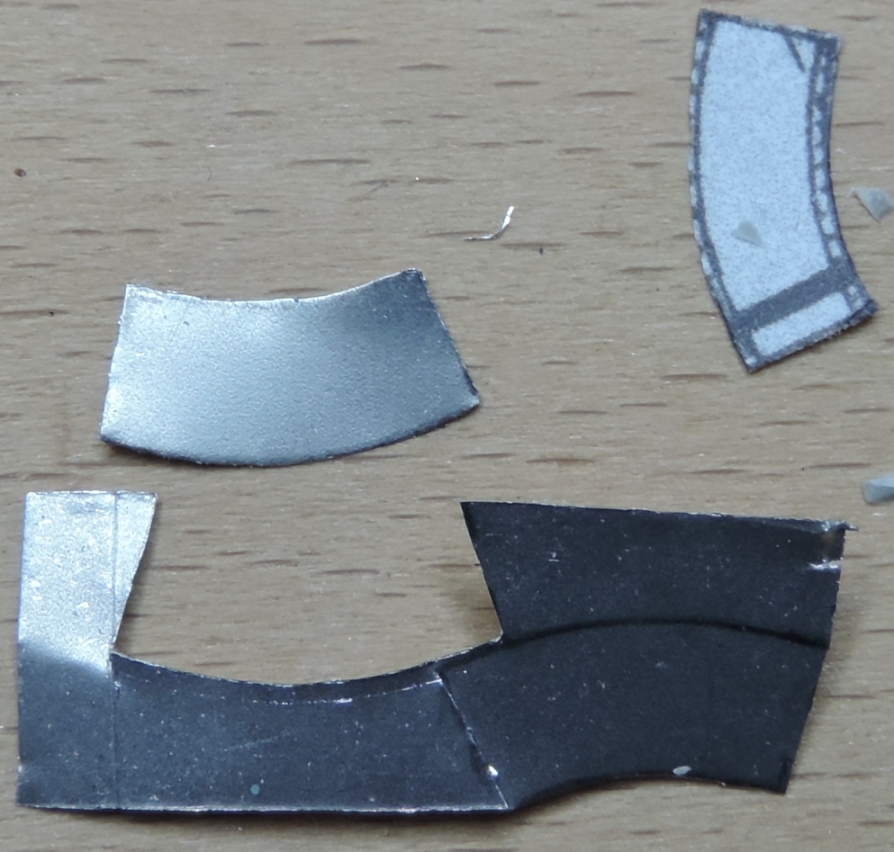
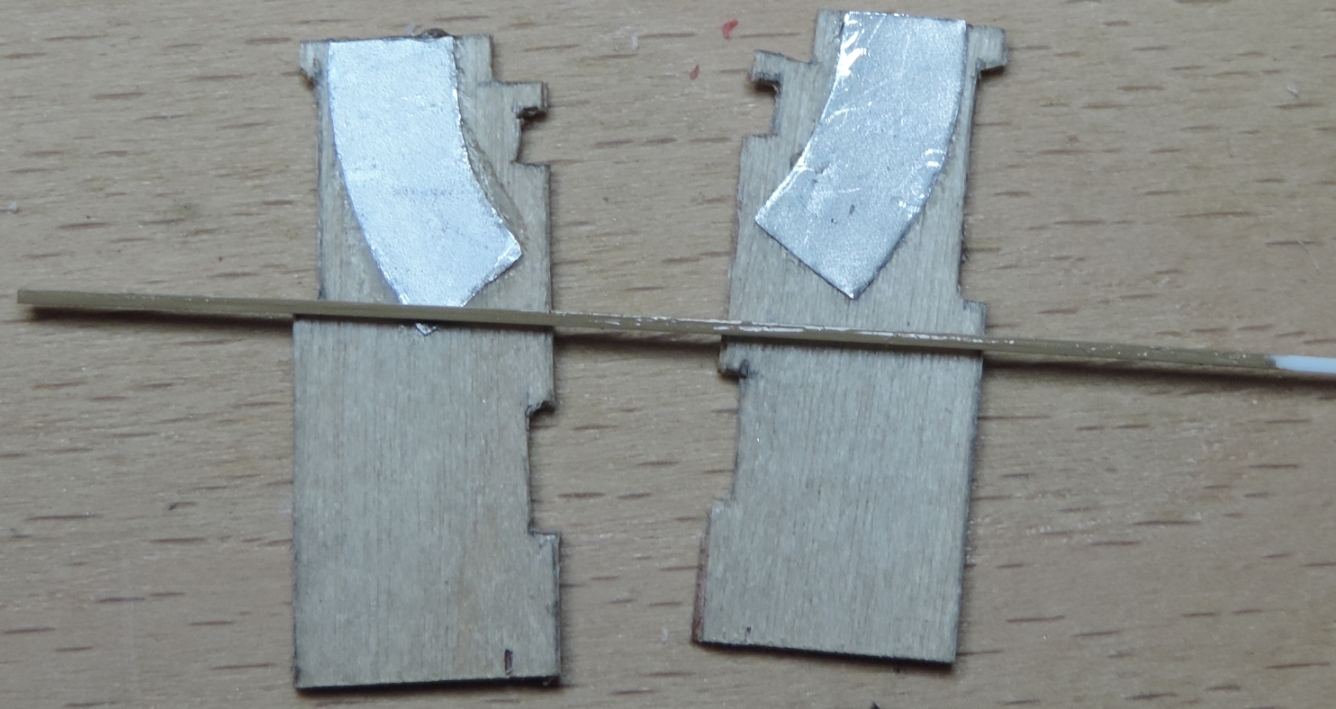
Also, it goes to the Floor plates on. The foot plates I've cut out of thin aluminum and glued. The wooden slats to be his plastic strips of 0.5 mm and are already painted wood colors.
Cheers
Martin
Bayern, Germany
Joined: May 10, 2014
KitMaker: 84 posts
AeroScale: 64 posts
Posted: Sunday, November 29, 2015 - 12:23 AM UTC
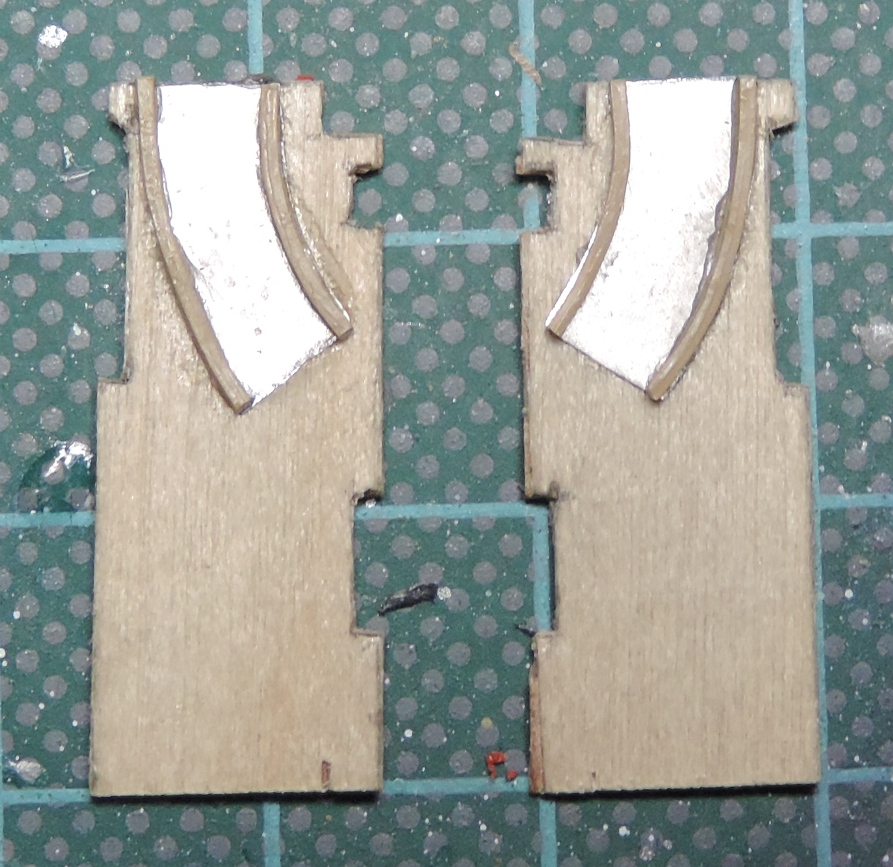
The two bottom plates and the second MG are finished. Must be still painted.
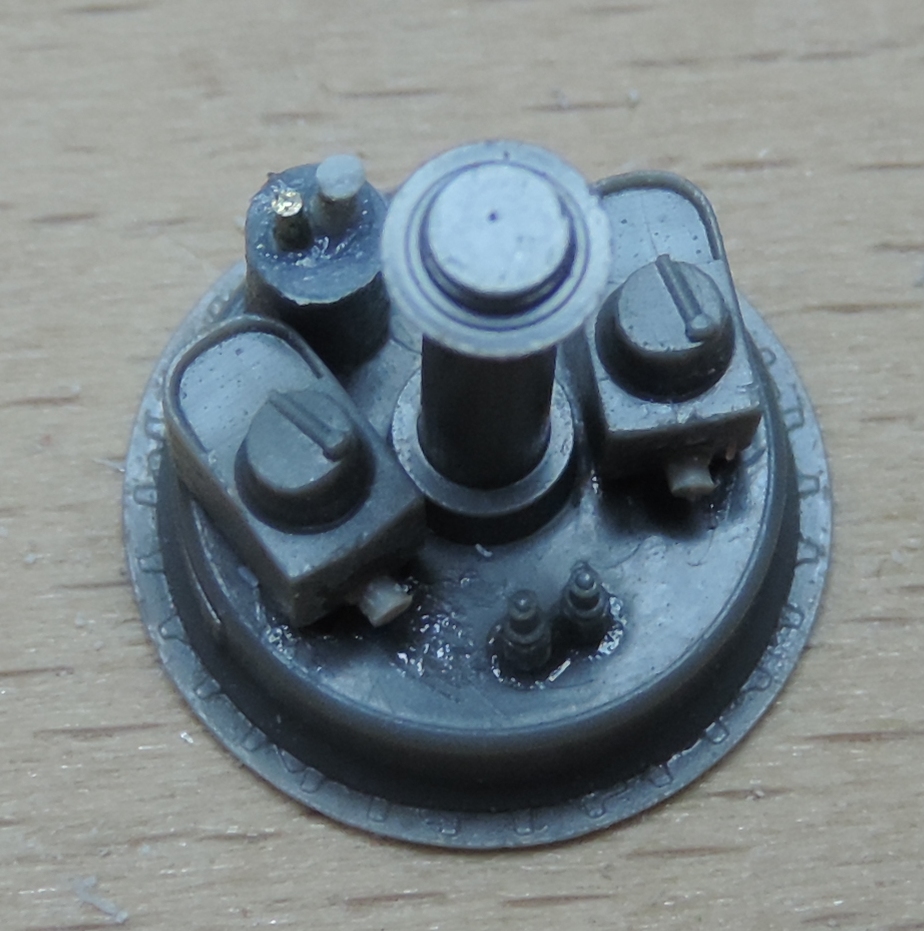
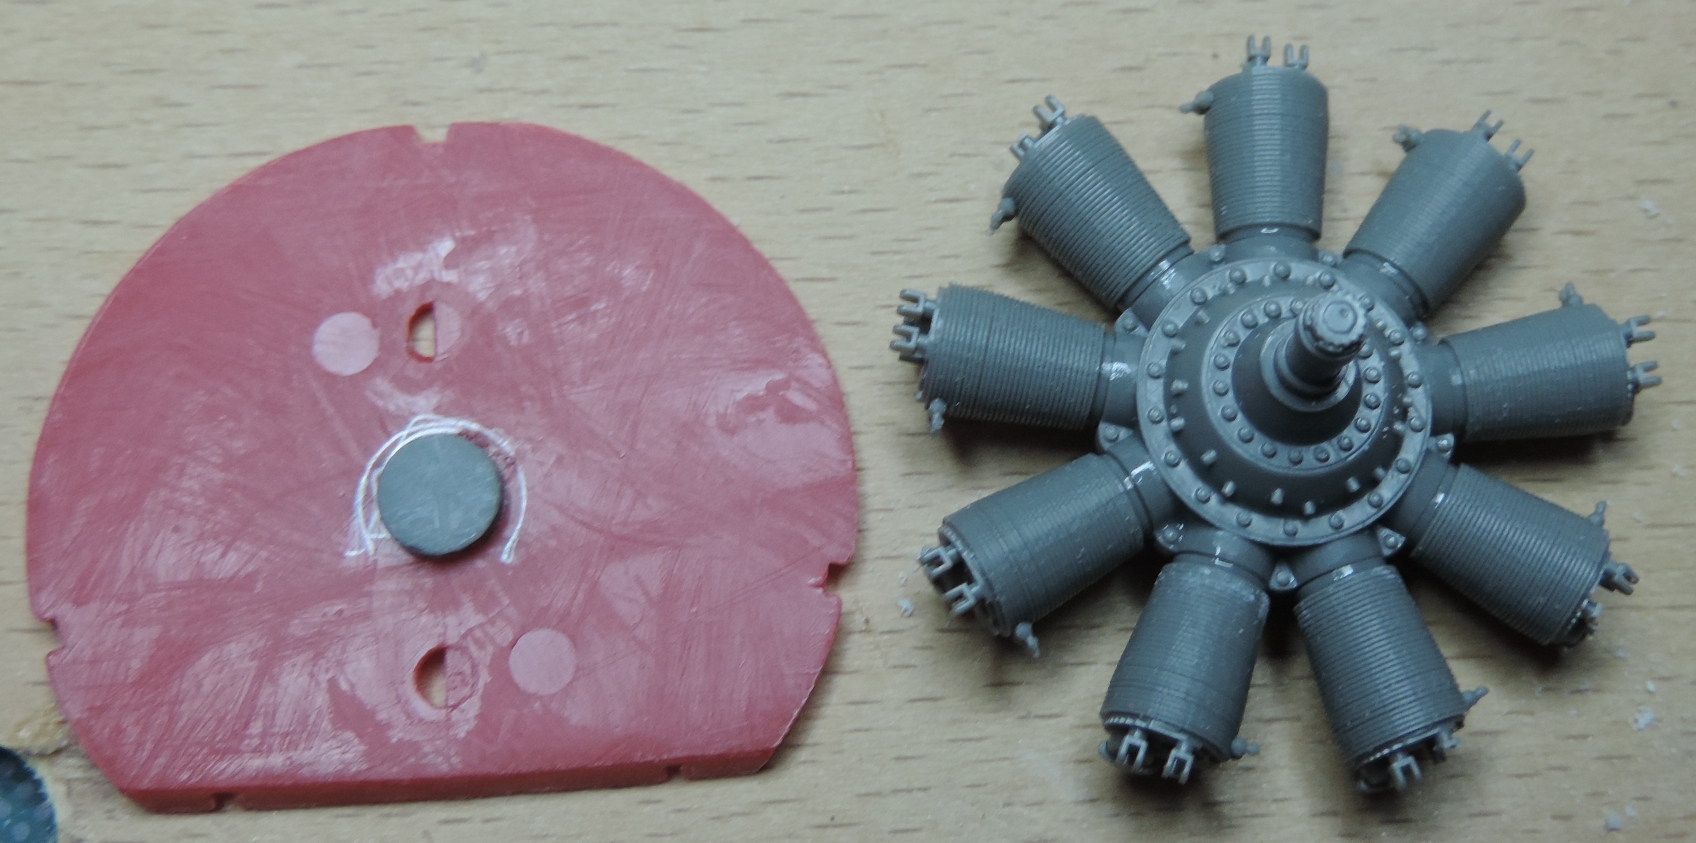
The engine back is almost finished with the changes.
The cylinder is mounted on the engine housing, made holes for the push rods and bulkhead mounted new engine reattachment.
The hood must be thinned.
Cheers
Martin
California, United States
Joined: September 02, 2008
KitMaker: 200 posts
AeroScale: 31 posts
Posted: Tuesday, December 01, 2015 - 04:16 AM UTC
Looking very impressive.
Are you going to change the engine to a Oberursel UR II? That is what the Germans first installed in them.
Sam M.
Retired USN Seabees
EO1(SCW/AW)
NMCB 62,40,5
SERE Inst 89-95
Bayern, Germany
Joined: May 10, 2014
KitMaker: 84 posts
AeroScale: 64 posts
Posted: Wednesday, December 02, 2015 - 02:15 AM UTC
Thank you Sam.
But Jacobs use this Clerget in his Dr1.
Cheers
Martin
California, United States
Joined: September 02, 2008
KitMaker: 200 posts
AeroScale: 31 posts
Posted: Wednesday, December 02, 2015 - 04:24 AM UTC
Thank you for the update and history lesson. I learned something new every day.
Do you know more info on why he used that engine and not the one issued? Was it taken from a downed Camel?
Sorry for all of the questions. This is just a fascinating project you are working on.

Sam M.
Retired USN Seabees
EO1(SCW/AW)
NMCB 62,40,5
SERE Inst 89-95
Bayern, Germany
Joined: May 10, 2014
KitMaker: 84 posts
AeroScale: 64 posts
Posted: Wednesday, December 02, 2015 - 06:52 PM UTC
Sorry Sam,
but many German flyer use instead German Oberursel engines French or English engines because they are better quallity and more hp.
I don`t know from what Camel it was.
Cheers
Martin
Colorado, United States
Joined: January 25, 2004
KitMaker: 11,669 posts
AeroScale: 11,011 posts
Posted: Thursday, December 03, 2015 - 12:24 AM UTC
For more on Ltn. des Res. Josef Jacobs see Cross & Cockade Intl. issues;
Vol. 25 #2 1994 “Jasta 7 under Kobes Pt.I”
Vol. 25 #3 1994 “Jasta 7 under Kobes Pt.II”
Herrn Jacobs started offering bottles of wine and champagne to anyone who could bring him an "intact" or sealed rotary engine especially important was the rotary engine oil. Jacobs preferred the rotary powered aircraft as his personal mount. When he acquired a complete Clerget motor he had it first mounted on 450/17 using the attached propeller. The prop was later damaged and another British prop for the Cleget was attached. At one point 470/17 also had a Clerget but it may have been the same one mentioned previously or another. The Camel (Sopwith F.I) used a Clerget that offered 10 - 20hp more than the Oberursel Ur.II motors issued with the Dr.I.
He had two Dr.I triplanes at the same time, these were 450/17 and 470/17. The Dr.I was being phased out in the summer of 1918 so if he wanted to keep flying them he had to get the castor based oil. Later Germany started offering the synthetic rotary oil. Fok. 450/17 was destroyed on October 3, 1918 while fighting Se 5a aircraft.
The ultimate fate of Dr.I 470/17 is unkown, but he did end up marking it with his personal motif (his combat records bear this out) his last use of the machine was in late October. He was at the 3rd fighter competition in Berlin when the war ended.
There is no evidence in the public domain that suggests the Clerget motor(s) he used were or were not from any of his combat victims.
". . .The most important thing is to know why you build and then get the most that you can out of building." via D.D.
Bayern, Germany
Joined: May 10, 2014
KitMaker: 84 posts
AeroScale: 64 posts
Posted: Thursday, December 03, 2015 - 03:21 AM UTC
Thank you very much for this information Jack.
Cheers
Martin
California, United States
Joined: September 02, 2008
KitMaker: 200 posts
AeroScale: 31 posts
Posted: Thursday, December 03, 2015 - 05:11 AM UTC
Jack,
Great research and history lesson.
Thank you.
Sam M.
Retired USN Seabees
EO1(SCW/AW)
NMCB 62,40,5
SERE Inst 89-95
Bayern, Germany
Joined: May 10, 2014
KitMaker: 84 posts
AeroScale: 64 posts
Posted: Monday, December 07, 2015 - 09:44 PM UTC
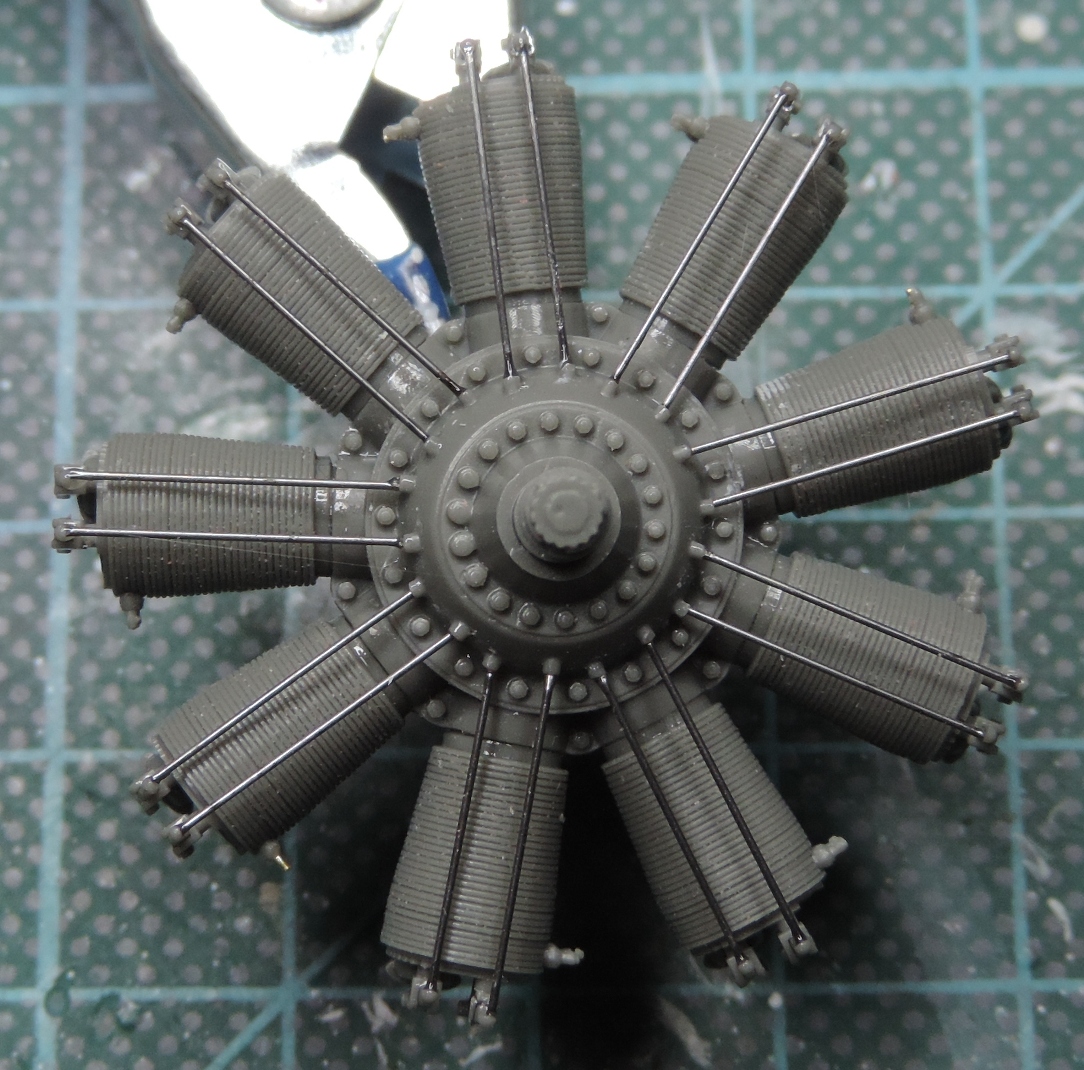
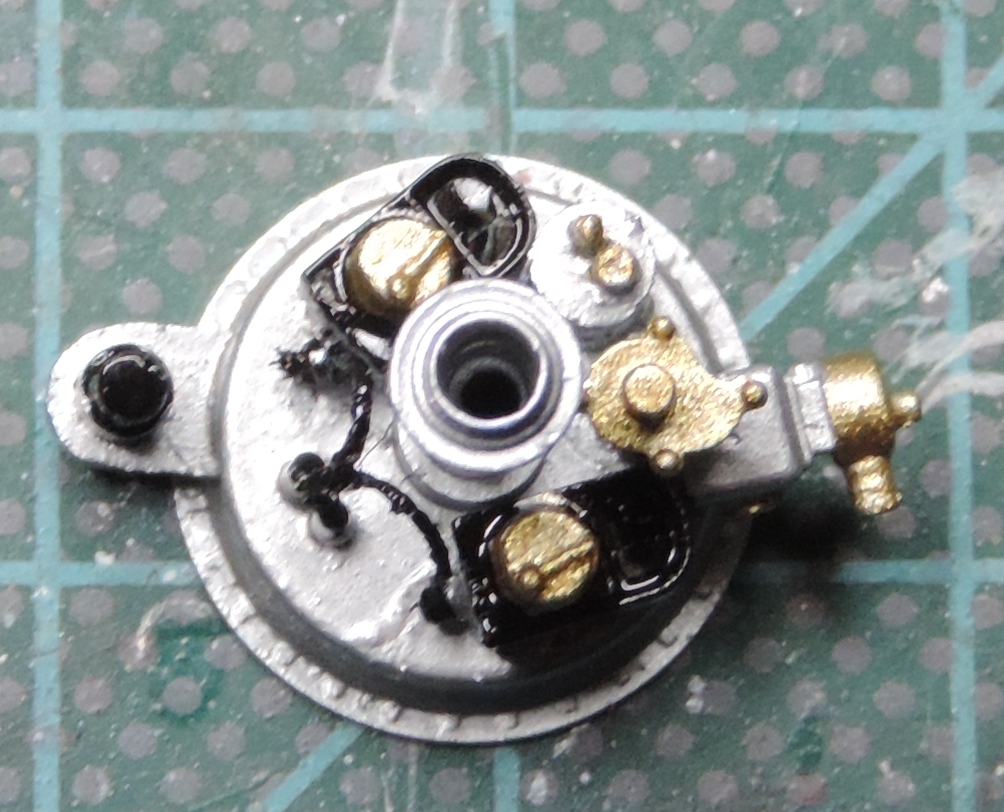
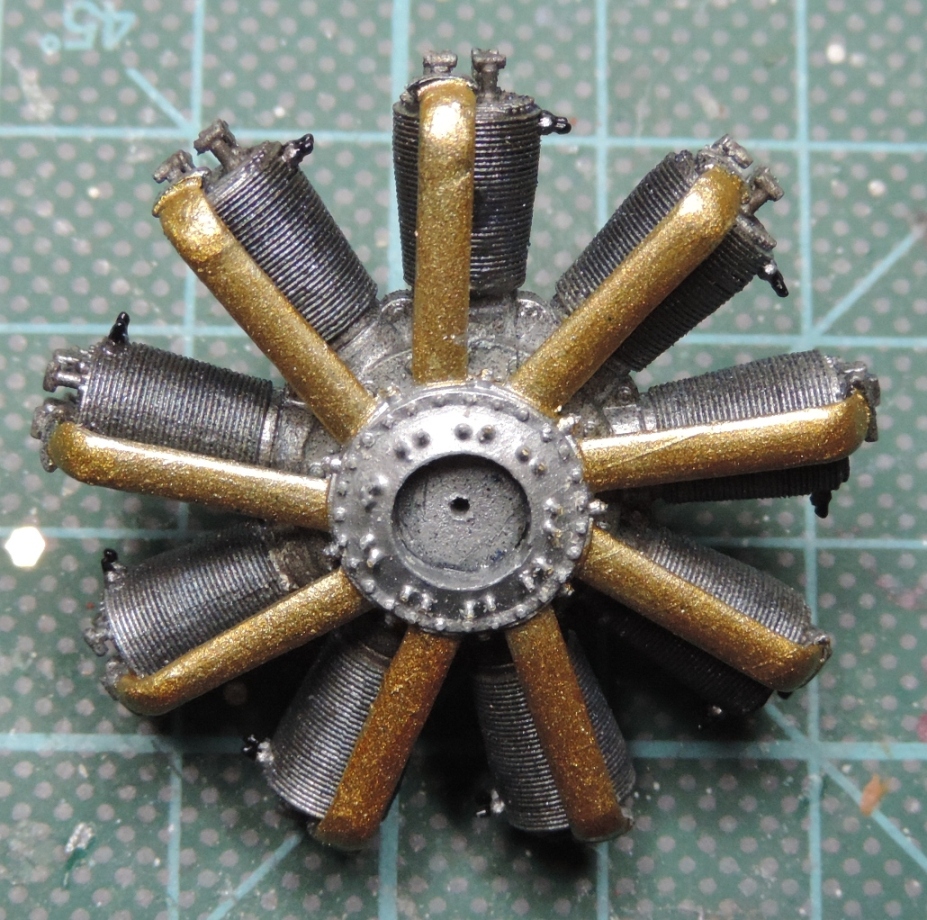
The engine down to the paint and finished spark plug wire.
The suction side is also ready so far.
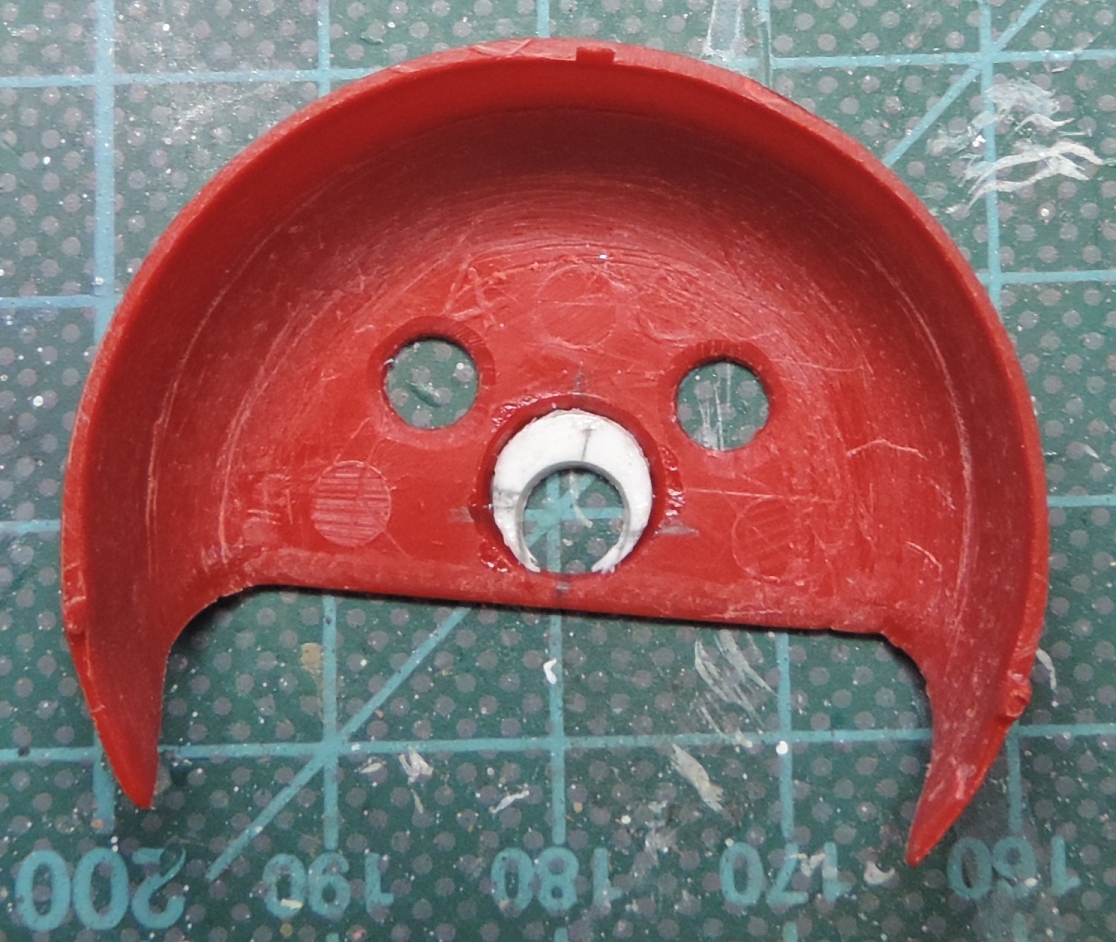
The hood inner thin sanded and brought forward the middle hole to correct size.
Cheers
Martin
from the front with pushrods and rocker arms:
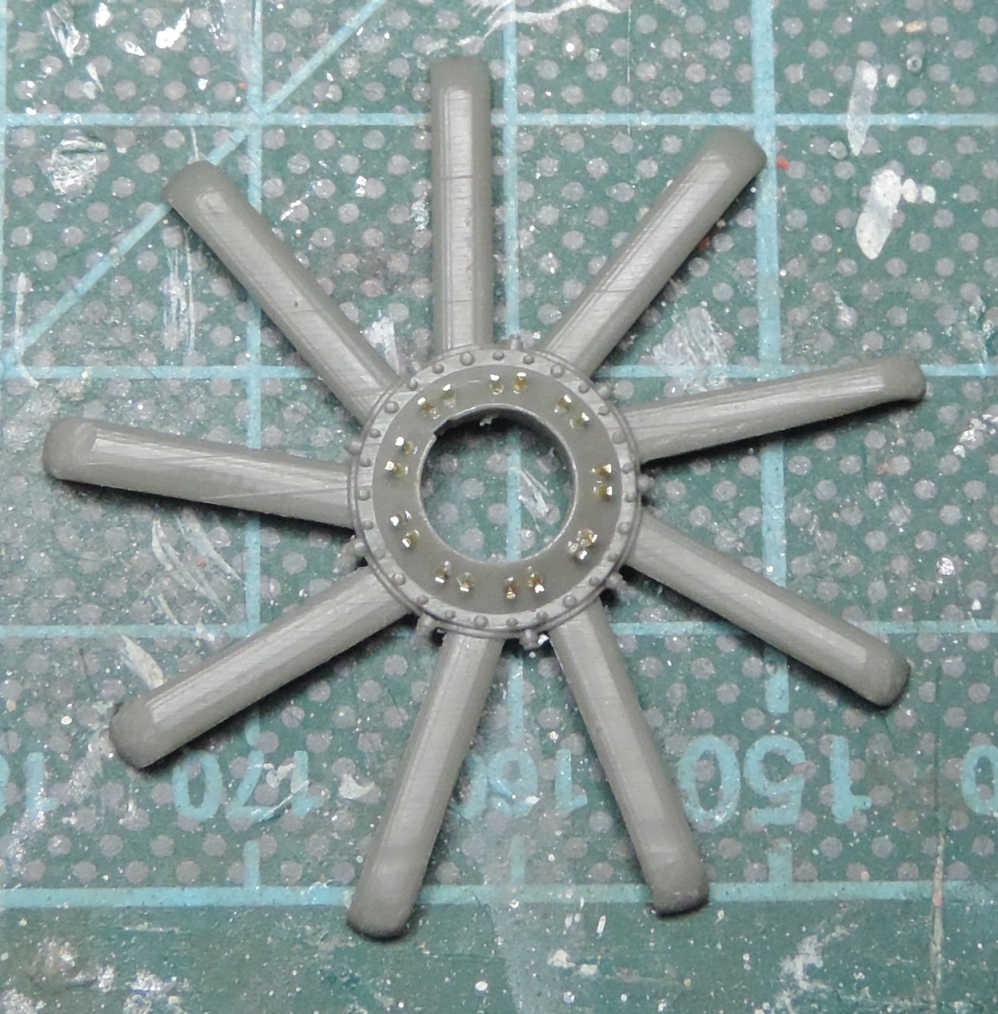
contact set:
assembled with bore and ignition completely:
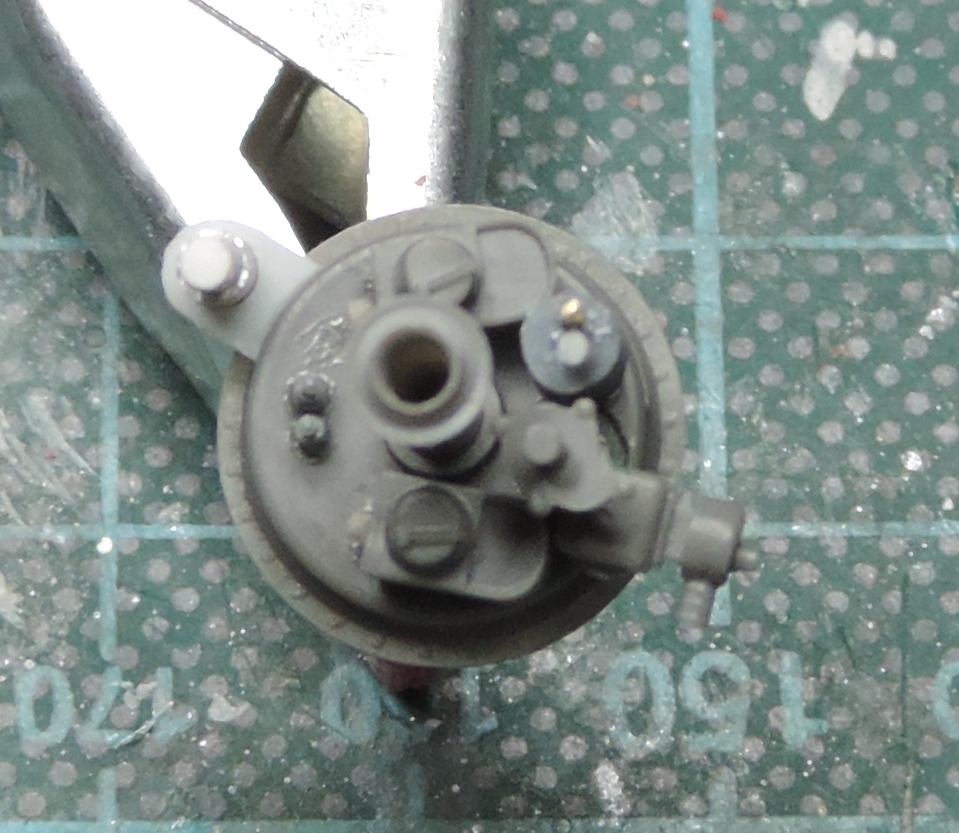
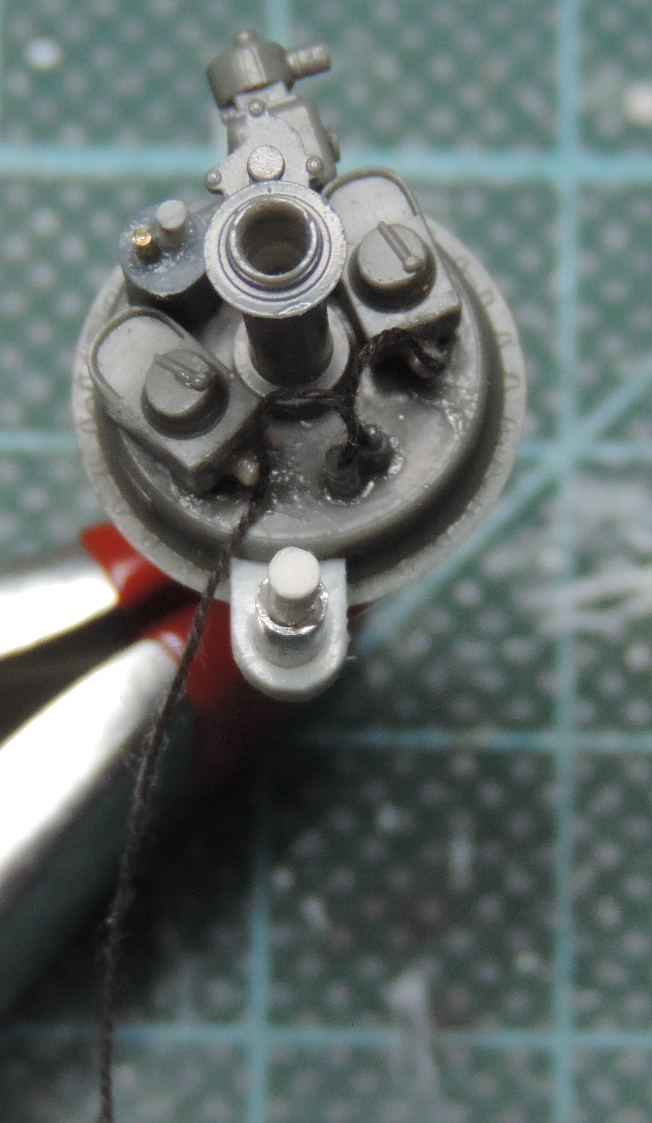
changed hood:
Bayern, Germany
Joined: May 10, 2014
KitMaker: 84 posts
AeroScale: 64 posts
Posted: Thursday, December 10, 2015 - 11:50 PM UTC
MG`s, tail skid and engine parts are ready painted.
The engine is mounted, are still absent the spark plug lead.
Cheers
Martin
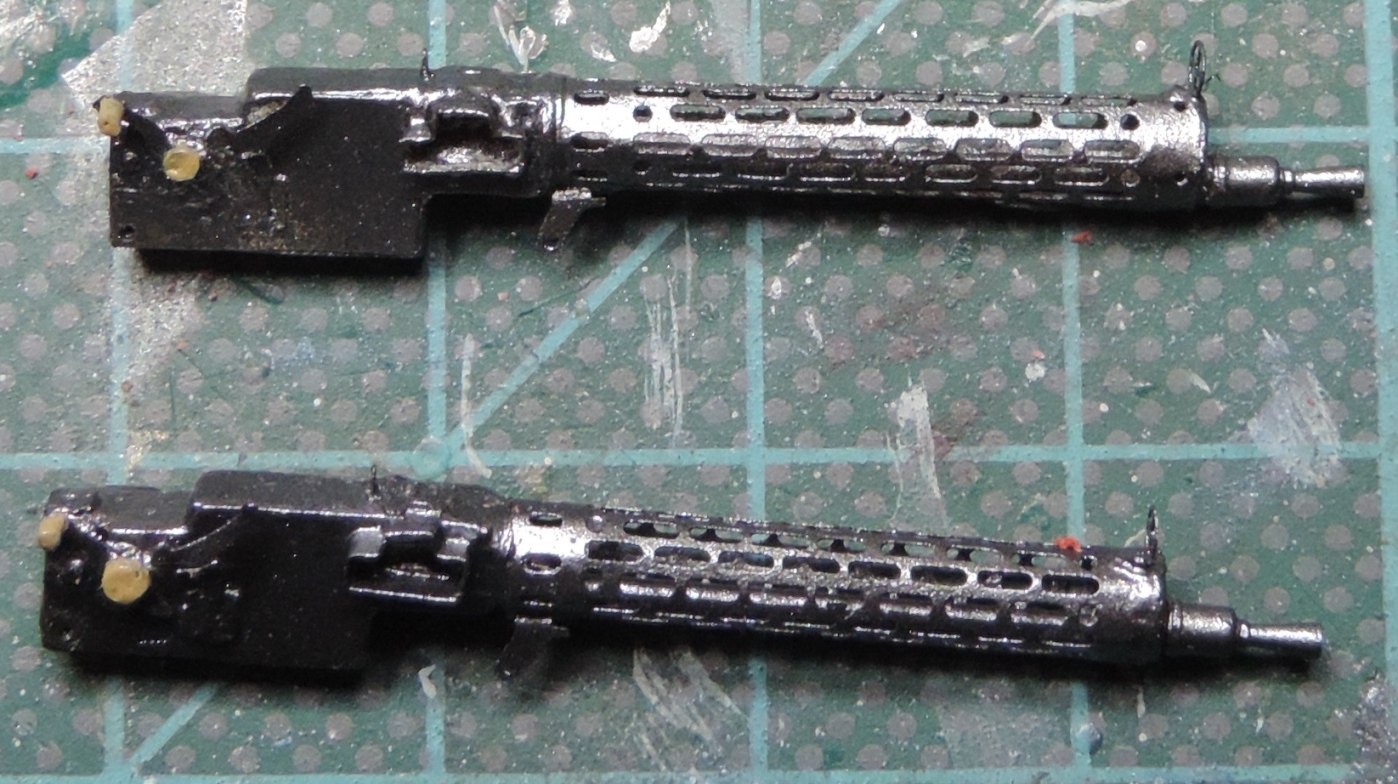
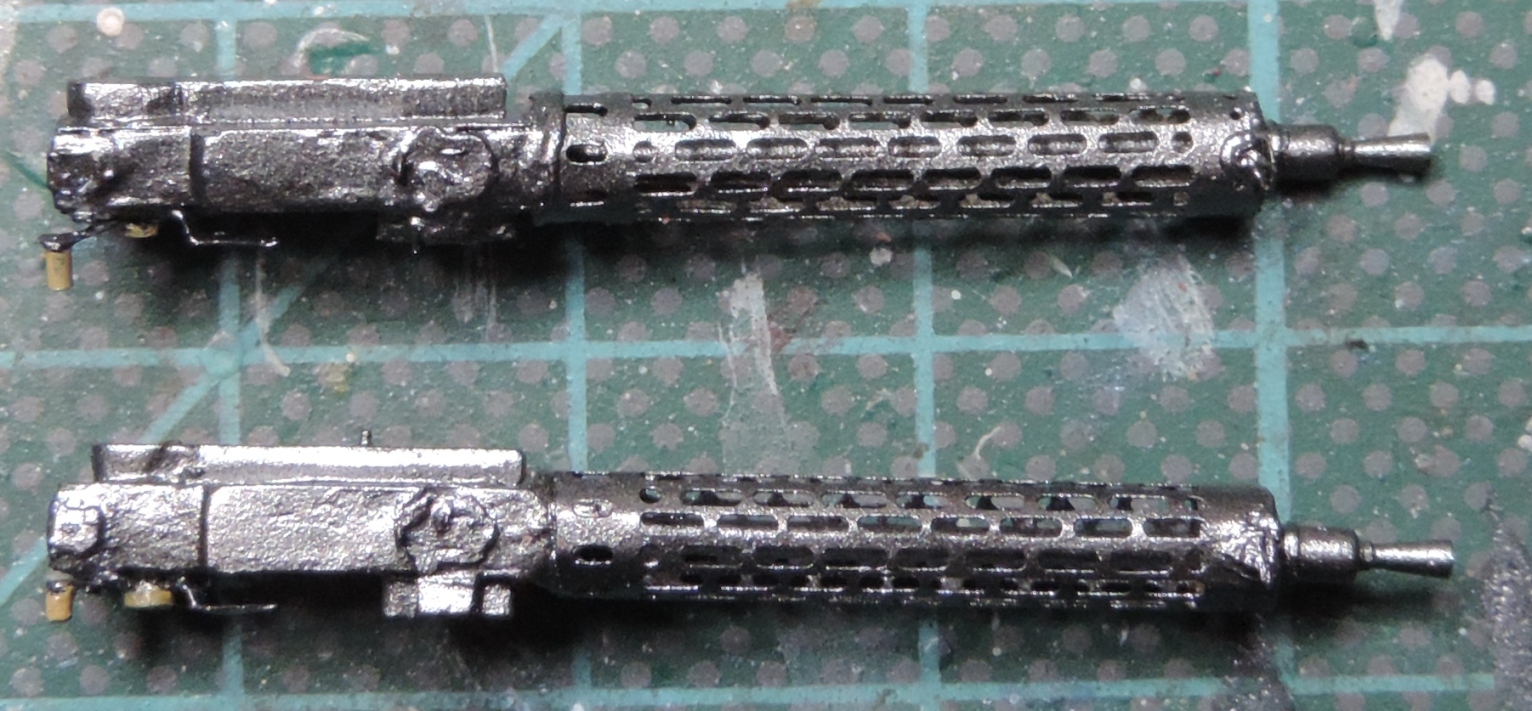
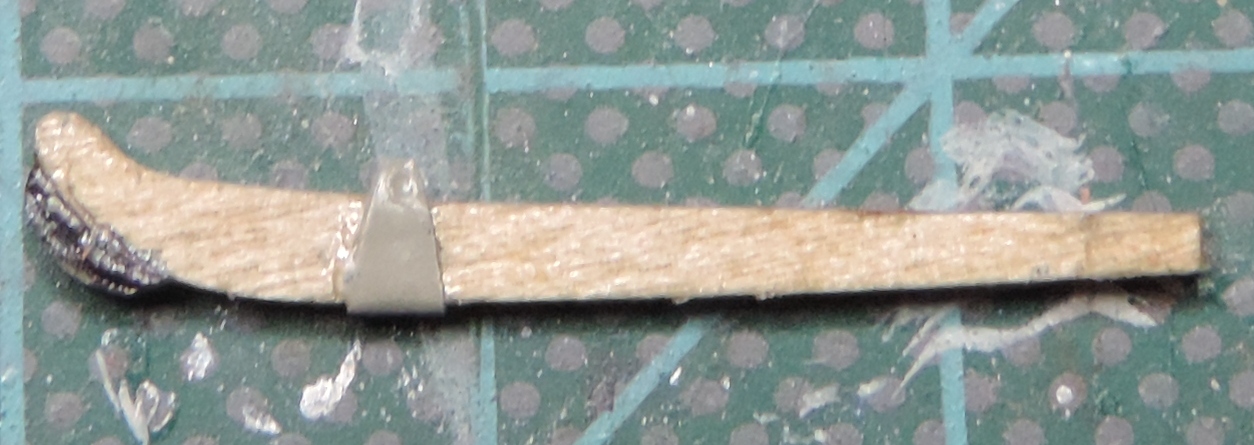


#424
Queensland, Australia
Joined: April 23, 2015
KitMaker: 4,648 posts
AeroScale: 1,938 posts
Posted: Friday, December 11, 2015 - 02:18 AM UTC
Guns and motor look great!
"Artillery adds dignity, to what would otherwise be an ugly brawl."
Frederick The Great
California, United States
Joined: September 02, 2008
KitMaker: 200 posts
AeroScale: 31 posts
Posted: Friday, December 11, 2015 - 03:36 AM UTC
That engine is looking great!
You also did a great job on the MG's.
Sam M.
Retired USN Seabees
EO1(SCW/AW)
NMCB 62,40,5
SERE Inst 89-95
Bayern, Germany
Joined: May 10, 2014
KitMaker: 84 posts
AeroScale: 64 posts
Posted: Friday, December 11, 2015 - 03:54 AM UTC
Thank you for your compliments Gary and Sam.
Cheers
Martin

Bayern, Germany
Joined: May 10, 2014
KitMaker: 84 posts
AeroScale: 64 posts
Posted: Sunday, December 13, 2015 - 01:03 AM UTC
The modified intake manifolds to copper color and the first ignition wires from copper attached.
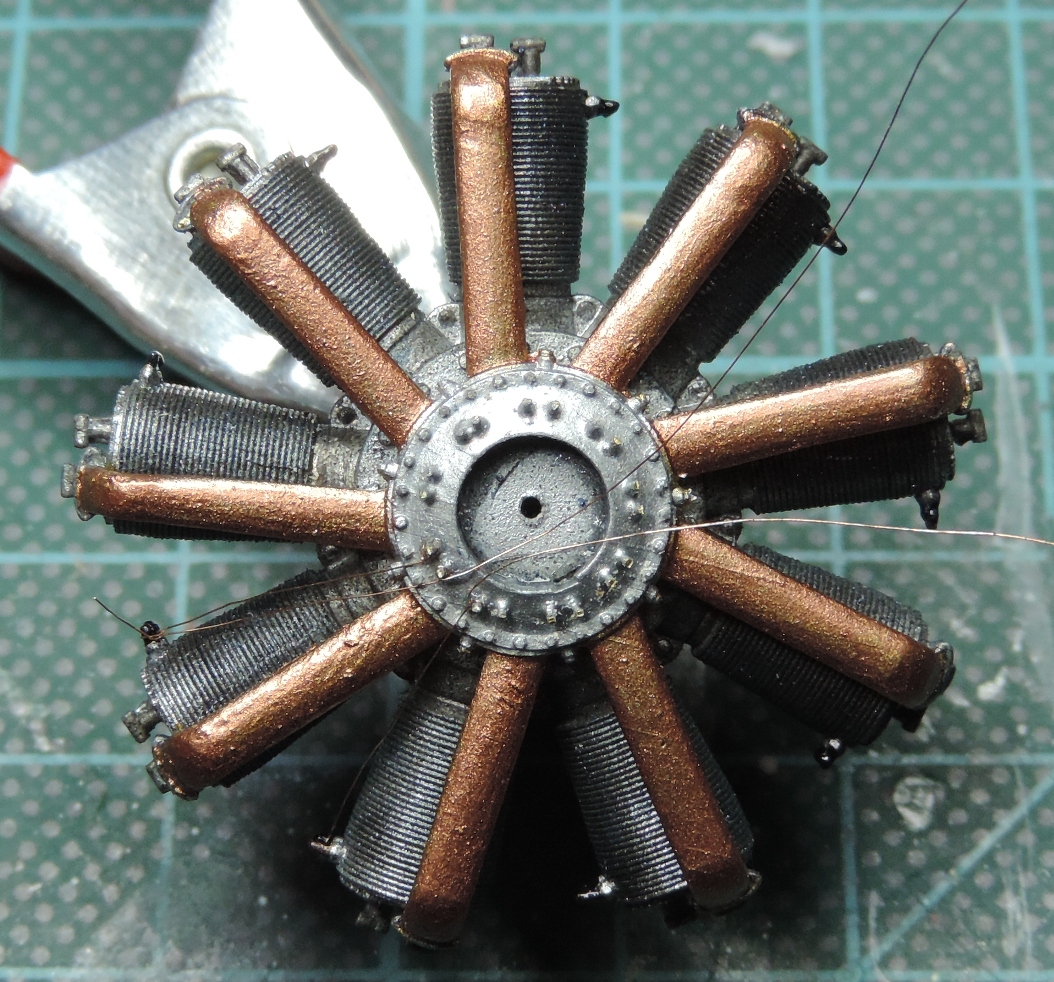
Fenders (heat) for customized under the MGs made of aluminum.

Magnetic and ignition assembled and painted.
Propeller plates painteded.
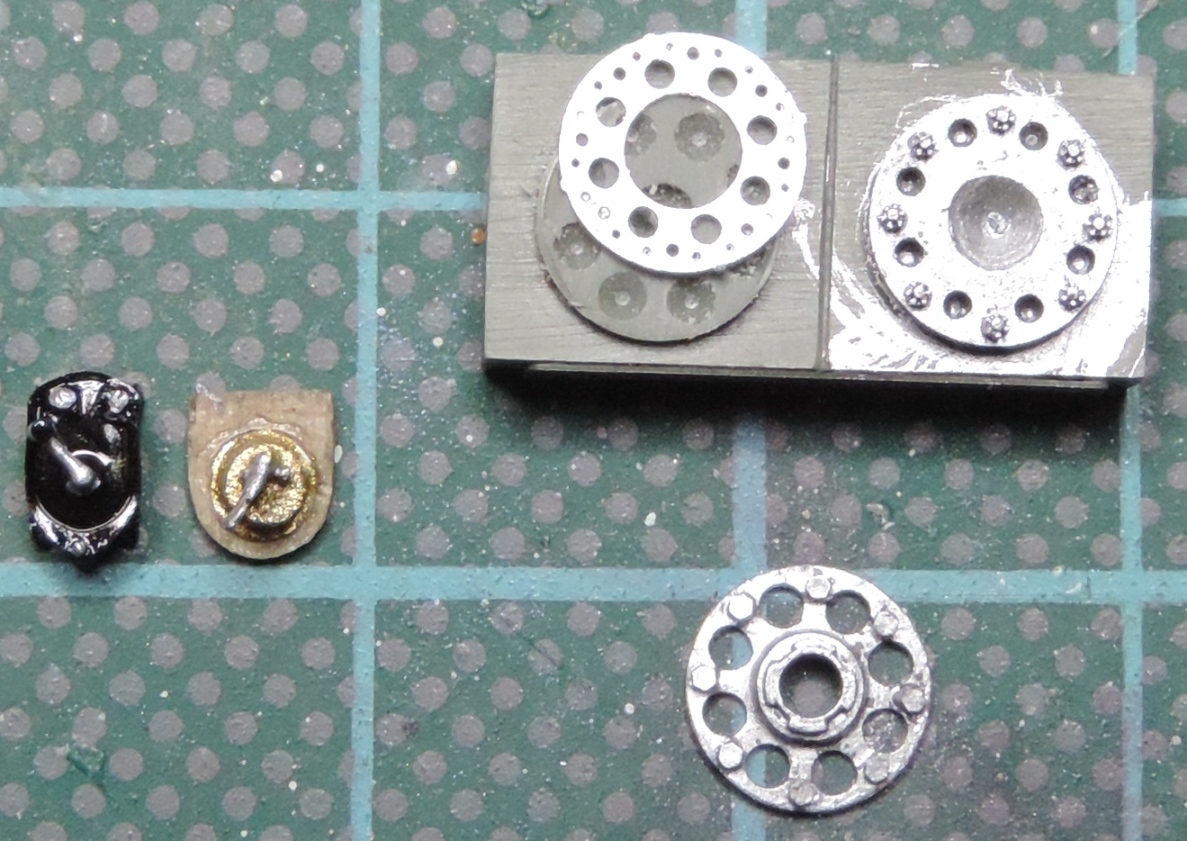
Attached strips on the side panels and painted fuselage parts.
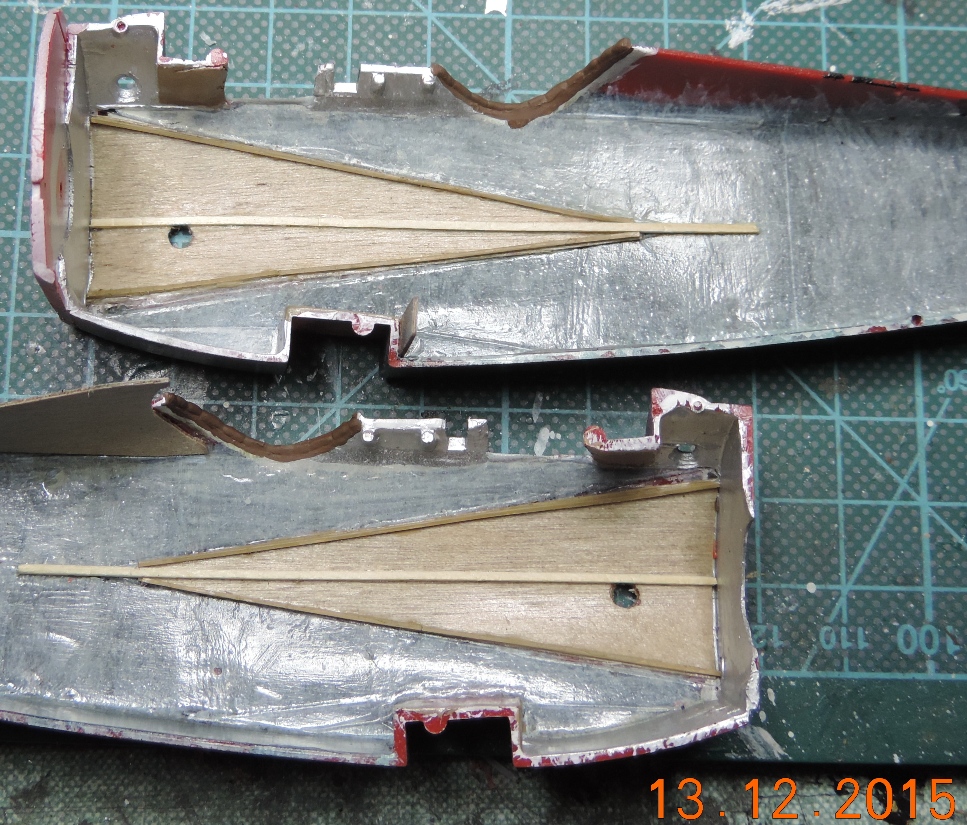
Cheers
Martin

#243
England - North East, United Kingdom
Joined: March 21, 2008
KitMaker: 996 posts
AeroScale: 915 posts
Posted: Friday, December 18, 2015 - 12:44 AM UTC
On the engine debate, the Oberrusel was a near copy of the 110hp Le-Rhone engine. Camels could have either the Le-Rhone or the 130hp Clerget (or less commonly even the 150hp Bentley BR1). The Clerget was technically superior to the Le-Rhone but more difficult to work on, even tho many maintenance operations could be done without dismounting the engine. The Clerget Camels were a little faster but one of my references indicates the Le-Rhone engined ones climbed better. That probably has more to do with the engine/prop match. I shall watch this, I have both this and the Camel in the stash and I have built one before as Voss' aircraft, nowhere near as good as this. Waiting to see how you do the steel tubular fuselage frame

Andrew
Pfalz DIIIa, Eduard 1/48 Uffz Max Hitschler Jasta 18 Late 1917
Bayern, Germany
Joined: May 10, 2014
KitMaker: 84 posts
AeroScale: 64 posts
Posted: Saturday, January 02, 2016 - 02:25 AM UTC
Here it goes a little further.
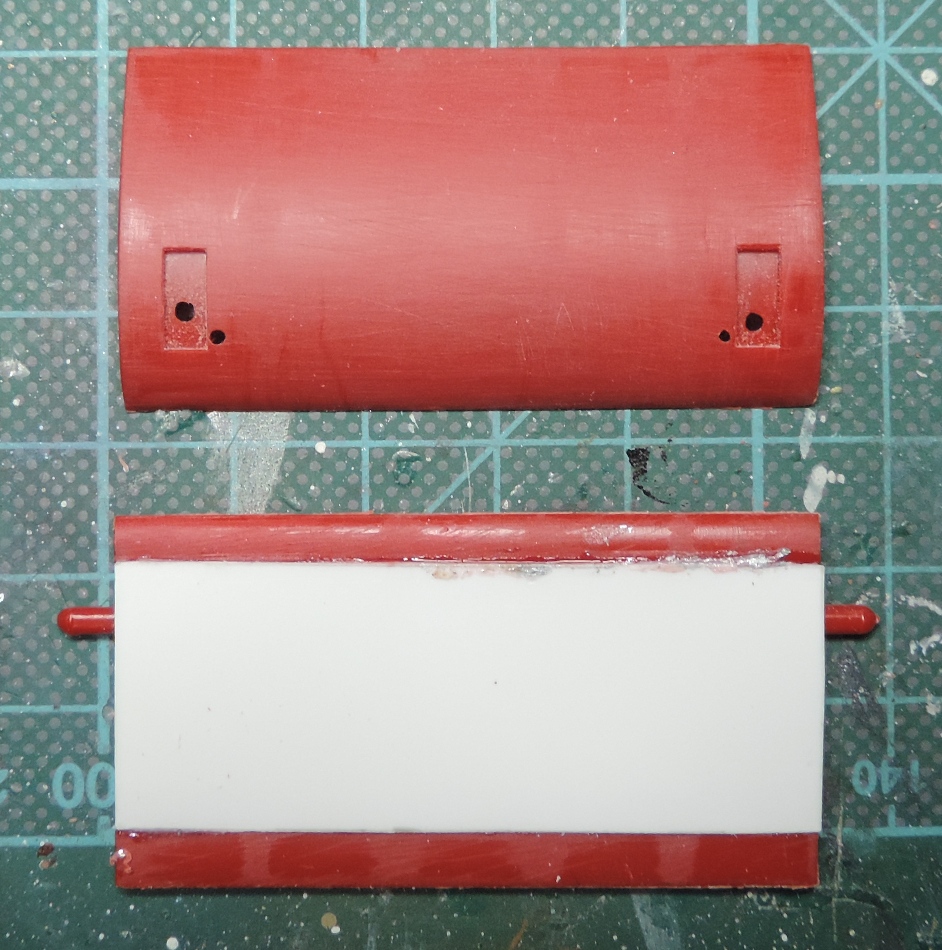
Aileron corrected and sanded,
Cable guides and internal control cable mounted drilling
and axle fairings changed.
Engine will be ready tomorrow. The last two ignition wires are then attached.
Burred, further components and primed.
Cheers
Martin



#424
Queensland, Australia
Joined: April 23, 2015
KitMaker: 4,648 posts
AeroScale: 1,938 posts
Posted: Saturday, January 02, 2016 - 02:44 AM UTC
I'm impressed wih the amount of information you have to make changes. I never take measurements to see if things are incorrect. But, if something looks suspect I will fix it.
Great work so far!
Gary
"Artillery adds dignity, to what would otherwise be an ugly brawl."
Frederick The Great
Bayern, Germany
Joined: May 10, 2014
KitMaker: 84 posts
AeroScale: 64 posts
Posted: Saturday, January 02, 2016 - 05:53 AM UTC
Thank you Gary for your compliment.
You need many Information like books, Internet and other to build near a correct model.
Cheers
Martin
Bayern, Germany
Joined: May 10, 2014
KitMaker: 84 posts
AeroScale: 64 posts
Posted: Saturday, January 02, 2016 - 10:30 PM UTC
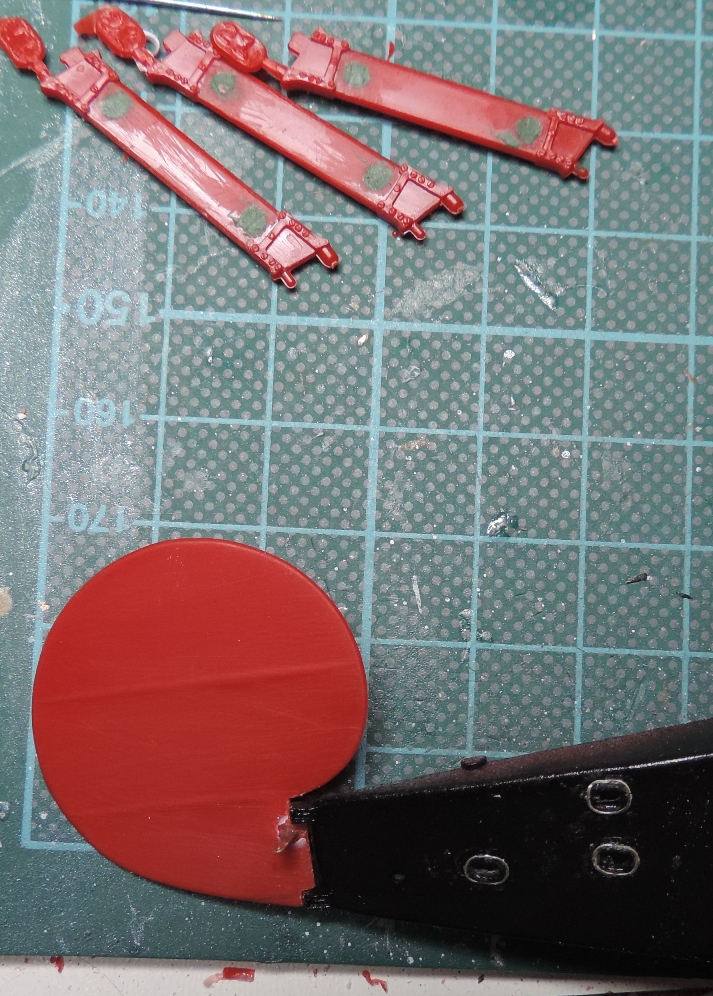
Top wing inside and ailerons with control lever are finished.
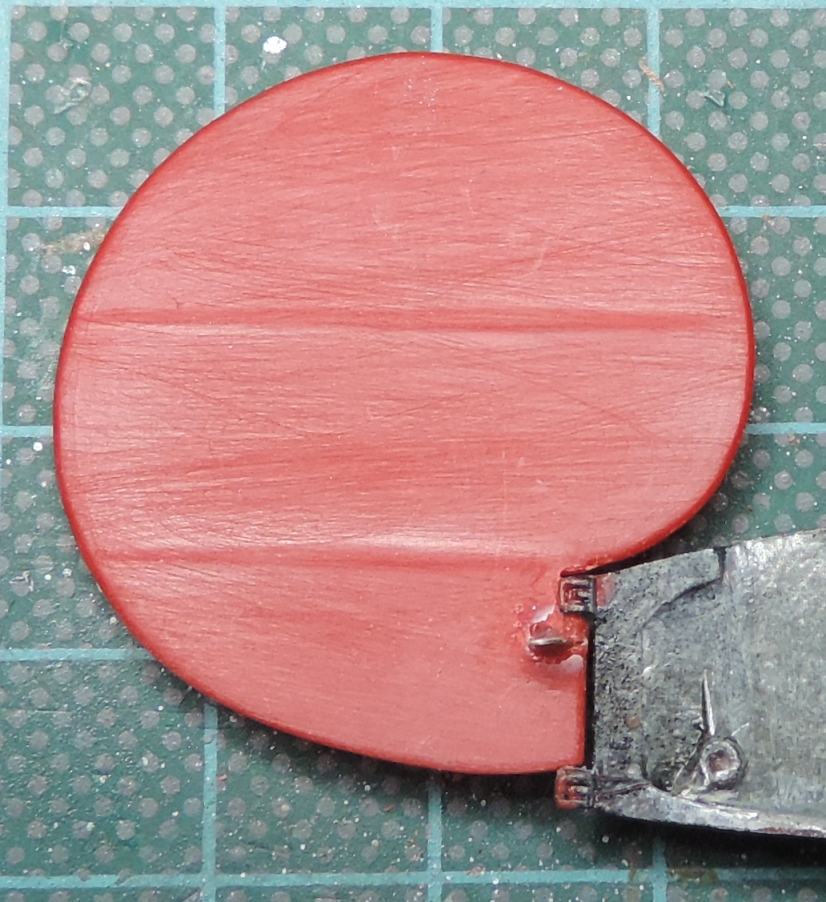
Rudder before and after correction with control lever. The hull is behind even shortened. The struts are primed ready for painting.
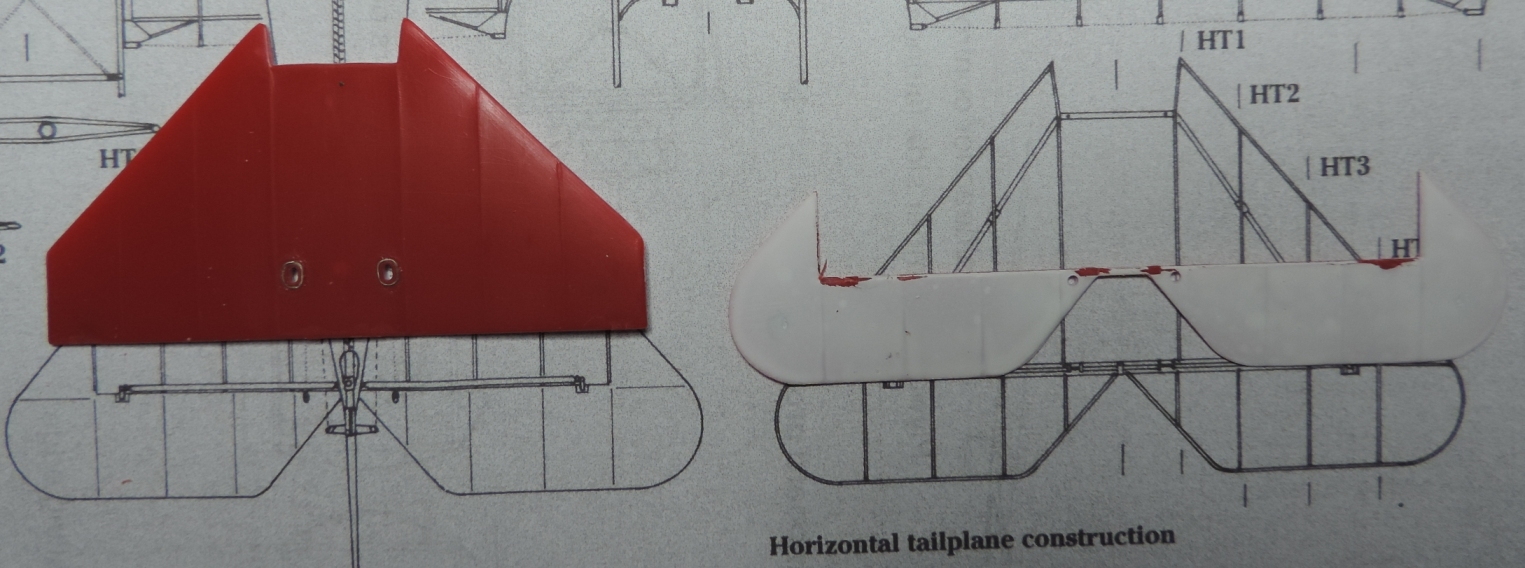
Tailplane with elevator are too large. And with pencil correction. Must have also shortened after the hull cuts.
Middle wing inside is too long. I don`t know if I make a change quote here.
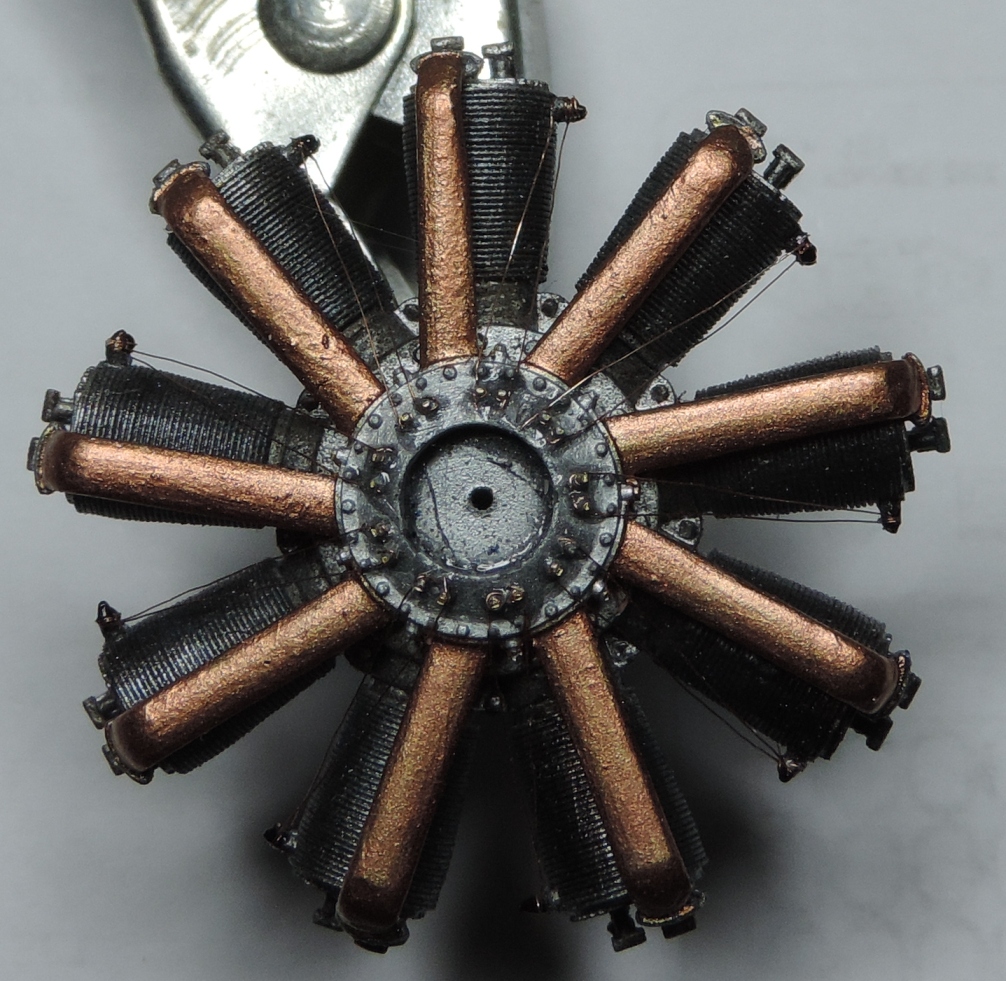
As the last of the finished engine from the rear. In the front I drilled the propeller shaft.
Cheers
Martin
P.s. I think my build needs always many month work!





#424
Queensland, Australia
Joined: April 23, 2015
KitMaker: 4,648 posts
AeroScale: 1,938 posts
Posted: Saturday, January 02, 2016 - 11:09 PM UTC
Martin,
I can appreciate your dedication to detail. However, sometimes too much correction takes the fun out of a build for me.
If I stay on a model too long, I get tired of it, or become attracted to building another kit. So I try not to get too mired in the details.
Still, you are doing great work.
Gary
"Artillery adds dignity, to what would otherwise be an ugly brawl."
Frederick The Great
Bayern, Germany
Joined: May 10, 2014
KitMaker: 84 posts
AeroScale: 64 posts
Posted: Sunday, January 03, 2016 - 02:26 AM UTC
Thanks Gary,
but I had no Knowlege about what comes to me.
I had to buy the Rhoden Kit. It is very better.
Cheers
Martin
Bayern, Germany
Joined: May 10, 2014
KitMaker: 84 posts
AeroScale: 64 posts
Posted: Sunday, January 17, 2016 - 12:49 AM UTC
I started again to build on.
The axis wing on the bottom changes done.
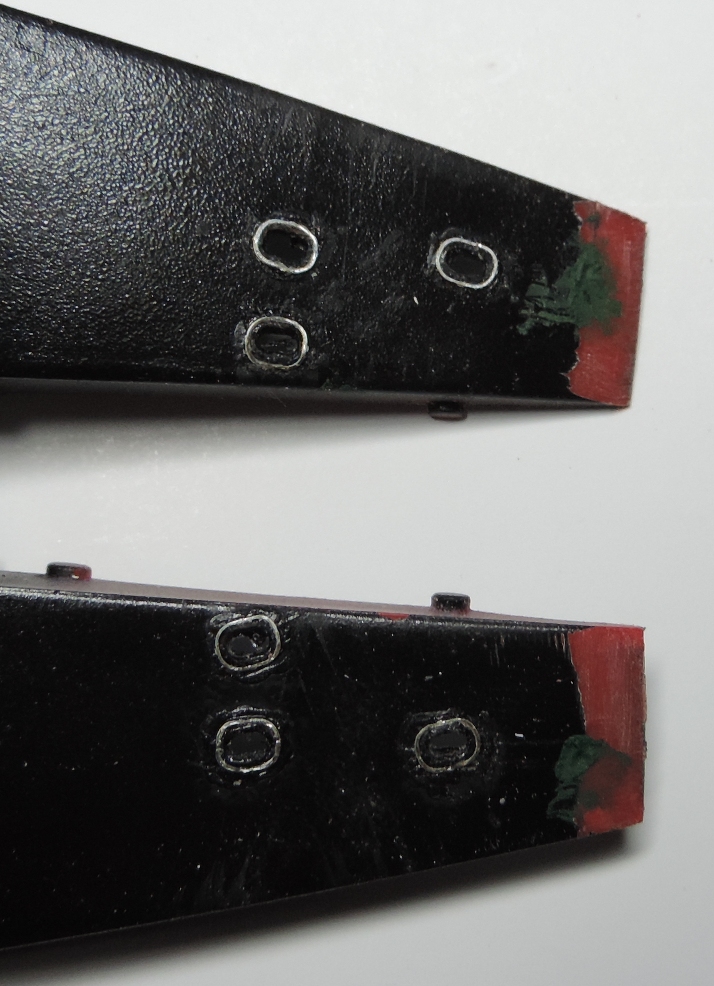
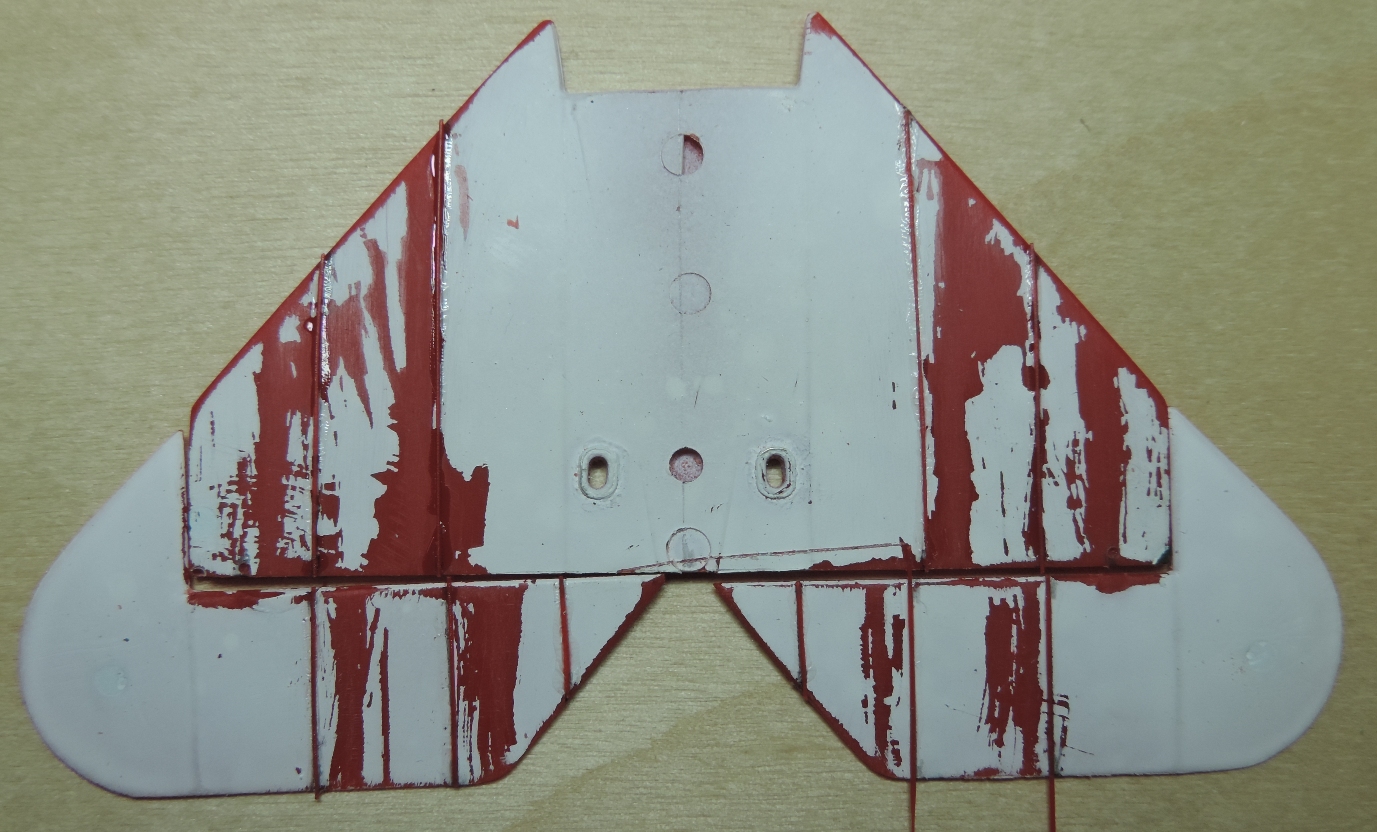
Fuselage reduced by approximately 5mm, the end of re-sanded and filled, for the tailplane struts the holes (they are wrong !;).
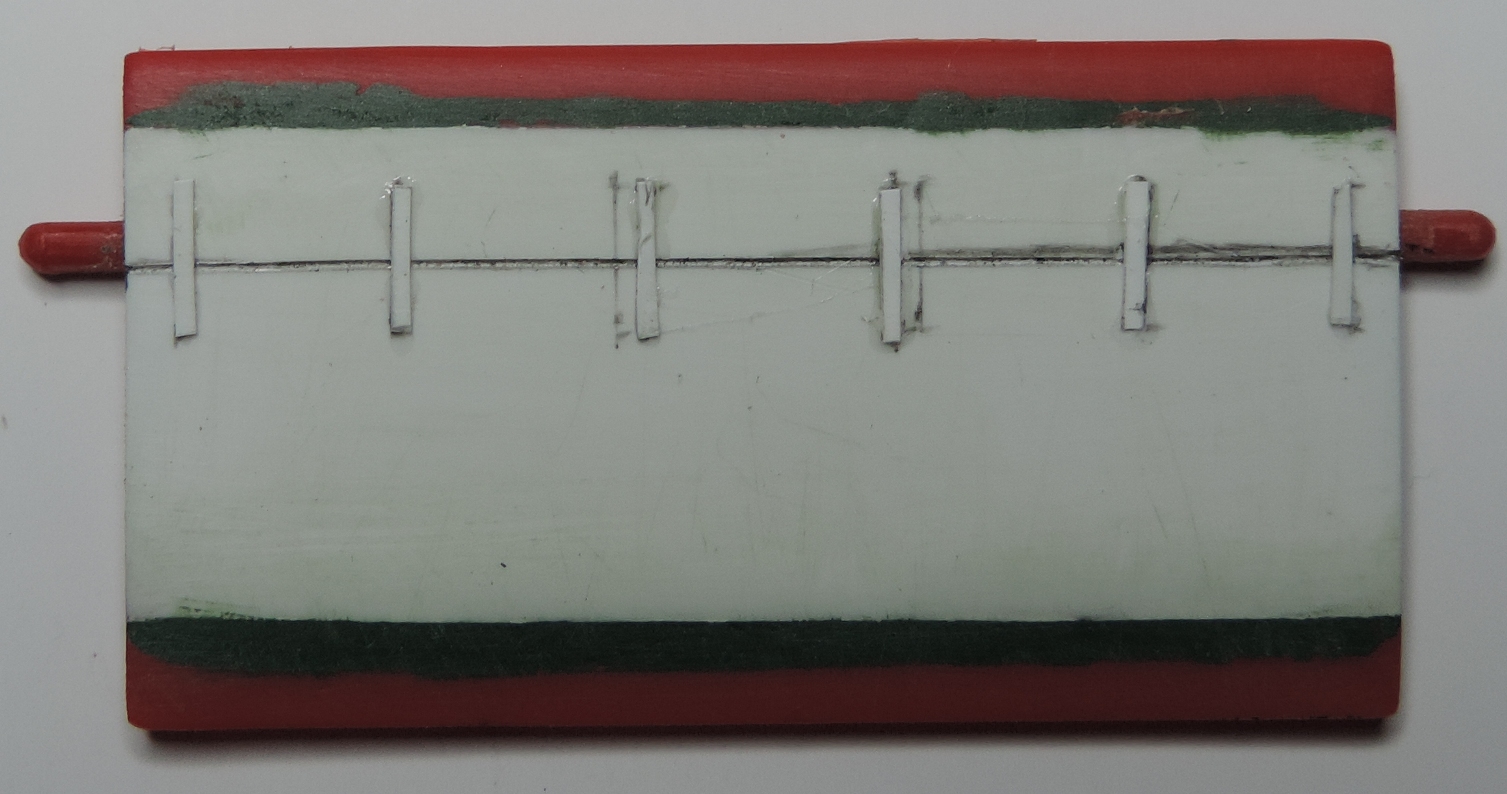
Tailplane and rudder new representation of the ribs on the right site attached with thin drawn threads.
What is missing is the connection between the two rudders and the control horns.
Cheers
Martin
Bayern, Germany
Joined: May 10, 2014
KitMaker: 84 posts
AeroScale: 64 posts
Posted: Monday, January 25, 2016 - 11:06 PM UTC
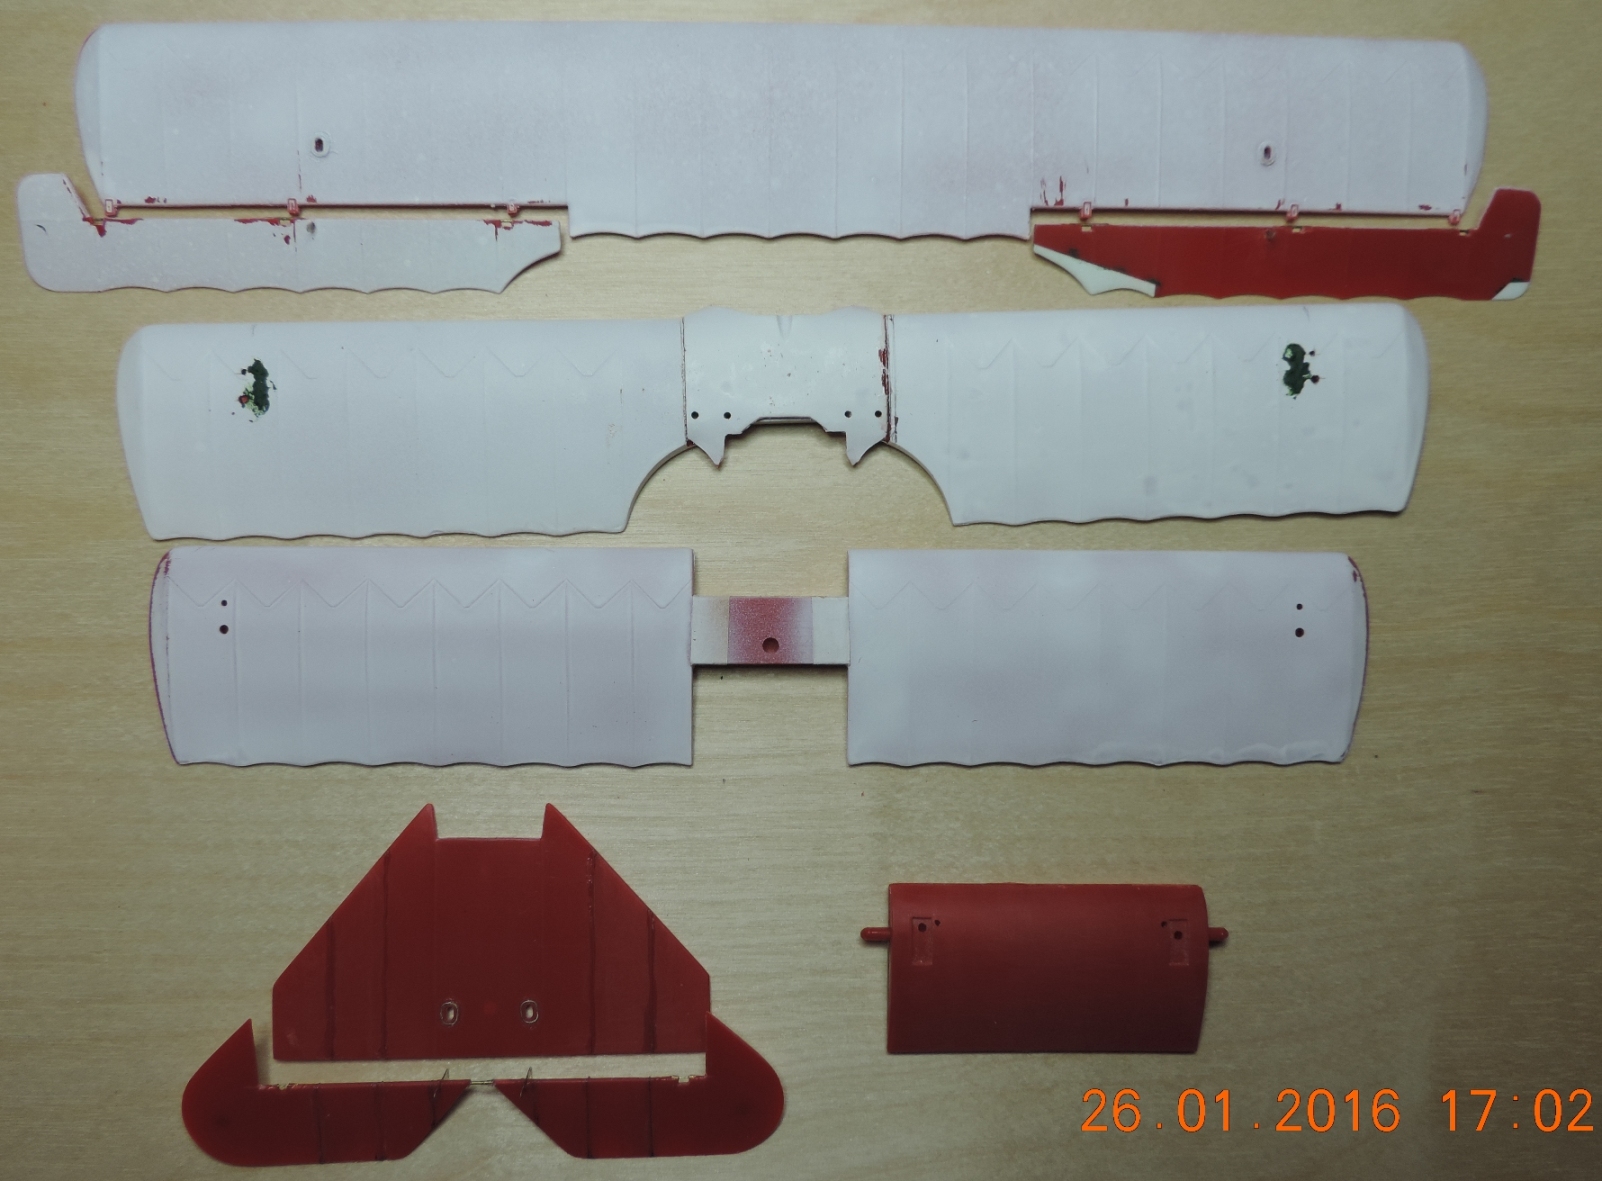
The fuselage end is ready sanded.
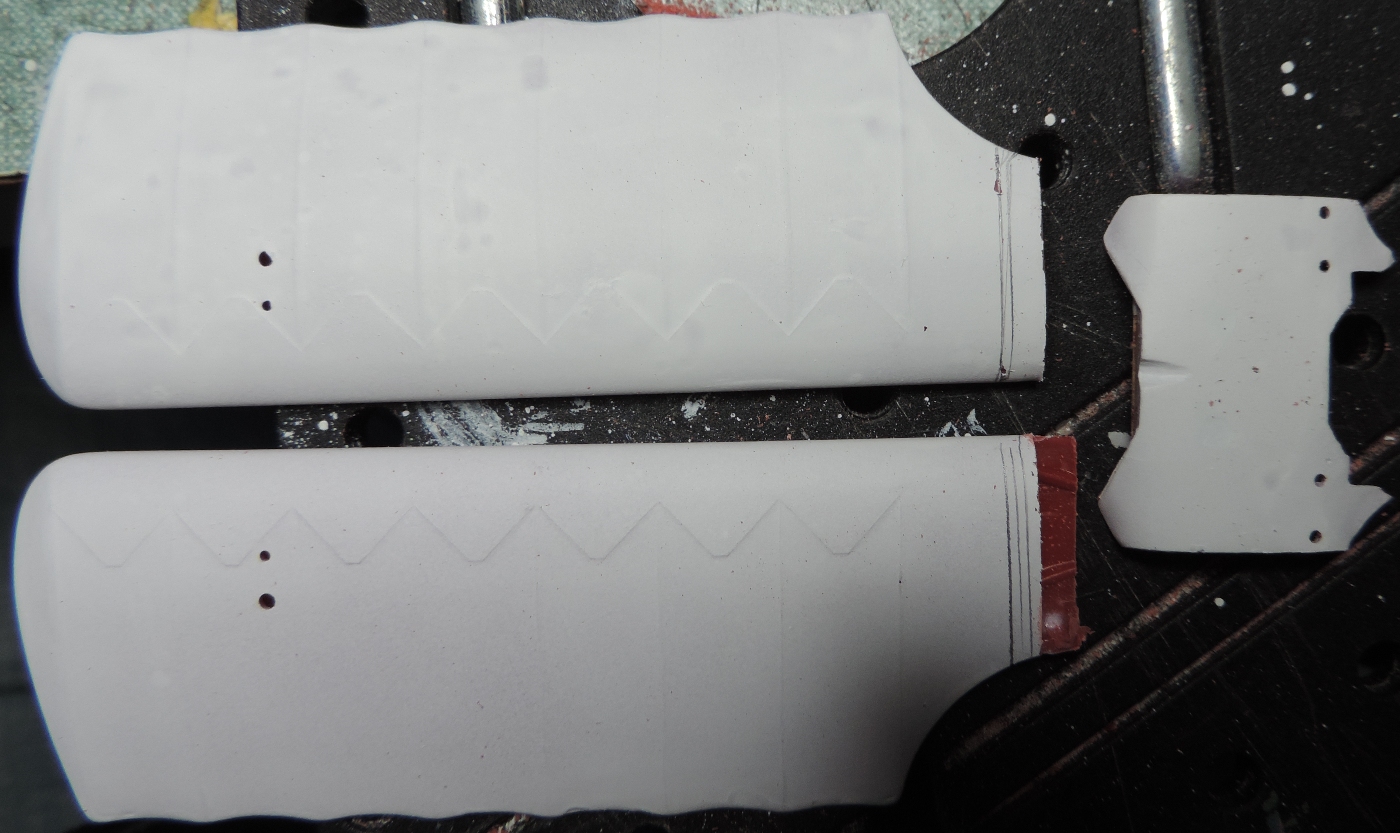
Shortened lower wing at each end by just 2mm and sanded.
Reduced middle wing to size and glued the parts. For the struts attached new and old holes with putty closed.
Elevator, rudder and aileron completed. All can now be pivoted.
Cheers
Martin
