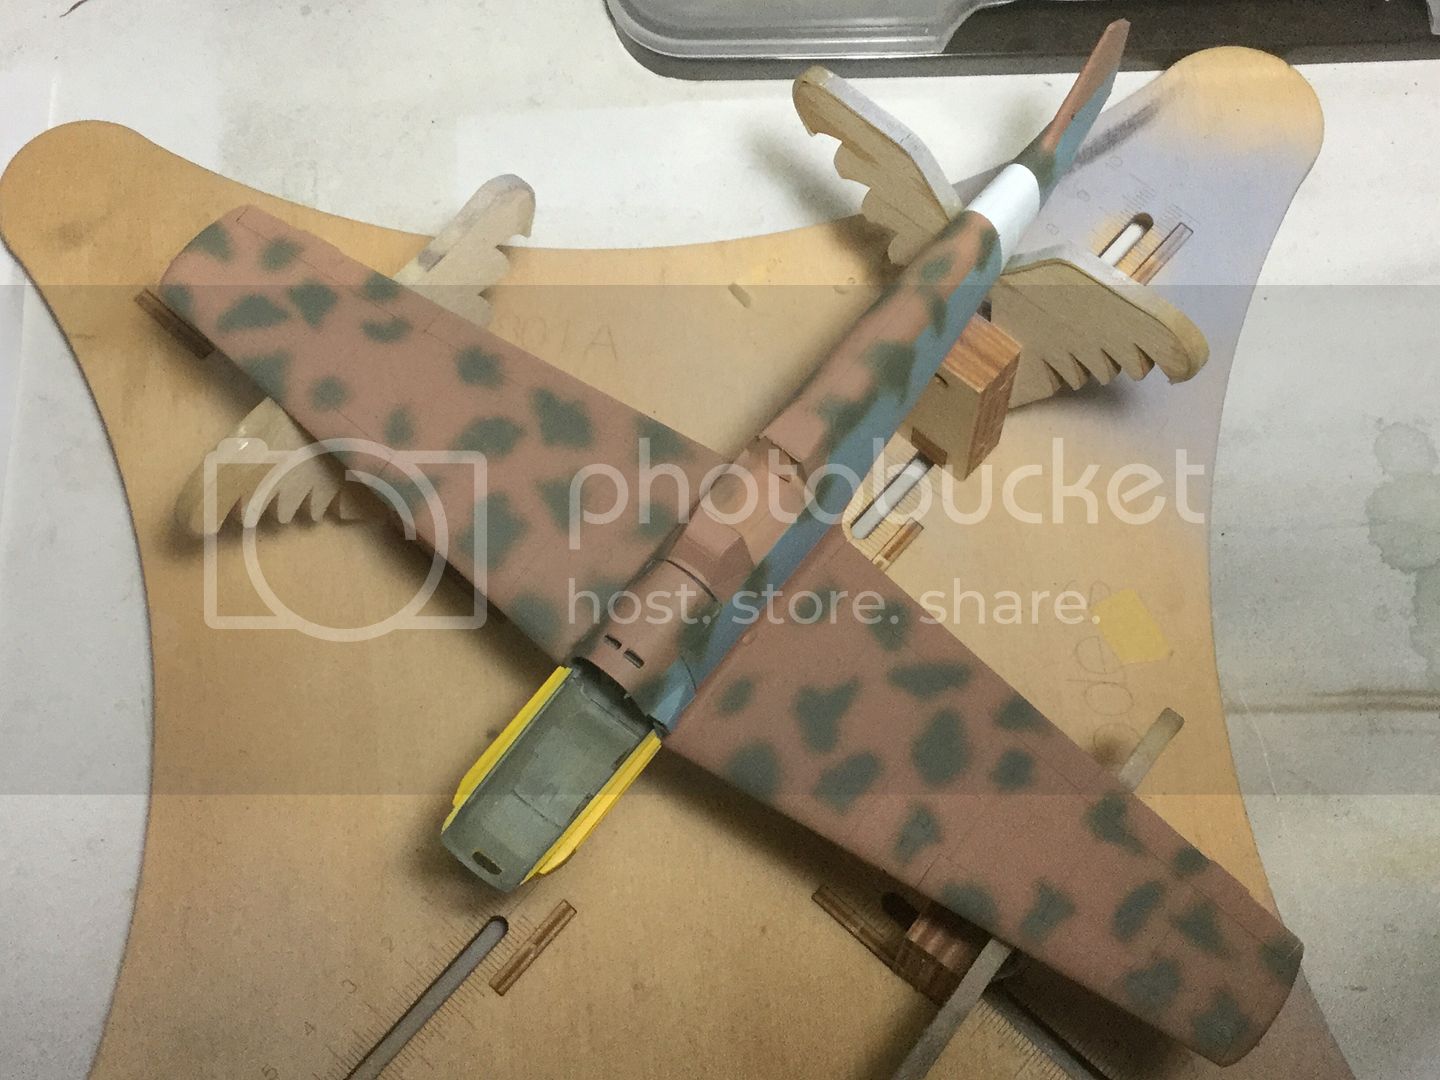
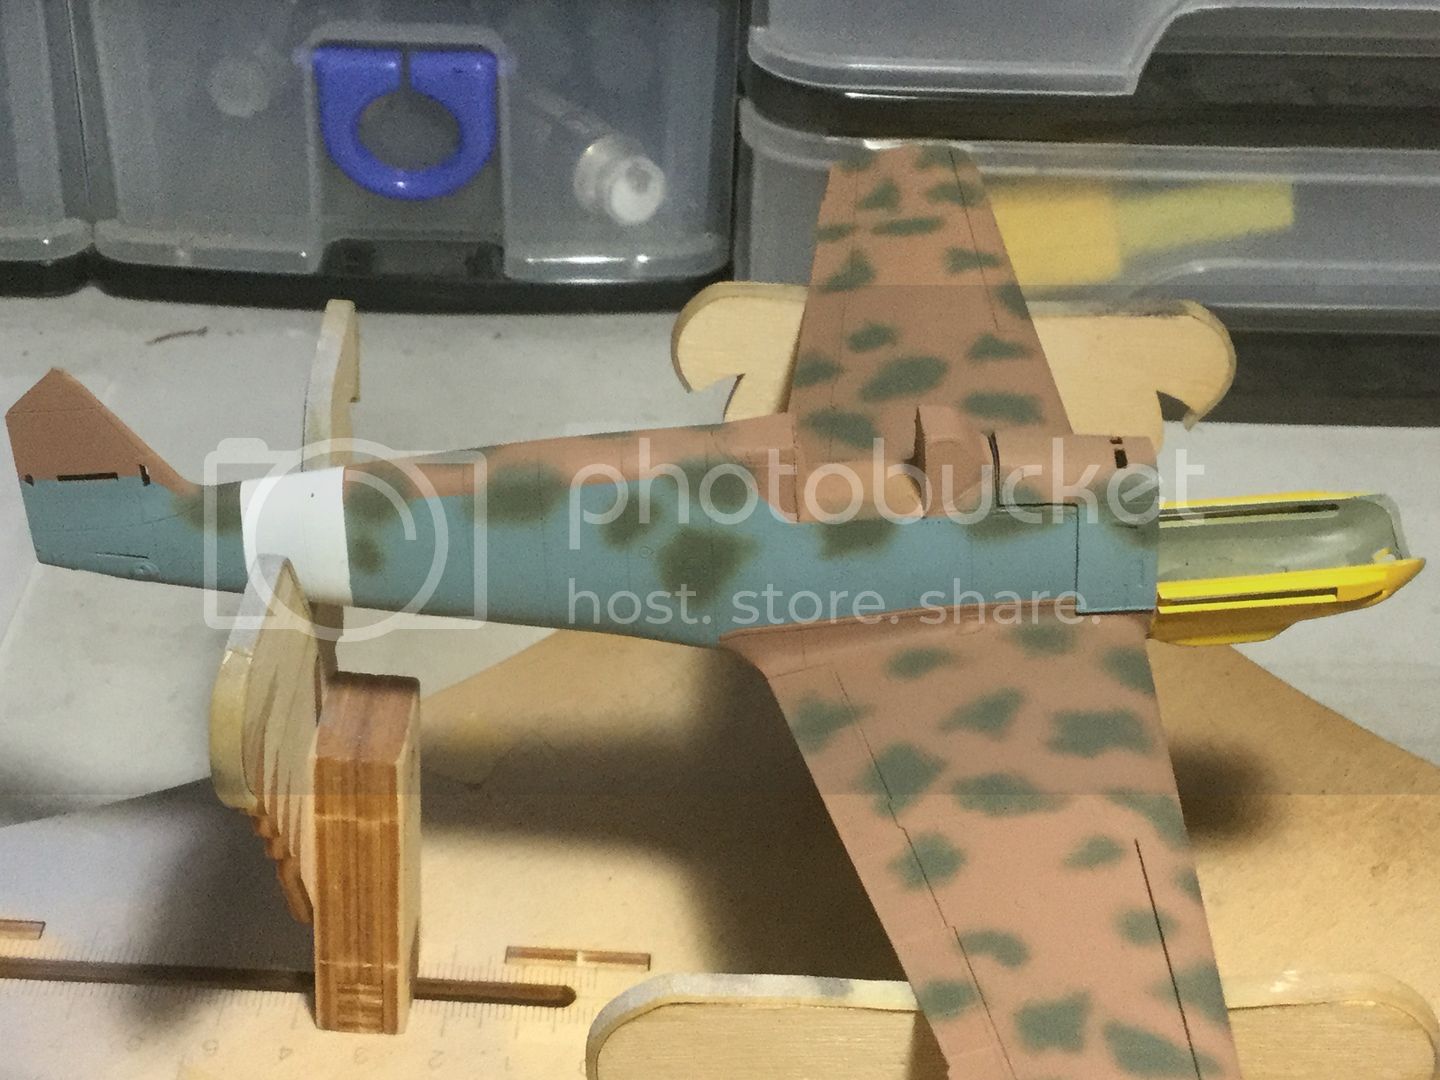
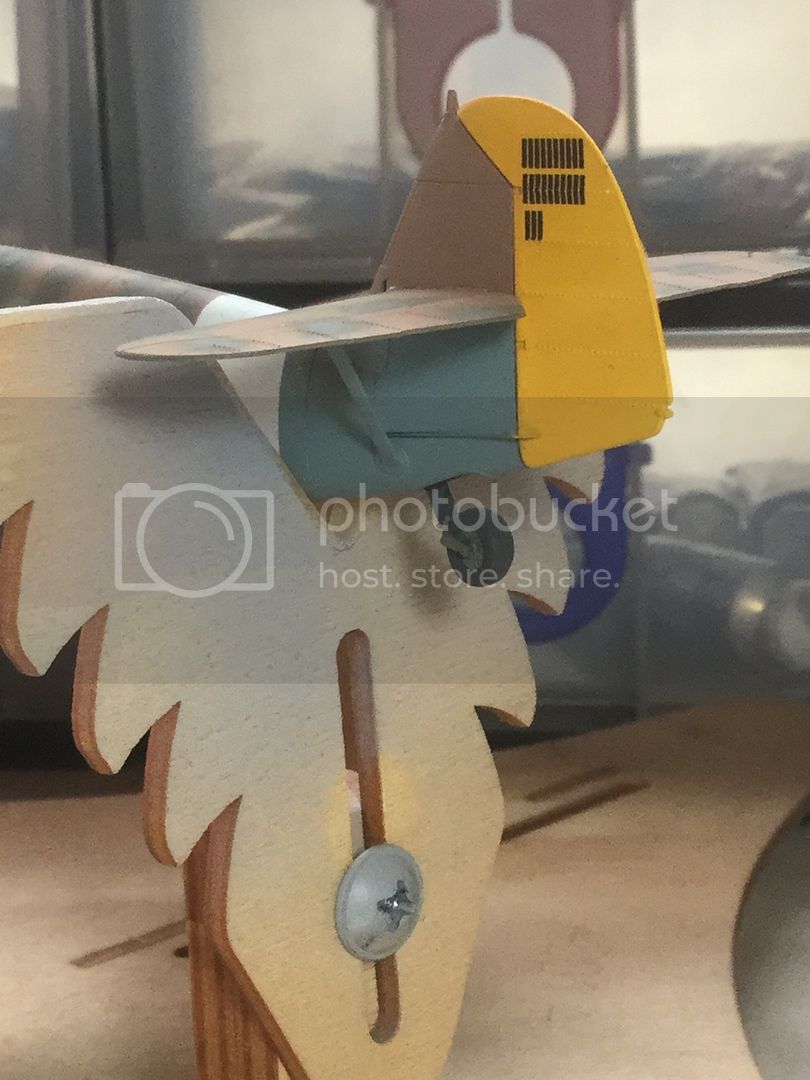
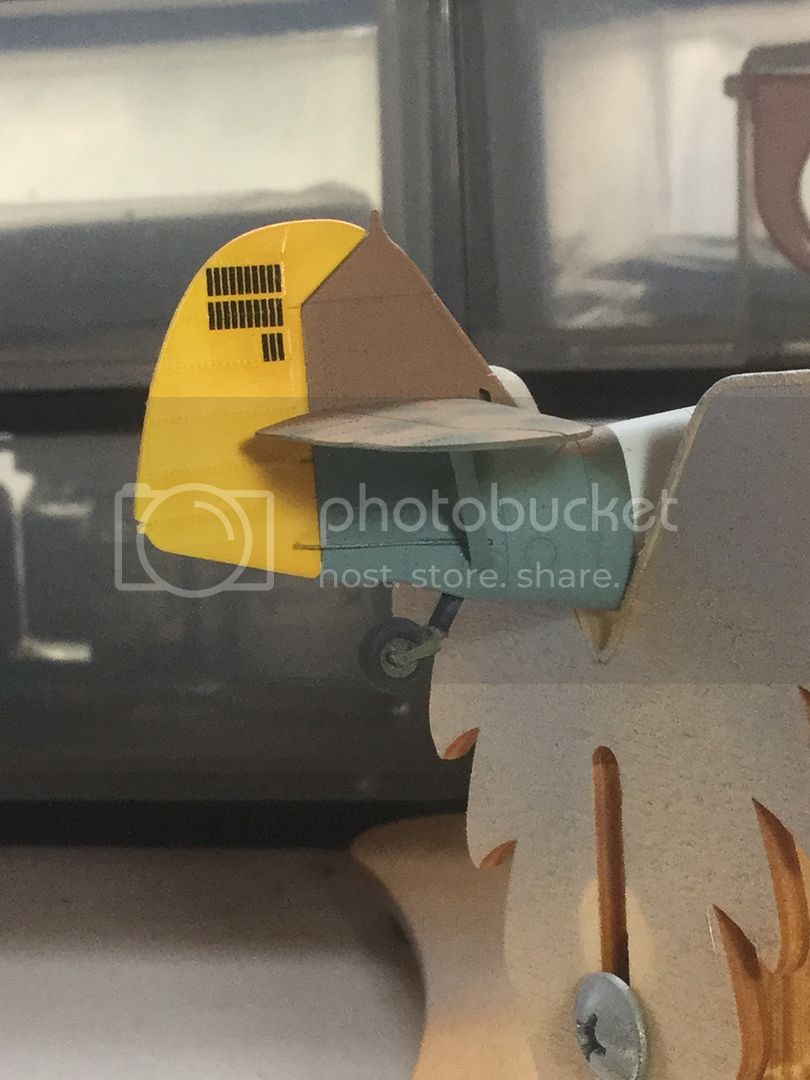
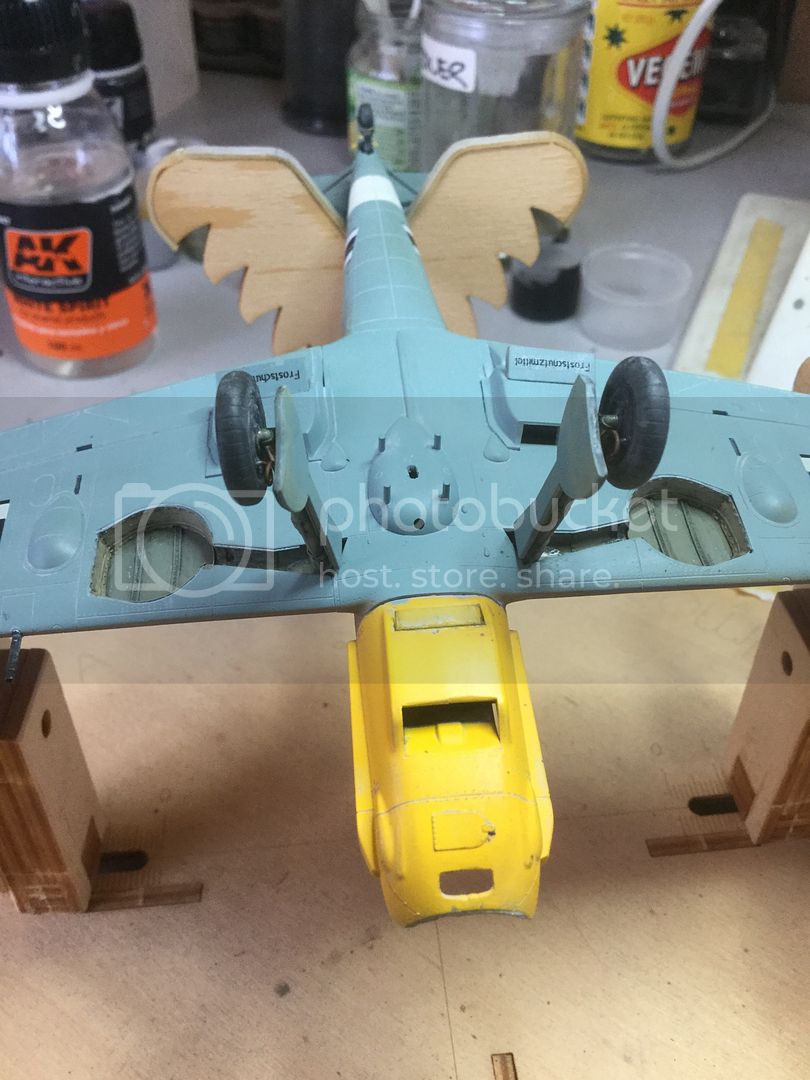
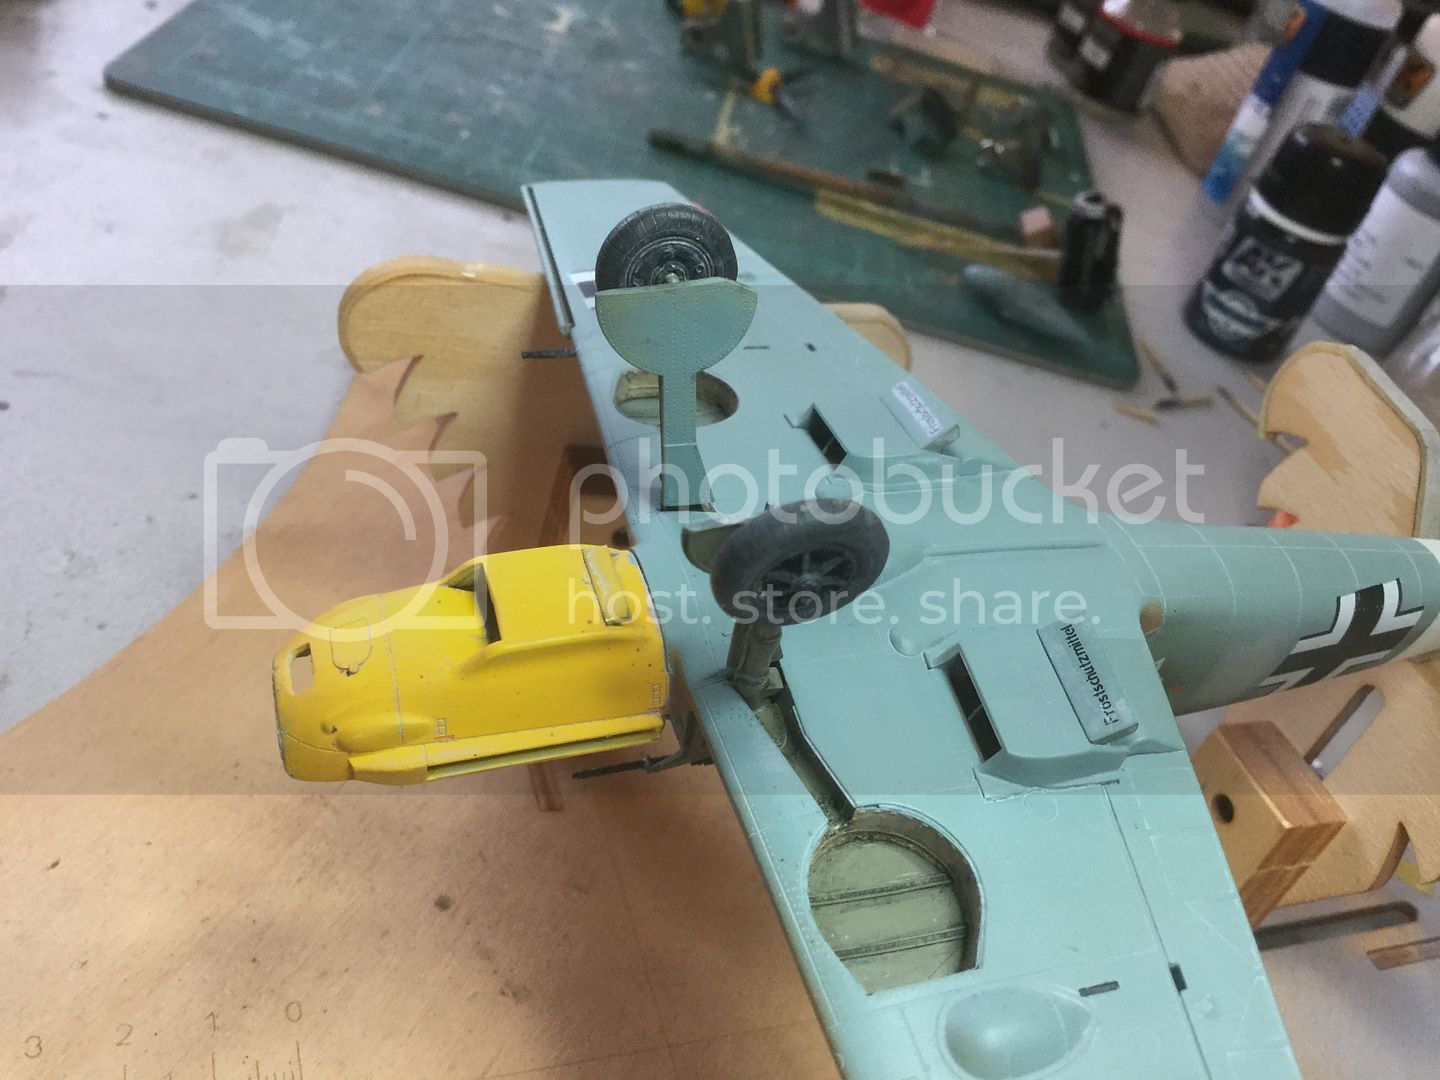
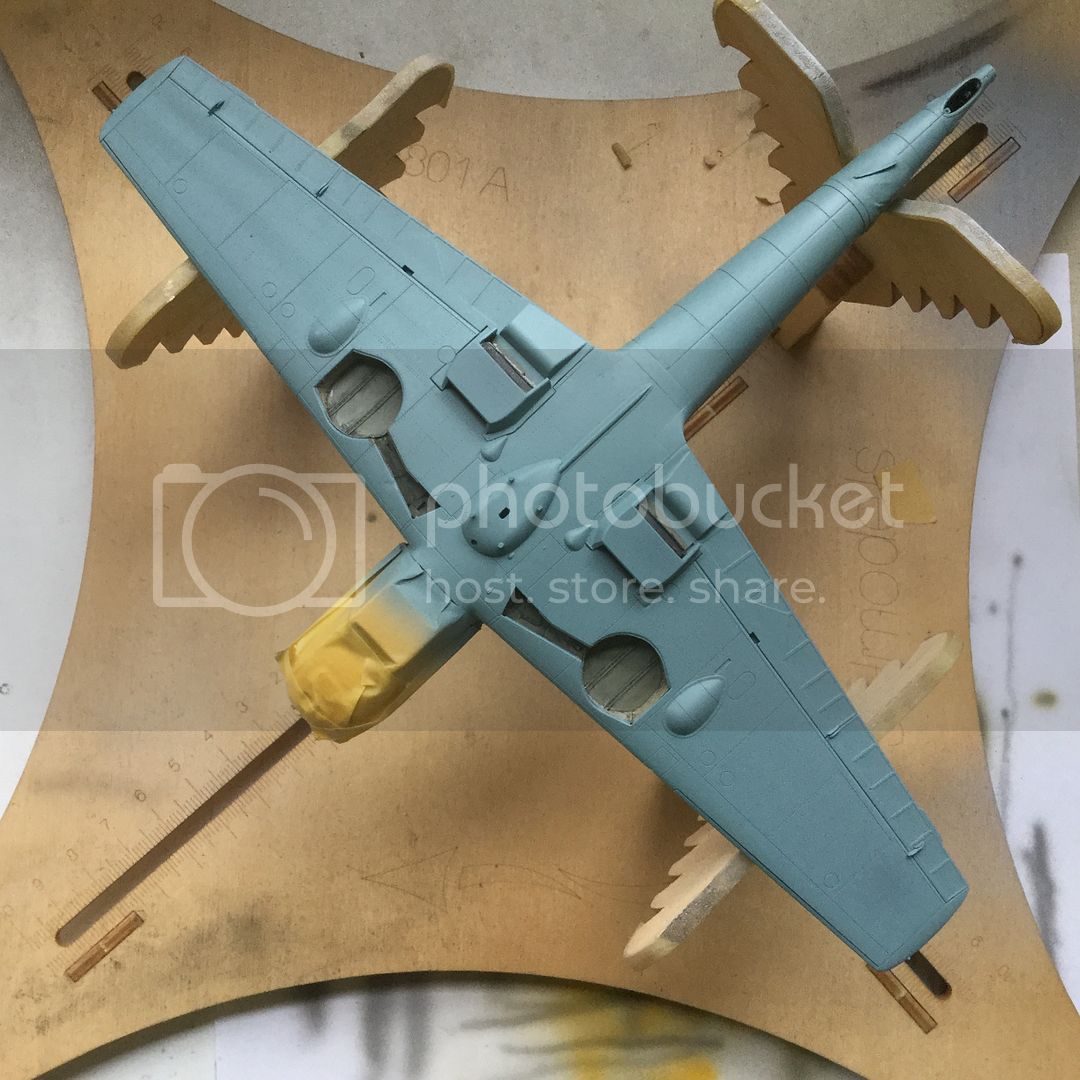
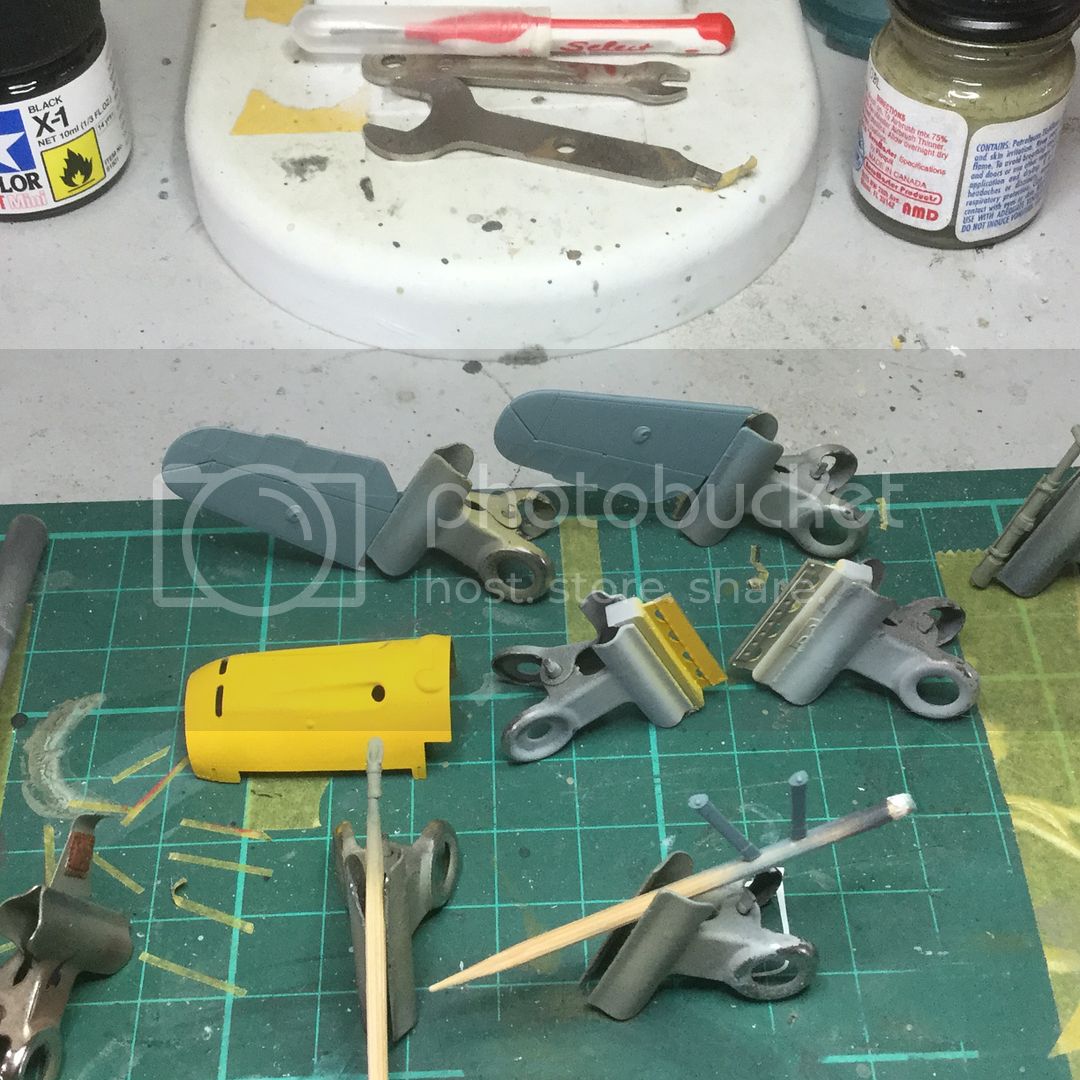
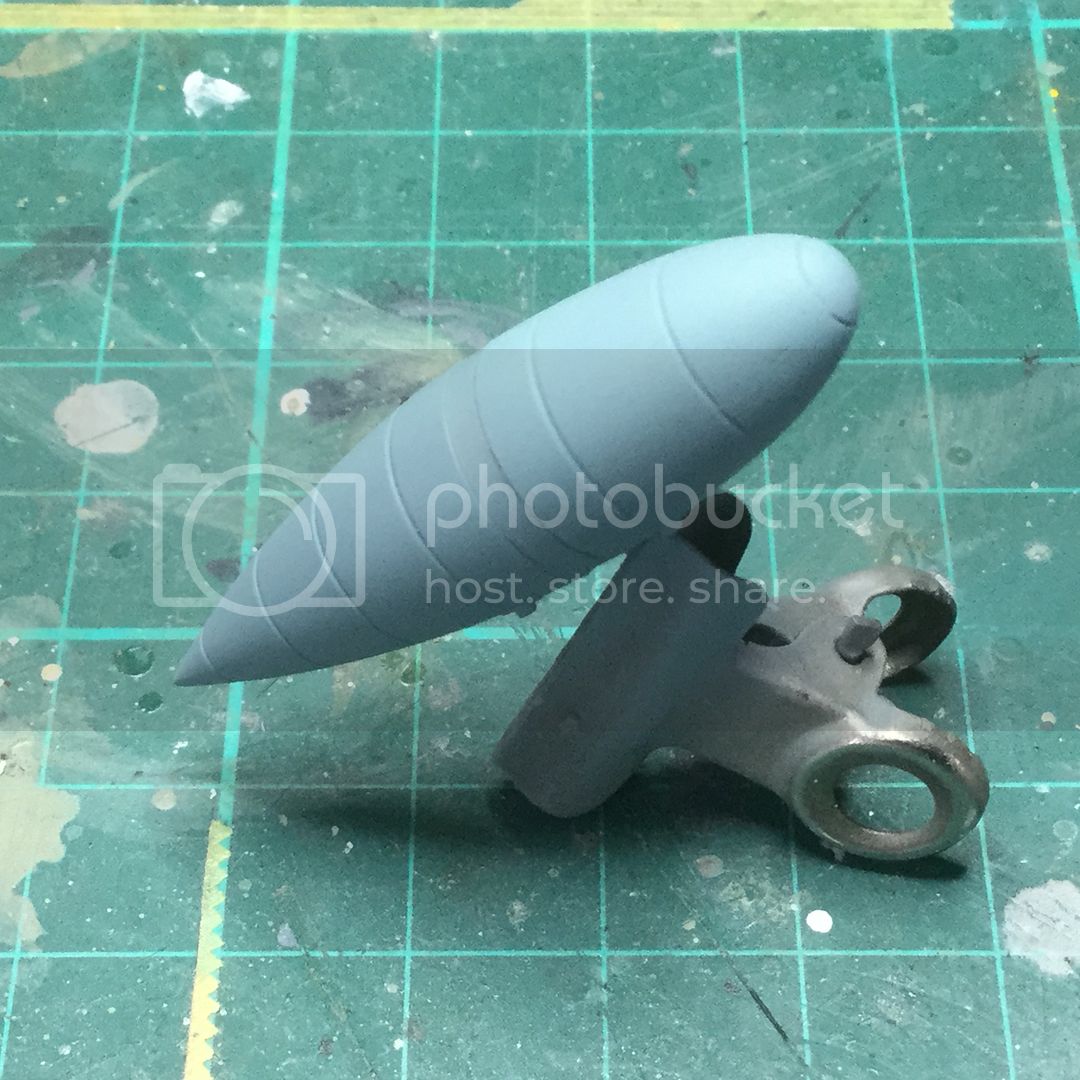
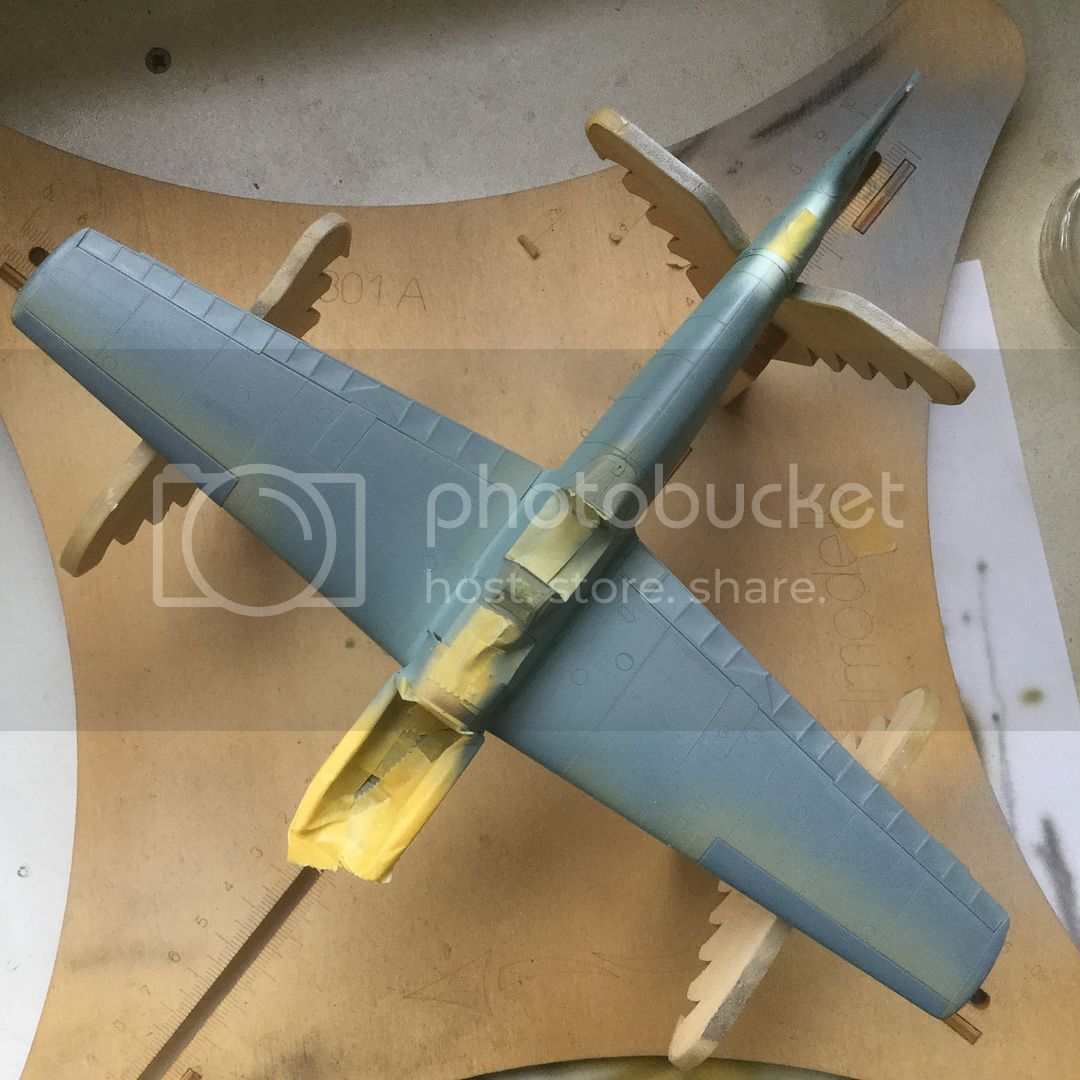
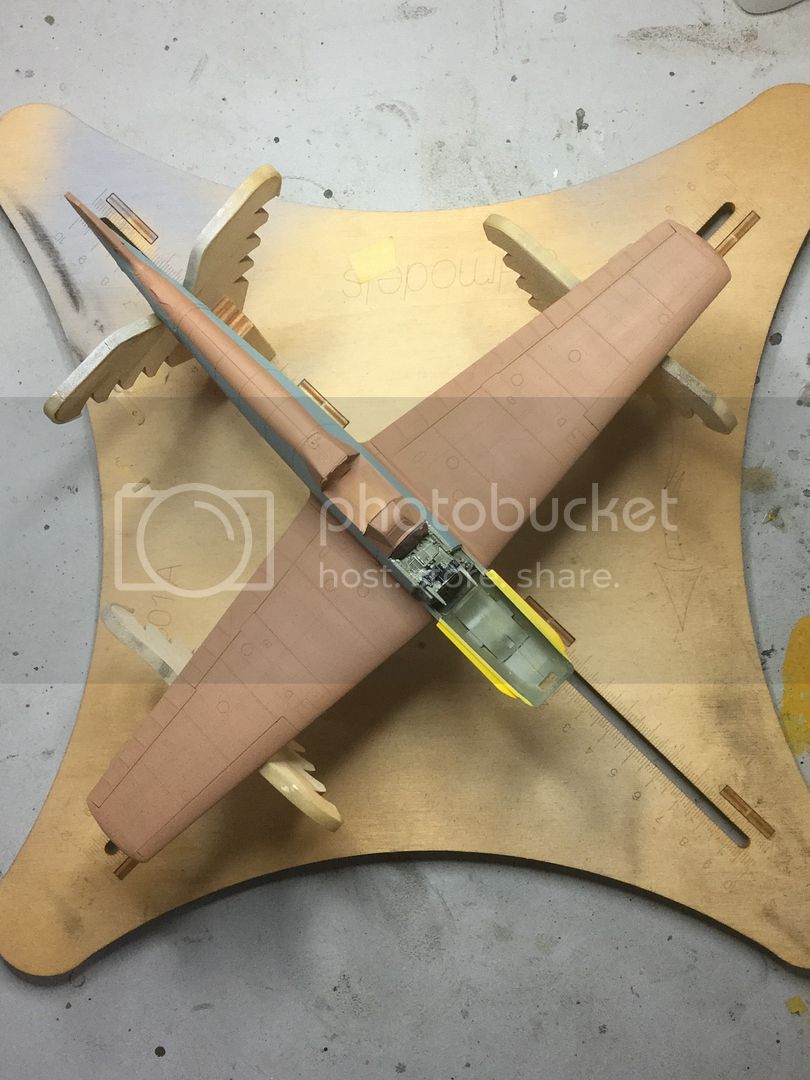
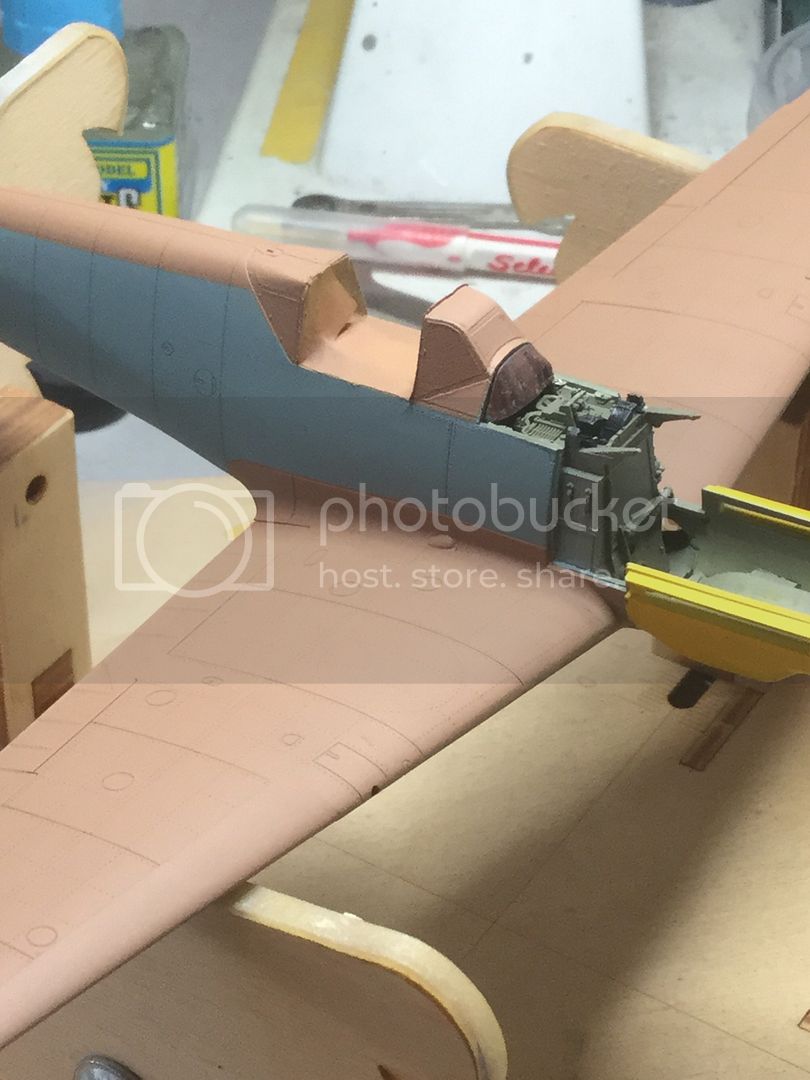
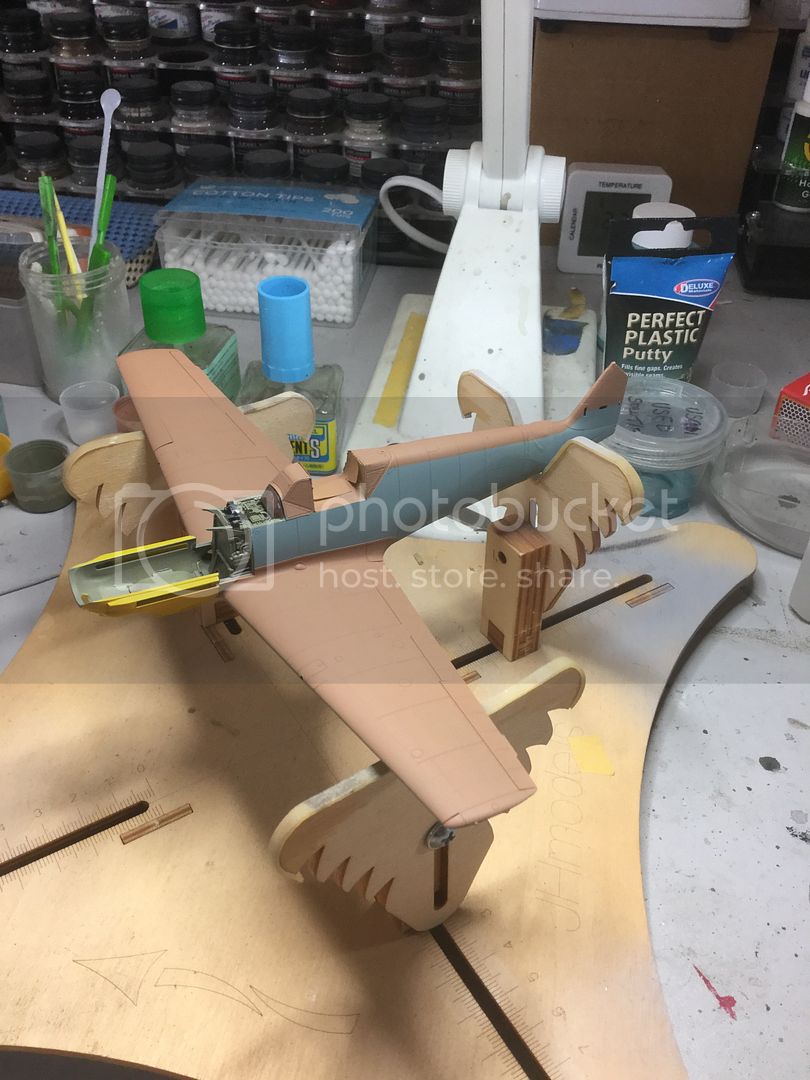
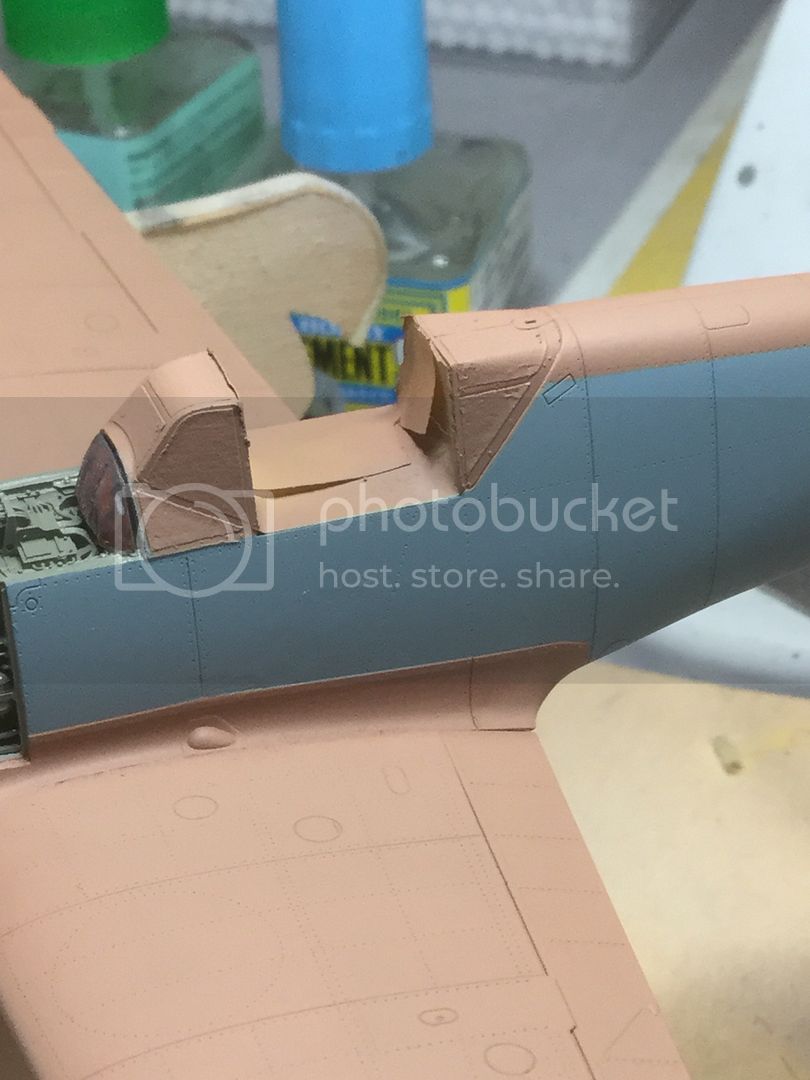
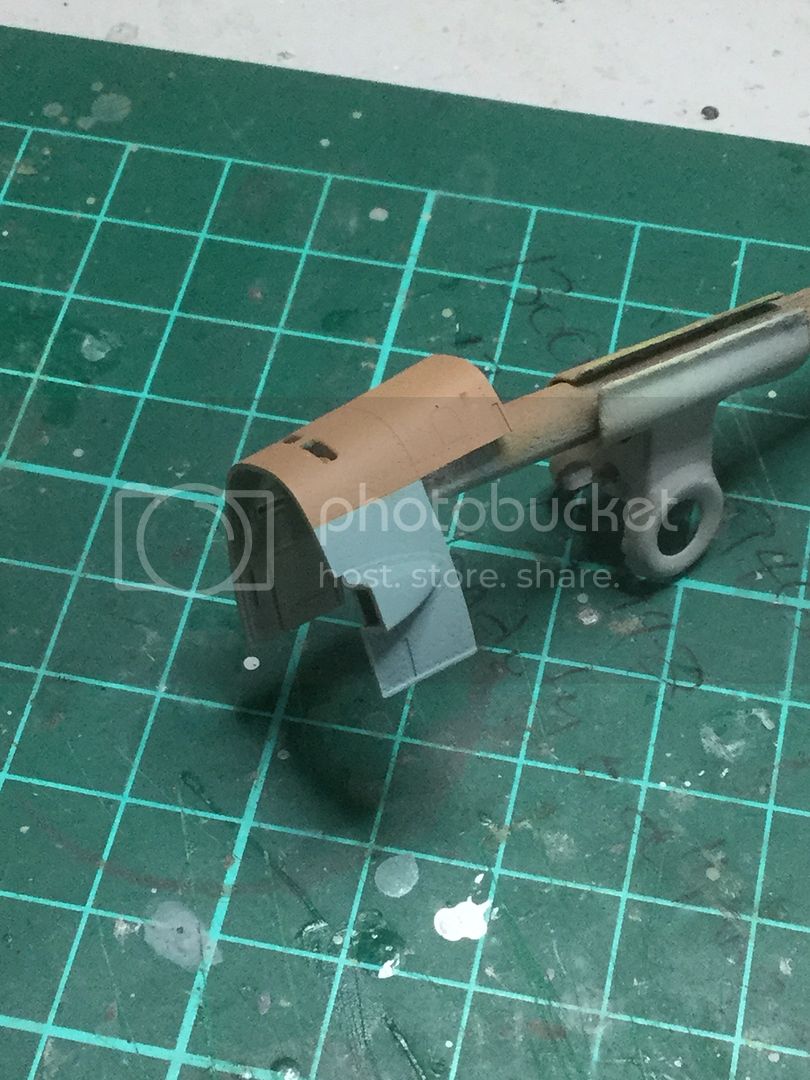
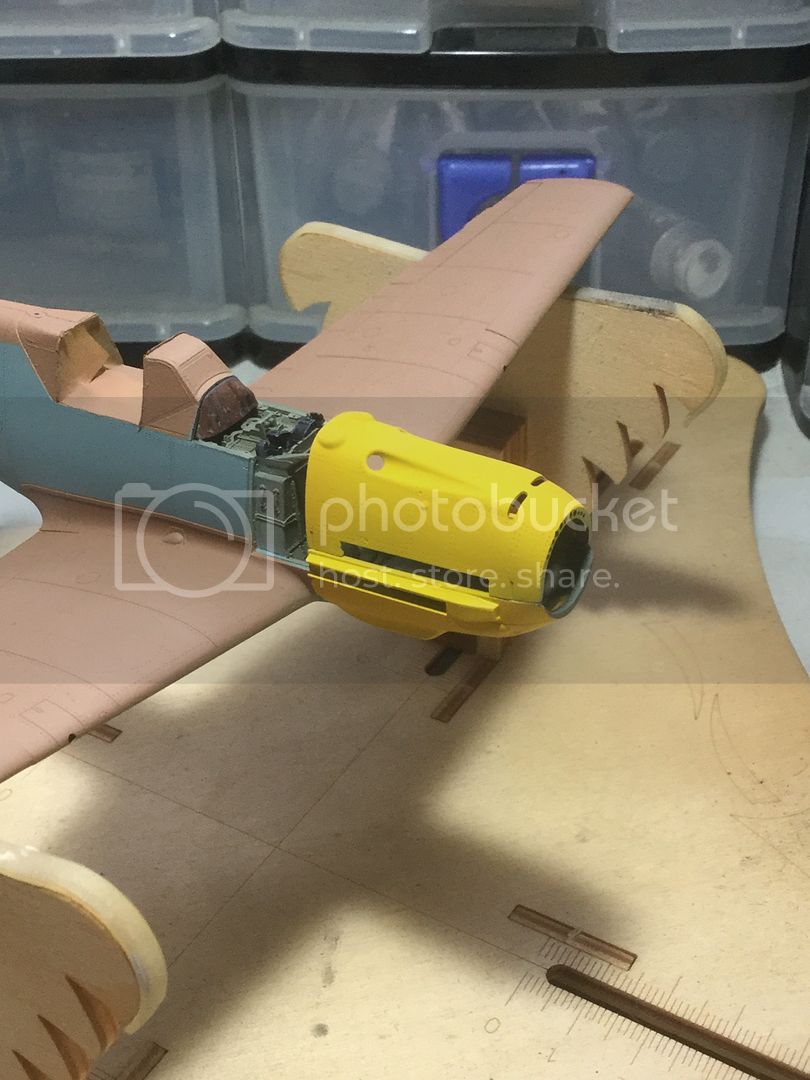
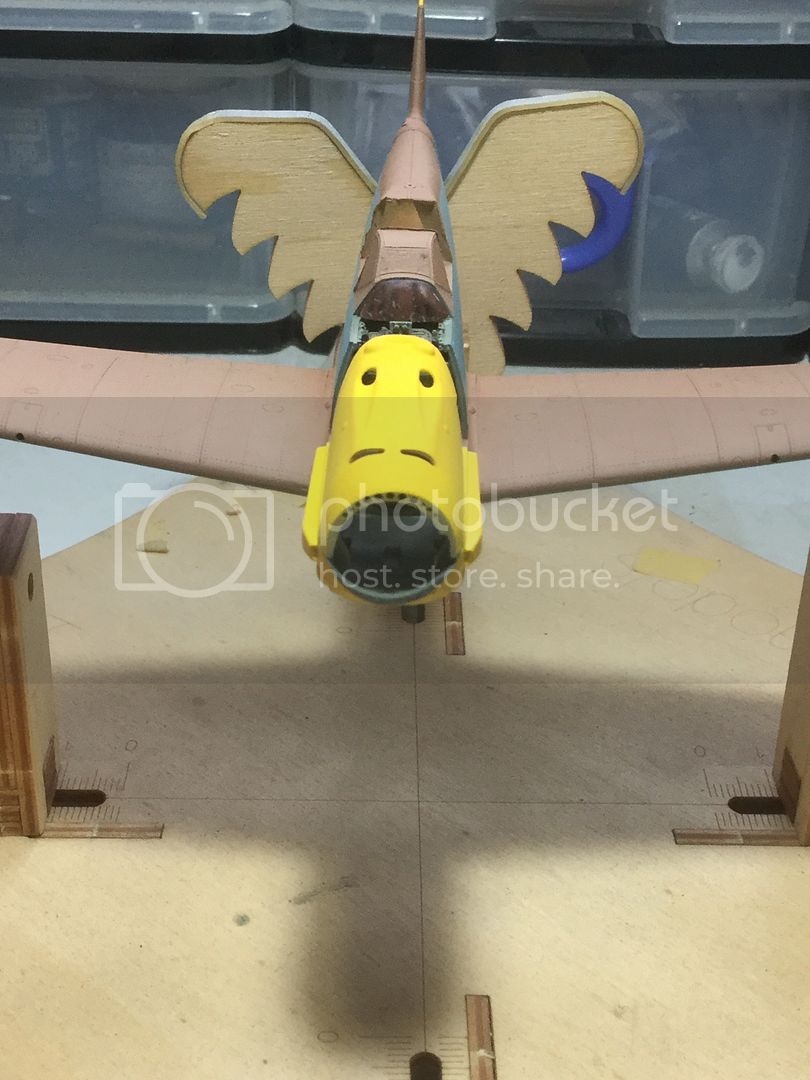
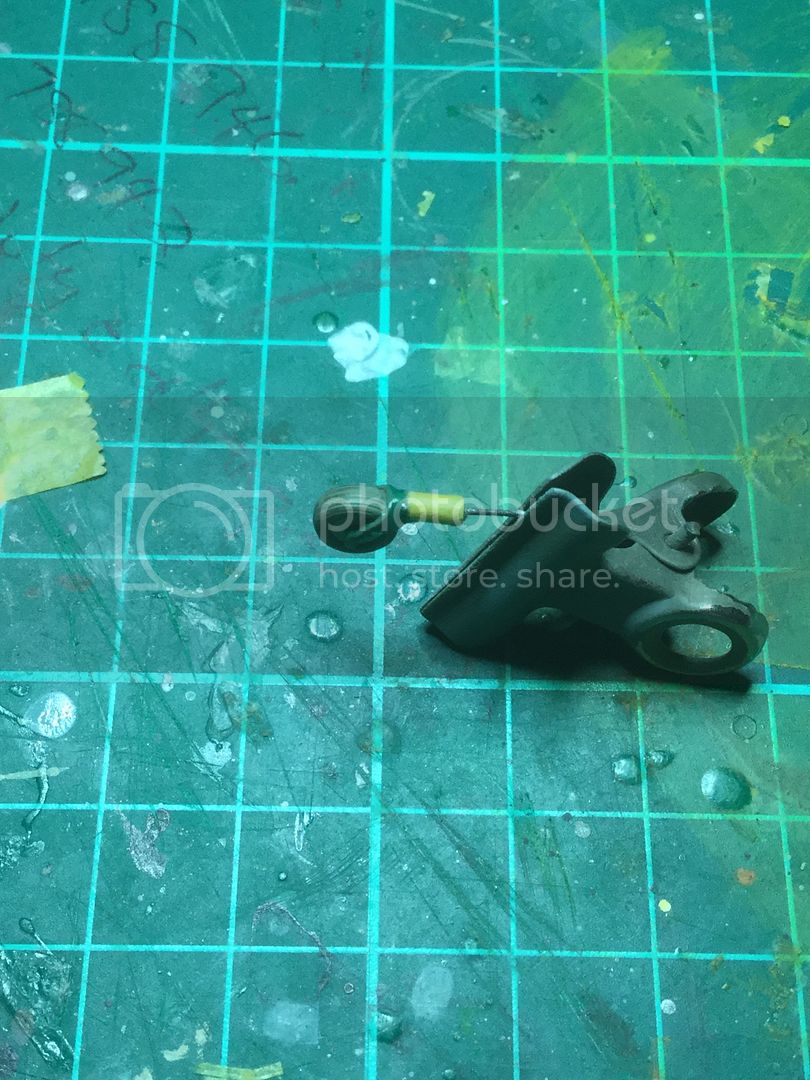
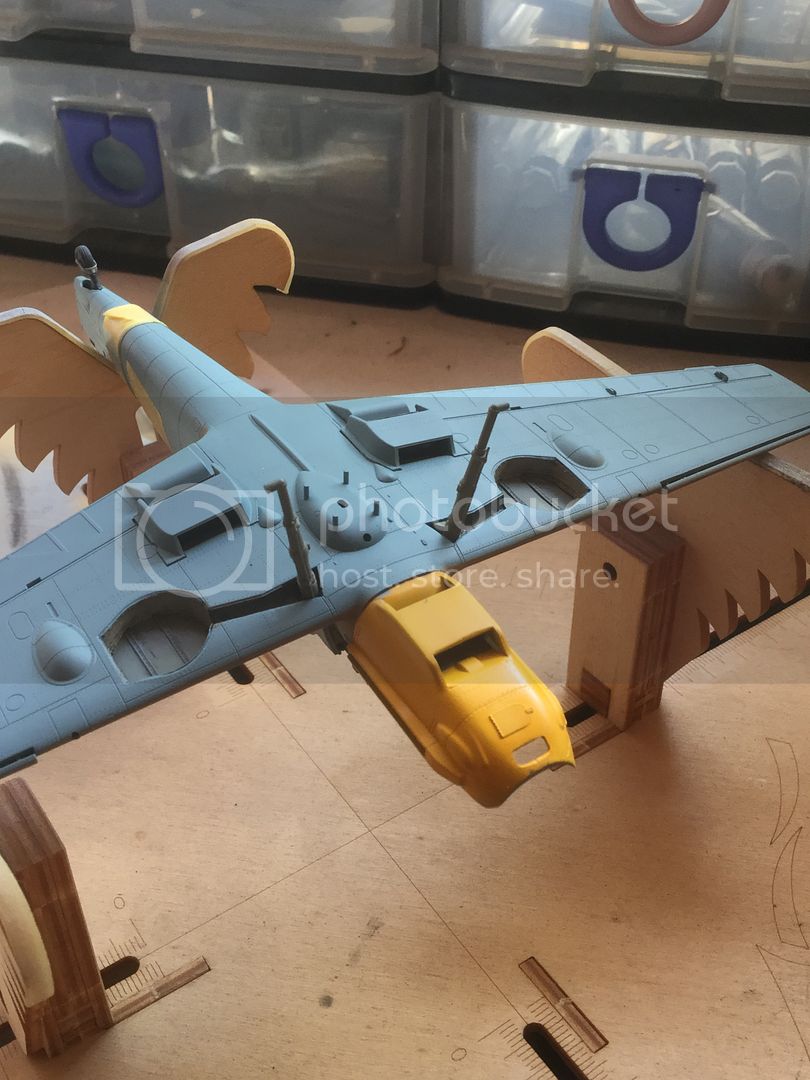
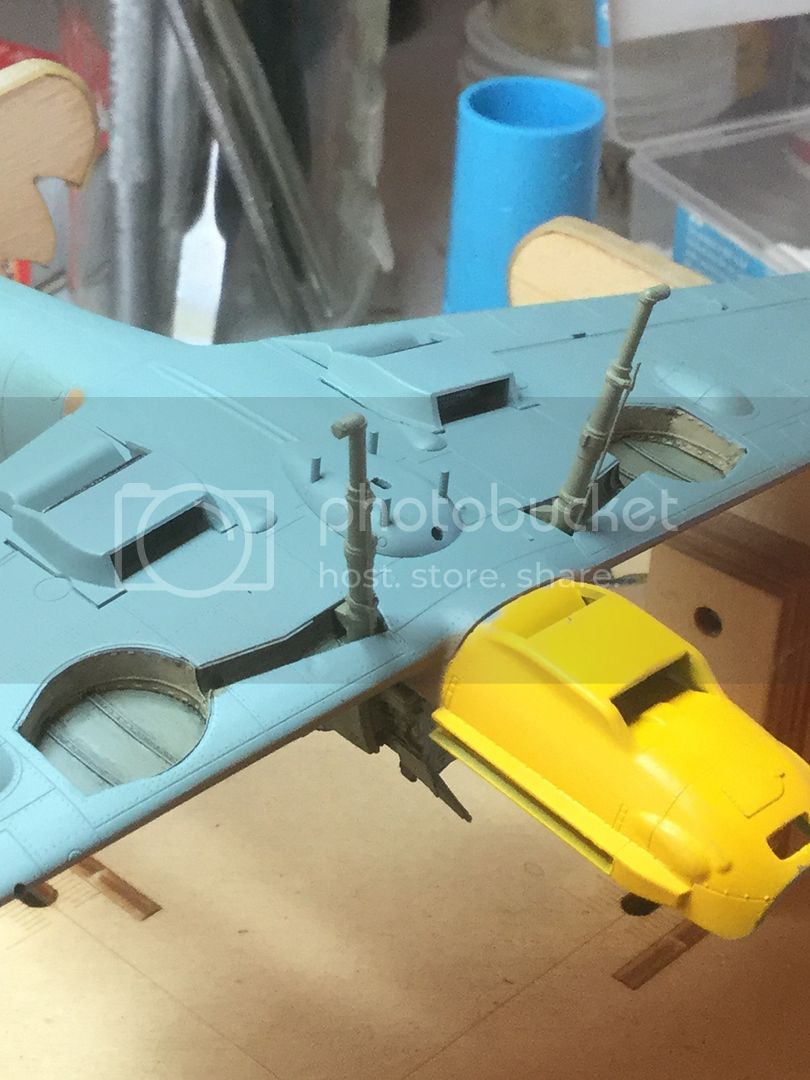
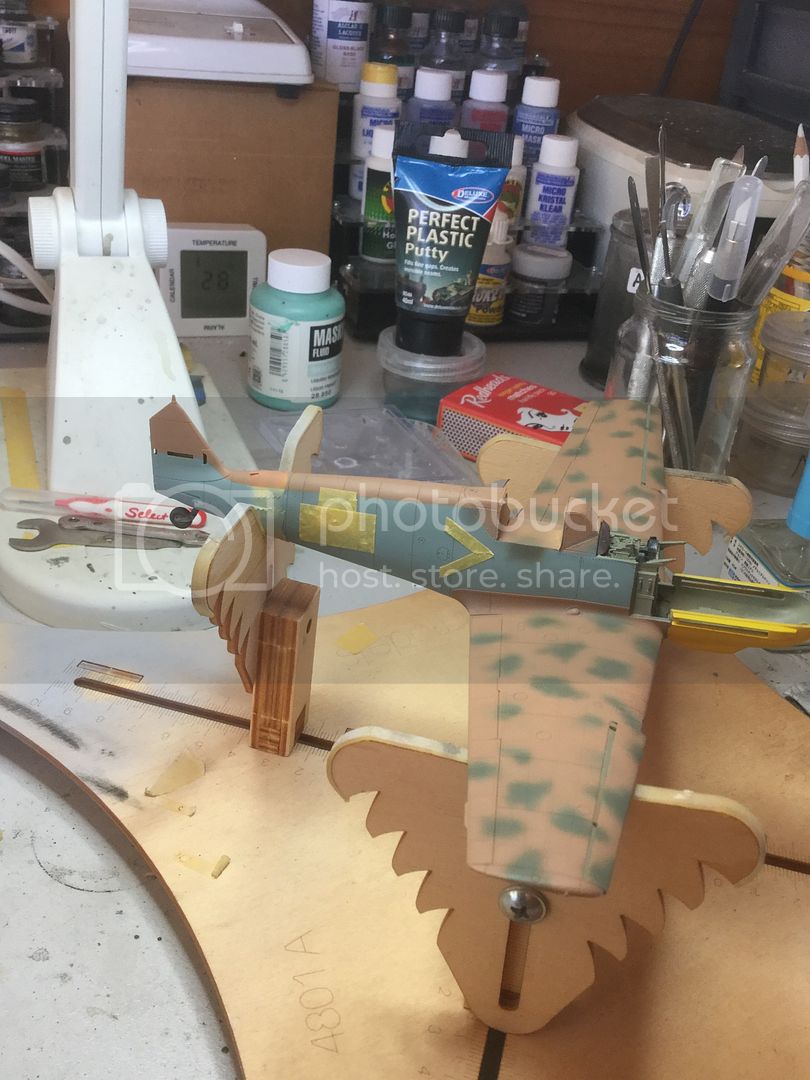
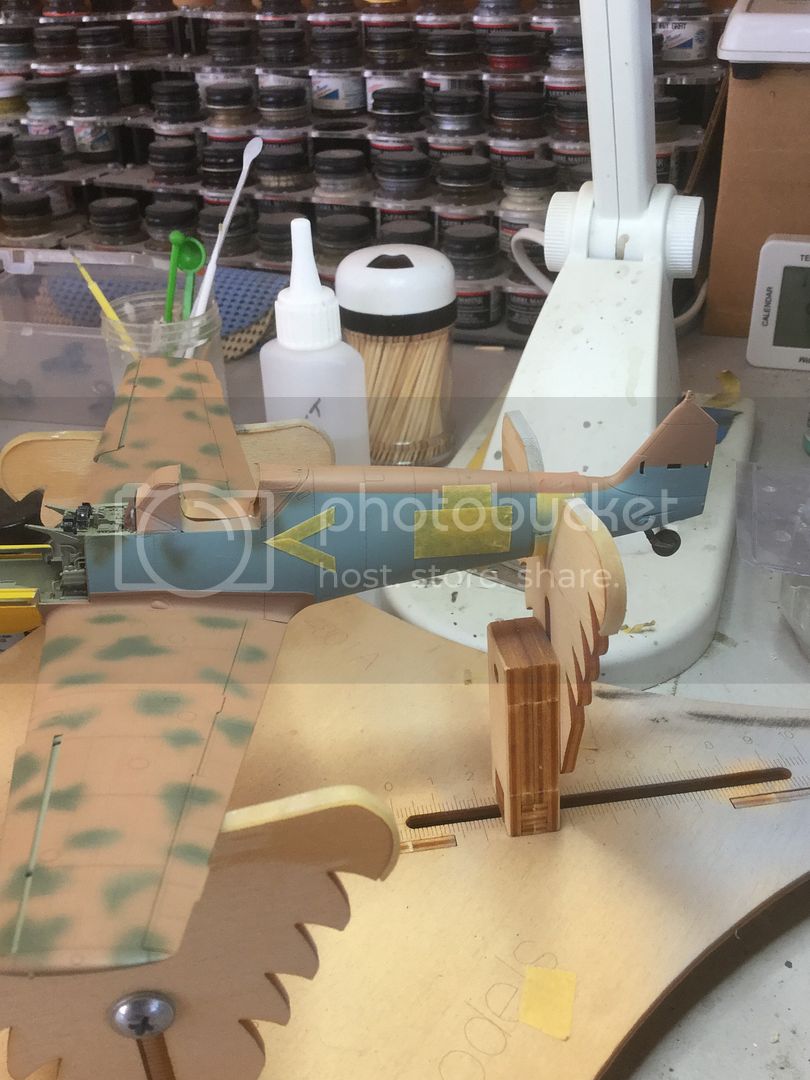
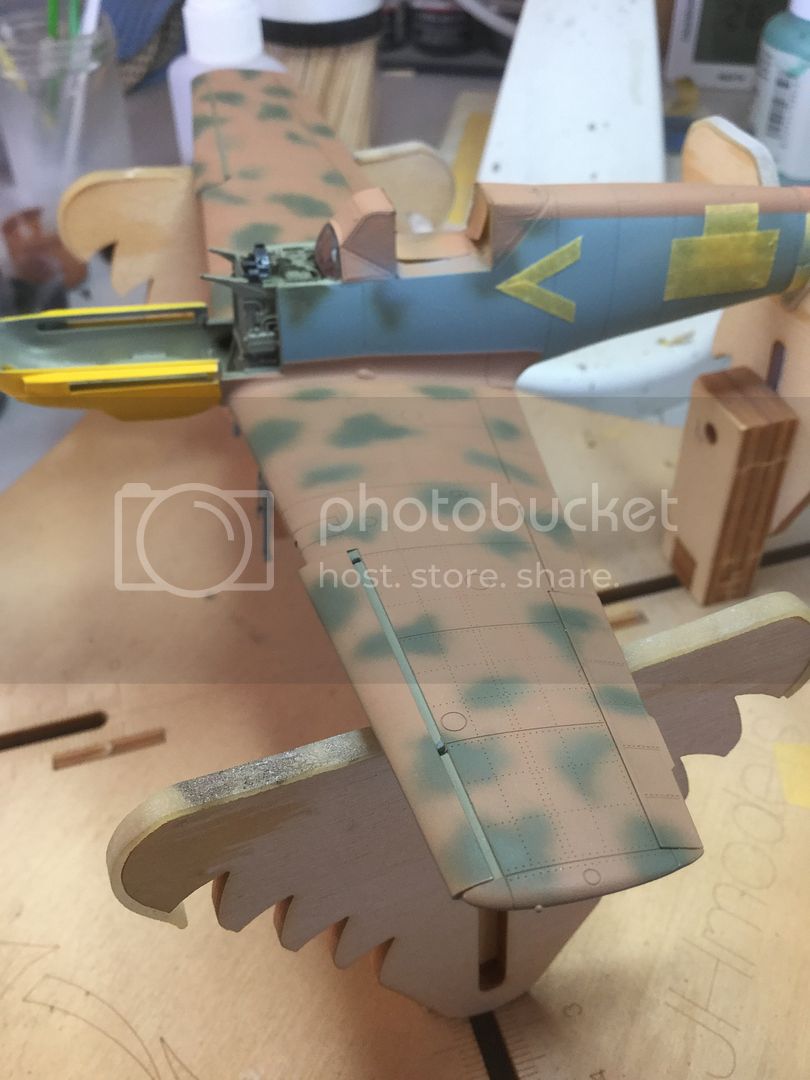
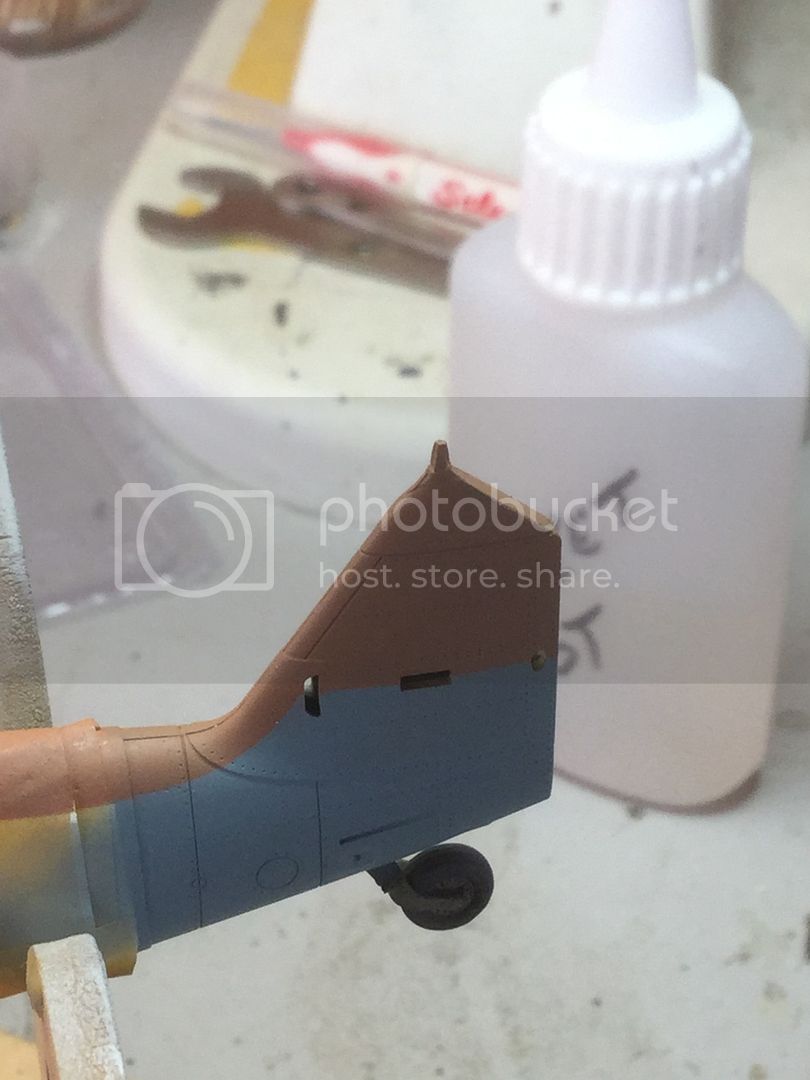
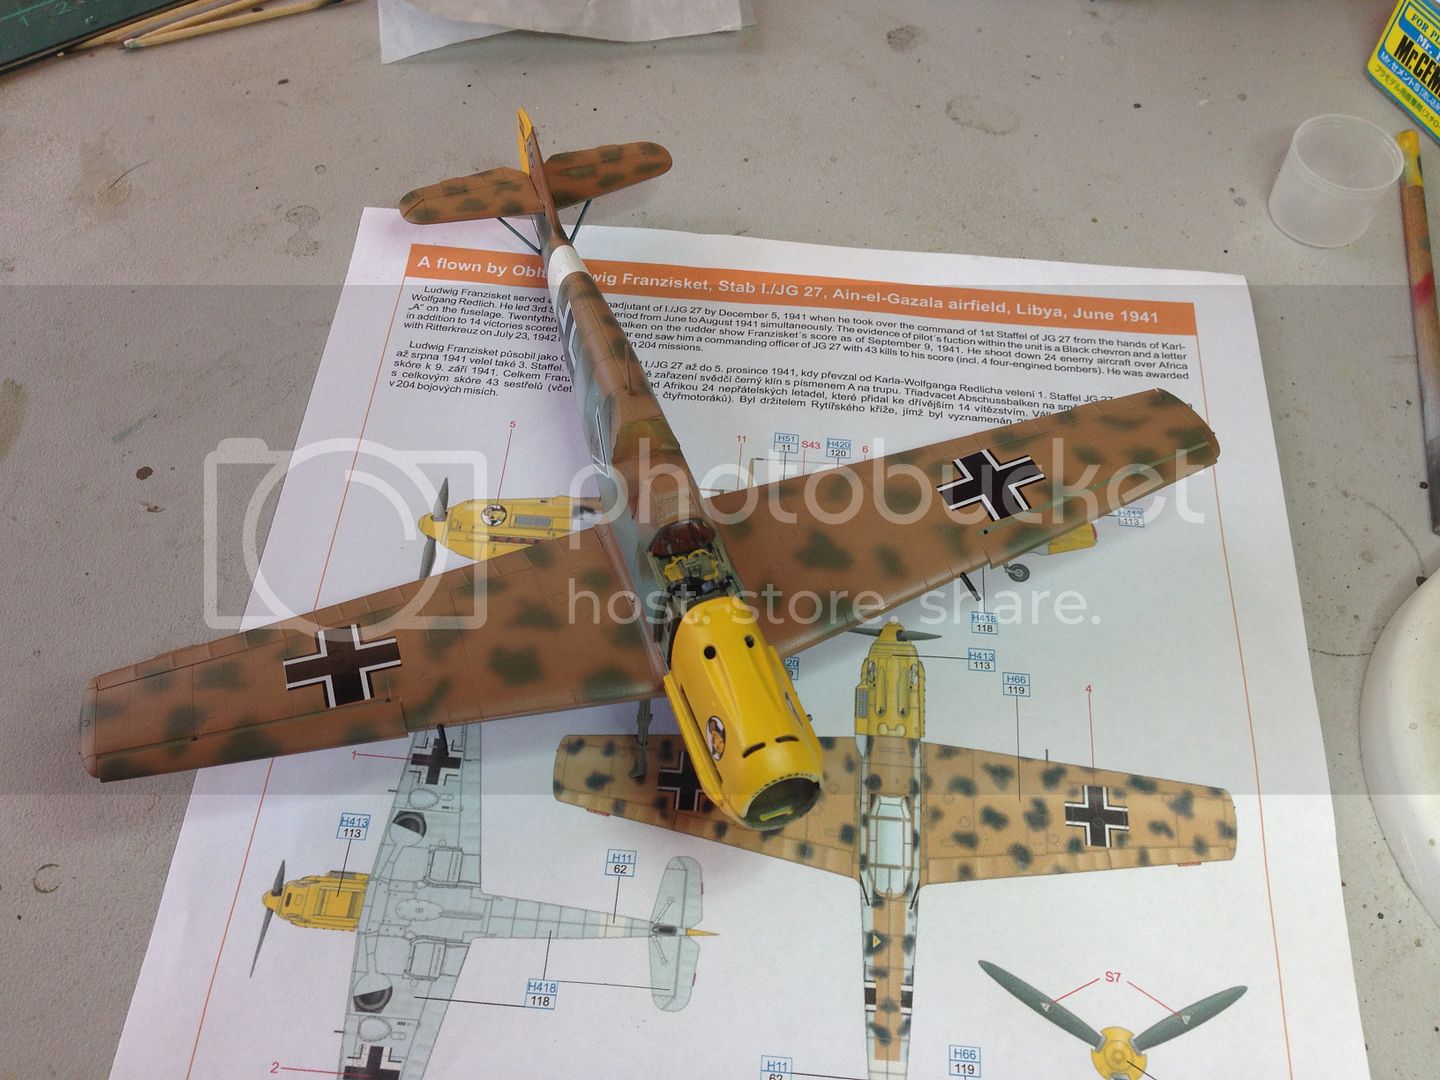
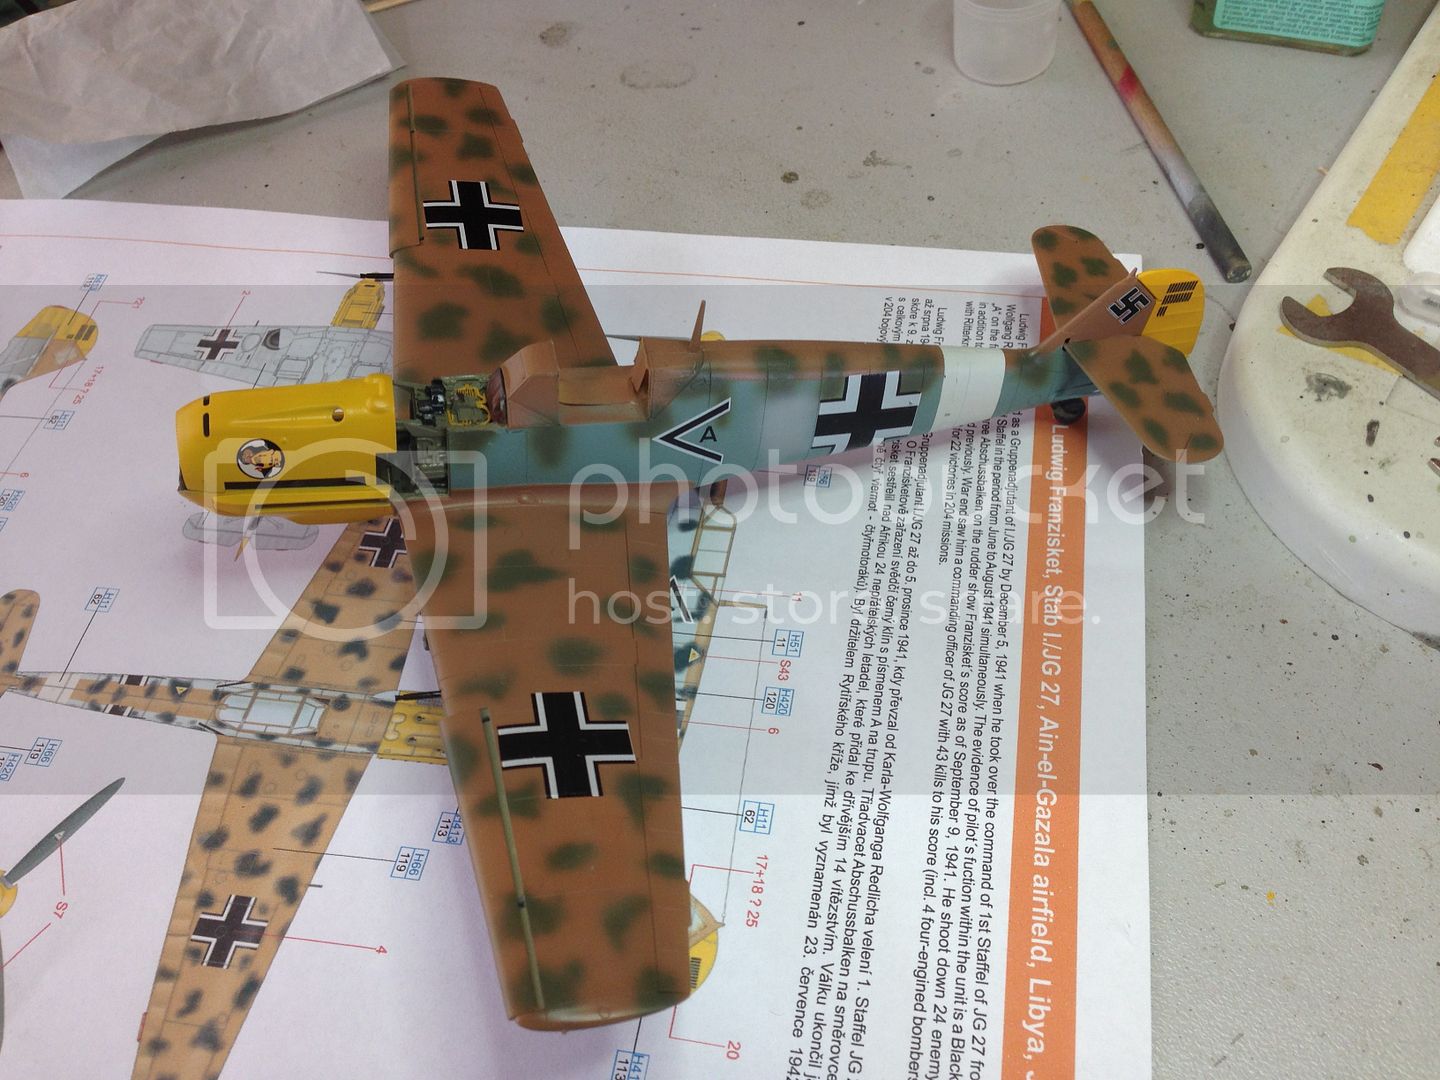
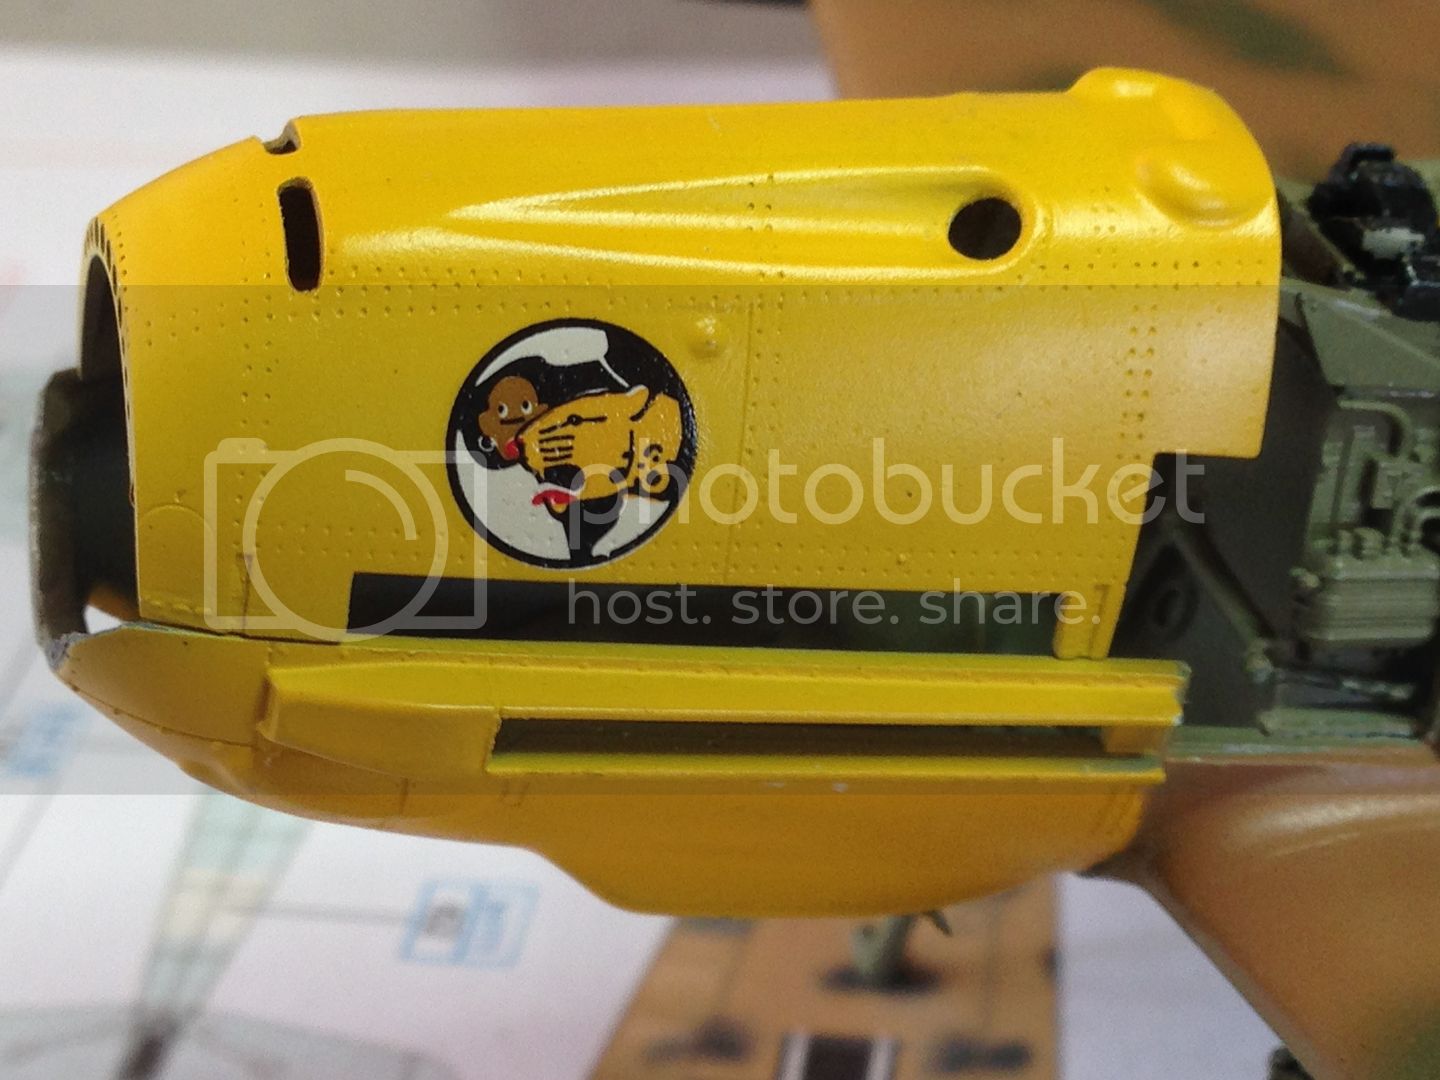
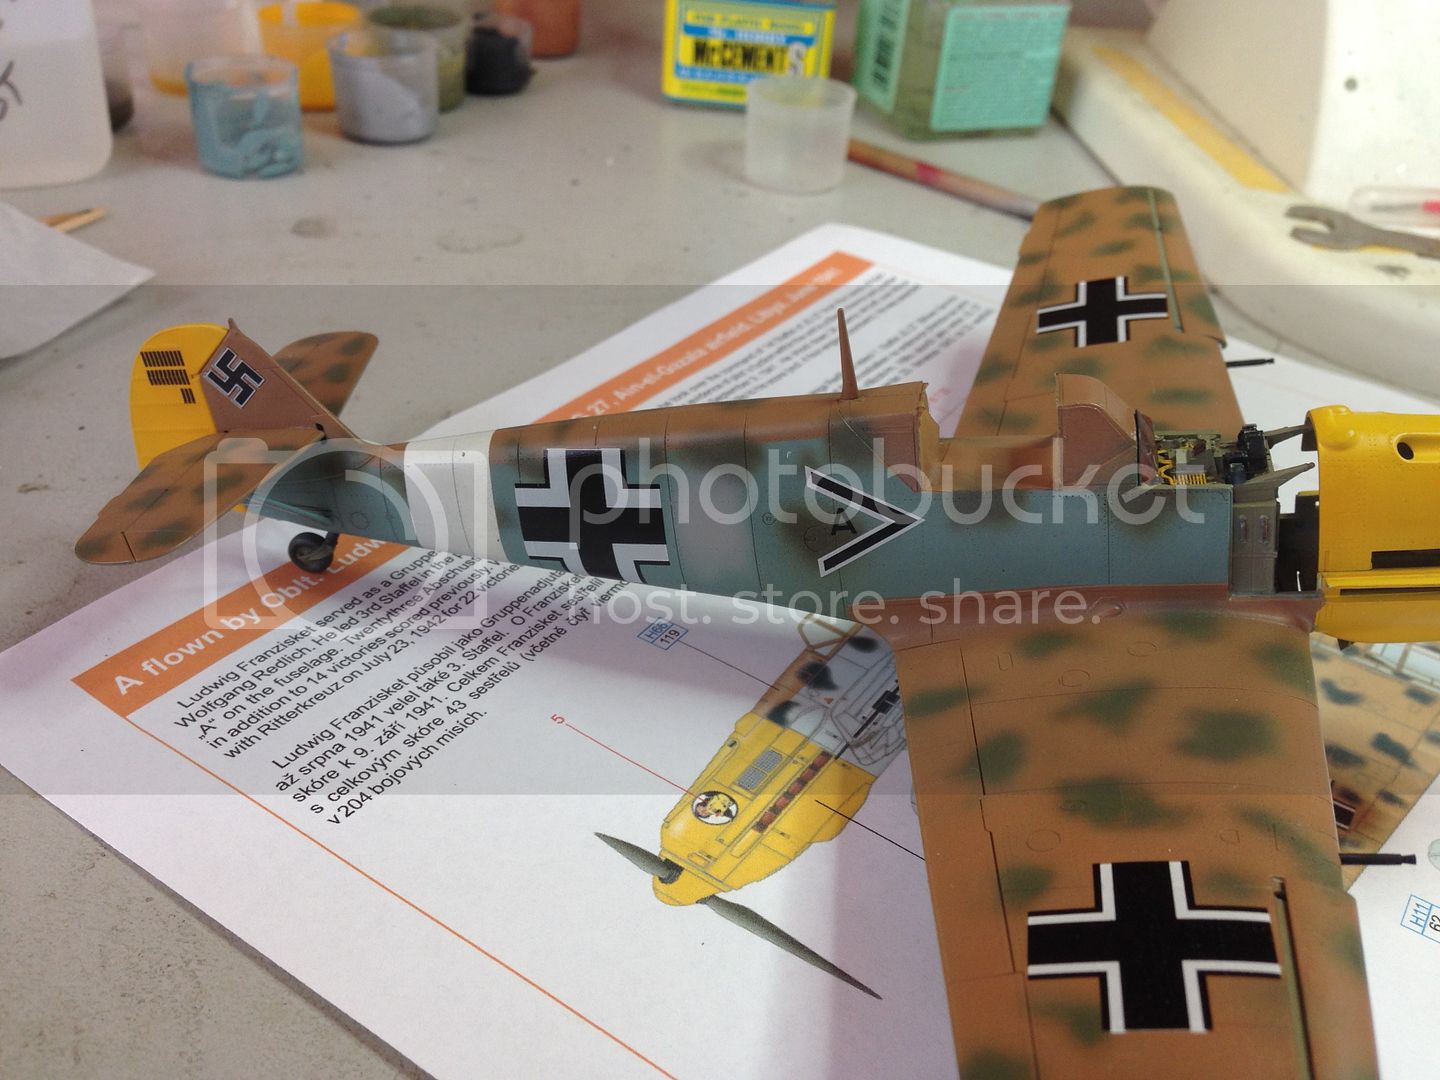
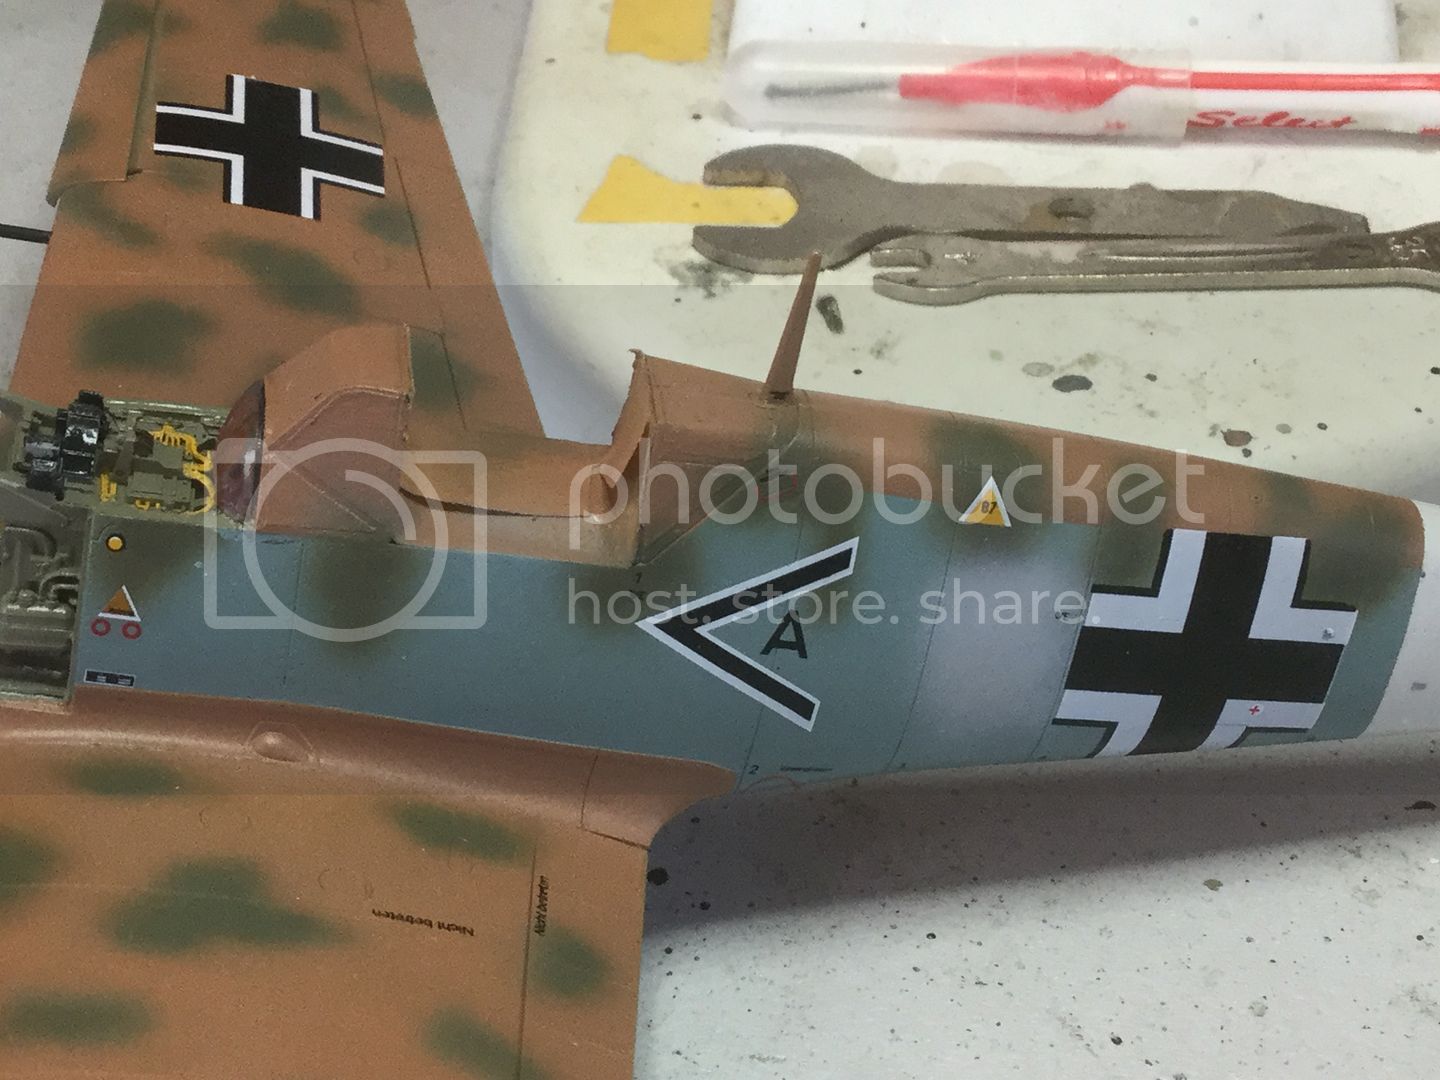
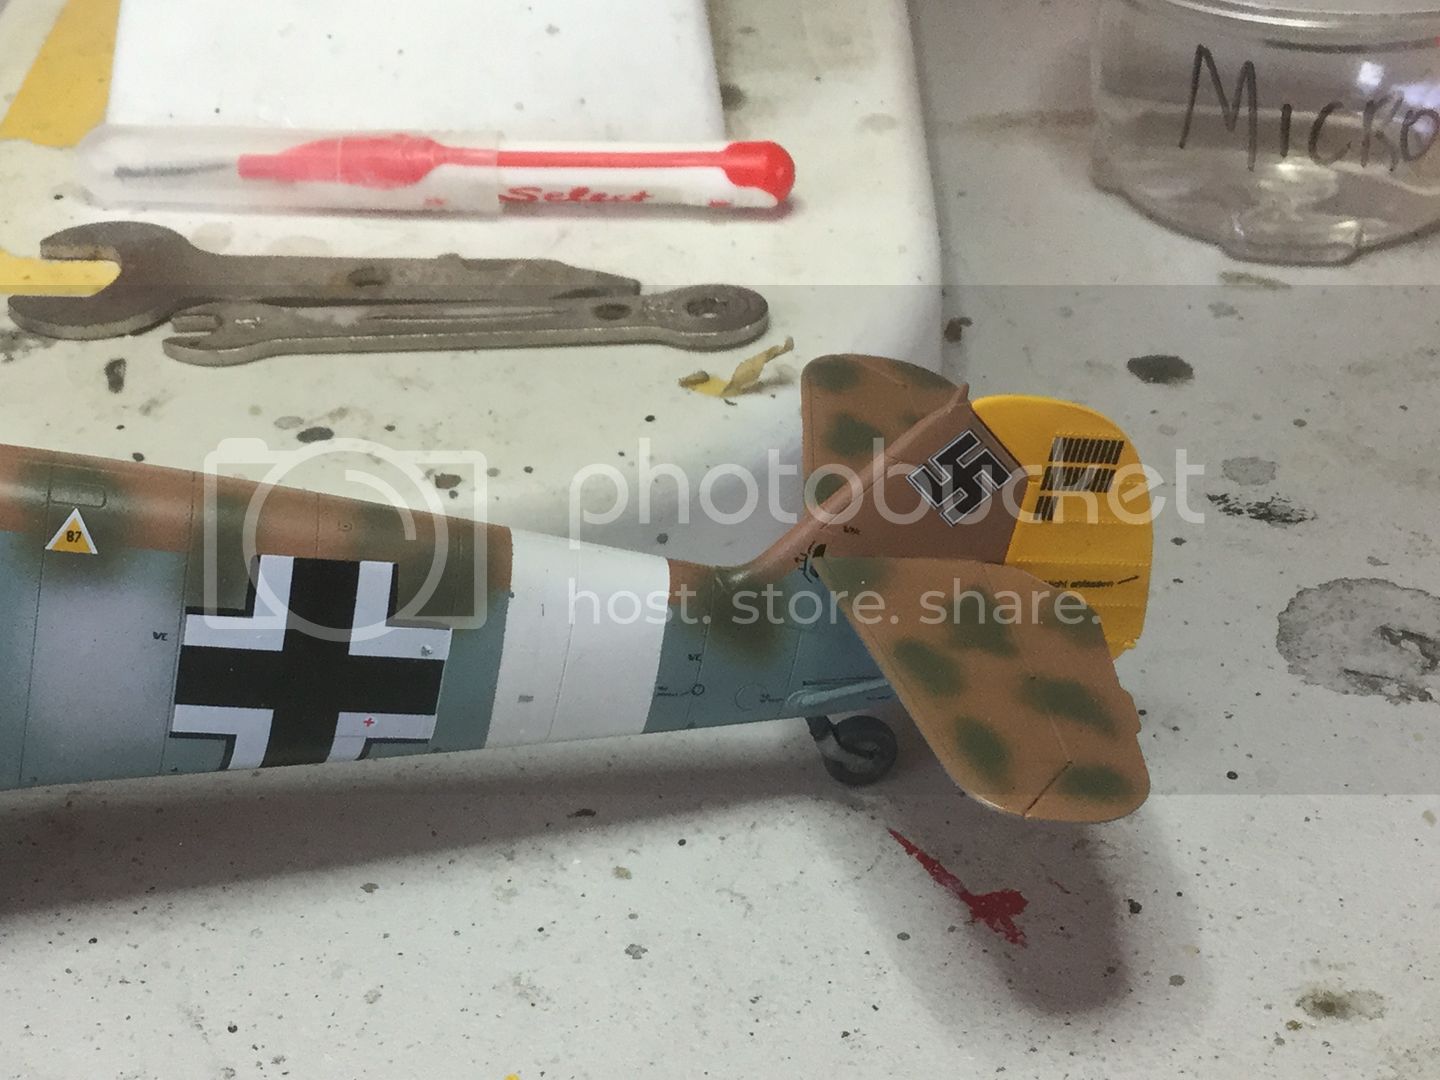
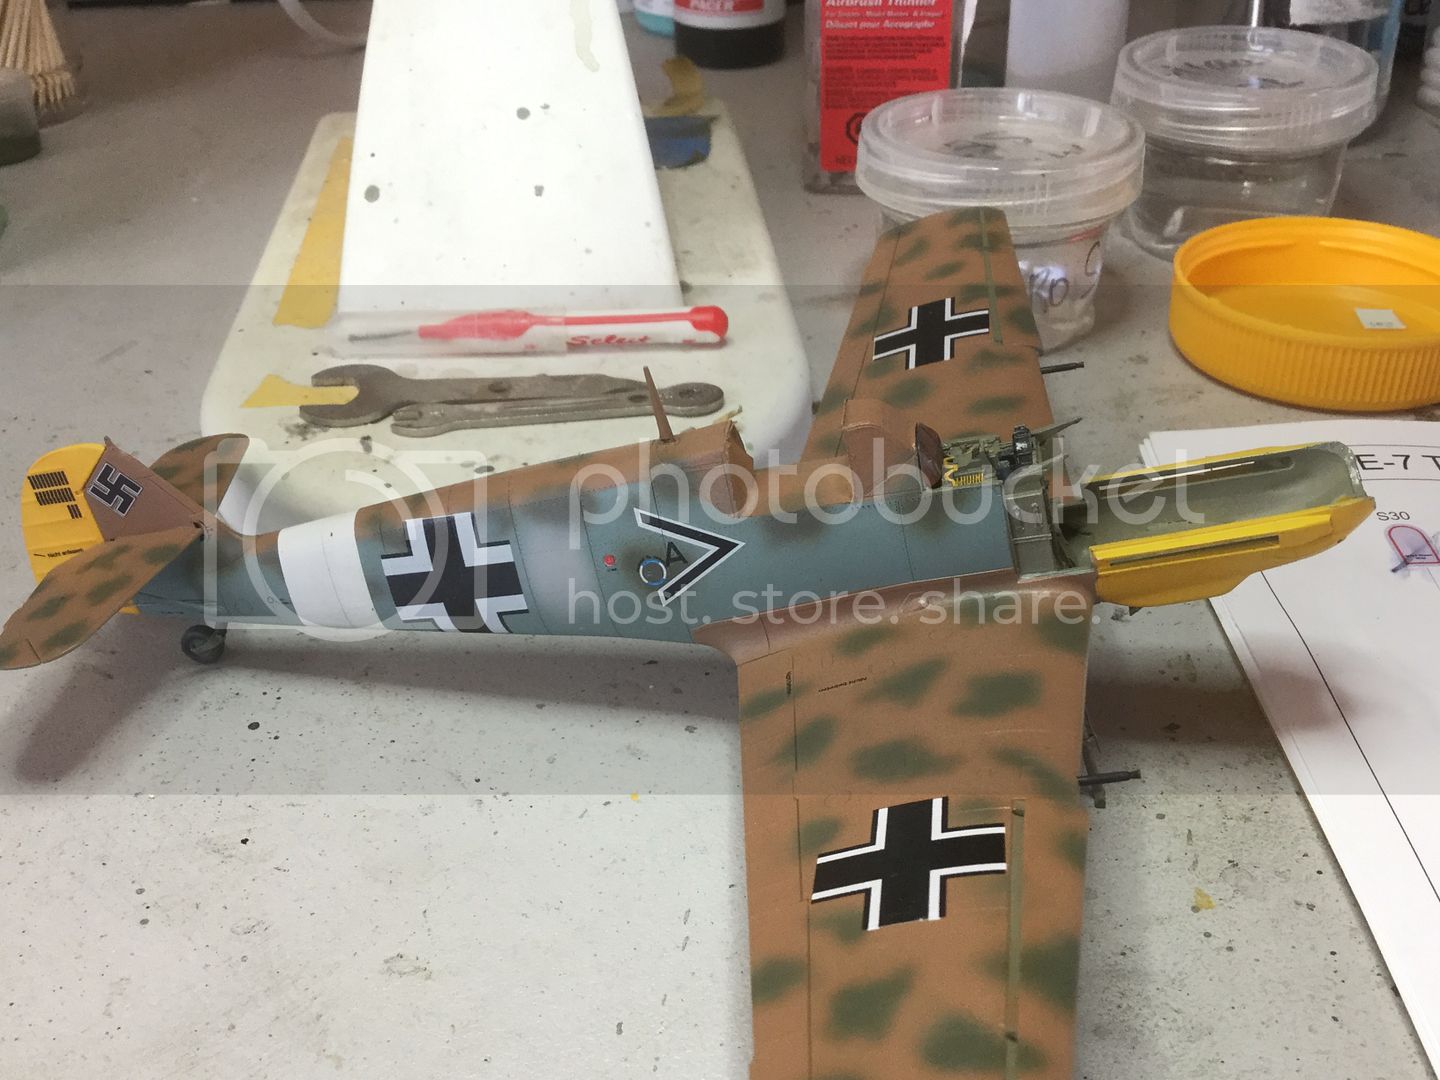
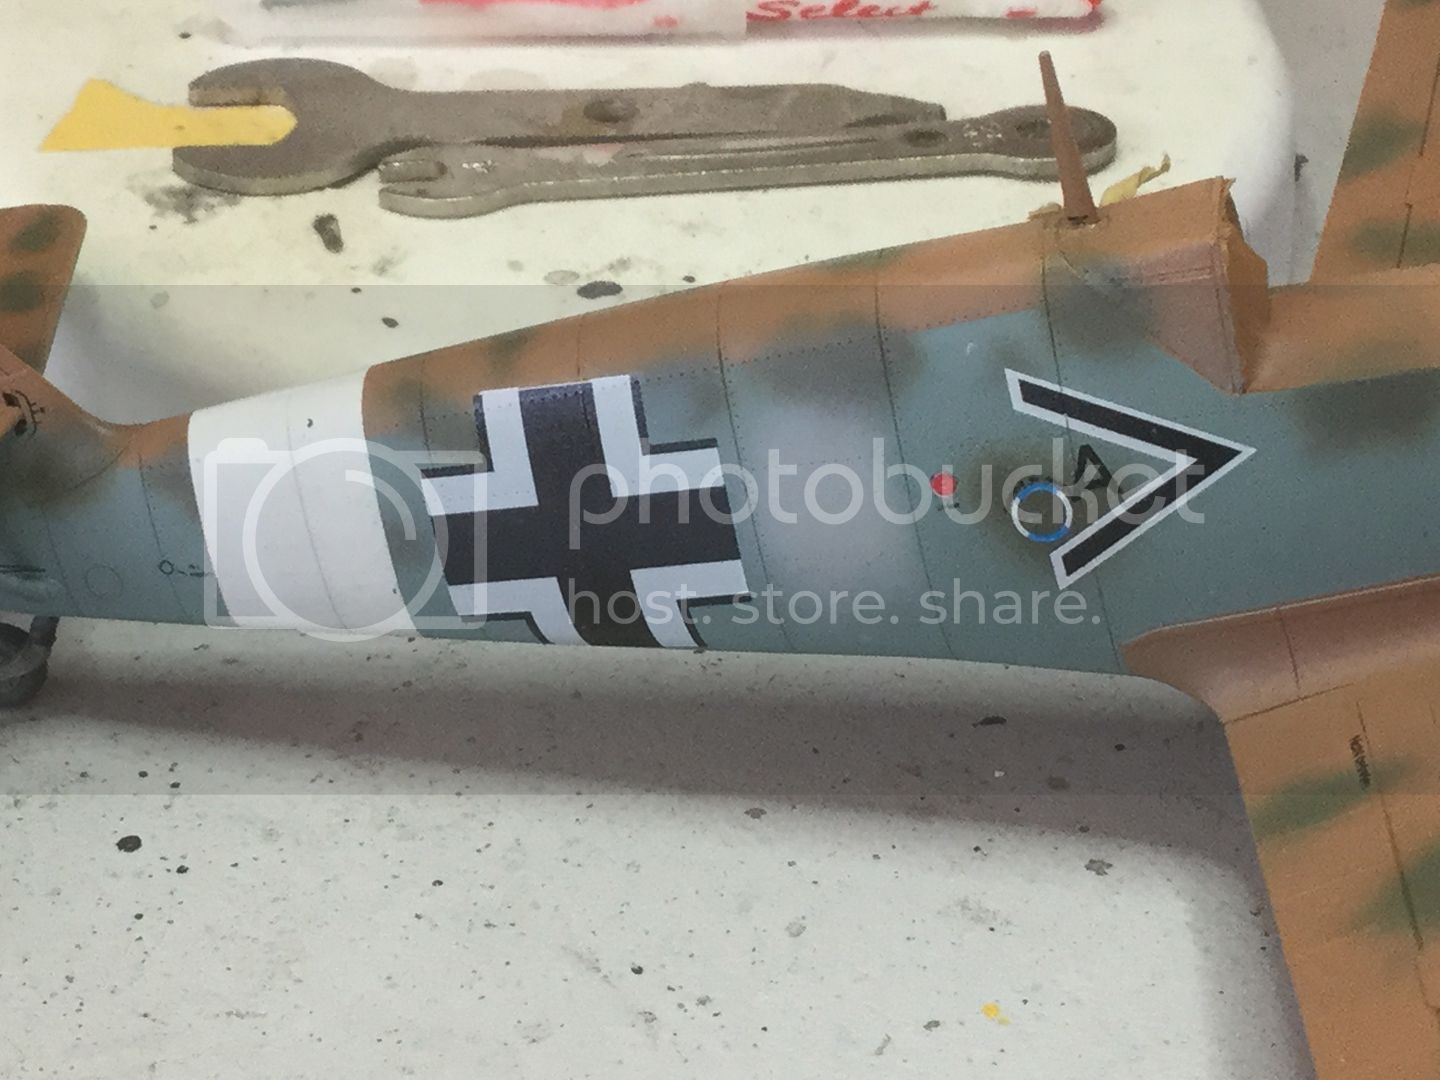
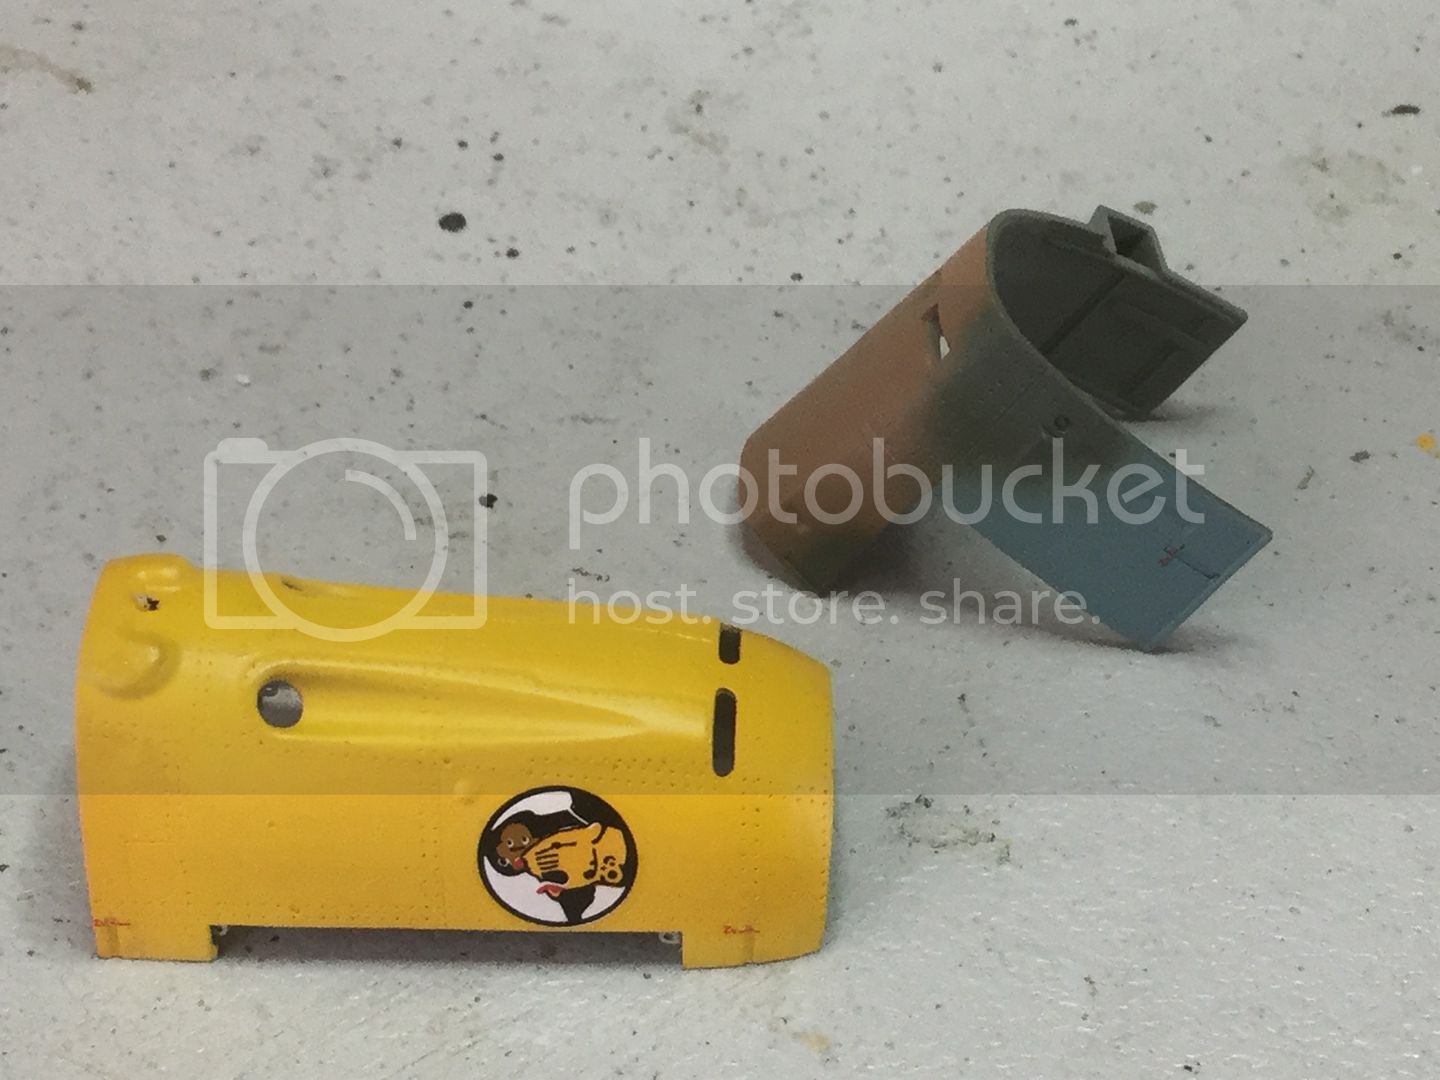
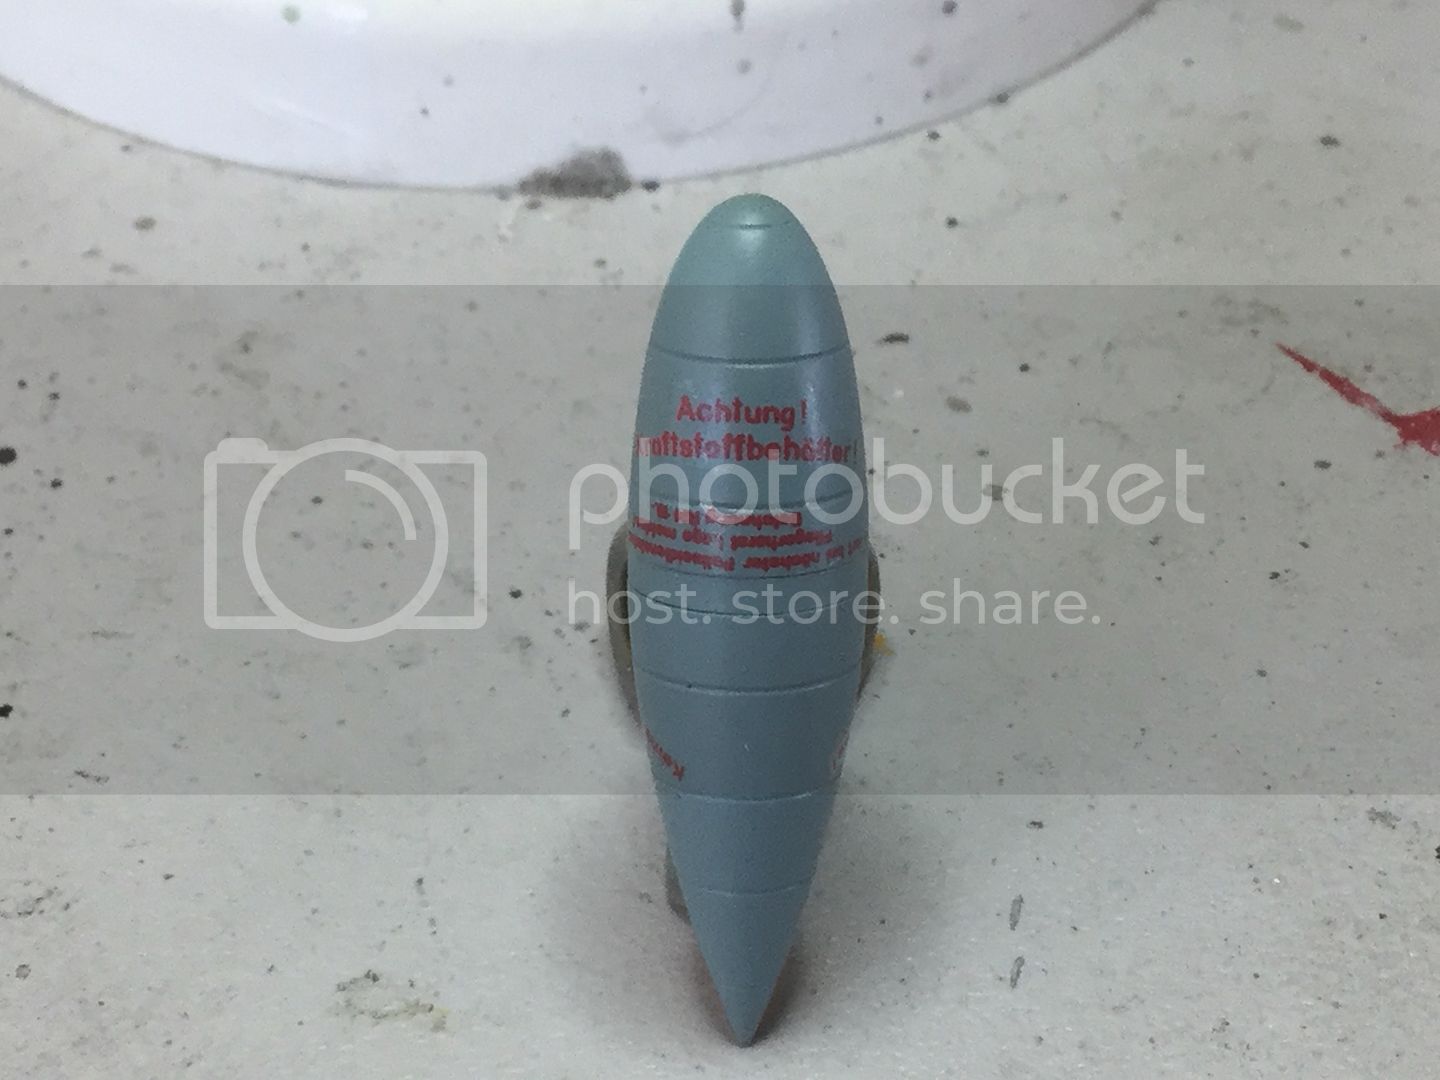
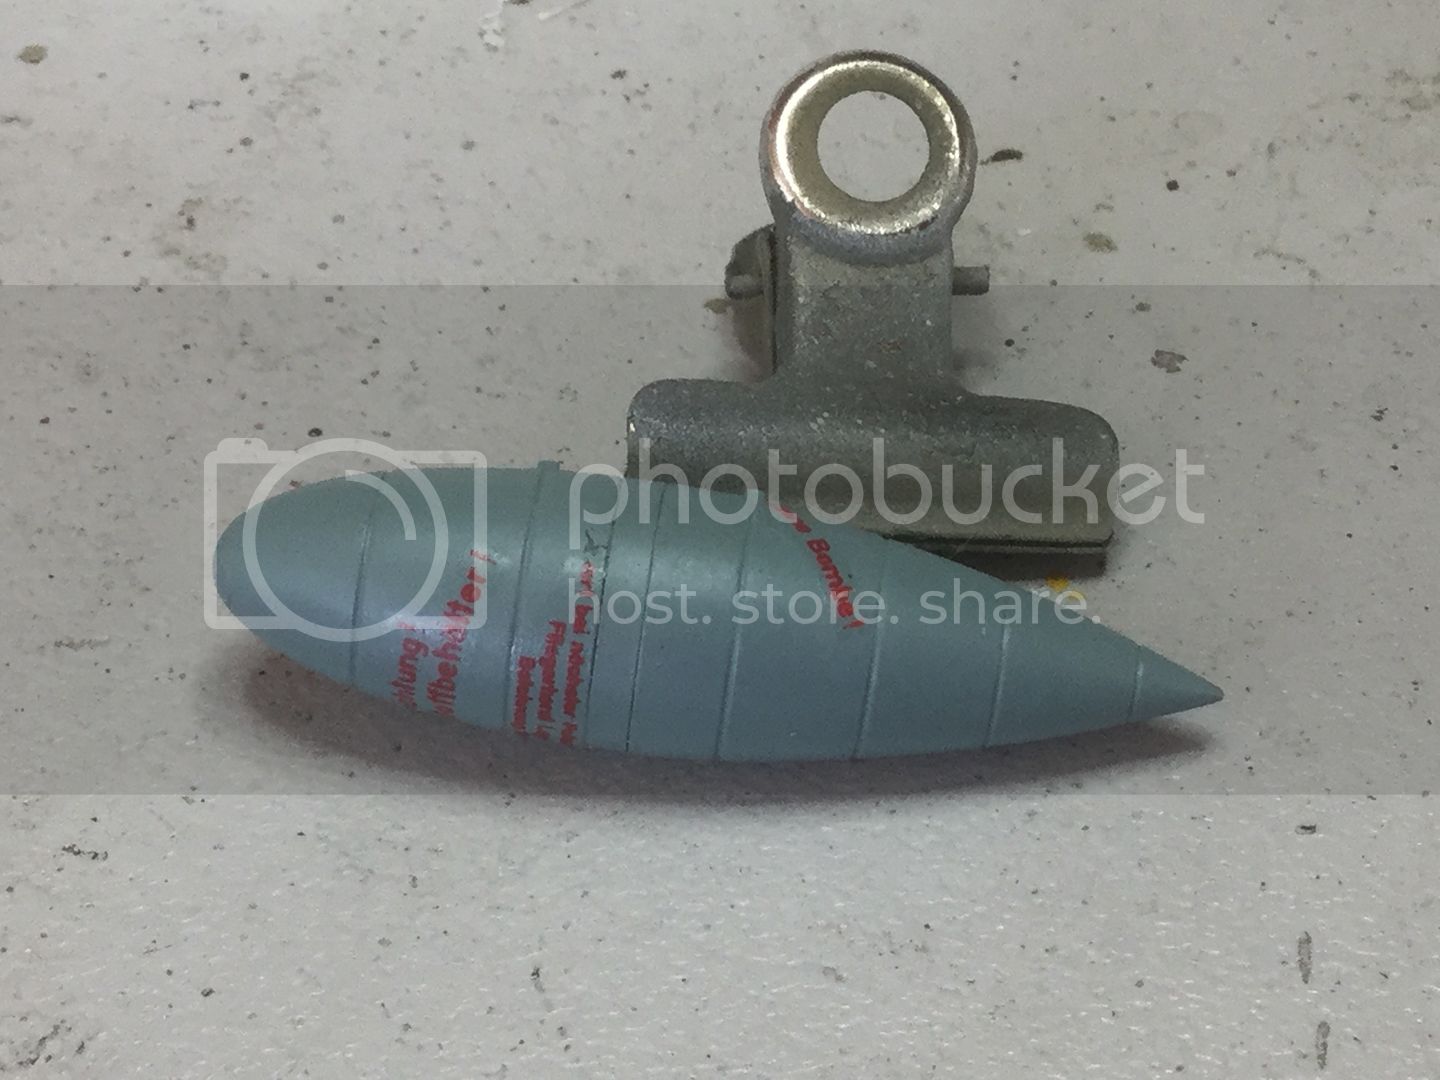
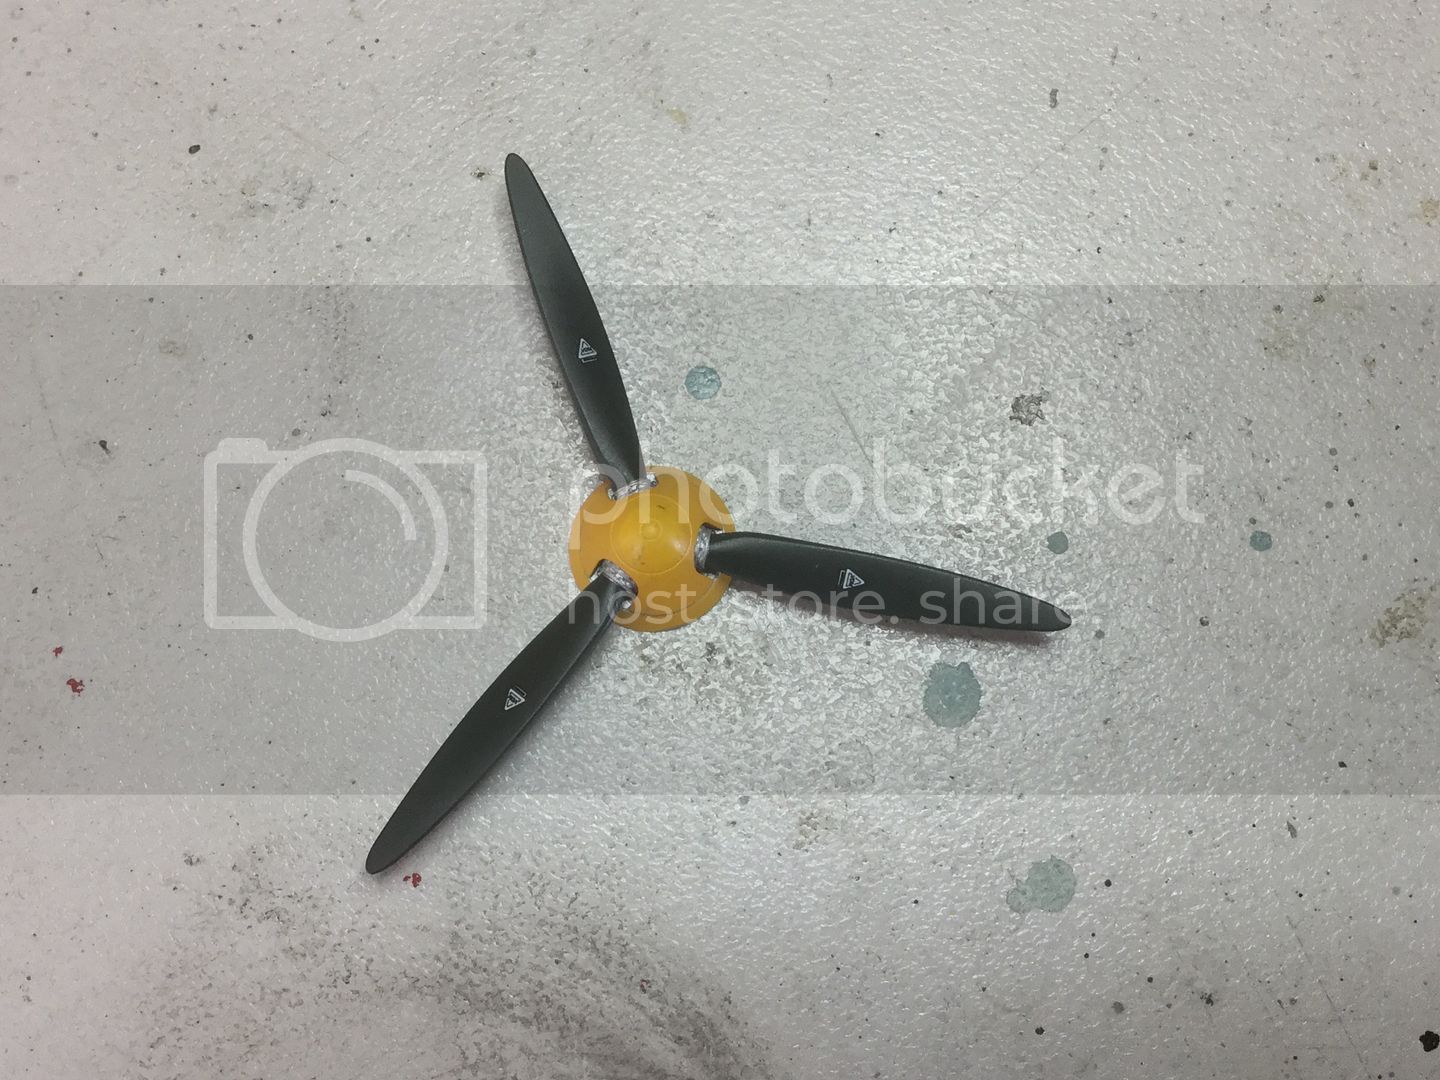
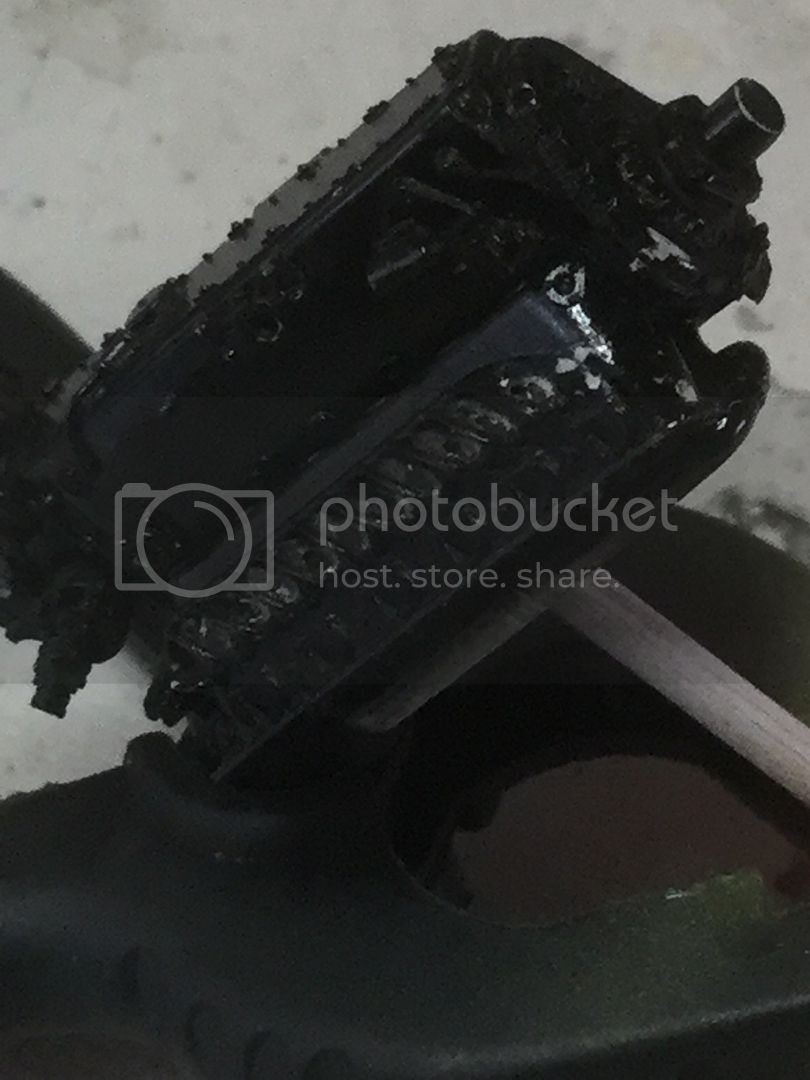
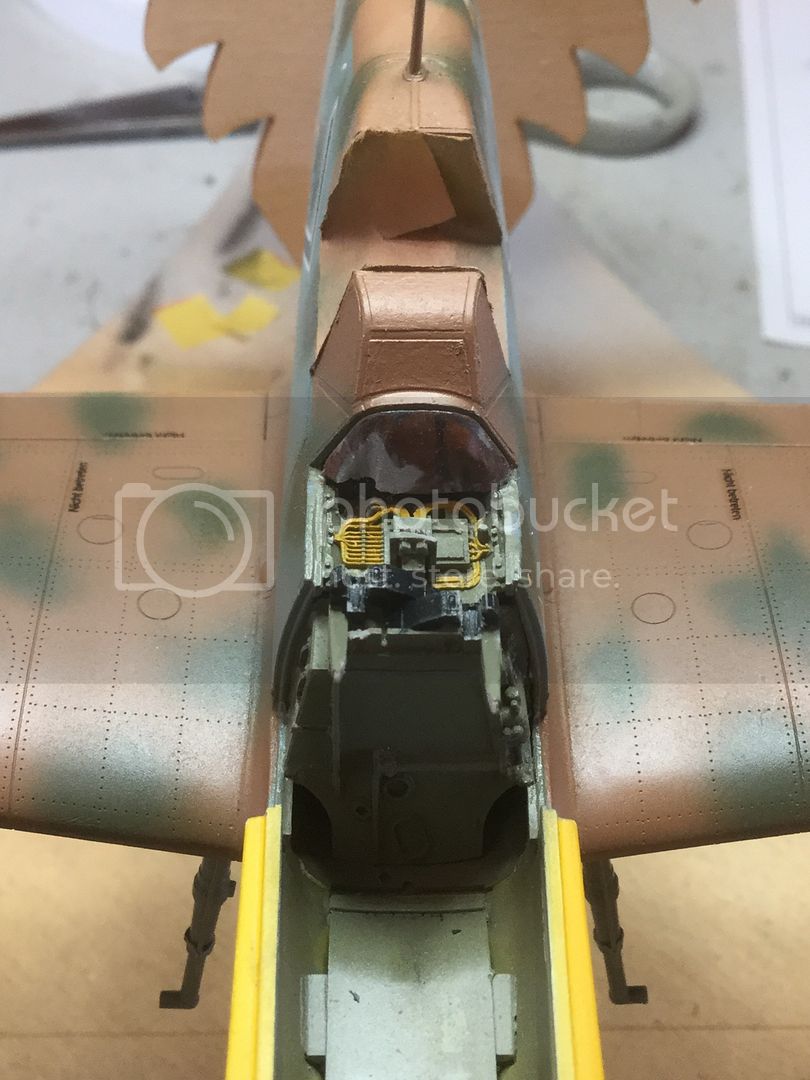
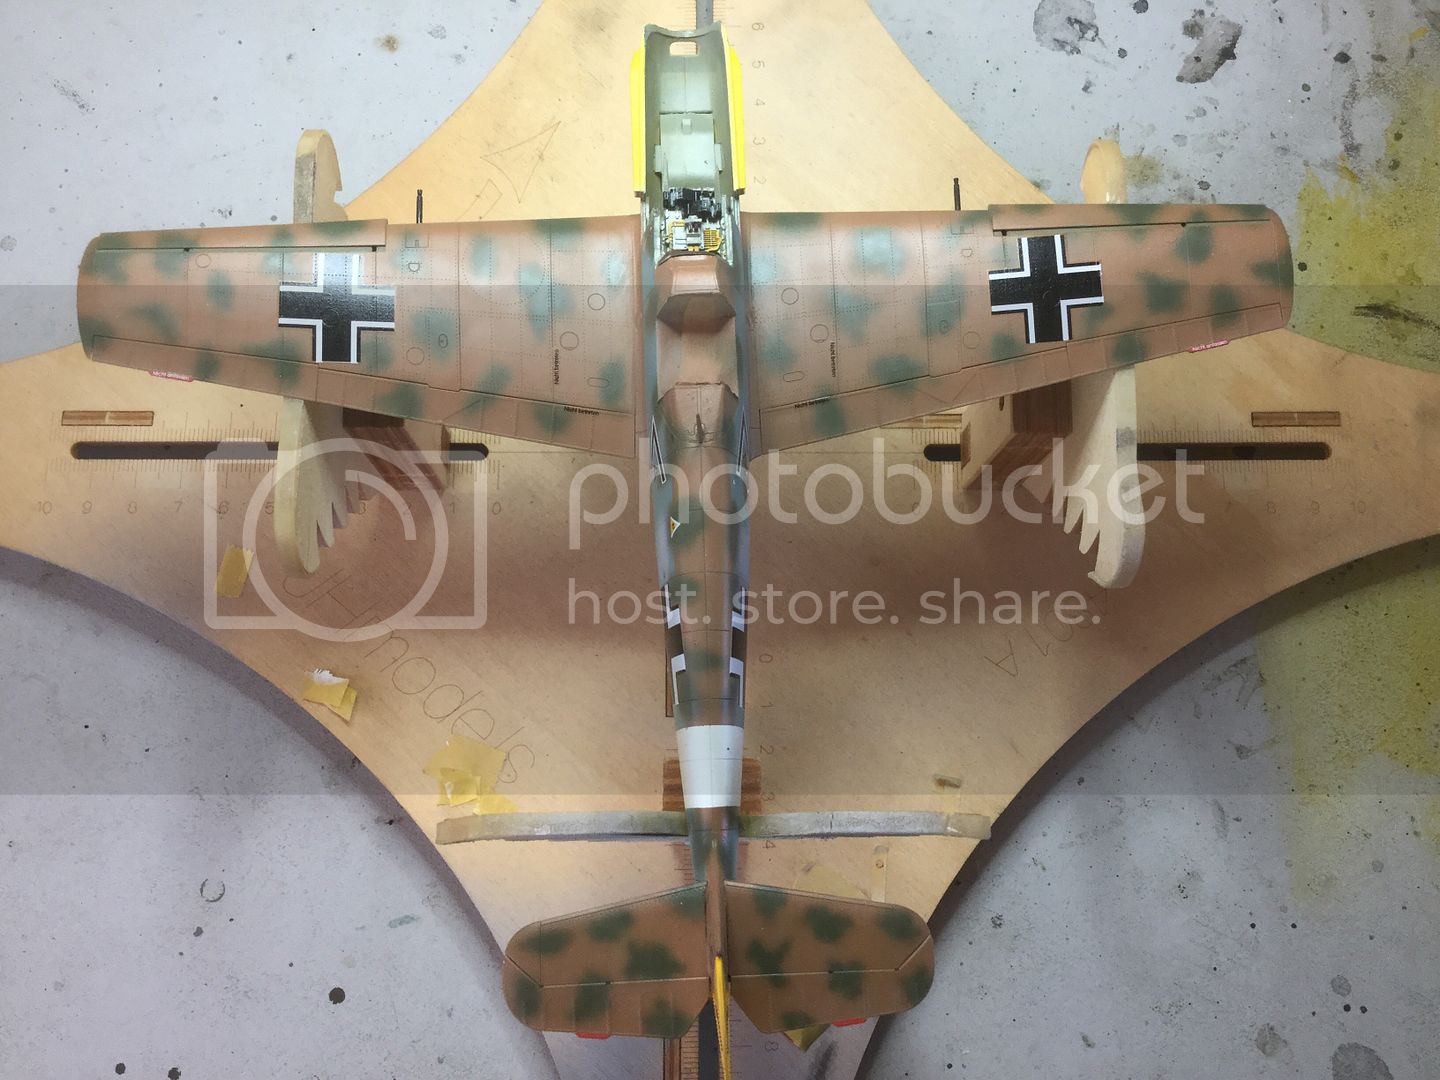
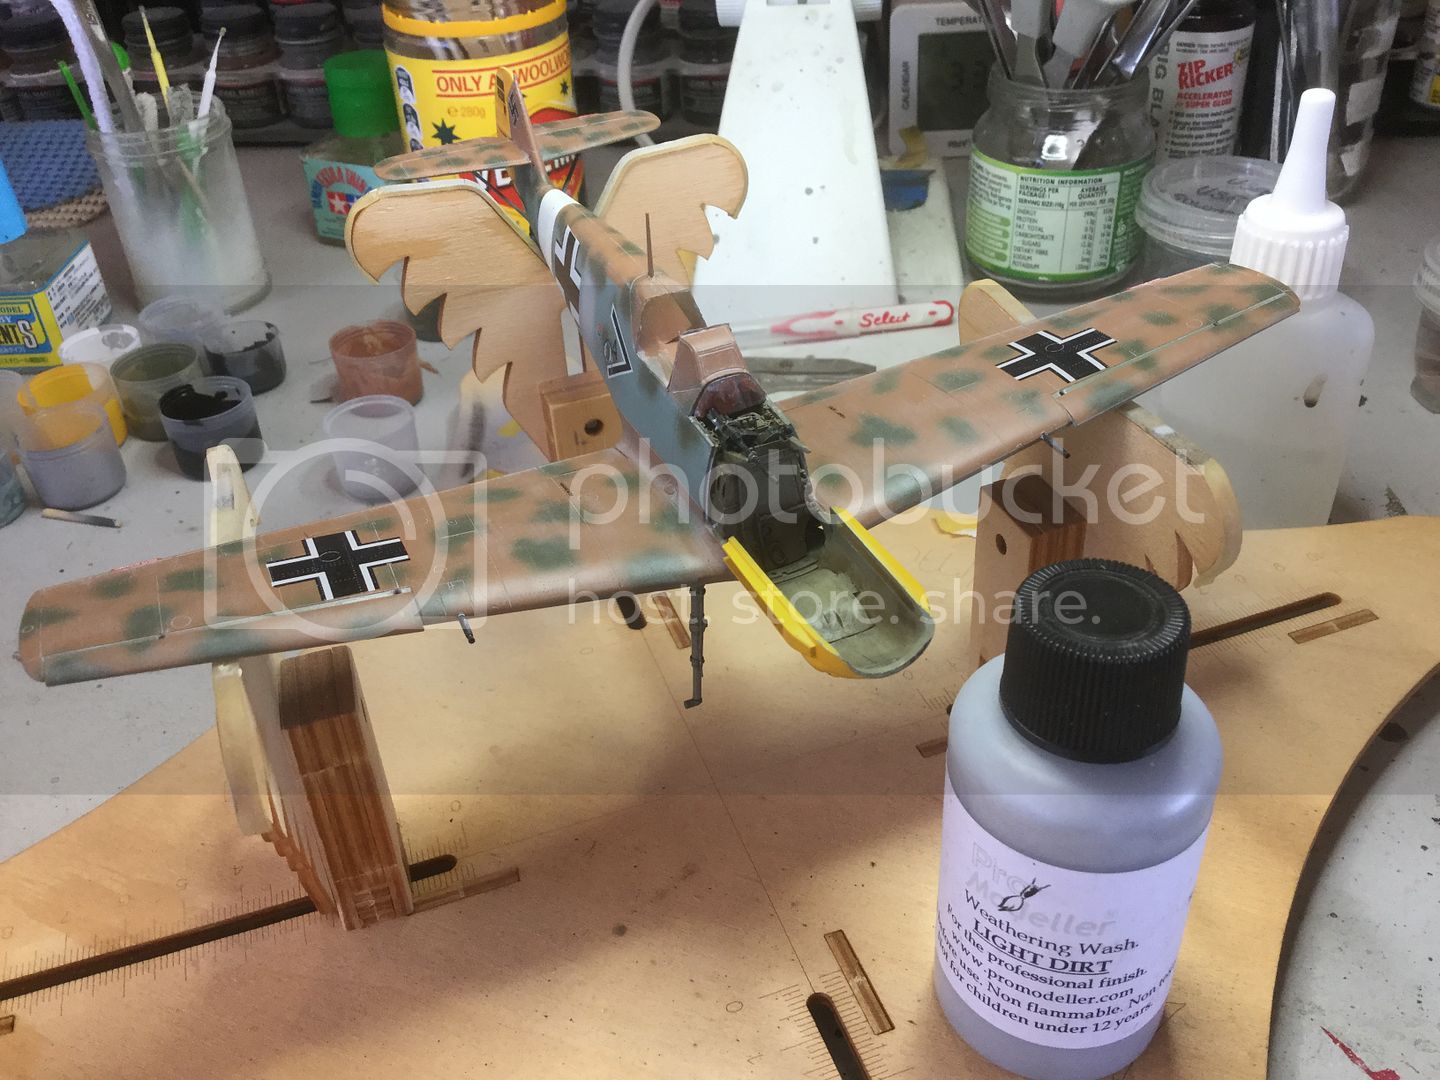
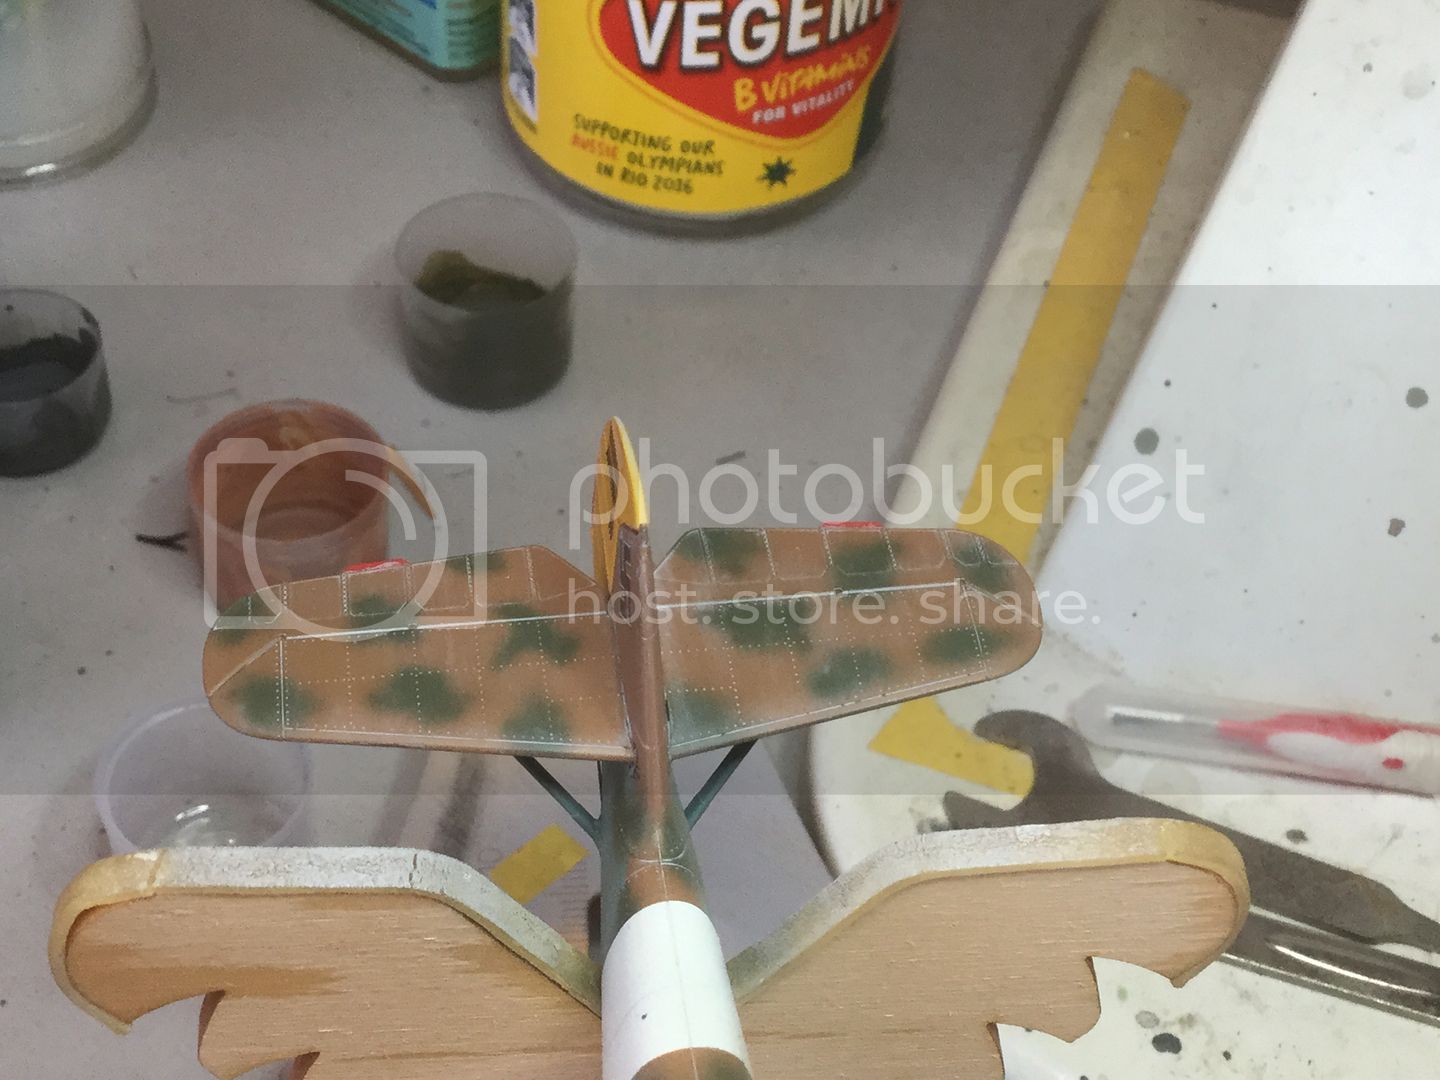
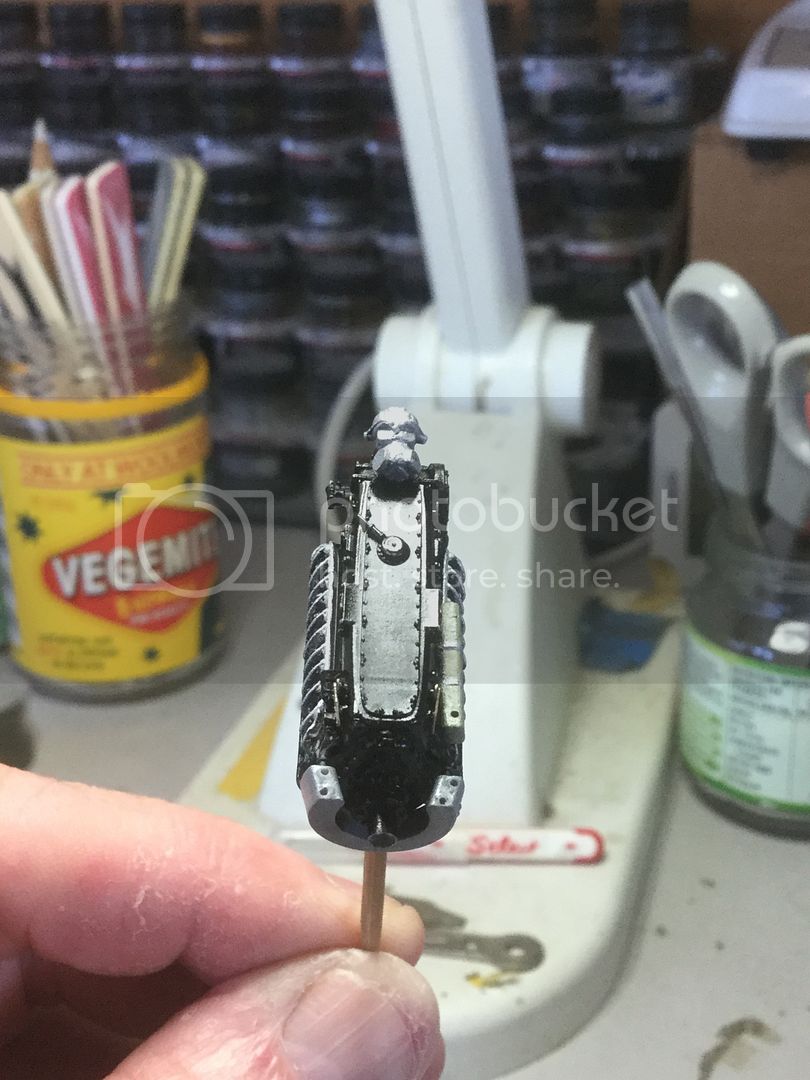
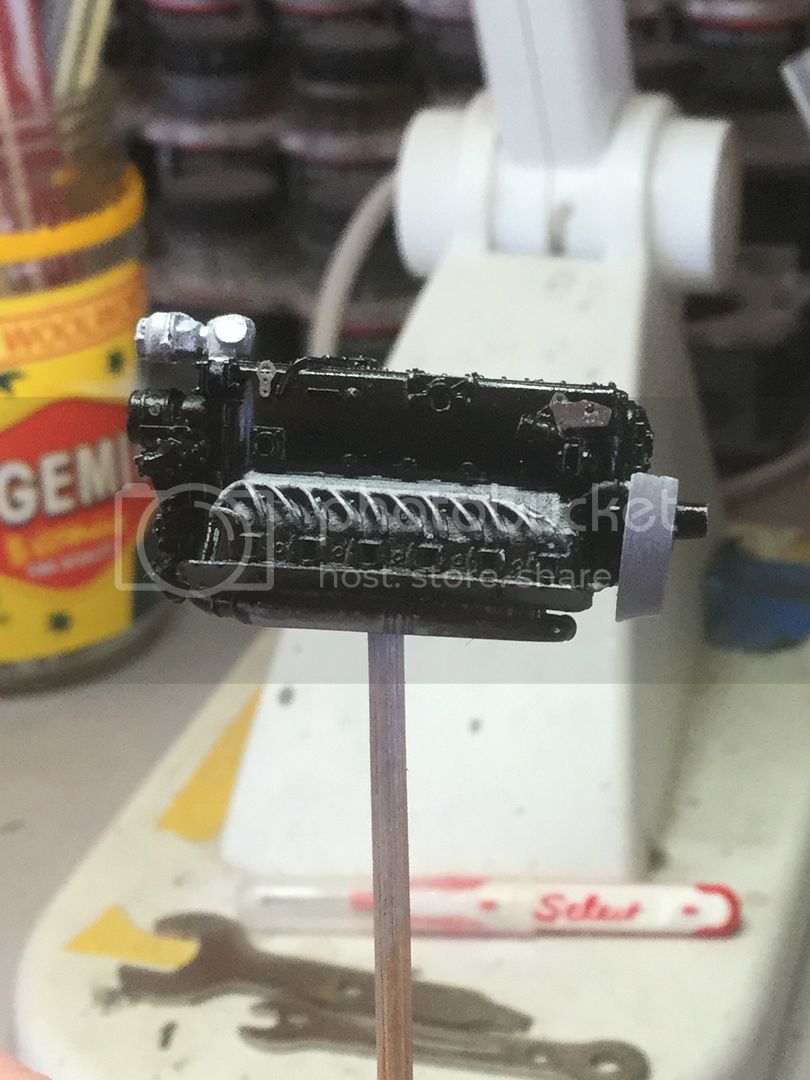
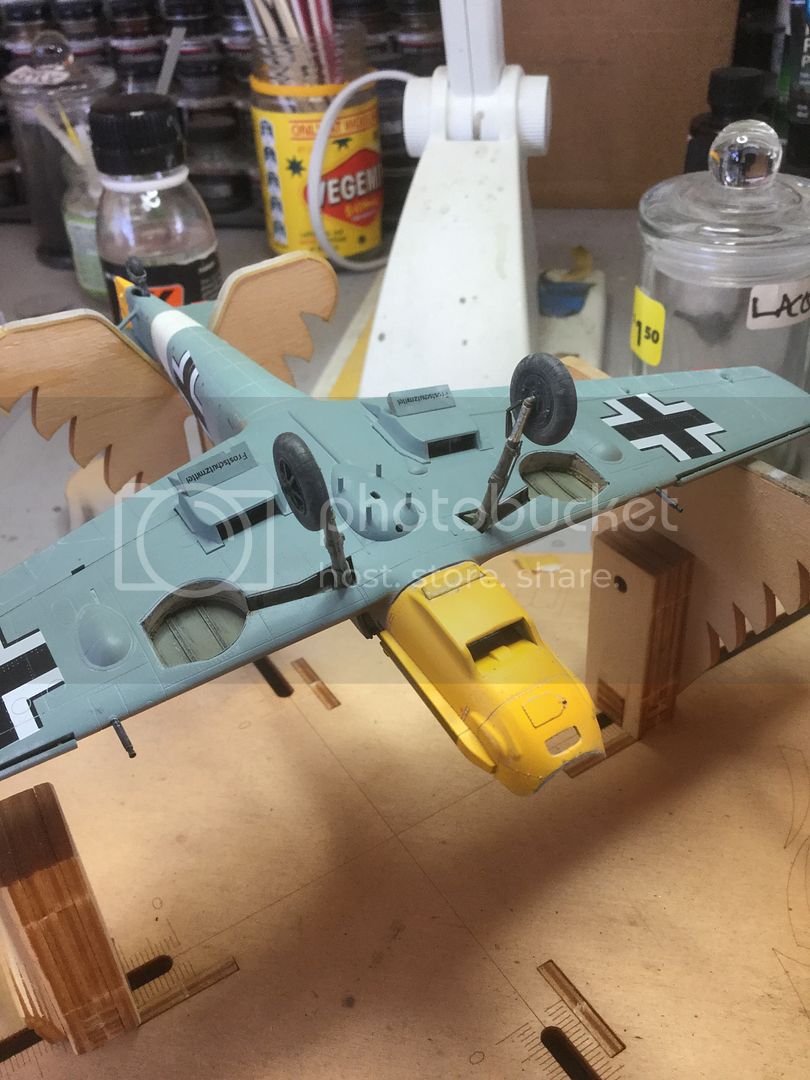
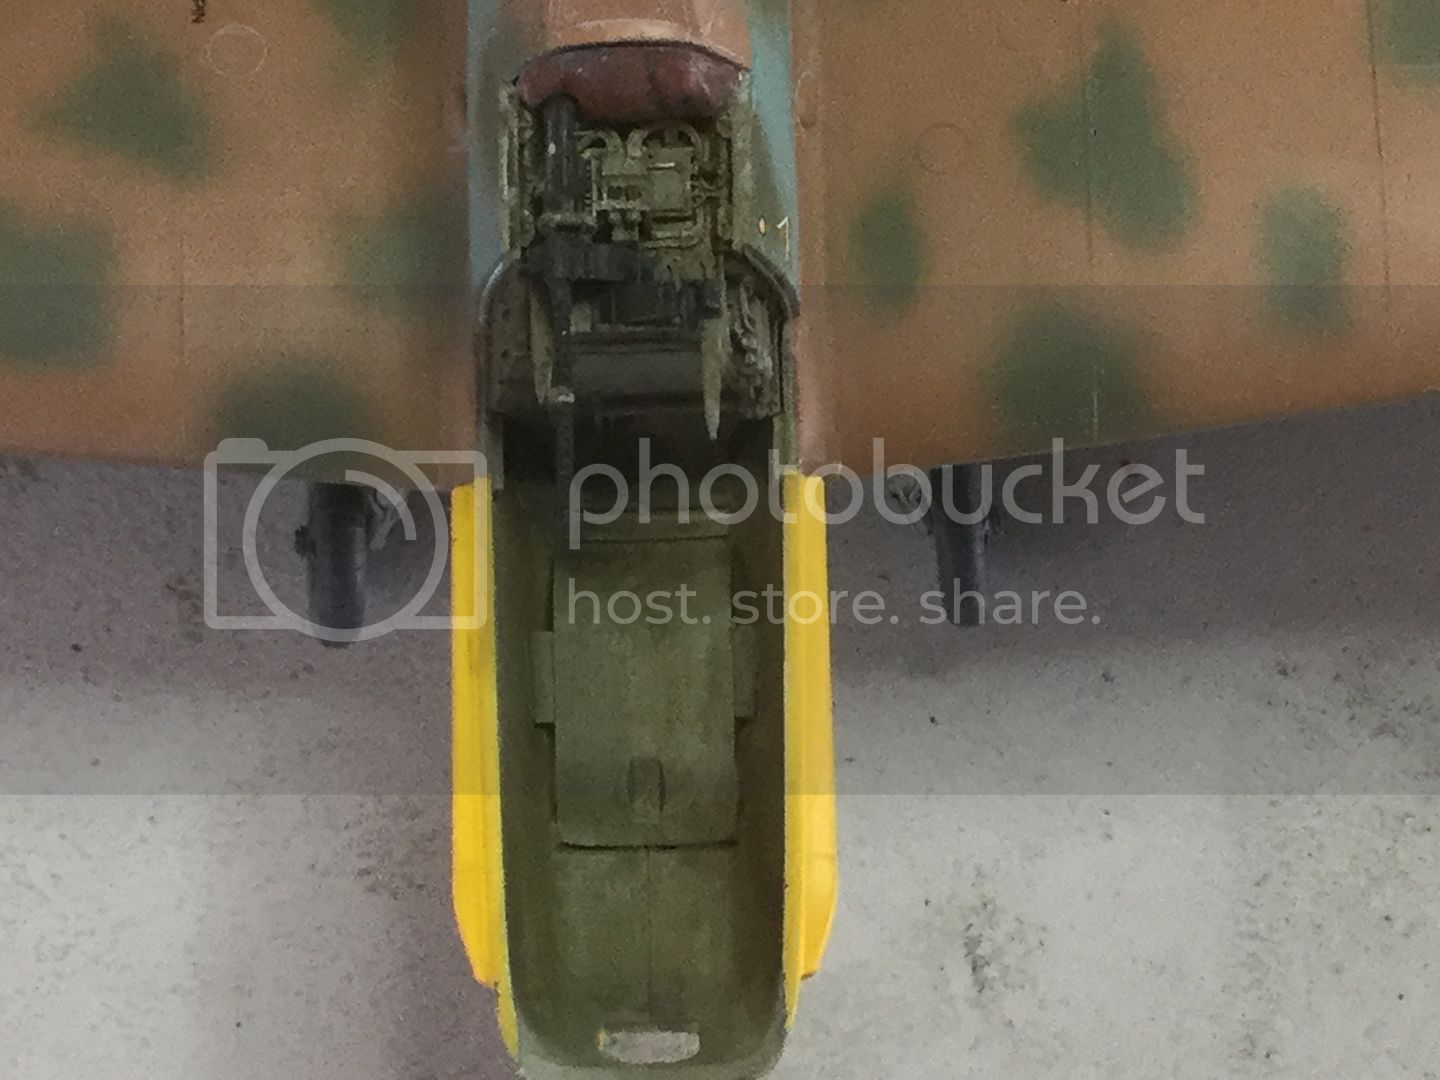
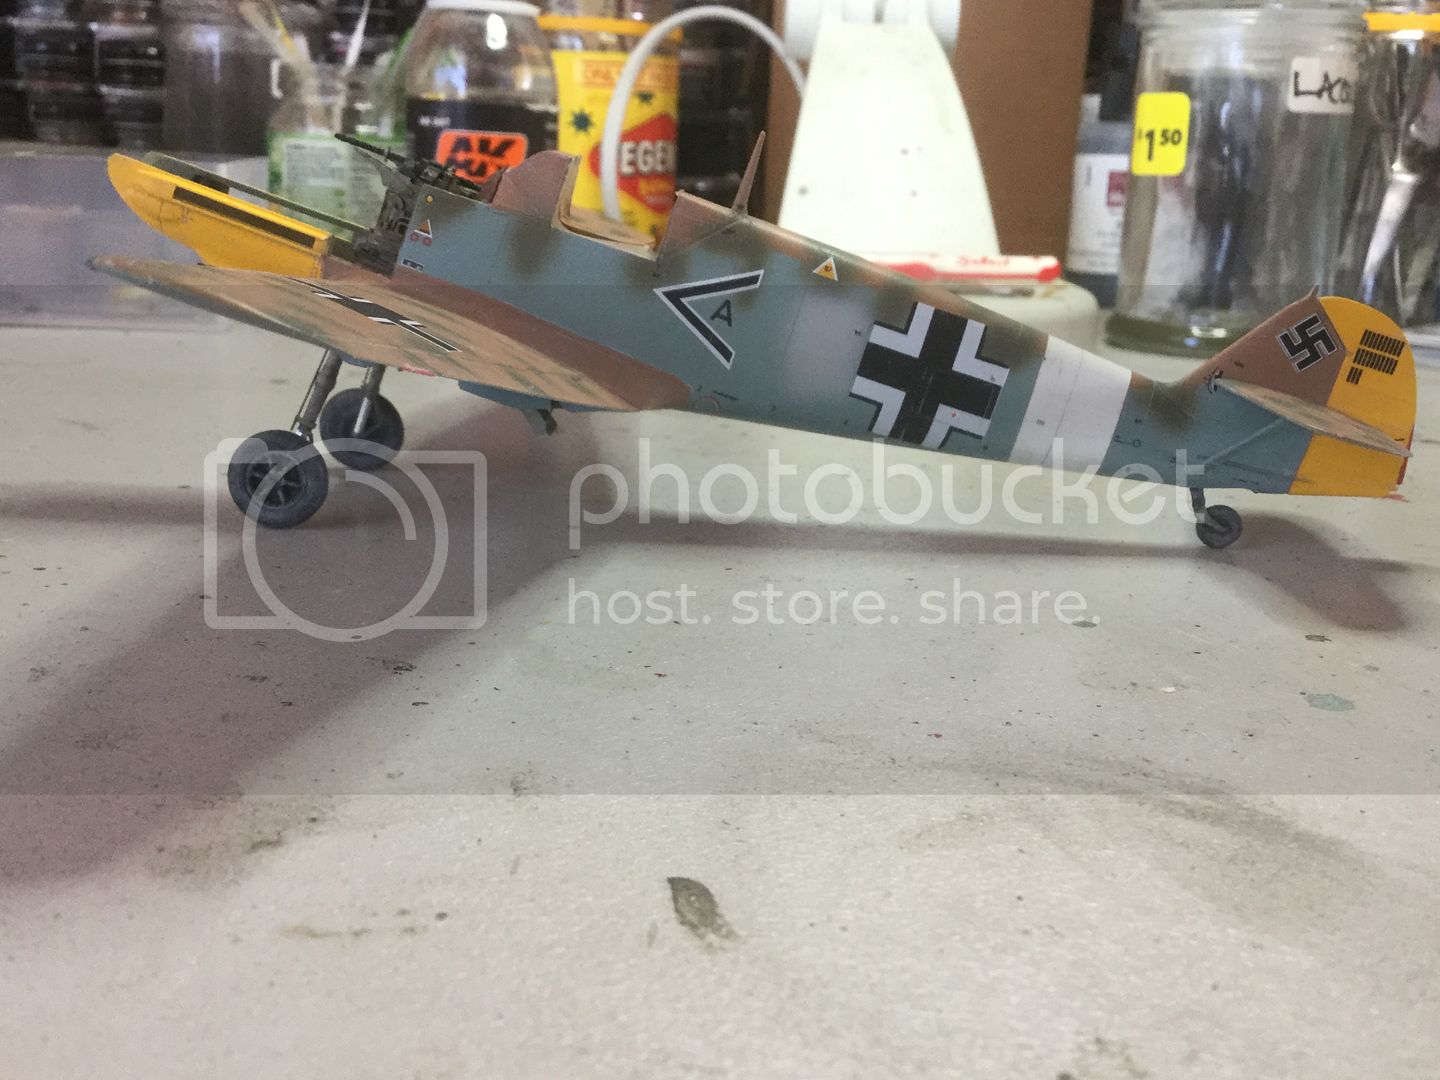
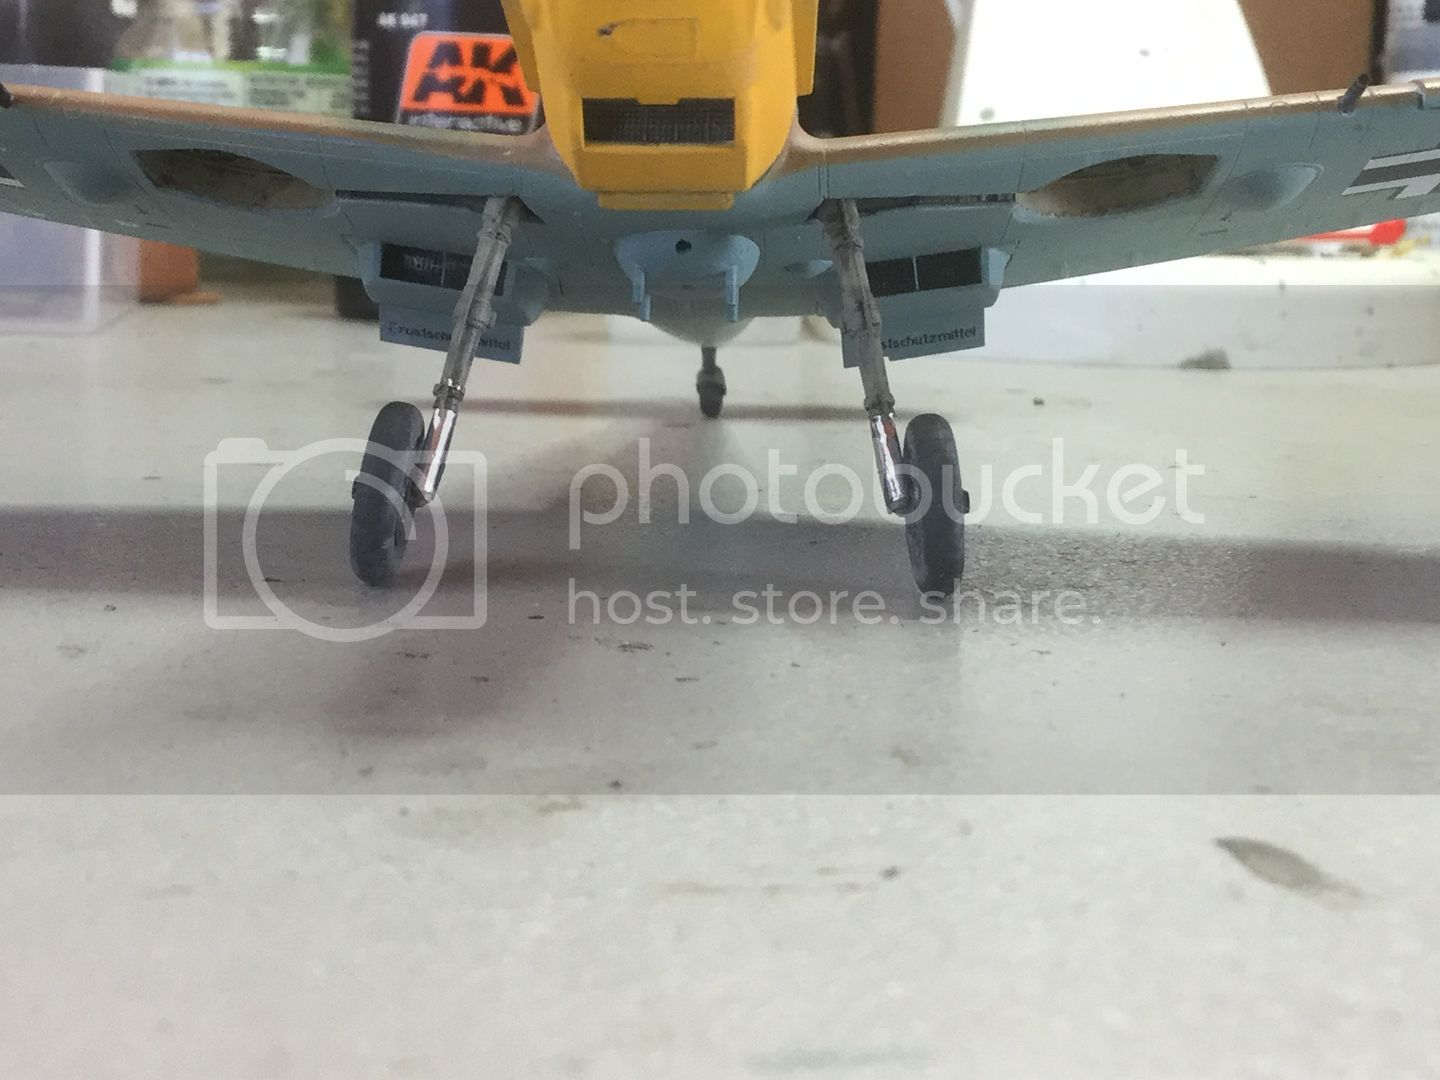
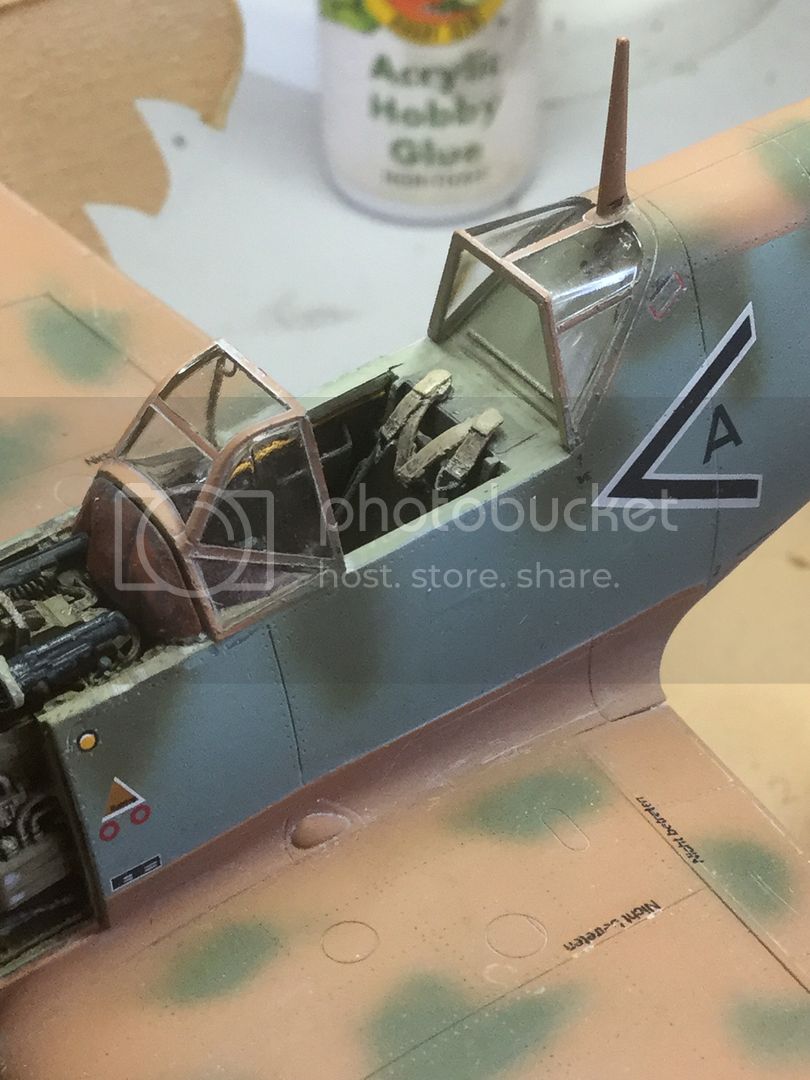
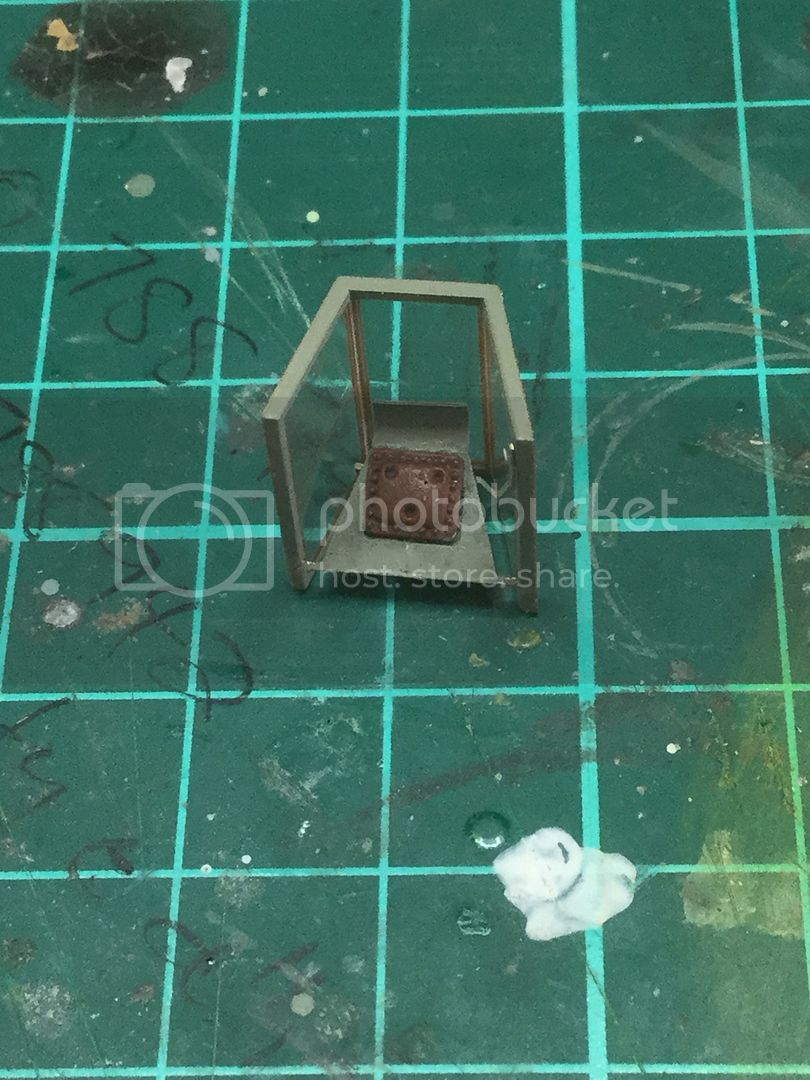
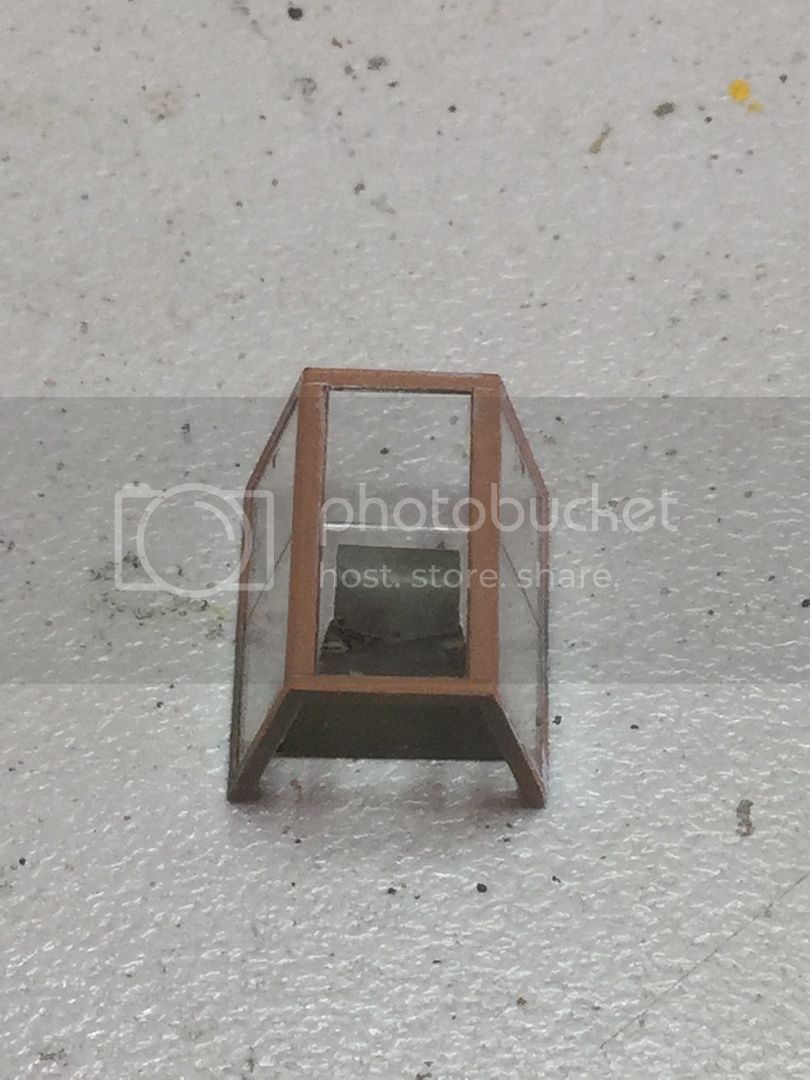
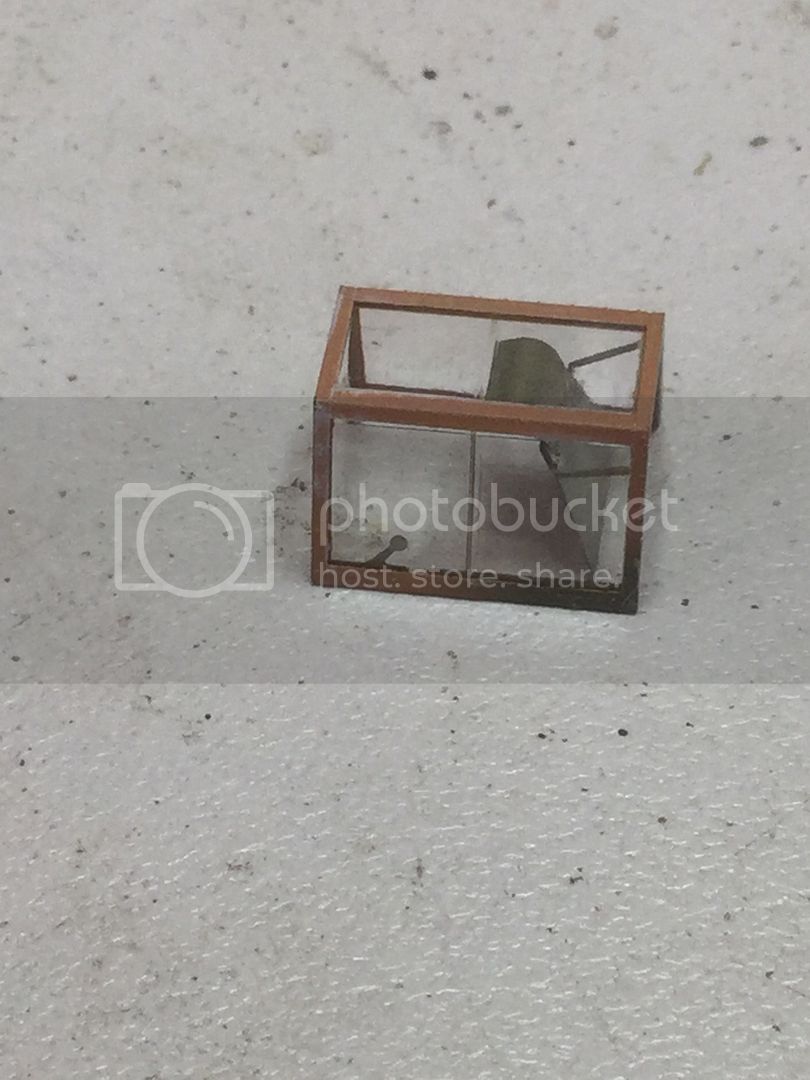
Progress at last! MM RLM 78 on the undersides and various bits and pieces. The wheel bays and radiators were masked with damp tissue and tape:
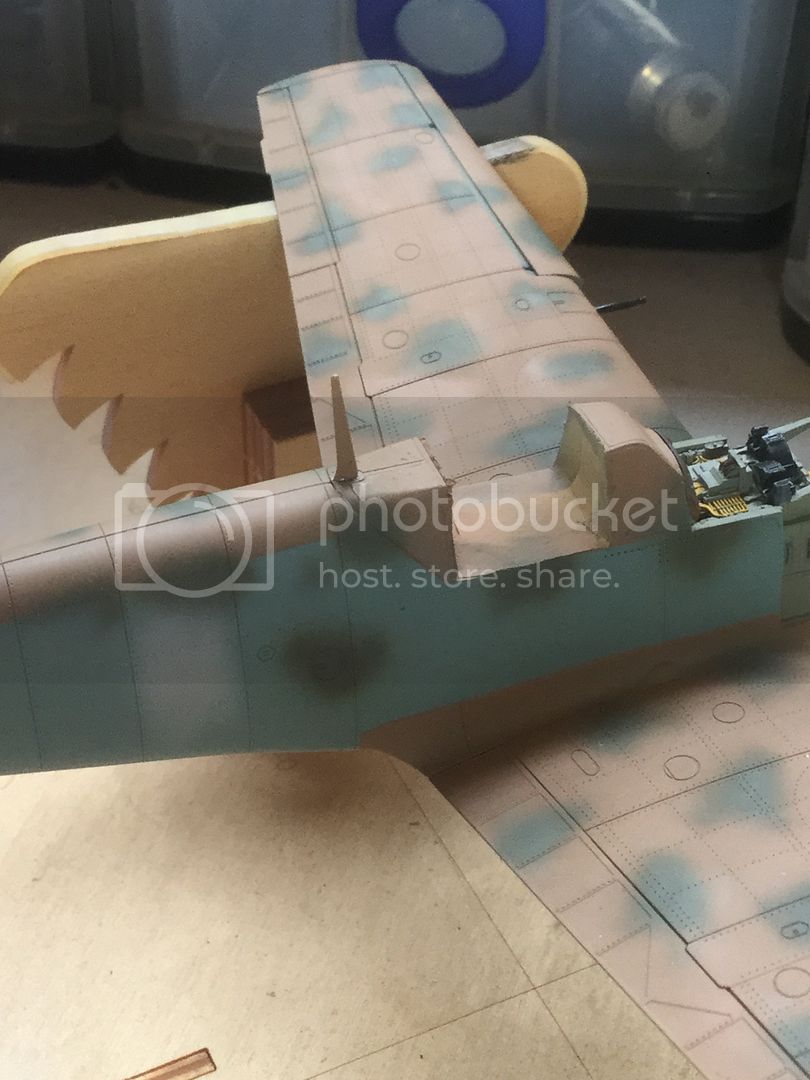
The RLM 78 extends high up the fuselage sides. The slats have been temporarily attached for painting and will be removed and repositioned at a later time:
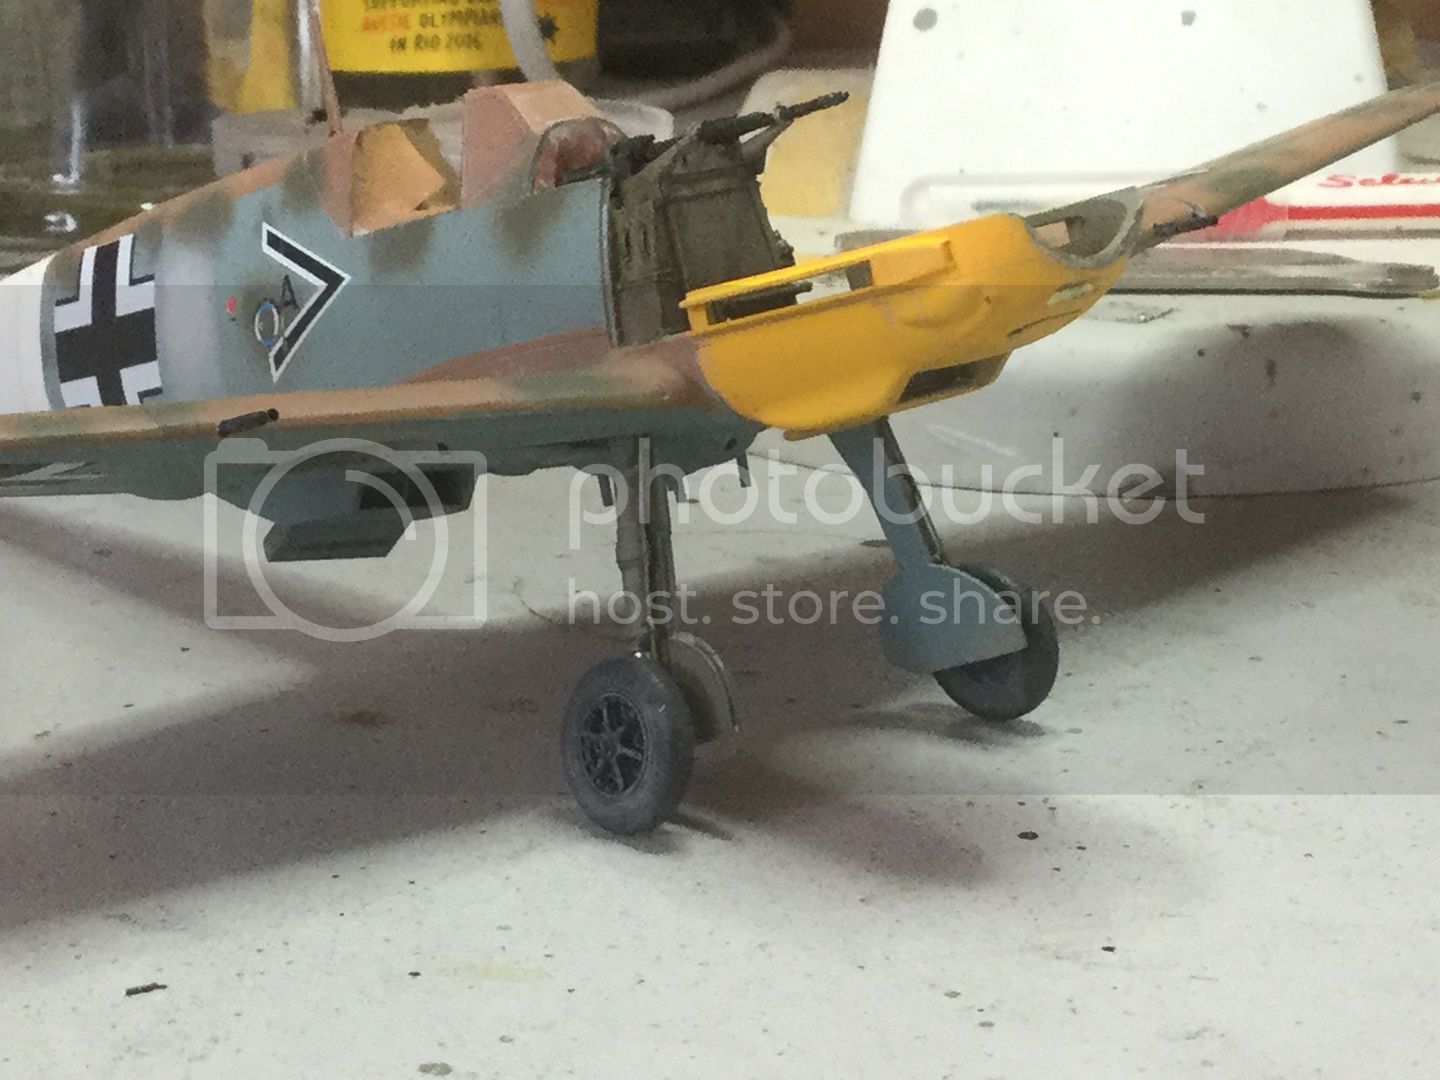
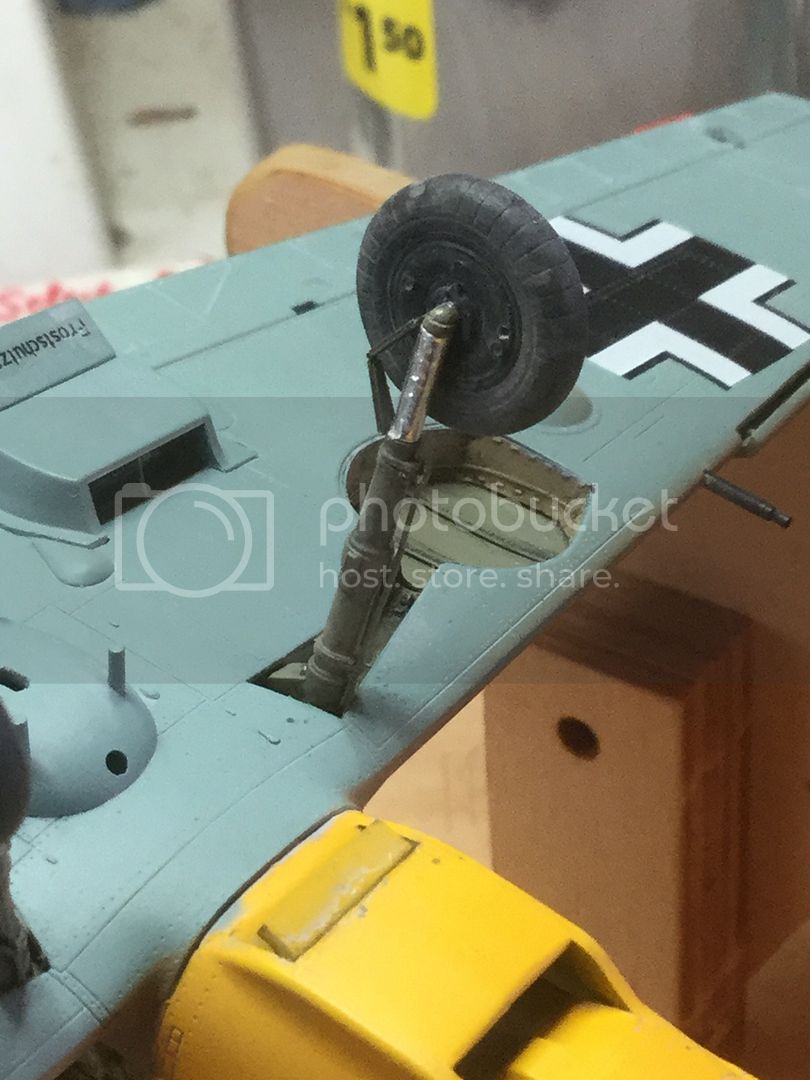
MLG have had thin wire to replace the oversized Eduard pieces, BMF tapes to secure them and painted RLM 02:
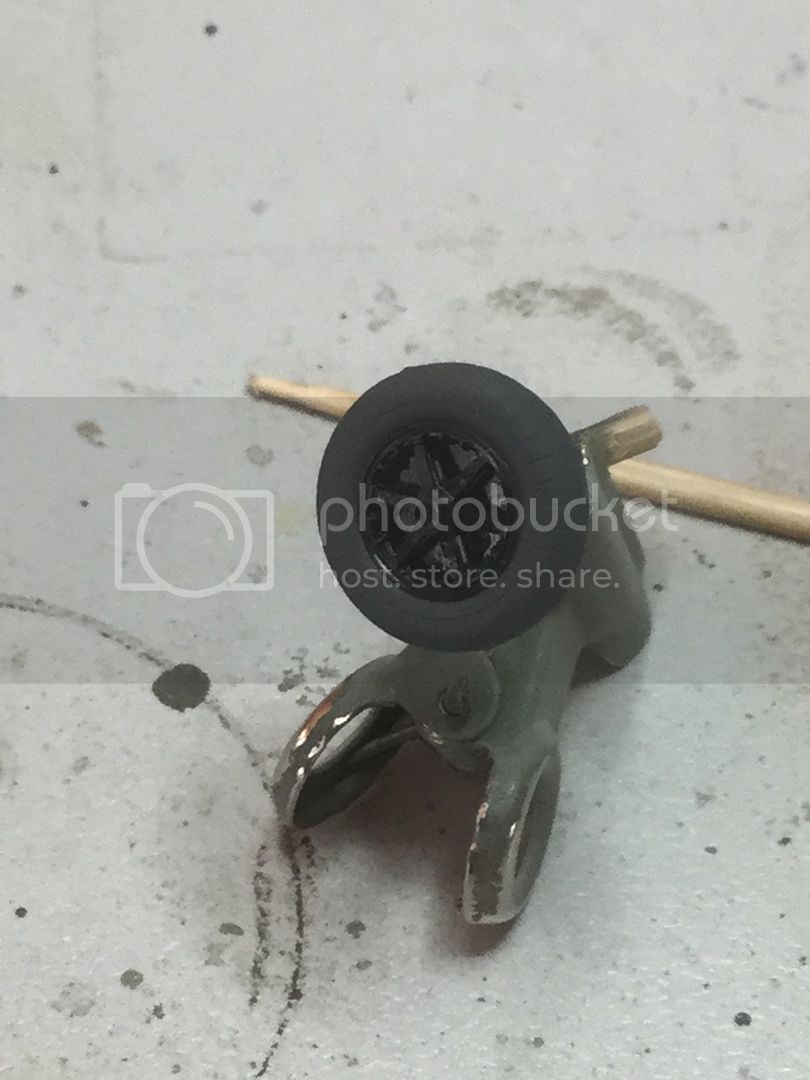
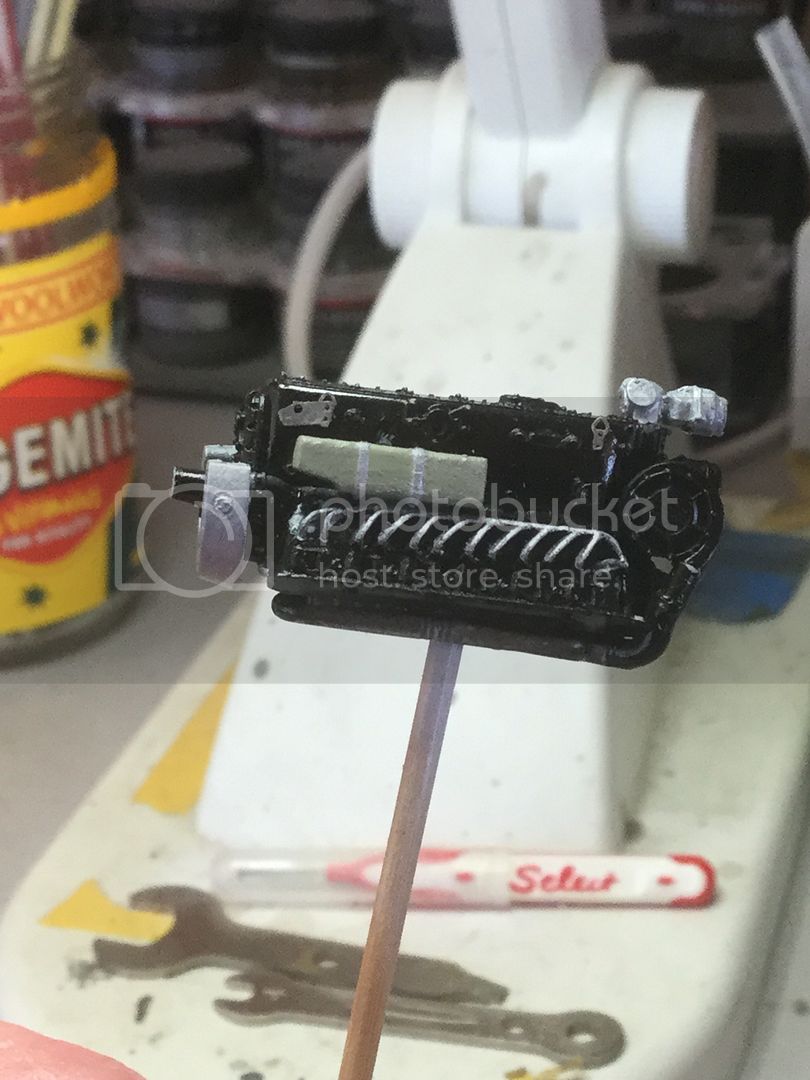
A start on the engine and wheels with Tamiya gloss black:
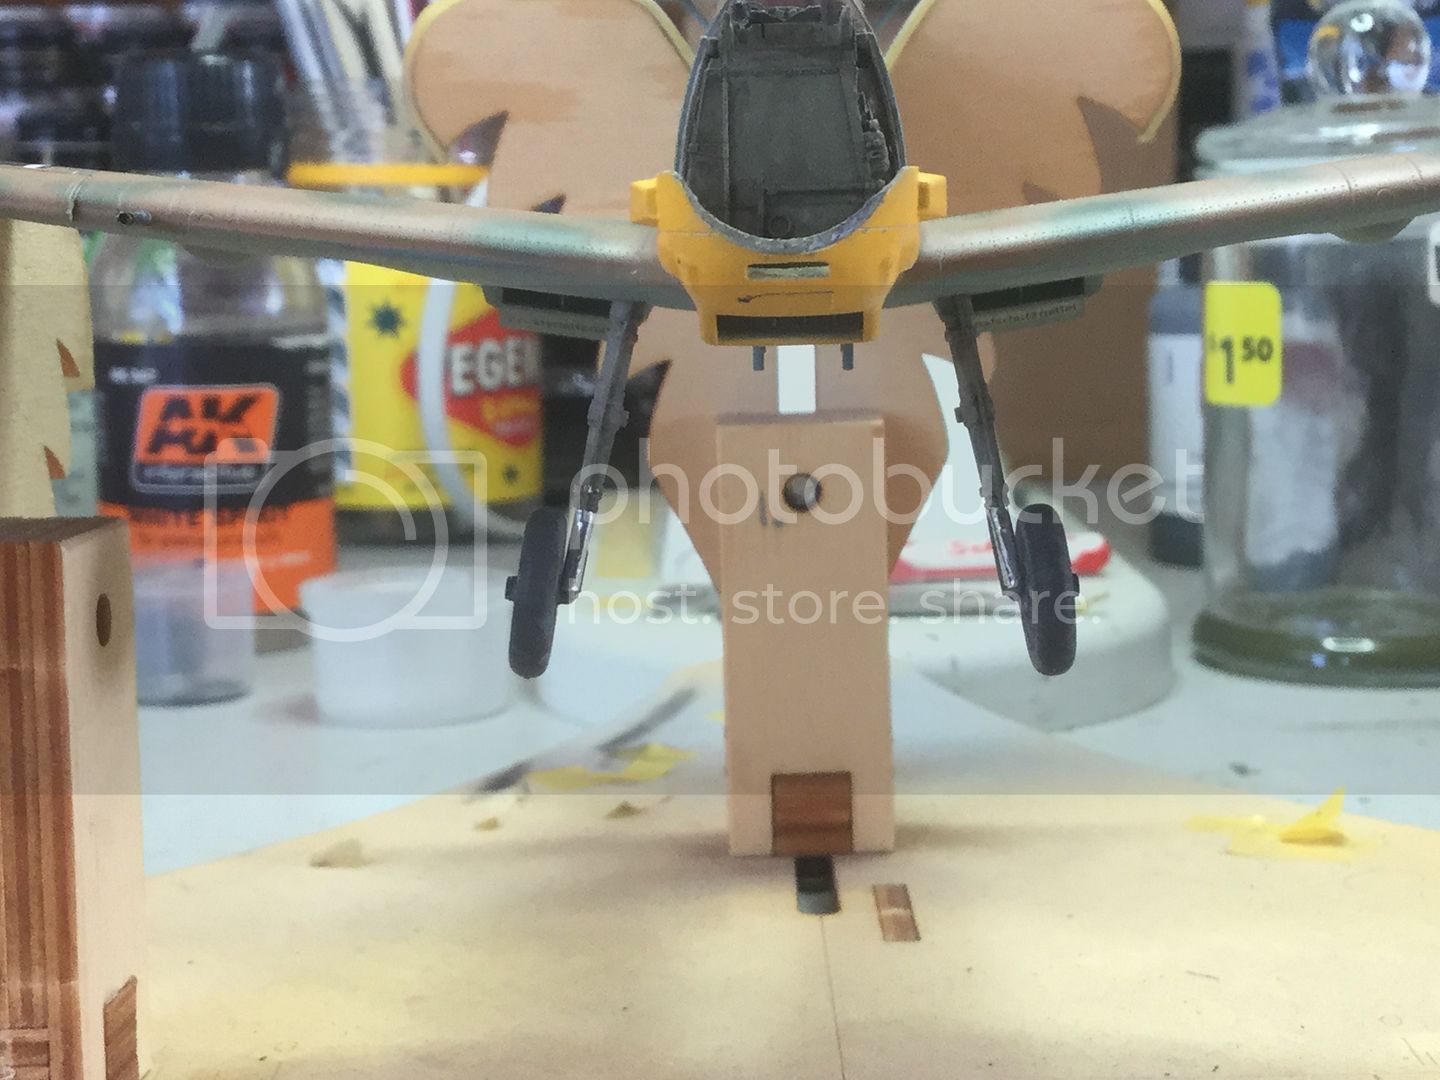
Next the RLM 79 followed by the RLM 80 splotches and some more plastic sticking!
Regards,
Pre-Flight Check
Constructive critique of your finished or in-progress photos.
Hosted by Jim Starkweather
1/48 Eduard Bf 109E-7 Trop. Libya, 1941
kahunaminor
New South Wales, Australia
Joined: April 06, 2008
KitMaker: 151 posts
AeroScale: 141 posts
Joined: April 06, 2008
KitMaker: 151 posts
AeroScale: 141 posts
Posted: Sunday, December 11, 2016 - 02:20 PM UTC
kahunaminor
New South Wales, Australia
Joined: April 06, 2008
KitMaker: 151 posts
AeroScale: 141 posts
Joined: April 06, 2008
KitMaker: 151 posts
AeroScale: 141 posts
Posted: Wednesday, December 14, 2016 - 01:02 PM UTC
Welcome back,
After a couple of stinking hot days with no chance to hit the bench, I got down adding a little more paint. Aeromaster Warbirds RLM 79 masked, sprayed and uncovered!:
The rudder and cowling are just sat in place:
The tail wheel pinned and masked with liquid and tape:
I can see from the pictures there is a little remedial work on the lower front canopy to fuselage join (particularly the port side) and some re riveting to be tidied up on the starboard side. Next is the RLM 80 splotches followed by gloss coat, decals etc. I hope to have the main construction and painting, decaling etc. finished early next week, before continuing on with the engine area as a final assembly.
Regards,
Antilles
Nordrhein-Westfalen, Germany
Joined: March 22, 2015
KitMaker: 671 posts
AeroScale: 614 posts
Joined: March 22, 2015
KitMaker: 671 posts
AeroScale: 614 posts
Posted: Wednesday, December 14, 2016 - 07:22 PM UTC
Hi Kent,
Your Emil looks already very nicely detailed. And paint job looks flawless. Keep on posting!
Oliver
Your Emil looks already very nicely detailed. And paint job looks flawless. Keep on posting!
Oliver
kahunaminor
New South Wales, Australia
Joined: April 06, 2008
KitMaker: 151 posts
AeroScale: 141 posts
Joined: April 06, 2008
KitMaker: 151 posts
AeroScale: 141 posts
Posted: Saturday, December 17, 2016 - 02:01 PM UTC
kahunaminor
New South Wales, Australia
Joined: April 06, 2008
KitMaker: 151 posts
AeroScale: 141 posts
Joined: April 06, 2008
KitMaker: 151 posts
AeroScale: 141 posts
Posted: Friday, December 23, 2016 - 04:07 AM UTC
Two steps forward, one step back. The MLG and tail wheel are on:
The fuselage camouflage wasn't sitting right with me so I resprayed and masked the RLM 78 and 79. I alluded to using tape to mask the markings. These pieces are more of a "rough guide" just to give me a reference when I re-shoot the RLM 80:
The prop is completed as are the MLG wheels. The slats have been repositioned to their final resting places:
I have also also repaired the tail antenna mast which was damaged somewhere along the way:
Once I am happy with the RLM 80, everything including sub assemblies will get a gloss coat for decals and washes. This sudden and unexpected (yeah, right!) outburst of OCD probably means I will miss completion before Xmas but it still might make the cut for 2016.
Regards and a Merry Xmas to all,
Antilles
Nordrhein-Westfalen, Germany
Joined: March 22, 2015
KitMaker: 671 posts
AeroScale: 614 posts
Joined: March 22, 2015
KitMaker: 671 posts
AeroScale: 614 posts
Posted: Friday, December 23, 2016 - 04:30 AM UTC
Hi Kent,
don't mind about any time-line for Your build. I think it looks very promising and I really enjoy Your built thread.
I wish You a merry Xmas as well!
Oliver
don't mind about any time-line for Your build. I think it looks very promising and I really enjoy Your built thread.
I wish You a merry Xmas as well!
Oliver
kahunaminor
New South Wales, Australia
Joined: April 06, 2008
KitMaker: 151 posts
AeroScale: 141 posts
Joined: April 06, 2008
KitMaker: 151 posts
AeroScale: 141 posts
Posted: Friday, December 23, 2016 - 03:34 PM UTC
Quoted Text
Hi Kent,
don't mind about any time-line for Your build. I think it looks very promising and I really enjoy Your built thread.
I wish You a merry Xmas as well!
Oliver
Many thanks Oliver and Frohe Weihnachten,
The deadline was because it was for a GB over on Britmodeller that ends 25 December. Close but not quite close enough!
Regards,
kahunaminor
New South Wales, Australia
Joined: April 06, 2008
KitMaker: 151 posts
AeroScale: 141 posts
Joined: April 06, 2008
KitMaker: 151 posts
AeroScale: 141 posts
Posted: Saturday, December 31, 2016 - 10:12 AM UTC
Happy 2017 one and all,
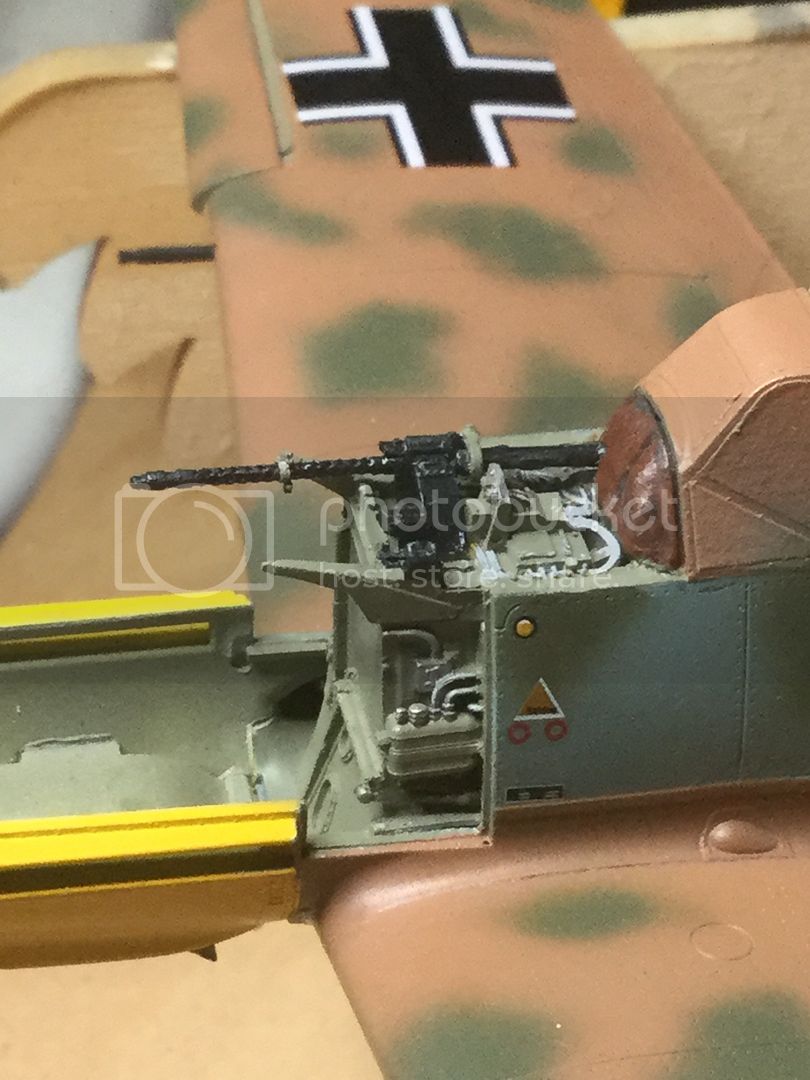
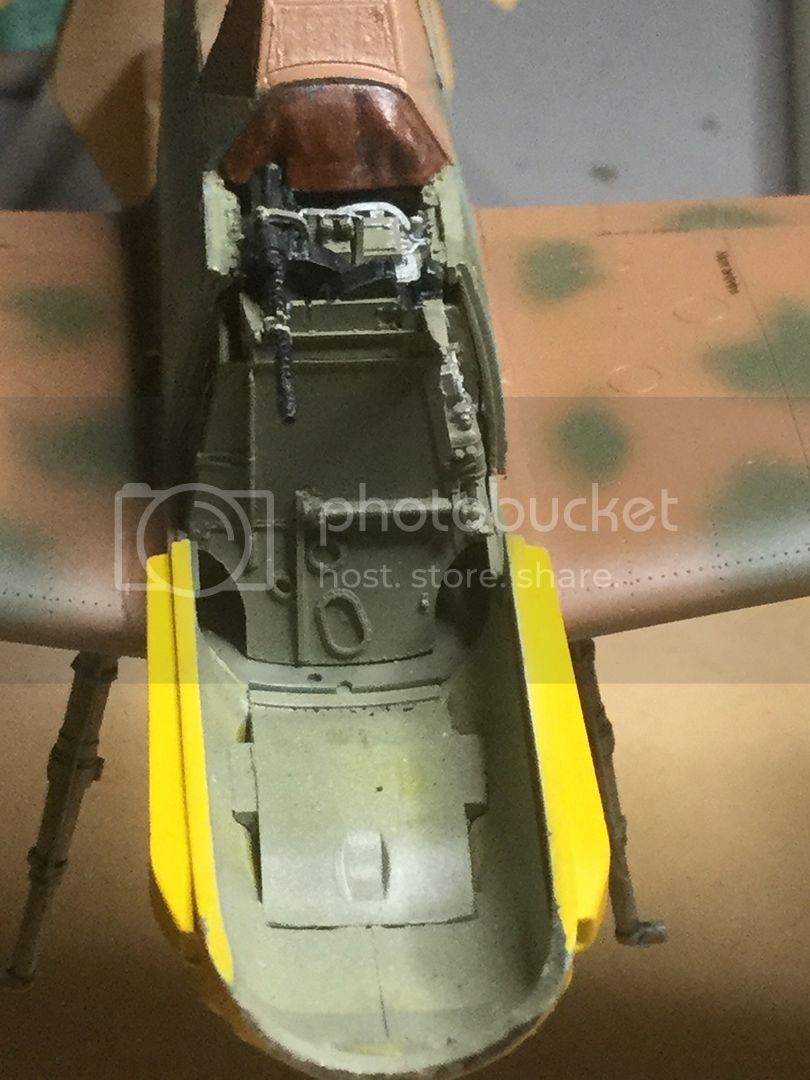
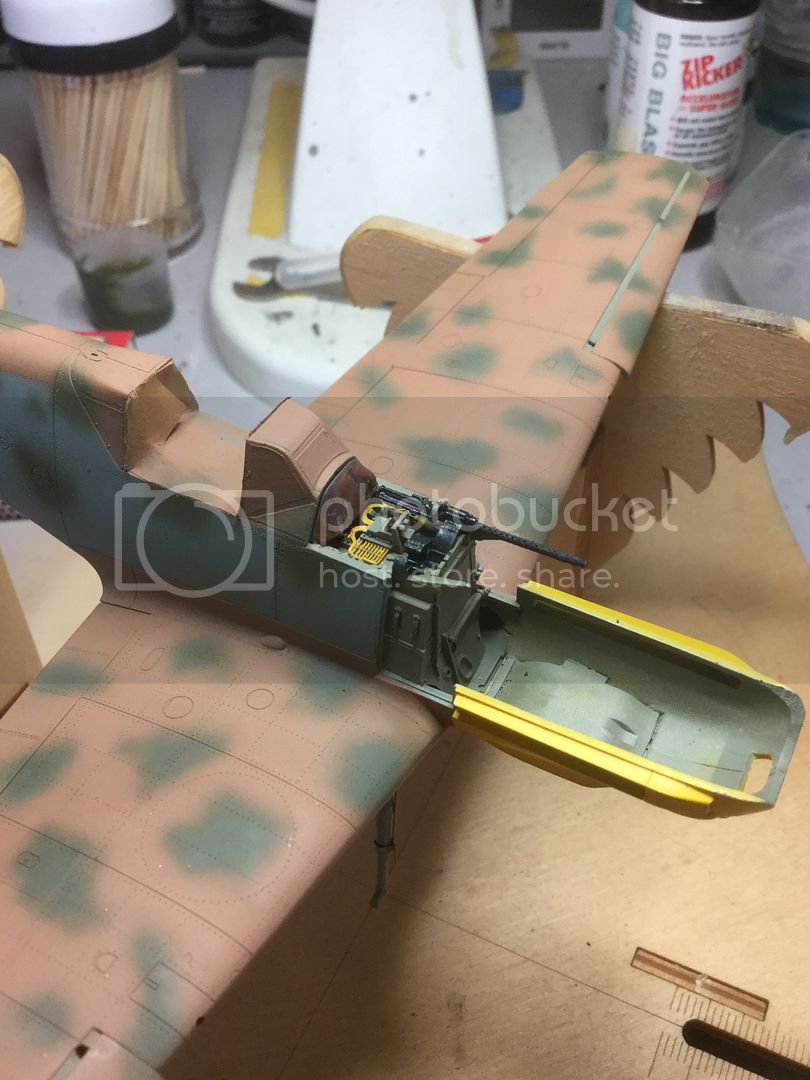
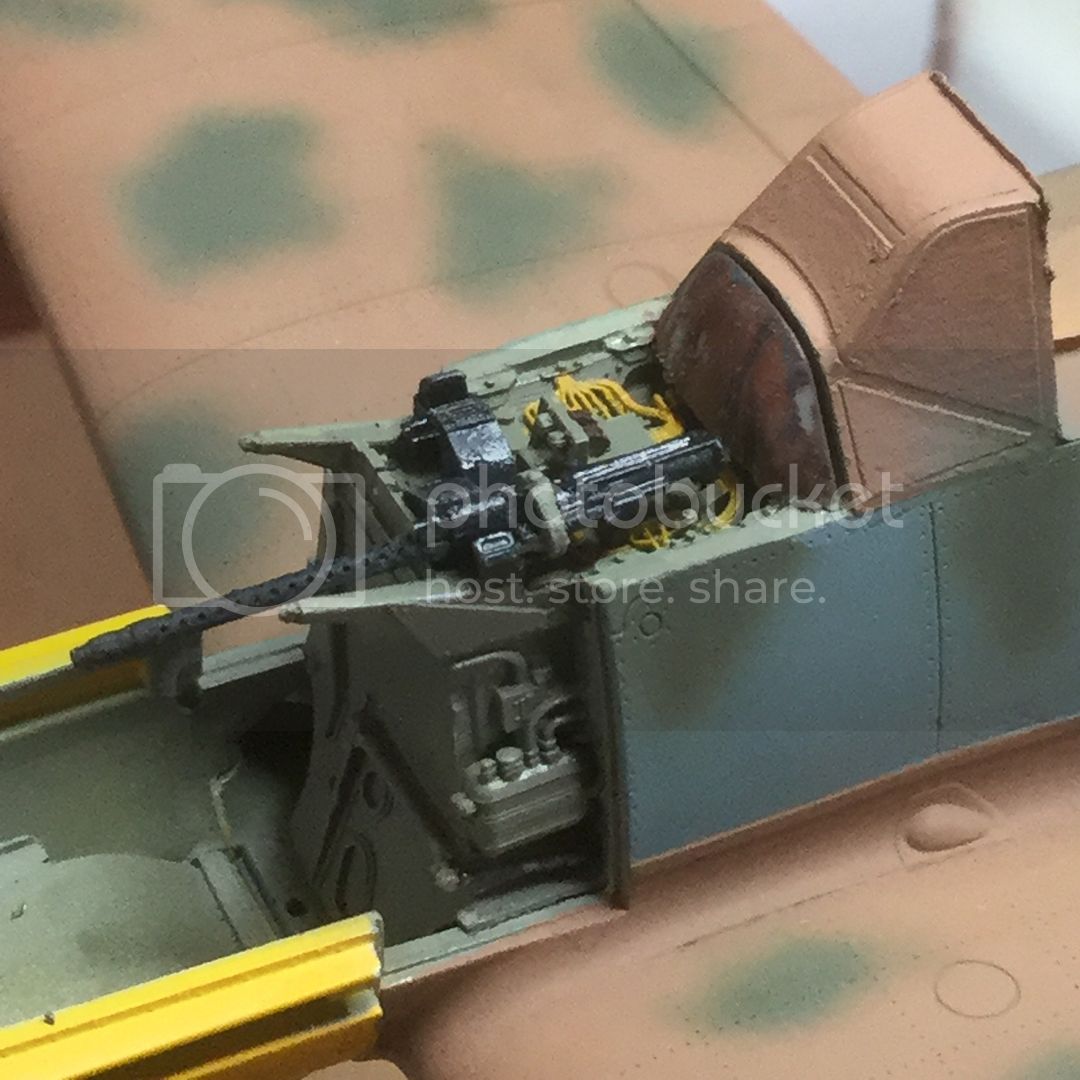
I think I have FINALLY got the RLM 80 splotches to the point I am happy with it! Moving on has been bits and pieces in preparation for the gloss coat. I have detailed the MG17 gun bay and a test fit of the MG 17 showed the port one was fine but the starboard one would not seat properly, being about 1 mm too far forward. The rear end of the MG fouls the instrument covering and I will need to carve a "groove" or fold in the material to allow the MG to sit properly:
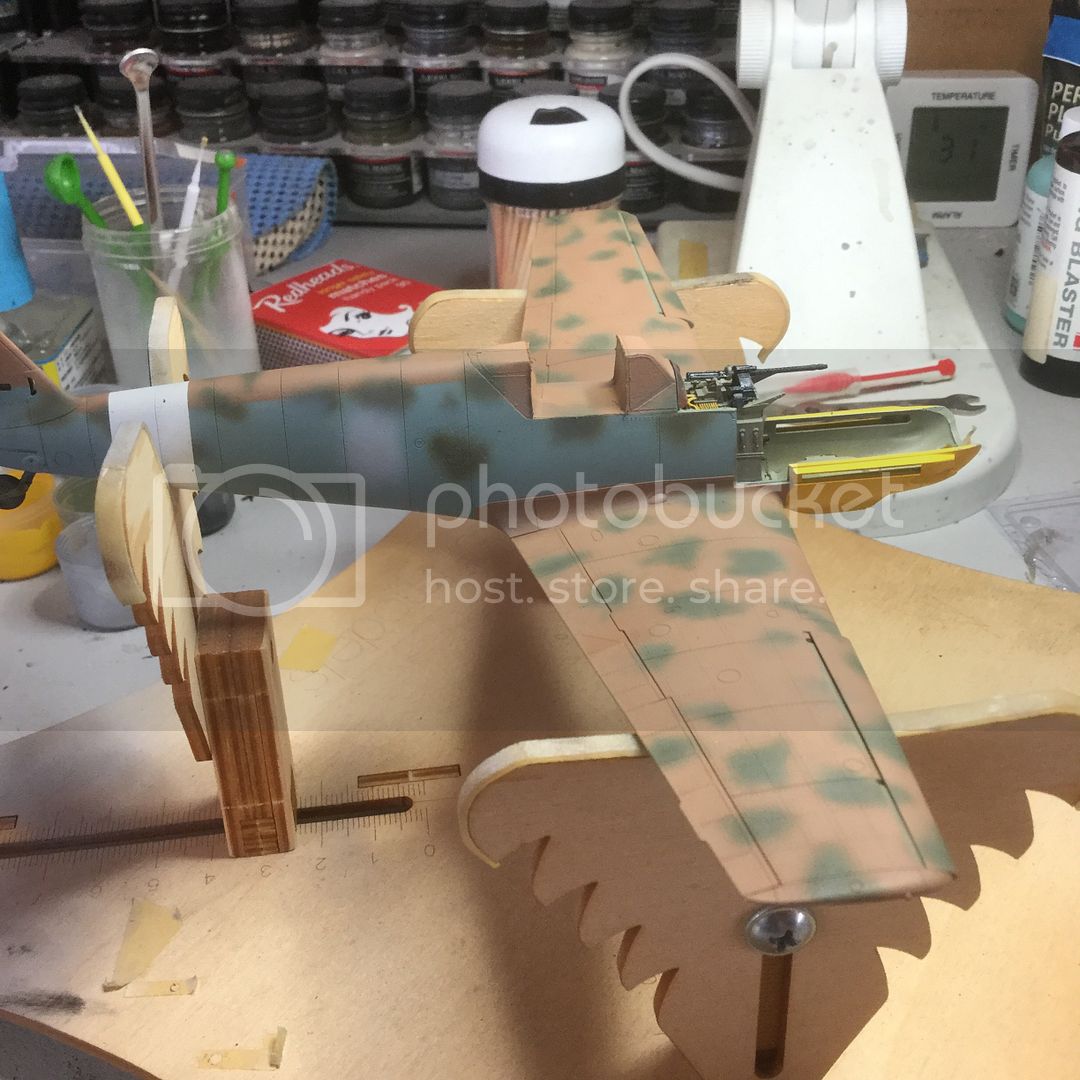
The splotches of what I take to be RLM 63 light grey on either side of the fuselage have also been added:
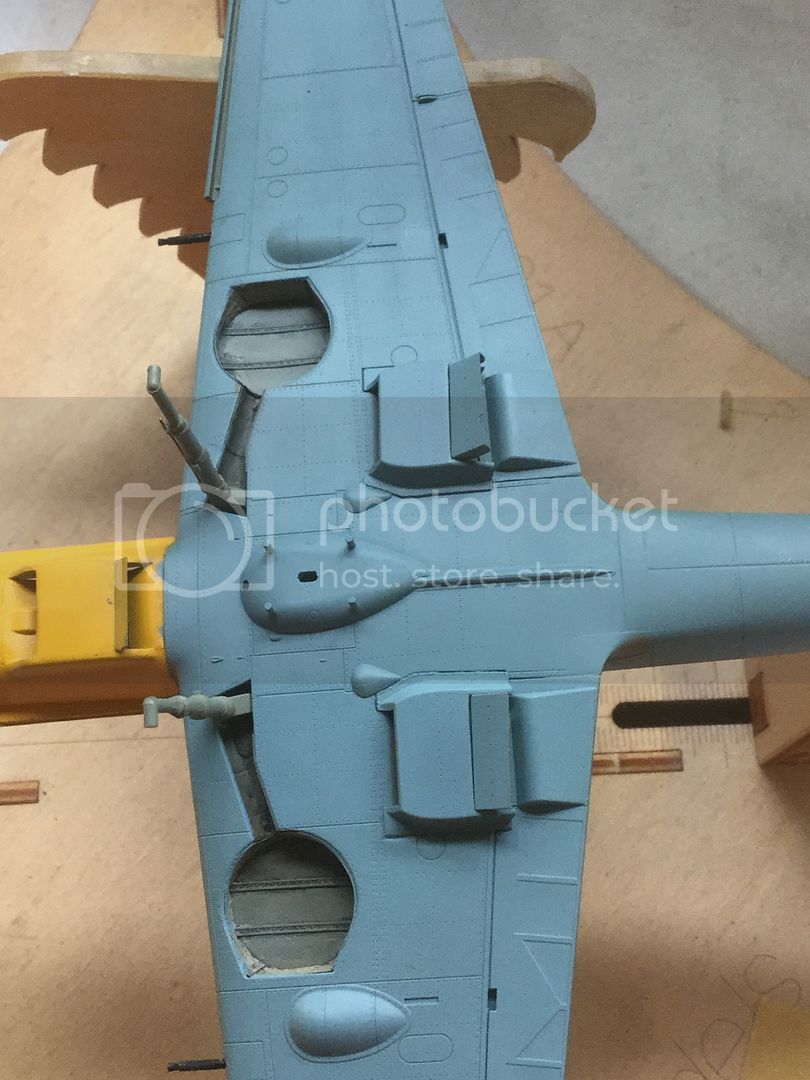
My attention then turned to the underside, with the PE radiator and oil cooler flaps added their respective positions:
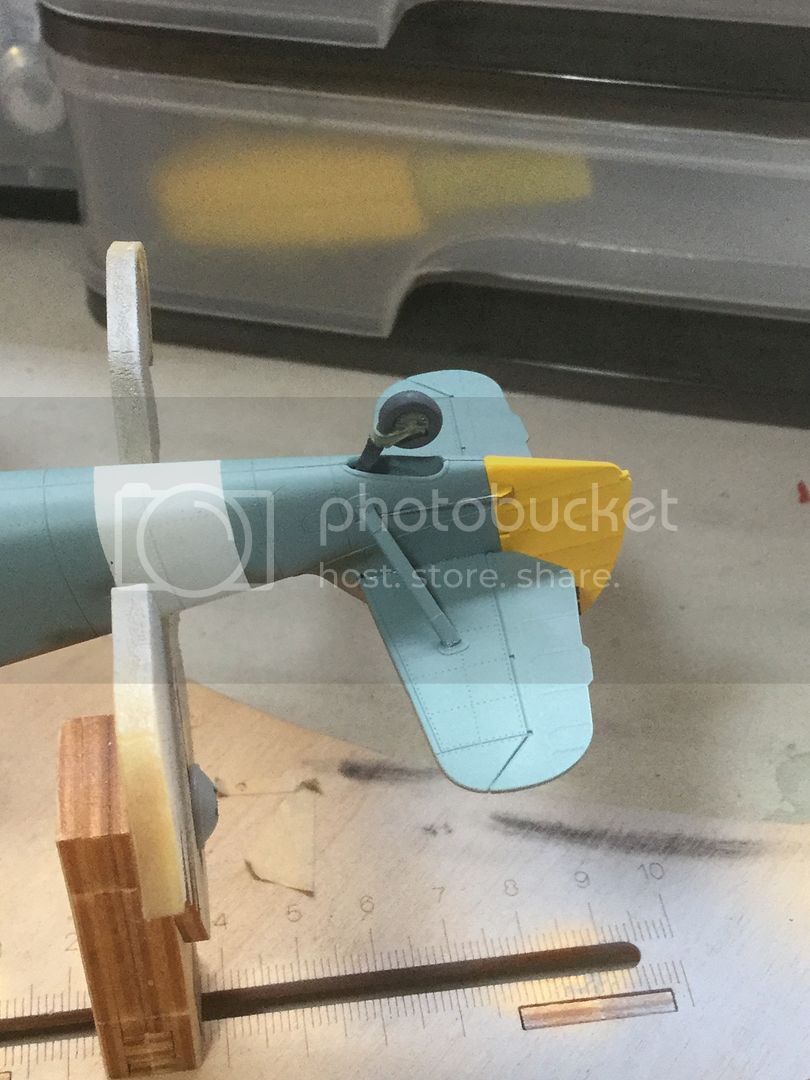
The rudder control wires and guide horns, horizontal stabilisers and supports were added in that order and fixed in position after ensuring they were true:
Lastly, the MGFF barrels were inserted in their openings and set to their correct protruding length using the handy scale plan that comes in the Master Barrel set. The antenna mast was then set into position atop the rear cockpit:
Now I think I am ready for gloss coating!
Regards,
I think I have FINALLY got the RLM 80 splotches to the point I am happy with it! Moving on has been bits and pieces in preparation for the gloss coat. I have detailed the MG17 gun bay and a test fit of the MG 17 showed the port one was fine but the starboard one would not seat properly, being about 1 mm too far forward. The rear end of the MG fouls the instrument covering and I will need to carve a "groove" or fold in the material to allow the MG to sit properly:
The splotches of what I take to be RLM 63 light grey on either side of the fuselage have also been added:
My attention then turned to the underside, with the PE radiator and oil cooler flaps added their respective positions:
The rudder control wires and guide horns, horizontal stabilisers and supports were added in that order and fixed in position after ensuring they were true:
Lastly, the MGFF barrels were inserted in their openings and set to their correct protruding length using the handy scale plan that comes in the Master Barrel set. The antenna mast was then set into position atop the rear cockpit:
Now I think I am ready for gloss coating!
Regards,
kahunaminor
New South Wales, Australia
Joined: April 06, 2008
KitMaker: 151 posts
AeroScale: 141 posts
Joined: April 06, 2008
KitMaker: 151 posts
AeroScale: 141 posts
Posted: Wednesday, January 04, 2017 - 11:28 AM UTC
Antilles
Nordrhein-Westfalen, Germany
Joined: March 22, 2015
KitMaker: 671 posts
AeroScale: 614 posts
Joined: March 22, 2015
KitMaker: 671 posts
AeroScale: 614 posts
Posted: Thursday, January 05, 2017 - 02:30 AM UTC
Hi Kent!
Very nice progress on Your 109. The decals went down really well. I am astonished how good the rivets can be seen through the decal on the cowling!
Looking forward to see more of Your fantastic built.
Oliver
Very nice progress on Your 109. The decals went down really well. I am astonished how good the rivets can be seen through the decal on the cowling!
Looking forward to see more of Your fantastic built.
Oliver
kahunaminor
New South Wales, Australia
Joined: April 06, 2008
KitMaker: 151 posts
AeroScale: 141 posts
Joined: April 06, 2008
KitMaker: 151 posts
AeroScale: 141 posts
Posted: Thursday, January 12, 2017 - 07:48 AM UTC
Thanks matey,
99% of the stencils applied. I still have to paint the red trim tabs and add their stencils. As the aircraft were repainted for the MTO, I have not added the red no walk lines on the wings, as they do not appear in photos of MTO 109's that I have seen, but the "nicht betreten" stencils may or may not have been repainted:
The removed panels have had the "Zu" marking added. These will be open and some CMK PE latches employed to portray the latches. The material inside the latch points will be removed so the red lines will still be on either side:
Fuel tank and propellor markings:
I have started looking more closely at the engine. The spark plug cables have a solid piece where they should be open. I have drilled the greater part of the gap (I will have to replace a couple of wires). I may just bite the bullet, remove them all and use lead wire:
All the decals performed perfectly, laying down with minimal fuss and bother (not of my own making).
Thanks for looking and Regards,
kahunaminor
New South Wales, Australia
Joined: April 06, 2008
KitMaker: 151 posts
AeroScale: 141 posts
Joined: April 06, 2008
KitMaker: 151 posts
AeroScale: 141 posts
Posted: Thursday, January 19, 2017 - 03:36 PM UTC
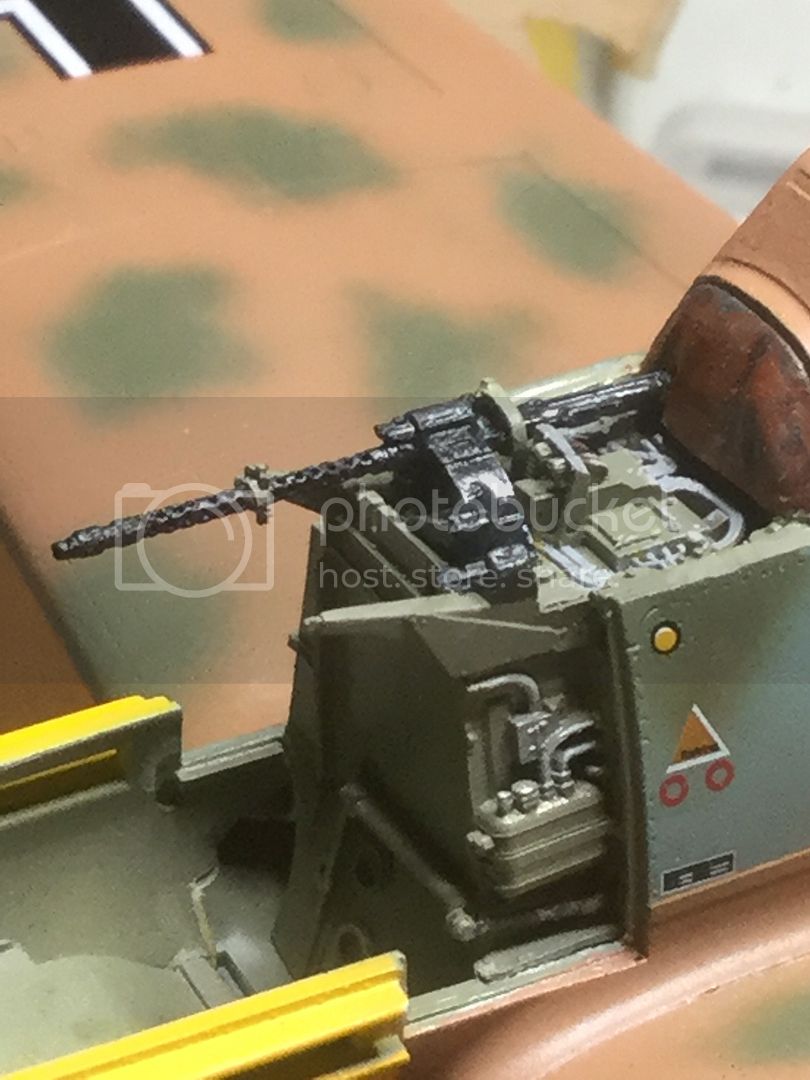
Still progressing. The starboard MG 17 was too long when fitted into its cradle, well to be more correct the forward IP cover was too far forward. A little surgery on the resin in an attempt to make it look like a fold in the leather:
And finally the last stencils added to the trim tabs:
So, the IP cover has been touched up with MM Leather enamel and the starboard fuselage MG 17 is sorted and fixed into position. The gun bay wiring was repainted RLM 63 Lichtgrau, after my references showed the yellow to be incorrect. The forward securing mechanism half way along the barrel is made from a sliver of BMF and PE. It took me the best part of an hour to wrangle the two sets into creation for each MG. This brings me to the port MG. Whilst attempting to fix it into position it fell into the interior of the fuselage, through the hole near the base of the ammunition canisters. I heard it rattle, then the small amount of CA that was on it stuck to something inside and it remains unobtainable. Luckily this was to be a maintenance vignette!
Regards,
Posted: Friday, January 20, 2017 - 04:02 PM UTC
Kent,
I've been very hit or miss here at Aeroscale lately, but I'm glad I found your thread again. Your 109 is looking fabulous!
Gaz
I've been very hit or miss here at Aeroscale lately, but I'm glad I found your thread again. Your 109 is looking fabulous!
Gaz
kahunaminor
New South Wales, Australia
Joined: April 06, 2008
KitMaker: 151 posts
AeroScale: 141 posts
Joined: April 06, 2008
KitMaker: 151 posts
AeroScale: 141 posts
Posted: Wednesday, January 25, 2017 - 02:42 AM UTC
Quoted Text
Kent,
I've been very hit or miss here at Aeroscale lately, but I'm glad I found your thread again. Your 109 is looking fabulous!
Gaz
Thanks Gaz,
Been a bit hit or miss myself. School holidays and two chilli peppers to keep amused cuts into building time. Added to th fact that we just "had" to repainted their room has left me with little time!
Regards,
kahunaminor
New South Wales, Australia
Joined: April 06, 2008
KitMaker: 151 posts
AeroScale: 141 posts
Joined: April 06, 2008
KitMaker: 151 posts
AeroScale: 141 posts
Posted: Sunday, January 29, 2017 - 07:27 AM UTC
Welcome back to those still following on!
Celebrating the kids being back at school with some bench time! The upper areas have had a coat of Flory light dirt (being in the desert). Not too bad a result and some areas (such as oil leaks) will get a darker treatment:
The underside will get its light dirt and some missing PE pieces. The engine is coming along, main colours and some more bits added to it. The replaced spark plug leads do look better but I am also pleased with the non replaced items, carefully painted, they should look okay once the engine is installed. The holes have been drilled to accept more plumbing at a later date:
Regards and thanks,
Posted: Sunday, January 29, 2017 - 12:37 PM UTC
Kent,
I really like the look of this warbird. That last wash just made all the surface detail spring to life.
Gaz
I really like the look of this warbird. That last wash just made all the surface detail spring to life.
Gaz
Antilles
Nordrhein-Westfalen, Germany
Joined: March 22, 2015
KitMaker: 671 posts
AeroScale: 614 posts
Joined: March 22, 2015
KitMaker: 671 posts
AeroScale: 614 posts
Posted: Sunday, January 29, 2017 - 07:50 PM UTC
Kent,
nice progress on Your 109. I have never seen a light wash before but, concerning the dust in the desert You are probably right. In either case it looks really good!
Oliver
nice progress on Your 109. I have never seen a light wash before but, concerning the dust in the desert You are probably right. In either case it looks really good!
Oliver
kahunaminor
New South Wales, Australia
Joined: April 06, 2008
KitMaker: 151 posts
AeroScale: 141 posts
Joined: April 06, 2008
KitMaker: 151 posts
AeroScale: 141 posts
Posted: Monday, January 30, 2017 - 11:28 AM UTC
Thanks Gaz,
It certainly makes a difference. Now the start blending it all in with some weathering!
Regards,
It certainly makes a difference. Now the start blending it all in with some weathering!
Regards,
kahunaminor
New South Wales, Australia
Joined: April 06, 2008
KitMaker: 151 posts
AeroScale: 141 posts
Joined: April 06, 2008
KitMaker: 151 posts
AeroScale: 141 posts
Posted: Monday, January 30, 2017 - 11:34 AM UTC
Quoted Text
Kent,
nice progress on Your 109. I have never seen a light wash before but, concerning the dust in the desert You are probably right. In either case it looks really good!
Oliver
Thanks Oliver,
To be honest, neither have I but logic would suggest it to be so. Yay logic!
Regards,
kahunaminor
New South Wales, Australia
Joined: April 06, 2008
KitMaker: 151 posts
AeroScale: 141 posts
Joined: April 06, 2008
KitMaker: 151 posts
AeroScale: 141 posts
Posted: Friday, February 03, 2017 - 05:23 AM UTC
As I said, some slow progress. The aircraft has now had its Flory light dirt wash applied and removed. AK Interactive Ultra Matte Varnish for a protective top coat. I may have used a little too much thinner and defeated the dullness, so another light coat of less thinned is probably on the cards. The MLG oleos have had their BMF coverings, PE retraction struts and the wheels added. The BMF will be toned down a bit with some dust:
The MLG angles look right from all directions so I am happy with the setup. Brake lines and MLG covers to go followed by some more lower area dirt.
Regards,
The MLG angles look right from all directions so I am happy with the setup. Brake lines and MLG covers to go followed by some more lower area dirt.
Regards,
kahunaminor
New South Wales, Australia
Joined: April 06, 2008
KitMaker: 151 posts
AeroScale: 141 posts
Joined: April 06, 2008
KitMaker: 151 posts
AeroScale: 141 posts
Posted: Sunday, February 05, 2017 - 02:53 AM UTC
For those of you that have been following from the GB, you will know that I previously lost the port MG17 into the bowels of the closed fuselage during the build. The modelling Gods teased me with the sound of it dislodging a couple of days ago and rattling around before restoring silence. The additional sacrifice I offered (in the form of a additional purchase) must have paid off, as it dislodged last night and fell onto my desk. Photos to follow.
kahunaminor
New South Wales, Australia
Joined: April 06, 2008
KitMaker: 151 posts
AeroScale: 141 posts
Joined: April 06, 2008
KitMaker: 151 posts
AeroScale: 141 posts
Posted: Tuesday, February 14, 2017 - 03:32 AM UTC
kahunaminor
New South Wales, Australia
Joined: April 06, 2008
KitMaker: 151 posts
AeroScale: 141 posts
Joined: April 06, 2008
KitMaker: 151 posts
AeroScale: 141 posts
Posted: Tuesday, February 14, 2017 - 07:14 AM UTC
Welcome back,
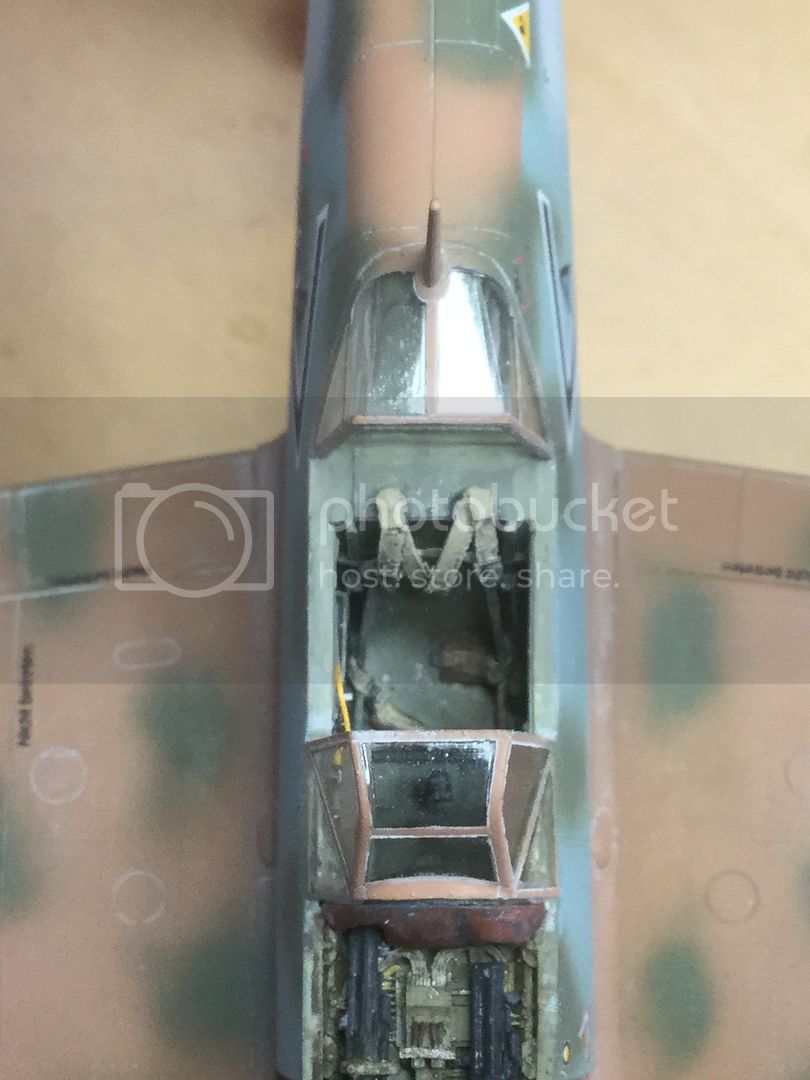
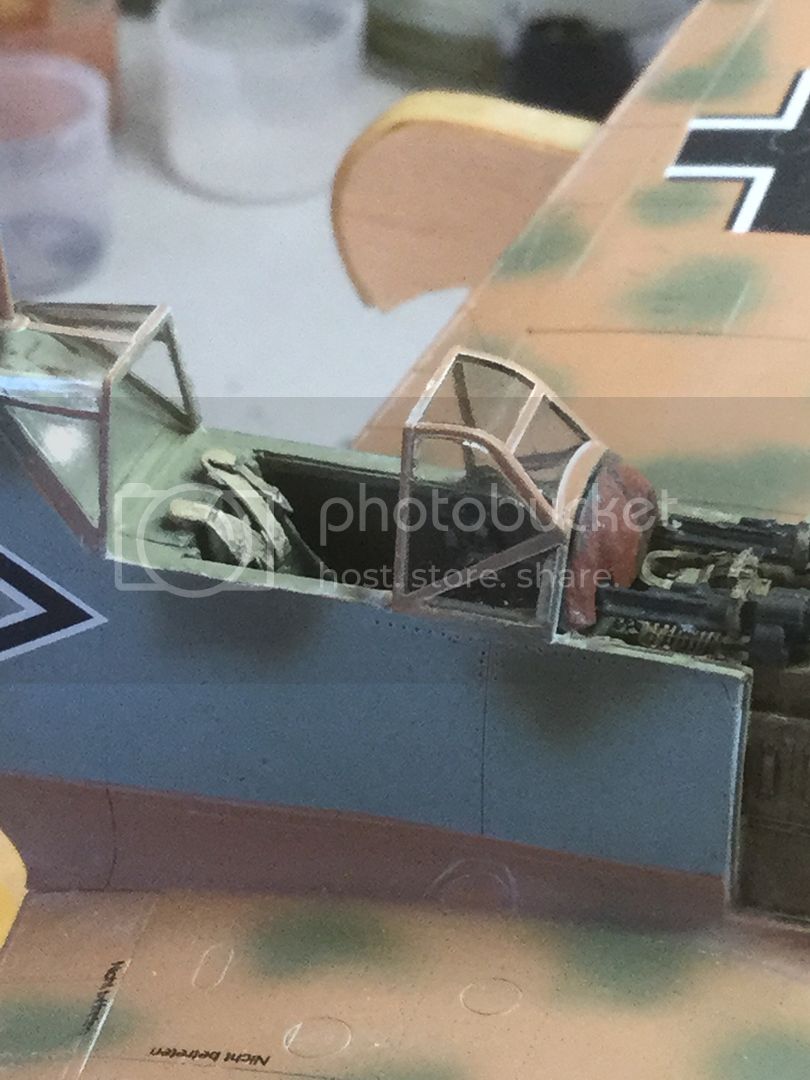
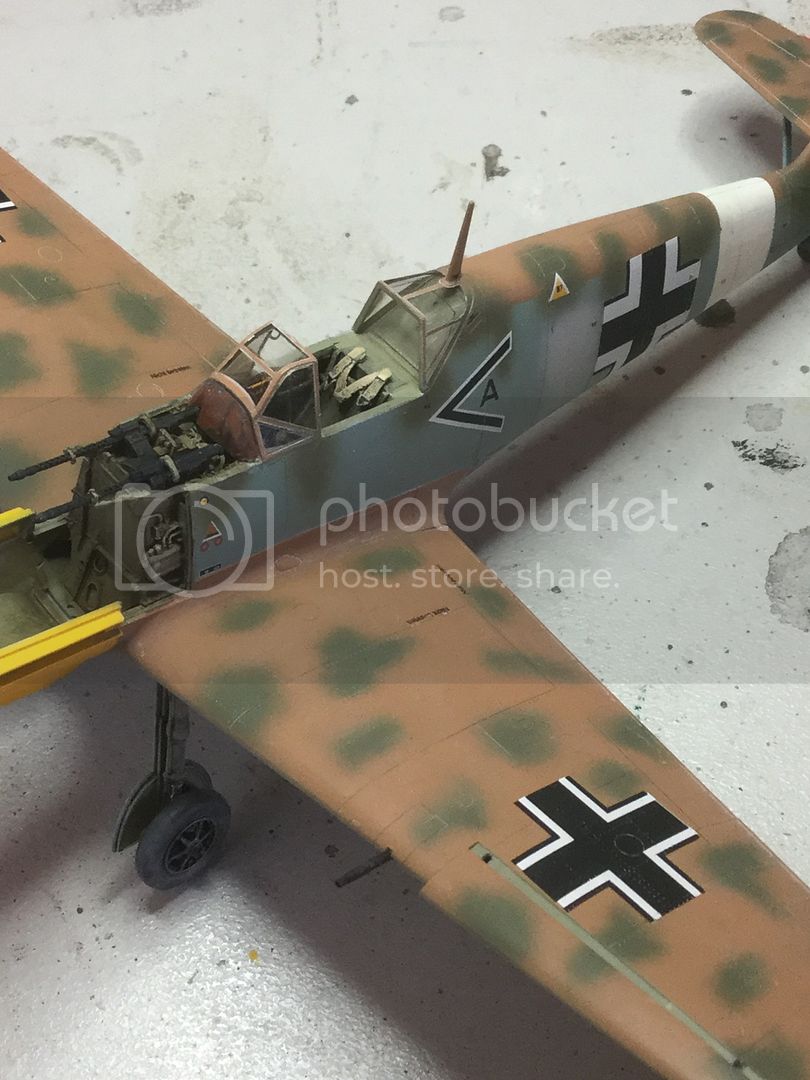
Free of kids and SWMBO, I had a busy morning. Put on another coat of Ultra Matte Varnish, this time thinned about 30/70 instead of 50/50 and got a better flat finish. Then like a kid on Xmas morning the masks came off as I have pretty much finished the airframe. Gunsight and grab handle to go back in the cockpit, hinged canopy armour detail and antenna then onto the engine:
Regards,
kahunaminor
New South Wales, Australia
Joined: April 06, 2008
KitMaker: 151 posts
AeroScale: 141 posts
Joined: April 06, 2008
KitMaker: 151 posts
AeroScale: 141 posts
Posted: Saturday, February 18, 2017 - 08:40 AM UTC
Welcome back,
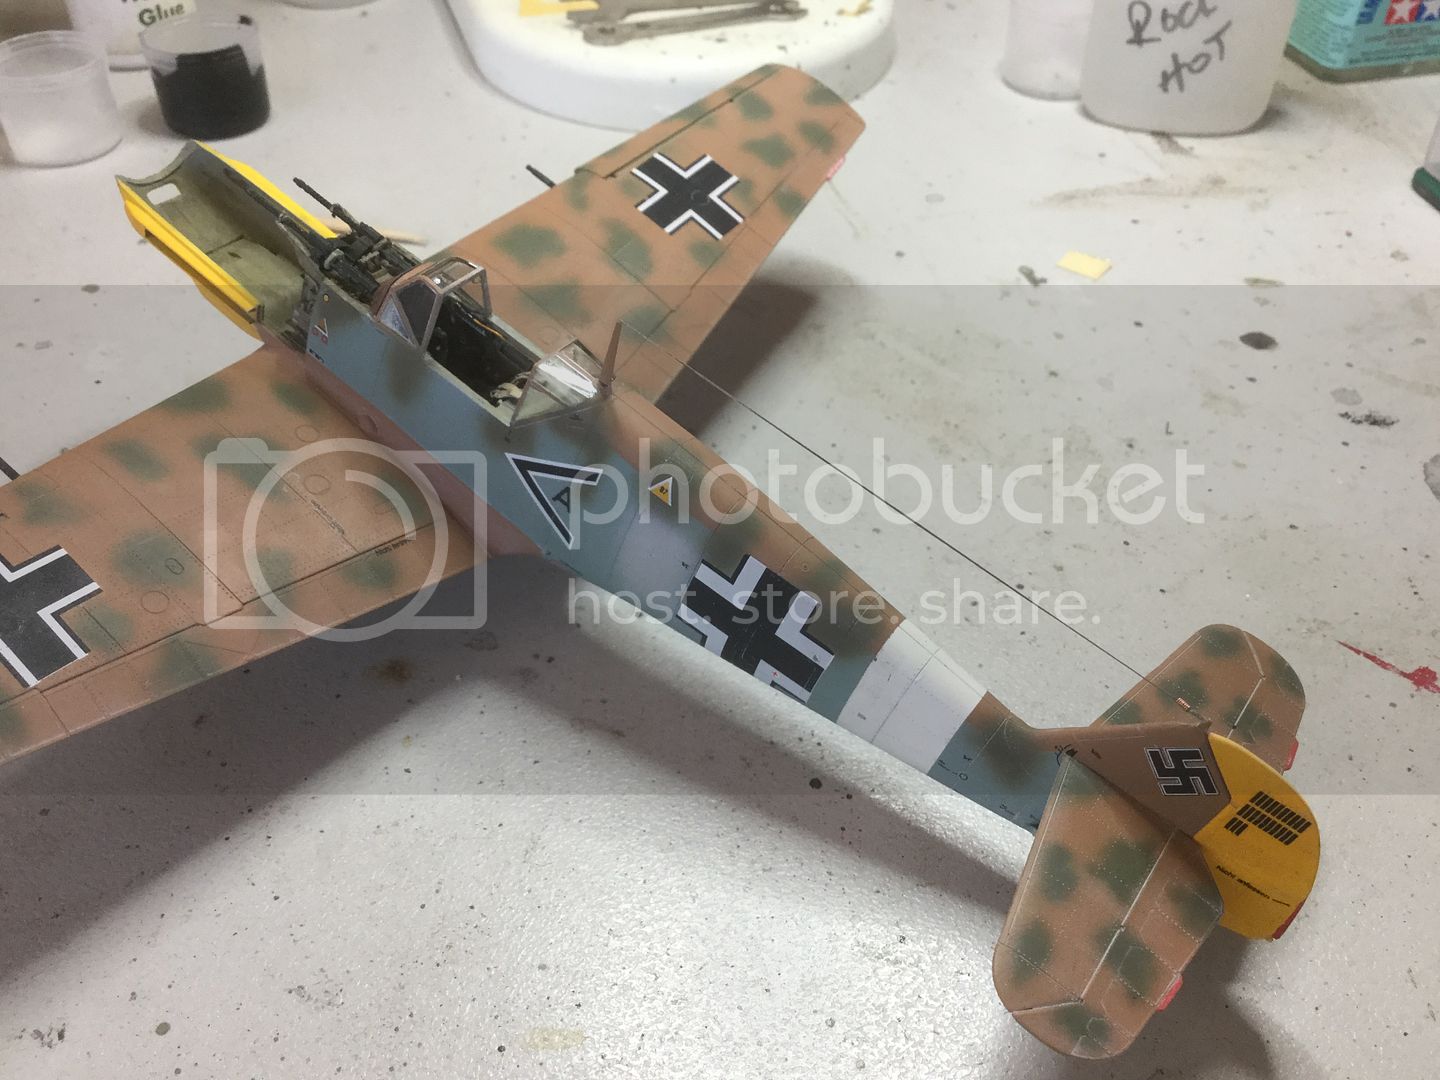
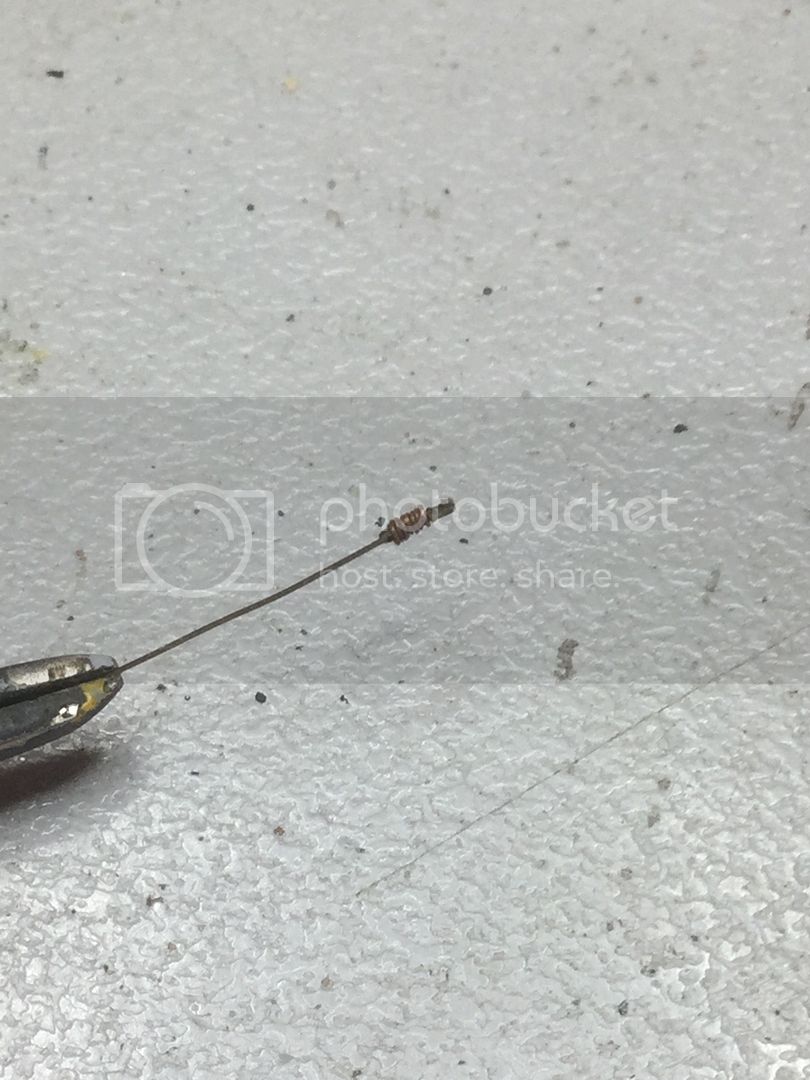
The antenna wire has been added from Ezi line, secured with CA. A loop was made through the thin copper "spring" and the PE piece doubled over through that loop and both sides secured to form the attachment at the tail. The insulators will be added from globs of white glue and painted light grey when dry:
The fuselage insulator was a small piece of 0.05mm styrene rod with a small hole drilled into it. The Ezi line was attached at one end and the rod trimmed to size and affixed to the fuselage with CA. When set the vertical wire was positioned against the horizontal and secured with CA then trimmed:
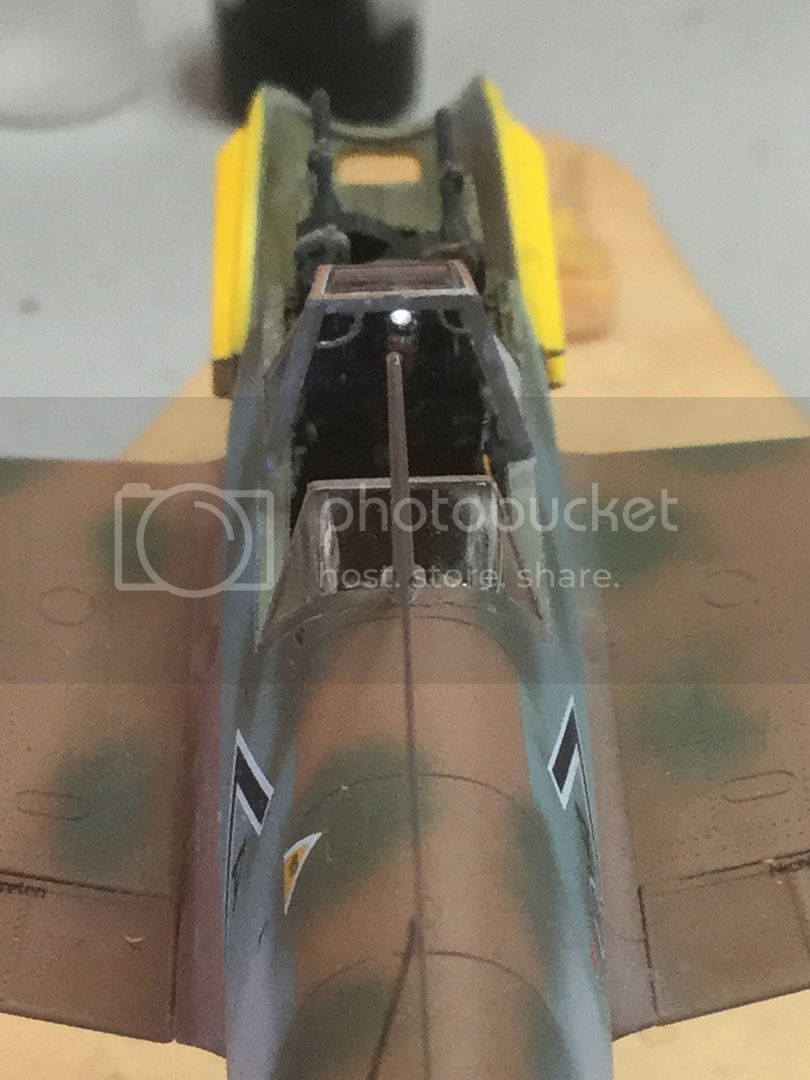
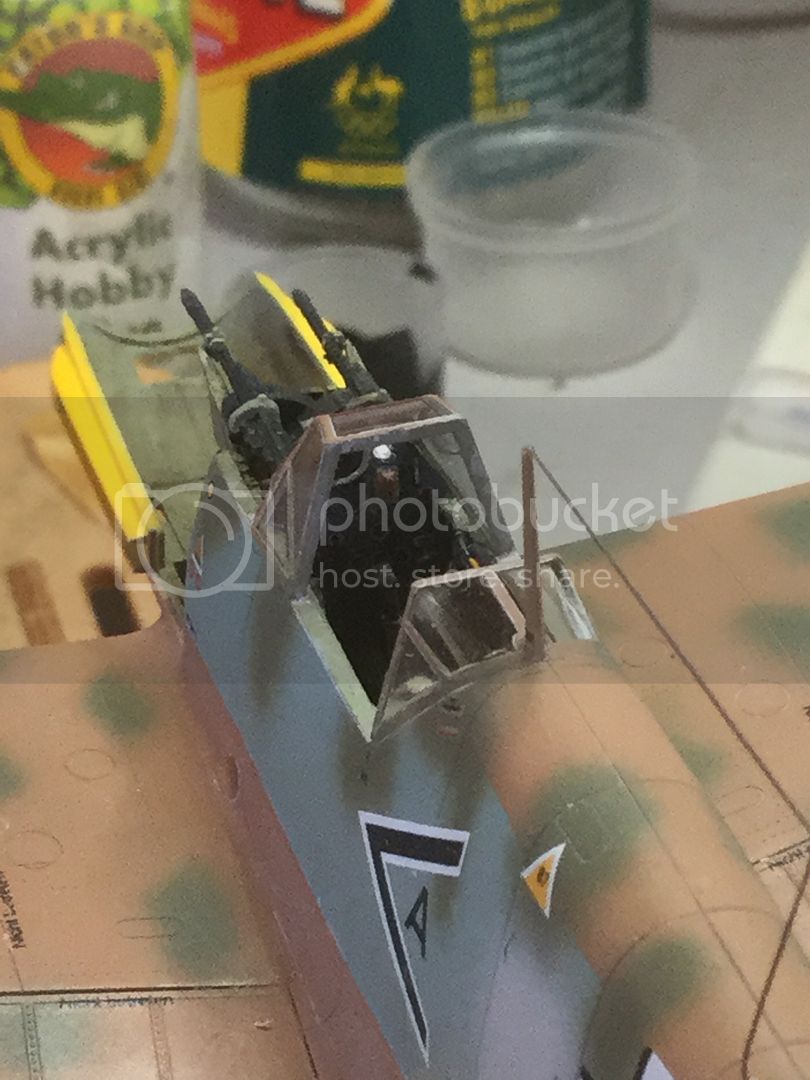
The cockpit has had the gun sight and port grab handle installed and some work done on the open canopy retention strap. I used thin copper wire to "beef up" the PE piece and as a spring for the antenna wire:
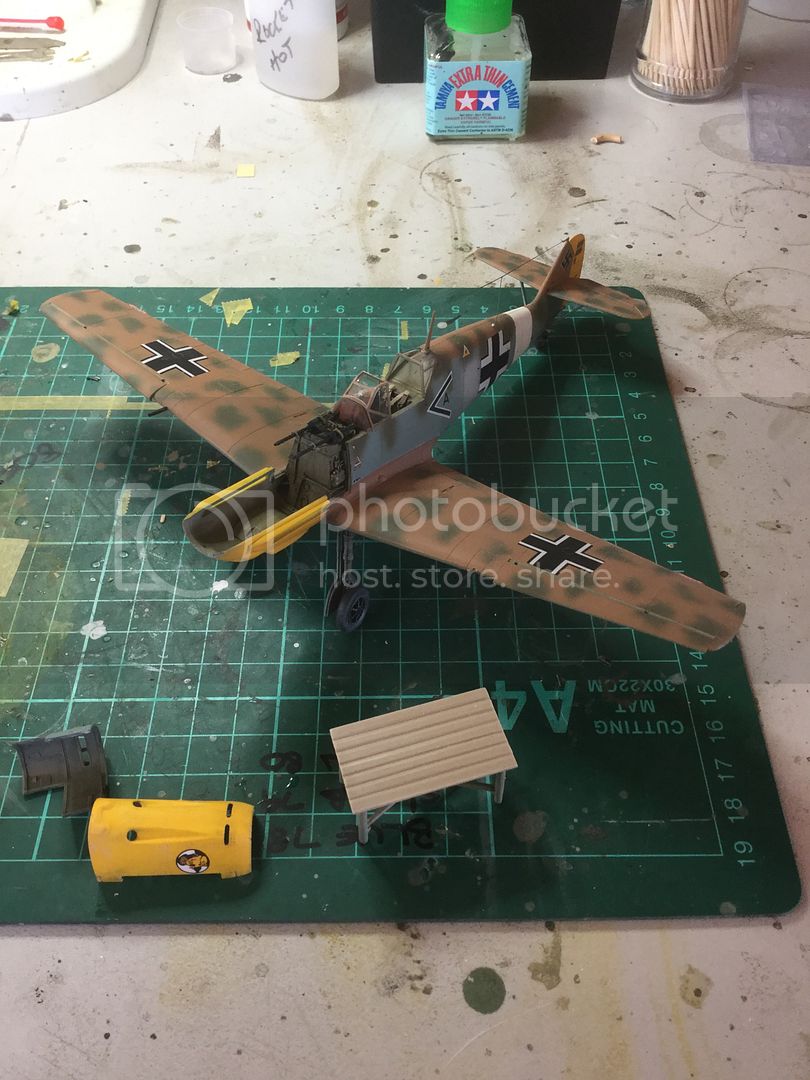
As this build is destined to be a vignette, I have started blocking the scene as well:
Regards,
kahunaminor
New South Wales, Australia
Joined: April 06, 2008
KitMaker: 151 posts
AeroScale: 141 posts
Joined: April 06, 2008
KitMaker: 151 posts
AeroScale: 141 posts
Posted: Tuesday, February 28, 2017 - 10:02 AM UTC
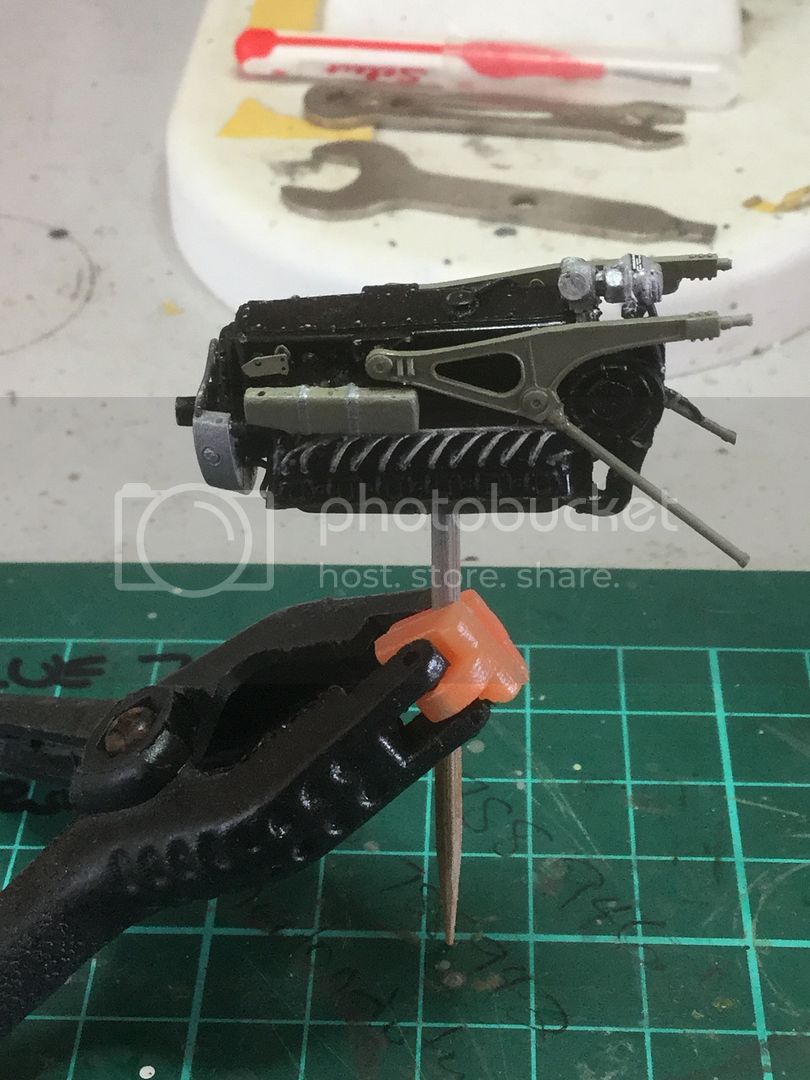
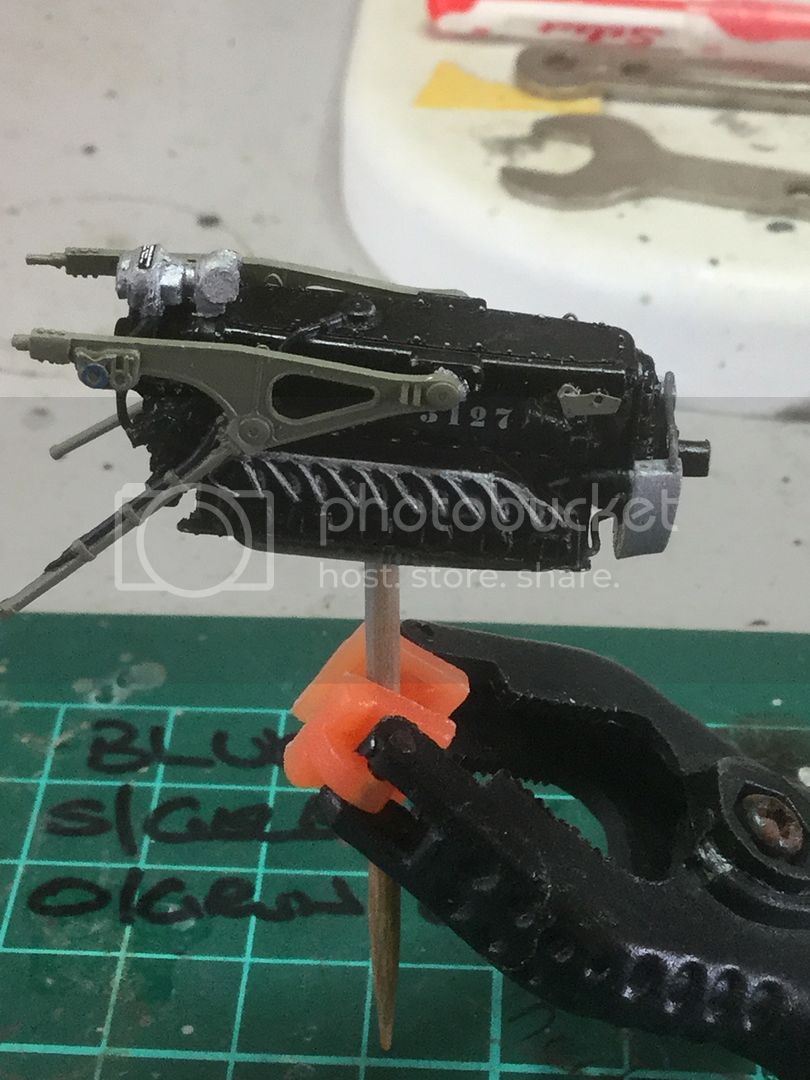
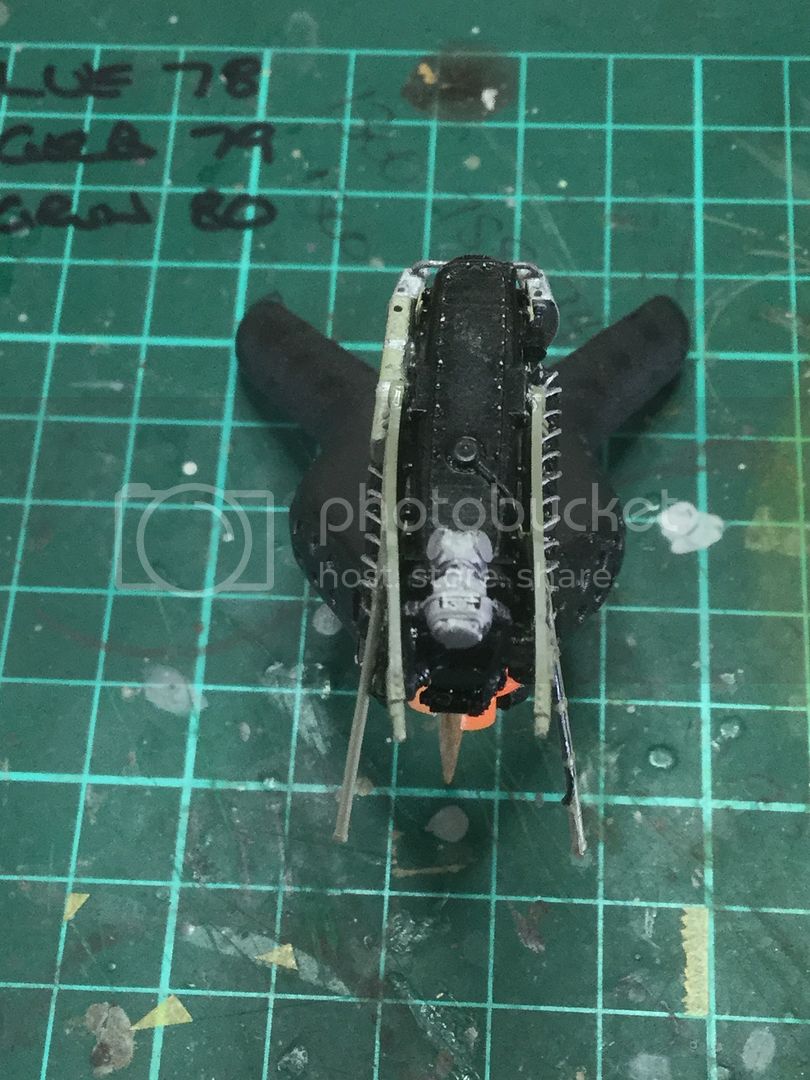
A productive morning. Worked on the engine and canopy of the Bf 109E-7, adding PE and some decals to various places. The support brackets were installed once the engine numbers taken from the kit decals were in place:
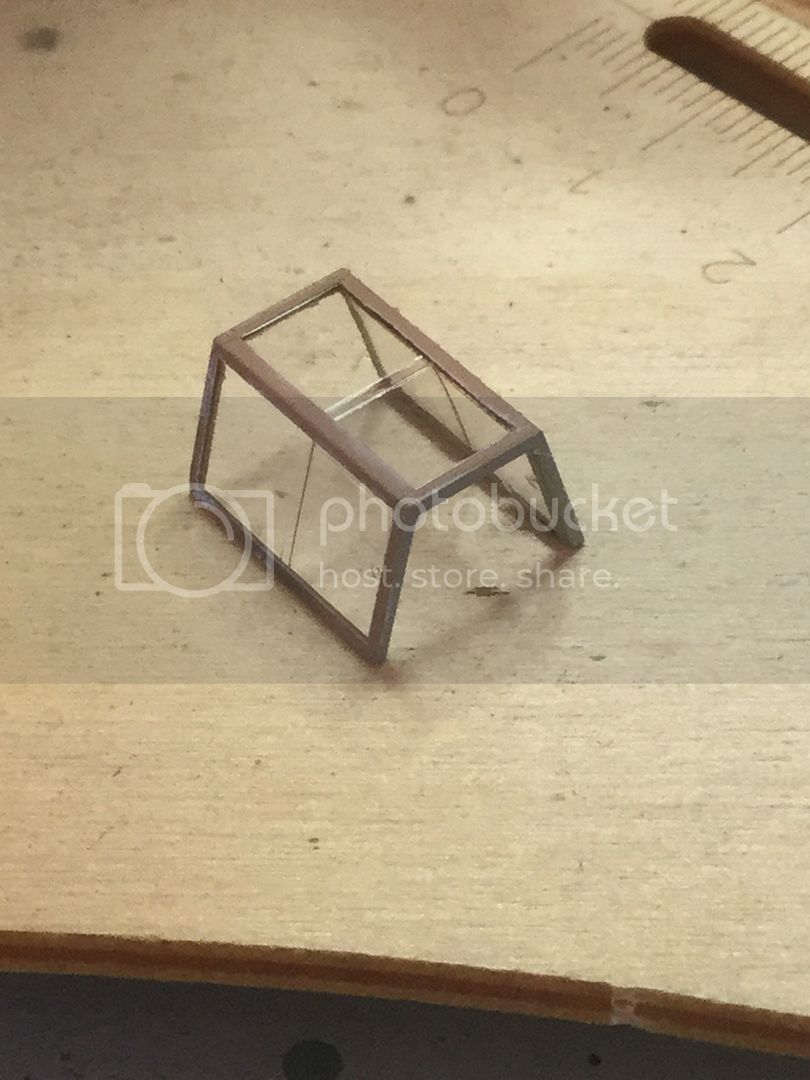
That warped resin will hopefully set correctly once it is installed. The decal is from the Aeroscale LW cockpit placards set. The canopy was next with the armour plating being installed. I had broken one of the tiny upper supports that came with the original, so luckily the PE set had a couple of spares:
I have obtained a photo frame to use as a base for the vignette, but it may be a tad large. I may have to add another component....
Regards,