Brian,
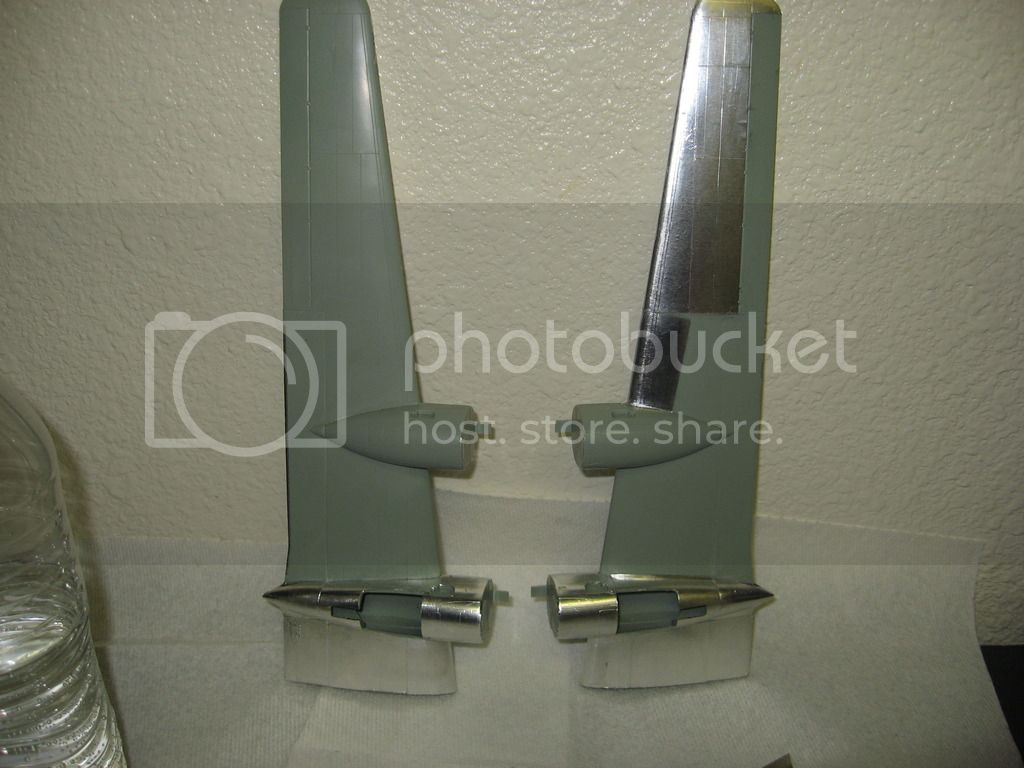
Your foiling really is coming along. I was just wondering how well all those sub assemblies will fit together after the foiling is complete. What happens if you end up with the usual gaps we all face?
Joel
Hosted by Rowan Baylis
Academy's 1/72nd B-29A Build review.
Joel_W

Joined: December 04, 2010
KitMaker: 11,666 posts
AeroScale: 7,410 posts

Posted: Saturday, November 19, 2016 - 04:59 AM UTC
BigfootV

Joined: December 24, 2005
KitMaker: 1,624 posts
AeroScale: 385 posts

Posted: Saturday, November 19, 2016 - 08:24 AM UTC
Hello Joel,
Thanks.
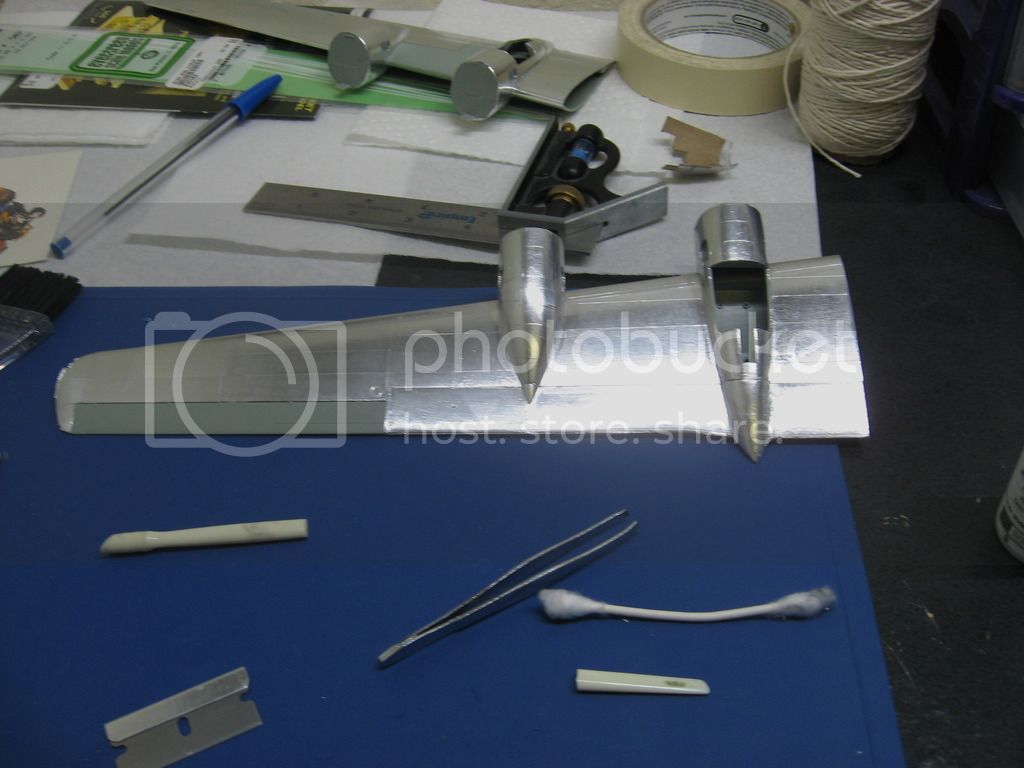
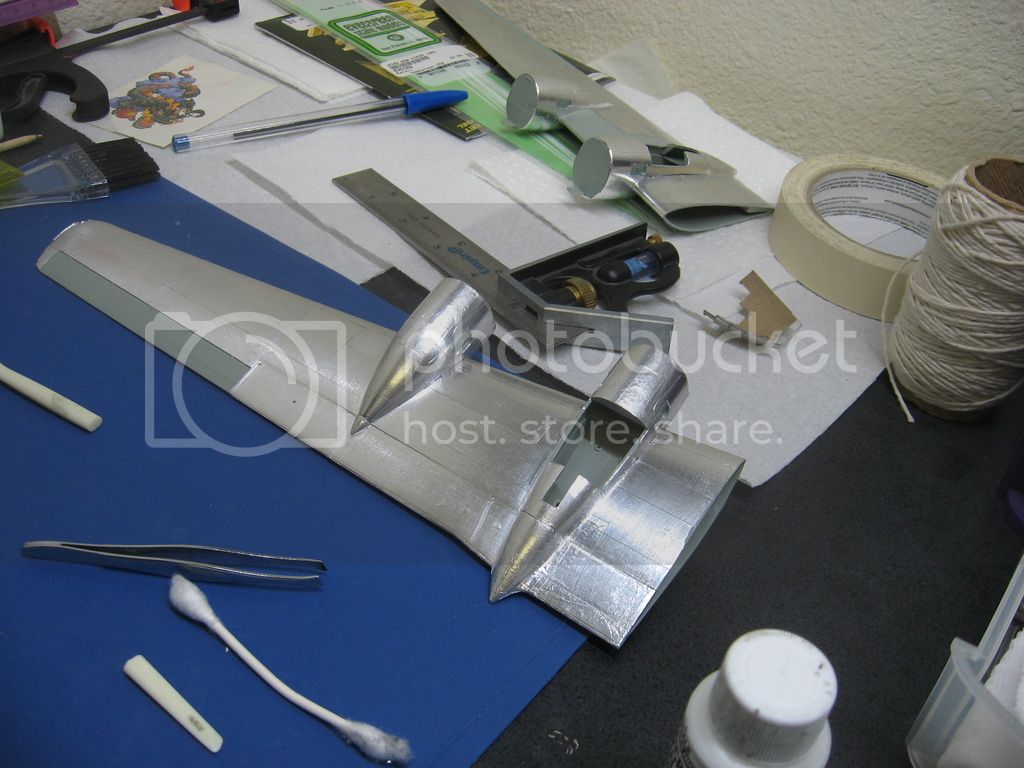
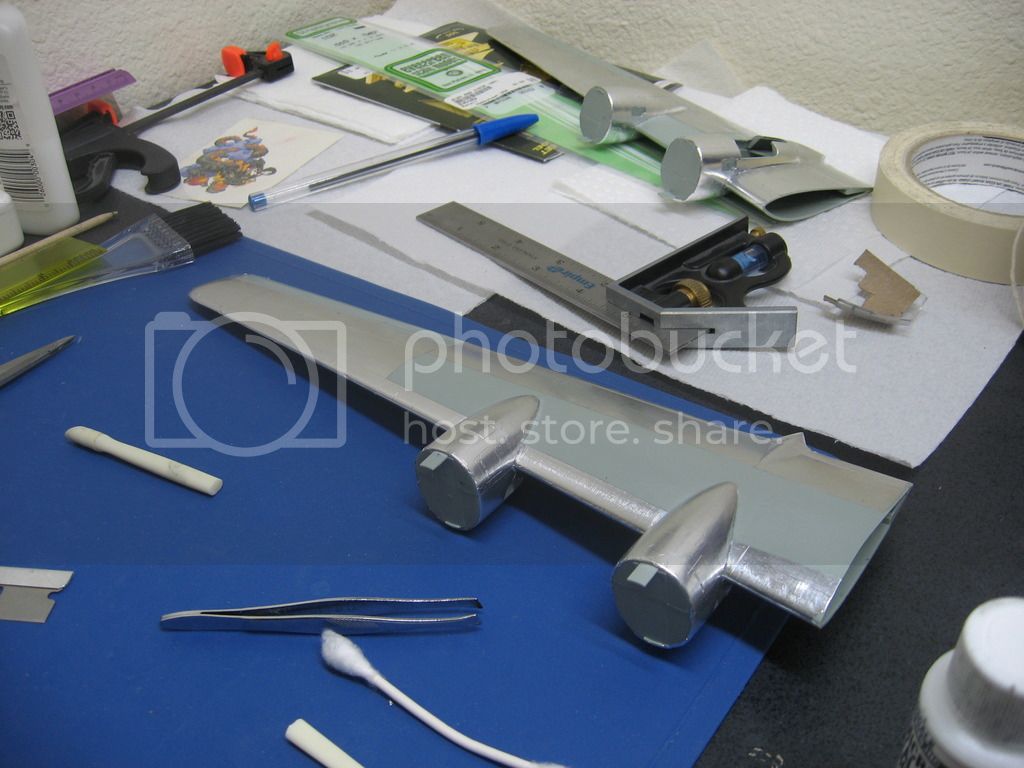
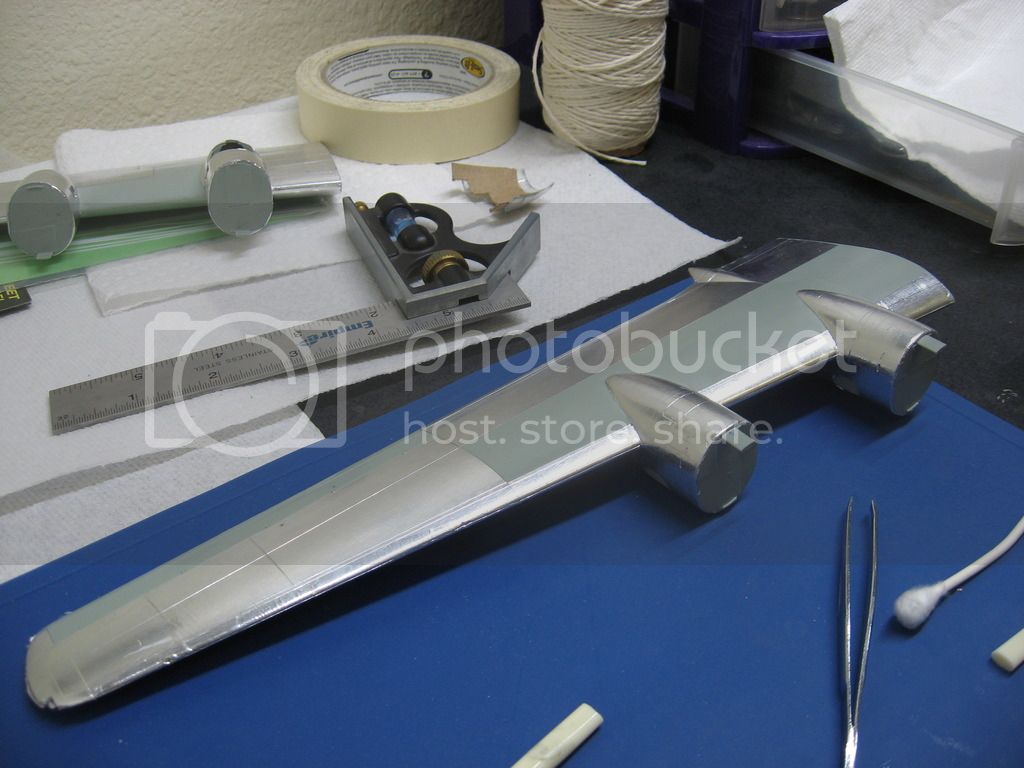
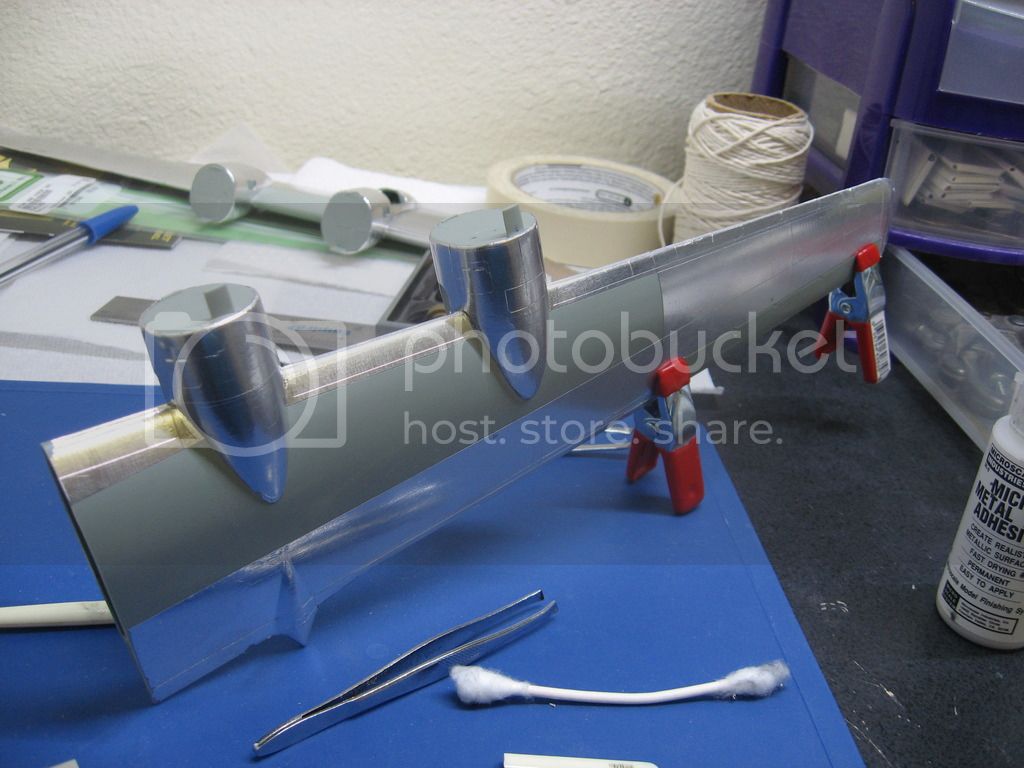
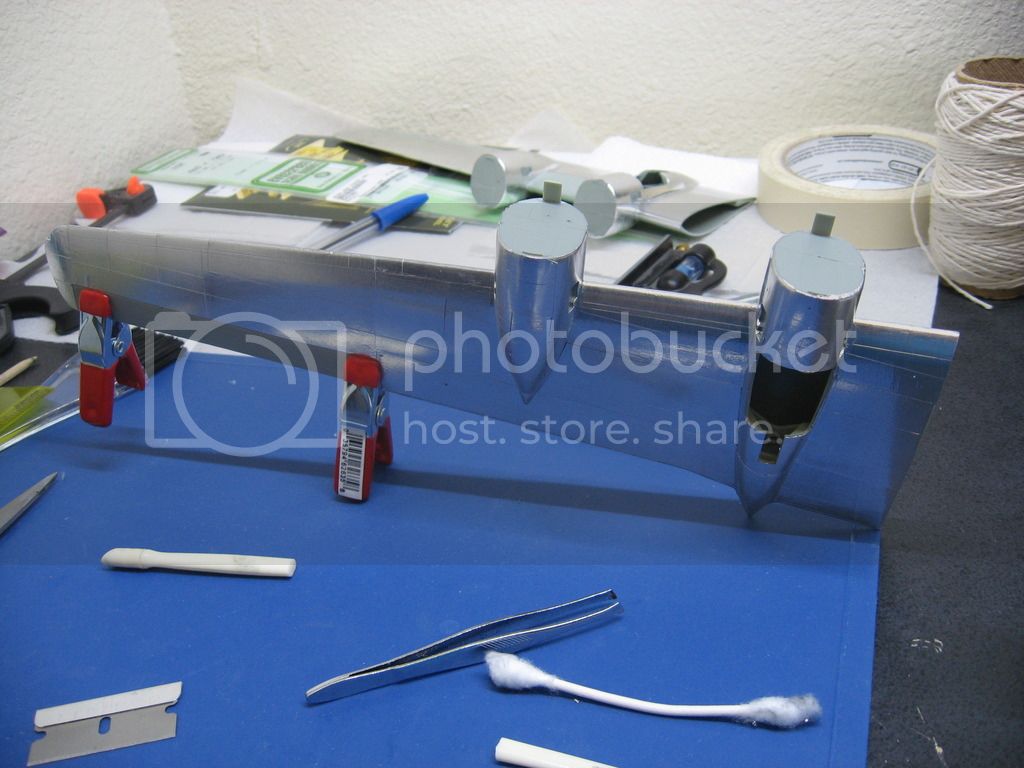
Good question. I've already run into gap issues between the nacelles and the wing when foiling those areas. The cowling faces are my biggest challenge to foil currently since I've not glued them to the nacelles yet.
I'm hoping for some good luck when putting everything together and not have any major issues with gaps in the wing root area.
See ya in the funnies..........


Kevlar06

Joined: March 15, 2009
KitMaker: 3,670 posts
AeroScale: 833 posts

Posted: Saturday, November 19, 2016 - 09:07 PM UTC
Quoted Text
Hello Joel,
Thanks.
Good question. I've already run into gap issues between the nacelles and the wing when foiling those areas. The cowling faces are my biggest challenge to foil currently since I've not glued them to the nacelles yet.
I'm hoping for some good luck when putting everything together and not have any major issues with gaps in the wing root area.
See ya in the funnies..........

Brian,
I would not hope for that with this kit-- I've built it before, so you may have a gaps at the wing/fuselage join, bottom/rear of the engine nacelles, and there will be a seam the length of the fuselage and the cockpit glazing. My recommendation is to foil all the parts up to those points, join, fill, and then continue foiling. I usually assemble the main airframe components (wings, stabilizers, nacelles and fuselage) before I start foiling, but with a large kit like this it can be done seperately too.
VR, Russ
BigfootV

Joined: December 24, 2005
KitMaker: 1,624 posts
AeroScale: 385 posts

Posted: Tuesday, November 22, 2016 - 02:35 AM UTC
Hello Russ,
Thanks for the advise. I had planned doing that once I get there. Today has been paint day. The new compressor is very quiet and the airbrushes work way better.
I'll get back to foiling once the interior is all painted up and fuselage is together.
I've got both upper wing surfaces done and one out of four nacelles have been foiled up. I may have to scratch build the green house wind screen. I'm going to see if I can save it first.
See ya in the funnies..........
BigfootV

Joined: December 24, 2005
KitMaker: 1,624 posts
AeroScale: 385 posts

Posted: Friday, November 25, 2016 - 09:23 AM UTC
I meant to post these with the last progress post.
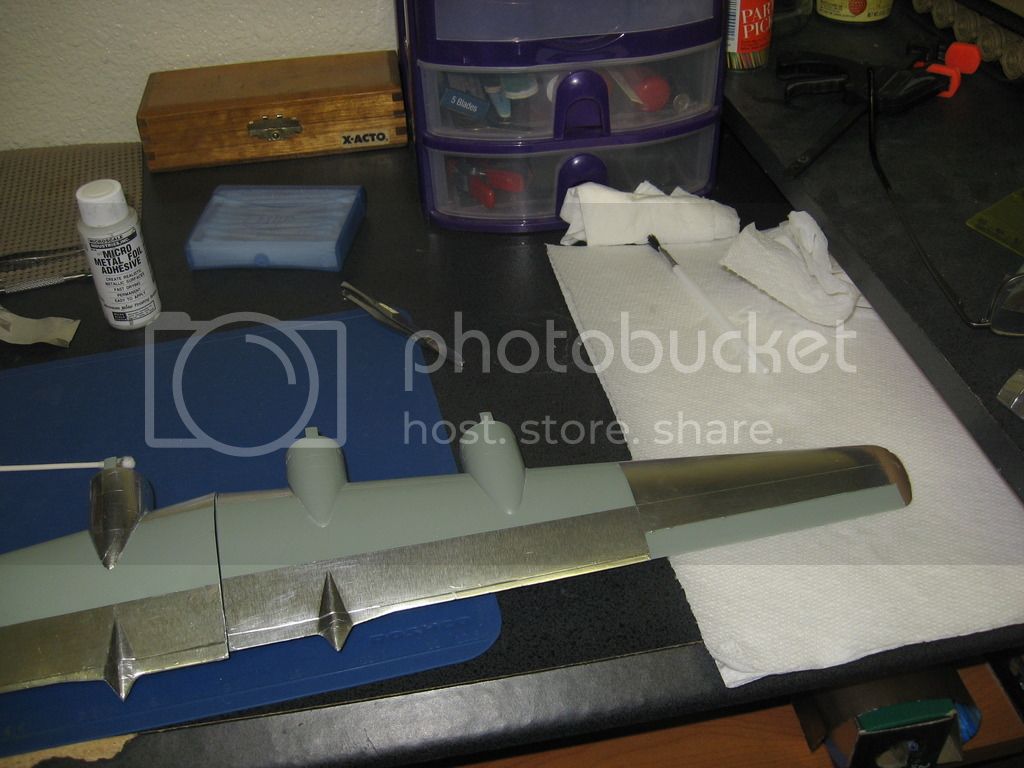
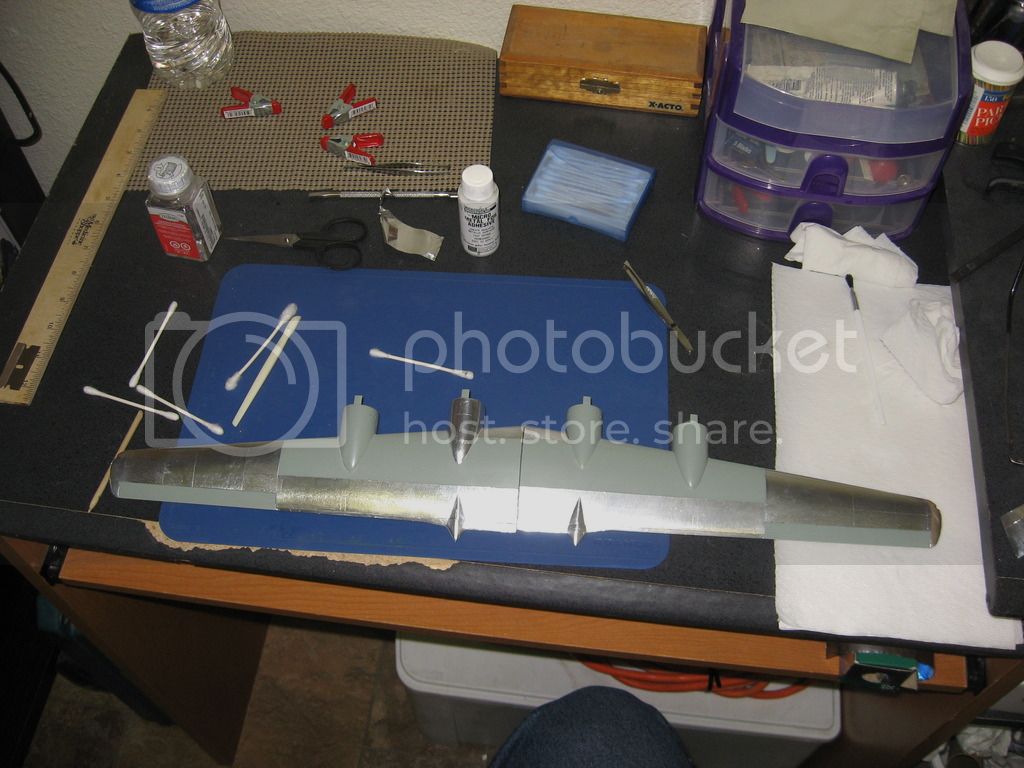
Hope everyone had a safe and fulling Thanksgiving! I had to make a LHS run today to get more thinner, I run out using it to clean off my '57 Chevy body after I hit it with a rattle can that ran on me.

I also pick up some Alclad II, Airframe Alum. to run some tests on before I hit the plane with it.
Anyways, interior painting will continue this weekend.
See ya in the funnies.................


Hope everyone had a safe and fulling Thanksgiving! I had to make a LHS run today to get more thinner, I run out using it to clean off my '57 Chevy body after I hit it with a rattle can that ran on me.


I also pick up some Alclad II, Airframe Alum. to run some tests on before I hit the plane with it.
Anyways, interior painting will continue this weekend.
See ya in the funnies.................
BigfootV

Joined: December 24, 2005
KitMaker: 1,624 posts
AeroScale: 385 posts

Posted: Friday, December 02, 2016 - 09:19 PM UTC
Kevlar06

Joined: March 15, 2009
KitMaker: 3,670 posts
AeroScale: 833 posts

Posted: Friday, December 02, 2016 - 09:27 PM UTC
Brian,
It's coming along very nicely. As I said earlier-- foiling is its own reward, and sometimes we perfect the technique over time and with patience-- so far though, those wings and nacelles are looking really good! Keep it up!
VR, Russ
It's coming along very nicely. As I said earlier-- foiling is its own reward, and sometimes we perfect the technique over time and with patience-- so far though, those wings and nacelles are looking really good! Keep it up!
VR, Russ
BigfootV

Joined: December 24, 2005
KitMaker: 1,624 posts
AeroScale: 385 posts

Posted: Saturday, December 03, 2016 - 12:17 AM UTC
Thanks Russ,
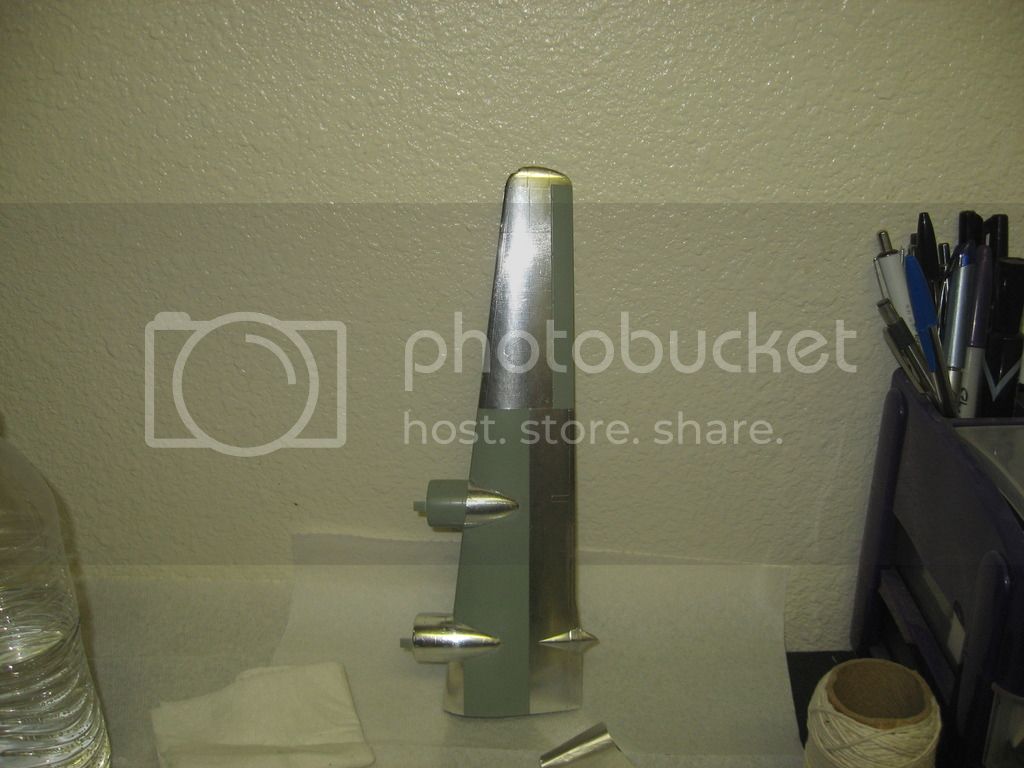
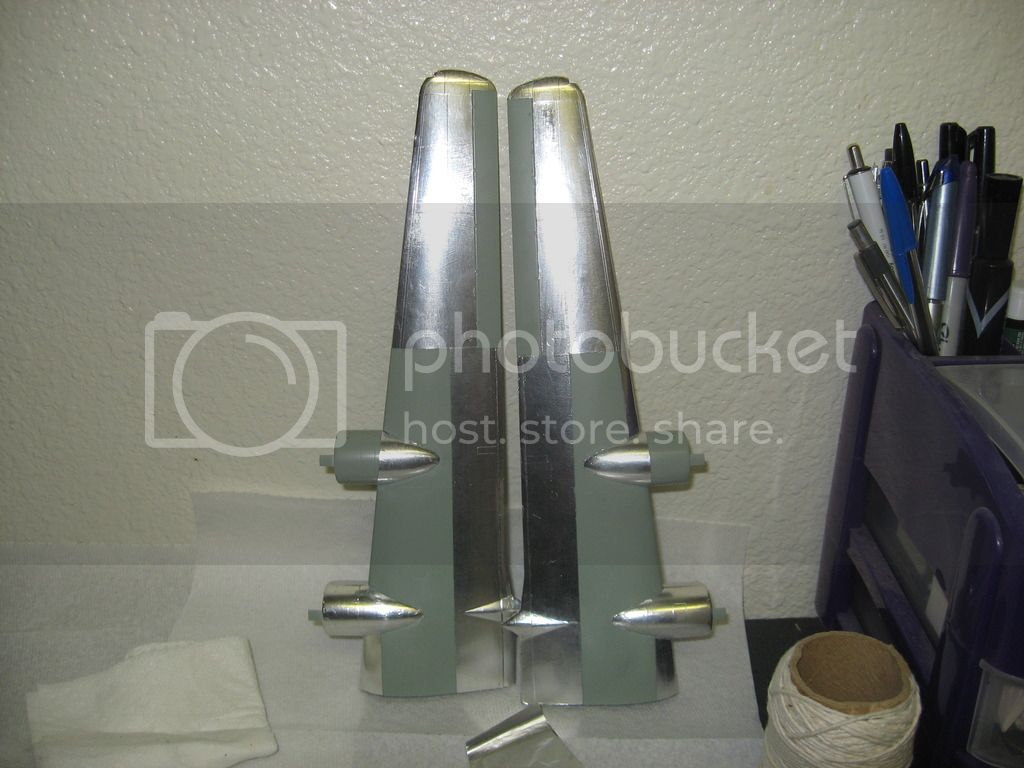
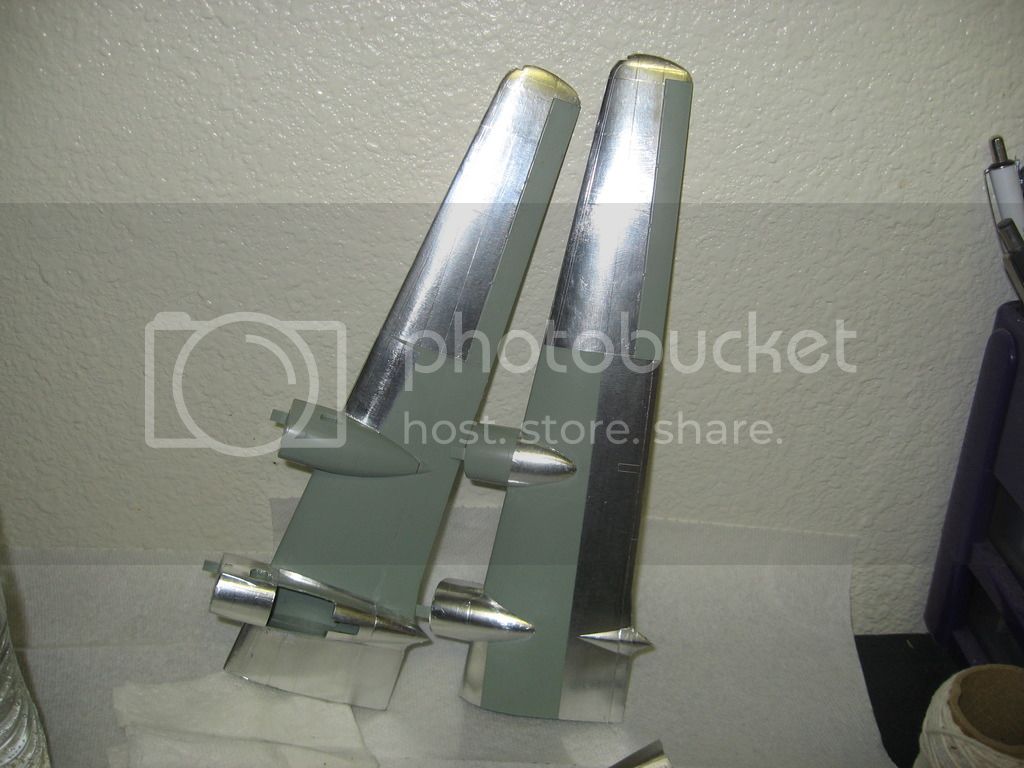
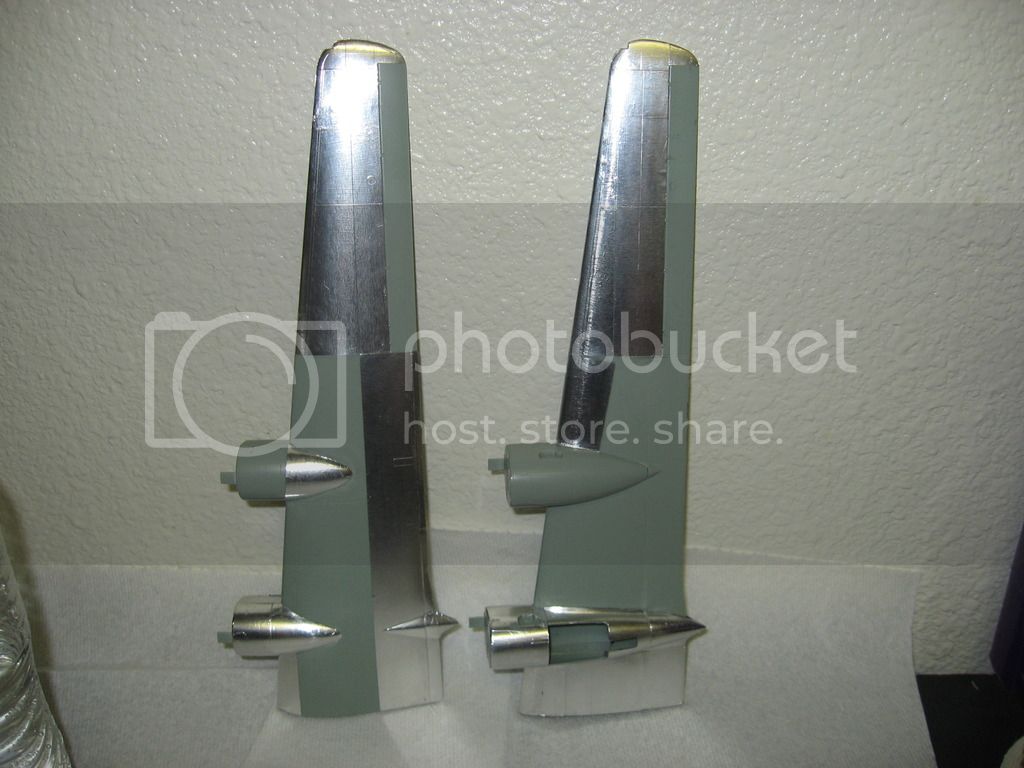
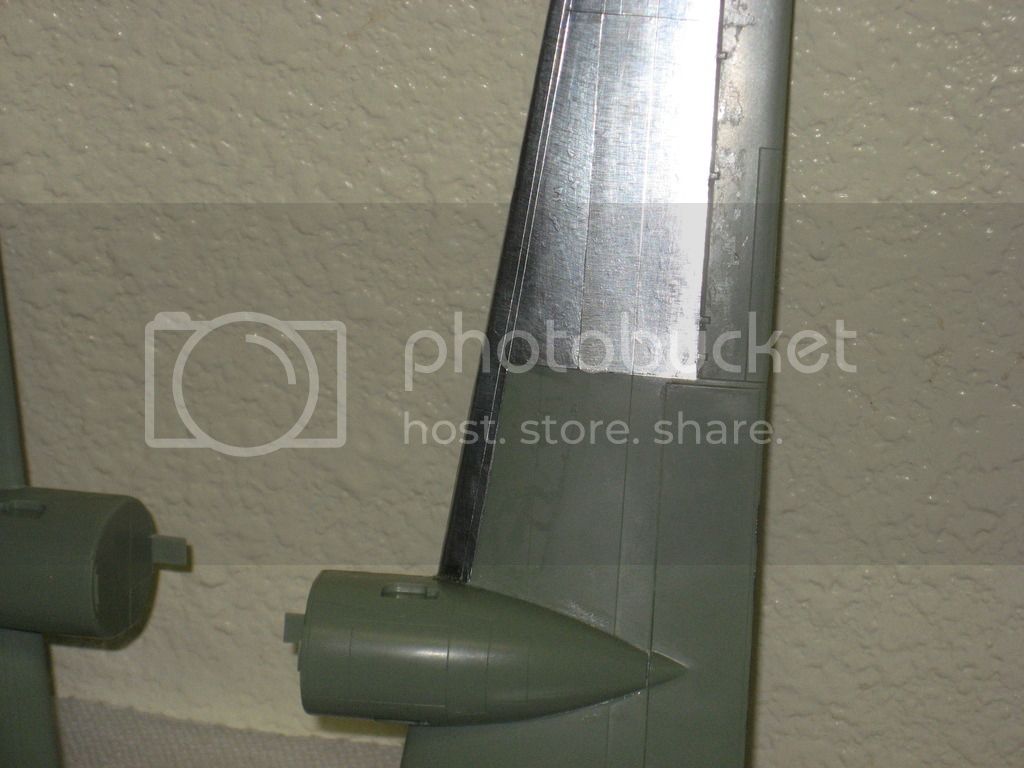
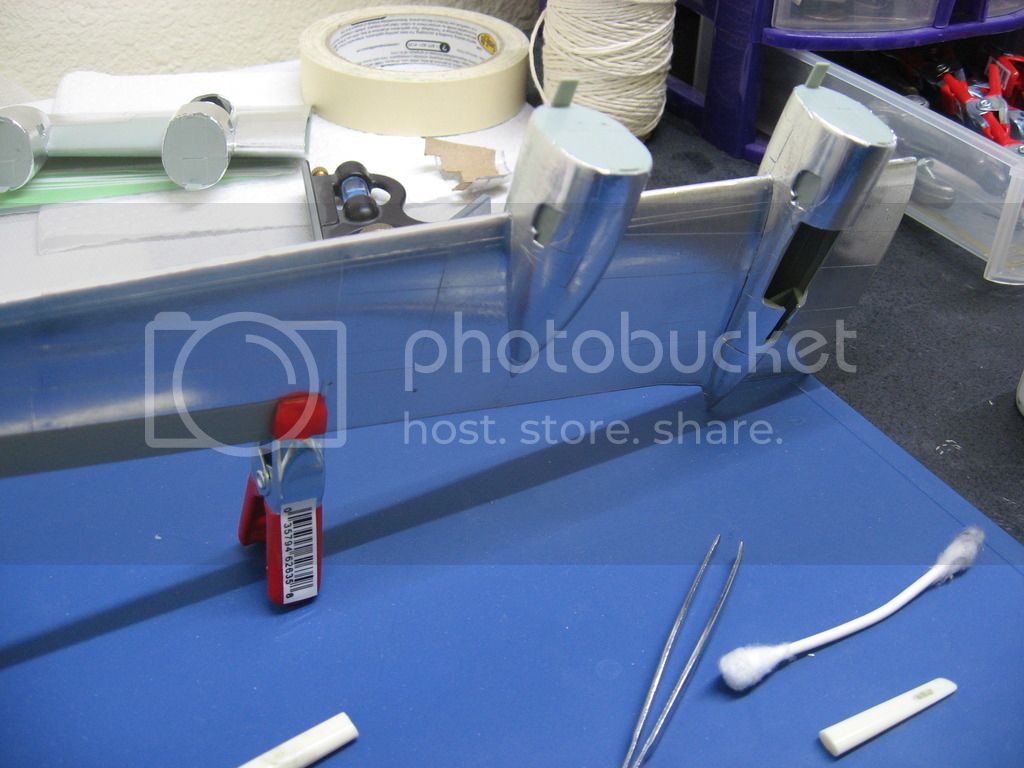
The underside of the nacelles are looking pretty rough when you get close-up. Overall, I'm not doing too bad. A few hiccups here and there. Foiling compound angles.......

See ya in the funnies............
The underside of the nacelles are looking pretty rough when you get close-up. Overall, I'm not doing too bad. A few hiccups here and there. Foiling compound angles.......


See ya in the funnies............
Joel_W

Joined: December 04, 2010
KitMaker: 11,666 posts
AeroScale: 7,410 posts

Posted: Saturday, December 03, 2016 - 12:30 AM UTC
Brian,
You're making excellent progress even with the re-foiling as you feel is needed. I just don't have the skill set nor the patients to even attempt it.
Joel
You're making excellent progress even with the re-foiling as you feel is needed. I just don't have the skill set nor the patients to even attempt it.
Joel
BigfootV

Joined: December 24, 2005
KitMaker: 1,624 posts
AeroScale: 385 posts

Posted: Saturday, December 03, 2016 - 01:35 AM UTC
Hello Joel,
You are too kind....it has and still is testing every fiber of the being. I must admit, it can be zen-like at times, with moments were you just want to throw the damn thing out the window.

I must admit there are days when I just want to walk away from it completely and give up, but my wife and you guys have been very supportive. Thanks.
See ya in the funnies.....................
You are too kind....it has and still is testing every fiber of the being. I must admit, it can be zen-like at times, with moments were you just want to throw the damn thing out the window.


I must admit there are days when I just want to walk away from it completely and give up, but my wife and you guys have been very supportive. Thanks.
See ya in the funnies.....................
BigfootV

Joined: December 24, 2005
KitMaker: 1,624 posts
AeroScale: 385 posts

Posted: Monday, December 05, 2016 - 09:53 PM UTC
Bit of an update:
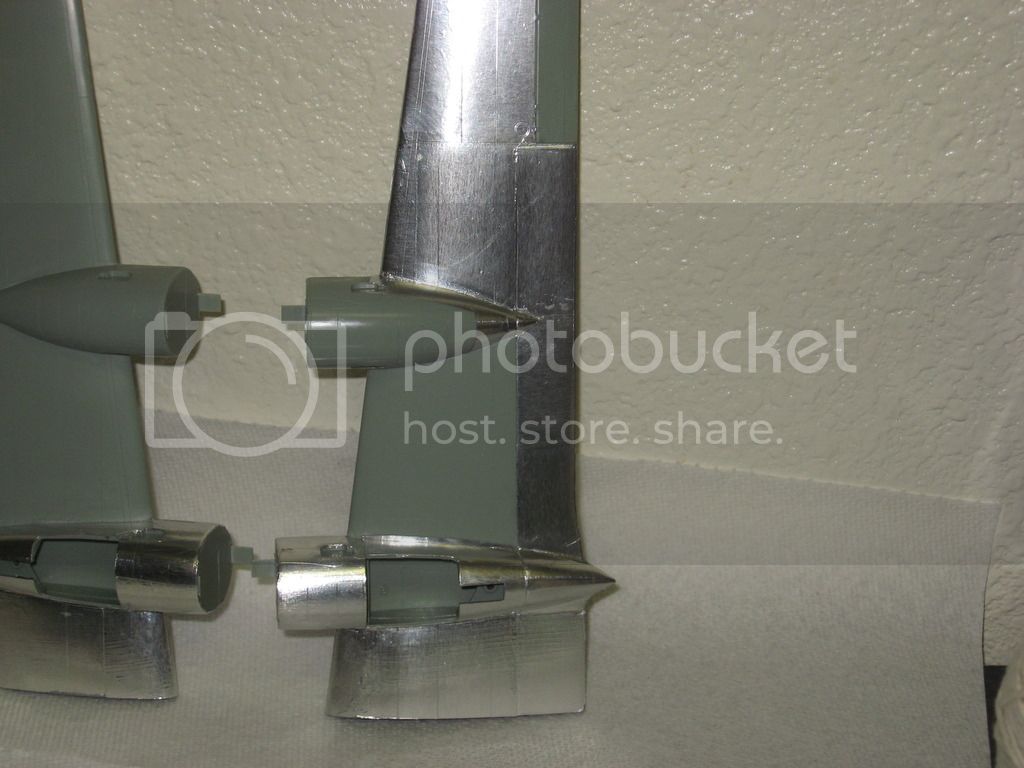
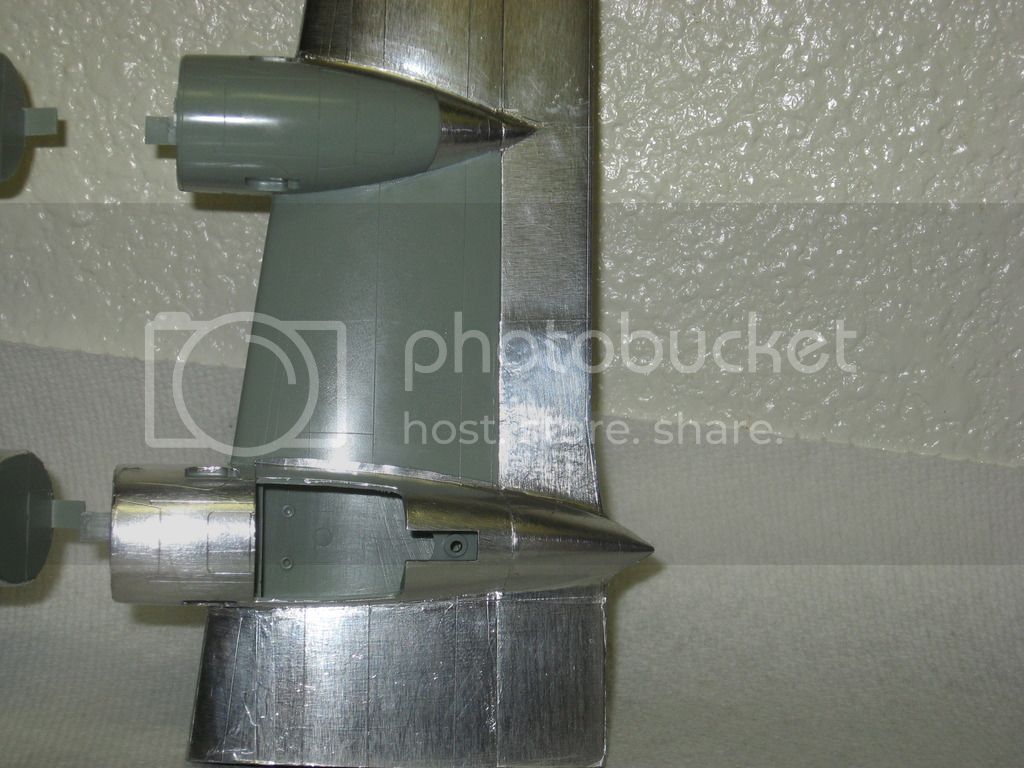
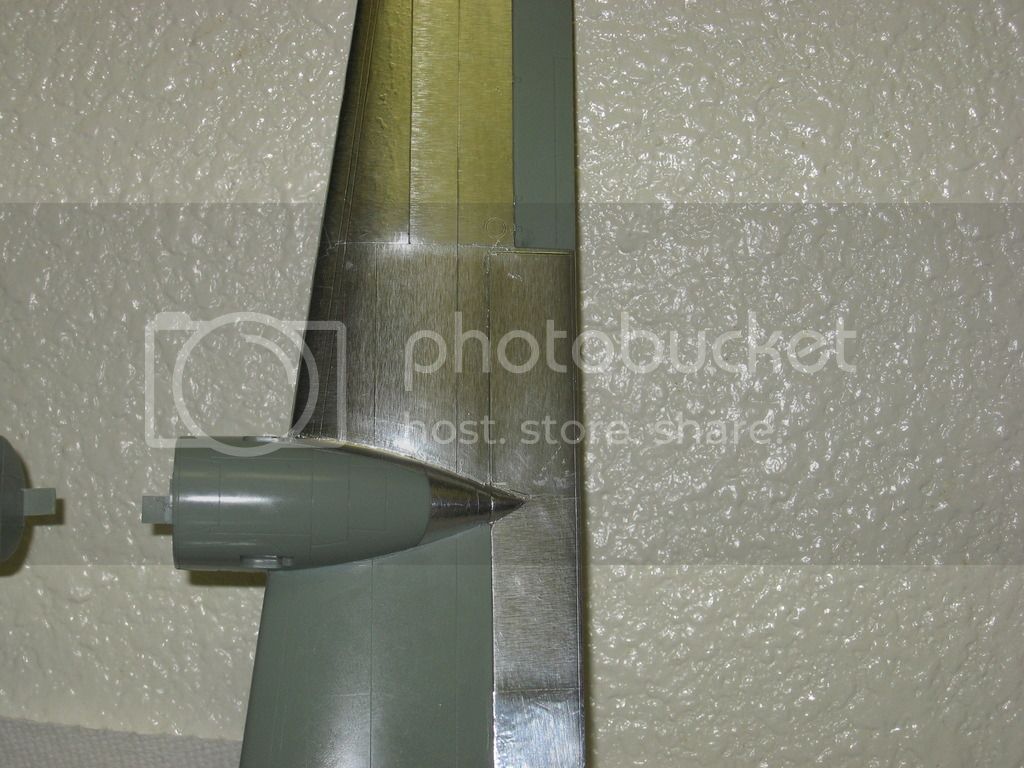
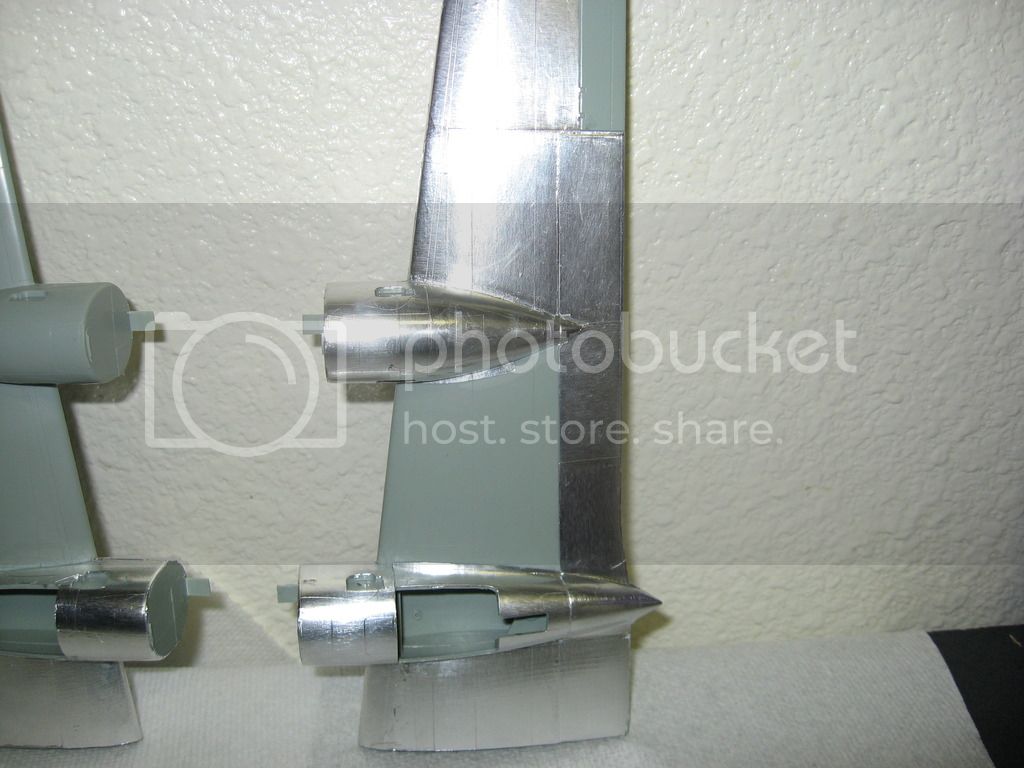
Underside of nacelle after about 3 attempts.
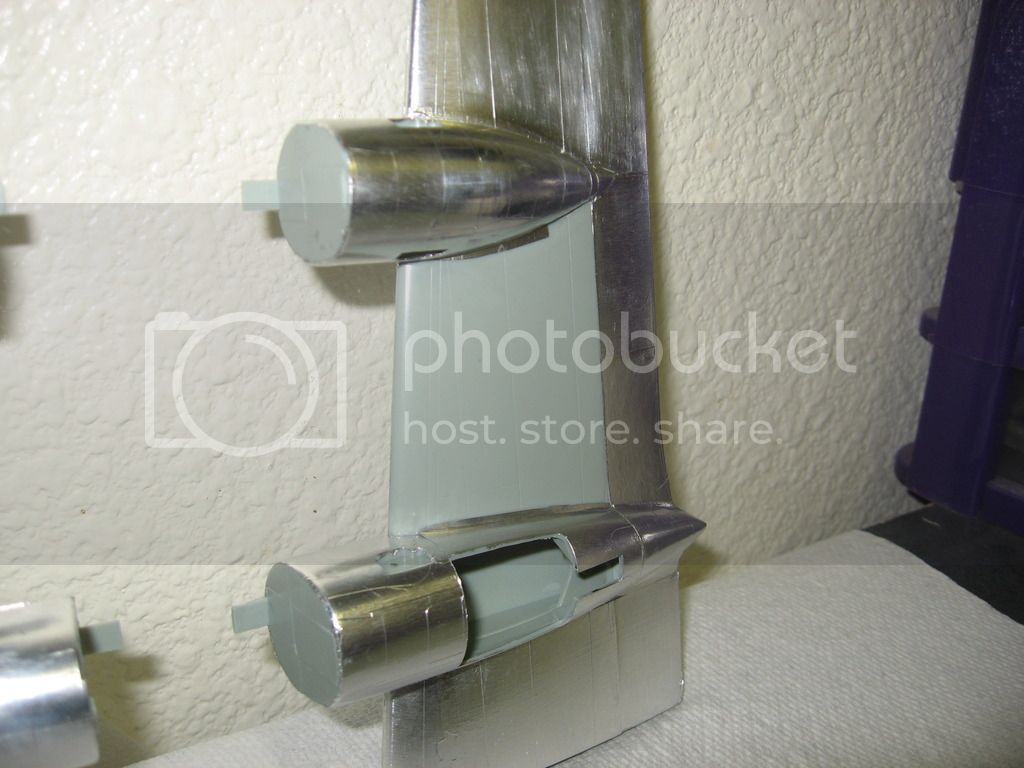
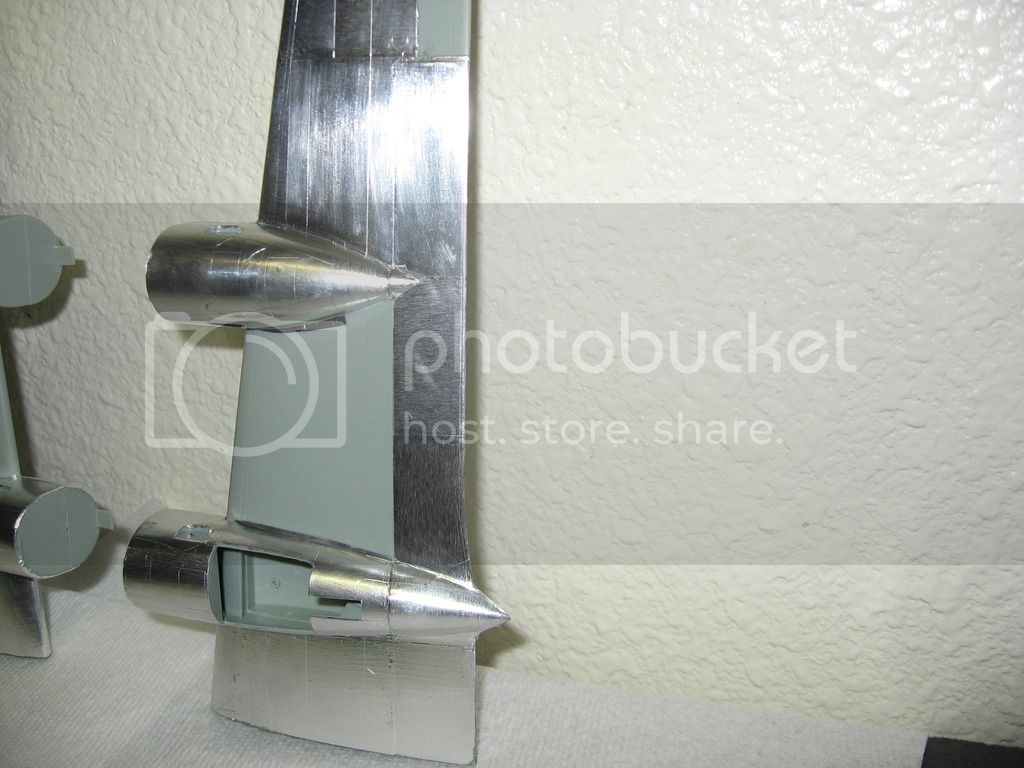
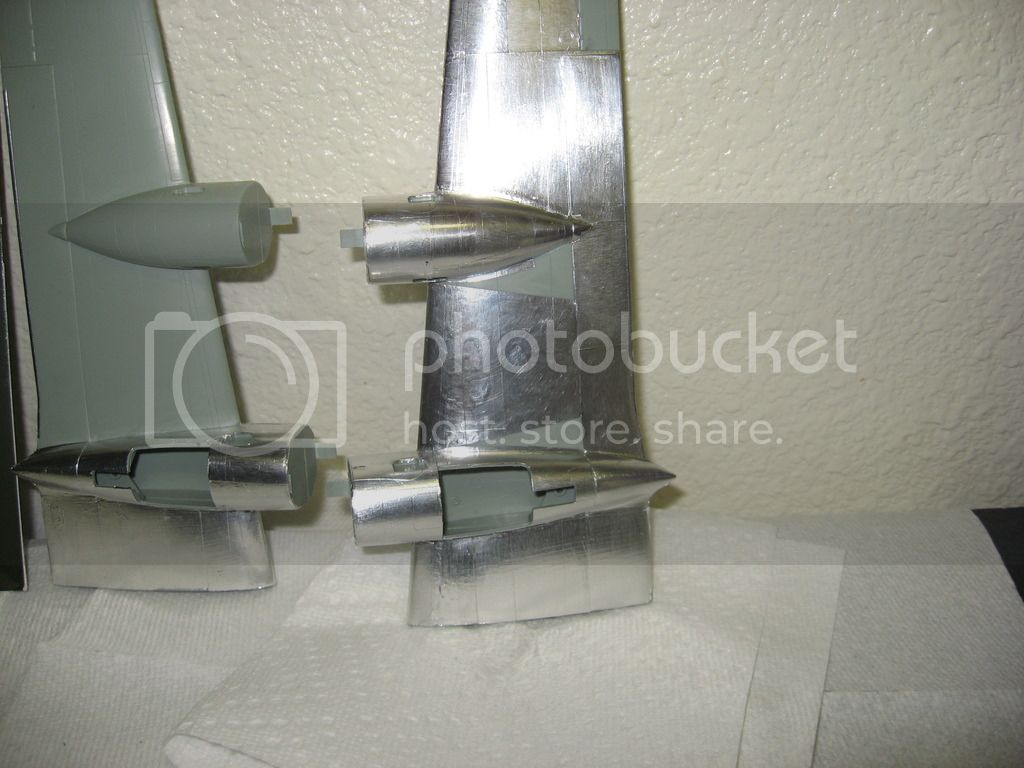
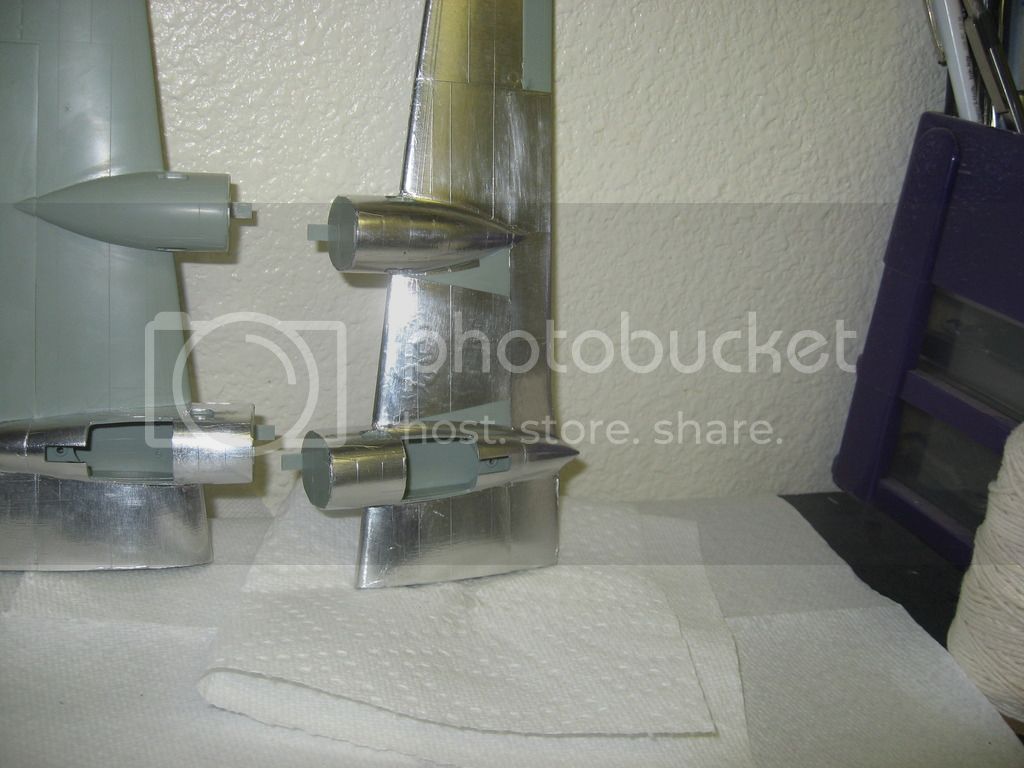
Note the bubbling, that has been removed since photo was taken. Area has been cleaned for re-foiling.
Now, a few updates back I'd said something about the windscreen and that I might have to scratch build it. Well.......
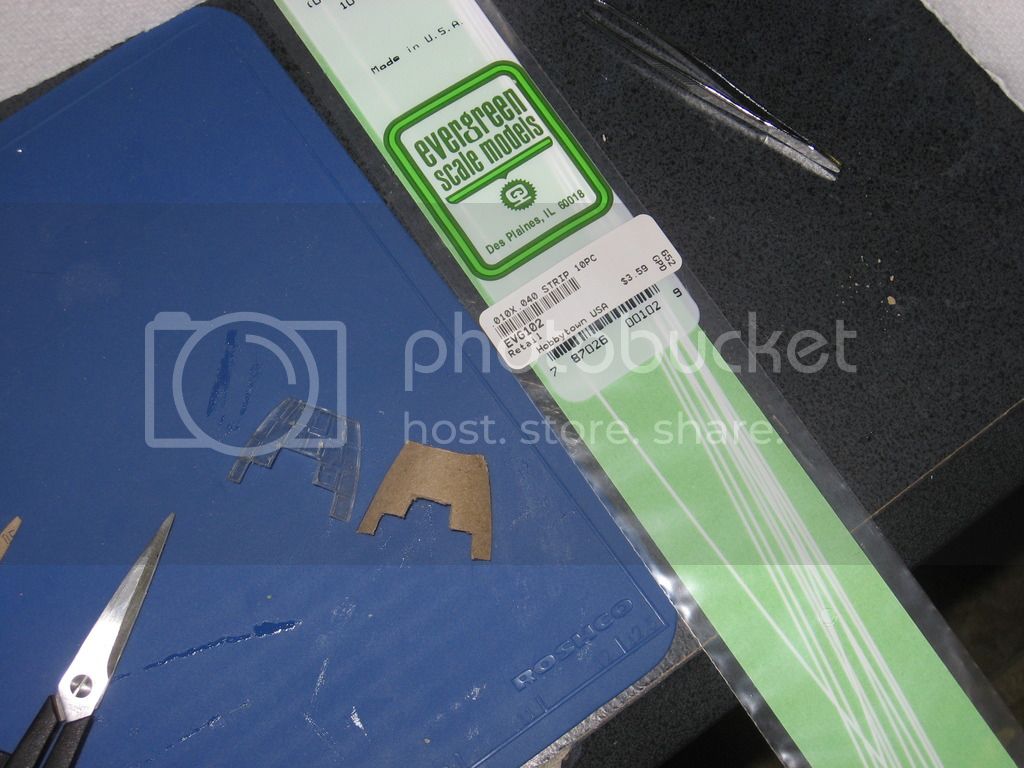
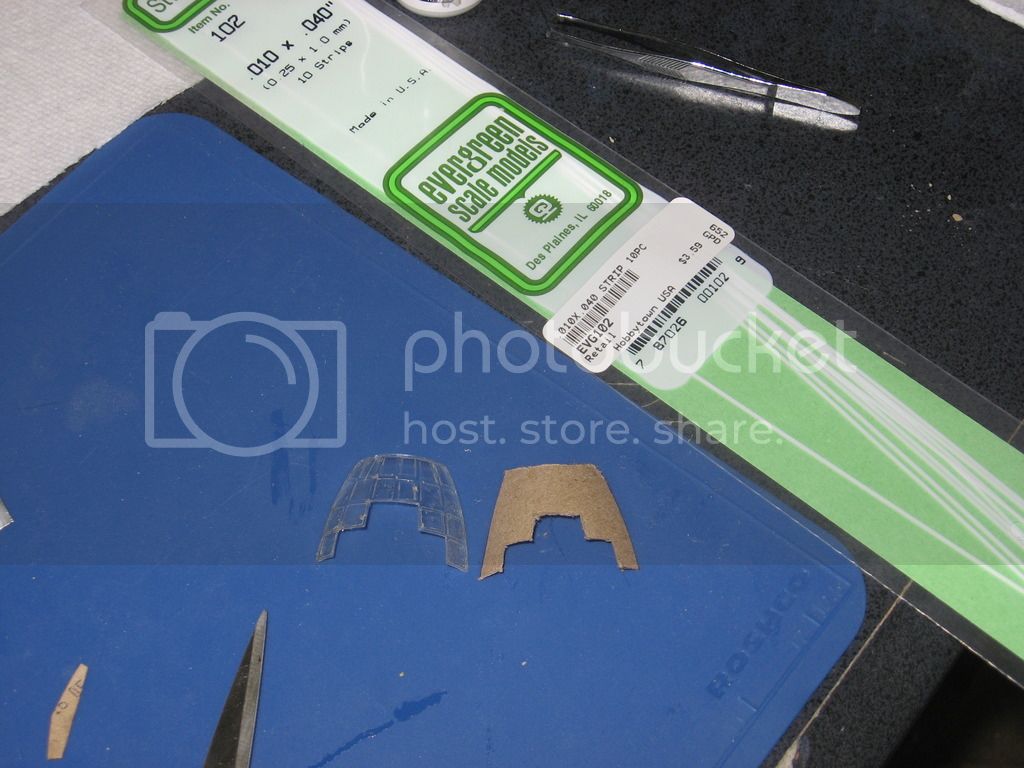
The template is from a toilet paper roll.
I picked up the strips on the last LHS run.
My paint booth should be here today, I'll post that when it gets here.


See ya in the funnies...........


Underside of nacelle after about 3 attempts.


Note the bubbling, that has been removed since photo was taken. Area has been cleaned for re-foiling.
Now, a few updates back I'd said something about the windscreen and that I might have to scratch build it. Well.......


The template is from a toilet paper roll.

I picked up the strips on the last LHS run.
My paint booth should be here today, I'll post that when it gets here.


See ya in the funnies...........
Kevlar06

Joined: March 15, 2009
KitMaker: 3,670 posts
AeroScale: 833 posts

Posted: Monday, December 05, 2016 - 11:54 PM UTC
Brian,
The foiling looks like it's coming along nicely, but I'm not totally clear on why you feel the need to scratch-build the canopy-- that looks like it's going to be a bear with the compound curves in the perspex. If it's too thick could it be sanded and then polished back? or perhaps vac-formed?
VR, Russ
BigfootV

Joined: December 24, 2005
KitMaker: 1,624 posts
AeroScale: 385 posts

Posted: Tuesday, December 06, 2016 - 12:21 AM UTC
Hello Russ,
Thanks. It's slow going.
The canopy has a massive crack in it on the pilot's side that runs right down the middle of the glass on the second row. It's a stress crack. I'd love to vac-form this piece, rigging something up would take longer then the foiling. Space is at a premium around here also. I'm hoping this paint booth I've got coming is as compact as it's advertised.
See ya in the funnies...........
Kevlar06

Joined: March 15, 2009
KitMaker: 3,670 posts
AeroScale: 833 posts

Posted: Tuesday, December 06, 2016 - 12:33 AM UTC
Brian,
Can I vac it for you? I'd be willing to do so if you want to wait on the snail mail process-- you'd have to mail me the parts (my B-29 was sold to a customer some years back, so I don't have the canopies anymore). It looks like you still have some work ahead anyway. Another alternative that may be faster is Squadron-- they have a line of Vacs, and they might have a set in stock for the B-29.
VR, Russ
Kevlar06

Joined: March 15, 2009
KitMaker: 3,670 posts
AeroScale: 833 posts

Posted: Tuesday, December 06, 2016 - 12:58 AM UTC
Quoted Text
Hello Russ,
Thanks. It's slow going.
The canopy has a massive crack in it on the pilot's side that runs right down the middle of the glass on the second row. It's a stress crack. I'd love to vac-form this piece, rigging something up would take longer then the foiling. Space is at a premium around here also. I'm hoping this paint booth I've got coming is as compact as it's advertised.
See ya in the funnies...........
Brian,
Found this at Squadron, it has several Vac-formed bomber Canopies including the B-29, but it's for the Airfix kit (not sure if there is a lot of difference):
1:72 Falcon Canopies USAAF Bombers WWII - FA0110
List Price: $25.99
Best Price: $23.99
Sale Price: $17.99
Savings: $8.00
Stock Status:In Stock
Product Code: FA0110
If you'd like me to Vac one for you my offer stands-- no charge-- you'll just need to get it to me. I have a couple of Vac-Canopy projects of my own to do anyway, I'll just add yours in. There's another option too- you could "smash mold" one using clear acetate--just save your old bubble packaging and cake top boxes for that. It's quite a simple method-- just brace the original canopy with clay, mount it securely on a small block of wood, heat the acetate over an open flame (I don't recommend a candle as they produce soot) till it sags, and smash it down on the original canopy quickly-- it's vac forming on the cheap without the vacuum. I have my own Vac-U-Form machine which I prefer-- it's a little more dependable, and less hazardous, but I've used both methods in the past.
VR, Russ
BigfootV

Joined: December 24, 2005
KitMaker: 1,624 posts
AeroScale: 385 posts

Posted: Tuesday, December 06, 2016 - 02:14 AM UTC
Kevlar06

Joined: March 15, 2009
KitMaker: 3,670 posts
AeroScale: 833 posts

Posted: Tuesday, December 06, 2016 - 05:32 AM UTC
Brian,
If you do happen to "smash mold" or acquire a vac-form-- I recommend you use either foil, bare metal foil or make decals to do the framing. A trick I like to use is decals painted to match the airframe-- to do this you need to coat the vac-form or smash mold in Future (Pledge with Future now) or paint it with Alclad clear gloss (which comes out crystal clear over clear parts). Then, using an air brush or rattle can, paint clear decal paper in a base color like chromate green, seal it with clear gloss, then paint it the airframe color (in your case a bright silver, I prefer either Floquil bright silver or Alclad Chrome). When dry, clearcoat a final time, cut into small strips, and apply the decals.
VR,Russ
BigfootV

Joined: December 24, 2005
KitMaker: 1,624 posts
AeroScale: 385 posts

Posted: Thursday, December 08, 2016 - 05:07 AM UTC
BigfootV

Joined: December 24, 2005
KitMaker: 1,624 posts
AeroScale: 385 posts

Posted: Saturday, December 10, 2016 - 09:31 PM UTC
Joel_W

Joined: December 04, 2010
KitMaker: 11,666 posts
AeroScale: 7,410 posts

Posted: Sunday, December 11, 2016 - 02:36 AM UTC
Brian,
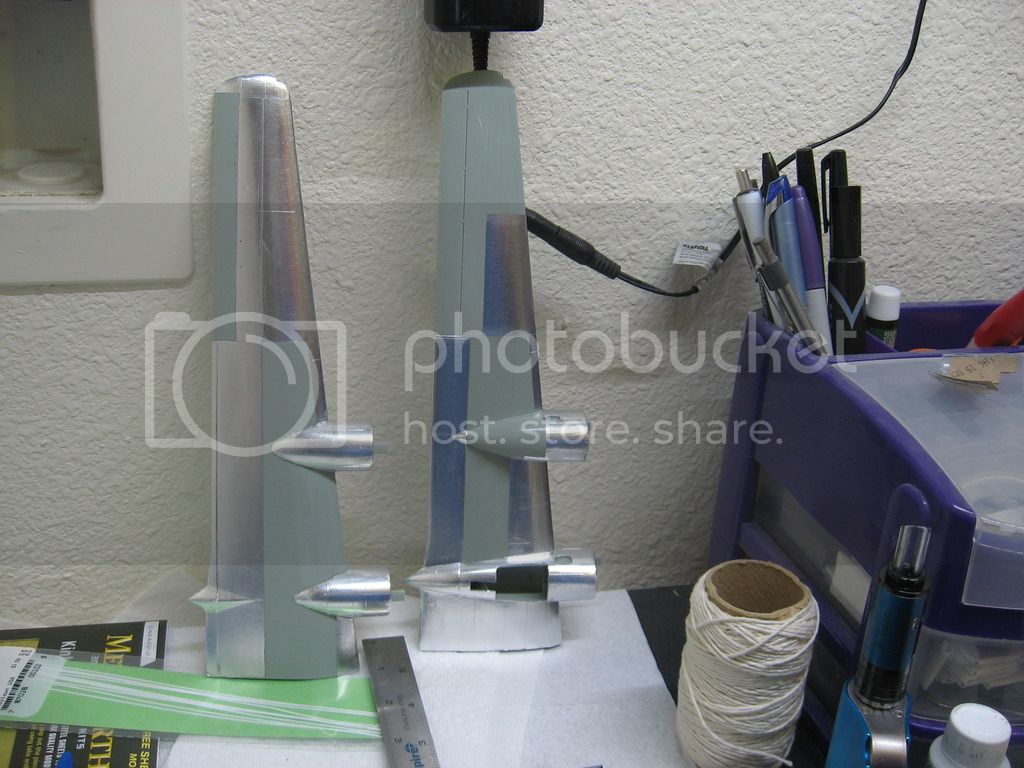
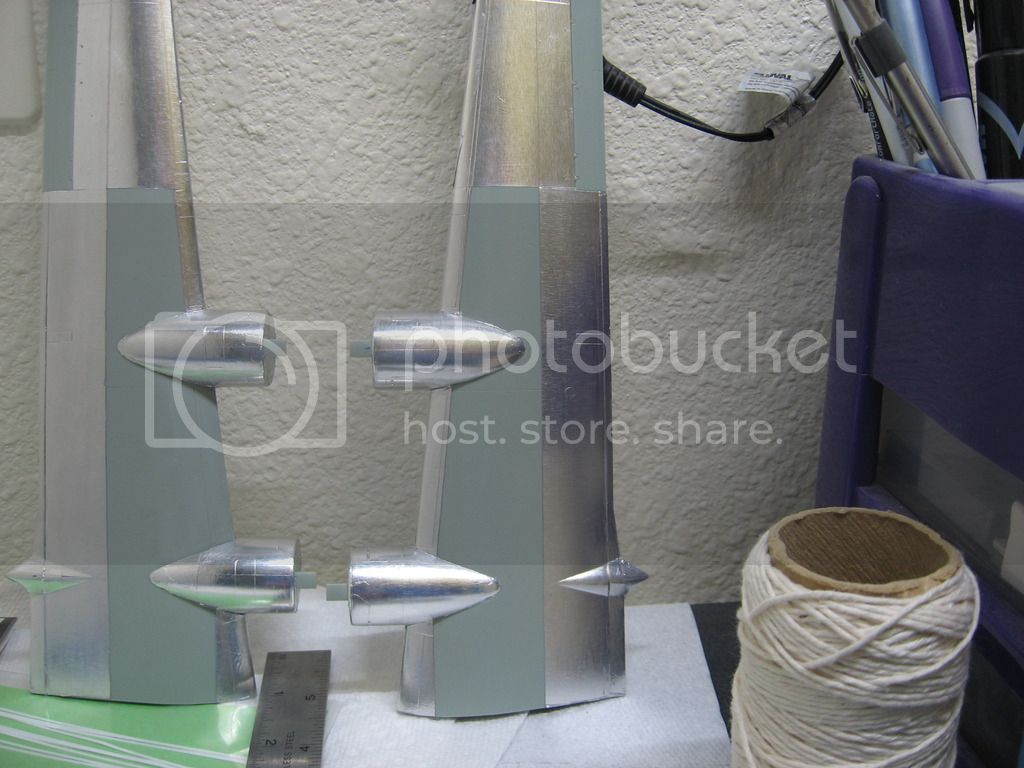
Those wings really do look good. Just your ability to stay the course is amazing.
Joel
Those wings really do look good. Just your ability to stay the course is amazing.
Joel
BigfootV

Joined: December 24, 2005
KitMaker: 1,624 posts
AeroScale: 385 posts

Posted: Sunday, December 11, 2016 - 02:57 AM UTC
Thanks Joel.
I've got the left wing done. I'll have those pix's later today a long with some of the radome that I hit with coat of Alclad II, "Polished Alum." It's a comparison shot with the foil in the background.
See ya in the funnies.............
I've got the left wing done. I'll have those pix's later today a long with some of the radome that I hit with coat of Alclad II, "Polished Alum." It's a comparison shot with the foil in the background.
See ya in the funnies.............
BigfootV

Joined: December 24, 2005
KitMaker: 1,624 posts
AeroScale: 385 posts

Posted: Sunday, December 11, 2016 - 04:07 AM UTC
Left wing done. (Insert political joke here.) 

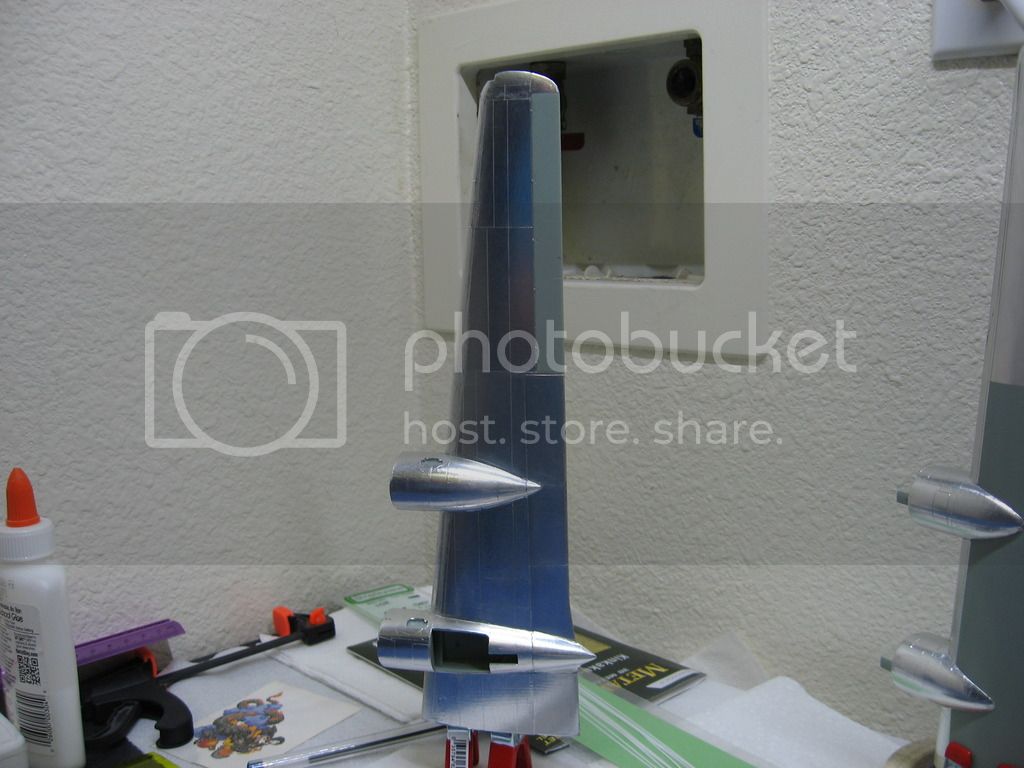
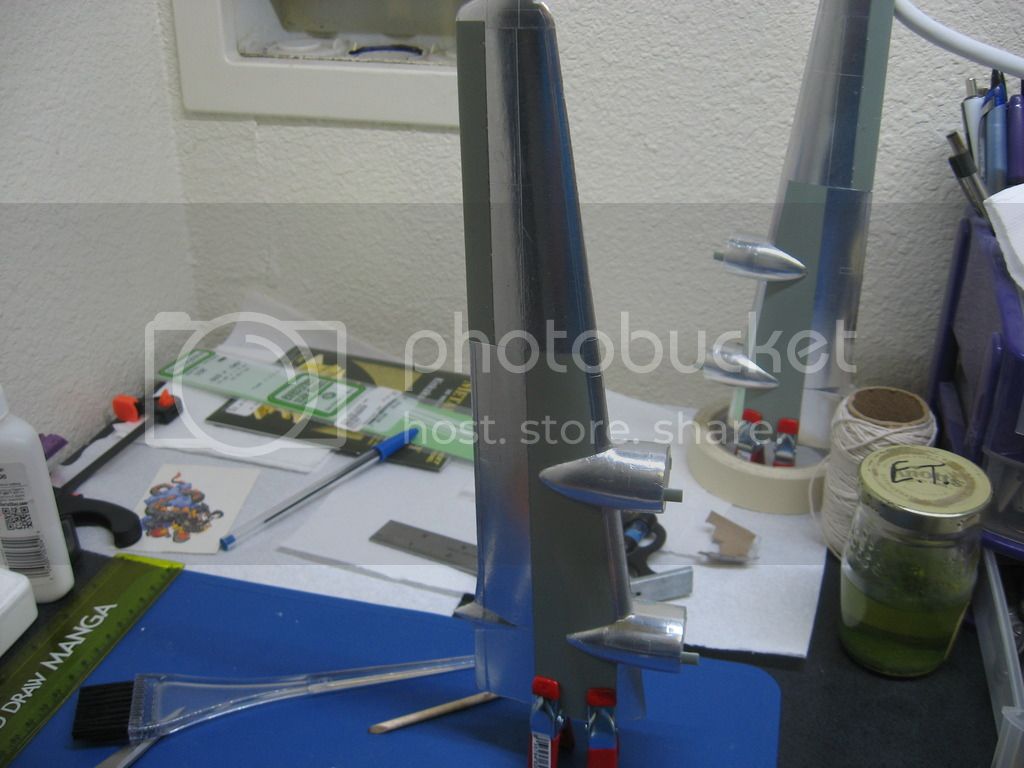
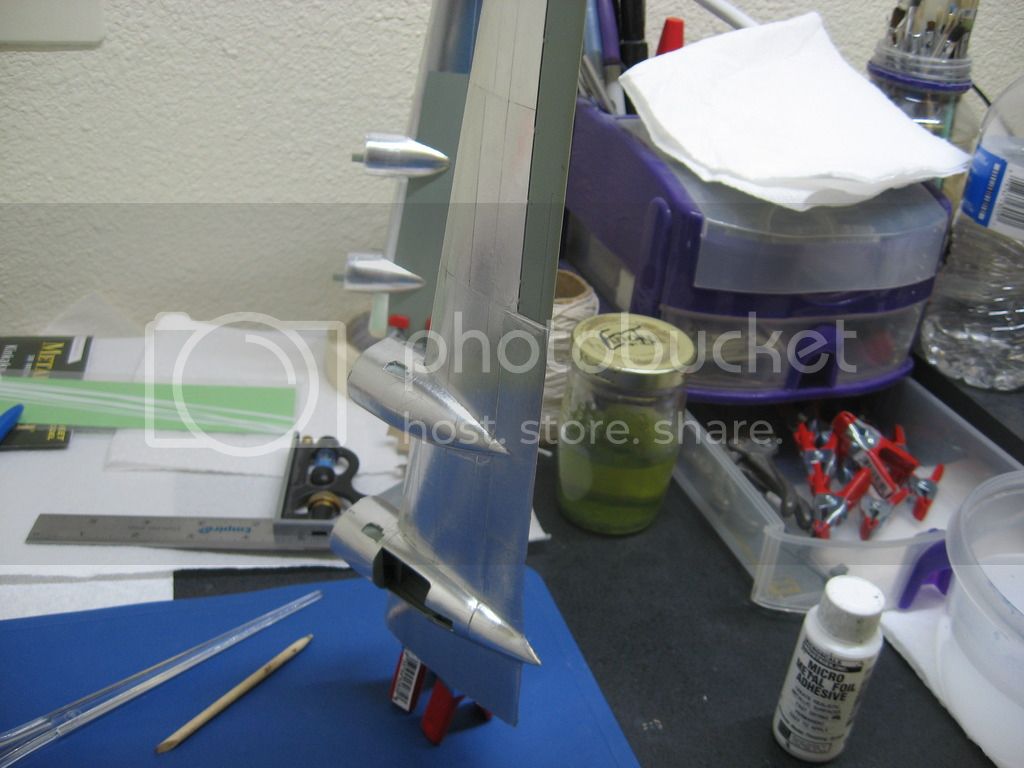
Radome.
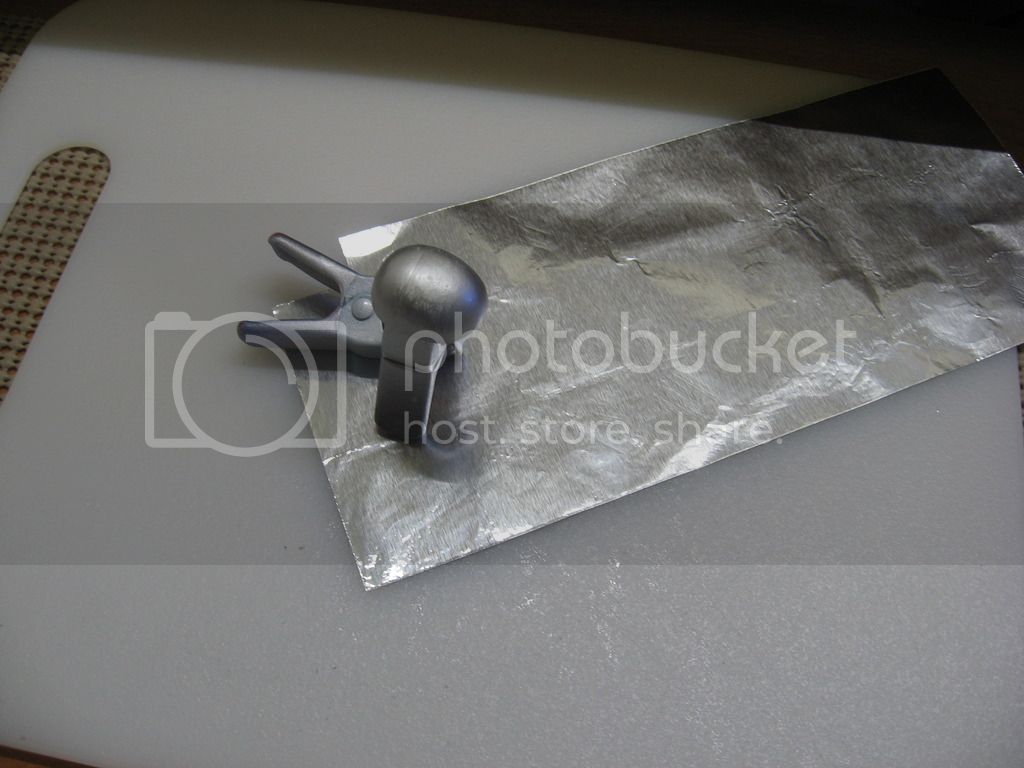
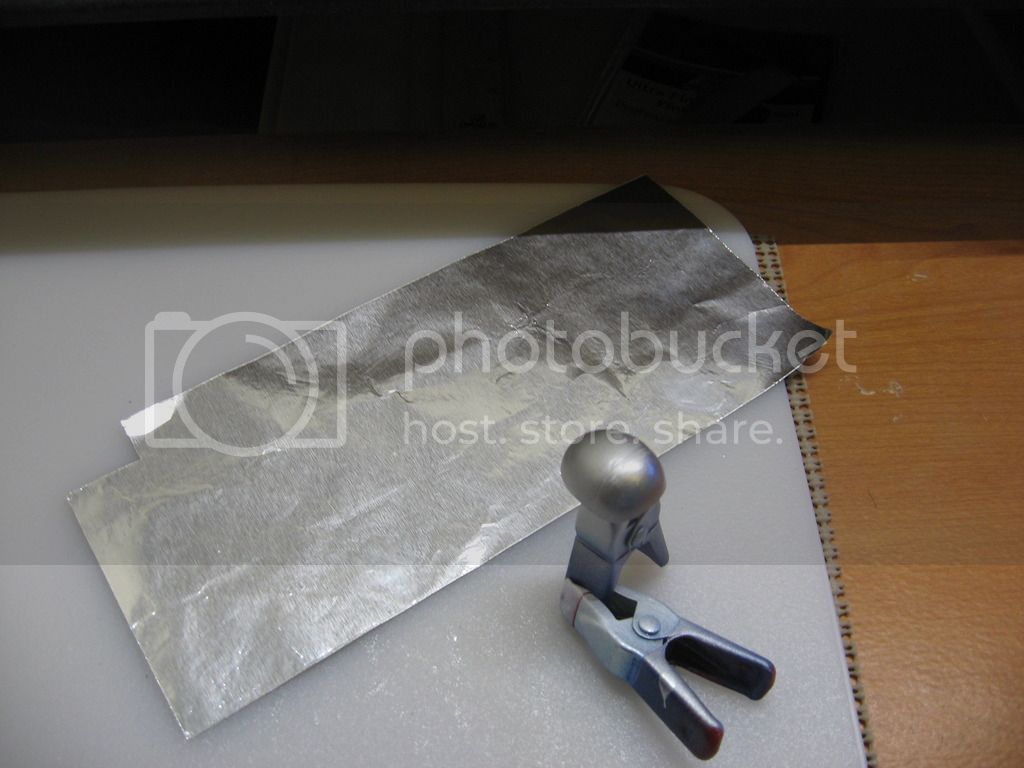
The undercoat on the radome is Testors "Silver" enamel paint.
The color looks darn close to the foil.
Does that mean your done foiling? Nope, still have the fuselage to do. Cowlings on the other hand, Hmmm. Will see.
See ya in the funnies................


Radome.


The undercoat on the radome is Testors "Silver" enamel paint.
The color looks darn close to the foil.
Does that mean your done foiling? Nope, still have the fuselage to do. Cowlings on the other hand, Hmmm. Will see.
See ya in the funnies................
BigfootV

Joined: December 24, 2005
KitMaker: 1,624 posts
AeroScale: 385 posts

Posted: Monday, December 12, 2016 - 02:59 AM UTC
BigfootV

Joined: December 24, 2005
KitMaker: 1,624 posts
AeroScale: 385 posts

Posted: Tuesday, December 13, 2016 - 01:42 AM UTC
Hey gang,
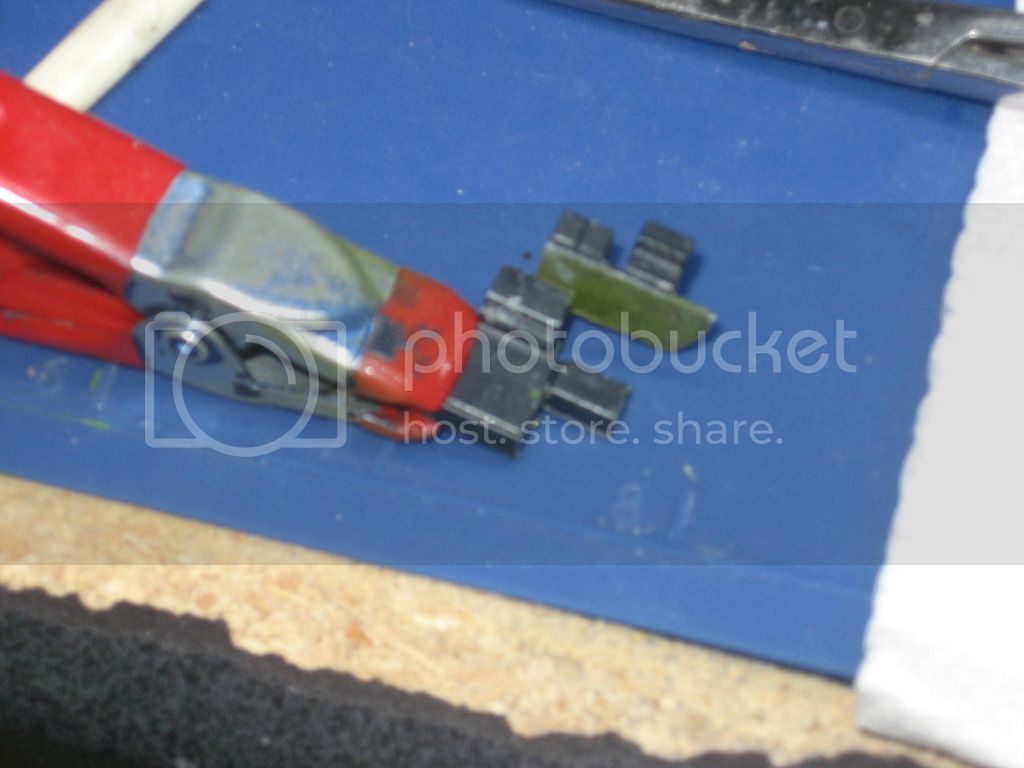
Started putting the interior together and ran into a bit of an issue with the fit. It would seem Academy added something to the radio operators station.
Here's the real radio station in Brockscar....

The part..............
What needs to be removed................
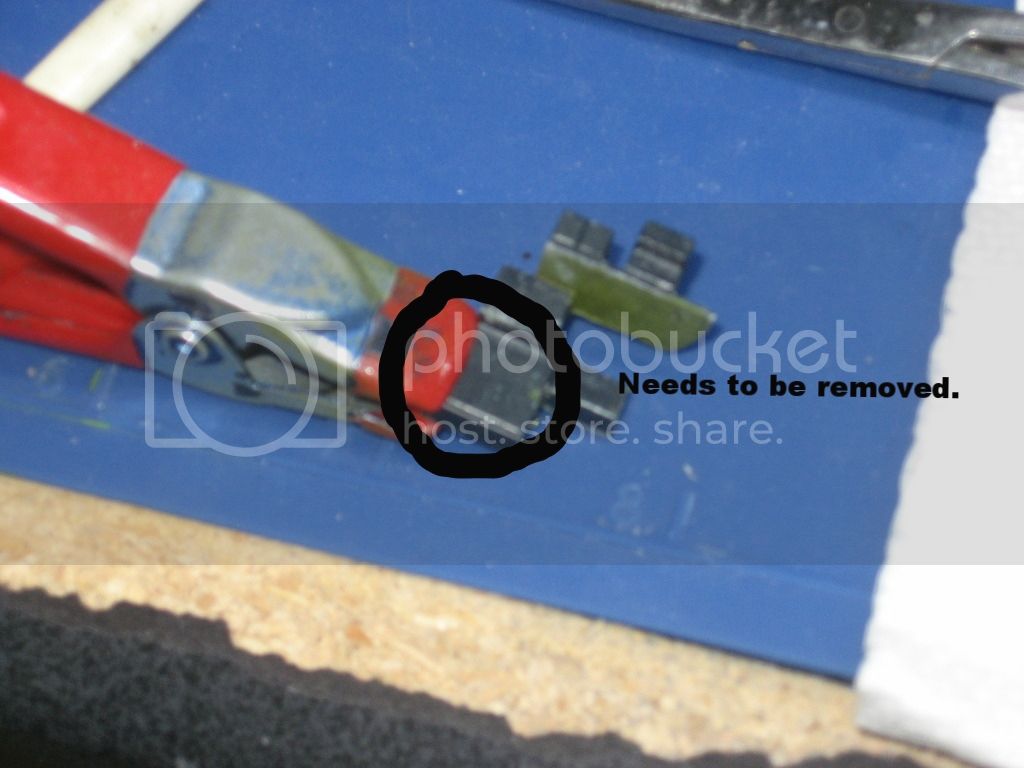
If this box is left on, you wouldn't be able to get the interior to fit against the fuselage when mating the two together.
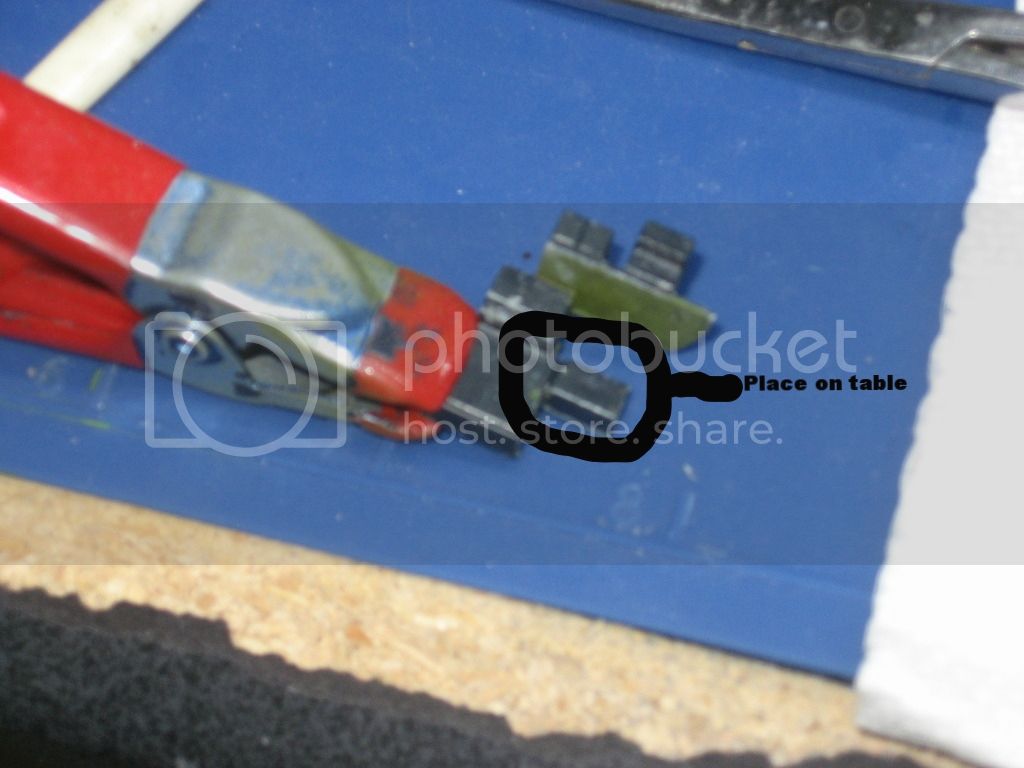
Granted, if your not doing a cut-away view of the interior, it doesn't need to be correct. However, if you want things to fit, it has to be removed.
See ya in the funnies...................
Started putting the interior together and ran into a bit of an issue with the fit. It would seem Academy added something to the radio operators station.
Here's the real radio station in Brockscar....

The part..............

What needs to be removed................

If this box is left on, you wouldn't be able to get the interior to fit against the fuselage when mating the two together.

Granted, if your not doing a cut-away view of the interior, it doesn't need to be correct. However, if you want things to fit, it has to be removed.
See ya in the funnies...................
BigfootV

Joined: December 24, 2005
KitMaker: 1,624 posts
AeroScale: 385 posts

Posted: Thursday, December 15, 2016 - 10:15 PM UTC
Small update:
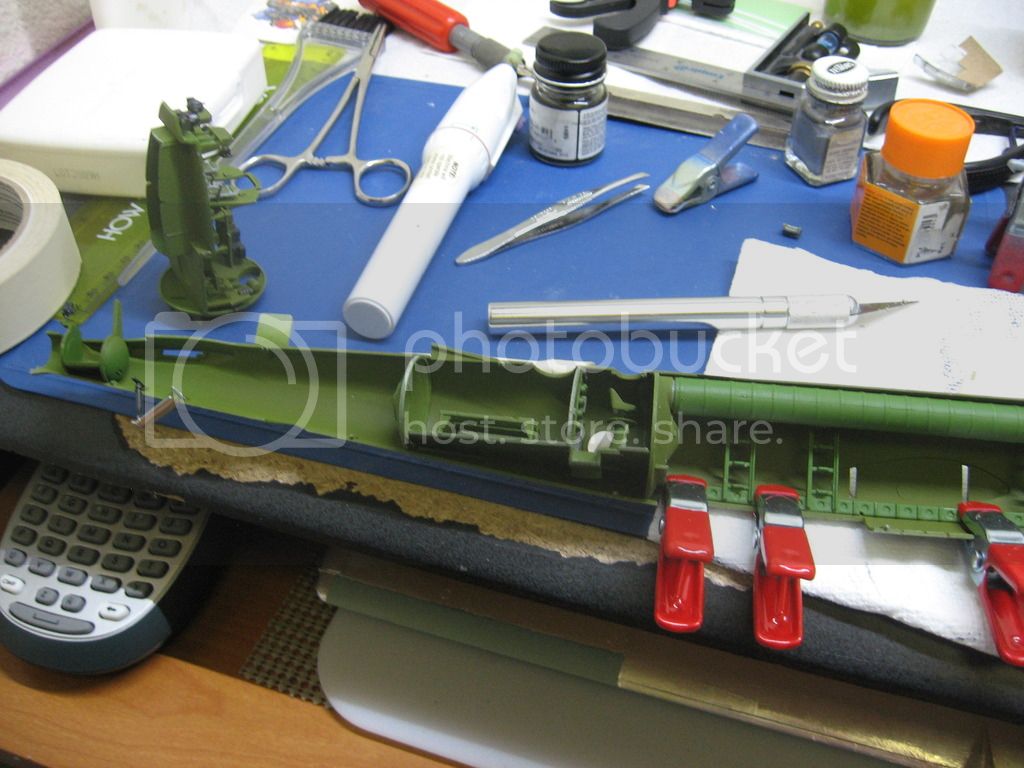
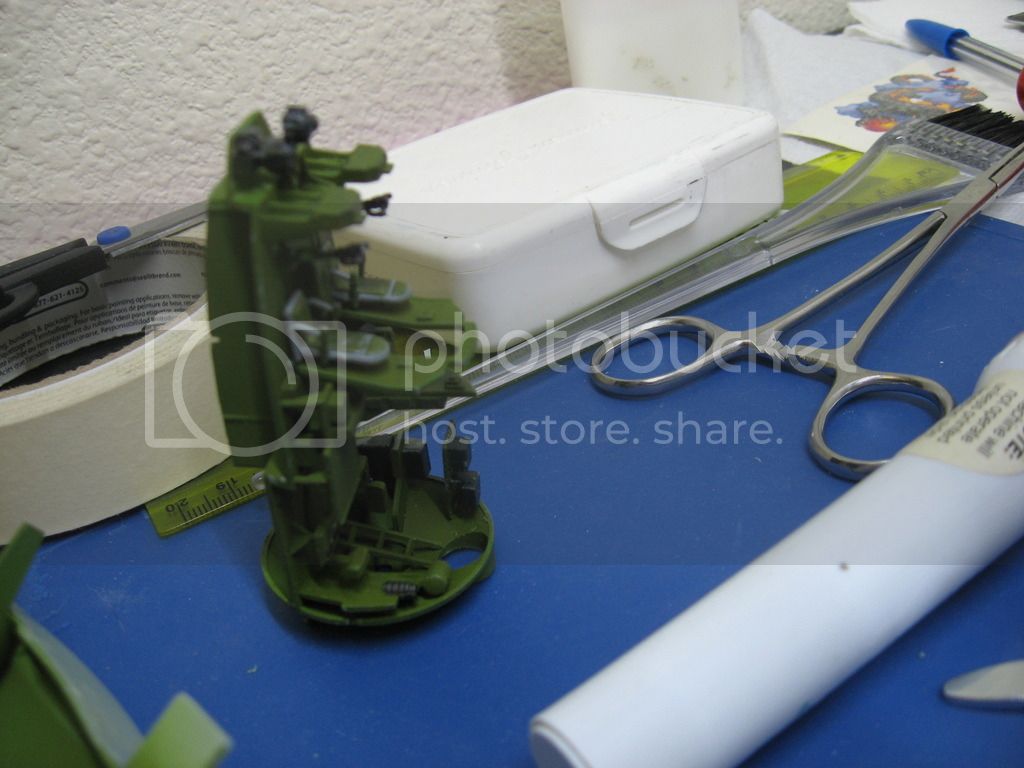
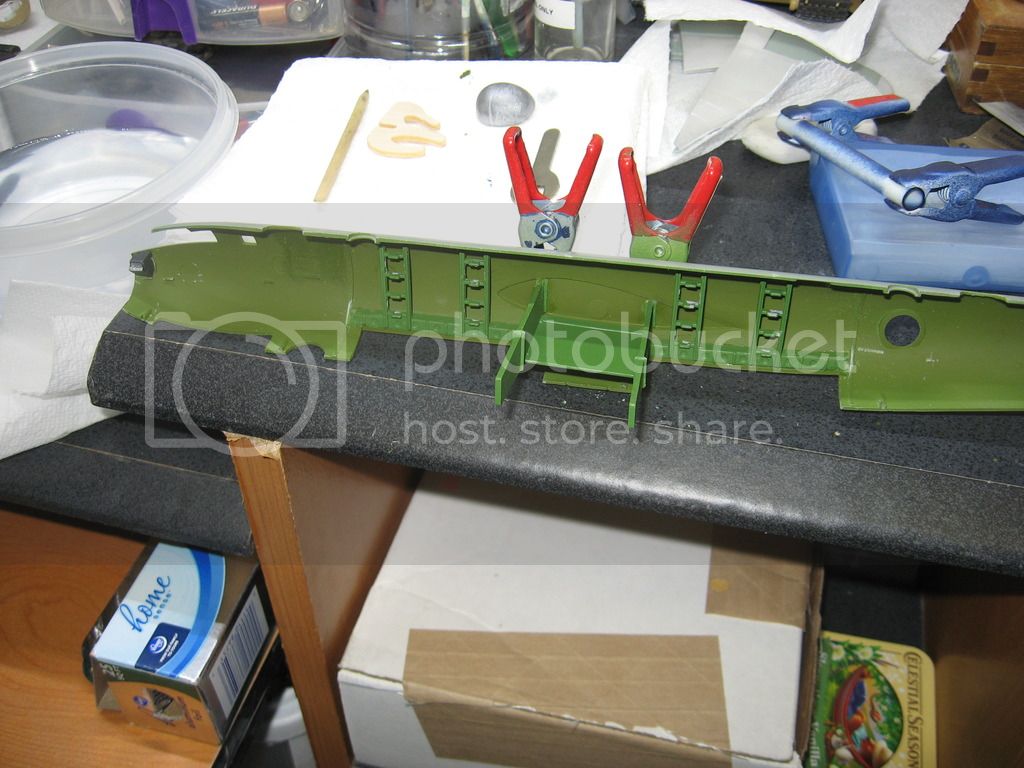
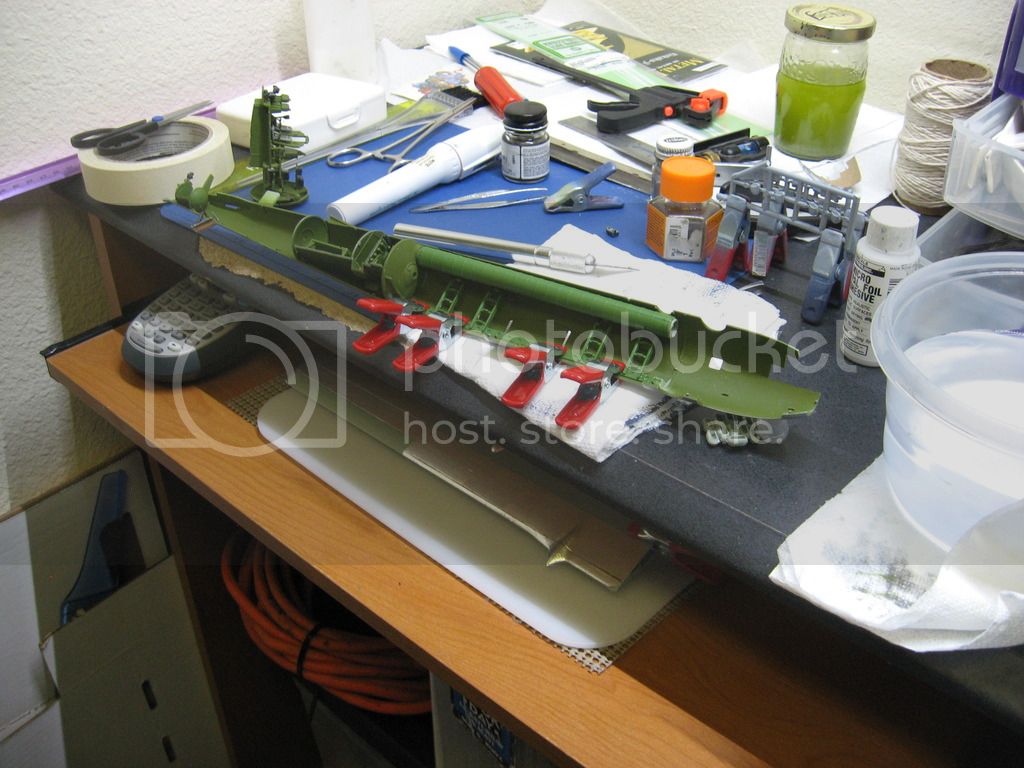
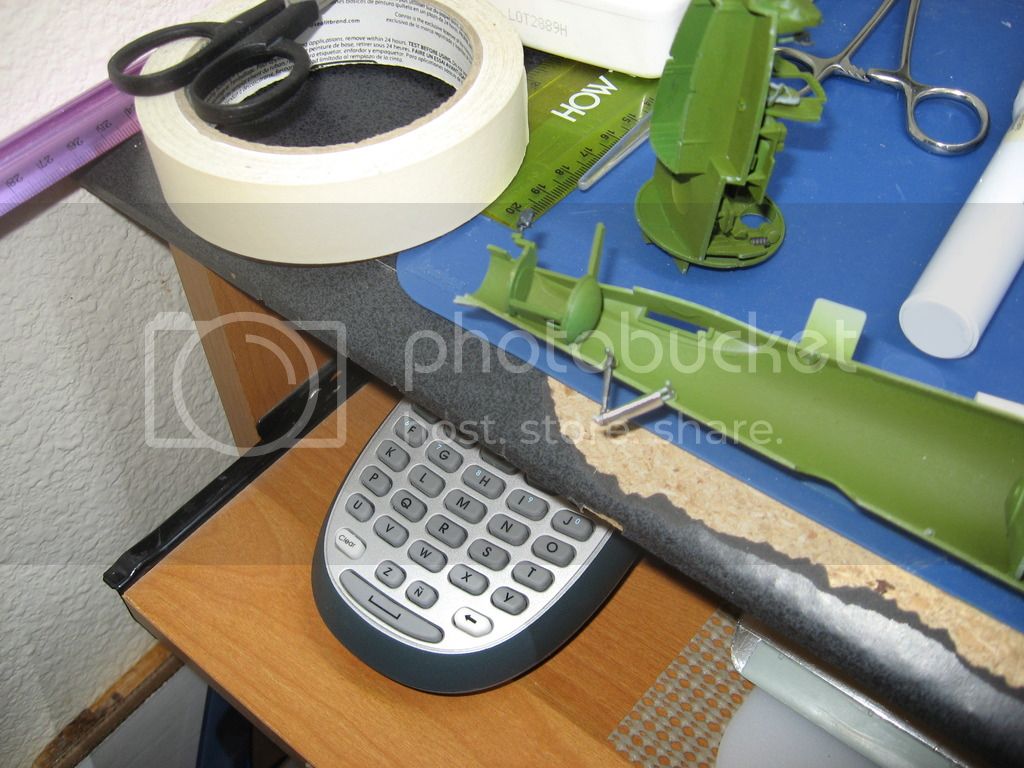
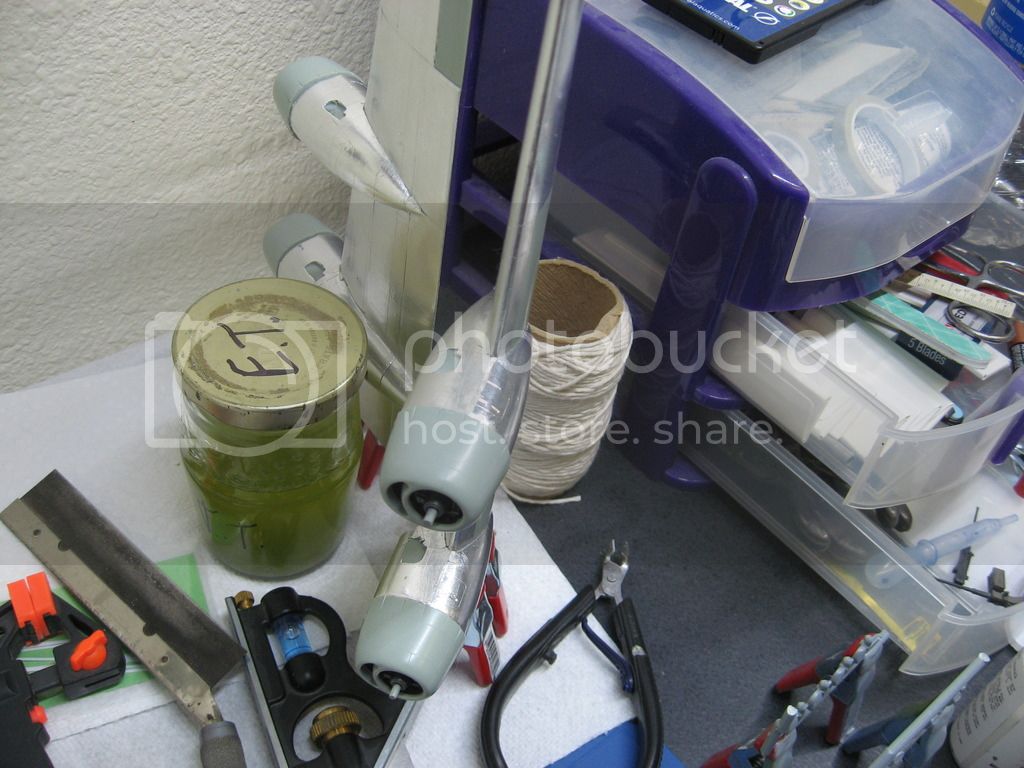
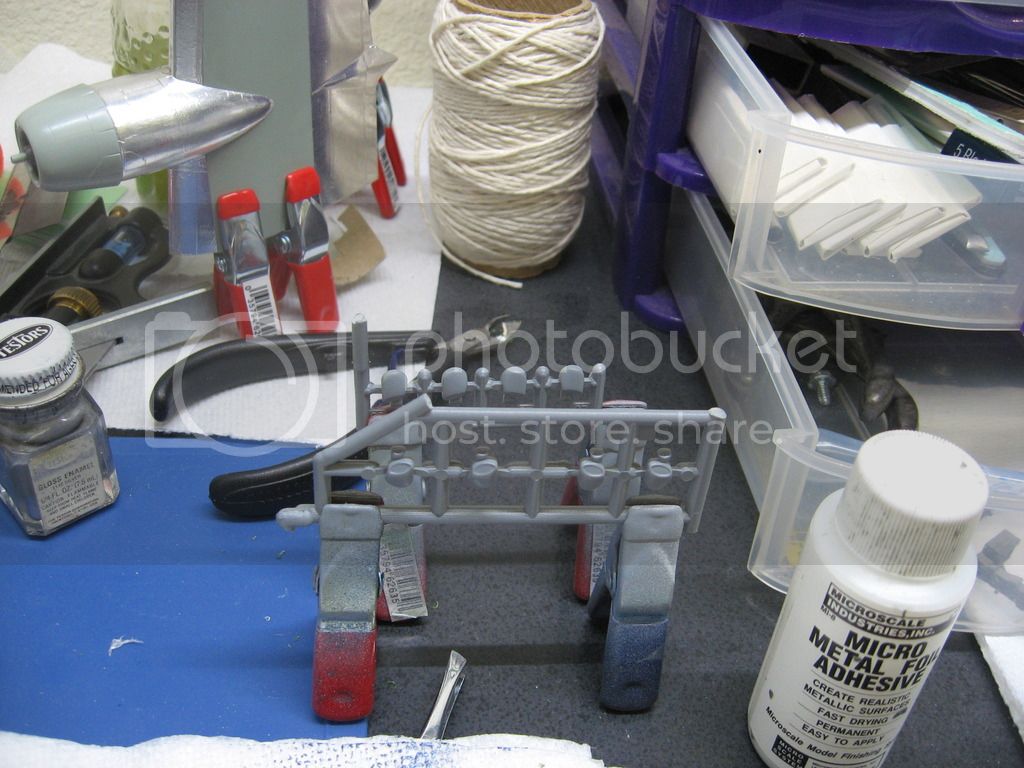
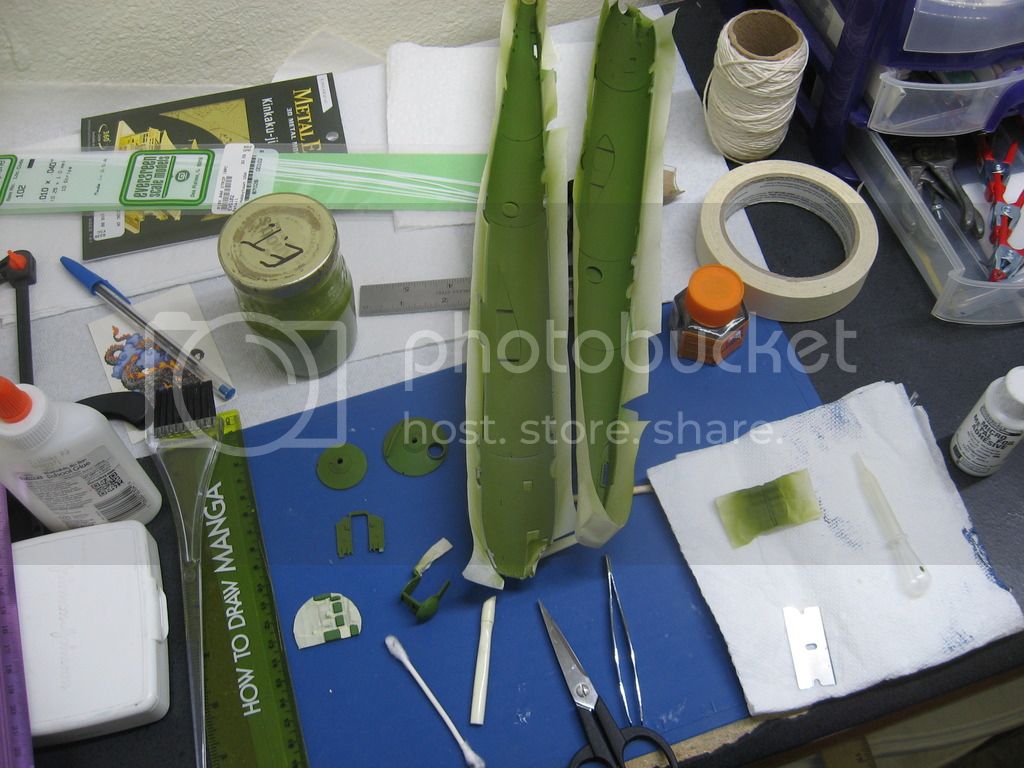
Interior in place. Dry fit exposed some issues with the bomb racks. You'll need to sand down both end so the interior bulk heads fit. Th racks are too long by about a 1/32nd of an inch which makes it hard to get the bulk heads lined up with the other fuselage half. Once you get ready to join the two half's, watch the anti-tail strike gear so the holes line up on the other side. Also, make sure the lower O2 tanks glued in place firmly.Radio's are in the correct position.
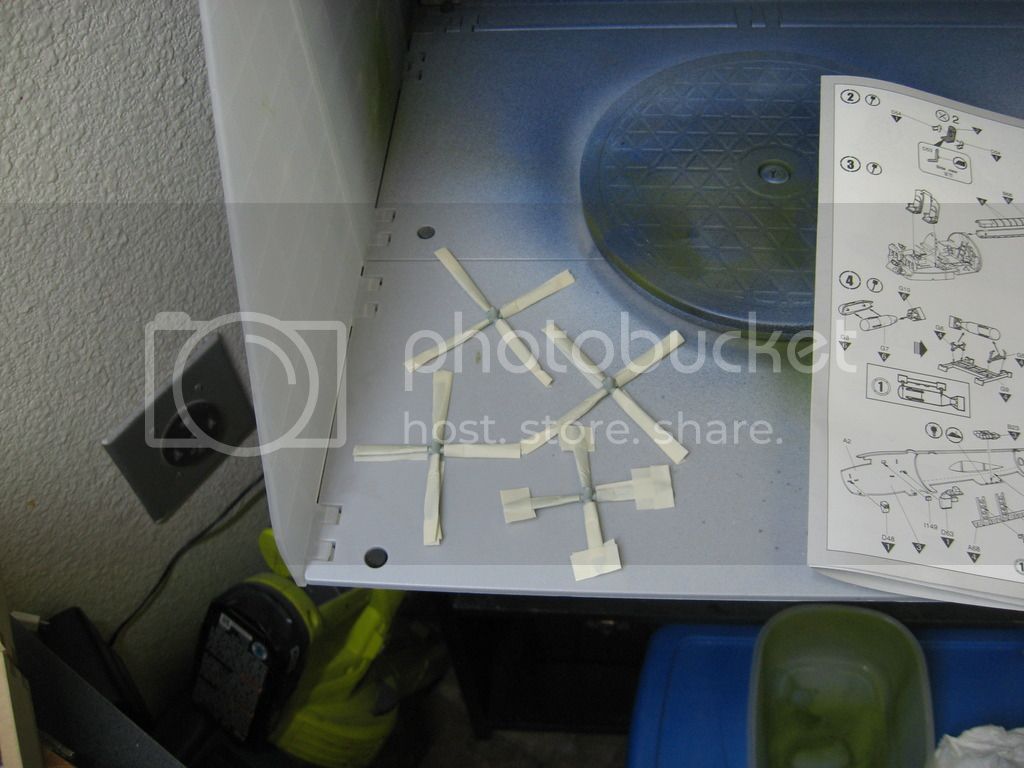
Exhaust ports, landing gear and prop tips are ready for paint. Engines mounted.
Next update I should have the fuselage joined together to start foiling.
See ya in the funnies..........
 |


