Small update:
Holiday's are here and the interior is being a pain. Fit issues and glue not playing nice-nice are the main ones. I'd like to get this wrapped up by the New year.
Anyways, Happy holiday's to all. Have a safe and merry X-mas and New Year.
See ya in the funnies............
Hosted by Rowan Baylis
Academy's 1/72nd B-29A Build review.
BigfootV

Joined: December 24, 2005
KitMaker: 1,624 posts
AeroScale: 385 posts

Posted: Wednesday, December 21, 2016 - 01:41 AM UTC
Joel_W

Joined: December 04, 2010
KitMaker: 11,666 posts
AeroScale: 7,410 posts

Posted: Wednesday, December 21, 2016 - 04:20 AM UTC
Brian,
Looking forward to seeing the Fuselage closed up. That's always a major milestone in a build.
Joel
Looking forward to seeing the Fuselage closed up. That's always a major milestone in a build.
Joel
BigfootV

Joined: December 24, 2005
KitMaker: 1,624 posts
AeroScale: 385 posts

Posted: Monday, December 26, 2016 - 09:43 PM UTC
Hello Joel,
Thanks. It will be a while before foiling starts on the fuselage.
Here's a update:
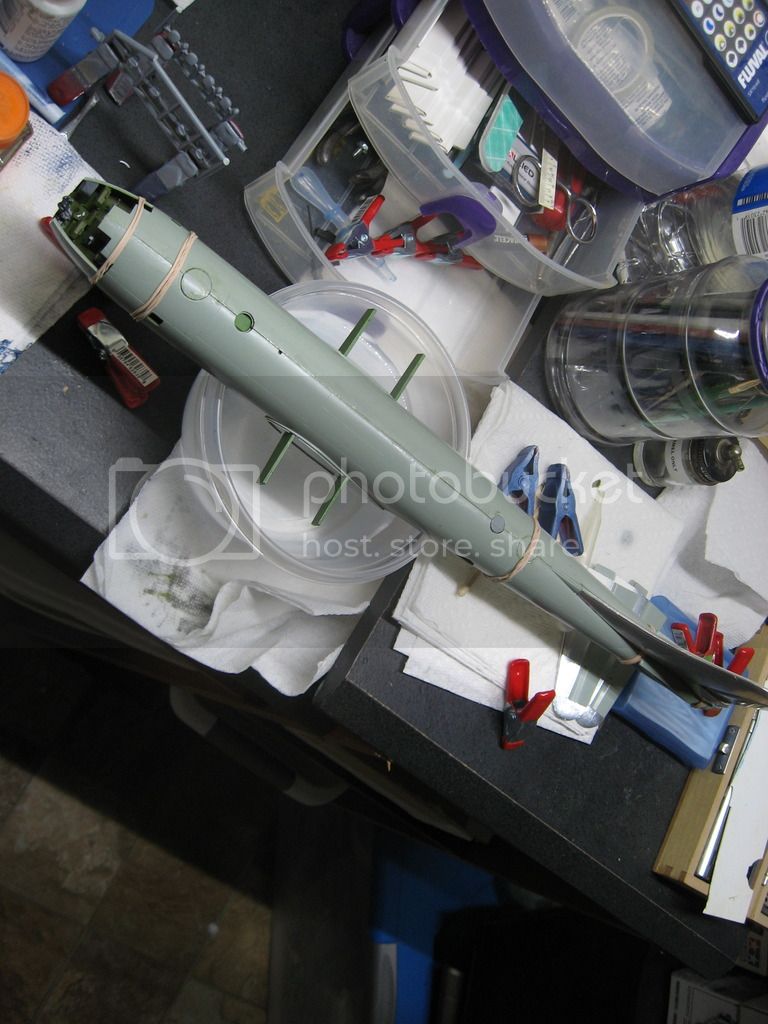
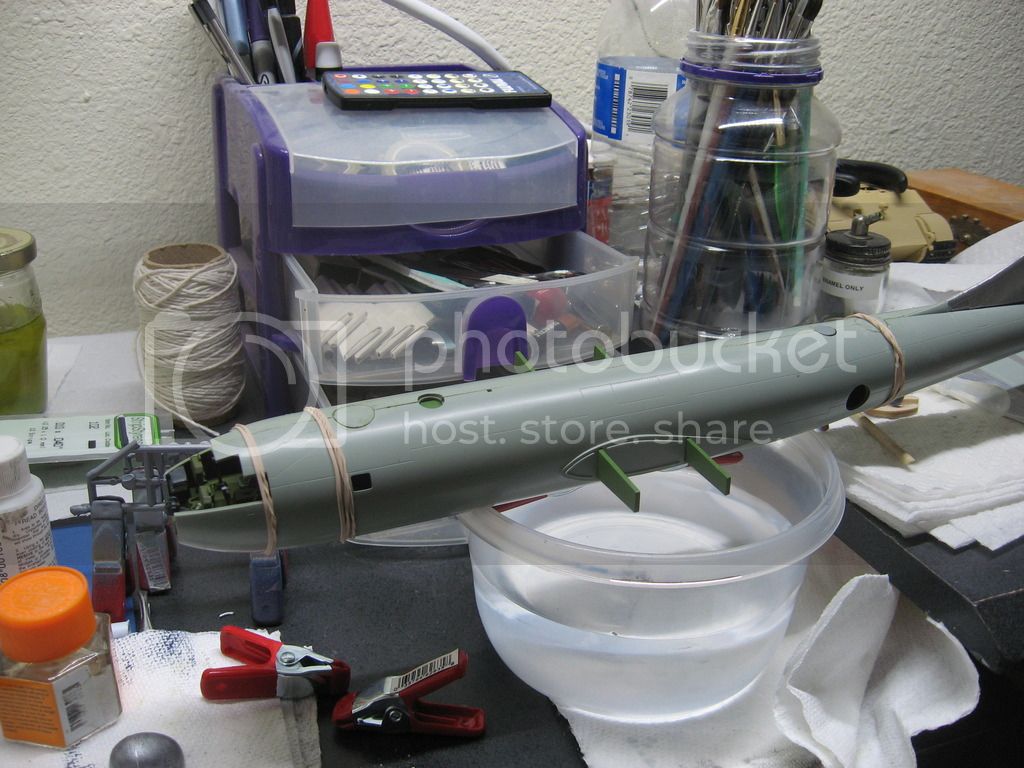
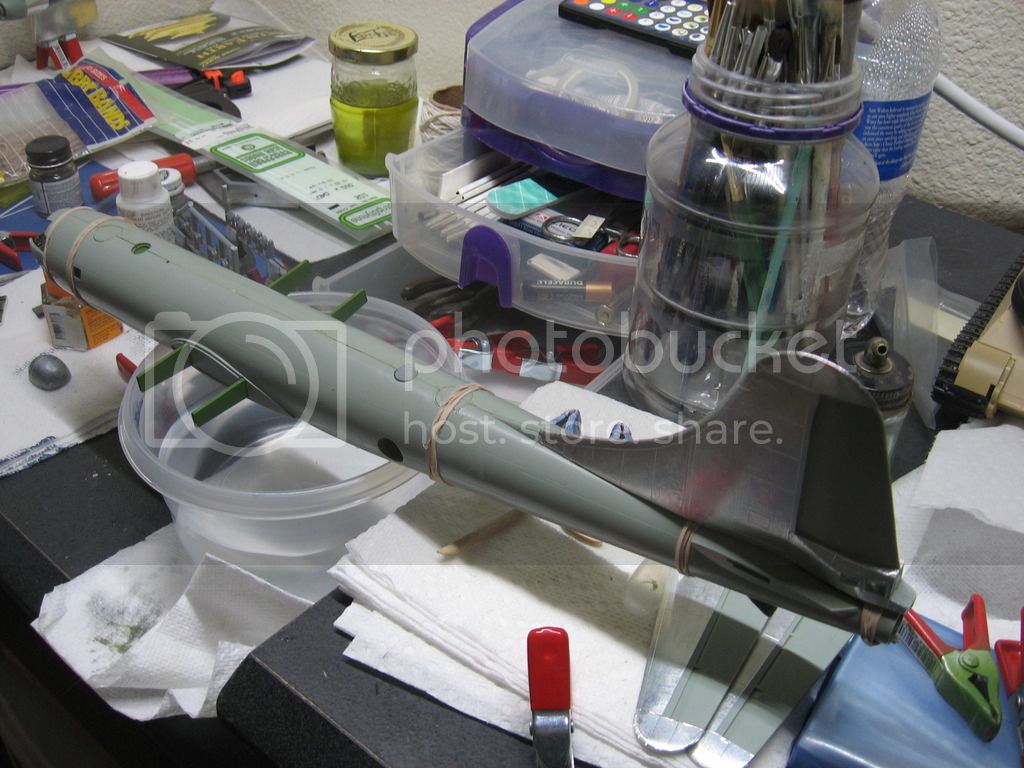
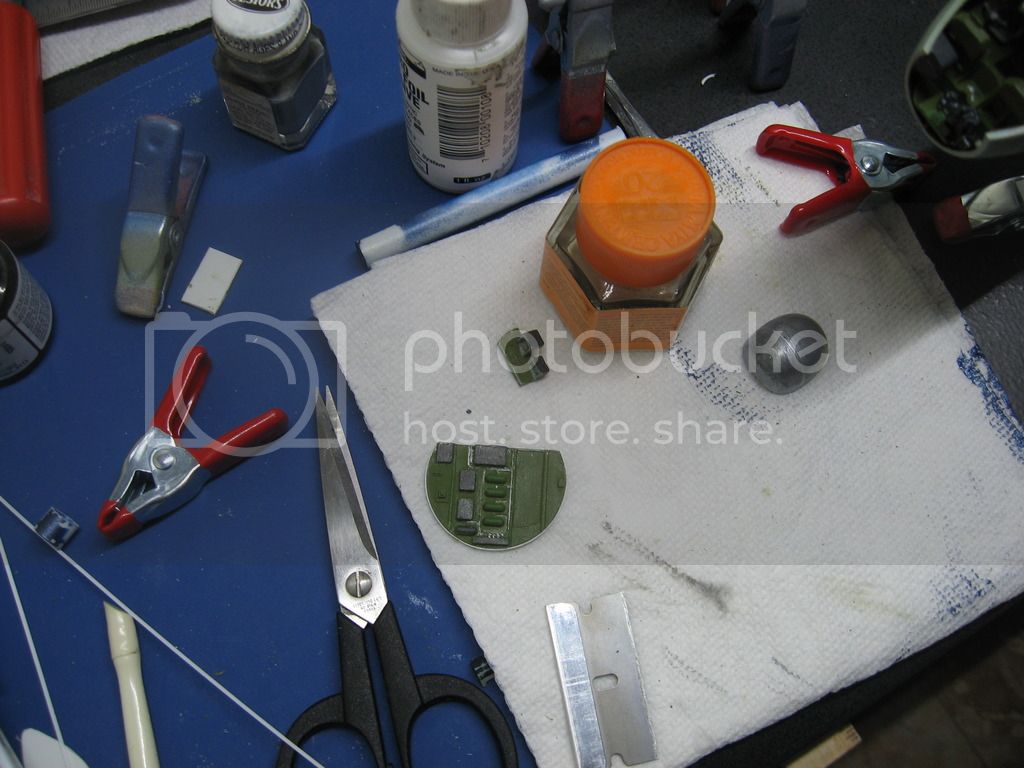
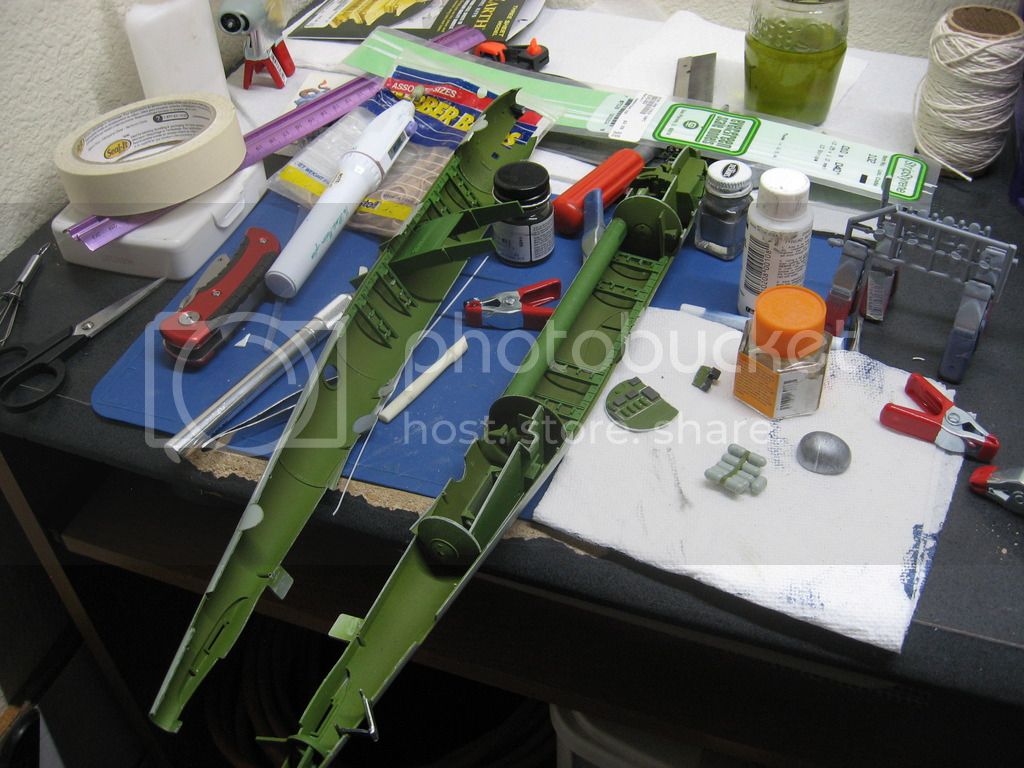
Had to leave one of the bulkheads out due to fit issues. I has about a .025 gap in the gunners area which bowed the fuselage out. The radio's didn't make it inside either. Oh well.
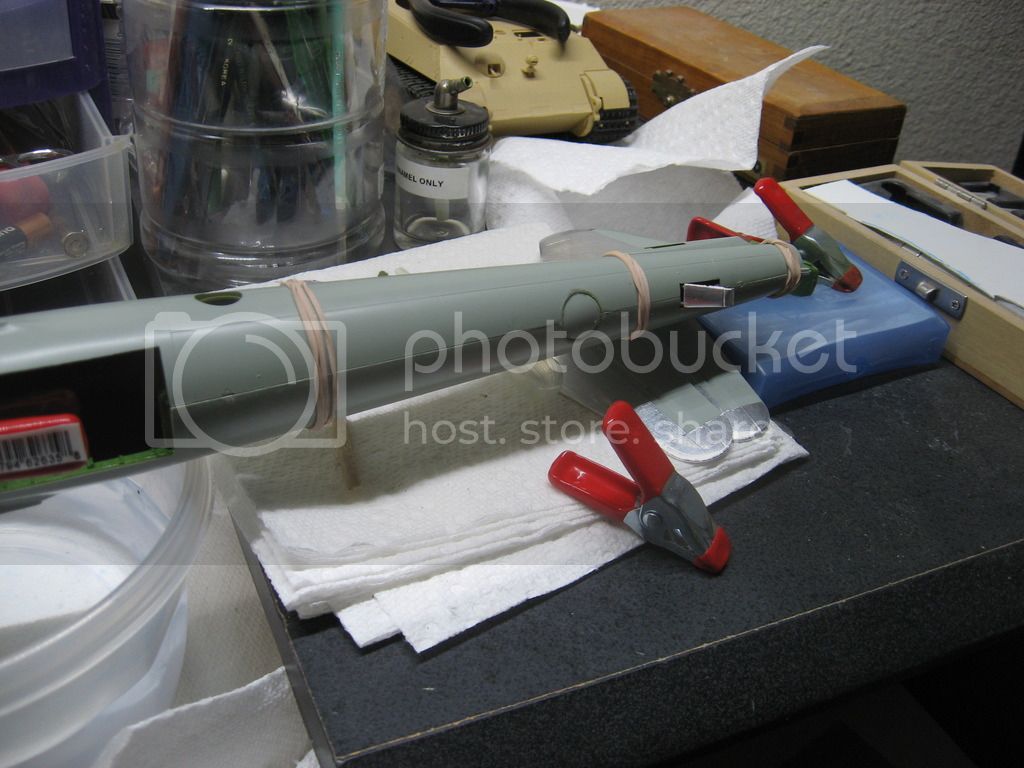
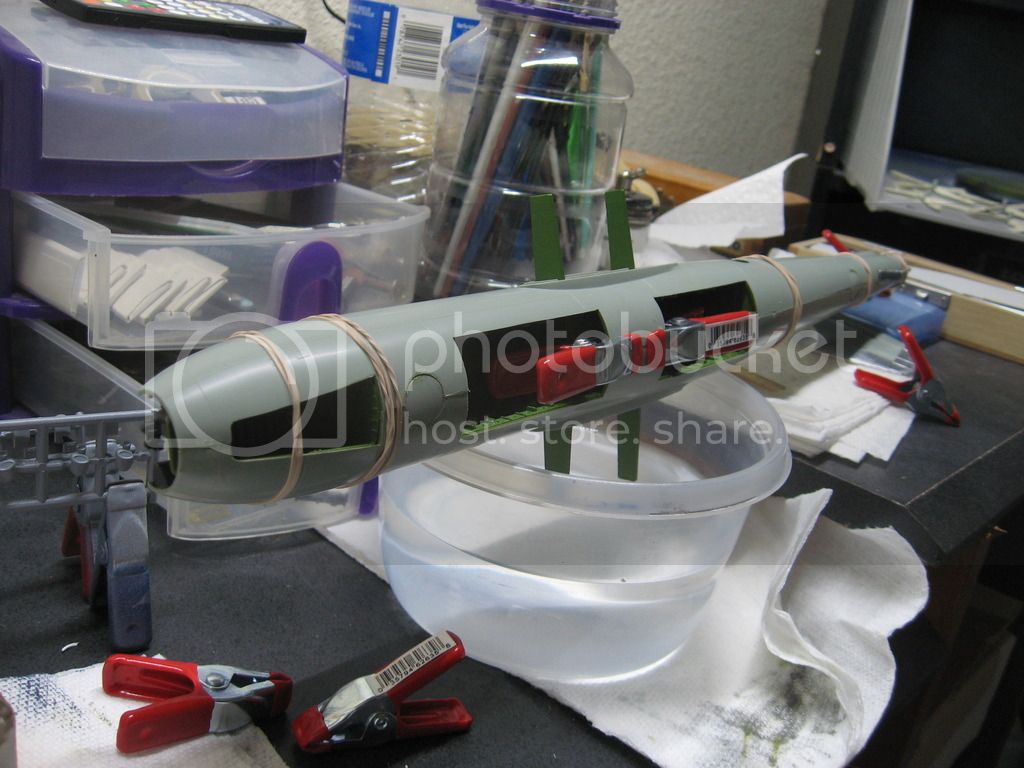
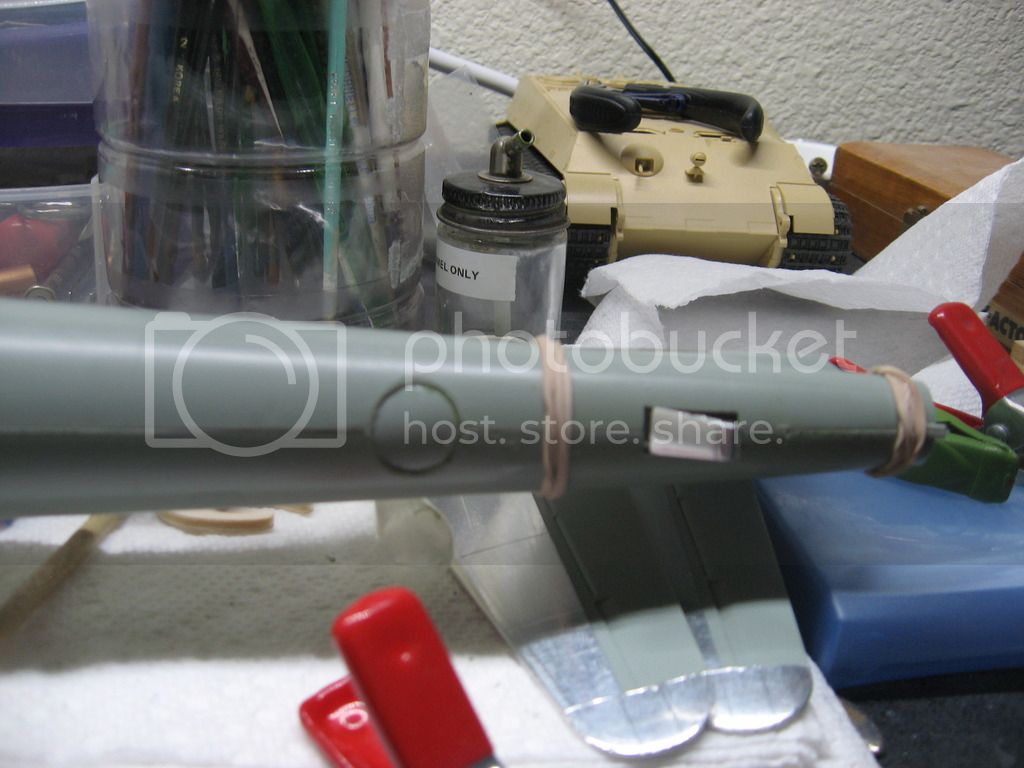
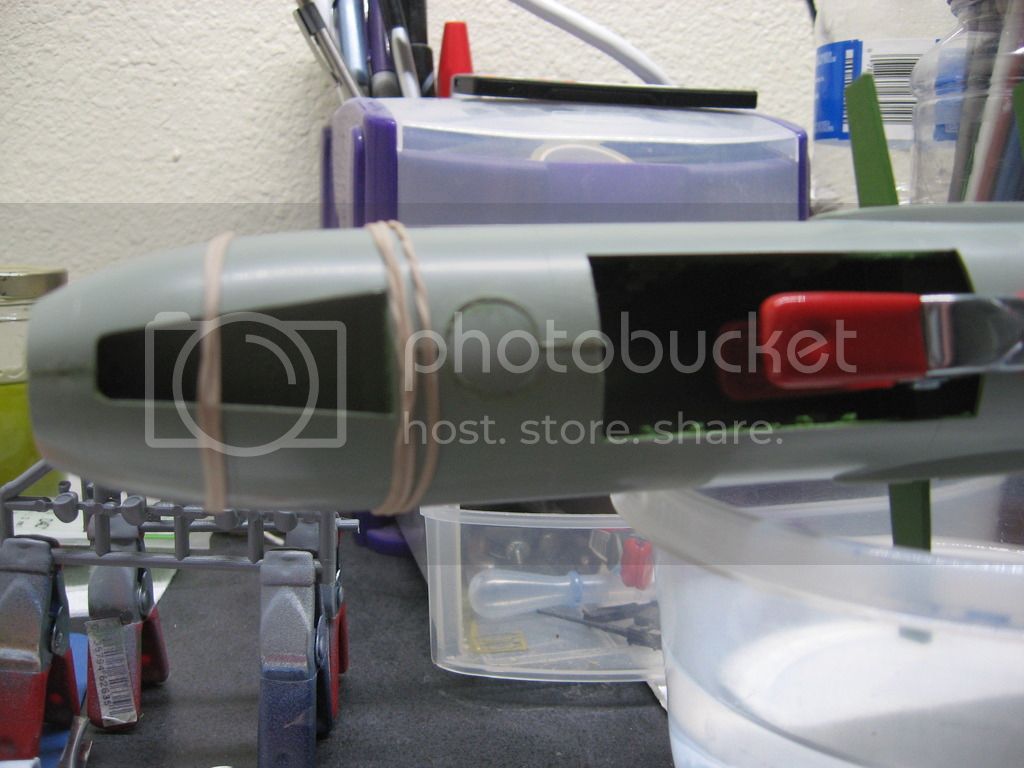
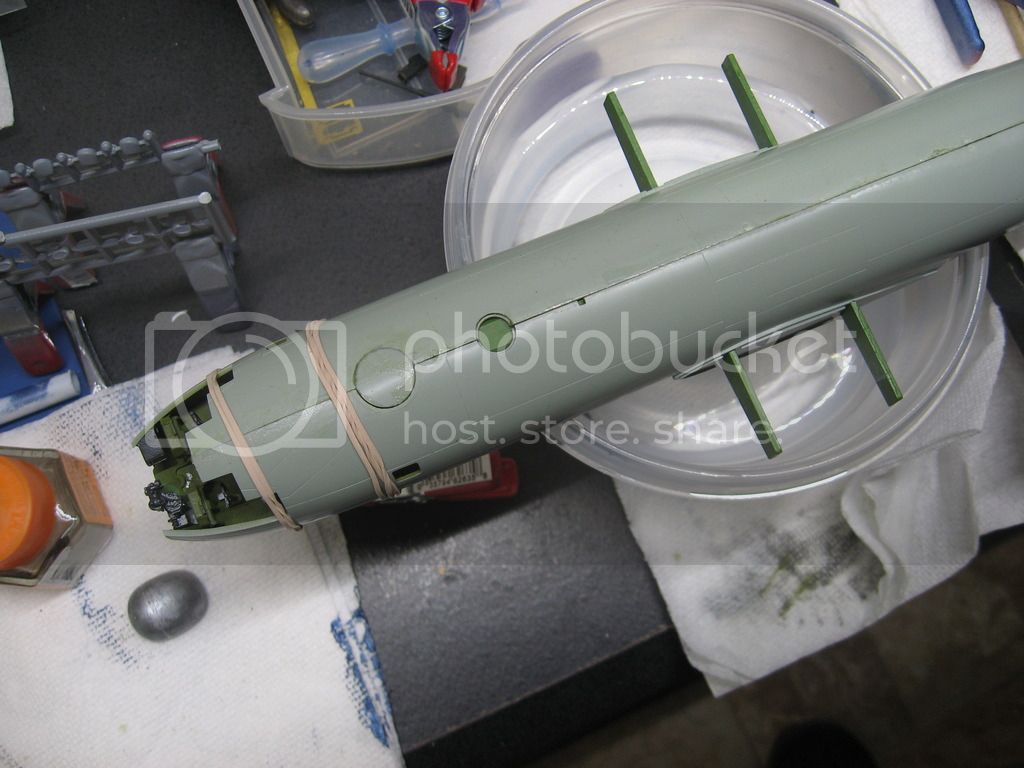
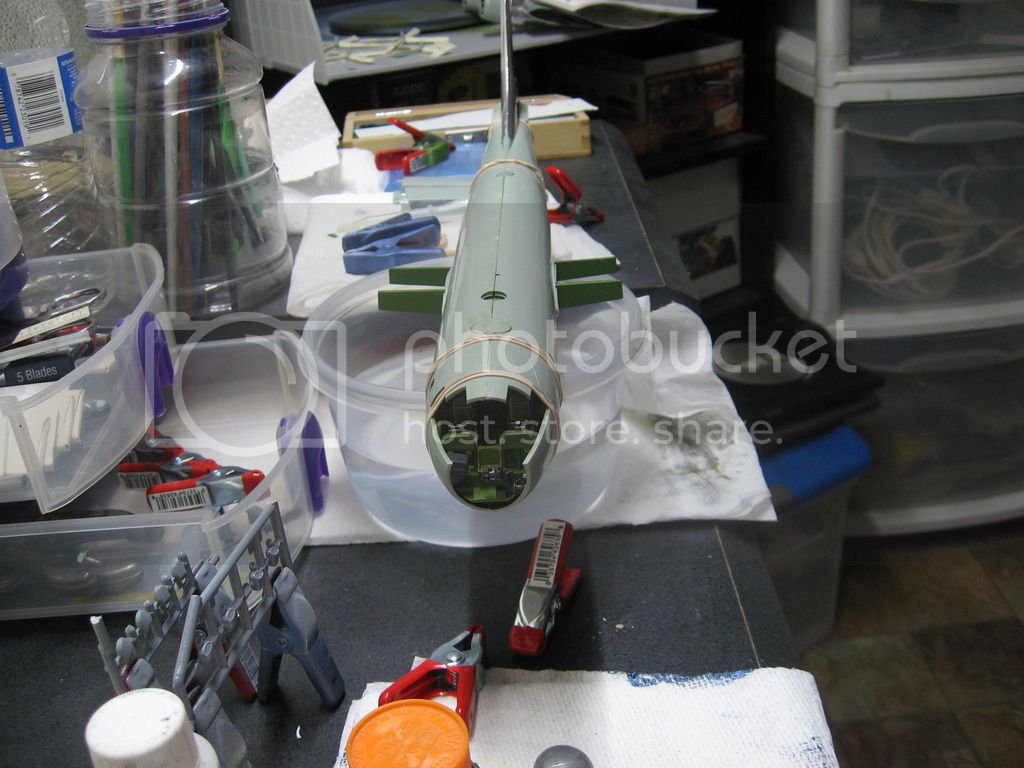
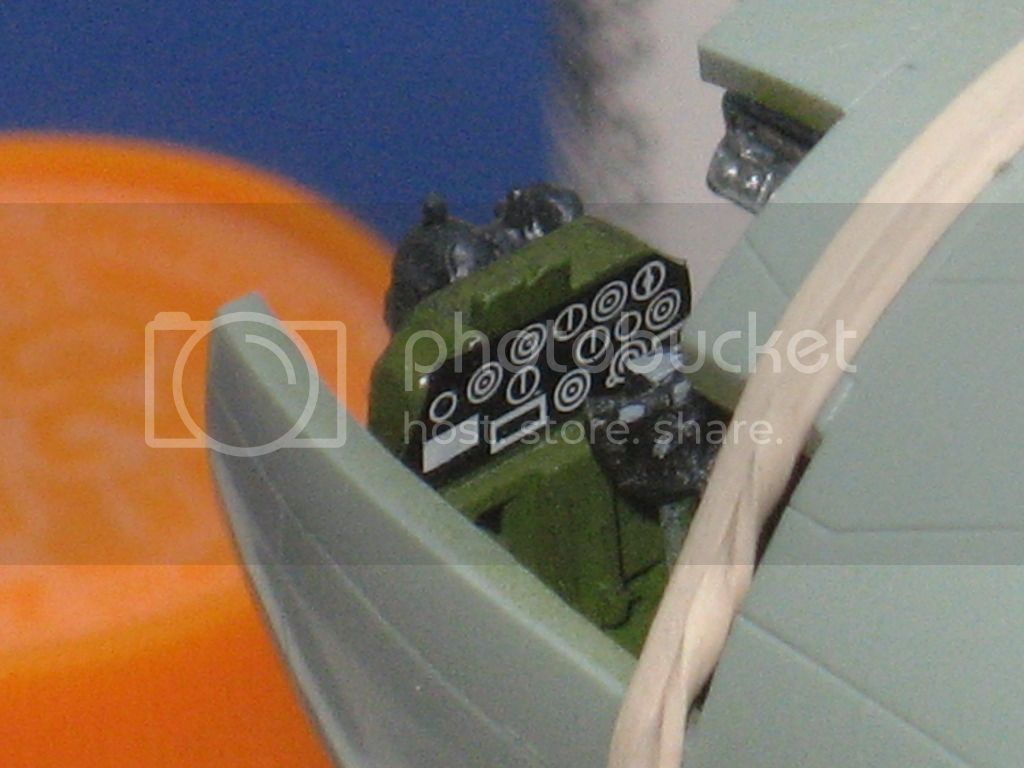
Pilot's side. Decals are over sized.
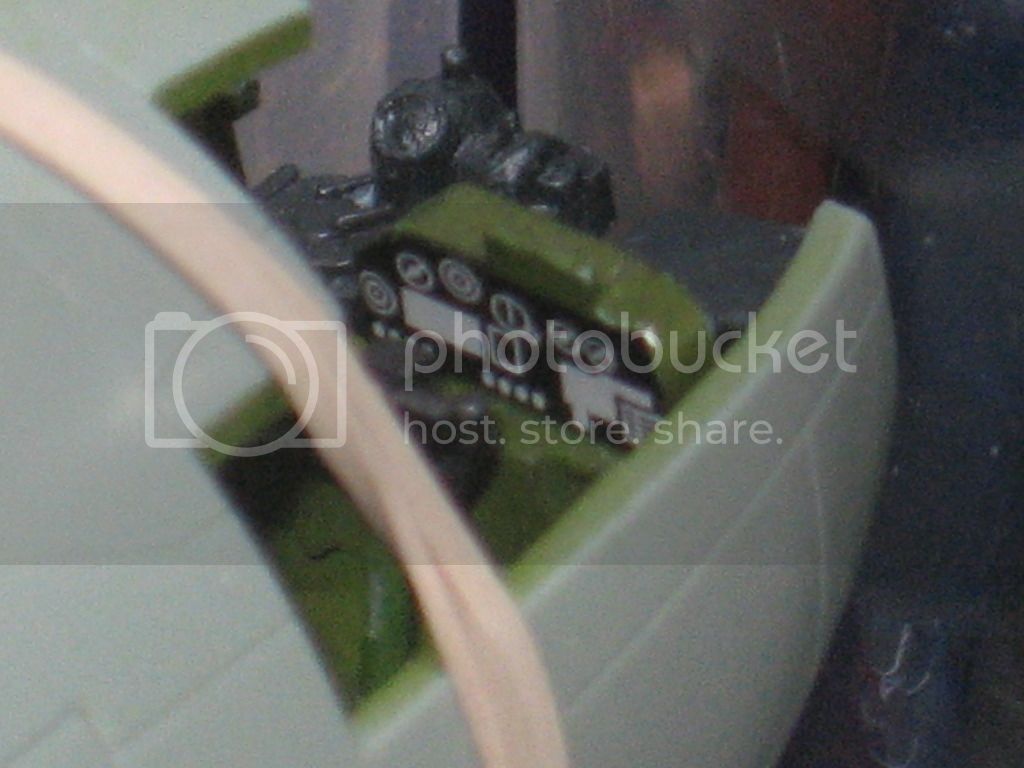
Co-pilot's side.
This was my third attempt at getting it together. Finally got it.
Note: When adding the turret blanks, use backing on the interior side before mating the two half's together. The blanks will come out if not supported.
As you can see in the photo's I've got many high and low spots running down the spine and underside of the fuselage.
See ya in the funnies.................
Thanks. It will be a while before foiling starts on the fuselage.
Here's a update:


Had to leave one of the bulkheads out due to fit issues. I has about a .025 gap in the gunners area which bowed the fuselage out. The radio's didn't make it inside either. Oh well.


Pilot's side. Decals are over sized.

Co-pilot's side.
This was my third attempt at getting it together. Finally got it.
Note: When adding the turret blanks, use backing on the interior side before mating the two half's together. The blanks will come out if not supported.
As you can see in the photo's I've got many high and low spots running down the spine and underside of the fuselage.
See ya in the funnies.................
Posted: Thursday, December 29, 2016 - 06:30 PM UTC
Brian,
I'm enjoying following your build, especially the foiling.
Looking forward to seeing the finished result.
I also never knew the kit had so many alternative parts to build other variants. I've always wanted to build one as an RAF Washington and it looks like this might be the kit to use.
I'm enjoying following your build, especially the foiling.
Looking forward to seeing the finished result.
I also never knew the kit had so many alternative parts to build other variants. I've always wanted to build one as an RAF Washington and it looks like this might be the kit to use.
BigfootV

Joined: December 24, 2005
KitMaker: 1,624 posts
AeroScale: 385 posts

Posted: Thursday, December 29, 2016 - 10:36 PM UTC
Hello Stephen,
Thanks for stopping by. You could get away with doing a RAF Washington by using this kit. The only thing you'd have to do is omit the 20mm in the tail.
The B-50 version, not so much. After doing some research you'd have to get new nacelles/cowlings for the B-50 version. The airframe for the B-50 is the same, just the engines were changed to the R-4360's. Also you'd have to add two under wing pylon tanks. For a KB-50J version, one would have to add two jet engines plus the pylon tanks, then modify the tail section to house the fuel boom.
I'll be posting some photo's later day. I had to split the fuselage....again and make repairs.


I'm having a love/hate thing with the kit right now.........
See ya in the funnies...............
Thanks for stopping by. You could get away with doing a RAF Washington by using this kit. The only thing you'd have to do is omit the 20mm in the tail.
The B-50 version, not so much. After doing some research you'd have to get new nacelles/cowlings for the B-50 version. The airframe for the B-50 is the same, just the engines were changed to the R-4360's. Also you'd have to add two under wing pylon tanks. For a KB-50J version, one would have to add two jet engines plus the pylon tanks, then modify the tail section to house the fuel boom.
I'll be posting some photo's later day. I had to split the fuselage....again and make repairs.


I'm having a love/hate thing with the kit right now.........
See ya in the funnies...............
Posted: Friday, December 30, 2016 - 12:47 AM UTC
I've had plenty of kits like that. I think we all have at some point.
Keep at it, it will be worth the effort.
Thanks for the extra bit of info. I have got some pics of Washington's in a book somewhere that I need to dig out. Iirc some were stripped of weapons and fitted with various blisters and antenna for the sigint role. Might be an interesting alternative if I can find references.
BigfootV

Joined: December 24, 2005
KitMaker: 1,624 posts
AeroScale: 385 posts

Posted: Friday, December 30, 2016 - 12:49 AM UTC
I've got a mixed update today, some good, some not so good.
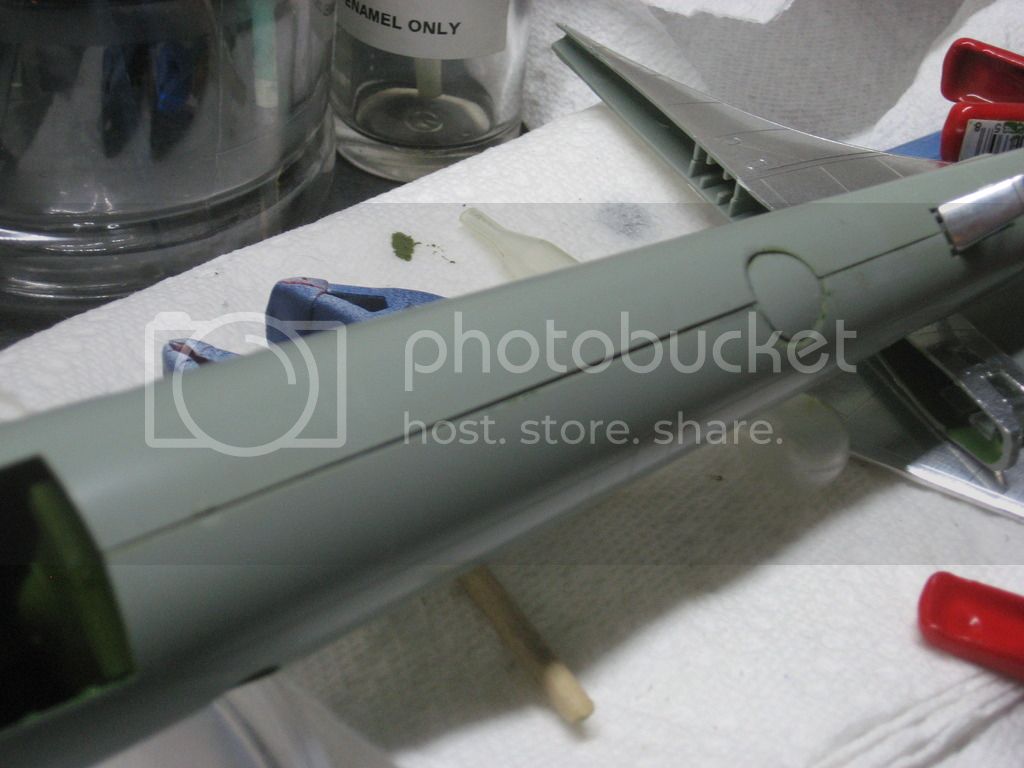
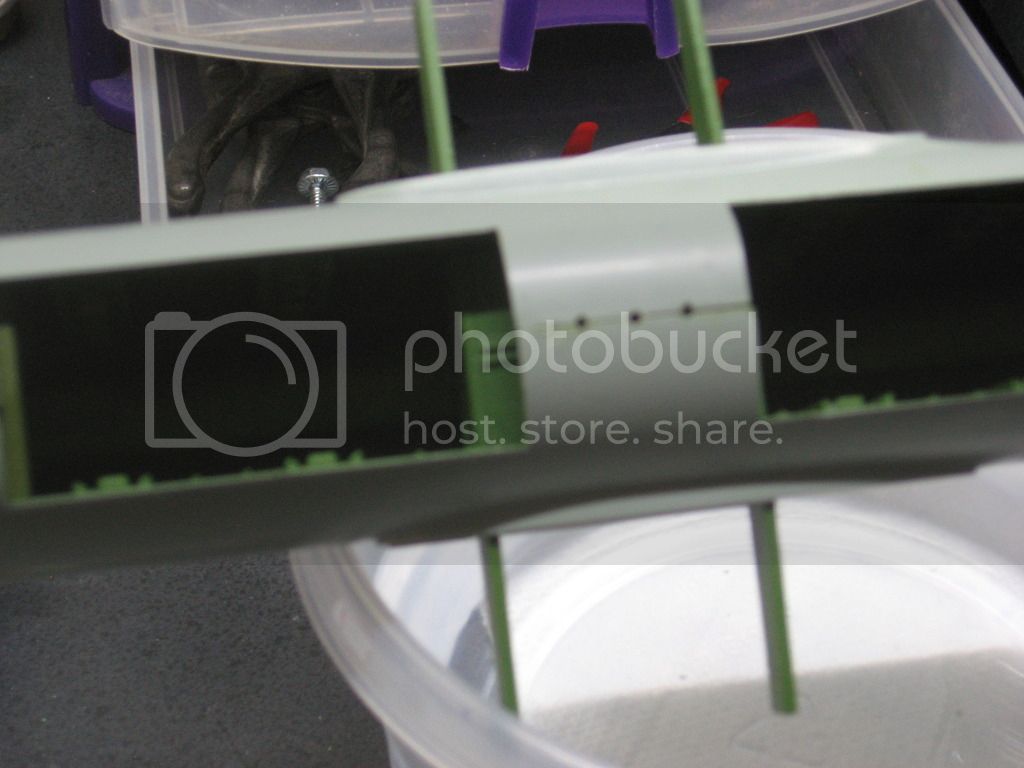
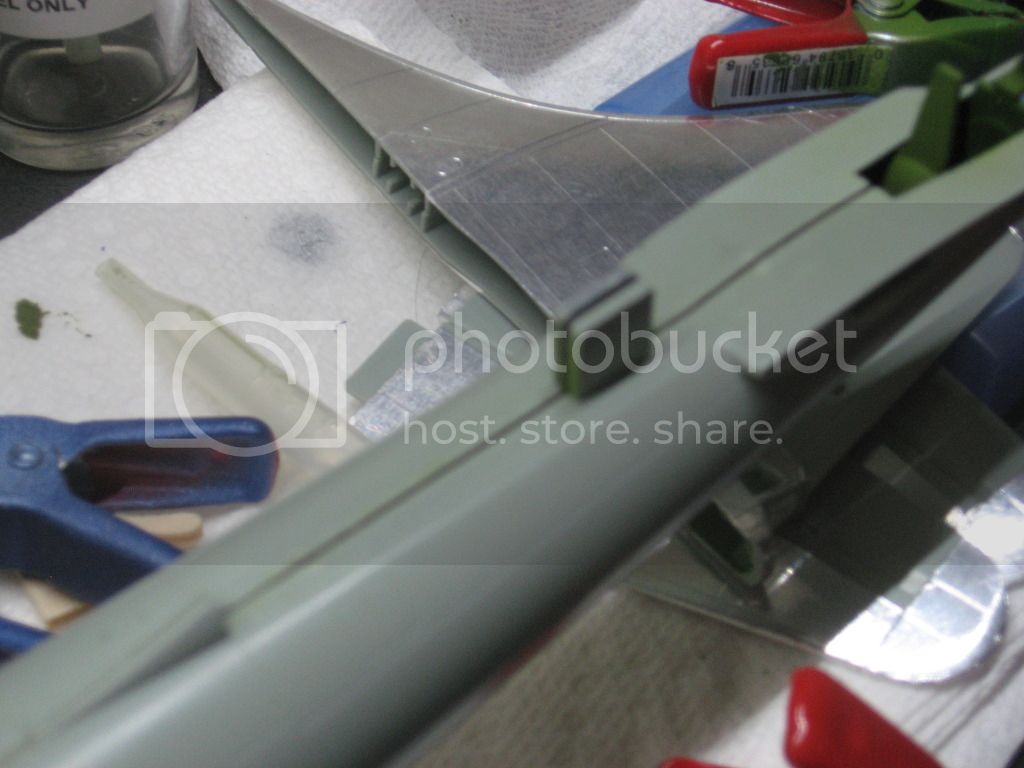
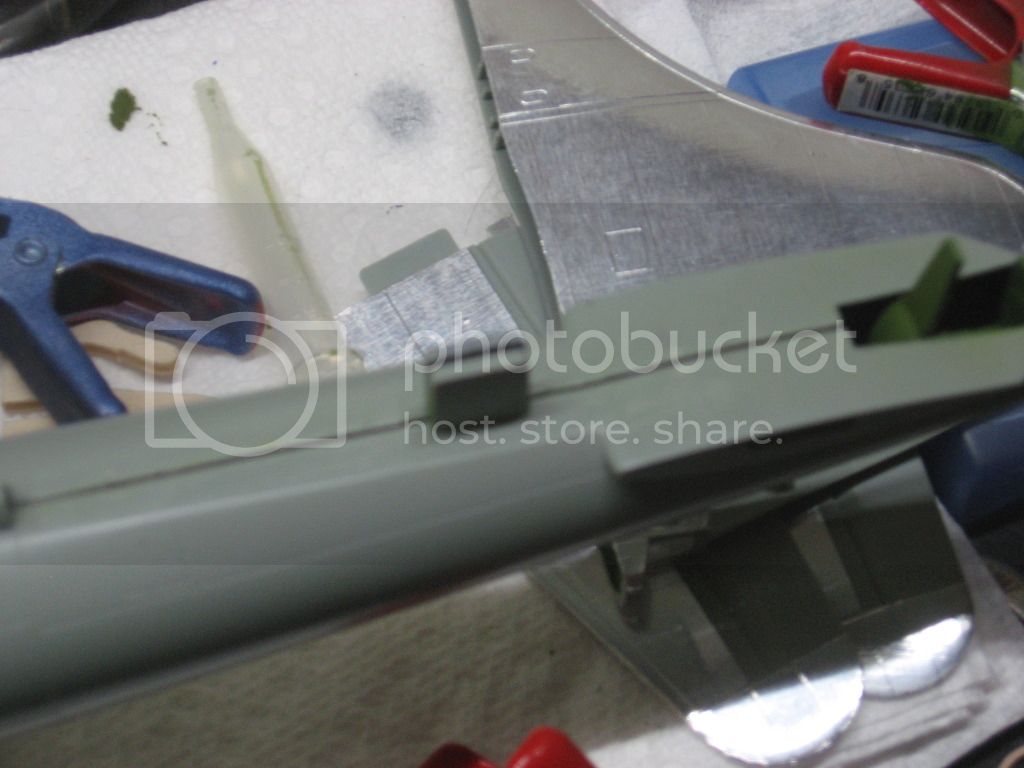
Let's start with the not so good......Once again I had to redo the fuselage after I removed the rubber bands.....it's getting a little old. This is what greeted me........


So, I switch to final foiling of the control surfaces. I used BMF on them.
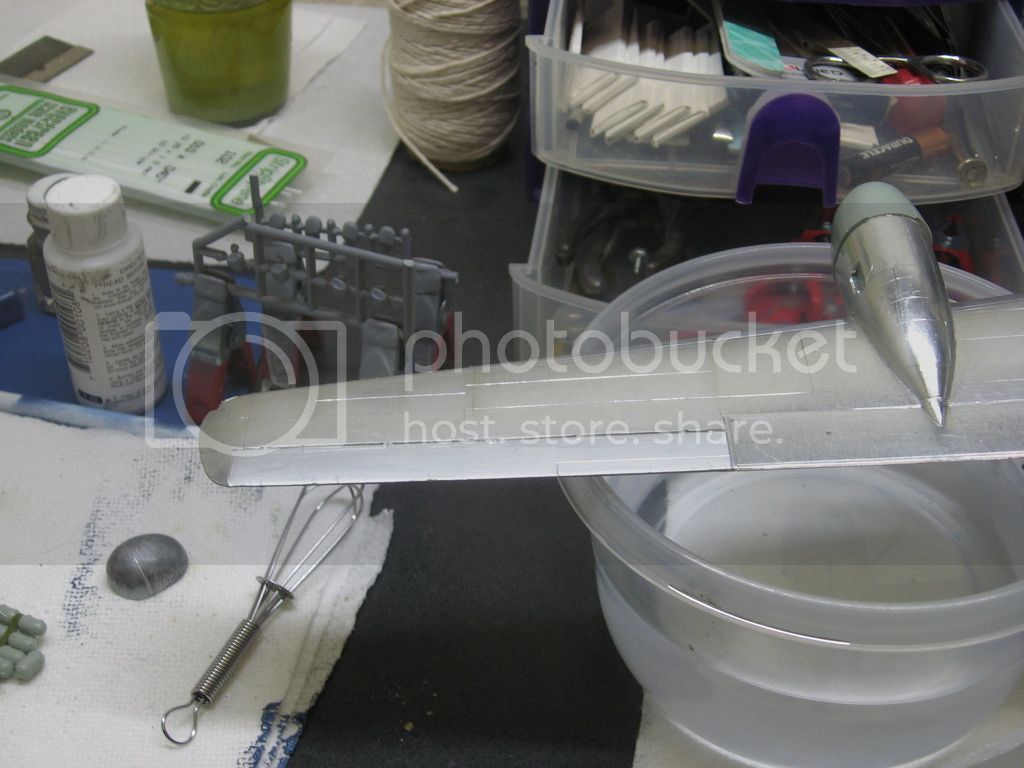
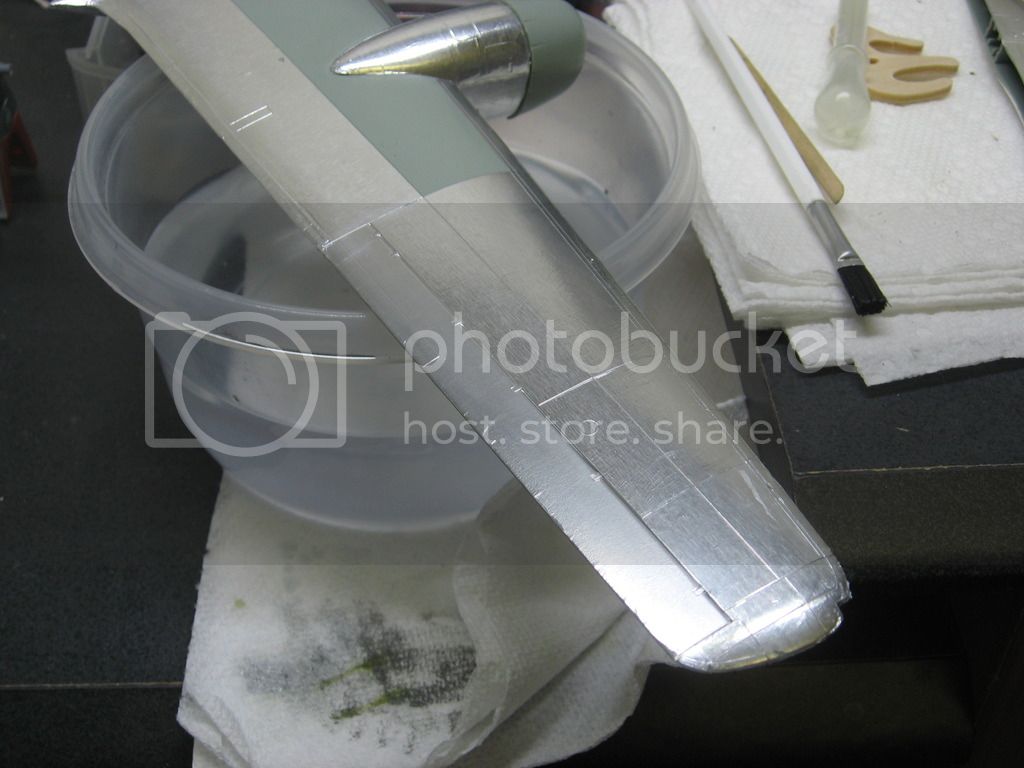
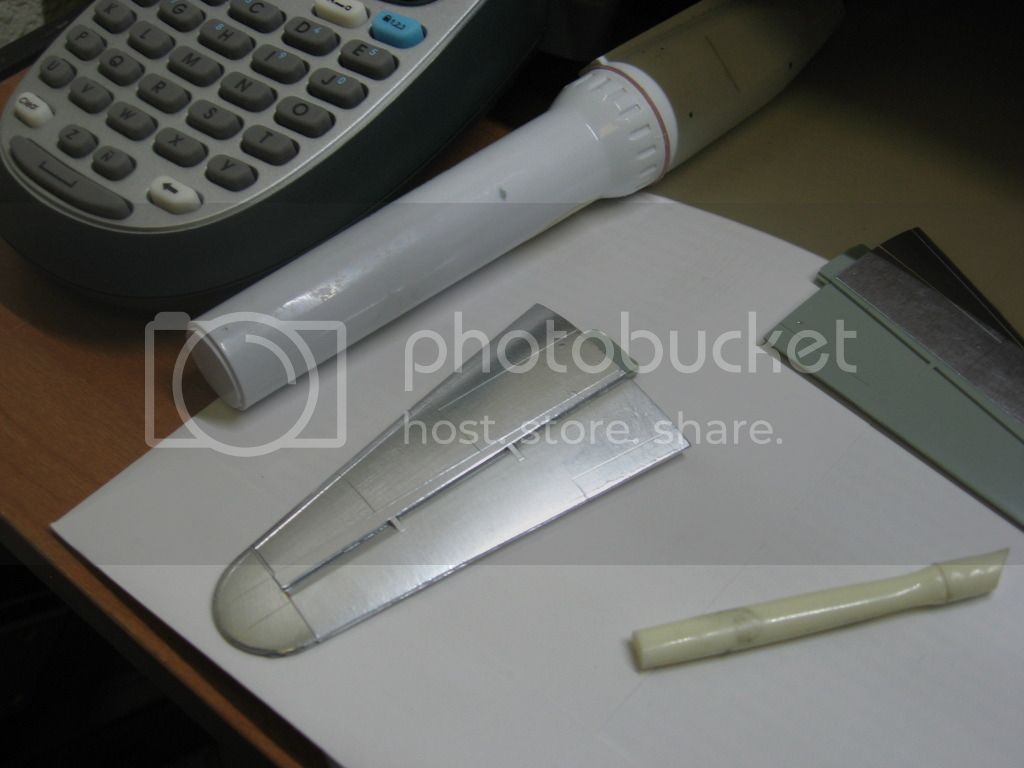
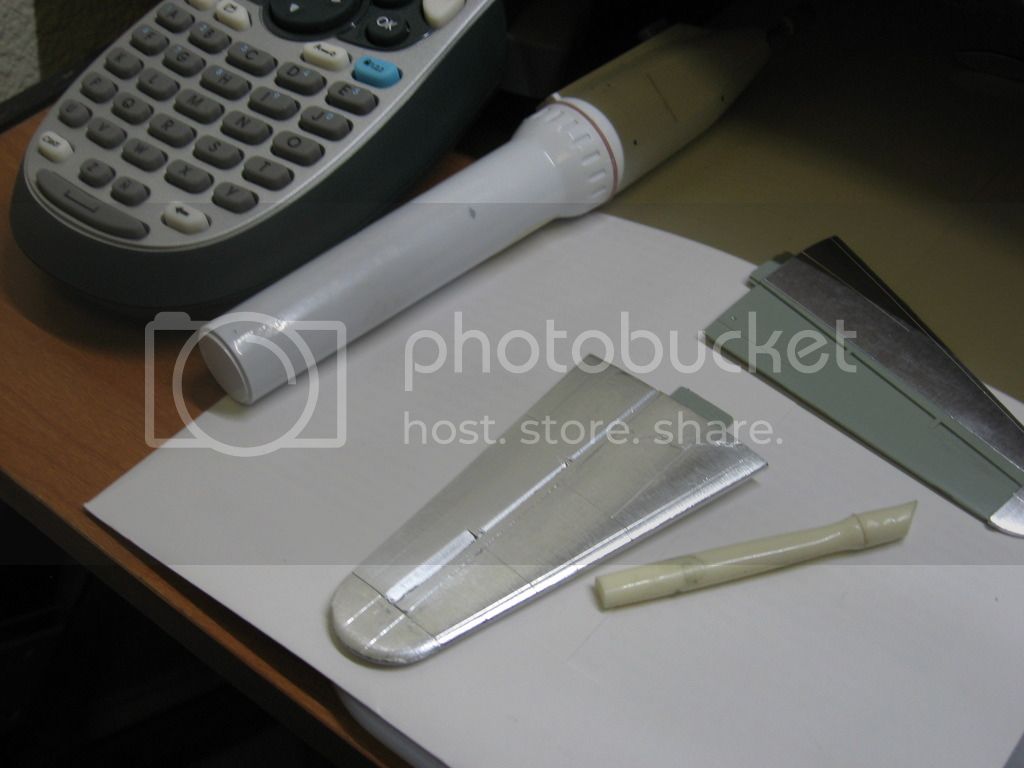
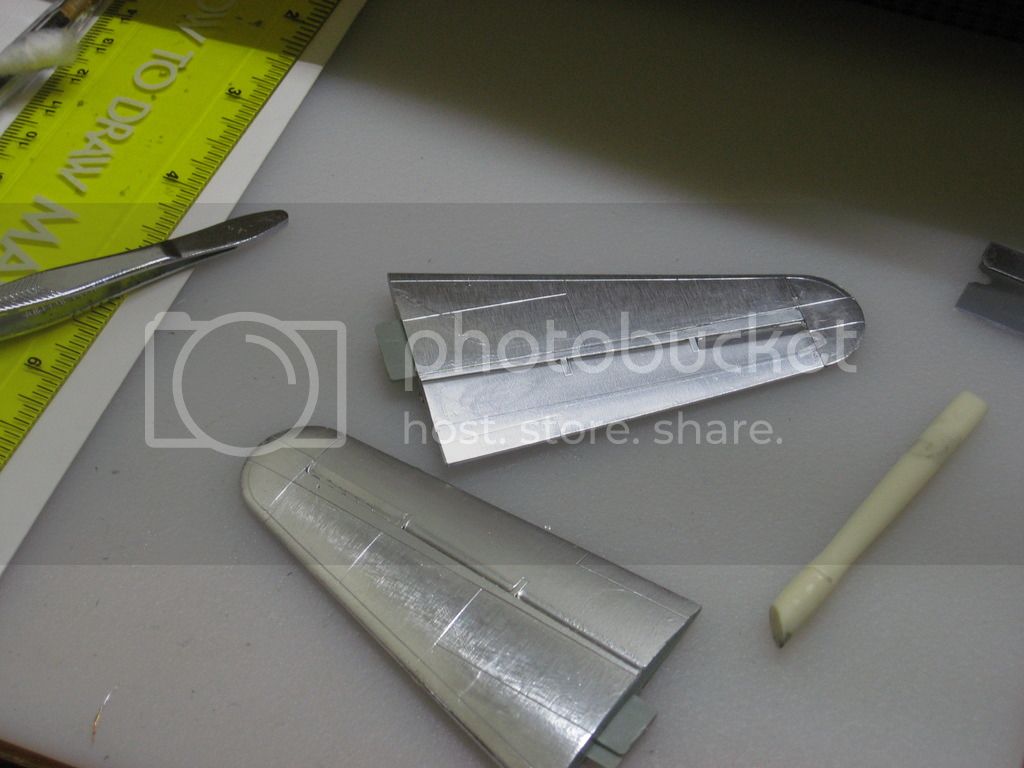
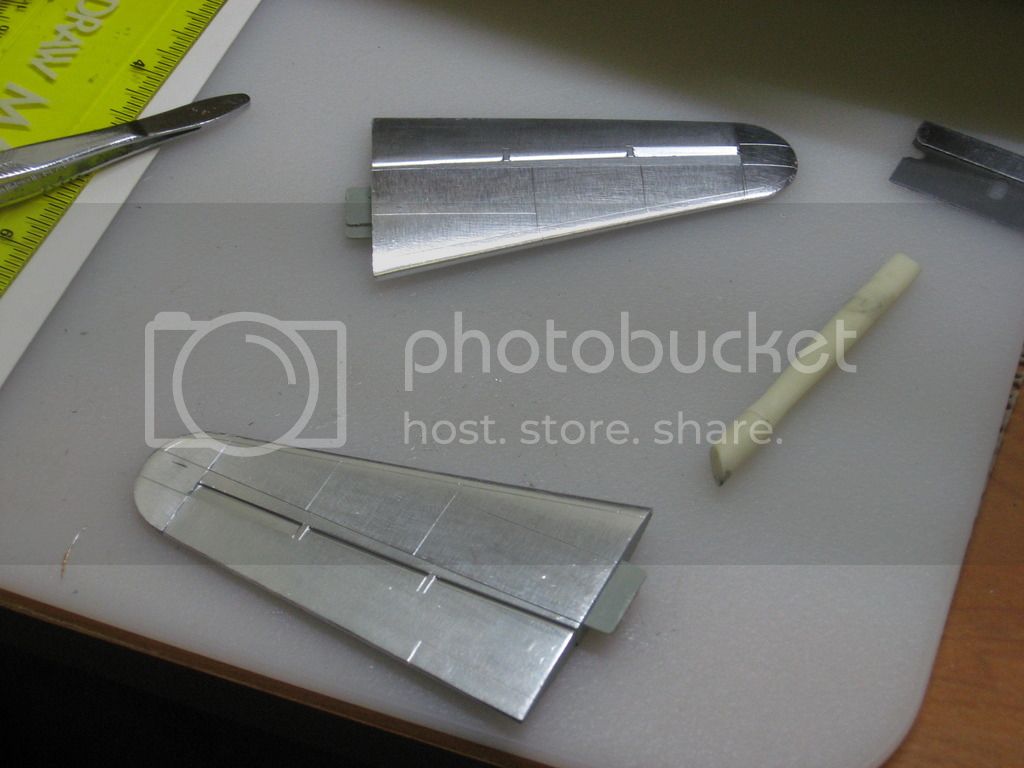
I hope to have the tail, the other wing flap done and start on the larger wing areas.
I hope everyone has a safe and Happy New Year.
See ya in the funnies............

Let's start with the not so good......Once again I had to redo the fuselage after I removed the rubber bands.....it's getting a little old. This is what greeted me........


So, I switch to final foiling of the control surfaces. I used BMF on them.


I hope to have the tail, the other wing flap done and start on the larger wing areas.
I hope everyone has a safe and Happy New Year.
See ya in the funnies............


BigfootV

Joined: December 24, 2005
KitMaker: 1,624 posts
AeroScale: 385 posts

Posted: Tuesday, January 03, 2017 - 09:21 PM UTC
Hey gang,
I hope everyone had a safe and Happy New Year.
I should have some update photos later day. All control surfaces now have BMF on them. The fuselage still remains to be a bit concern with joining the half's together since any imperfection will stick out under the foil.
Now some of you are yelling at your screen about now say, "Just get on with it!" "Stop talking and build it already!" Well, I personally would love to get this build done, however, I want to get it right since this aircraft is an important part of our history.
See ya in the funnies...........


Joel_W

Joined: December 04, 2010
KitMaker: 11,666 posts
AeroScale: 7,410 posts

Posted: Tuesday, January 03, 2017 - 10:26 PM UTC
Brian,
The foiling really looks great.
As for all your fit issues, long poorly supports fuselage halves tend to have all the issues you're experiencing. The bulkheads that don't fit correctly eventually will as you need to sand them down till the fuselage halves just touch each other in that area. Believe me I know, as I spent nearly a week getting just two of the cockpit bulkheads to seat correctly in my F4F-3 build.
The alignment issues of the upper and lower fuselage spine most likely is caused by not enough alignment pins. An easy way to solve this and stiffen up the joint is to glue sheet plastic tabs along the seam lines. this will also prevent twisting and stress cracking issues once the wings are glued up.
Joel
BigfootV

Joined: December 24, 2005
KitMaker: 1,624 posts
AeroScale: 385 posts

Posted: Wednesday, January 04, 2017 - 12:40 AM UTC
Hello Joel,
Thanks for the support.
You had problems with the F3F? If I could get this build to look halve as good as your build, I'd be a happy camper.
I did use and tried some of the techniques you mentioned. I've put 1/16 inch thick styrene tabs to support the turret blanks to keep them from falling into the fuselage.
It's getting to the point where I might have to remove the rear interior section completely leaving only the rear bomb bay bulkhead. Say that 10 times fast......


See ya in the funnies..........
Thanks for the support.
You had problems with the F3F? If I could get this build to look halve as good as your build, I'd be a happy camper.
I did use and tried some of the techniques you mentioned. I've put 1/16 inch thick styrene tabs to support the turret blanks to keep them from falling into the fuselage.
It's getting to the point where I might have to remove the rear interior section completely leaving only the rear bomb bay bulkhead. Say that 10 times fast......


See ya in the funnies..........
berndm

Joined: March 26, 2014
KitMaker: 844 posts
AeroScale: 630 posts

Posted: Wednesday, January 04, 2017 - 06:24 PM UTC
Your B-29 build is really amazing !
Kevlar06

Joined: March 15, 2009
KitMaker: 3,670 posts
AeroScale: 833 posts

Posted: Wednesday, January 04, 2017 - 10:30 PM UTC
Brian,
I've built this kit (as Bockscar) and the KC 97, which has a similar fuselage and bulkhead system but I don't remember any fuselage fit problems at all except for the clear refueling section of the '97.-- admittedly it was when they were first issued, well over ten years ago, and I picked mine up in Korea in the Korean boxing. I know the bulkheads were a little finicky to place with the transport tube over the bomb bay, did you glue that together before placing in the fuselage? --if so that can skew the bulkheads a little. I'm also wondering if Academy might have done something to the molds to make so many variations that now there are some fit problems.
VR, Russ
BigfootV

Joined: December 24, 2005
KitMaker: 1,624 posts
AeroScale: 385 posts

Posted: Thursday, January 05, 2017 - 01:26 AM UTC
Hello Bernd,
Thanks for dropping in. I wouldn't call it amazing, but I'll take the kind words, thank you.
Hello Russ,
I'm not sure. All I know is that the issues are there. You may have gotten a kit that went together without any issues. I've had kits that go that way, others you have issues.
Anyways, here's whats been done. First, what the instructions tell you to do.
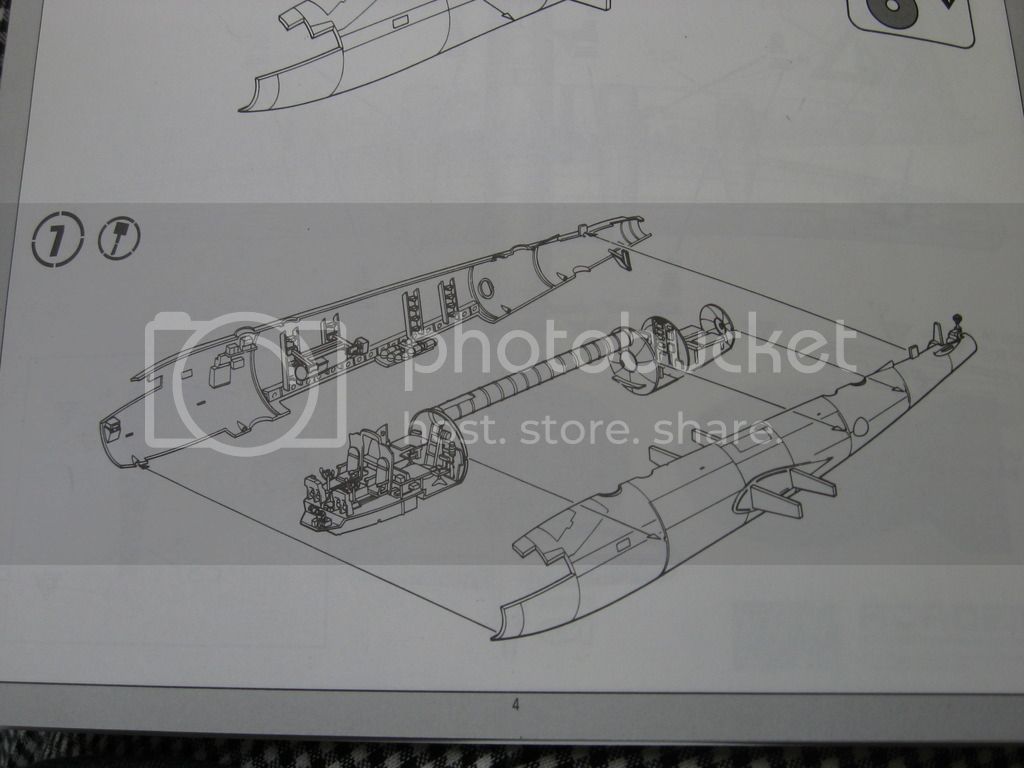
Is that what I did? Nope. I worked from the cockpit, back, to check to make sure if everything lined up. This is when I ran into the bomb rack and cockpit bulkhead issue. The bulkhead behind the cockpit leading to the tunnel didn't match the alignment pins on the fuselage sides. Also the bulkhead didn't match up with the floor of the cockpit alignment pins. The radius didn't match.
Here's the main area of the issues. The rear gunner's/crew compartment.
Note the faint line were the bulkhead needs to be......
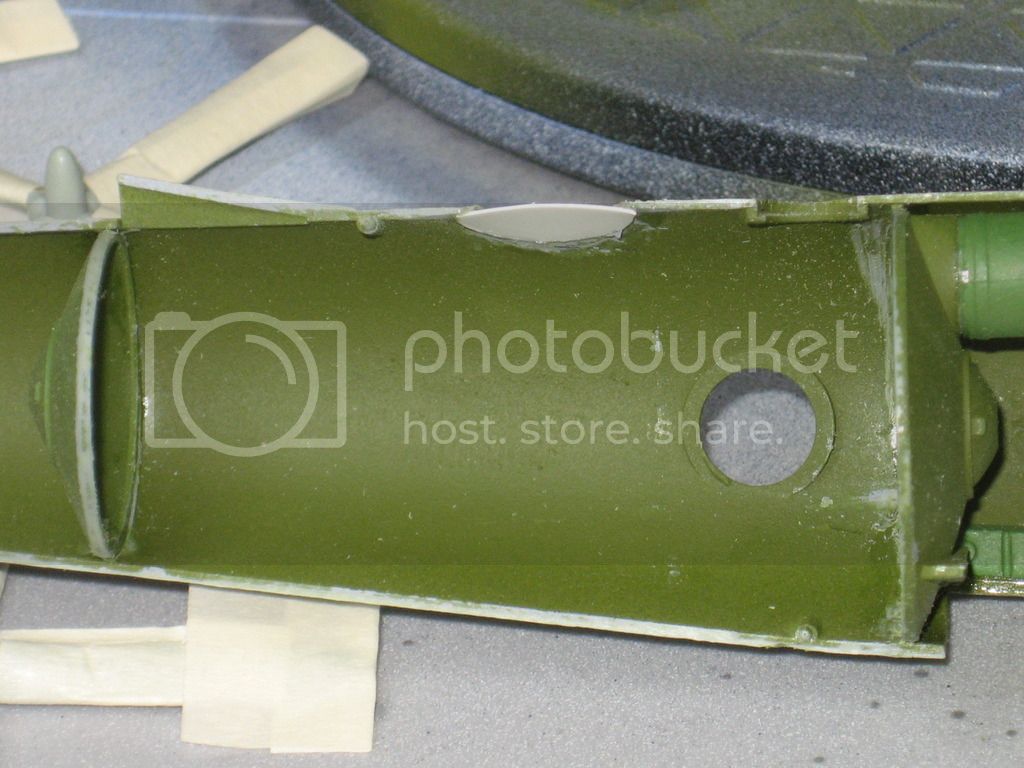
Here's some editted photo's with notes:
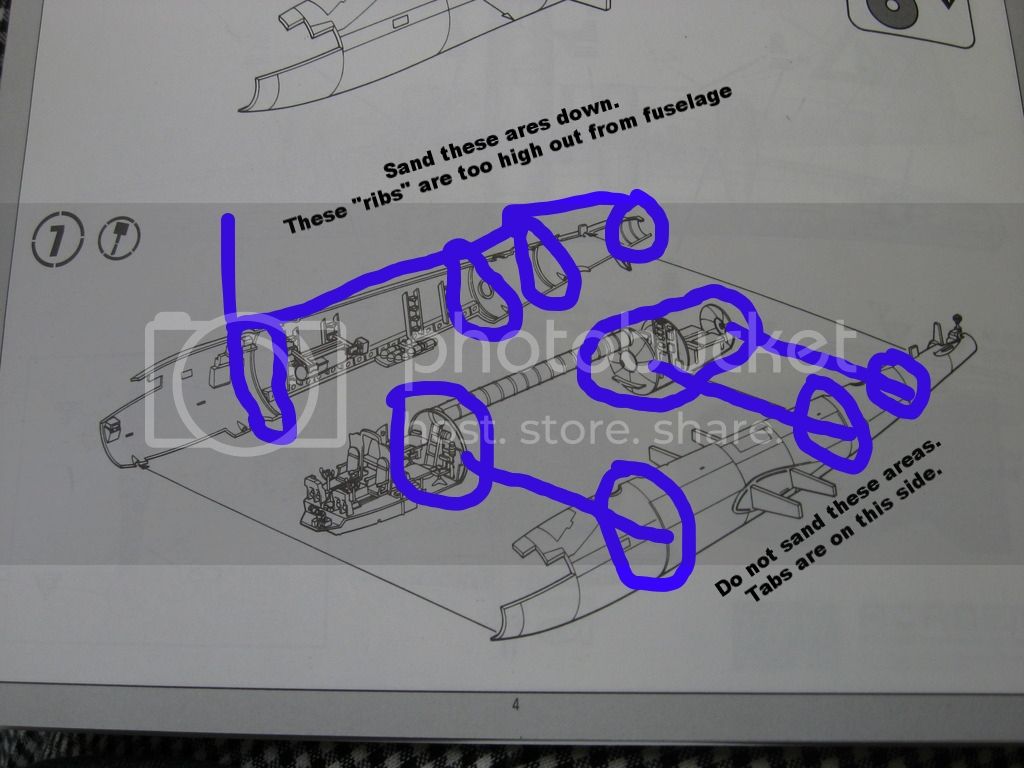
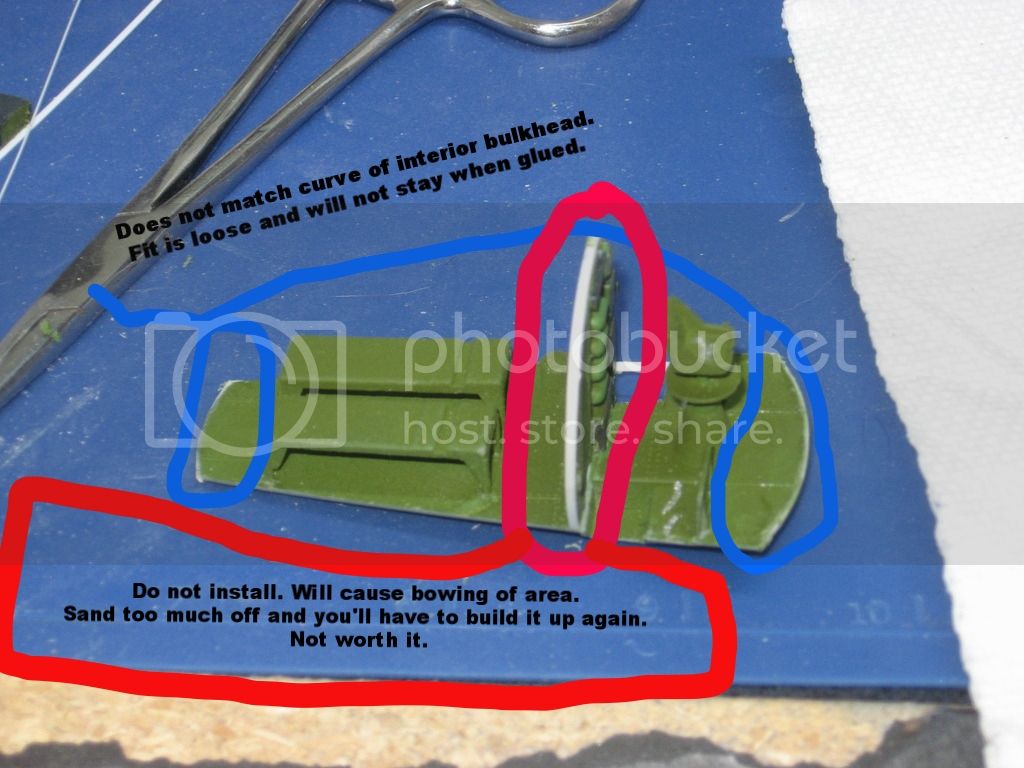
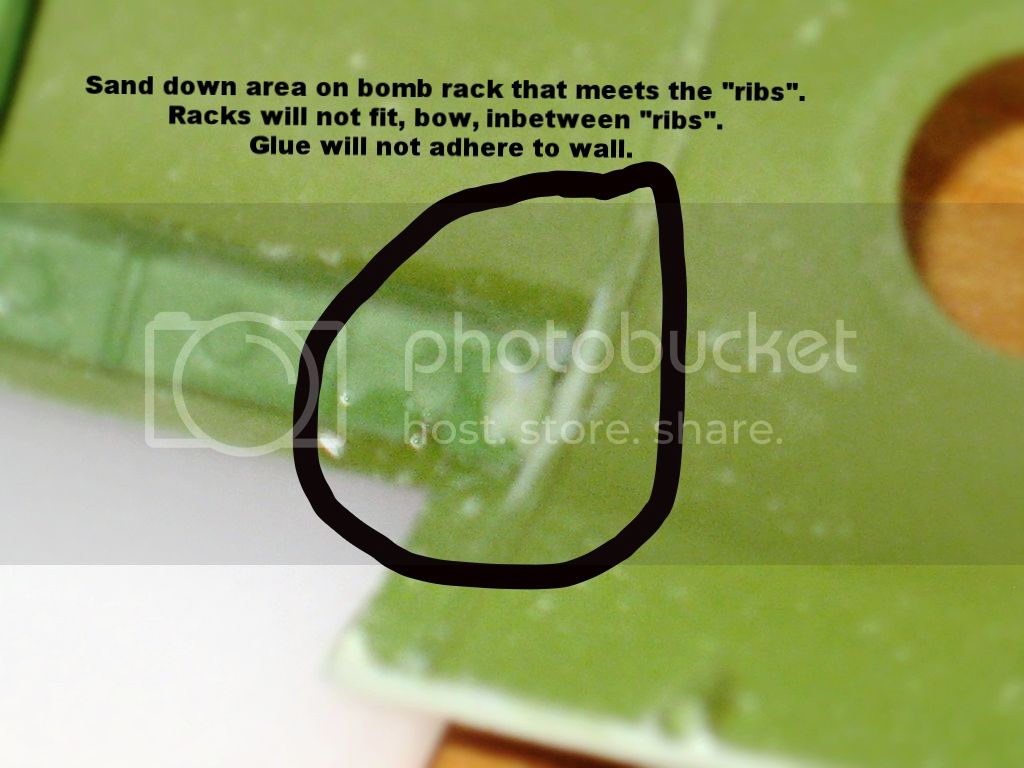
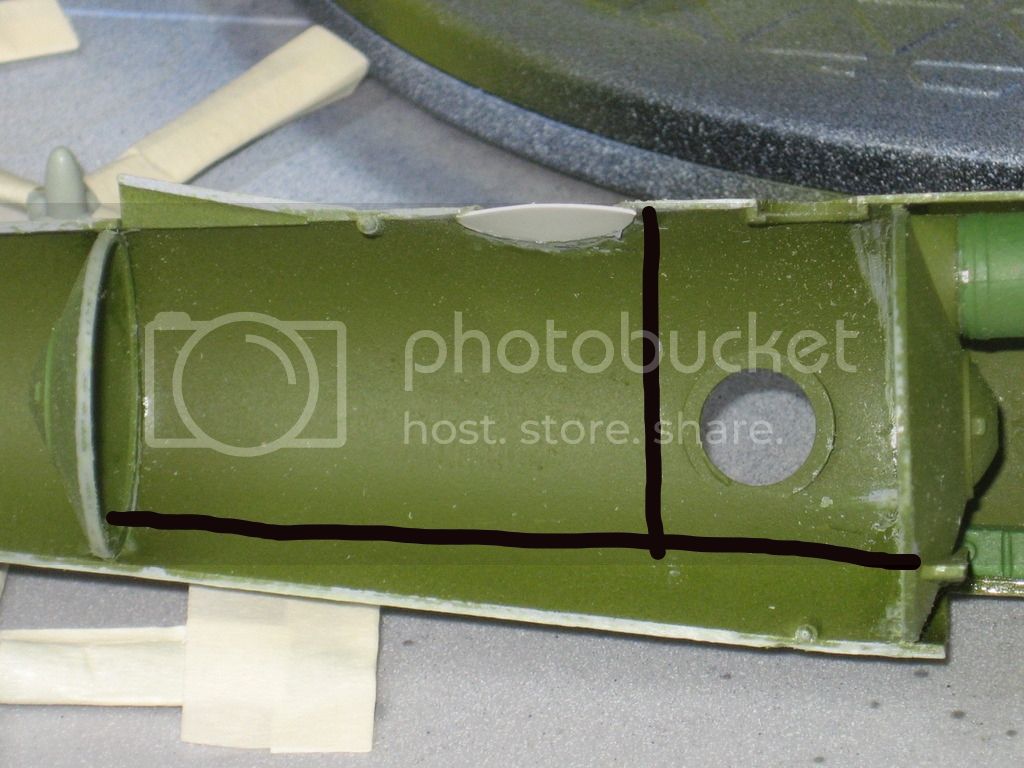
Here's what was done.
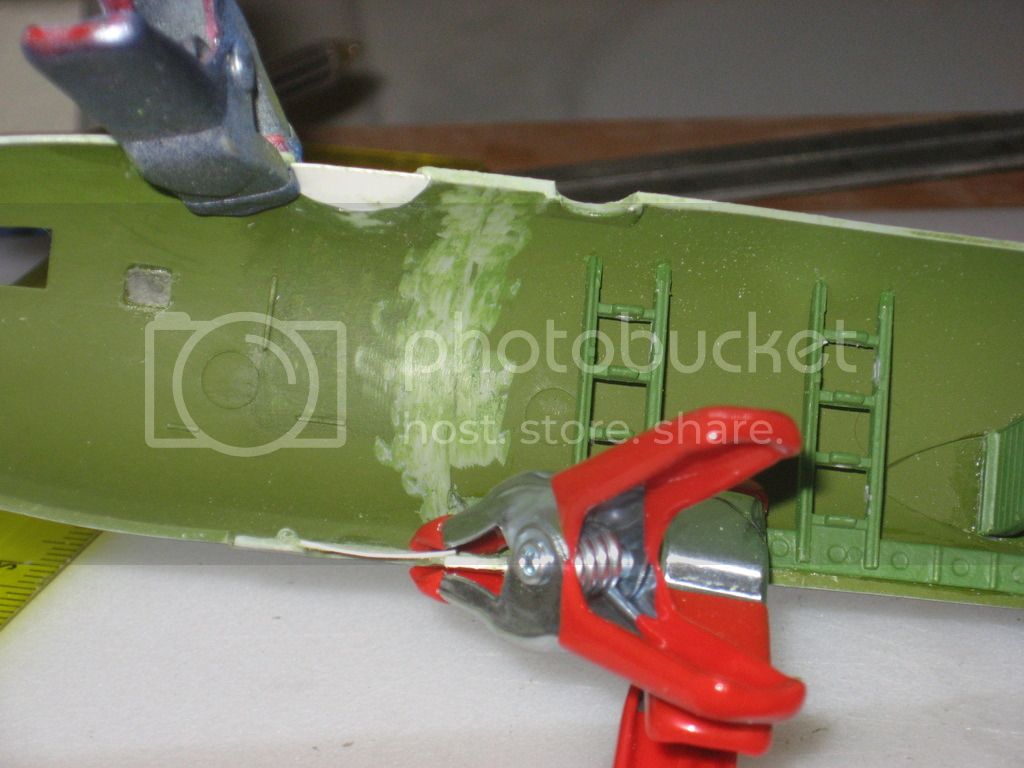
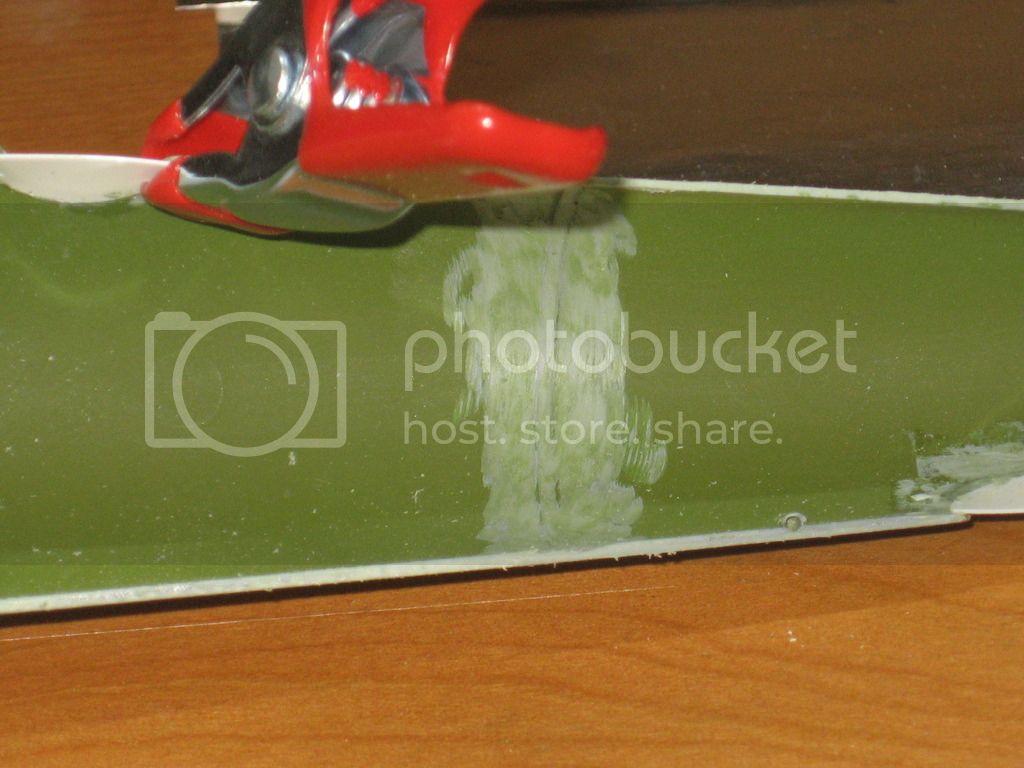
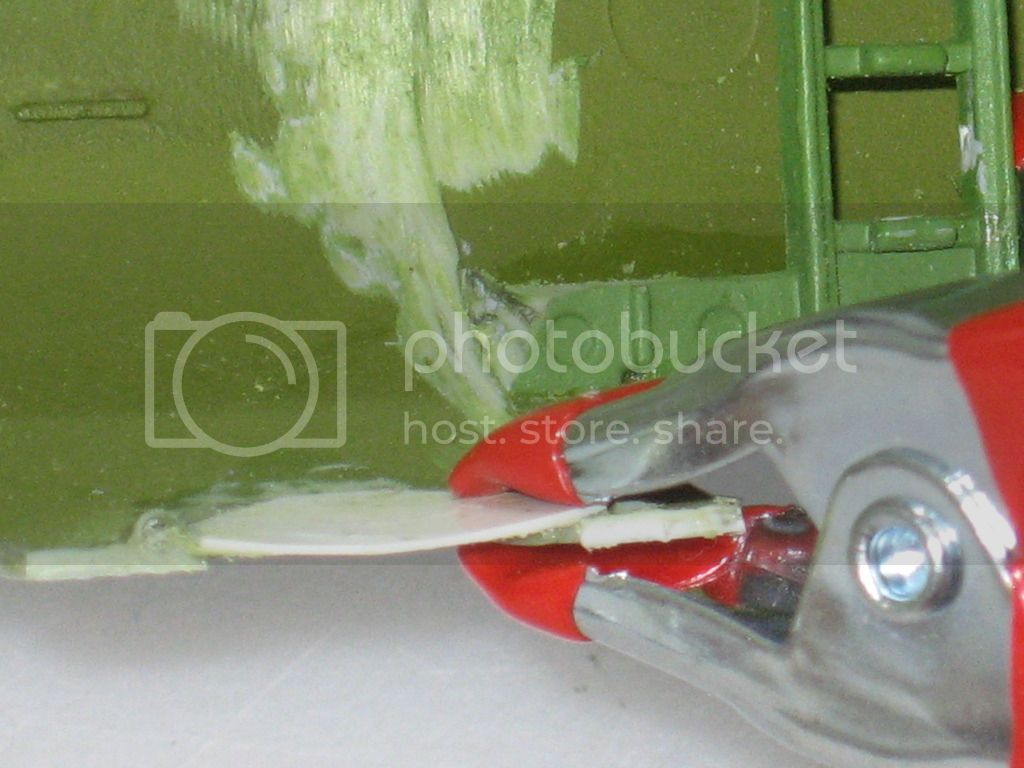
Here's an issue that just cropped up a few days ago. Note the thickness for the blanks for the turrets vs. the fuselage thickness.
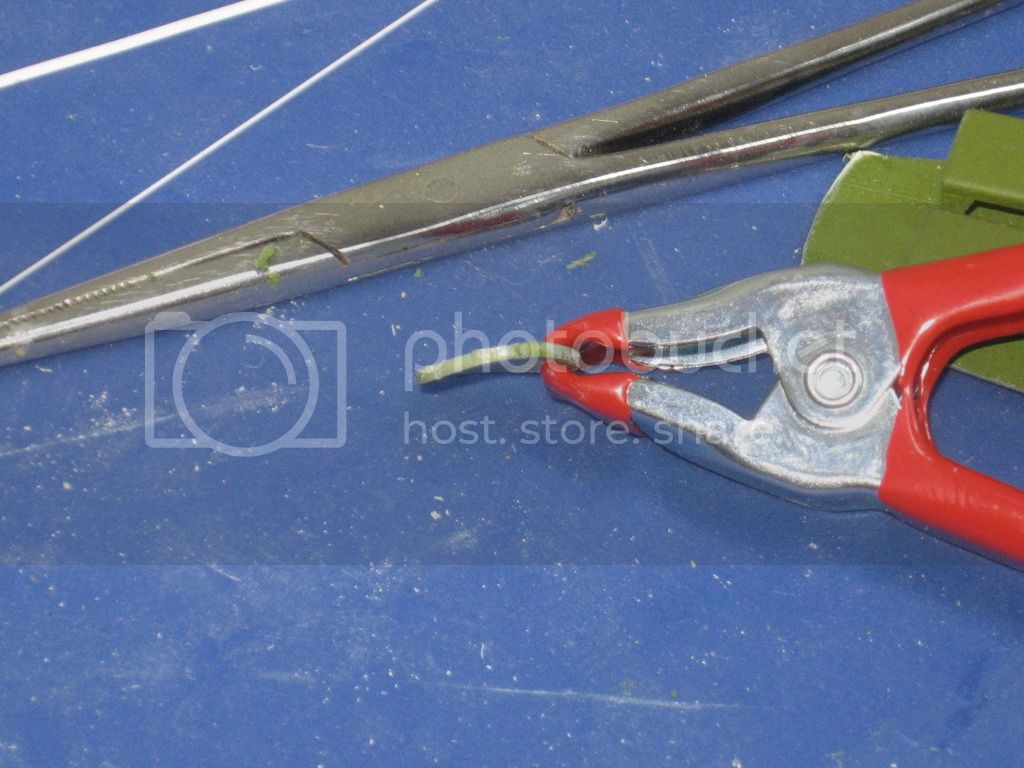
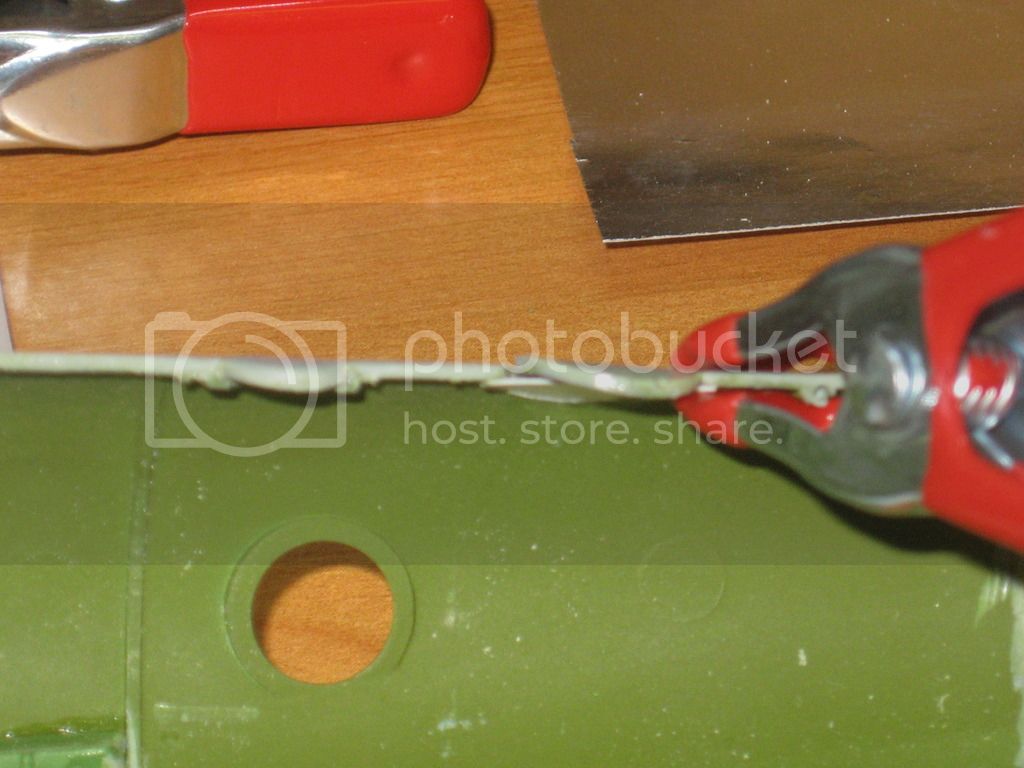
Granted it's a dry fit, however in earlier photo's one can see the high spotting. Note the smaller blank has been sanded down to match the exterior and is flush.
Now on to some more positive news. As I said yesterday the control surfaces were done. The gray areas on wings and cowlings are all that's left to foil. I foiled the O2 tanks.
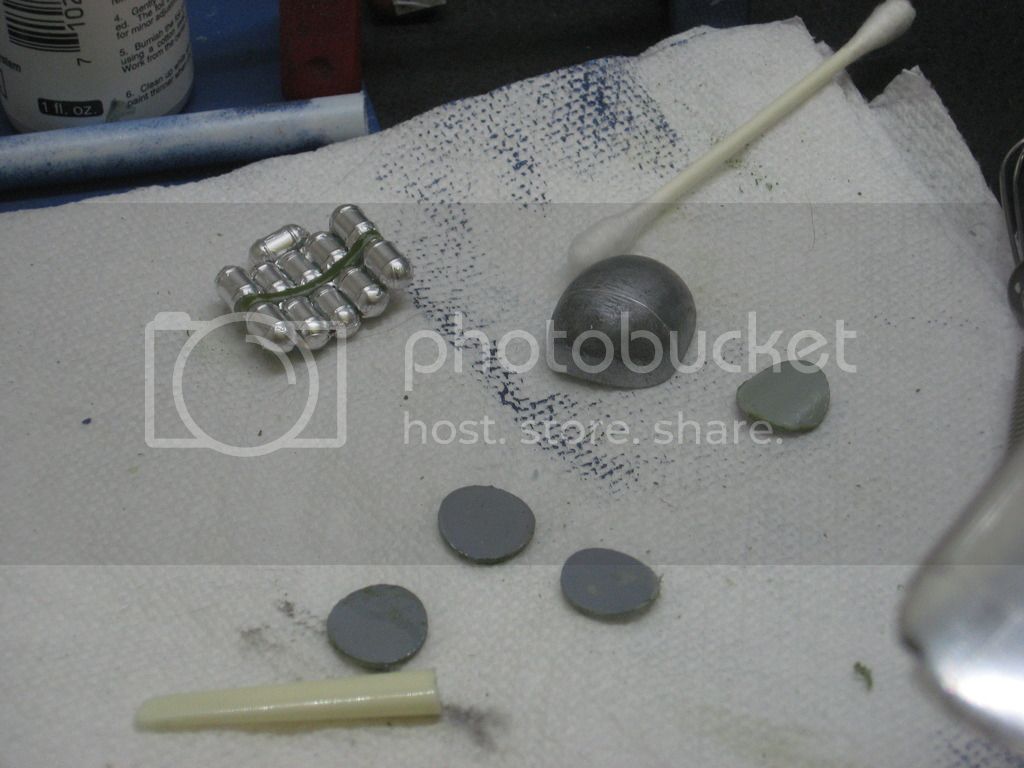
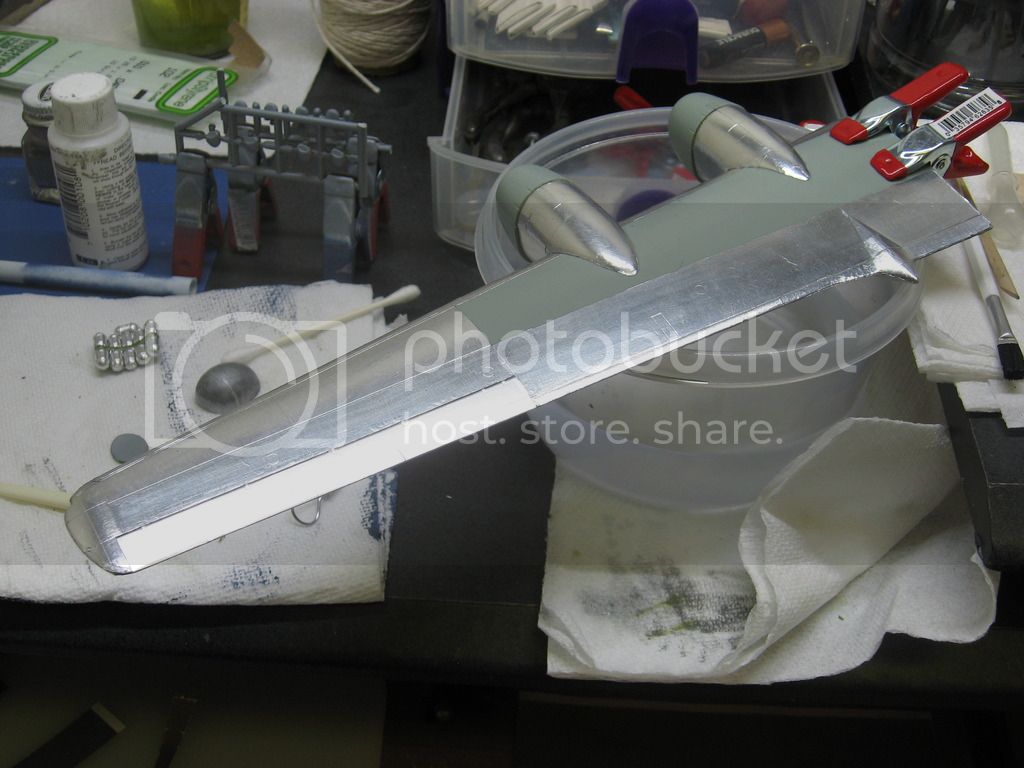
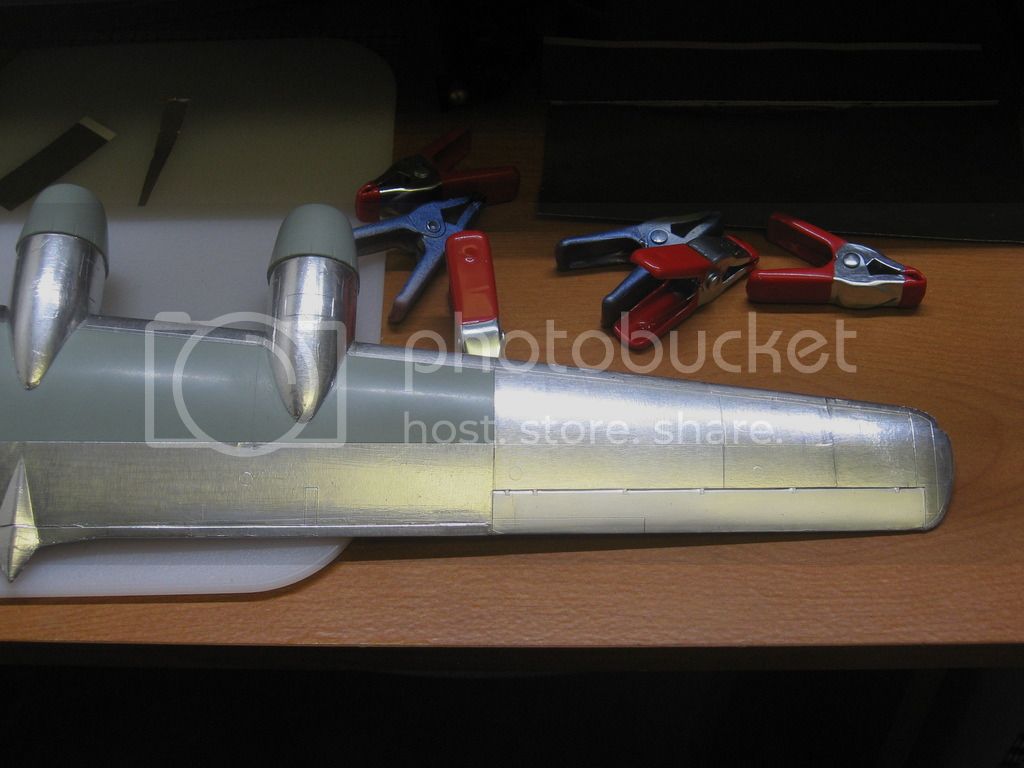
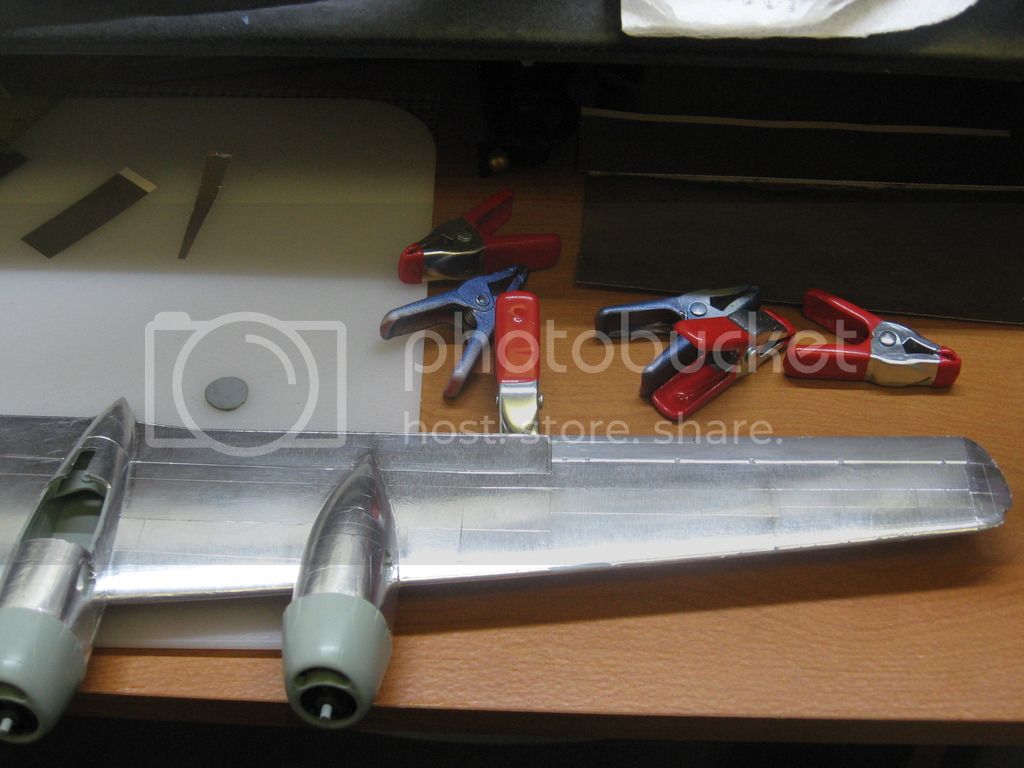
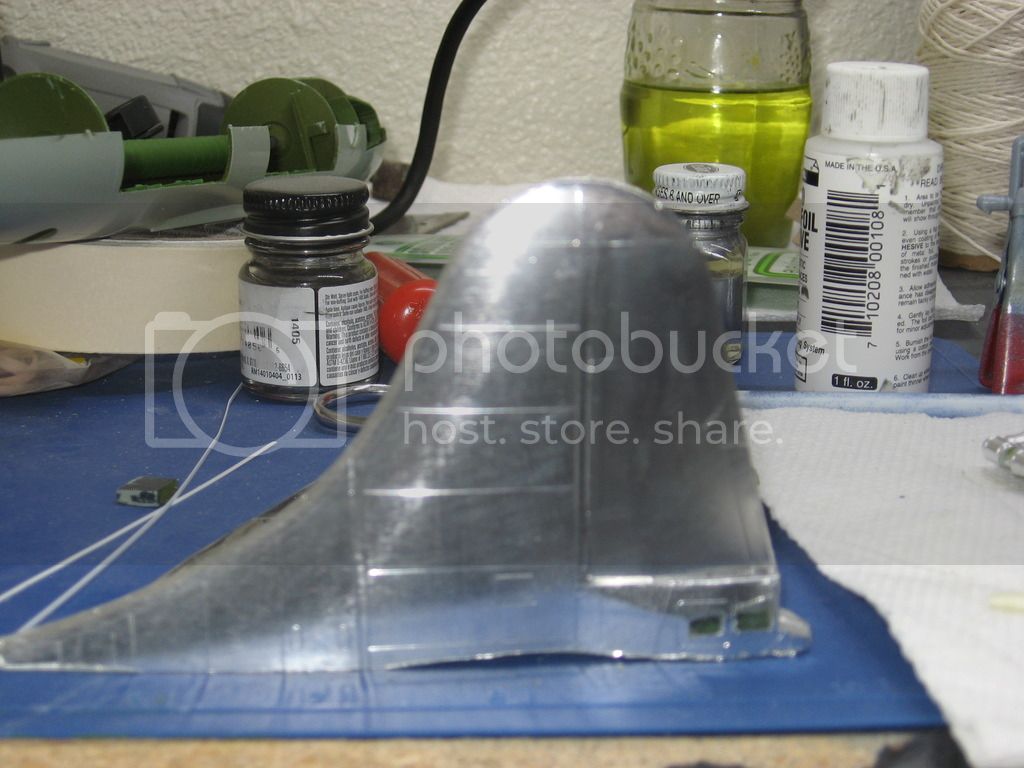
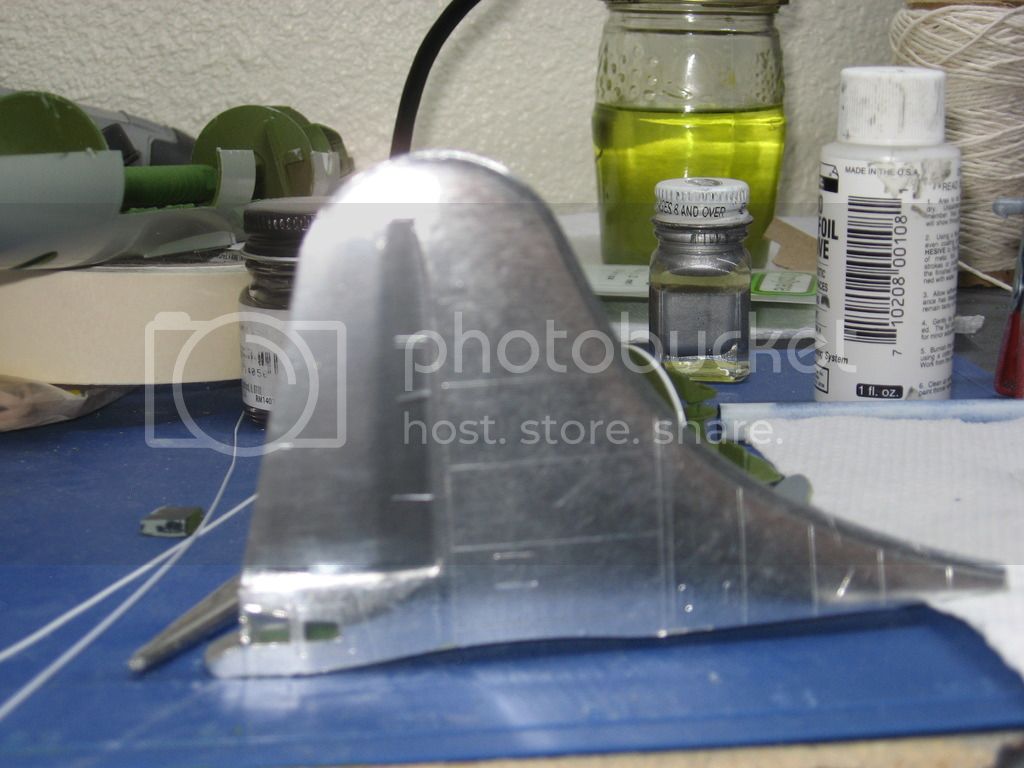
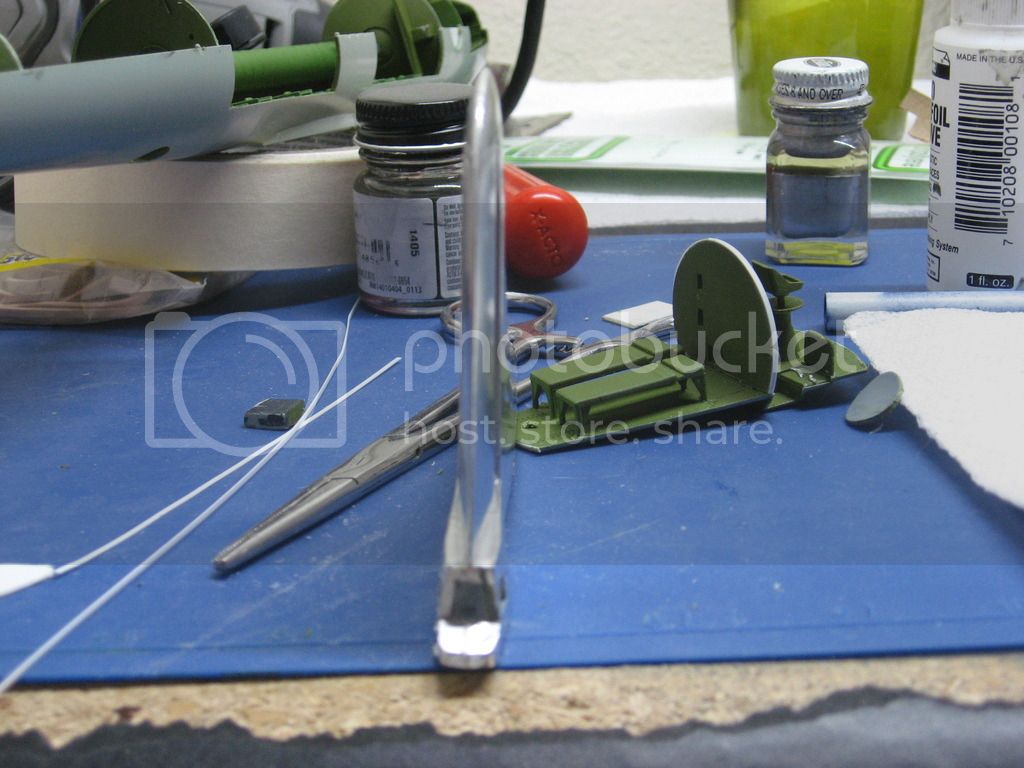
I hope to have the issues with the fuselage figured out by the end of the day. Dry fitting looks to be promising so far.
See ya in the funnies..........


Thanks for dropping in. I wouldn't call it amazing, but I'll take the kind words, thank you.
Hello Russ,
I'm not sure. All I know is that the issues are there. You may have gotten a kit that went together without any issues. I've had kits that go that way, others you have issues.
Anyways, here's whats been done. First, what the instructions tell you to do.

Is that what I did? Nope. I worked from the cockpit, back, to check to make sure if everything lined up. This is when I ran into the bomb rack and cockpit bulkhead issue. The bulkhead behind the cockpit leading to the tunnel didn't match the alignment pins on the fuselage sides. Also the bulkhead didn't match up with the floor of the cockpit alignment pins. The radius didn't match.
Here's the main area of the issues. The rear gunner's/crew compartment.
Note the faint line were the bulkhead needs to be......

Here's some editted photo's with notes:


Here's what was done.


Here's an issue that just cropped up a few days ago. Note the thickness for the blanks for the turrets vs. the fuselage thickness.


Granted it's a dry fit, however in earlier photo's one can see the high spotting. Note the smaller blank has been sanded down to match the exterior and is flush.
Now on to some more positive news. As I said yesterday the control surfaces were done. The gray areas on wings and cowlings are all that's left to foil. I foiled the O2 tanks.


I hope to have the issues with the fuselage figured out by the end of the day. Dry fitting looks to be promising so far.
See ya in the funnies..........


Kevlar06

Joined: March 15, 2009
KitMaker: 3,670 posts
AeroScale: 833 posts

Posted: Thursday, January 05, 2017 - 02:26 AM UTC
Brian,
Thanks for pointing out the issues-- its been a long time since I built mine-- I think July of 2002. Do I understand you were gluing the bulkheads on top of the ribs? I think I used the ribs as a guide, gluing the bulkheads up against the ribs, not on top. I know I had a problem with the front and rear fuselage interior though, because I glued the interior parts together along with the passageway tube and set them aside to dry as the instructions imply. When I came back, I discovered the alignment had skewed as the glue was drying, and the rear of the nose bulkhead and the back of the bomb bay bulkhead were twisted out of line, causing a fit problem, at that point I separated everything and glued them in separately, but there were no gaps in the fuselage. As for the gun turret "plugs" I thought mine had a ridge along the bottom. I wonder if Academy in the re-boxing forgot to include those. You are doing great work, the foiling is especially nice. I'm sorry for the issues you're having, but this is going to turn out to be a real show stopper when you're finished--something to look forward to!
VR, Russ
Thanks for pointing out the issues-- its been a long time since I built mine-- I think July of 2002. Do I understand you were gluing the bulkheads on top of the ribs? I think I used the ribs as a guide, gluing the bulkheads up against the ribs, not on top. I know I had a problem with the front and rear fuselage interior though, because I glued the interior parts together along with the passageway tube and set them aside to dry as the instructions imply. When I came back, I discovered the alignment had skewed as the glue was drying, and the rear of the nose bulkhead and the back of the bomb bay bulkhead were twisted out of line, causing a fit problem, at that point I separated everything and glued them in separately, but there were no gaps in the fuselage. As for the gun turret "plugs" I thought mine had a ridge along the bottom. I wonder if Academy in the re-boxing forgot to include those. You are doing great work, the foiling is especially nice. I'm sorry for the issues you're having, but this is going to turn out to be a real show stopper when you're finished--something to look forward to!

VR, Russ
Kevlar06

Joined: March 15, 2009
KitMaker: 3,670 posts
AeroScale: 833 posts

Posted: Thursday, January 05, 2017 - 02:33 AM UTC
Brian-- I just thought of something else-- this bugger is a real tail sitter, if you haven't thought of adding any nose weight-- now would be the time to do that. I didn't, and since mine was a commission build, I had to drill holes and add BB's with epoxy glue on the front and in the nacelles, it was not fun, since I'd gotten the gear on and applied the decals by that time.
VR, Russ
VR, Russ
BigfootV

Joined: December 24, 2005
KitMaker: 1,624 posts
AeroScale: 385 posts

Posted: Thursday, January 05, 2017 - 09:57 PM UTC
Hello Russ,
The bulkheads have the alignment pins on one side, none on the other. This makes it extremely hard to get everything in line if you follow the instructions. After yesterdays post I went back and took some more photo's of the gunner's/crew compartment area. Here's the first dry fit with the compartment in place....
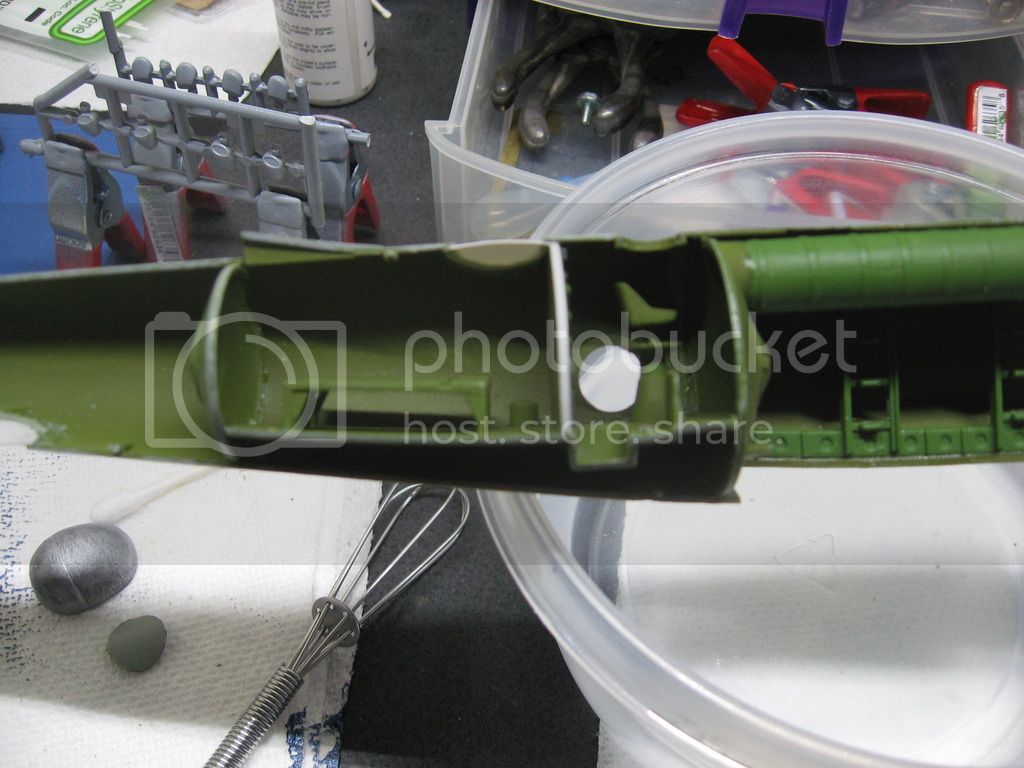
Note the floor bowing........
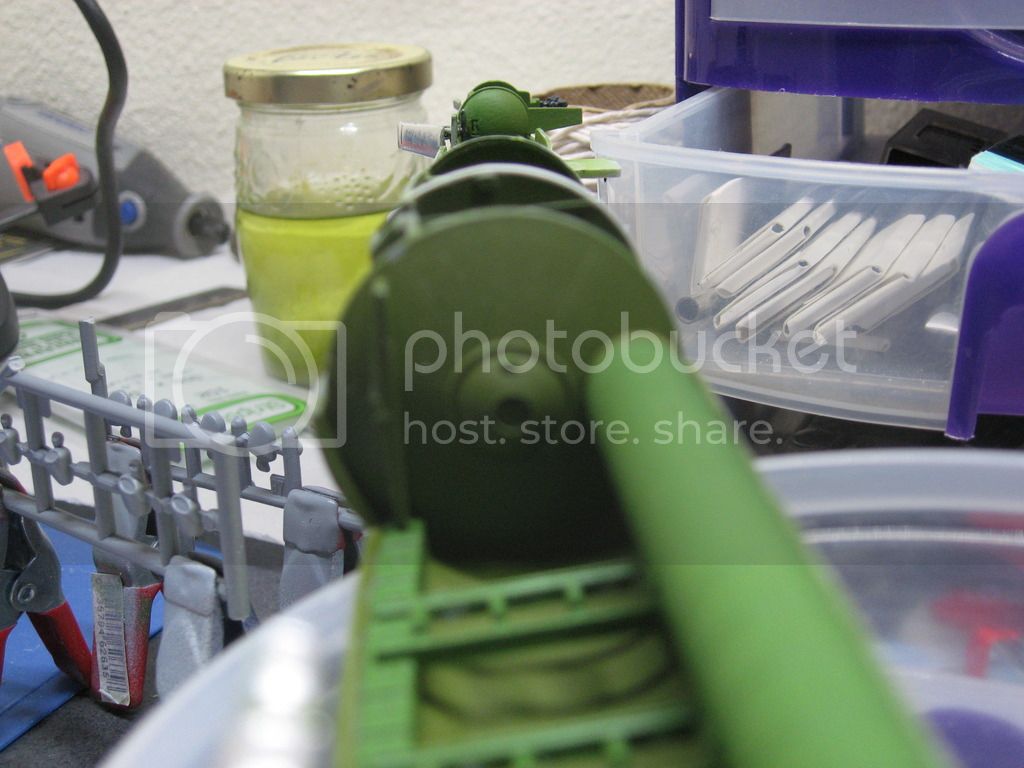
Here's a inline view. Note there is a part of the floor that sticks out from the bulkhead in the foreground.
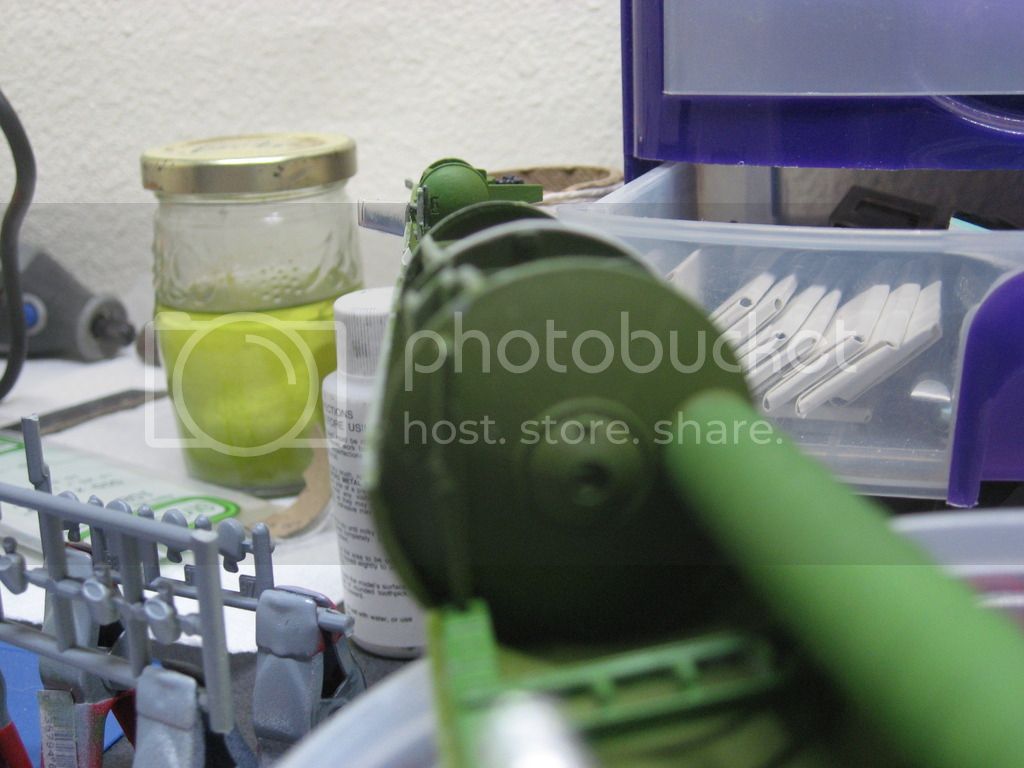
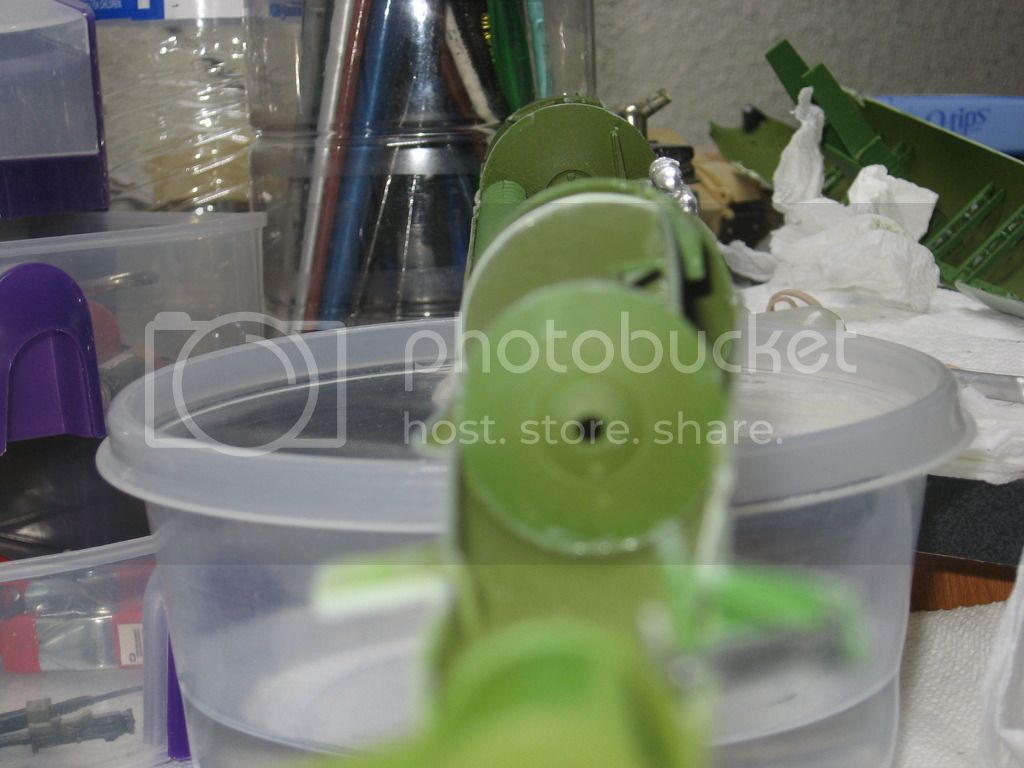
This shot is facing the nose.
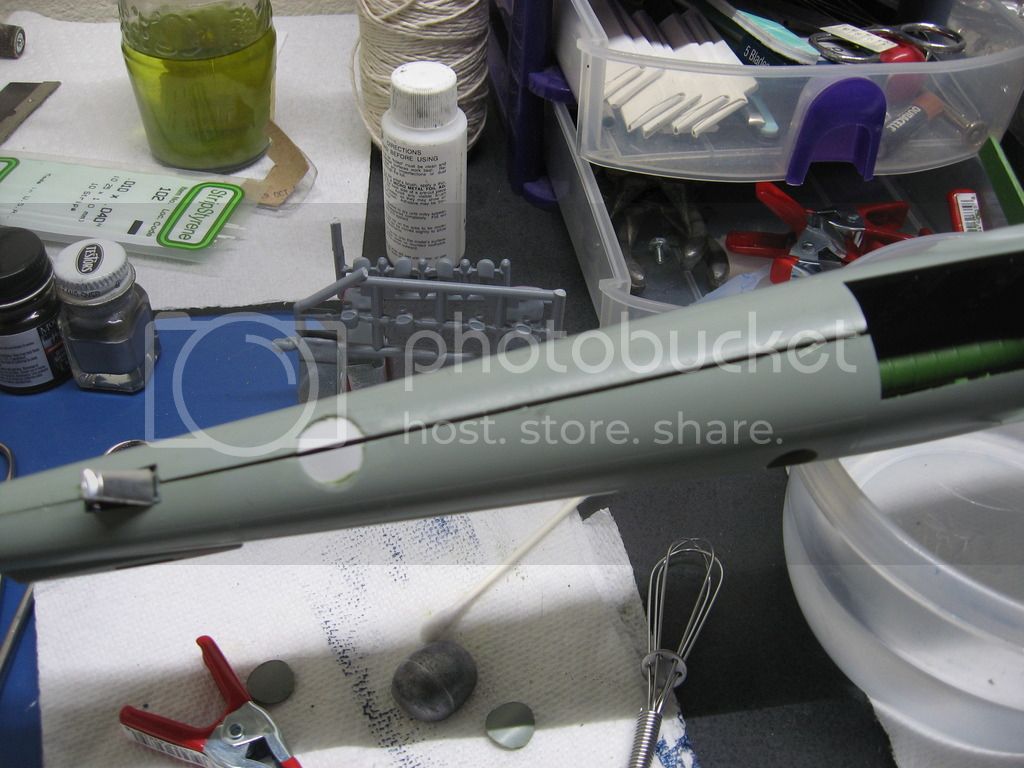
Dry fit with the compartment in place........since the real aircraft is pressurized this would not work and the engineer would be fired.
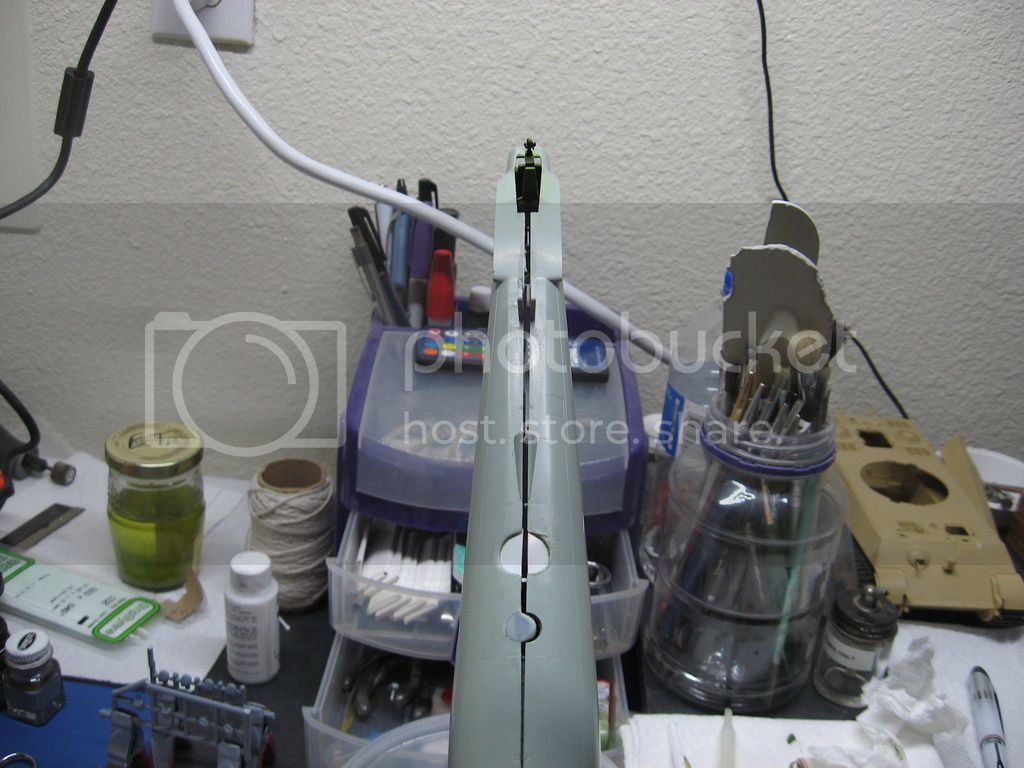
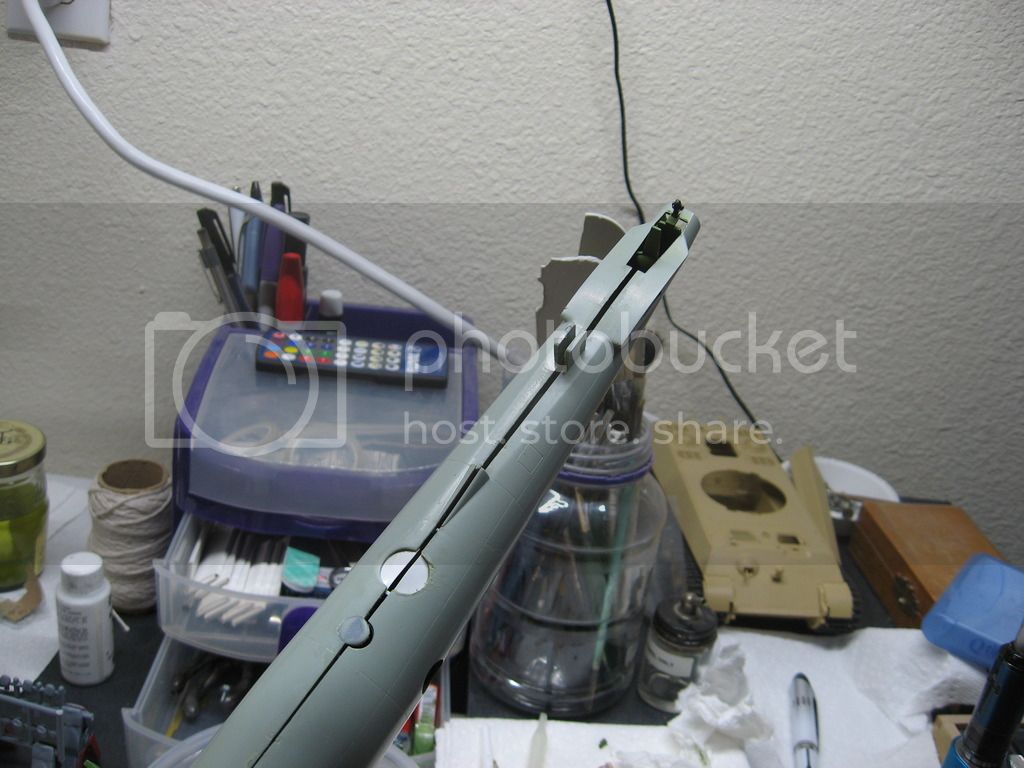
Now the compartment has been removed....let's see what happens now after all that work of sanding off the "ribs". BTW, the first dry fit does have the "ribs" sanded down.
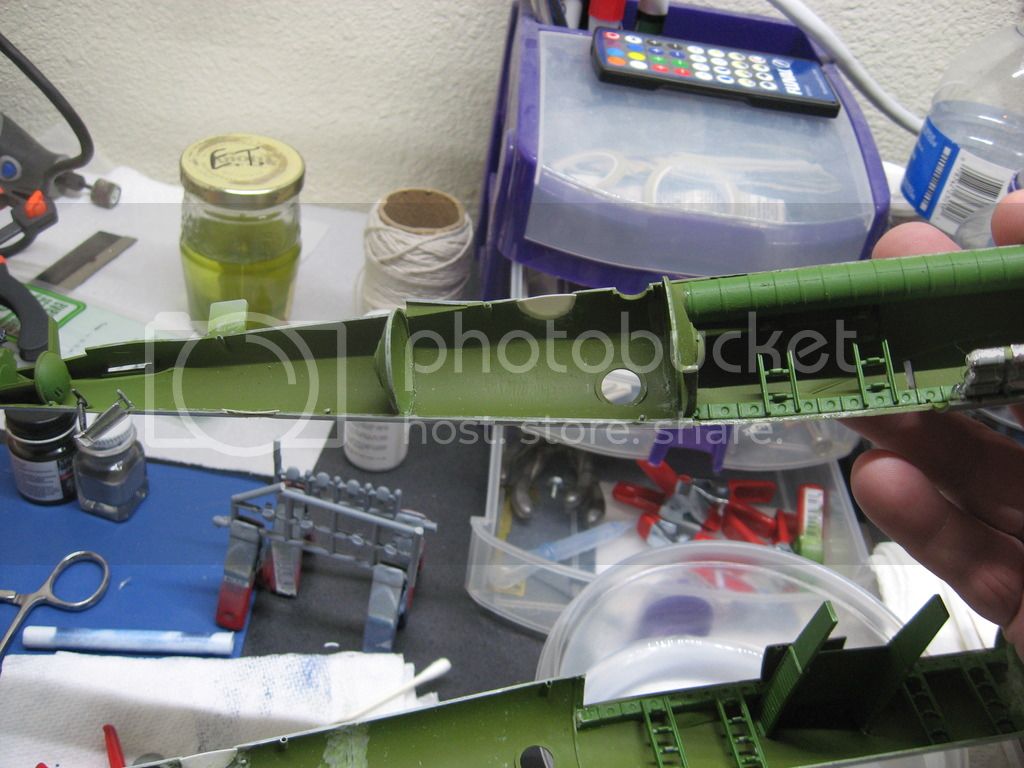
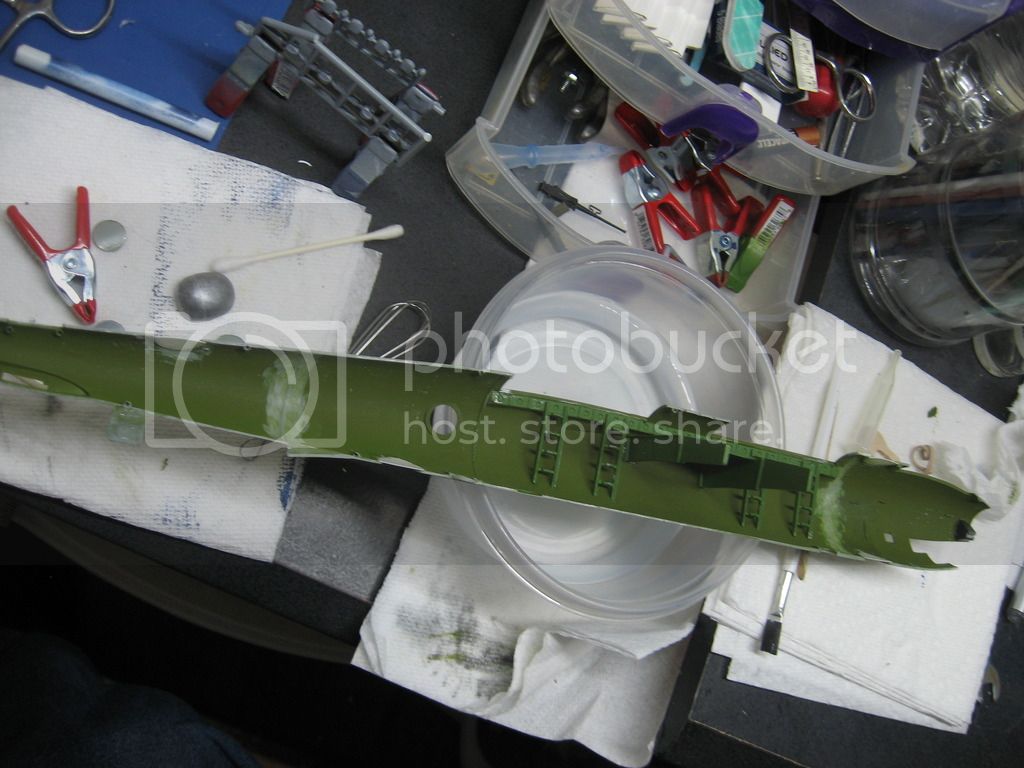
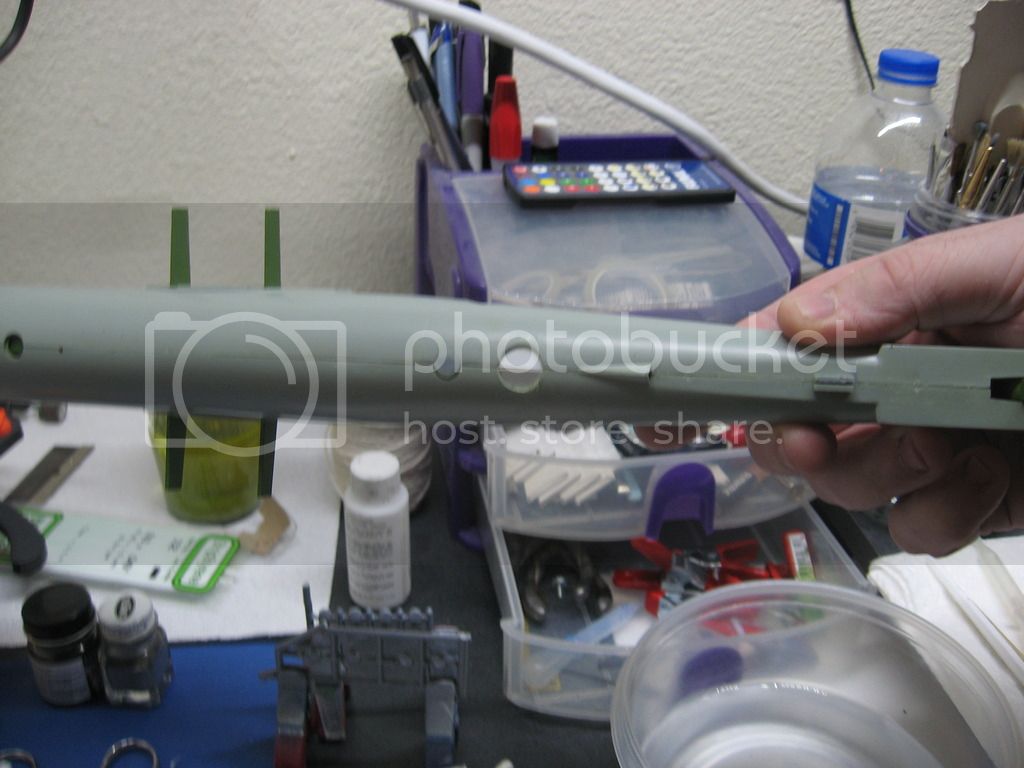
Look at that.....it fits now!
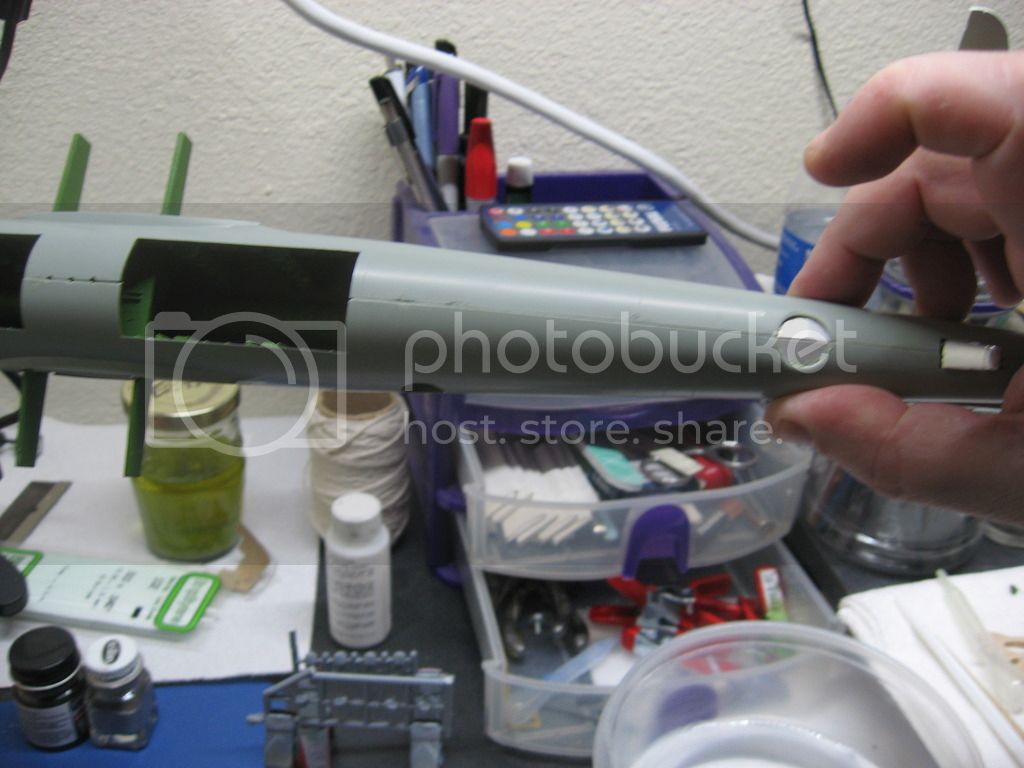
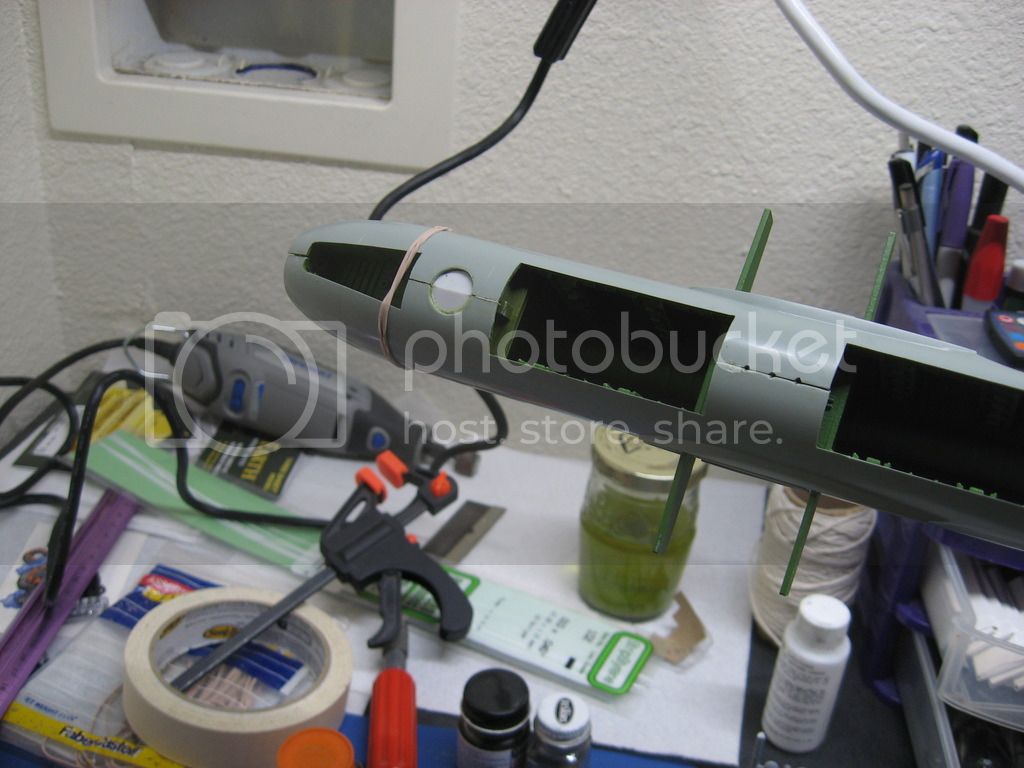
I can deal with the nose issue. The middle section will be hidden by the Radome.
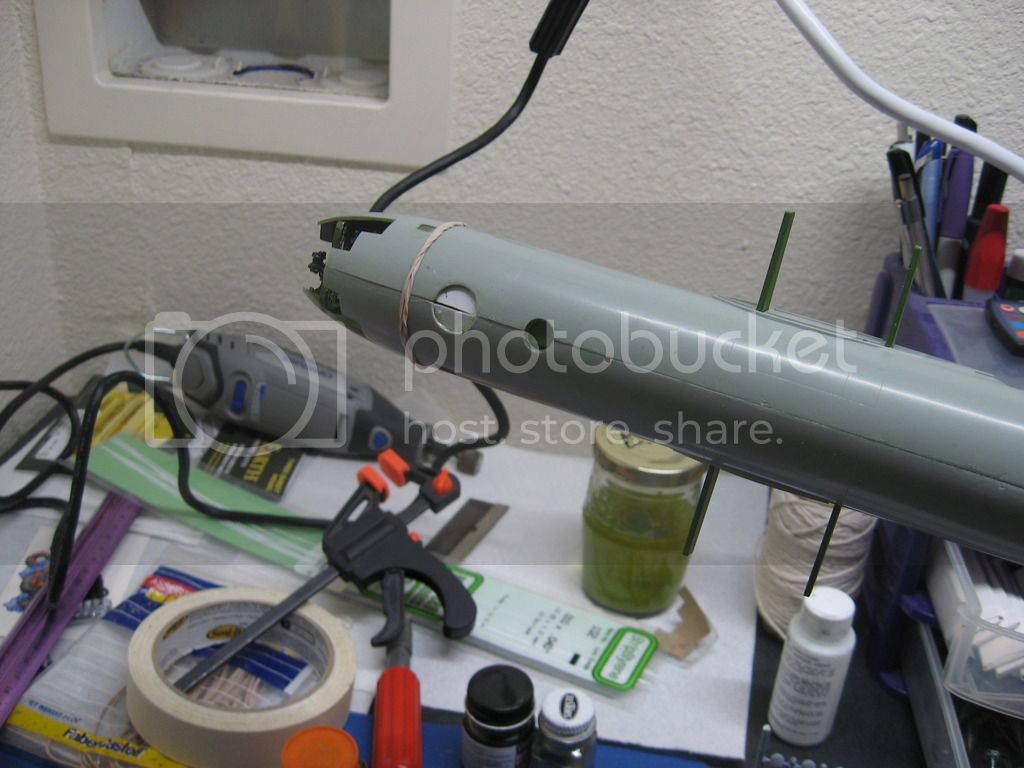
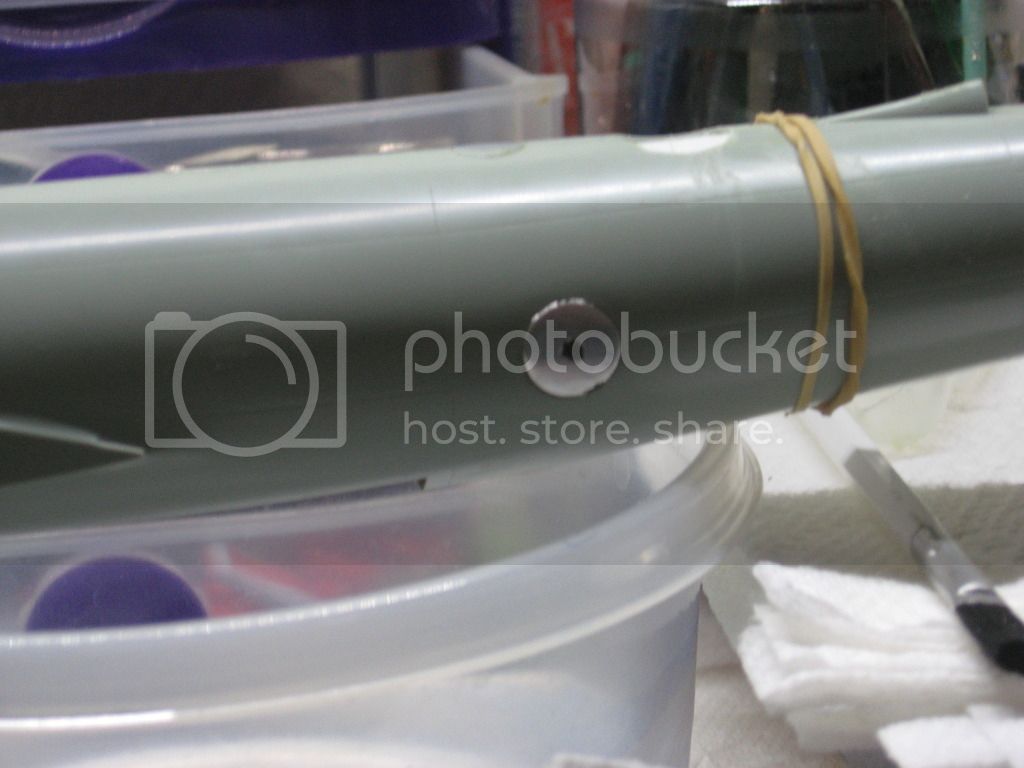
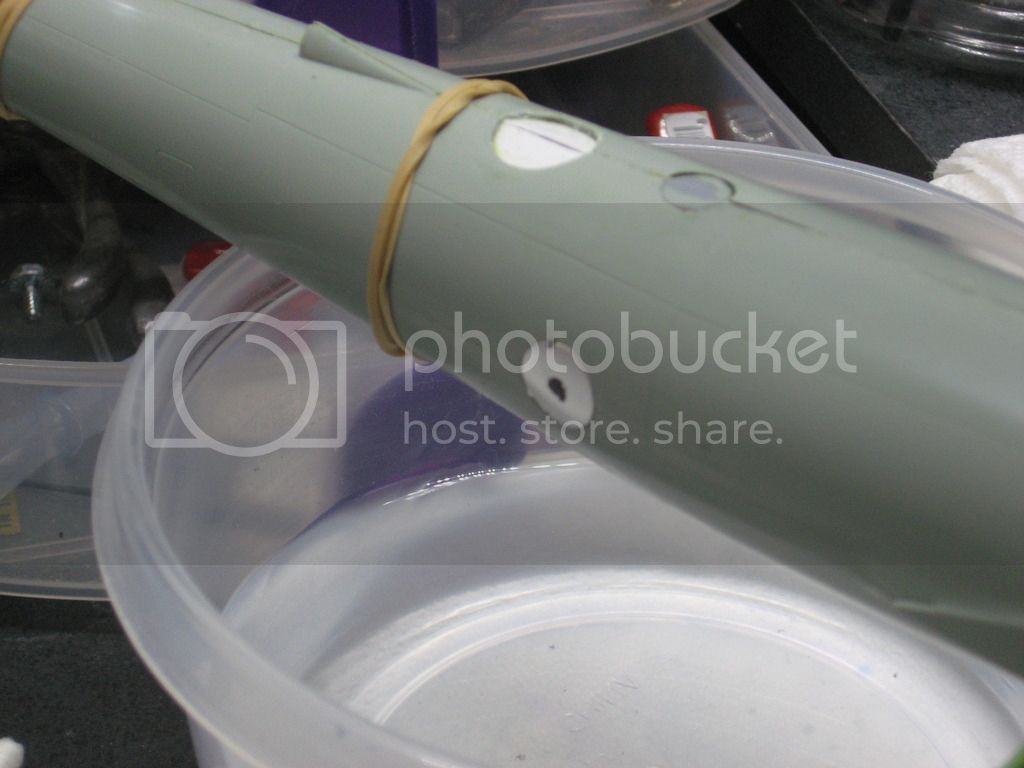
Now begins the massive amount of sanding. Not looking forward to this since some of the detail lines will be lost.
See ya in the funnies.............

P.S. Thanks for the tip on the weights Russ. I've got some solder I can put in the nose to take care of that.
The bulkheads have the alignment pins on one side, none on the other. This makes it extremely hard to get everything in line if you follow the instructions. After yesterdays post I went back and took some more photo's of the gunner's/crew compartment area. Here's the first dry fit with the compartment in place....

Note the floor bowing........

Here's a inline view. Note there is a part of the floor that sticks out from the bulkhead in the foreground.


This shot is facing the nose.

Dry fit with the compartment in place........since the real aircraft is pressurized this would not work and the engineer would be fired.


Now the compartment has been removed....let's see what happens now after all that work of sanding off the "ribs". BTW, the first dry fit does have the "ribs" sanded down.


Look at that.....it fits now!


I can deal with the nose issue. The middle section will be hidden by the Radome.


Now begins the massive amount of sanding. Not looking forward to this since some of the detail lines will be lost.
See ya in the funnies.............


P.S. Thanks for the tip on the weights Russ. I've got some solder I can put in the nose to take care of that.
Kevlar06

Joined: March 15, 2009
KitMaker: 3,670 posts
AeroScale: 833 posts

Posted: Friday, January 06, 2017 - 04:04 AM UTC
Brian,
Thanks for the clarification. I can't help but think Academy has done something different from the kit than the first B-29 issue way back when. I bought mine from an Academy store in Seoul while I was stationed over there. It was in a Korean boxing, with the side panels and all instructions in Korean. I think I paid about 2000 Won for it, which was like $5 back then. I don't remember the attachment pins at all in the bulkheads, but it was a long time ago. It seems to me there are more parts in the interior in yours though. Academy has so many versions of the B-29, I think they have modified the molds to cause this problem. I was going to ask about the internal bomb racks-- did the Enola Gay or Bockscar retain them? -- I don't remember in my kit. My kit did come with an extra Fat Man and a Little Boy on a transport trailer, but no instructions for Bomb Bay mounting (they were in Korean, so maybe I missed them☹️) but there were no diagrams for them anyway. You are doing a great job-- and your efforts will pay off. I almost bought one of these last week at my LHS after viewing your build, but I have a bunch of stuff on the workbench right now so I though better of it. Solder in the nose may not be enough weight-- as I said, it's a real tail sitter. I think I put about 4oz of BBs into the nose and the fronts of the inner nacelles before I could get it to sit on its own-- it didn't help that the customer wanted rolling gear and moveable props either (guess he was going to "fly it around" a little!). The same customer asked me to build the KC97 refueling a Hasegawa B-47 to hang from his ceiling, he'd been a KC97 pilot. That took some real balancing too because of the weight-- I ended up drilling a hole through the tail of the '97 to run some 25lb test monofilament through to hold the whole thing up. The refueling boom was brass jacketed steel rod that ran the length of both aircraft, and the fit on the '97 refueling compartment was terrible. Anyway, you're doing great work, looking forward to seeing the foiling on the entire bird. Keep it up.
VR, Russ
BigfootV

Joined: December 24, 2005
KitMaker: 1,624 posts
AeroScale: 385 posts

Posted: Friday, January 06, 2017 - 12:44 PM UTC
Hello Russ,
Thanks. If memory serves me correct, along with a quick internet search yielded Academy had "Old Battler", a 50th Ann. kit of the B-29A, The Enola Gay kit, this kit, which is a rebox of the Enola Gay kit which is the third release, the RB-50G kit, The B-29 "Korean War" kit, the KB-29P kit with the F-84 E/G, and finally the KC-97L Jet boosted tanker version. Did I get everybody? One would think that the molds would stay the same without any changes. Hmm, guess not.
The solder is the thick type, 1/4 inch I think, I'll have to post that when I get there.
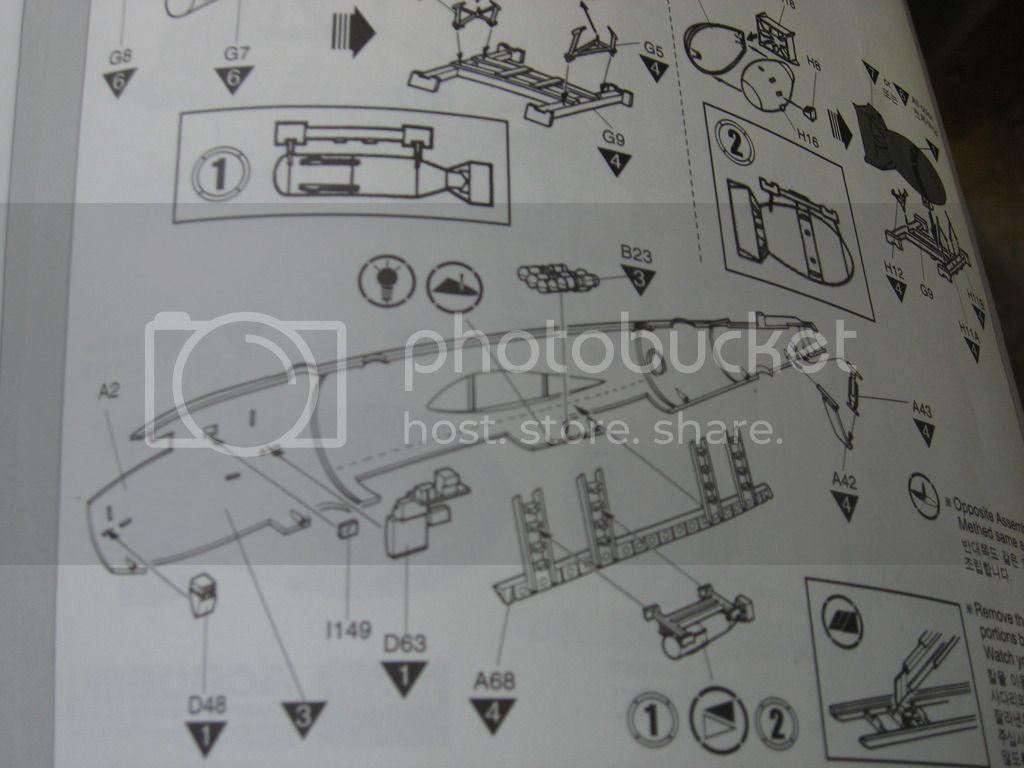
To answer the question of the bomb rack for the Atoms bombs, the kit does have it. No trailer with this kit. I wish they had retained it since I did not install the rack that held "Fat Man" in the first bomb bay.
Here it is on the instruction sheet.
I'll be posting photo's in the morning of the dry fit of the tail, stabilizers, and wings. I've got a small challenge with the tail section which will be seen in the photo's.
See ya in the funnies...........

Thanks. If memory serves me correct, along with a quick internet search yielded Academy had "Old Battler", a 50th Ann. kit of the B-29A, The Enola Gay kit, this kit, which is a rebox of the Enola Gay kit which is the third release, the RB-50G kit, The B-29 "Korean War" kit, the KB-29P kit with the F-84 E/G, and finally the KC-97L Jet boosted tanker version. Did I get everybody? One would think that the molds would stay the same without any changes. Hmm, guess not.
The solder is the thick type, 1/4 inch I think, I'll have to post that when I get there.
To answer the question of the bomb rack for the Atoms bombs, the kit does have it. No trailer with this kit. I wish they had retained it since I did not install the rack that held "Fat Man" in the first bomb bay.
Here it is on the instruction sheet.

I'll be posting photo's in the morning of the dry fit of the tail, stabilizers, and wings. I've got a small challenge with the tail section which will be seen in the photo's.
See ya in the funnies...........


Kevlar06

Joined: March 15, 2009
KitMaker: 3,670 posts
AeroScale: 833 posts

Posted: Friday, January 06, 2017 - 08:09 PM UTC
Brian,
I think you covered all the models of the B-29 series, but they did release alternative boxings... for instance there were two versions of the Atomic bombers, one for the Enola Gay, and the other for Bockscar. I think there were also several versions of the straight B-29, and I vaguely recall a B-29 Himalaya "hump" tanker version-- Perhaps the B-29A packaged with an OD and gray scheme. I was stationed in Korea when some of these were released, and in 2006 when I retired I started working for a freind who owned a hobby shop-- which had distribution rights for Academy here in the NW. We had literally hundreds of warehoused B-29 and KC-97 kits in different variations-- there was a KC97G as well (we carried Academy's full line of kits-- this was before MRC became the sole stateside distributor). The B-29 and B17 series were popular in the museums, Ben Franklin stores, and other drug stores and LHS we supplied. Probably because of our proximity to Boeing. But as the prices continued to rise we discontinued them as they were becoming less affordable at the lower ends where our volume business was. When the owner died, we probably had only a dozen or so variations of the B-29 kits--not surprisingly, the KB29 was the worst seller. But I think Academy had boxings in Asia that we never saw here-- mine was definitely a ROK only kit- I only bought it on a whim, as I was just "collecting kits" at the time. It had a "lowboy" cart to display the Fat Man, but I think the kit itself was only for the Bockscar version decals. It also came with all the parts to build a straight B-29.
VR, Russ
BigfootV

Joined: December 24, 2005
KitMaker: 1,624 posts
AeroScale: 385 posts

Posted: Friday, January 06, 2017 - 10:32 PM UTC
Hello everyone,
The rubber bands are off and the fuselage looks better then it was. Still have a lot of sanding, filling, rinse, repeat to do before starting the foiling.
Here's the dry fit of the wings and such.....
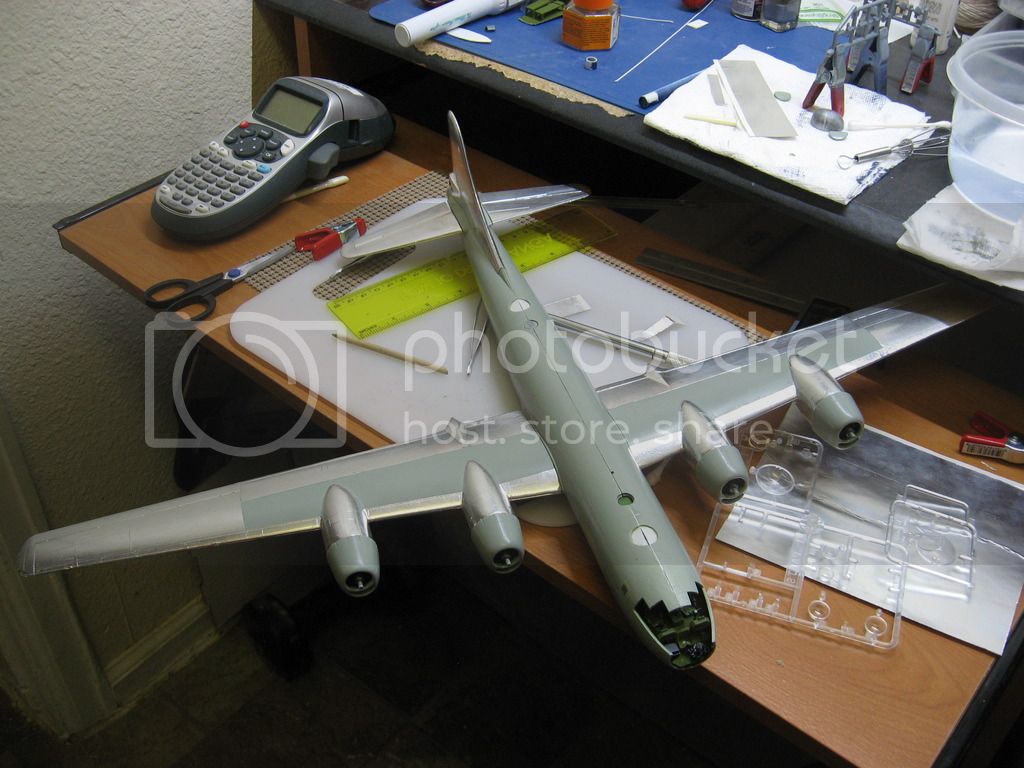
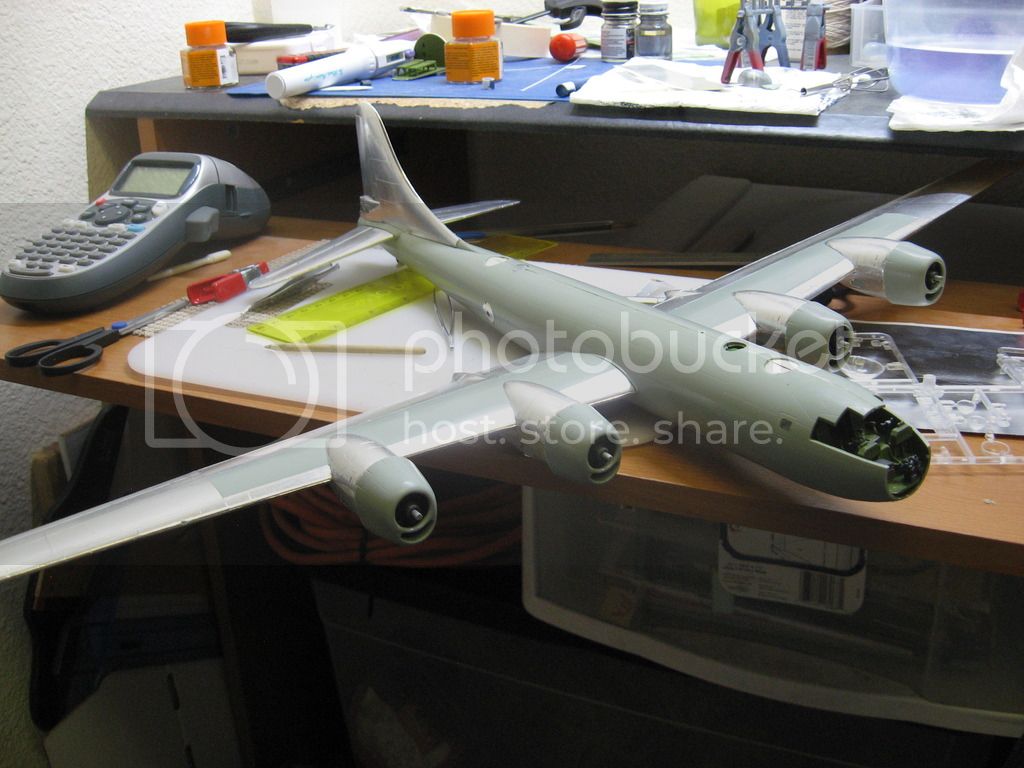
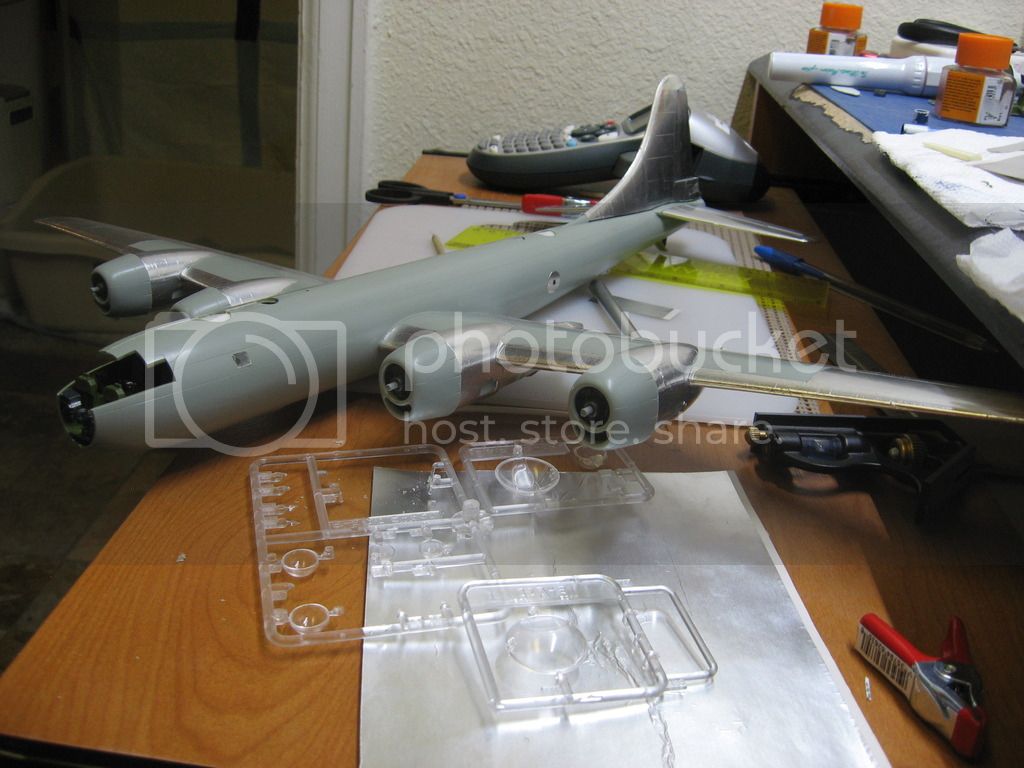
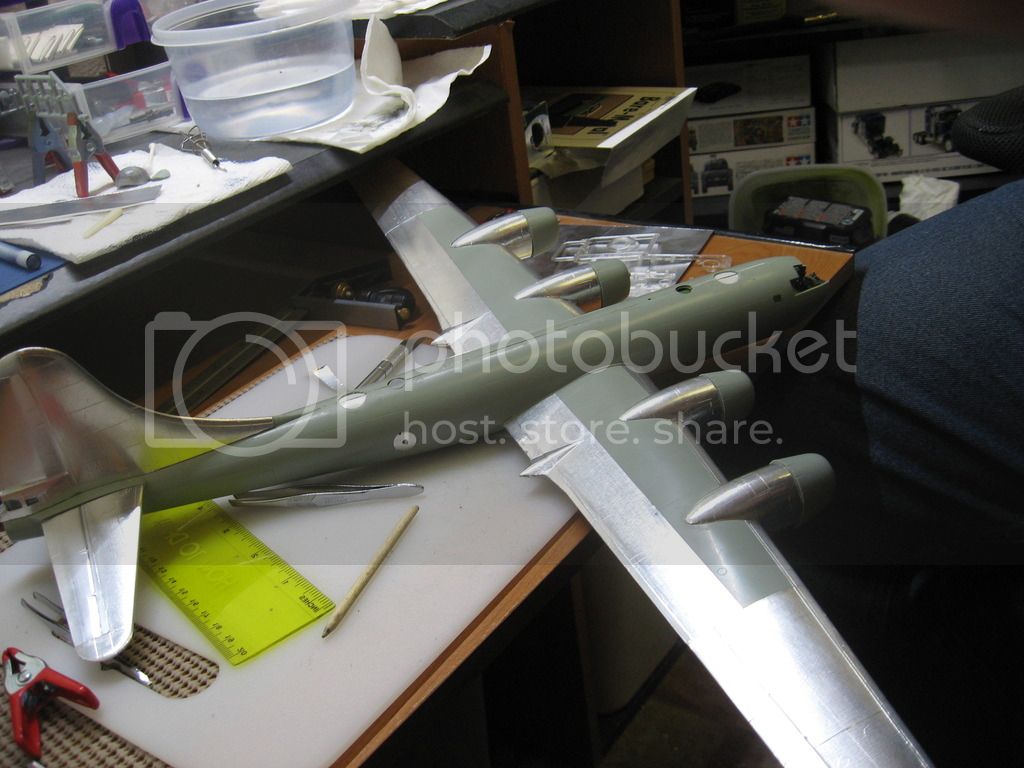
Note the gap. A little alignment issues with the gap for the tail section. I had to sand down the tap to get the tail to go over the tap. Very tight fit.

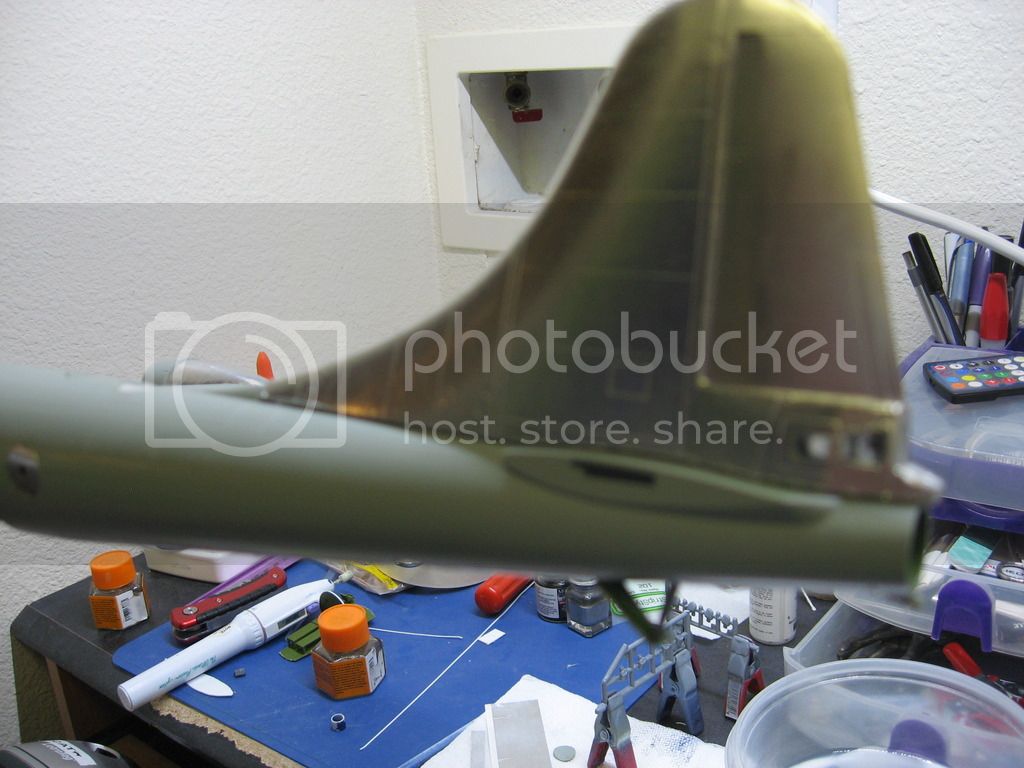
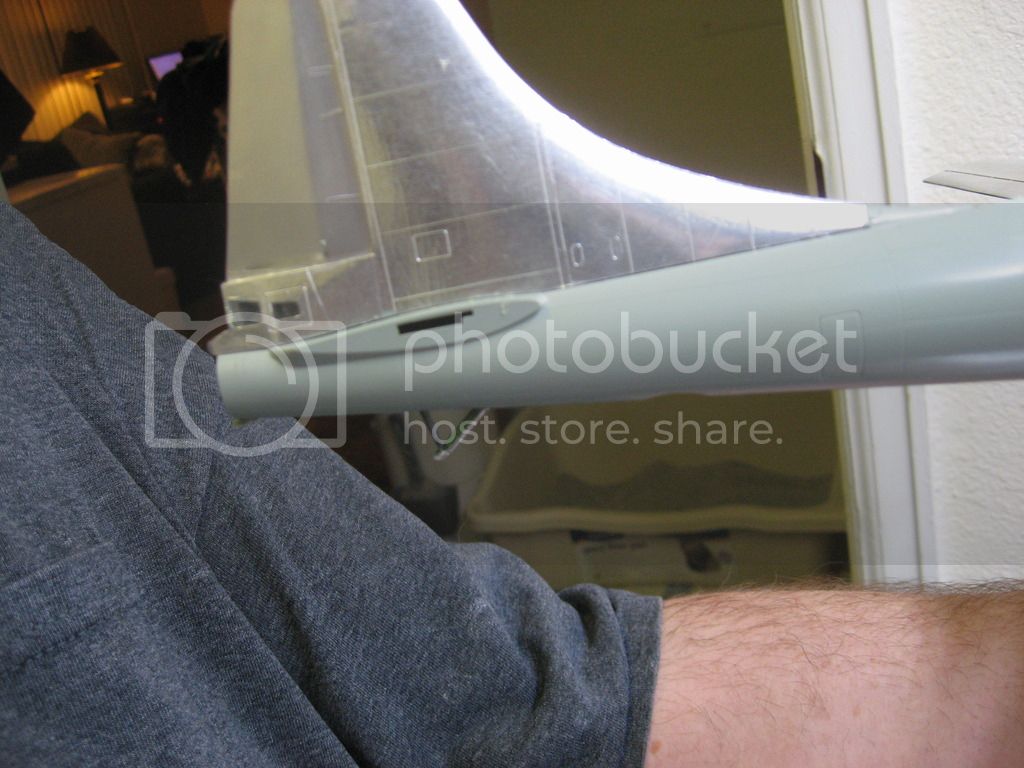
She's getting there..........
See ya in the funnies.............

The rubber bands are off and the fuselage looks better then it was. Still have a lot of sanding, filling, rinse, repeat to do before starting the foiling.
Here's the dry fit of the wings and such.....


Note the gap. A little alignment issues with the gap for the tail section. I had to sand down the tap to get the tail to go over the tap. Very tight fit.


She's getting there..........
See ya in the funnies.............


Kevlar06

Joined: March 15, 2009
KitMaker: 3,670 posts
AeroScale: 833 posts

Posted: Friday, January 06, 2017 - 10:59 PM UTC
Brian, still looking mighty good in the foiling department. I think you'll find that foiling over some of those "gaps" you're reporting might be a double edged sword-- on the one hand you can afford to be a little less critical of a puttied gap's finish than you can with metallic paints-- on the other you need a really smooth putty finish. This is starting to come together very well --did you ever solve the canopy issues?
VR, Russ
VR, Russ
BigfootV

Joined: December 24, 2005
KitMaker: 1,624 posts
AeroScale: 385 posts

Posted: Saturday, January 07, 2017 - 12:26 AM UTC
Hello Russ,
I agree that the gap issue will be a doubled edge sword, however it's not all that bad, that's why I'm not going to rush anything from here on out. There's two issues facing me at the moment, first is that small section of the tail that joins with the fuselage. Dust is the second concern after I get the seams filled in and sanded. I'll have to dust and wash to get things prep'd for foil.
As far as the canopy issues goes, I'm still mapping things out with some degree of success. I think that is going to be one of the last things I get around too.
See ya in the funnies...........


Kevlar06

Joined: March 15, 2009
KitMaker: 3,670 posts
AeroScale: 833 posts

Posted: Saturday, January 07, 2017 - 01:04 AM UTC
Brian,
I understand the dust issue. On smaller models I foil, I build everything except the details, do all my filling and sanding work and then wash the model with water and set asid to dry. Then I begin foiling tail to nose, as the tail is often the most difficult. However, If I could make a suggestion for big beasts like this, I do what you have done and build and foil in components. But since washing the model can damage the aluminum foil adhesion-- and water will really screw up commercial Bare Metal Foil, I use a different cleaning method. Firstly, I wipe it down with a real tack cloth (there are some that are just gauze-- go to an auto parts store and ask for the real stuff--its exactly what it says--slightly tacky to the touch). Then I use my airbrush and compressor set to about 50 PSI, dusting everything down. I then set the model under a large plastic bin to keep dust from settling between foiling session. It's also advisable to work with powder free gloves when foiling.
VR, Russ
berndm

Joined: March 26, 2014
KitMaker: 844 posts
AeroScale: 630 posts

Posted: Sunday, January 08, 2017 - 07:58 PM UTC
Your surfaces look excellent and its a lot of work which will be rewarded with an outstanding result.
BigfootV

Joined: December 24, 2005
KitMaker: 1,624 posts
AeroScale: 385 posts

Posted: Monday, January 09, 2017 - 09:14 PM UTC
Hello everyone,
My apologize for not replying sooner to your comments. If you haven't been following the weather, we had a major wind event yesterday that knocked power out about 4 different times throughout the course of the day. 101 mph recorded gust from NORAD, which is about roughly 5 miles from were I live. Roofs/windows got blown out, trees down, 13+ big rigs were blown over. It's a mess..........Anyways.......I hope to get back on track with the build today.
Thanks Russ for the advise.
Thanks Bernd. I've been learning a lot on this build. It's is my first attempt at foiling. I must admit there are days when I think I've set the bar a little higher then what my skill level really is.....then again.
See ya in the funnies...........


 |


