

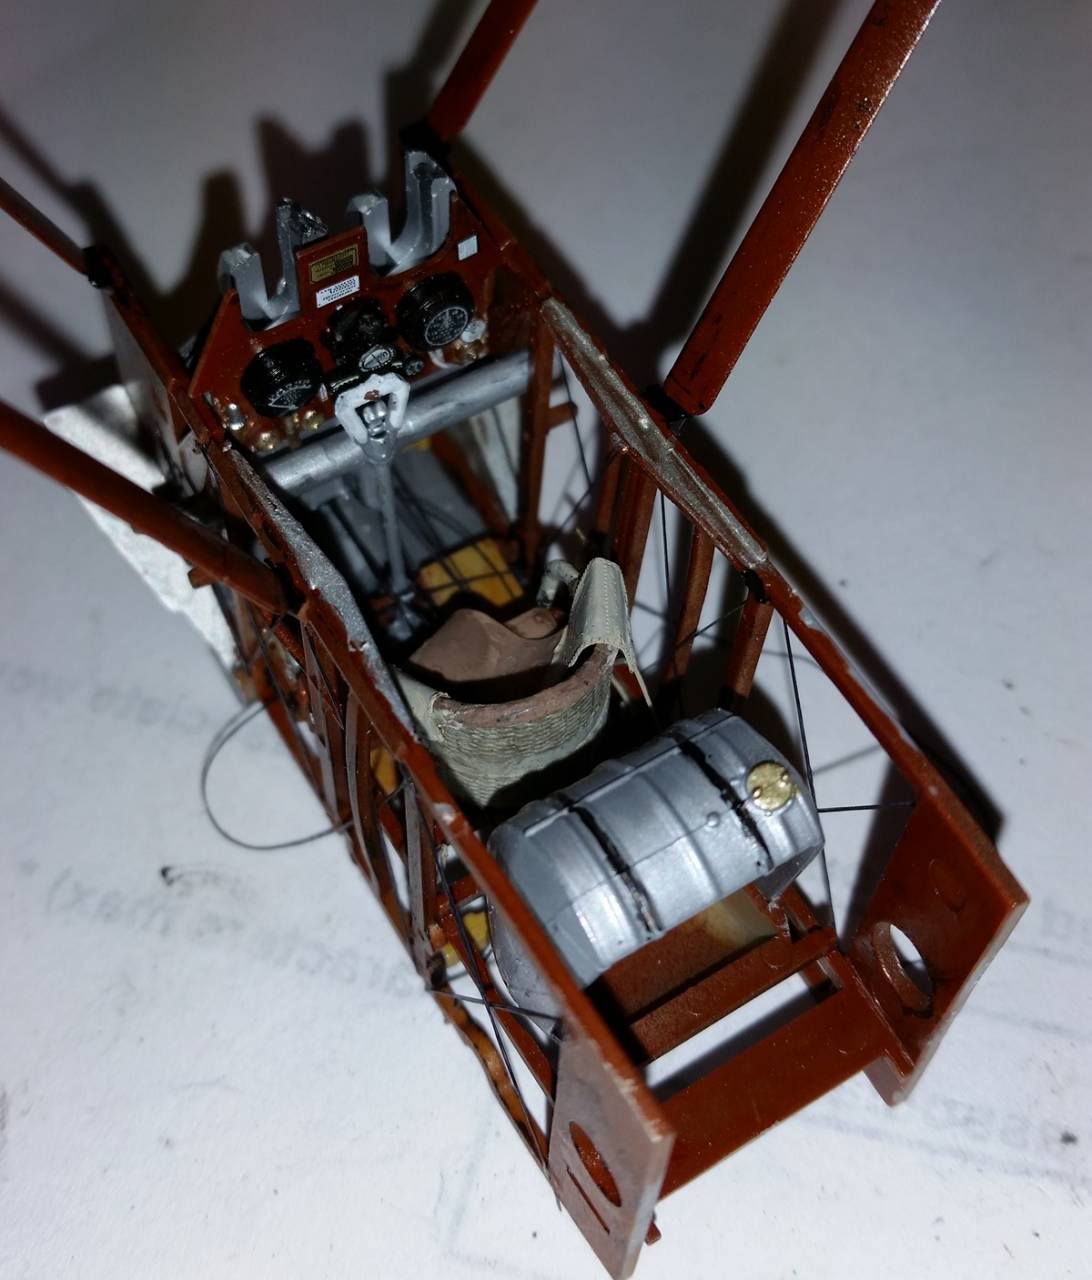
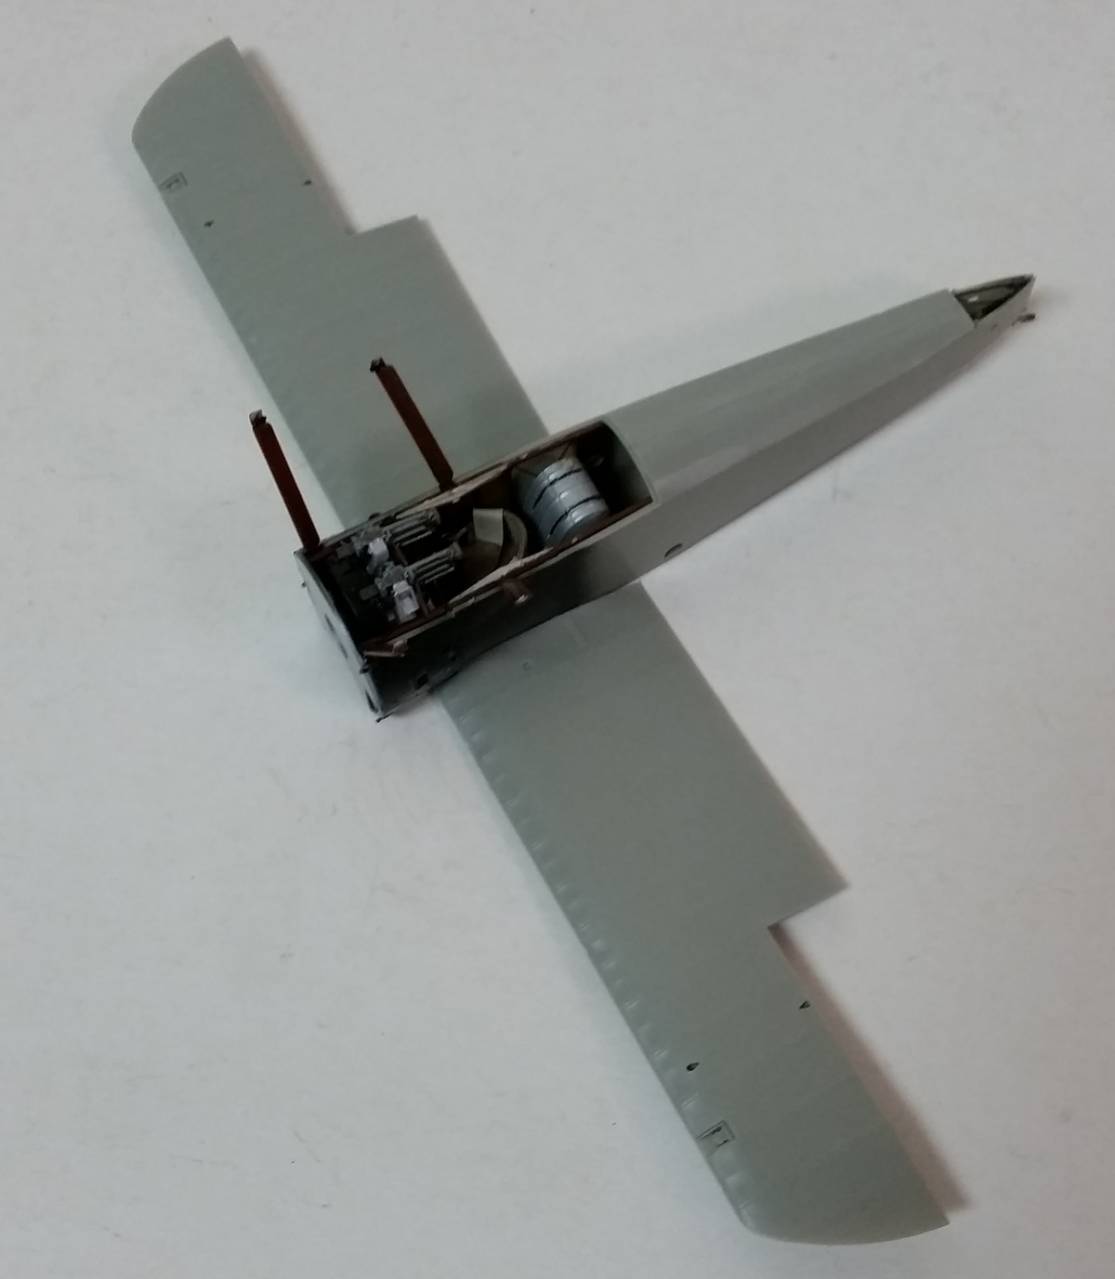
Work on the Camel has been slow but I have a fair amount of prepainting done so I'm hoping to really make some progress this weekend.
Michael


 . BTW when will the next CANVAS FALCONS campaign begin? My WNW Snipe is on its way plus I have been reading and rereading articles on rigging and viewing YouTube videos.
Michael, new glasses helped me much. Now for some glaucoma remedies


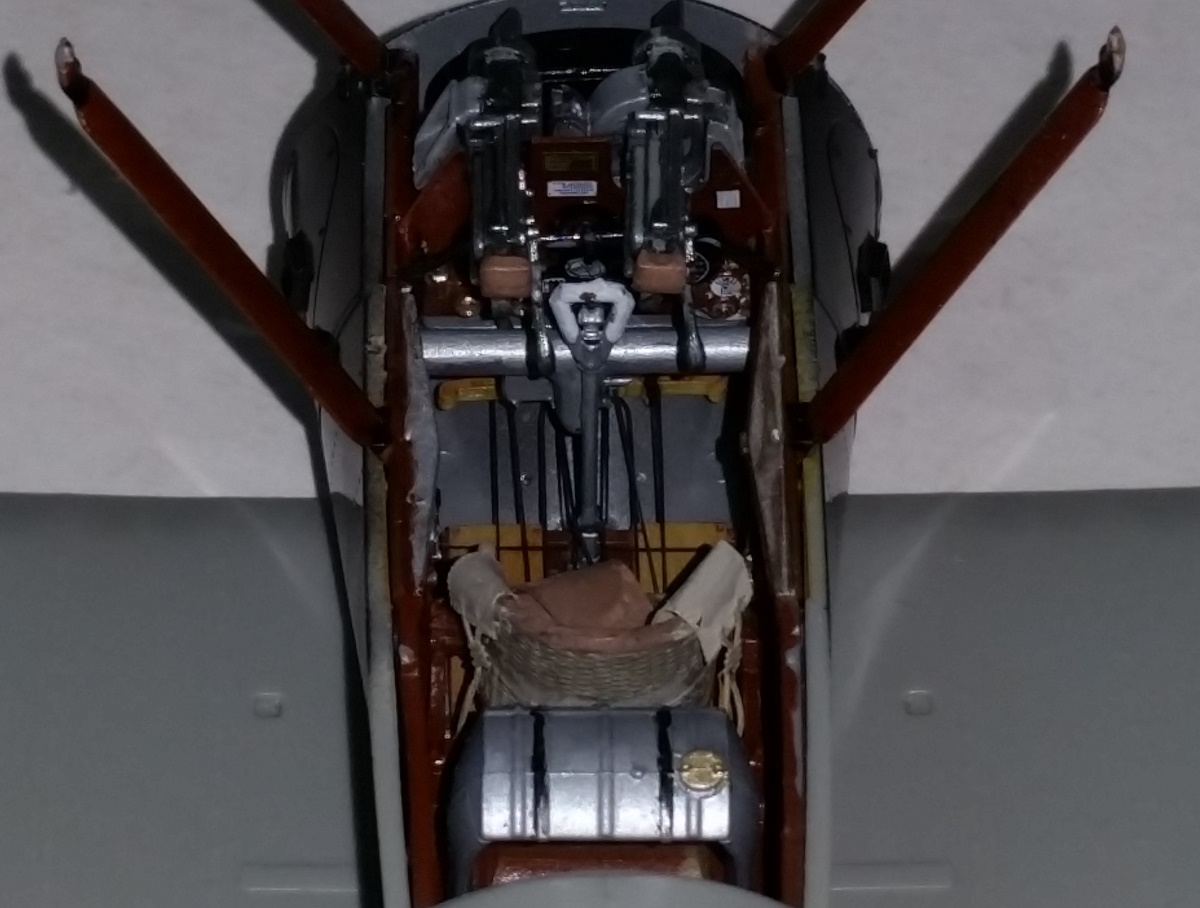


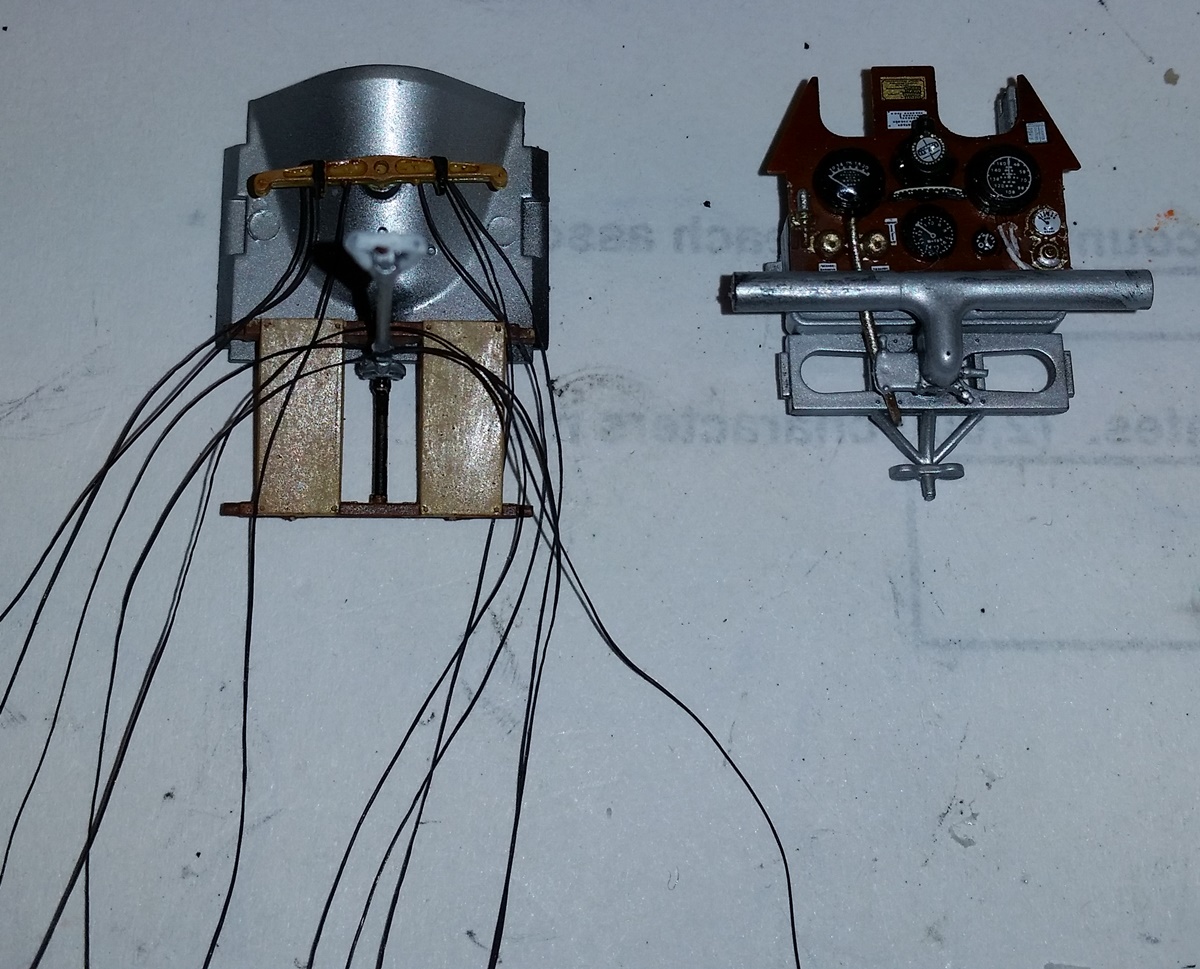
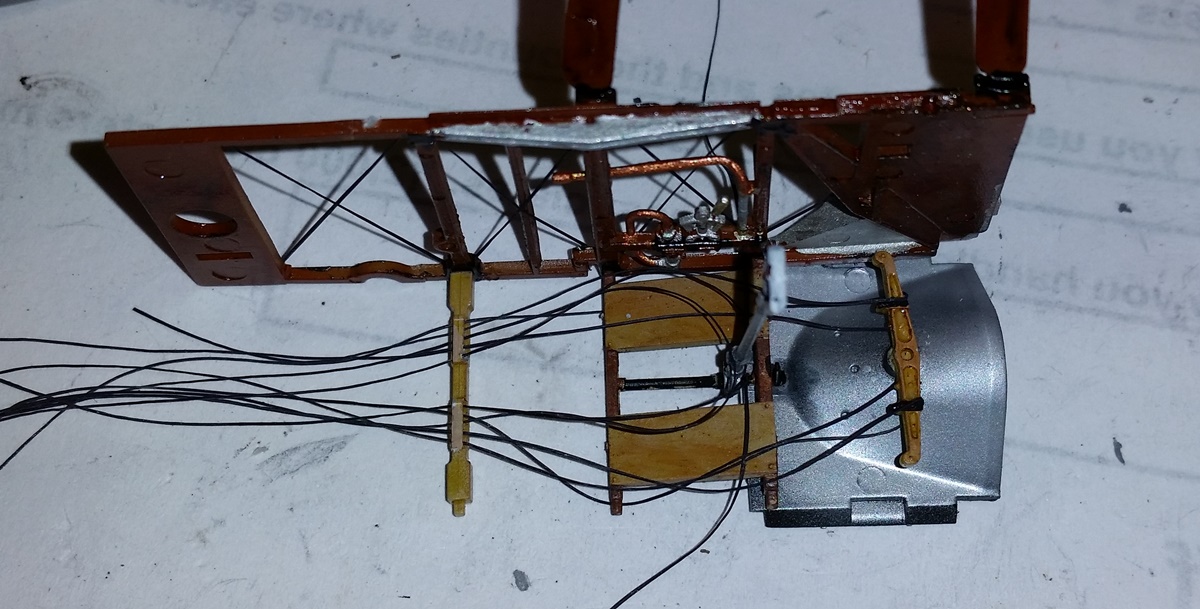
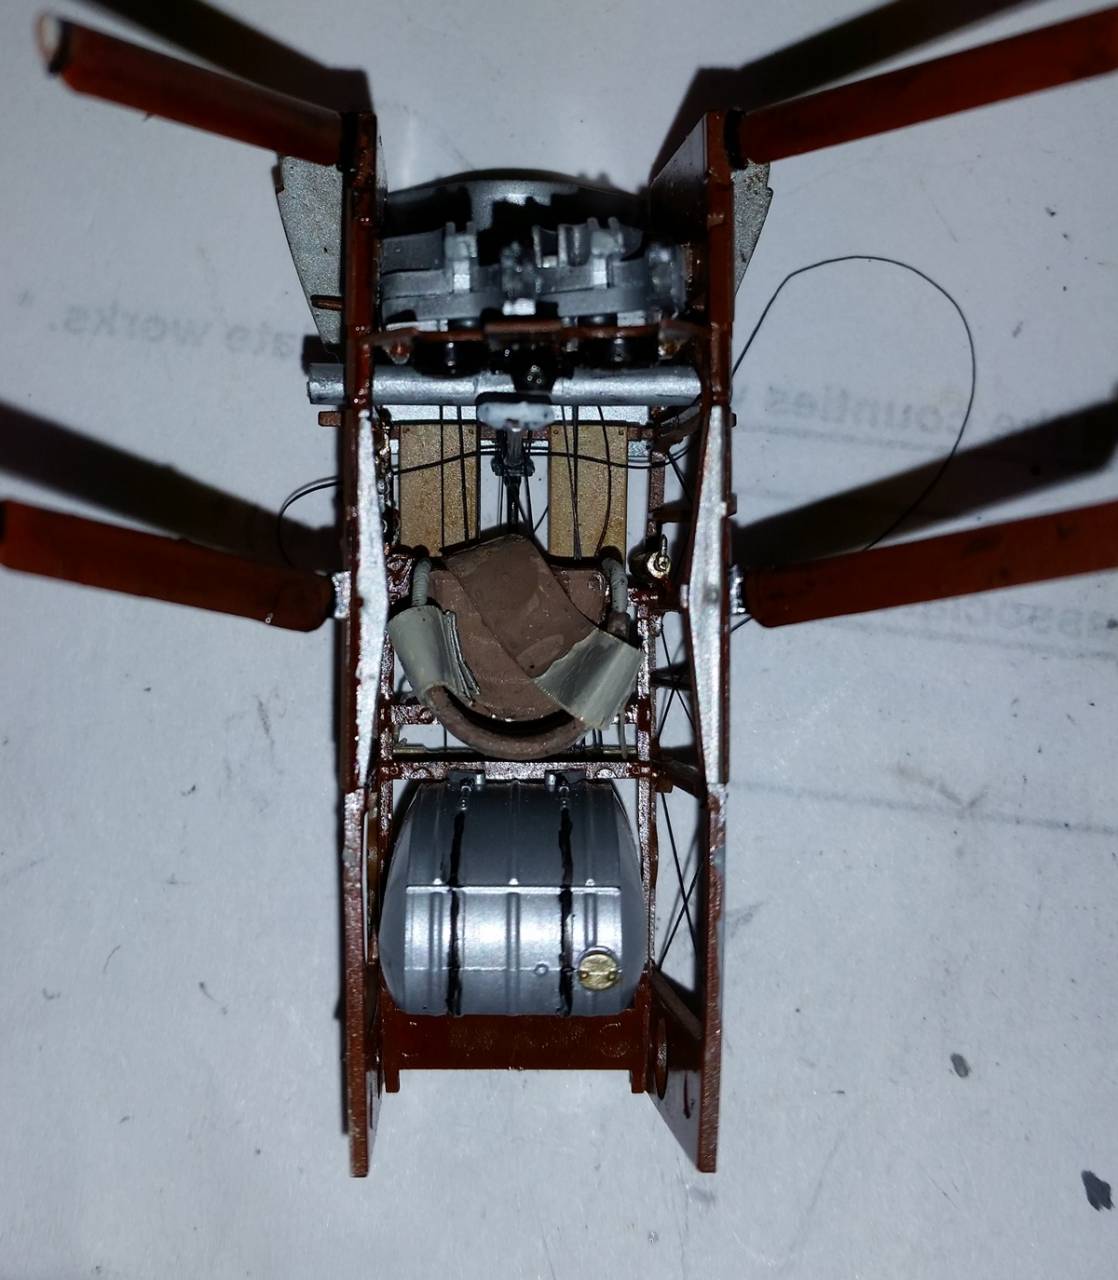
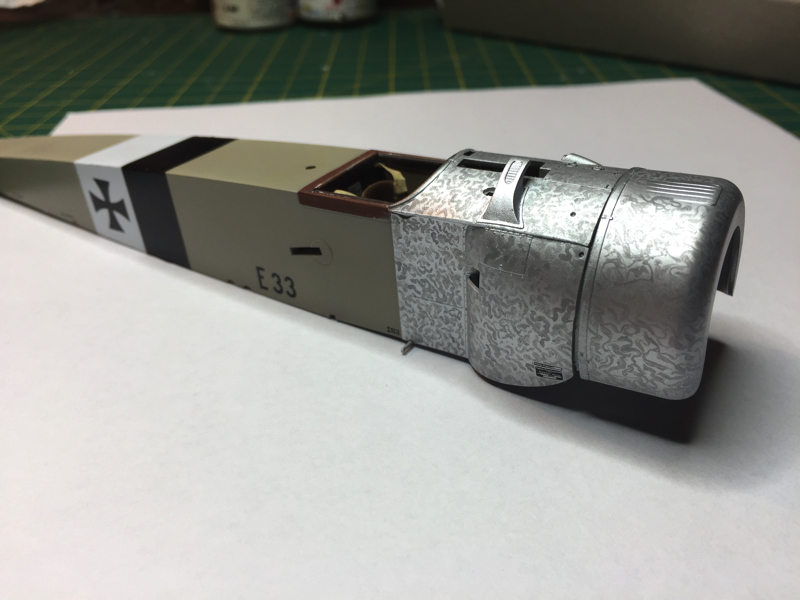
Michael, the interior is looking really good. What color are the seat belts?
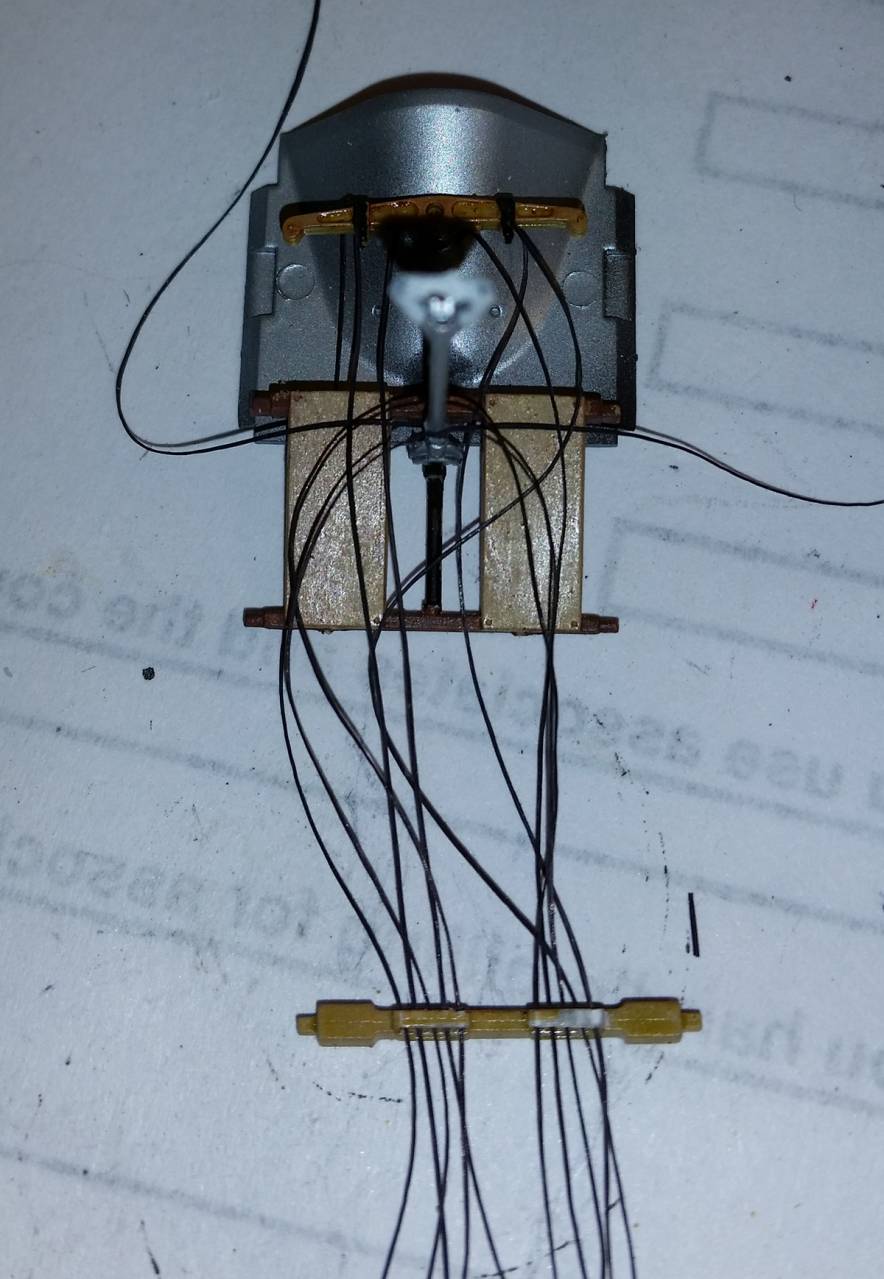
Stu, Ive been watching your rigging photos and have learned some.
Bob


 |


