England - South West, United Kingdom
Joined: January 06, 2007
KitMaker: 3,661 posts
AeroScale: 369 posts
Posted: Monday, December 19, 2016 - 05:07 AM UTC
A small update for you all. Quickboost radiostack has been painted. A beautiful little model in its own right.
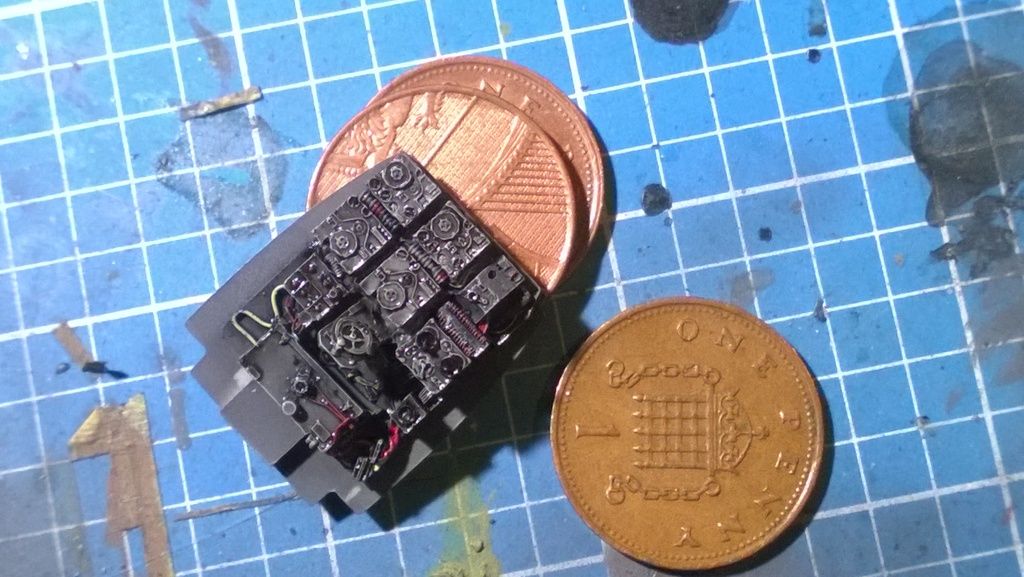
I will hopefully get more bench time soon. I'm really keen to crack on but life gets in the way!
Support Our Troops! Hit the Yes button If you find reviews or features helpful.
Alberta, Canada
Joined: January 19, 2008
KitMaker: 6,743 posts
AeroScale: 6,151 posts
Posted: Tuesday, December 20, 2016 - 06:39 AM UTC
Nice work James

Terri
TimReynaga
 Associate Editor
California, United States
Joined: May 03, 2006
KitMaker: 2,500 posts
AeroScale: 318 posts
Posted: Tuesday, December 20, 2016 - 08:22 AM UTC
James,
That radio stack looks terriffic. I hope it is still visible once buried inside the fuselage!

England - South West, United Kingdom
Joined: January 06, 2007
KitMaker: 3,661 posts
AeroScale: 369 posts
Posted: Thursday, January 12, 2017 - 04:18 PM UTC
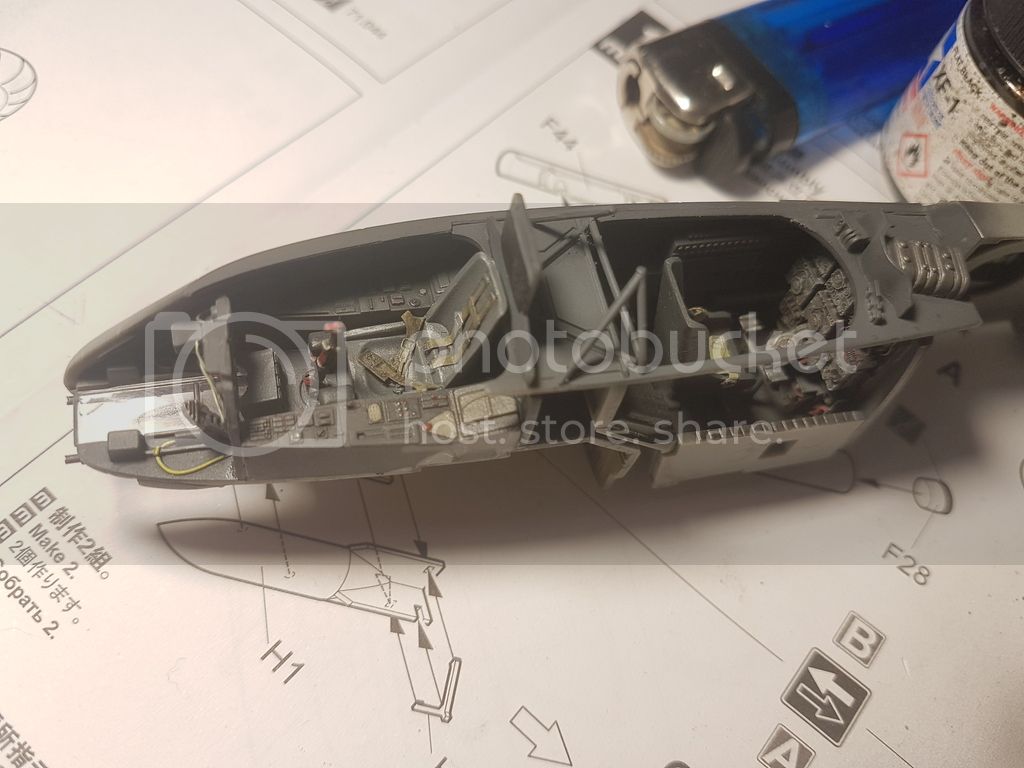
Thanks guys. I gotta say I haven't spent as much time at the bench as I would have liked this last month and I have only made slim progress... the tub is fitted into one half of the fuselage . I'm hoping to join it together soon.
Support Our Troops! Hit the Yes button If you find reviews or features helpful.
Joel_W
 Associate Editor
New York, United States
Joined: December 04, 2010
KitMaker: 11,666 posts
AeroScale: 7,410 posts
Posted: Thursday, January 12, 2017 - 10:05 PM UTC
James,
It's still progress none the less.
The rather large multi crew pit really looks quite good. the weathering is outstanding to say the least.
Joel
On my Workbench:
Monogram 1/24 scale 427 Shelby Cobra
Just Completed:
Beemax 1/24 scale BMW M3 E30 1992 Evolution II
Niedersachsen, Germany
Joined: March 26, 2014
KitMaker: 844 posts
AeroScale: 630 posts
Posted: Saturday, January 14, 2017 - 01:34 PM UTC
That interior looks incredible, nice paint job. The gun barrels look very convincing for example.
The aftermarket stuff like the propellers is well spend, for the cowling judge for yourself after the dryfit test of the complete airframe, with some care, trimming and putty you can improve the look very much.
Killing the budged with aftermarket stuff is not everything in modelling.
Mengs Me 410 is riding on my wishlist for a long time, so i will watch your build with interest.
Happy Modelling
Bernd
England - South West, United Kingdom
Joined: January 06, 2007
KitMaker: 3,661 posts
AeroScale: 369 posts
Posted: Monday, January 16, 2017 - 02:40 AM UTC
Joel, thankyou and Bernd, I had completely forgotten about the oil intakes. Eek....

The fuselage halves went together with great difficulty. Either my sub assemblies were awful, or the fuselage halves were warped. Anyway after clamping and gluing I have a fuselage.
I presided it and hit it with a matt clear to protect it from handling.
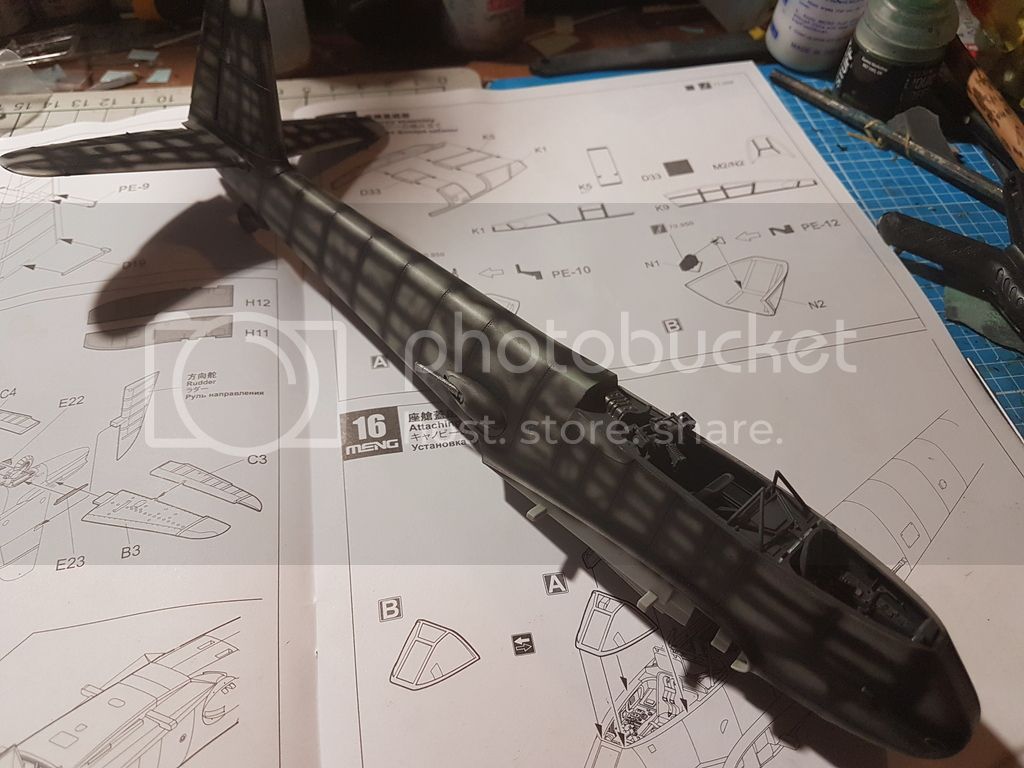
Next.... wings engines and all the fun stuff.
Support Our Troops! Hit the Yes button If you find reviews or features helpful.
Niedersachsen, Germany
Joined: March 26, 2014
KitMaker: 844 posts
AeroScale: 630 posts
Posted: Monday, January 16, 2017 - 01:12 PM UTC
Looks good James, i am looking forward to the "fun things"
:)
Guess closing the fuselage with all the interior sub assemblies is a complex step during the construction.
Alberta, Canada
Joined: January 19, 2008
KitMaker: 6,743 posts
AeroScale: 6,151 posts
Posted: Wednesday, January 18, 2017 - 05:41 AM UTC
It's not very comforting that the fuselage halves don't fit to well . I got two of these in the stash man ....

Will have side with Bernd though , with all the sub assemblies it would be a challenge getting this to line up . She is shaping up wonderful so far . How was the fit of the tail feathers ?
Terri
England - South West, United Kingdom
Joined: January 06, 2007
KitMaker: 3,661 posts
AeroScale: 369 posts
Posted: Wednesday, January 18, 2017 - 01:30 PM UTC
More than likely it was an error on my part with the sub assembly line up Terri, being my most ambitious build for a long while I think probably I wasn't being careful enough. The sides of the panels in the cockpit needed shaving a little. Maybe I fumbled earlier on. The fit of the tail was great, no gaps thus farand I have one of the wings nearing completion and that has gone together wonderfully. I will hopefully have time to get some photos up after work !
Support Our Troops! Hit the Yes button If you find reviews or features helpful.
England - South West, United Kingdom
Joined: January 06, 2007
KitMaker: 3,661 posts
AeroScale: 369 posts
Posted: Thursday, January 19, 2017 - 01:22 AM UTC
Support Our Troops! Hit the Yes button If you find reviews or features helpful.
Australia
Joined: October 15, 2016
KitMaker: 62 posts
AeroScale: 36 posts
Posted: Thursday, January 19, 2017 - 02:53 AM UTC
James
I am following your build with interest as this kit is near the top of my shopping list. Looking good so far- you did a great job on the cockpit and engine. They are packed with detail.
Simon
England - South West, United Kingdom
Joined: January 06, 2007
KitMaker: 3,661 posts
AeroScale: 369 posts
Posted: Saturday, January 21, 2017 - 02:29 AM UTC
Thankyou Simon! Glad your enjoying. The internals have nice detail but IMO lack a little definition. Nothing careful painting can't solve though...
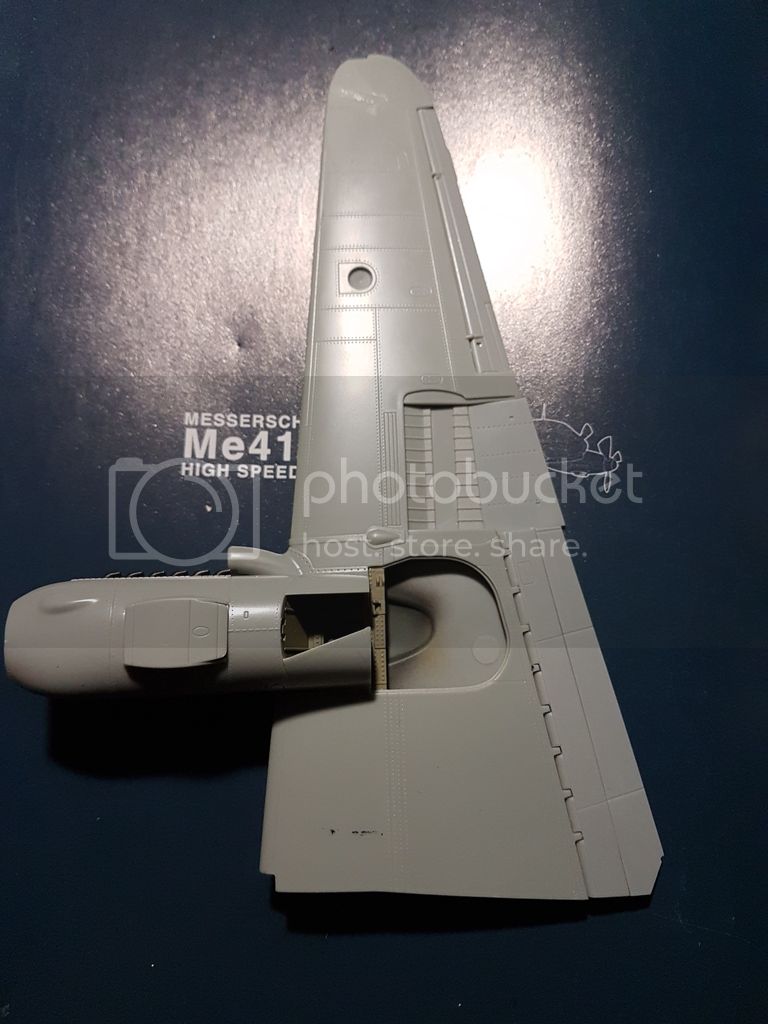
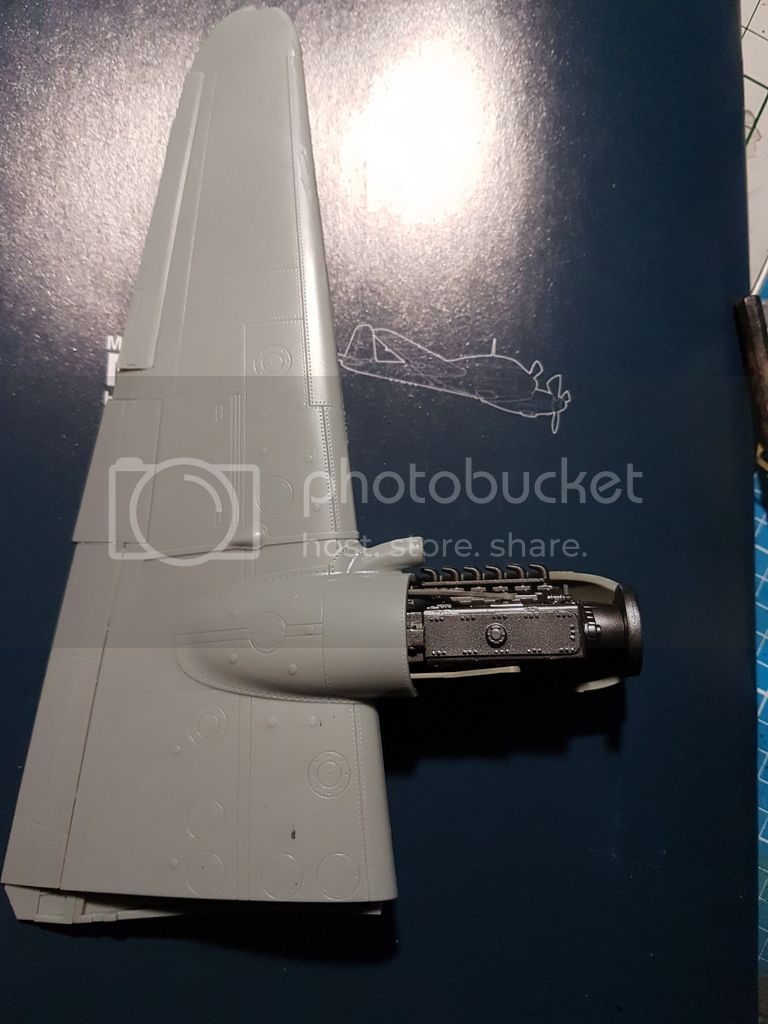
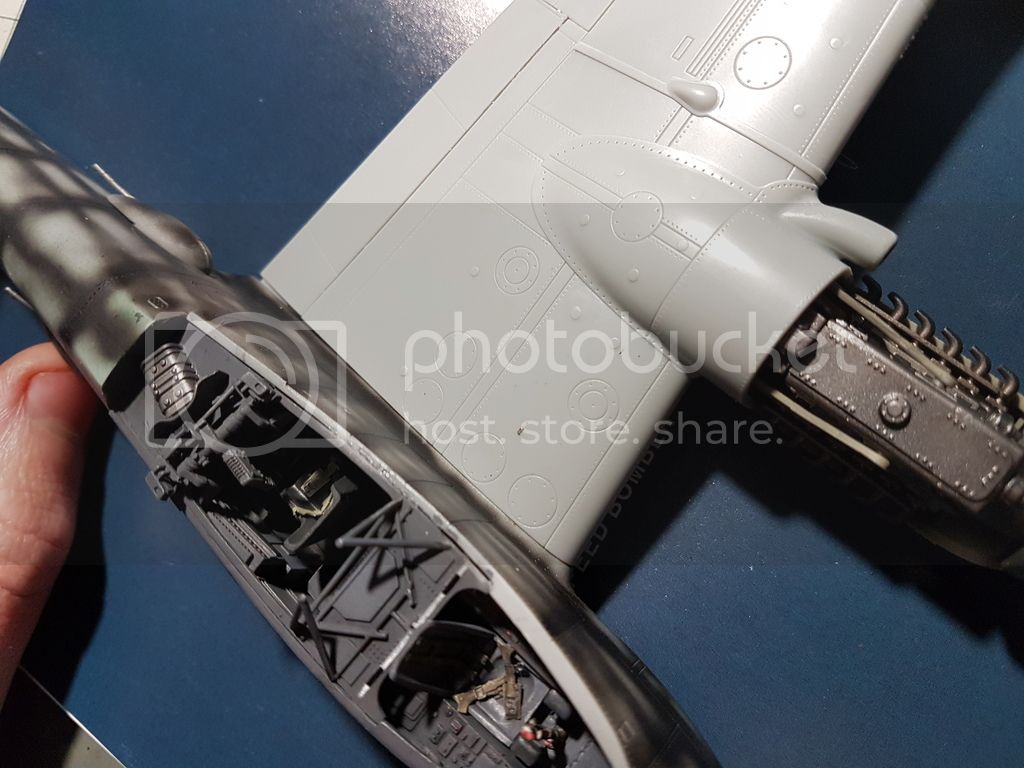
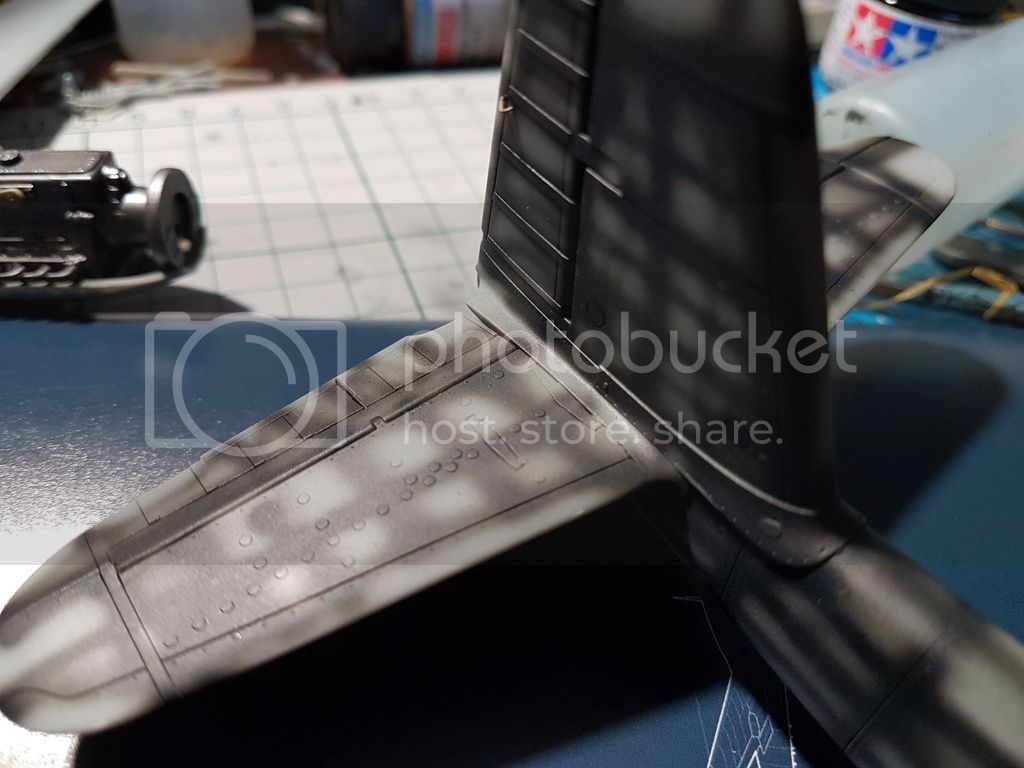
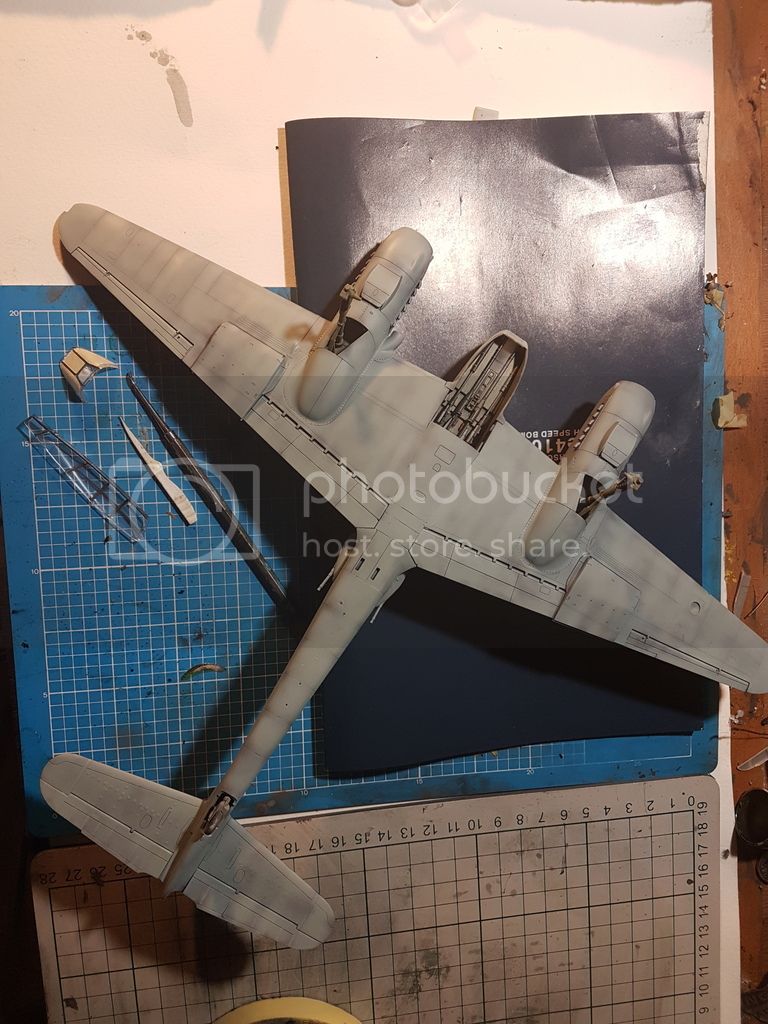
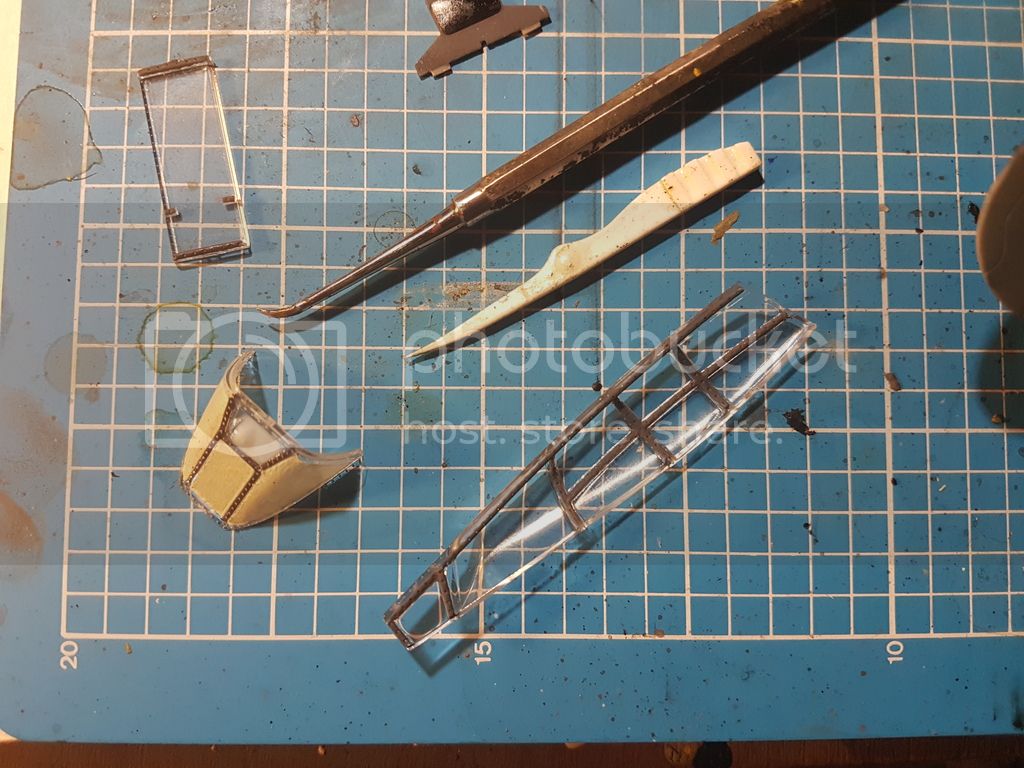
One wing is on the other is in the prep stages. Also redid the preshading, waiting on a new needle and nozzle before I get started on major paintwork too so I have time to focus on the smaller parts. Also waiting on canopy parts (some of mine had bubbles) but meng come back from new year holiday on the 7th so I have a little wait.. Maybe have to start something new when I'm at *that* stage
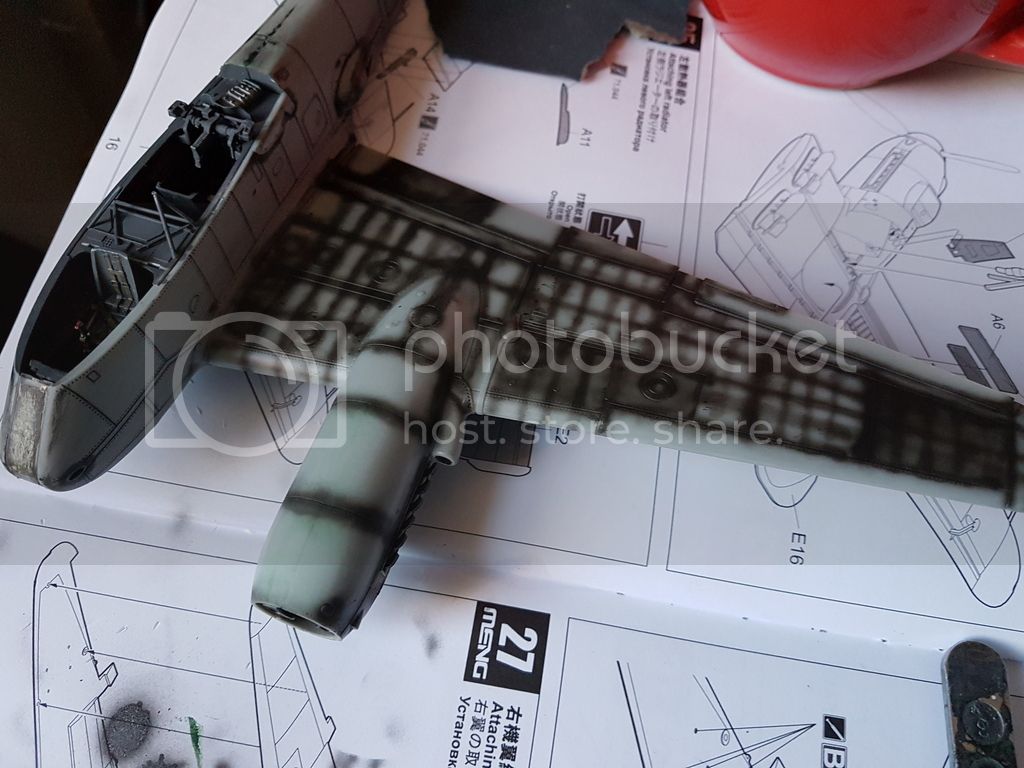
And a test. Biggest aircraft I have built in a long time
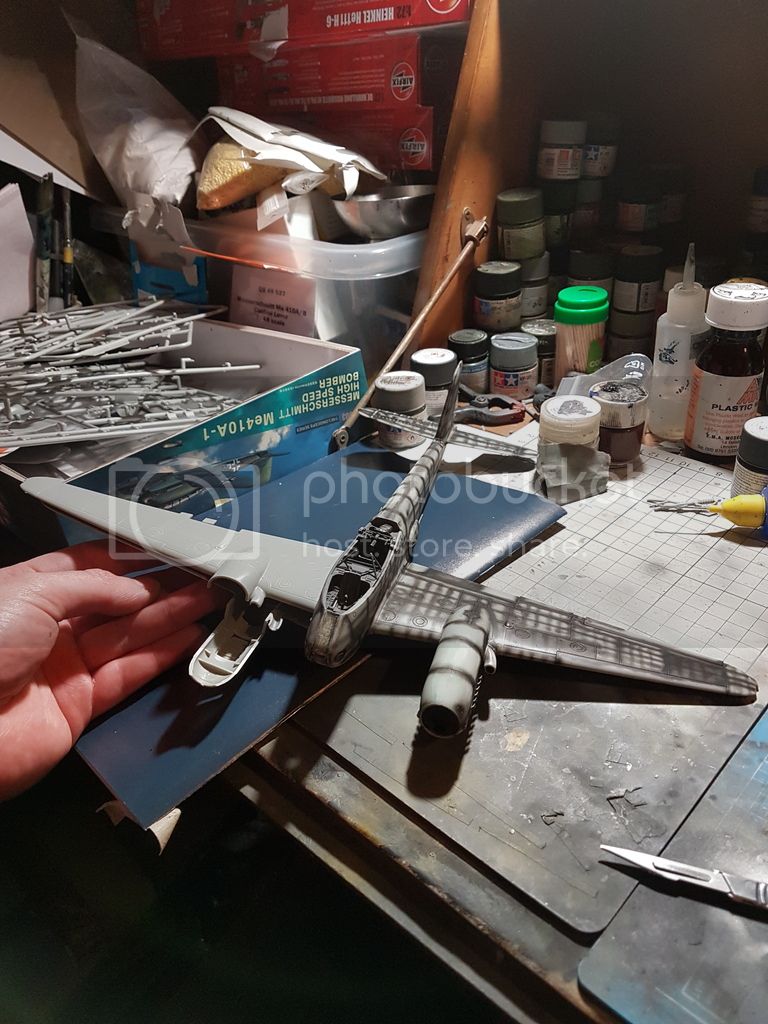
Have a good weekend !
Support Our Troops! Hit the Yes button If you find reviews or features helpful.
Niedersachsen, Germany
Joined: March 26, 2014
KitMaker: 844 posts
AeroScale: 630 posts
Posted: Saturday, January 21, 2017 - 01:13 PM UTC
Good progress so far, guess the harder part of the build is done.
Nice preshading, this will give the finish a "busy" look.
The details look really nice, Meng has done a good job with them.Hope they did a good job with the canopy too, my Monogram Hornet looked way better without

Joel_W
 Associate Editor
New York, United States
Joined: December 04, 2010
KitMaker: 11,666 posts
AeroScale: 7,410 posts
Posted: Saturday, January 21, 2017 - 09:32 PM UTC
james,
Looking forward to how your camo paint scheme comes out with your pre-shading.
Joel
On my Workbench:
Monogram 1/24 scale 427 Shelby Cobra
Just Completed:
Beemax 1/24 scale BMW M3 E30 1992 Evolution II
England - South West, United Kingdom
Joined: January 06, 2007
KitMaker: 3,661 posts
AeroScale: 369 posts
Posted: Monday, January 23, 2017 - 12:57 AM UTC
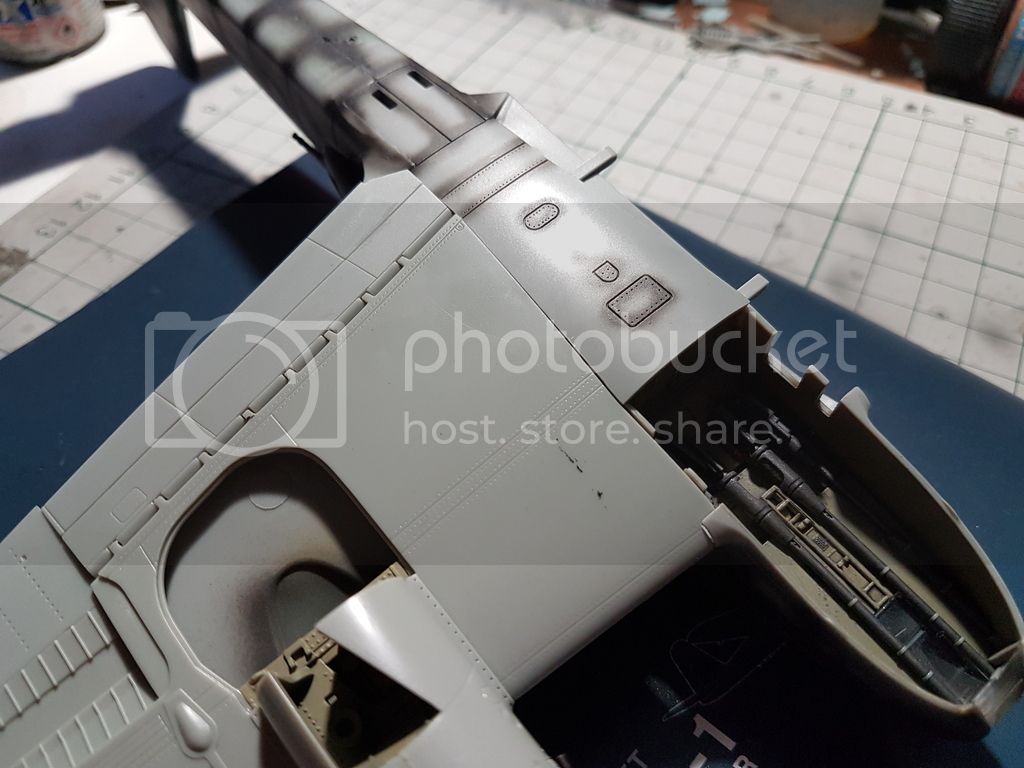
Joel and Bernd, thankyou guys! I have run across another problem causes probably by my bad building... the bomb bay doors don't fit well. At all. So. Against my initial plan of having everything closed up and committed to memory and the forum, I will have the bomb bay open.
Paint on the inner doors.
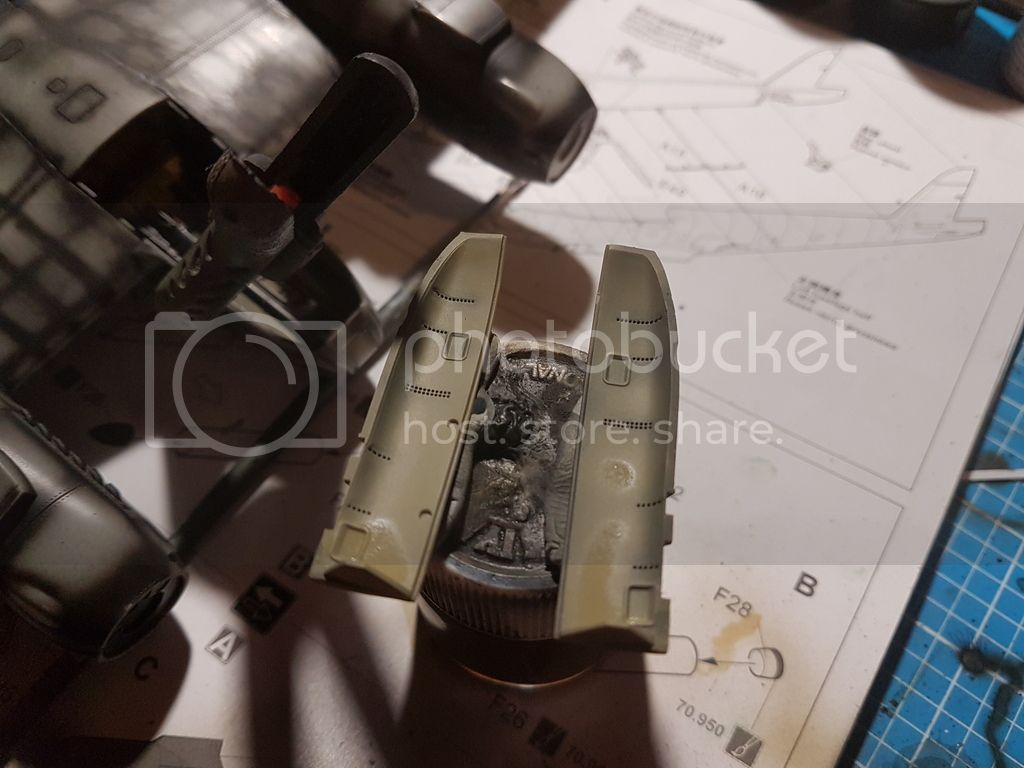
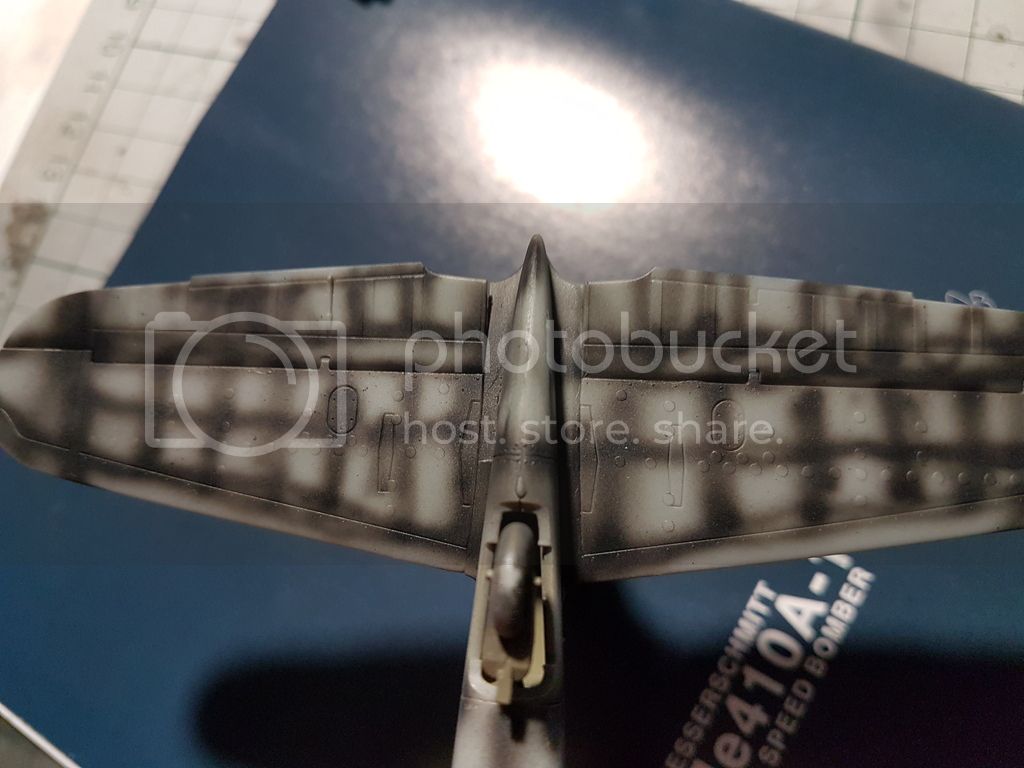
Preshading
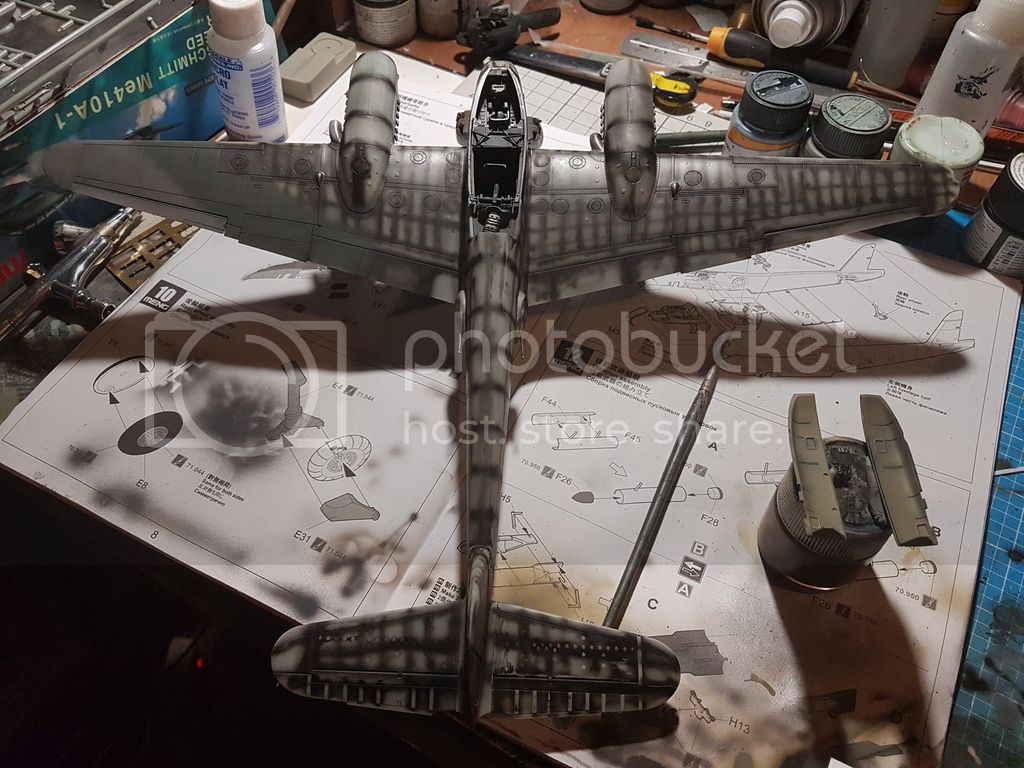
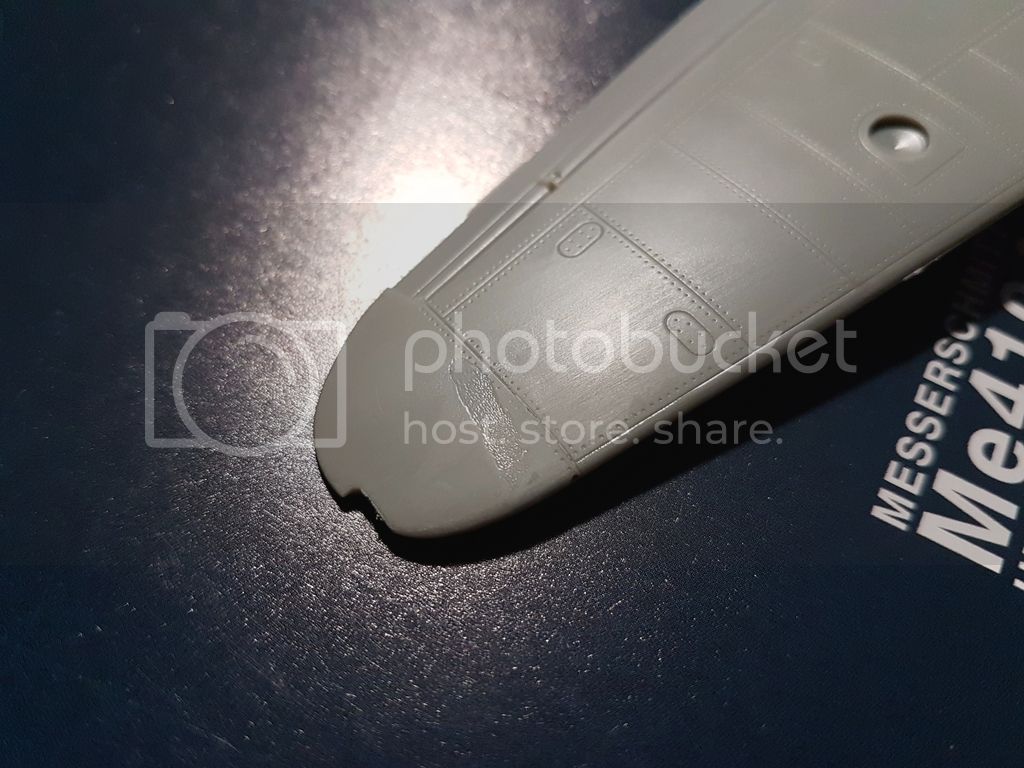
And a little colour test.
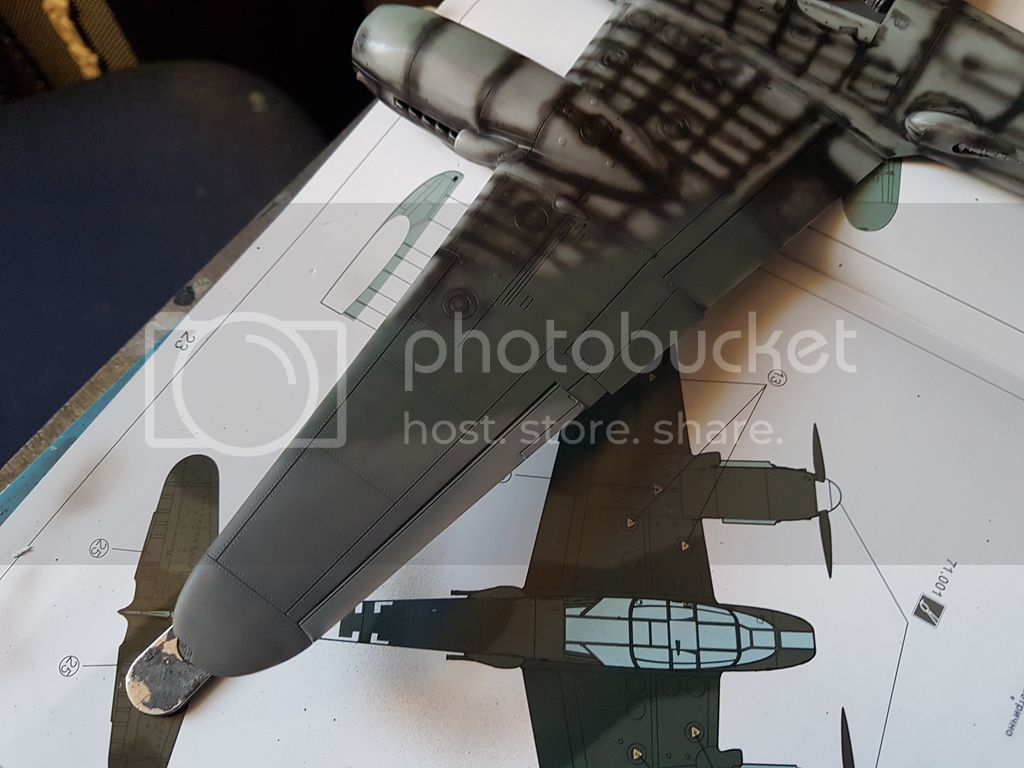
I will have to be more careful with the lighter grey, seems to cover better than the darker ones. I forsee many light coats. I'm using life colour.
More soon... J
Support Our Troops! Hit the Yes button If you find reviews or features helpful.
Joel_W
 Associate Editor
New York, United States
Joined: December 04, 2010
KitMaker: 11,666 posts
AeroScale: 7,410 posts
Posted: Monday, January 23, 2017 - 03:11 AM UTC
James,
As far as the bomb bay door go, did you dry fit those prior to painting? Having the bomb bay doors open is fine. I do it all the time. Just hoping that you painted the bomb bay, and added a little weathering as well.
From your posted pic of the wing tip, the color looks fine. I can see the pre-shading coming through both of them just a tad, and that's the way you want it to be.
Joel
On my Workbench:
Monogram 1/24 scale 427 Shelby Cobra
Just Completed:
Beemax 1/24 scale BMW M3 E30 1992 Evolution II
Alberta, Canada
Joined: January 19, 2008
KitMaker: 6,743 posts
AeroScale: 6,151 posts
Posted: Monday, January 23, 2017 - 04:57 AM UTC
She is coming along super James

Terri
Wisconsin, United States
Joined: April 05, 2007
KitMaker: 2,023 posts
AeroScale: 81 posts
Posted: Monday, January 23, 2017 - 06:24 AM UTC
Don't know if this is "Kosher" but Sprue Bros has this kit on sale for $33.49US. Sale ends about 5 hours from now.
James, I normally build armor but this build and the low price has inspired me. Thanks for all the tips & trouble spots to look out for.
Sorry to anybody who might of been offended with me informing the readers about the sale. Shop local if you can !
Tom
On the bench :
A whole bunch of figures, Too many half built kits and a (gasp) wing thing
Joel_W
 Associate Editor
New York, United States
Joined: December 04, 2010
KitMaker: 11,666 posts
AeroScale: 7,410 posts
Posted: Monday, January 23, 2017 - 11:10 PM UTC
Quoted Text
Don't know if this is "Kosher" but Sprue Bros has this kit on sale for $33.49US. Sale ends about 5 hours from now.
James, I normally build armor but this build and the low price has inspired me. Thanks for all the tips & trouble spots to look out for.
Sorry to anybody who might of been offended with me informing the readers about the sale. Shop local if you can !
Tom
Tom,
Just pm James and ask if you have any concerns as it would be the proper thing to do. In this case you're posting a sale price on the same kit that the build is about. Seems to me that some would be interested especially at the sale price.
Joel
On my Workbench:
Monogram 1/24 scale 427 Shelby Cobra
Just Completed:
Beemax 1/24 scale BMW M3 E30 1992 Evolution II
Niedersachsen, Germany
Joined: March 26, 2014
KitMaker: 844 posts
AeroScale: 630 posts
Posted: Tuesday, January 24, 2017 - 12:56 PM UTC
Looks great so far and its good that the bomb bay panels refused to fit properly, your details came out very nice in that area.
Stunning and tempting build !
England - South West, United Kingdom
Joined: January 06, 2007
KitMaker: 3,661 posts
AeroScale: 369 posts
Posted: Tuesday, January 24, 2017 - 03:38 PM UTC
Tom , did you get one ? It's a very nice aircraft to build despite my errors! Bernd, thankyou it has so far been worth the challenge. The area I am now worried about the most is the canopy. If there was fit issues on the underside I dread to think how I will manage to bodge the canopy on.
Support Our Troops! Hit the Yes button If you find reviews or features helpful.
Wisconsin, United States
Joined: April 05, 2007
KitMaker: 2,023 posts
AeroScale: 81 posts
Posted: Tuesday, January 24, 2017 - 06:09 PM UTC
Yep, I did ! Should hit the door tomorrow or Friday. This is one cool looking bird !

Tom
On the bench :
A whole bunch of figures, Too many half built kits and a (gasp) wing thing
England - South West, United Kingdom
Joined: January 06, 2007
KitMaker: 3,661 posts
AeroScale: 369 posts
Posted: Tuesday, January 24, 2017 - 07:30 PM UTC
Nice you'll enjoy it!
Quick question to everyone. Has anyone built ICM's 48th do17 and ju88.. I have been bitten by the larger aircraft bug. I have seen the reviews but am wondering how they stack up to other manufacturers.
Support Our Troops! Hit the Yes button If you find reviews or features helpful.
England - South West, United Kingdom
Joined: January 06, 2007
KitMaker: 3,661 posts
AeroScale: 369 posts
Posted: Wednesday, January 25, 2017 - 12:40 AM UTC
Support Our Troops! Hit the Yes button If you find reviews or features helpful.


