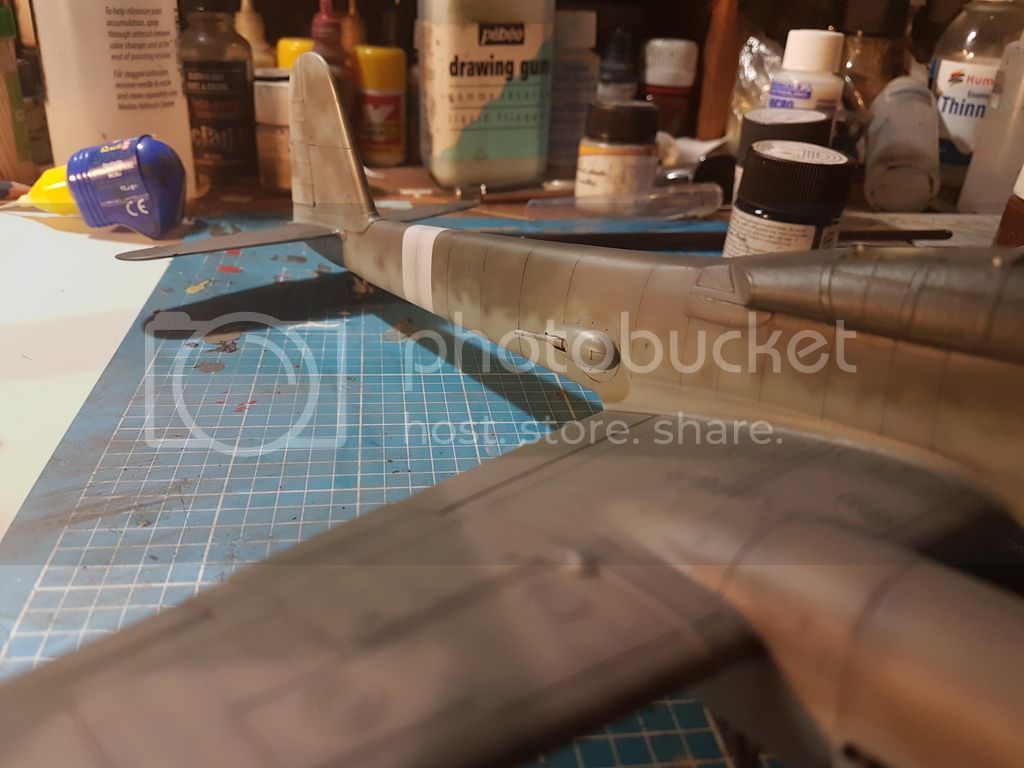
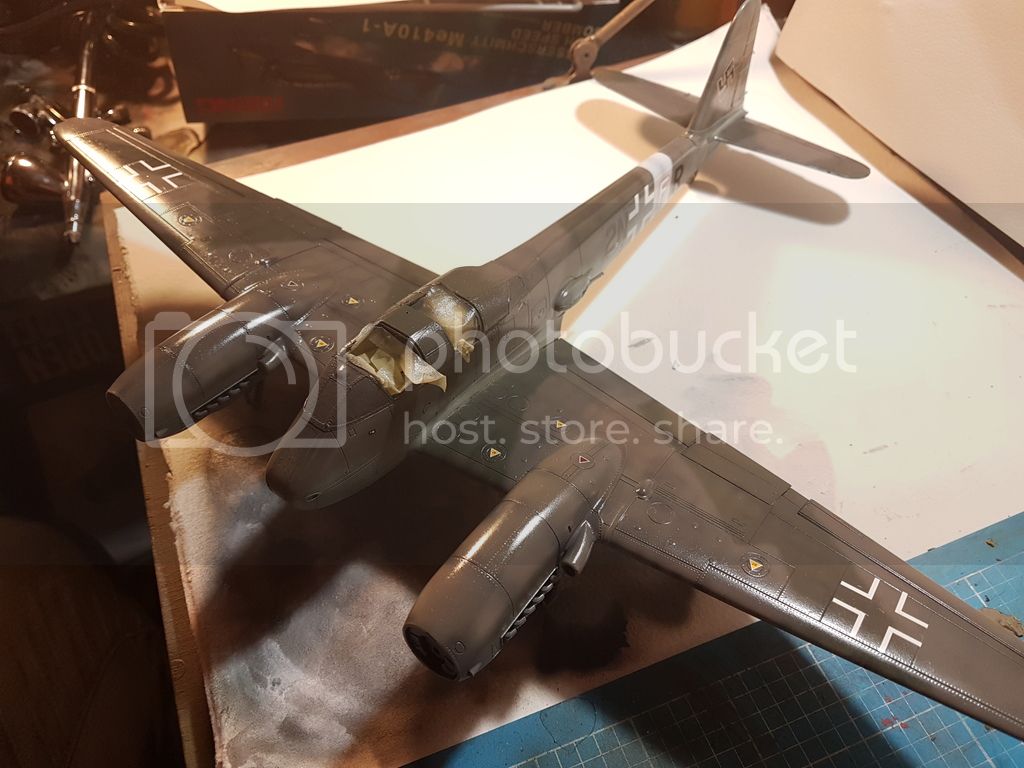
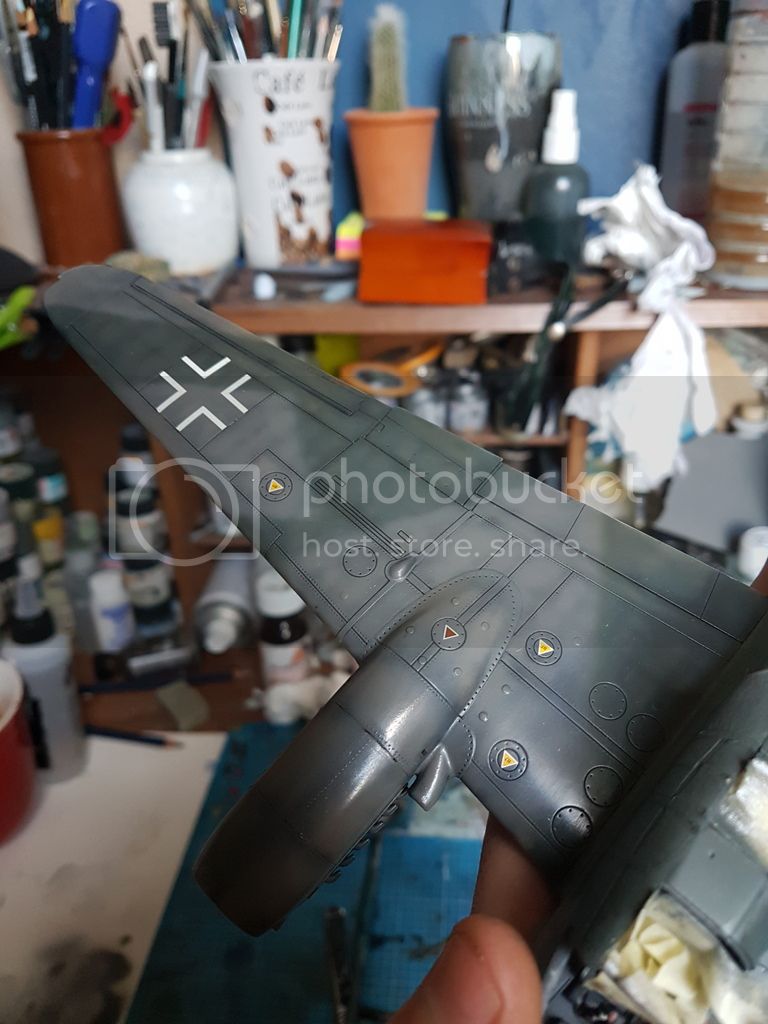
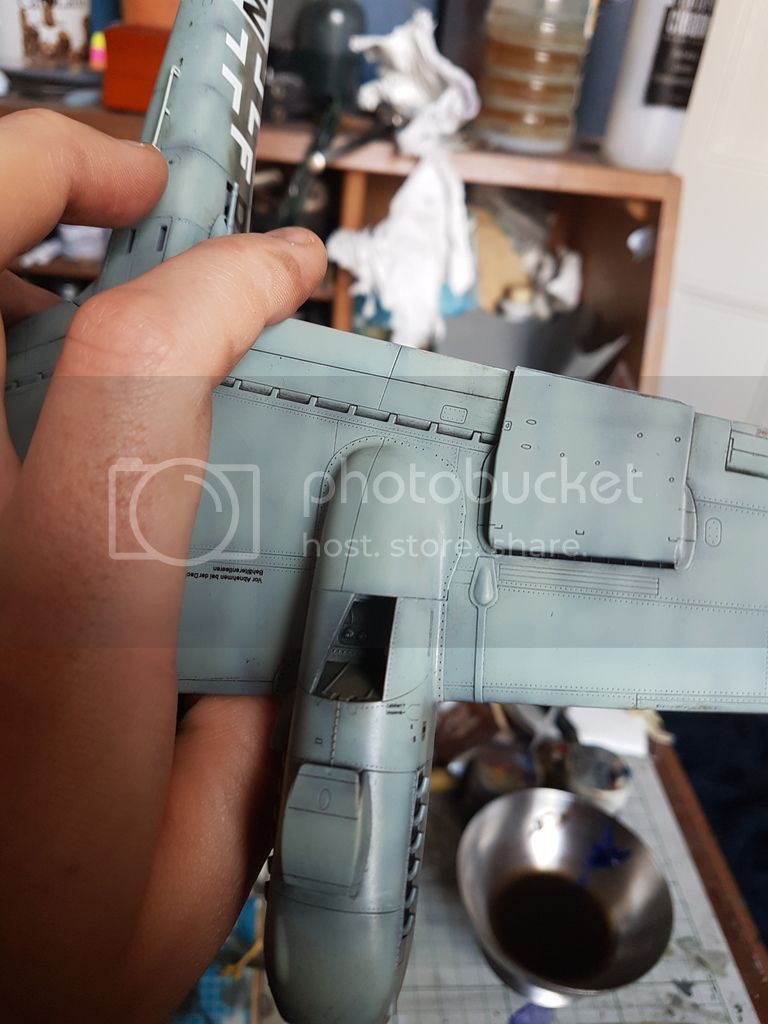
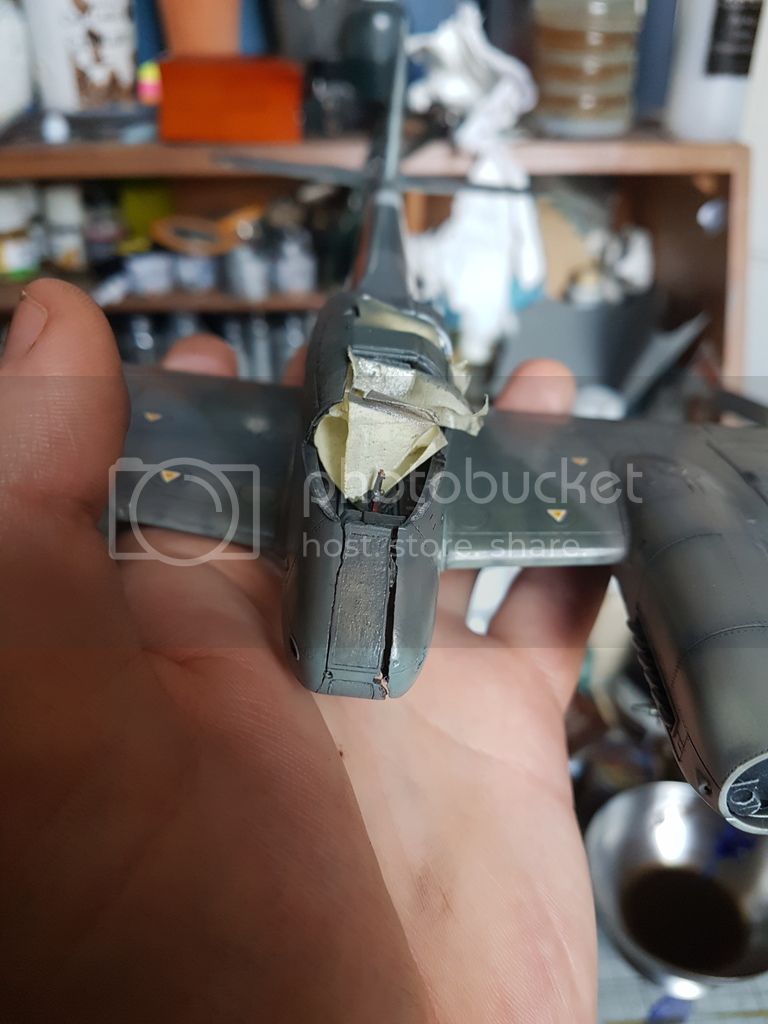
Plenty of progress over the last few days. Canopy. Well we will see how that turned out after I get rid of the masking tape. But I have a feeling it will either be gappy or frosty. Didn't have a pleasant time putting that together.. there is also a overhang at the front. Eek. Tempted to leave it but it is bugging me..
And the theatre band
Hosted by Rowan Baylis
Meng Me-410 1/48
lespauljames
England - South West, United Kingdom
Joined: January 06, 2007
KitMaker: 3,661 posts
AeroScale: 369 posts
Joined: January 06, 2007
KitMaker: 3,661 posts
AeroScale: 369 posts
Posted: Thursday, January 26, 2017 - 03:16 AM UTC
thegirl
Alberta, Canada
Joined: January 19, 2008
KitMaker: 6,743 posts
AeroScale: 6,151 posts
Joined: January 19, 2008
KitMaker: 6,743 posts
AeroScale: 6,151 posts
Posted: Friday, January 27, 2017 - 05:27 AM UTC
Nice job on the camo James
Terri
Terri
lespauljames
England - South West, United Kingdom
Joined: January 06, 2007
KitMaker: 3,661 posts
AeroScale: 369 posts
Joined: January 06, 2007
KitMaker: 3,661 posts
AeroScale: 369 posts
Posted: Friday, January 27, 2017 - 05:52 PM UTC
Thankyou Terri ! Might make a start on decals tonight. I painted up the props just need to paint the spinners. Ariels gear doors and make up a bomb for the bay. Although I like the look of just the guns
Joel_W
Associate Editor
New York, United States
Joined: December 04, 2010
KitMaker: 11,666 posts
AeroScale: 7,410 posts
Joined: December 04, 2010
KitMaker: 11,666 posts
AeroScale: 7,410 posts
Posted: Friday, January 27, 2017 - 08:12 PM UTC
James,
The Camo paint scheme turned out great.
Joel
The Camo paint scheme turned out great.
Joel
lespauljames
England - South West, United Kingdom
Joined: January 06, 2007
KitMaker: 3,661 posts
AeroScale: 369 posts
Joined: January 06, 2007
KitMaker: 3,661 posts
AeroScale: 369 posts
Posted: Friday, January 27, 2017 - 11:59 PM UTC
Posted: Saturday, January 28, 2017 - 03:47 AM UTC
Looking great James, love the paint job!
Cheers, D
Cheers, D
lespauljames
England - South West, United Kingdom
Joined: January 06, 2007
KitMaker: 3,661 posts
AeroScale: 369 posts
Joined: January 06, 2007
KitMaker: 3,661 posts
AeroScale: 369 posts
Posted: Sunday, January 29, 2017 - 01:28 AM UTC
Thanks Damian ! Decals tonight.
lespauljames
England - South West, United Kingdom
Joined: January 06, 2007
KitMaker: 3,661 posts
AeroScale: 369 posts
Joined: January 06, 2007
KitMaker: 3,661 posts
AeroScale: 369 posts
Posted: Sunday, January 29, 2017 - 03:02 AM UTC
So my identification crosses are on the upper wings but they are cloudy inside the markings on the carrier film. Will this be fixed by a clear coat?
Joel_W
Associate Editor
New York, United States
Joined: December 04, 2010
KitMaker: 11,666 posts
AeroScale: 7,410 posts
Joined: December 04, 2010
KitMaker: 11,666 posts
AeroScale: 7,410 posts
Posted: Sunday, January 29, 2017 - 03:14 AM UTC
James,
The Quickboost props look great, and those spinners are weathered perfectly . Well done.
Joel
The Quickboost props look great, and those spinners are weathered perfectly . Well done.
Joel
thegirl
Alberta, Canada
Joined: January 19, 2008
KitMaker: 6,743 posts
AeroScale: 6,151 posts
Joined: January 19, 2008
KitMaker: 6,743 posts
AeroScale: 6,151 posts
Posted: Sunday, January 29, 2017 - 05:44 AM UTC
If you used future as your clear coat then yes the milky look will disappear once dried and sealed with a clear coat .
Let it dry over night and see what it looks like in the morning .
Terri
Let it dry over night and see what it looks like in the morning .
Terri
berndm
Niedersachsen, Germany
Joined: March 26, 2014
KitMaker: 844 posts
AeroScale: 630 posts
Joined: March 26, 2014
KitMaker: 844 posts
AeroScale: 630 posts
Posted: Sunday, January 29, 2017 - 05:17 PM UTC
Thats a lot of good progress, the camo scheme looks fantastic.
Good luck with the decals.
lespauljames
England - South West, United Kingdom
Joined: January 06, 2007
KitMaker: 3,661 posts
AeroScale: 369 posts
Joined: January 06, 2007
KitMaker: 3,661 posts
AeroScale: 369 posts
Posted: Sunday, January 29, 2017 - 08:06 PM UTC
Thanks guys! I hit it with abother clear coat last night.. we will see how it is after work. List in case, does anyone know of a decent me410 decal set stencils n all?
thegirl
Alberta, Canada
Joined: January 19, 2008
KitMaker: 6,743 posts
AeroScale: 6,151 posts
Joined: January 19, 2008
KitMaker: 6,743 posts
AeroScale: 6,151 posts
Posted: Monday, January 30, 2017 - 05:01 AM UTC
Not sure James on what is out there for after market decals , have a look on Hannant's web site and see what they carry .
Terri
Terri
lespauljames
England - South West, United Kingdom
Joined: January 06, 2007
KitMaker: 3,661 posts
AeroScale: 369 posts
Joined: January 06, 2007
KitMaker: 3,661 posts
AeroScale: 369 posts
Posted: Monday, January 30, 2017 - 05:50 PM UTC
Thanks Terri! All seems OK apart from a what I can only describe as a salty residue now where some decals are on the clear coat. Perhaps the clear coat... the dreaded humbrol clear... reacted with micro sol
lespauljames
England - South West, United Kingdom
Joined: January 06, 2007
KitMaker: 3,661 posts
AeroScale: 369 posts
Joined: January 06, 2007
KitMaker: 3,661 posts
AeroScale: 369 posts
Posted: Monday, January 30, 2017 - 11:36 PM UTC
After a bit of googling I found that the frosty salty look may have been caused by moisture being trapped in the clear coat as it dried. So I hit the aircraft with a coat of humbrol clear, and then hit it with a hairdryer to evaporate out the moisture trapped in the paint. As the clear reactivated the previous coat of clear this was successful. Hooray. Now all the decals are on. Waiting for them to dry and settle then clear coat. Wash flat coat and weathering .
Here's a bad photo.
Here's a bad photo.
Antilles
Nordrhein-Westfalen, Germany
Joined: March 22, 2015
KitMaker: 671 posts
AeroScale: 614 posts
Joined: March 22, 2015
KitMaker: 671 posts
AeroScale: 614 posts
Posted: Tuesday, January 31, 2017 - 01:58 AM UTC
[quote]After a bit of googling I found that the frosty salty look may have been caused by moisture being trapped in the clear coat as it dried. So I hit the aircraft with a coat of humbrol clear, and then hit it with a hairdryer to evaporate out the moisture trapped in the paint. As the clear reactivated the previous coat of clear this was successful. Hooray. Now all the decals are on. Waiting for them to dry and settle then clear coat. Wash flat coat and weathering .
[quote]
Now, that is an interesting solution. I never heard of this before. Did You perforate the decals, so the moisture could get out?
Oliver
[quote]
Now, that is an interesting solution. I never heard of this before. Did You perforate the decals, so the moisture could get out?
Oliver
lespauljames
England - South West, United Kingdom
Joined: January 06, 2007
KitMaker: 3,661 posts
AeroScale: 369 posts
Joined: January 06, 2007
KitMaker: 3,661 posts
AeroScale: 369 posts
Posted: Tuesday, January 31, 2017 - 02:03 AM UTC
Hey oliver I think it was a reaction to the setting solution that was probably not yet dry. It's cold and damp and I think I should have left it. It worked though. But drying the clear quickly in the past has led to it losing its surface tension so I had to be very careful when applying the warmth. The only issue now is some of the decals didn't sit properly and the alignment of the starboard side ID codes is a bit iffy. But we live and learn... I always ALWAYS have trouble with clear coat and decals but I'm getting better at it. Oils tomorrow ! J
Quick edit. Managed to lay a burnt umber/ultramarine wash down tonight cleanup tomorrow then a little oil dot fading then chipping
berndm
Niedersachsen, Germany
Joined: March 26, 2014
KitMaker: 844 posts
AeroScale: 630 posts
Joined: March 26, 2014
KitMaker: 844 posts
AeroScale: 630 posts
Posted: Tuesday, January 31, 2017 - 01:43 PM UTC
Looks great from my side of the web. Well done so far !
Never heard from such a problem with decals but i had much problens with "silvering" especially with late war style crosses.
lespauljames
England - South West, United Kingdom
Joined: January 06, 2007
KitMaker: 3,661 posts
AeroScale: 369 posts
Joined: January 06, 2007
KitMaker: 3,661 posts
AeroScale: 369 posts
Posted: Tuesday, January 31, 2017 - 04:36 PM UTC
Thanks Bernd ! I seem to have wrangled past silvering on this one.. small update. The wash went well
Then a leg snapped off and the elevators.
Then the front canopy hood went and then disaster
I used plastic weld on those joints that shouldn't have happened I sense more plastic weld and hope it touches up ok..
Then a leg snapped off and the elevators.
Then the front canopy hood went and then disaster
I used plastic weld on those joints that shouldn't have happened I sense more plastic weld and hope it touches up ok..
berndm
Niedersachsen, Germany
Joined: March 26, 2014
KitMaker: 844 posts
AeroScale: 630 posts
Joined: March 26, 2014
KitMaker: 844 posts
AeroScale: 630 posts
Posted: Tuesday, January 31, 2017 - 06:26 PM UTC
Oh no !
The nose with the clear parts in, is a weak point, i hope you can fix it.
( my Monogram Me 410 looked way better without clear parts back then )
Beside that the subtle washing looks very efective over the camo scheme and decals.
If you get the nose fixed you have a real stunner !
The nose with the clear parts in, is a weak point, i hope you can fix it.
( my Monogram Me 410 looked way better without clear parts back then )
Beside that the subtle washing looks very efective over the camo scheme and decals.
If you get the nose fixed you have a real stunner !
Joel_W
Associate Editor
New York, United States
Joined: December 04, 2010
KitMaker: 11,666 posts
AeroScale: 7,410 posts
Joined: December 04, 2010
KitMaker: 11,666 posts
AeroScale: 7,410 posts
Posted: Tuesday, January 31, 2017 - 11:20 PM UTC
James,
For all that damage to have occurred, it sure seems that the Glue just didn't melt or bond the plastic parts to create a strong bond.
I've never used plastic weld, but before you try to make the repairs, read the label and see if it does indeed work on with all plastics, or which types it does.
Joel
thegirl
Alberta, Canada
Joined: January 19, 2008
KitMaker: 6,743 posts
AeroScale: 6,151 posts
Joined: January 19, 2008
KitMaker: 6,743 posts
AeroScale: 6,151 posts
Posted: Wednesday, February 01, 2017 - 05:17 AM UTC
That bites James I do wish the repairs go easy for you .
Terri
Terri
lespauljames
England - South West, United Kingdom
Joined: January 06, 2007
KitMaker: 3,661 posts
AeroScale: 369 posts
Joined: January 06, 2007
KitMaker: 3,661 posts
AeroScale: 369 posts
Posted: Wednesday, February 01, 2017 - 05:22 AM UTC
Bernd and Joel thankyou for your encouragement
Plastic weld is an all plastic adhesive so whether my joins had paint on the still or I didn't use enough who knows.. but after a bit of swearing I managed to cobble it back together. Now, it's not perfect but I think it will do. There is a tiny amount of frosting and the frame lacks a little definition
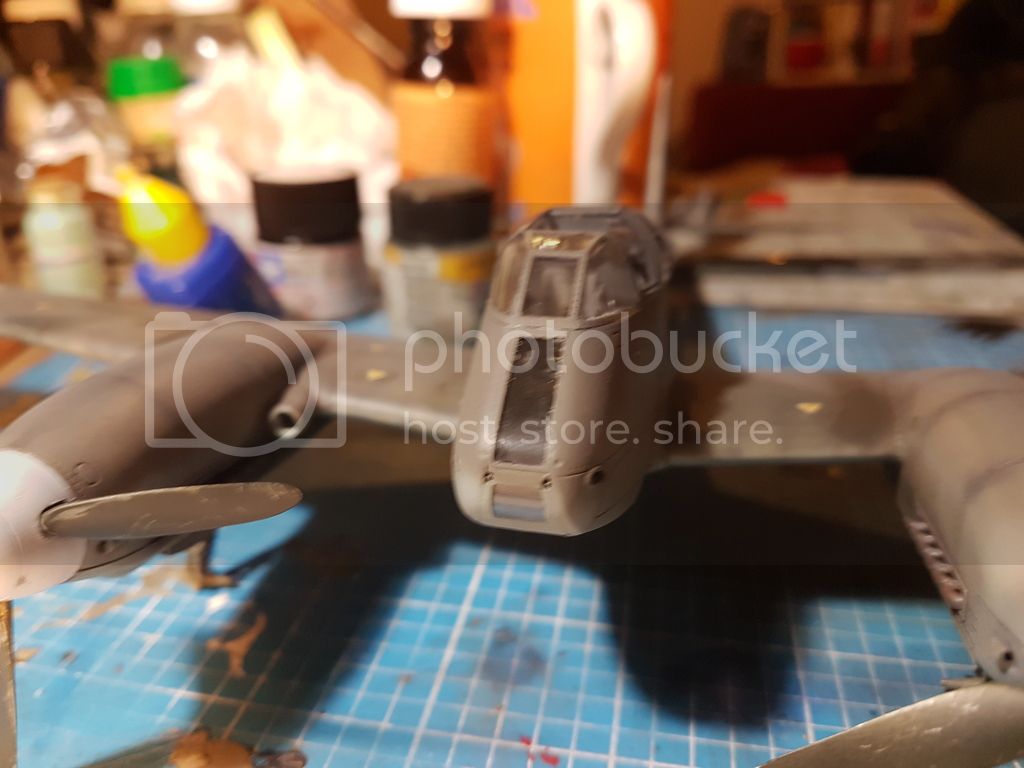
I have started weathering the underside I used life colour sandgelb and tamiya black 50:50 for the smoking and tried to keep it restrained.
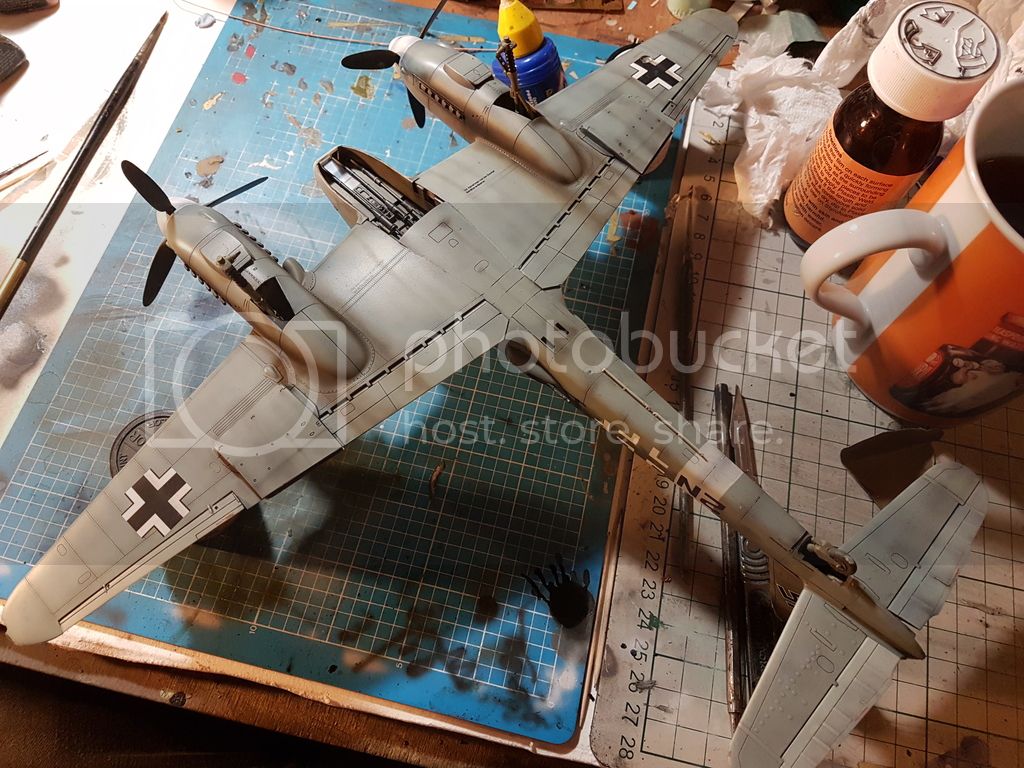
Then canopy is so far the worst part. When I get my sprue through from meng with the replacement doors I will have another go. It's OK. But just ok. Too many visible joins on the other side from the photo
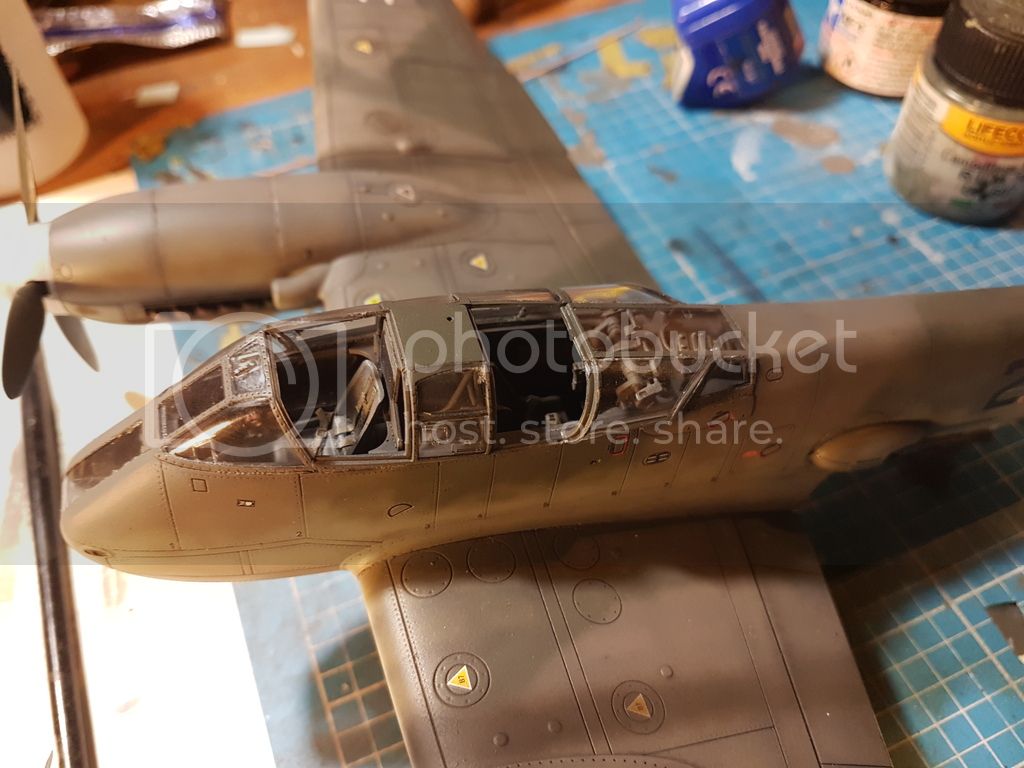
And a overhead shot there is subtle smoking on the upper wings
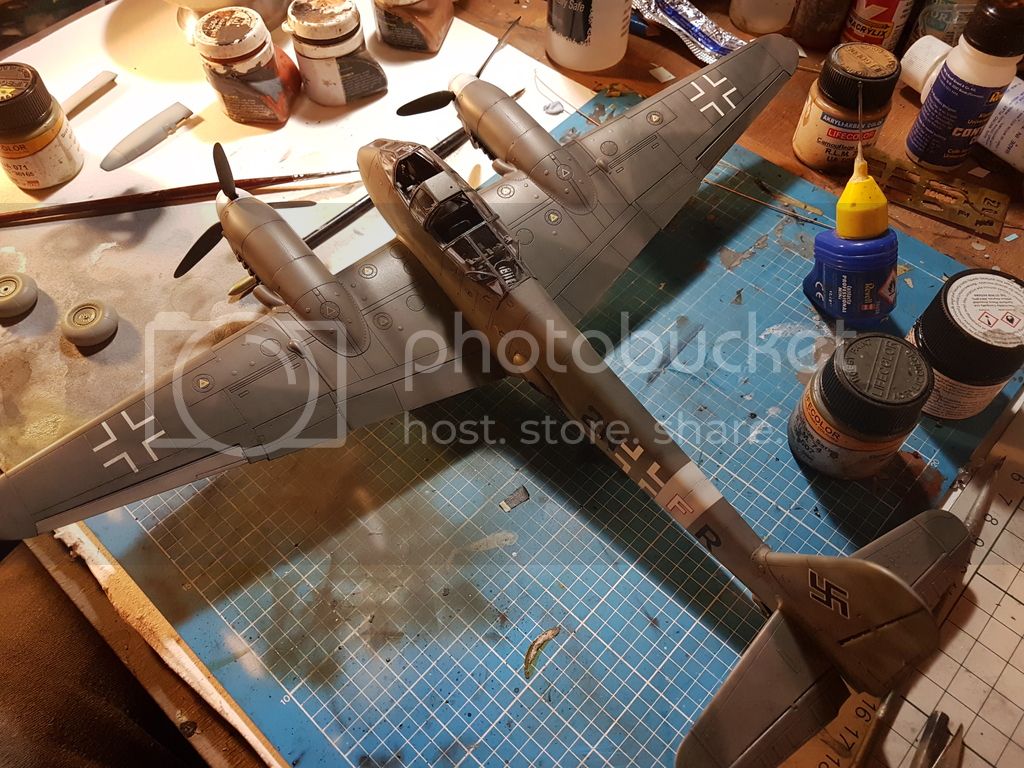
And a photo of the side where the decals misbehaved the most. The balkenkreuz is a tad wonky but it's past the fixing point and I'm happy to be rid of the major frosting
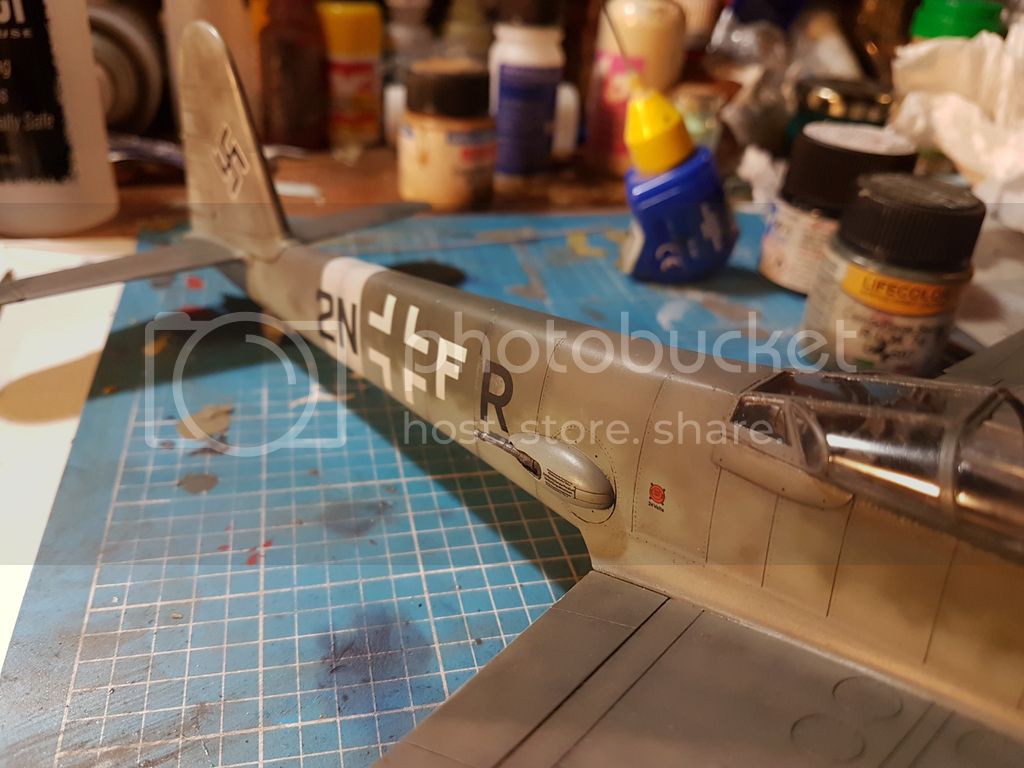
And detail shot of the prop. Mounted
I still have the smoke deflectors, wheels, ariels and gear doors to do but this is nearly done. I don't think I'm going to be weathering it much more apart from the crew side wing root and a few minor scrapes as I'm happy overall with the finish.
Happy modelling. J
Quick edit Terri, you snuck in whilst I was posting. Thankyou !
Joel_W
Associate Editor
New York, United States
Joined: December 04, 2010
KitMaker: 11,666 posts
AeroScale: 7,410 posts
Joined: December 04, 2010
KitMaker: 11,666 posts
AeroScale: 7,410 posts
Posted: Wednesday, February 01, 2017 - 05:47 AM UTC
James,
Truly a great save.
Joel
Truly a great save.
Joel
lespauljames
England - South West, United Kingdom
Joined: January 06, 2007
KitMaker: 3,661 posts
AeroScale: 369 posts
Joined: January 06, 2007
KitMaker: 3,661 posts
AeroScale: 369 posts
Posted: Thursday, February 02, 2017 - 01:01 AM UTC
Thanks Joel ! I'm happy I recovered it.