Hosted by Rowan Baylis
B-24H Libra 1/48 Scale
Removed by original poster on 08/31/17 - 16:09:33 (GMT).
Removed by original poster on 08/31/17 - 16:11:58 (GMT).
thathaway3

Joined: September 10, 2004
KitMaker: 1,610 posts
AeroScale: 85 posts

Posted: Wednesday, August 30, 2017 - 09:24 PM UTC
It turns out that one of the major posters on the Armorama site discovered a very nice work around which totally solves the problem of PB photos not appearing or being able to be posted. I haven't been able to figure out how to post a link to Gino's post on the Armor Forum (if someone else knows how to do that please feel free), but it turns out that all you need to do is go to website (assuming you use Firefox or Chrome as your browser) and click on a link which activates an add on to your browser, and just like that, your old photos now appear again and you can add new ones as well!


KPHB17FE

Joined: January 12, 2015
KitMaker: 292 posts
AeroScale: 292 posts

Posted: Thursday, August 31, 2017 - 03:15 AM UTC
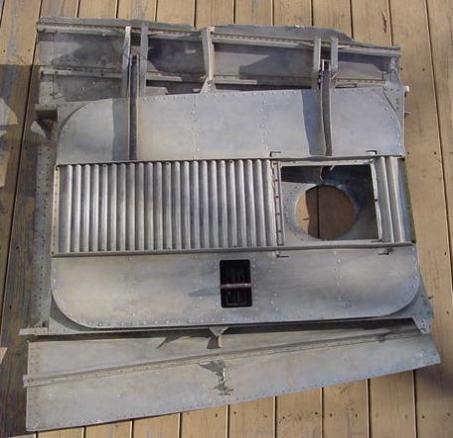
Here are a couple of items you were looking for. First is the entry hatch. I found this photo on a page that had a number of B-24 bits and pieces. Obviously removed from a wreck. It hinges on the right side of the airplane:
Don't know if these will answer your questions about the tail skid but here is an illustration from the maintenance manual and one from the parts manual. The one from the MM shows the early type which was just a rubber bumper but this was replaced with shock absorber later.
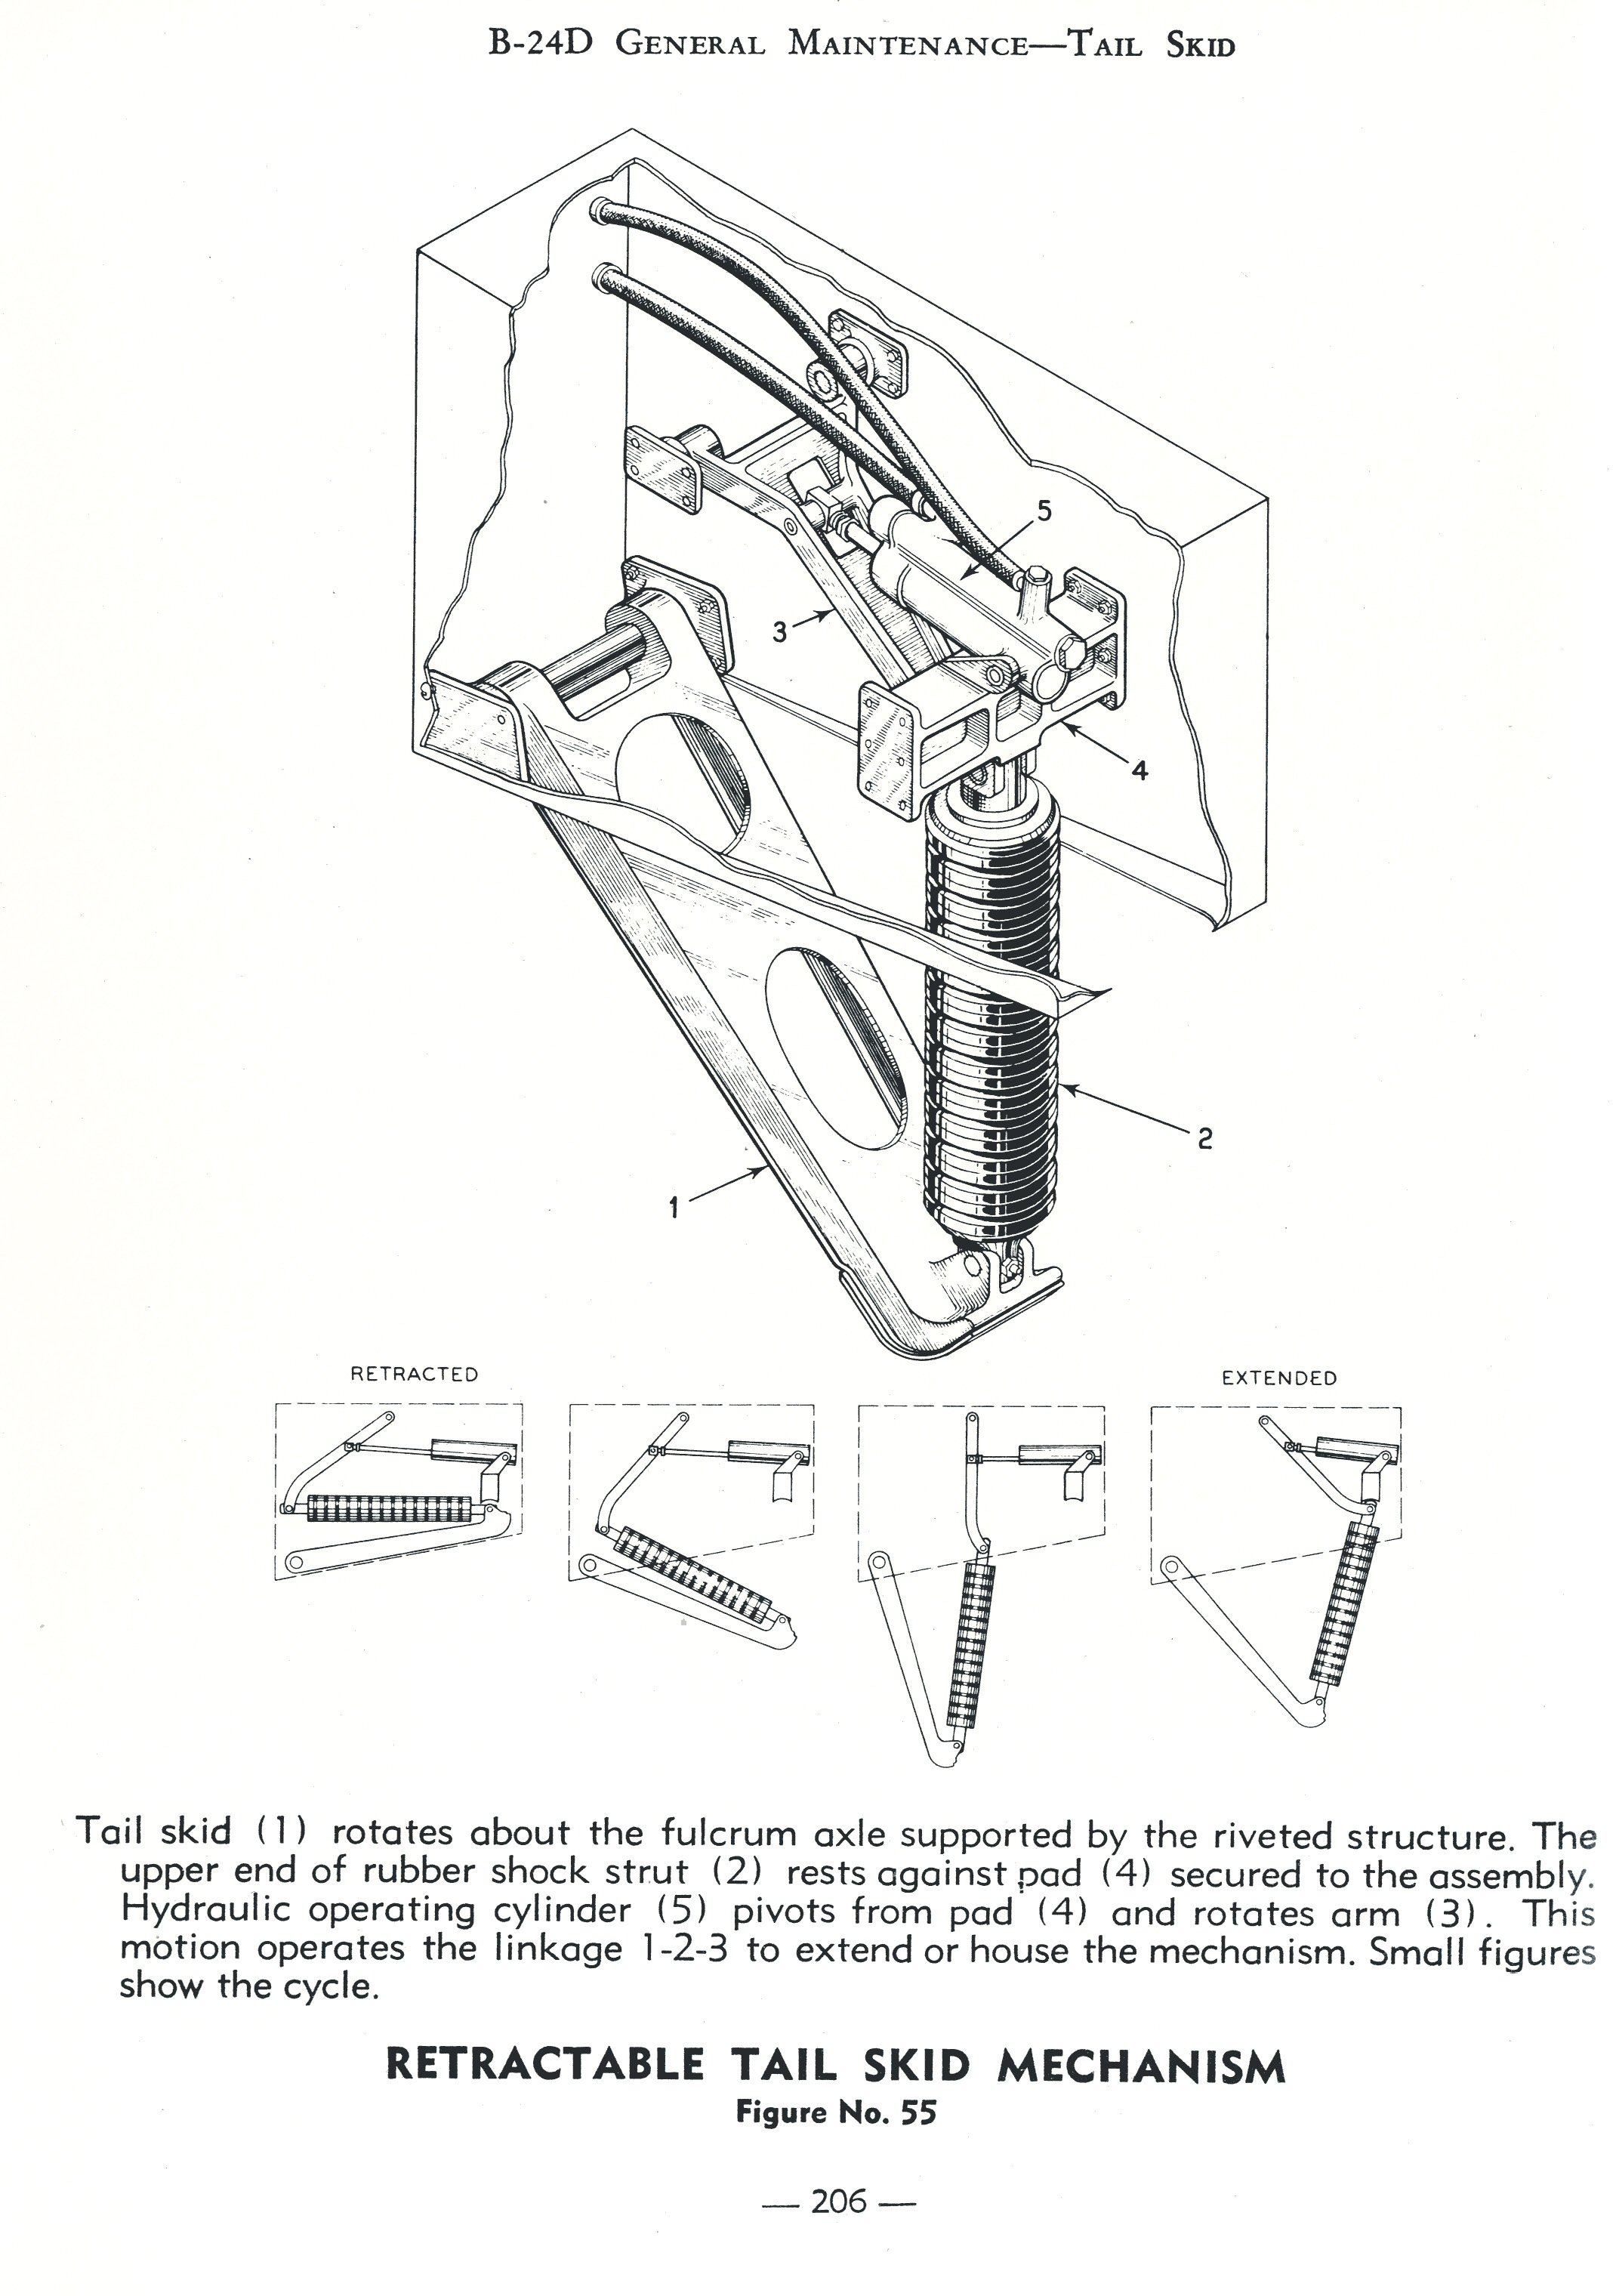


Don't know if these will answer your questions about the tail skid but here is an illustration from the maintenance manual and one from the parts manual. The one from the MM shows the early type which was just a rubber bumper but this was replaced with shock absorber later.


thathaway3

Joined: September 10, 2004
KitMaker: 1,610 posts
AeroScale: 85 posts

Posted: Thursday, August 31, 2017 - 08:43 PM UTC
These are a great help! What's funny is that in the case of the tail skid, I essentially designed a mechanism on my own which would fit inside the space and function to achieve both a stowed and deployed position, and wound up coming up with a very similar design on my own, but with two critical differences. I simply ignored the hydraulic activating mechanism, and because I didn't consider "over rotating" the skid between the stowed and deployed positions (third figure), I had to locate the upper pivot point in a different spot. It's clear looking at these drawings how this design is the right solution because the riveted support bracket for the hydraulic activation piston also functions as a structural stop to help absorb any impact loading when the skid hits the ground.
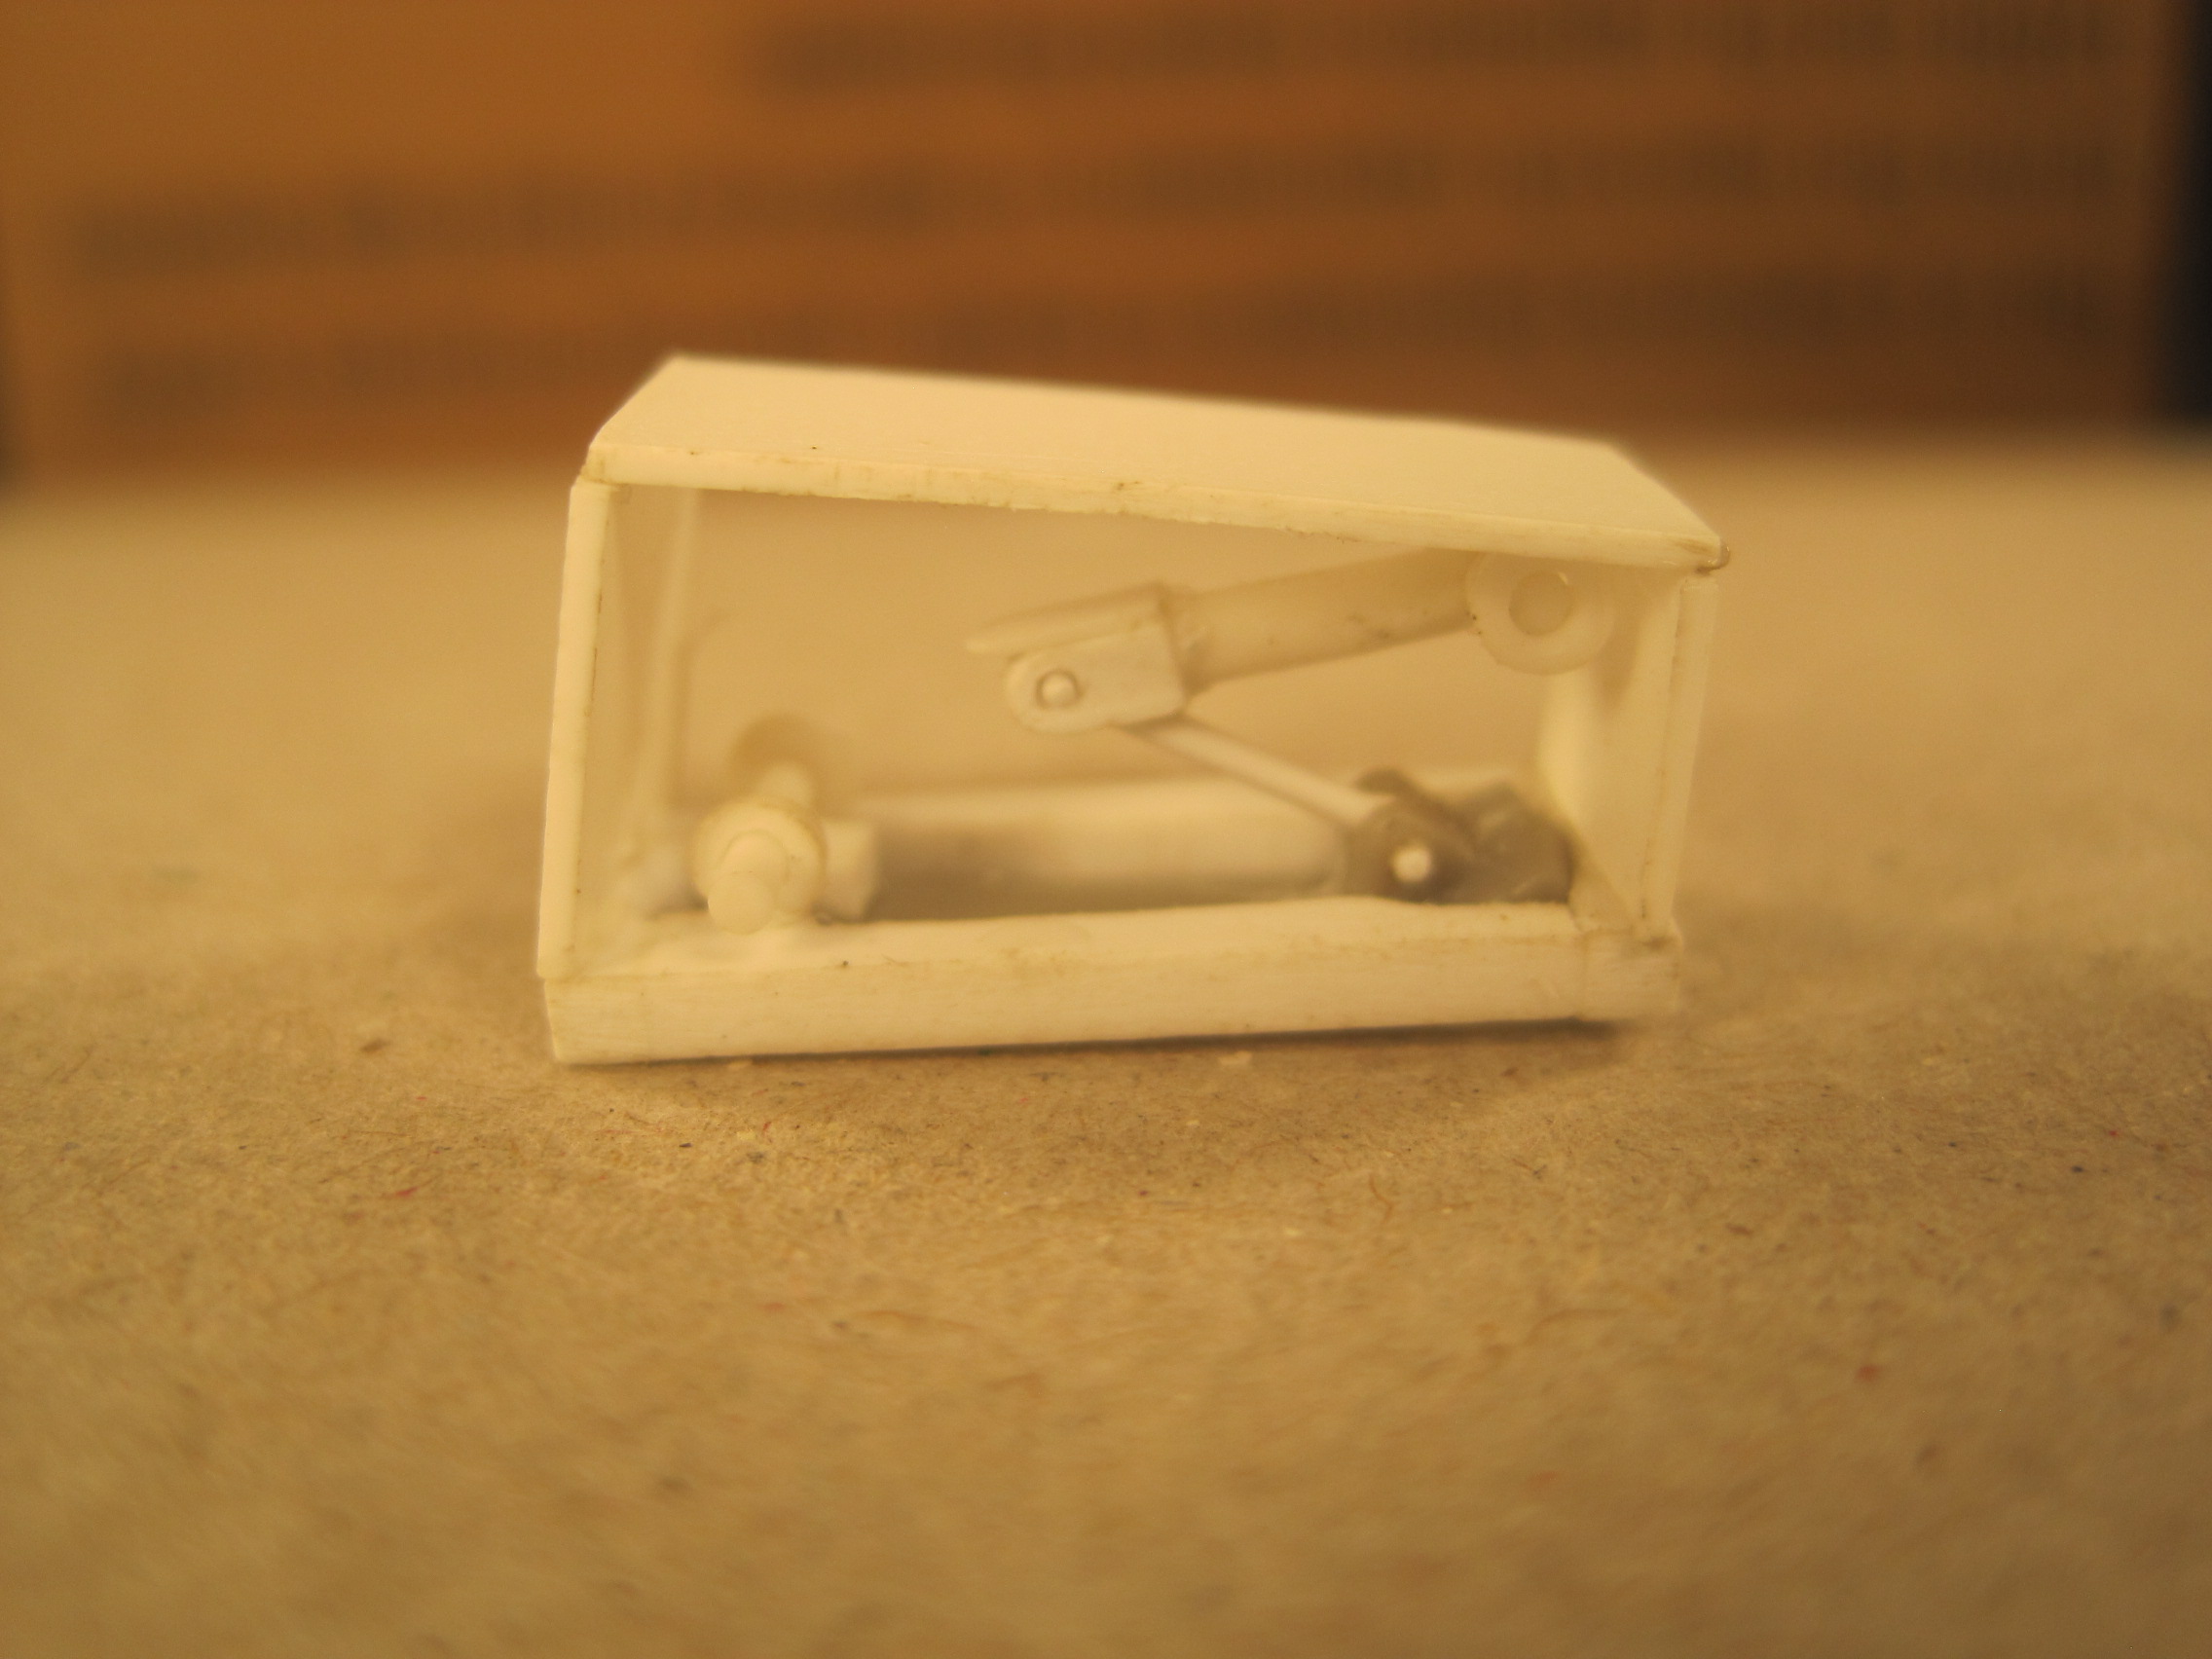

To completely duplicate this design would involve redoing both the folding pieces in the strut, and adding two more sets of hinges plus getting the extended/collapsed length dimensions on the cylinder just right, so I think I'll stay with what I have.
The picture of the door is VERY useful! I did find another photo showing the attachment on the right side of the fuselage and also came up with something very close. What I missed and will be able to add, is an inside panel to the door with a walkway and grab handle.
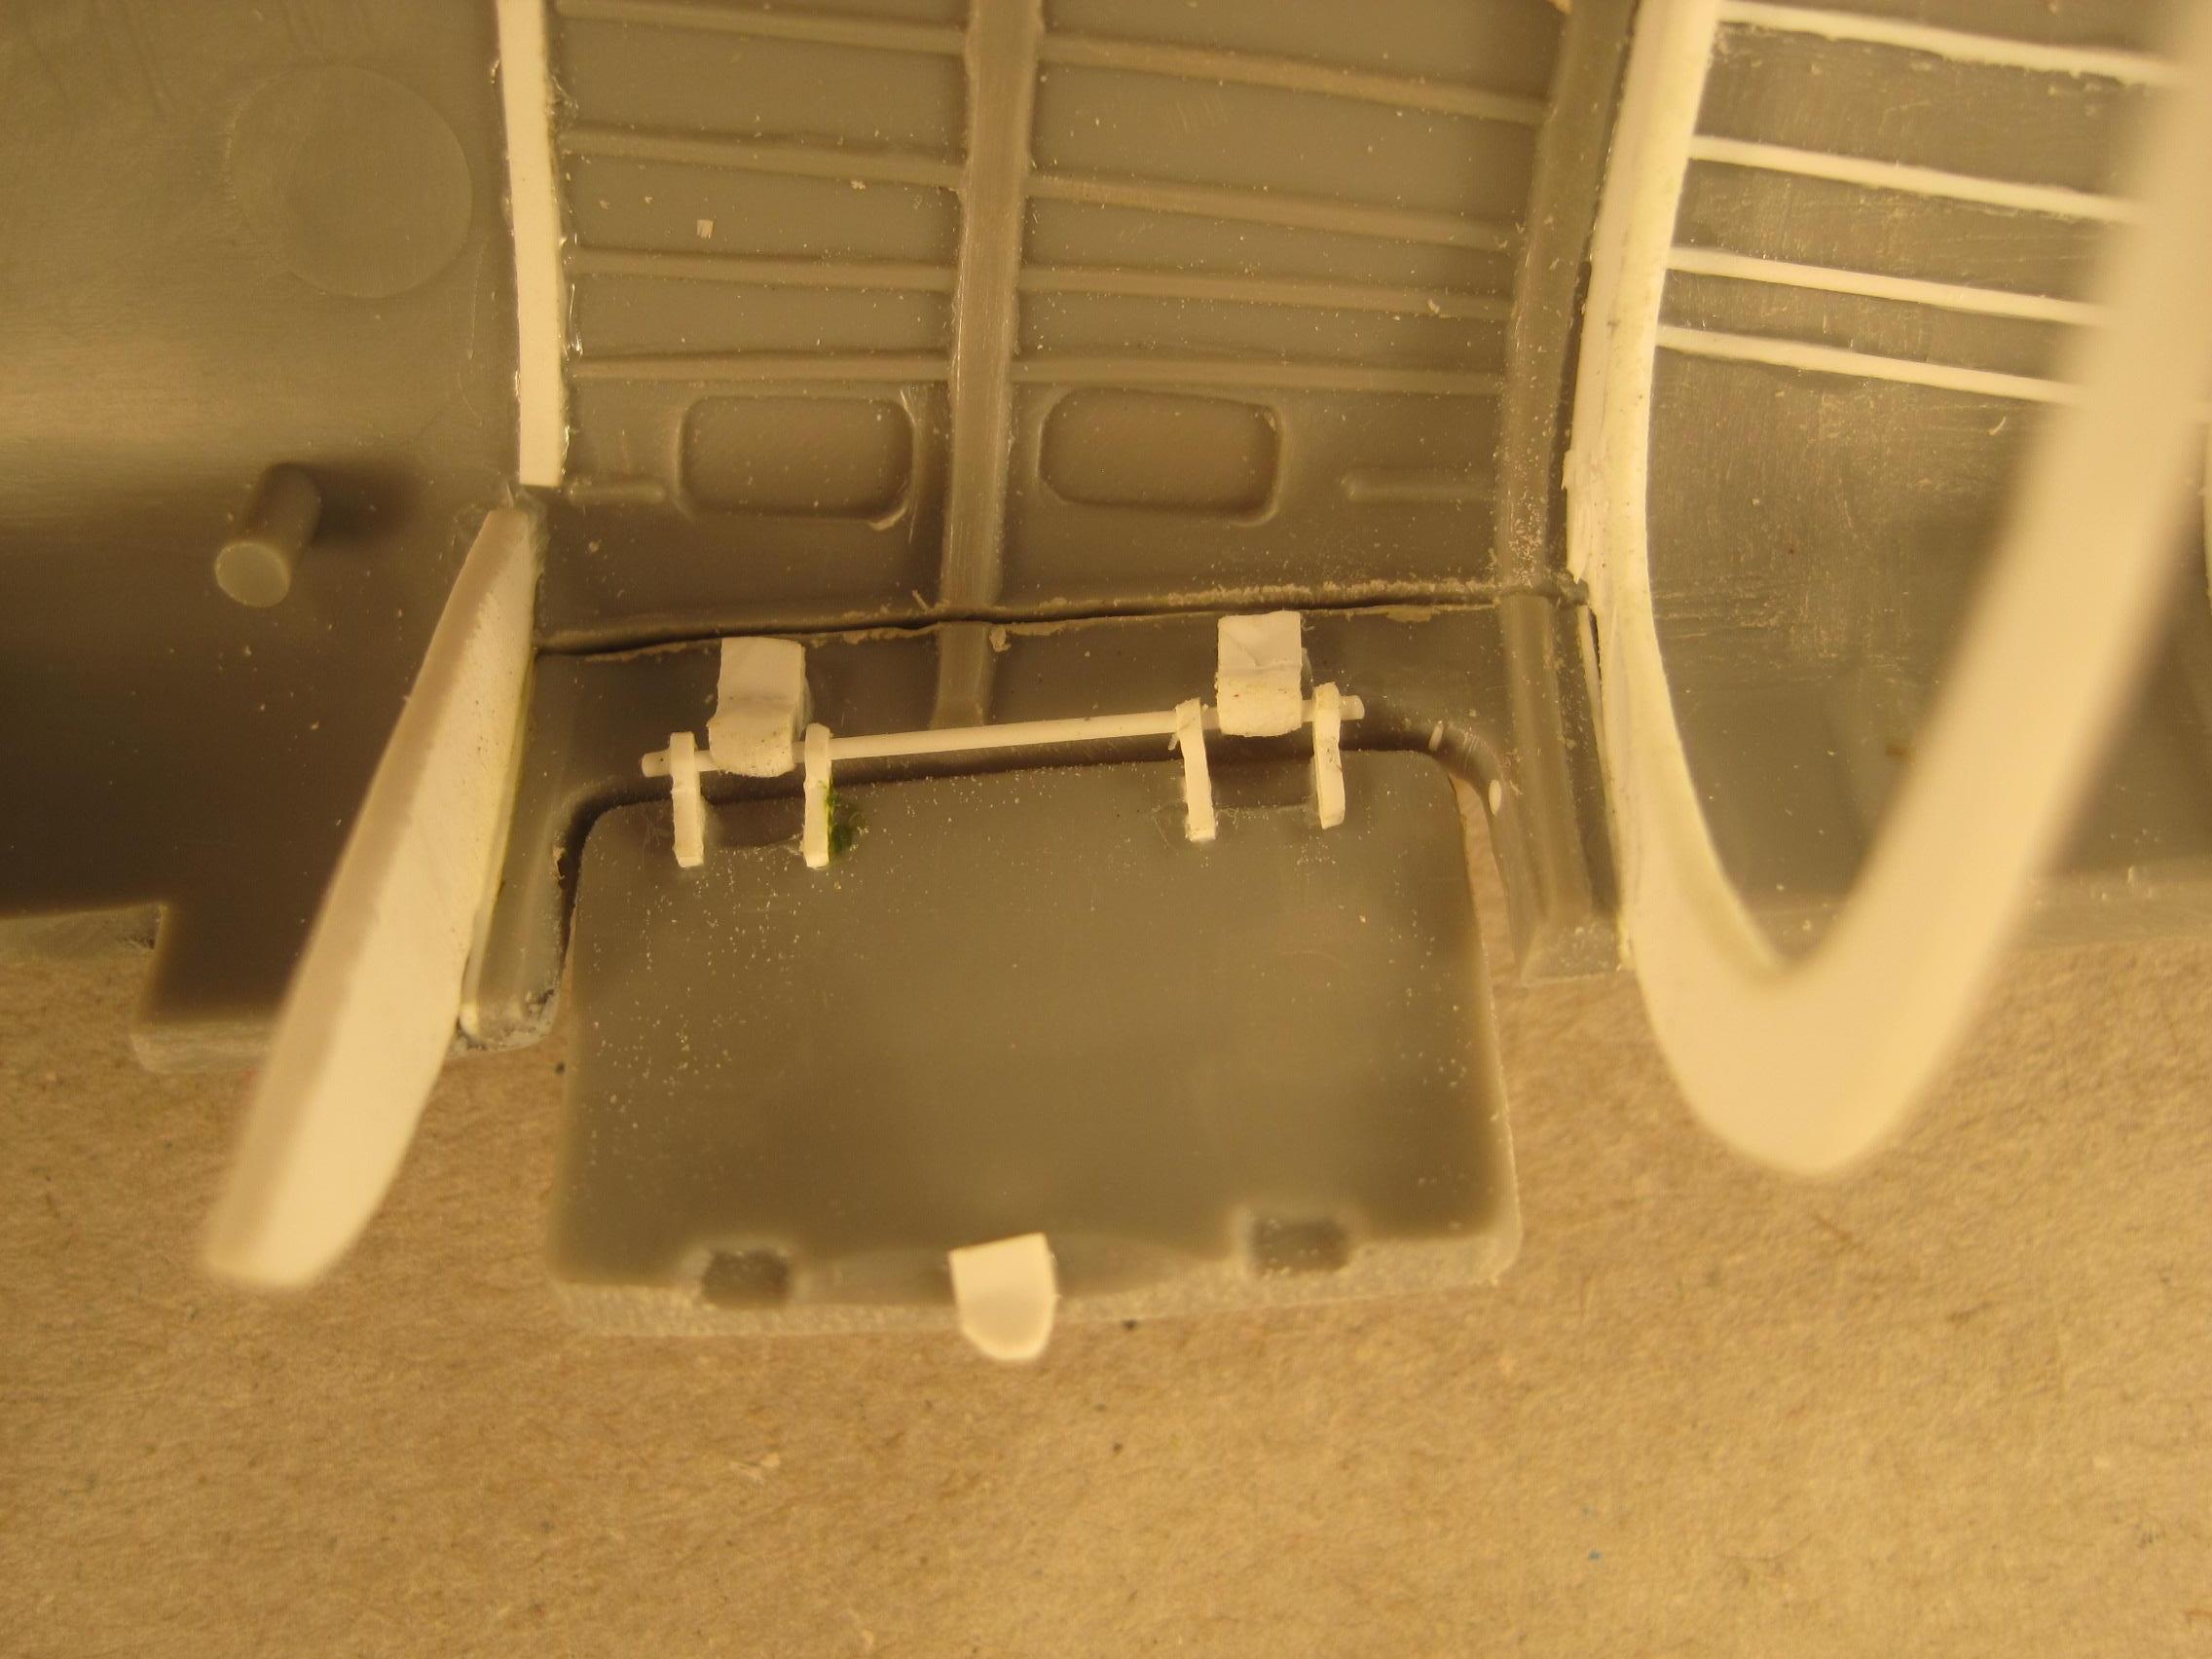
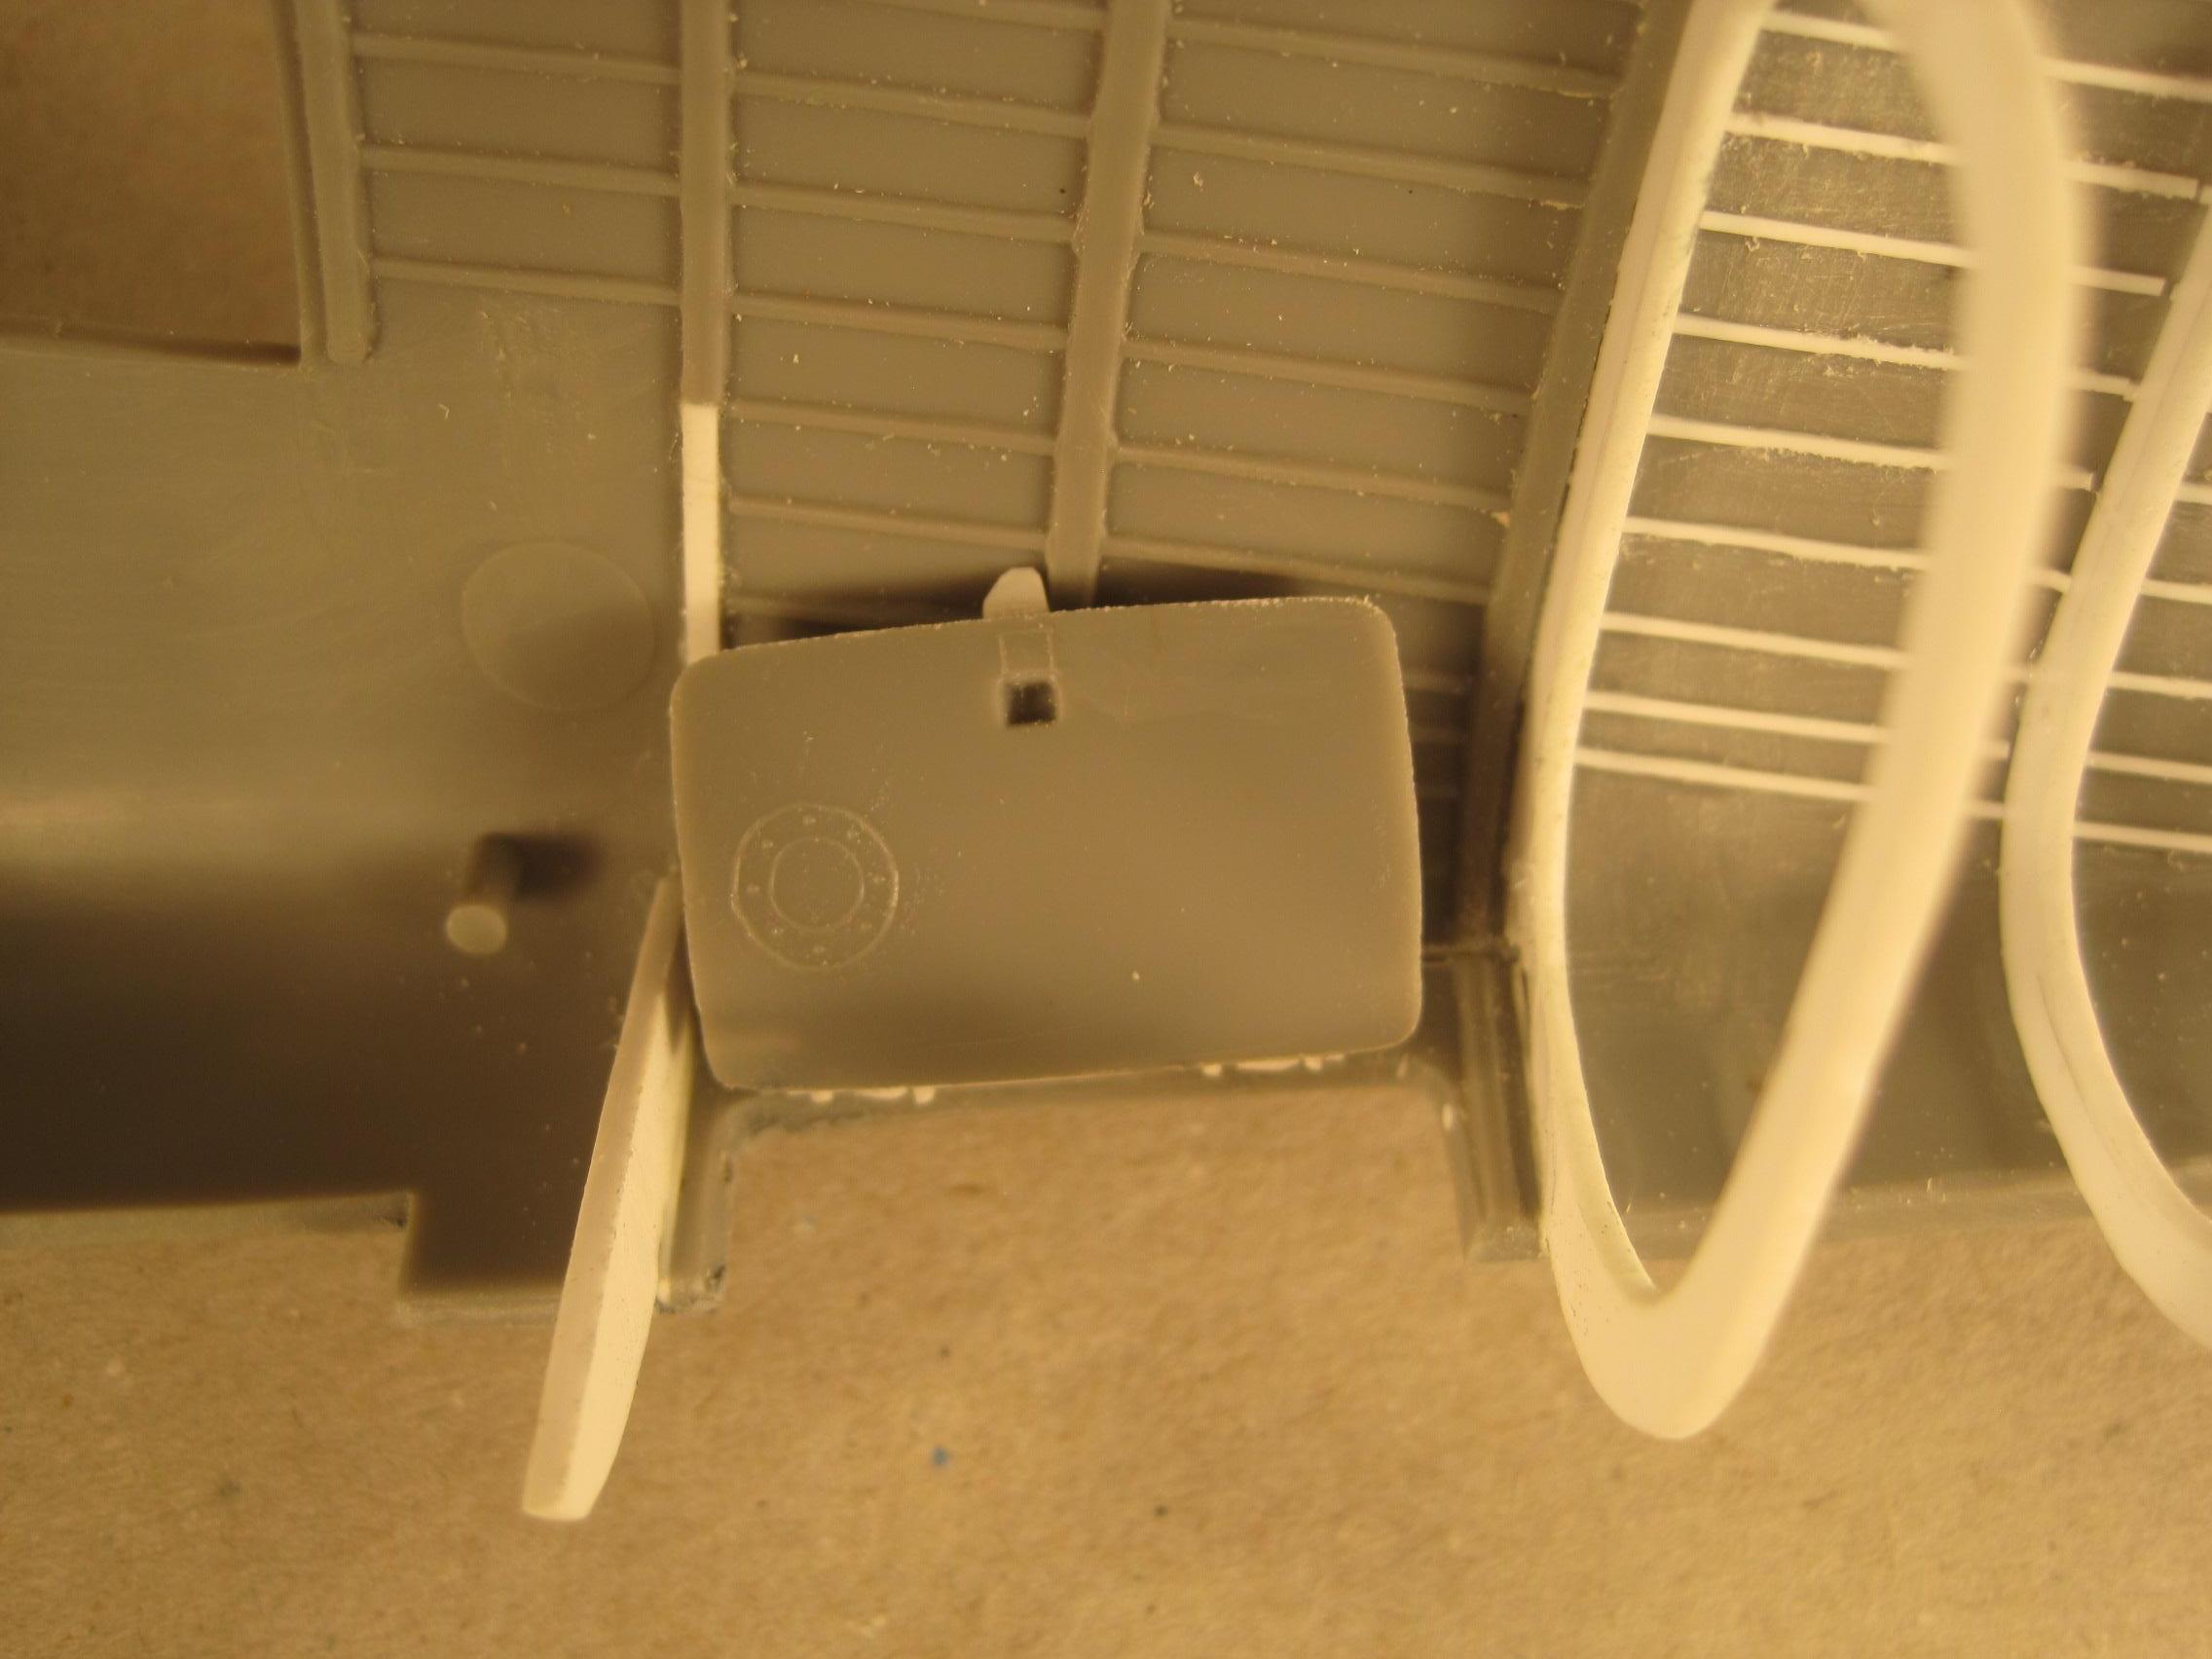

I'm thinking that perhaps the circular hole was for a clear viewing window? I also notice that the kit has the circular opening at the forward end of the hatch rather than at the aft end. I should be able to correct that.
Thanks again for the photos!!


To completely duplicate this design would involve redoing both the folding pieces in the strut, and adding two more sets of hinges plus getting the extended/collapsed length dimensions on the cylinder just right, so I think I'll stay with what I have.
The picture of the door is VERY useful! I did find another photo showing the attachment on the right side of the fuselage and also came up with something very close. What I missed and will be able to add, is an inside panel to the door with a walkway and grab handle.


I'm thinking that perhaps the circular hole was for a clear viewing window? I also notice that the kit has the circular opening at the forward end of the hatch rather than at the aft end. I should be able to correct that.
Thanks again for the photos!!
KPHB17FE

Joined: January 12, 2015
KitMaker: 292 posts
AeroScale: 292 posts

Posted: Thursday, August 31, 2017 - 11:04 PM UTC
Glad to help. I can't see your photobucket photos though. I like to see your work.
thathaway3

Joined: September 10, 2004
KitMaker: 1,610 posts
AeroScale: 85 posts

Posted: Thursday, August 31, 2017 - 11:18 PM UTC
Gino Quintiliani (Heavy Arty) a long time frequent poster on the Armorama site found this work around. If you go to this site, and load the appropriate add on for either Chrome or Firefox, it allows the photos to display.
Missing Lynx
Missing Lynx
KPHB17FE

Joined: January 12, 2015
KitMaker: 292 posts
AeroScale: 292 posts

Posted: Friday, September 01, 2017 - 12:29 AM UTC
Nope, didn't work. Loaded their extension, rebooted, no luck. Oh well...
thathaway3

Joined: September 10, 2004
KitMaker: 1,610 posts
AeroScale: 85 posts

Posted: Friday, September 01, 2017 - 01:54 AM UTC
Are you using Firefox or Chrome?
KPHB17FE

Joined: January 12, 2015
KitMaker: 292 posts
AeroScale: 292 posts

Posted: Friday, September 01, 2017 - 03:44 AM UTC
Chrome. It assured me it had updated Chrome. Heck If I know. Computers and I are not friends  !
!
 !
!thathaway3

Joined: September 10, 2004
KitMaker: 1,610 posts
AeroScale: 85 posts

Posted: Friday, September 01, 2017 - 03:59 AM UTC
Not sure why it didn't work. I use Firefox and that link worked. Since I don't use Chrome I didn't try that link. And now that I'm using my phone which uses Safari and I don't see any pictures. Yuck!!
KPHB17FE

Joined: January 12, 2015
KitMaker: 292 posts
AeroScale: 292 posts

Posted: Friday, September 01, 2017 - 05:14 PM UTC
I tried again and I got this showing it as being added but still no luck. I am probably not bowing in the proper direction or something  !
!

 !
!
thathaway3

Joined: September 10, 2004
KitMaker: 1,610 posts
AeroScale: 85 posts

Posted: Friday, September 01, 2017 - 06:44 PM UTC
Yeah, there must have been some sort of change.
When I go to the "Chrome" link, I get exactly the same thing.
I tried opening a Chrome browser session and when I do, not only do I get the same screen shot you did, since I'm using Chrome and not Firefox, I can no longer see my photos either.
If I open a Firefox browser, while I still get the same screen shot you do, at least I can now see my photos.
So this work around only works when the USER is using Firefox AND has gone to the link and uploaded the add on, NOT a lot of help.
So, once I've uploaded my photos to something like IMGUR I'll see if that works better.

My first attempt above doesn't seem to work.
When I go to the "Chrome" link, I get exactly the same thing.
I tried opening a Chrome browser session and when I do, not only do I get the same screen shot you did, since I'm using Chrome and not Firefox, I can no longer see my photos either.
If I open a Firefox browser, while I still get the same screen shot you do, at least I can now see my photos.
So this work around only works when the USER is using Firefox AND has gone to the link and uploaded the add on, NOT a lot of help.
So, once I've uploaded my photos to something like IMGUR I'll see if that works better.

My first attempt above doesn't seem to work.
thathaway3

Joined: September 10, 2004
KitMaker: 1,610 posts
AeroScale: 85 posts

Posted: Friday, September 01, 2017 - 09:25 PM UTC
I think I've found the secret decoder ring. 


Posted: Friday, September 01, 2017 - 10:26 PM UTC
Try clearing your browsers cache that worked for me. 
Great work by the way!
Cheers Rob.

Great work by the way!
Cheers Rob.
KPHB17FE

Joined: January 12, 2015
KitMaker: 292 posts
AeroScale: 292 posts

Posted: Saturday, September 02, 2017 - 04:05 AM UTC
I see the photos in the post two above this one but not the ones earlier. Cleared out the cache and all that good stuff. Imgur seems to be working for me (at the moment anyway!). Nice job of fitting in those fuselage formers by the way!
thathaway3

Joined: September 10, 2004
KitMaker: 1,610 posts
AeroScale: 85 posts

Posted: Saturday, September 02, 2017 - 04:46 AM UTC
Thanks. I'm sure there was an easier way to do it, but I just grabbed my set of French Curves from my old drafting kit and used those to find what curves would fit.
I'm now in the process of going back through this thread and replacing the old PB photos with the ones from IMGUR. May take a while!
I'm now in the process of going back through this thread and replacing the old PB photos with the ones from IMGUR. May take a while!
thathaway3

Joined: September 10, 2004
KitMaker: 1,610 posts
AeroScale: 85 posts

Posted: Saturday, September 02, 2017 - 06:33 AM UTC
Quoted Text
I'm now in the process of going back through this thread and replacing the old PB photos with the ones from IMGUR. May take a while!
I've gone back and (tried) to replace all of the photos in this thread with the ones from IMGUR, so please, let me know if any of you are not able to see them all now.
seabee1526

Joined: September 14, 2007
KitMaker: 185 posts
AeroScale: 26 posts

Posted: Monday, September 25, 2017 - 02:05 AM UTC
Very cool, I love those Ford builts
savethebomberplant.org
savethebomberplant.org
thathaway3

Joined: September 10, 2004
KitMaker: 1,610 posts
AeroScale: 85 posts

Posted: Wednesday, March 21, 2018 - 02:23 AM UTC
Well, hockey season is JUST about over so I guess it's time to get back to work.
Switching over the the engines, I noticed that the exhaust manifolds are not long enough to reach the front cylinders by about 2mm, so I added some short extenders so they'll mate up better.
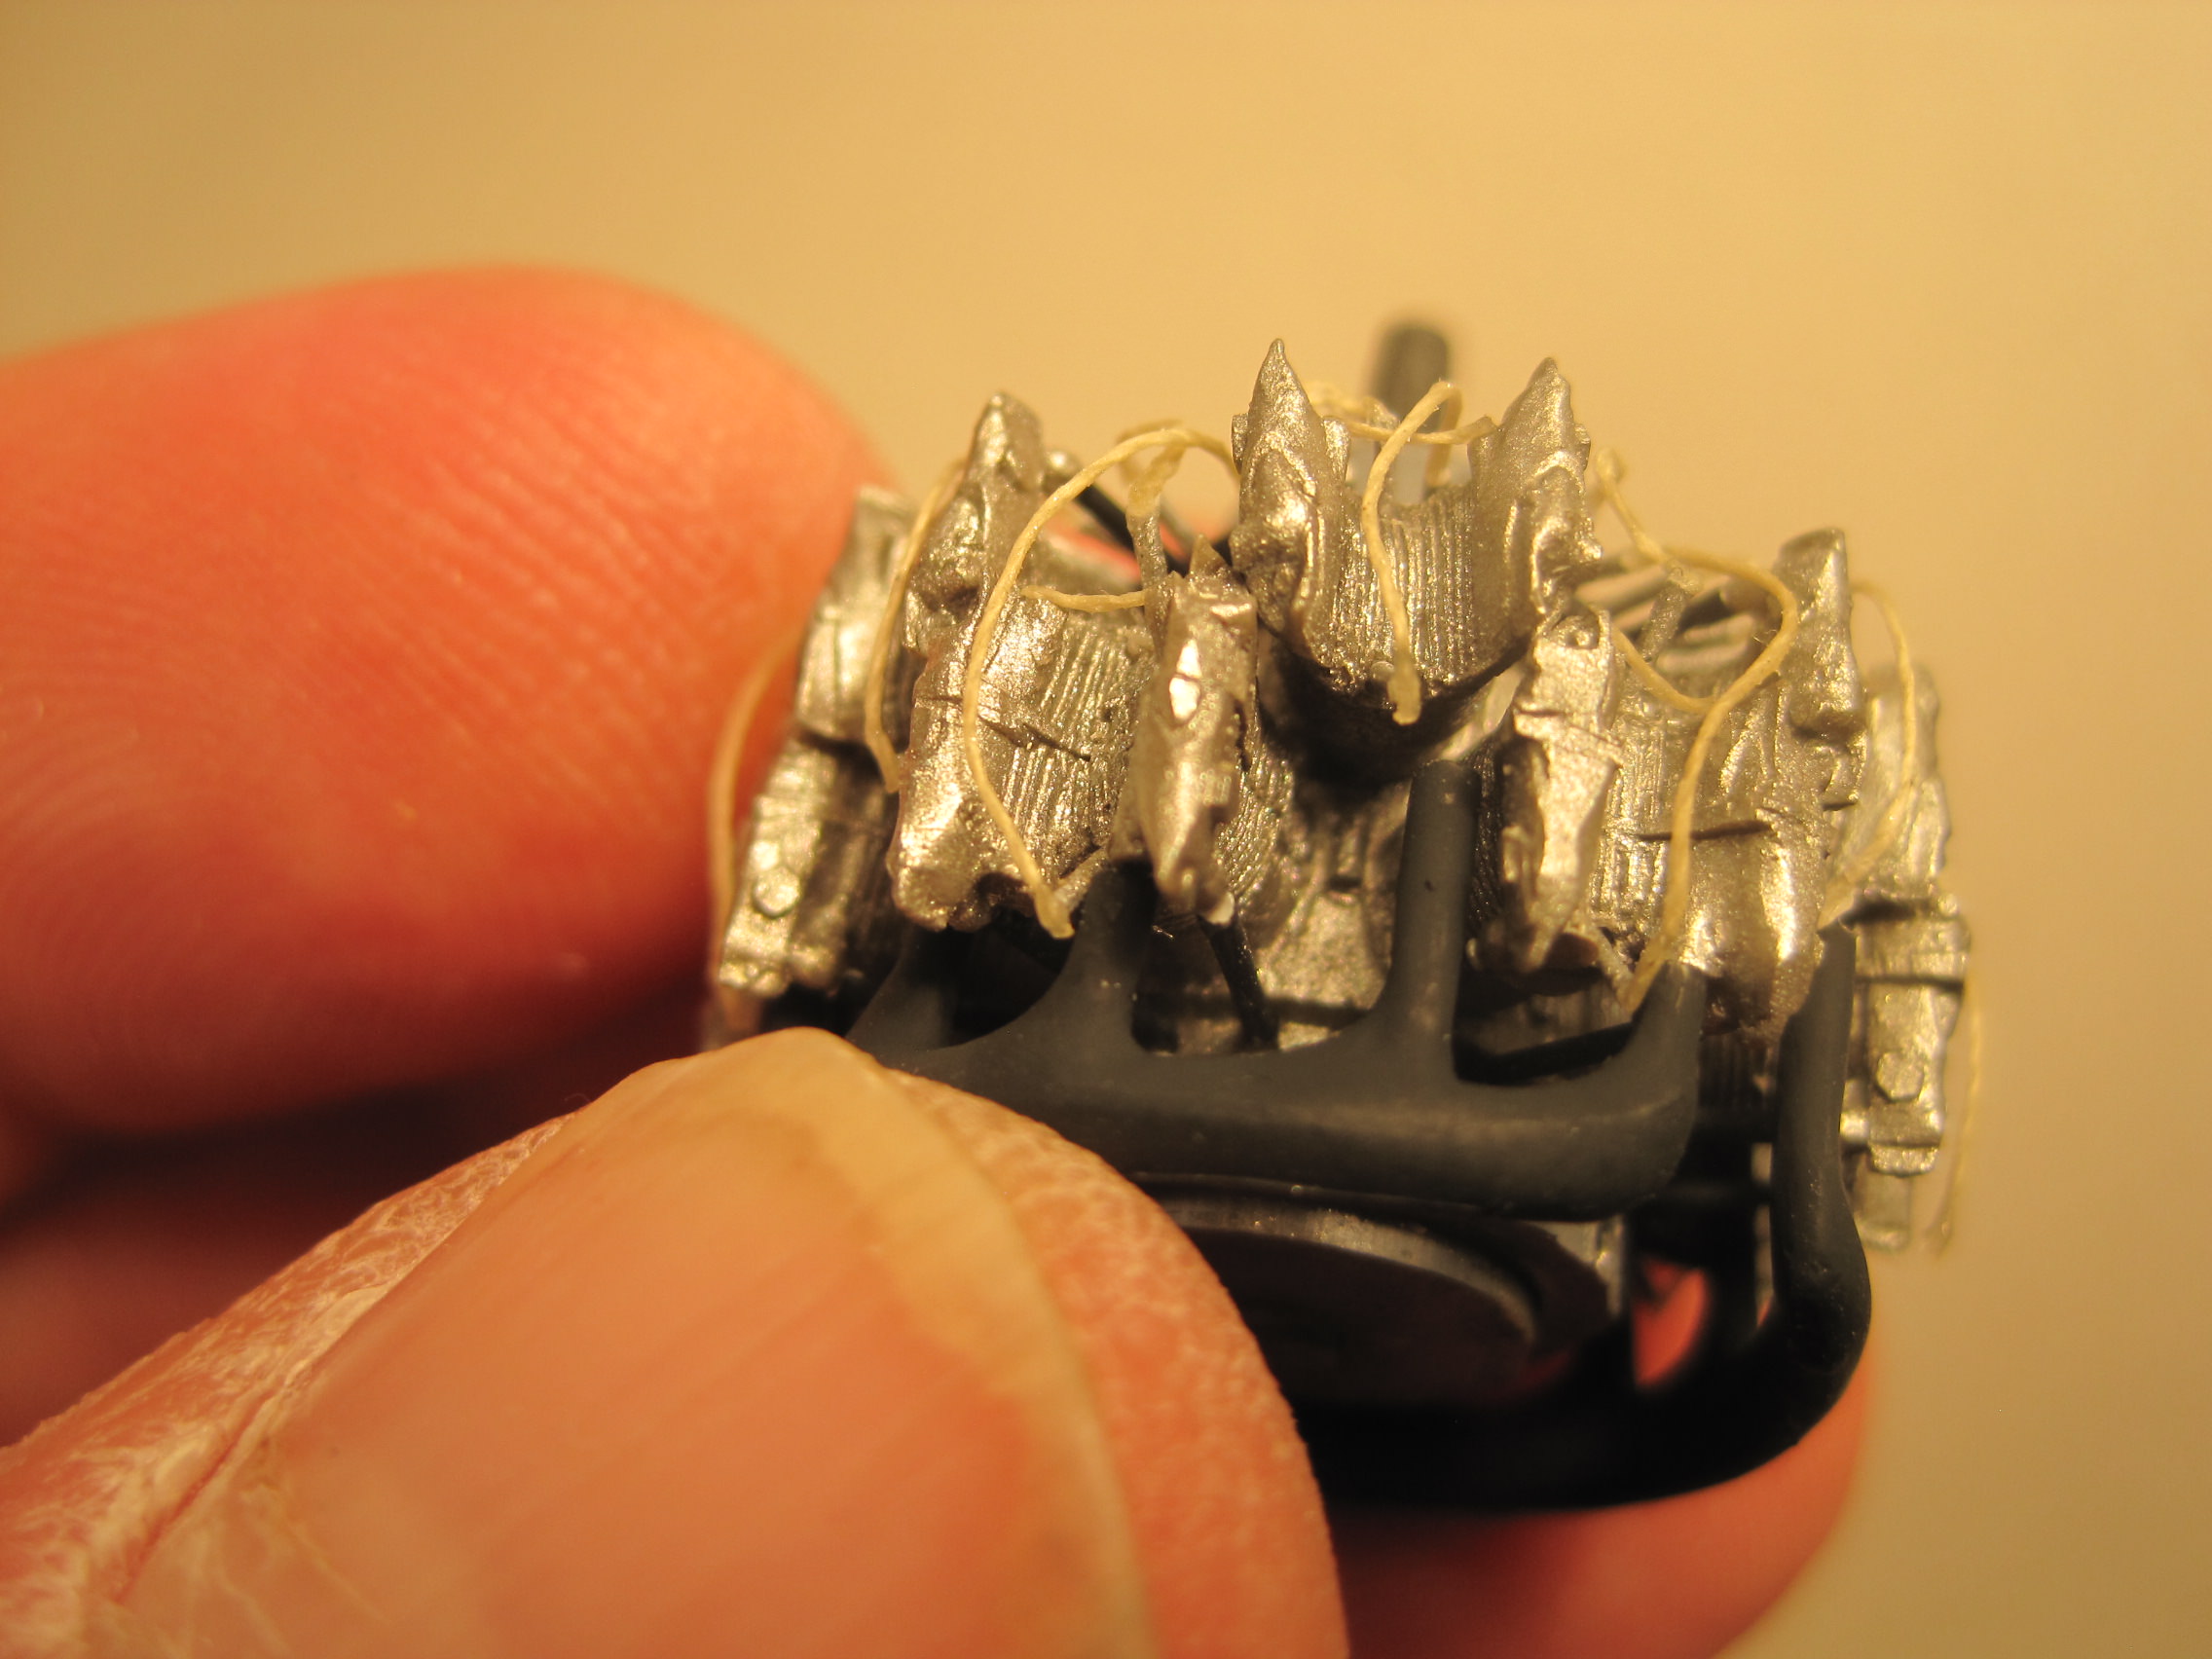
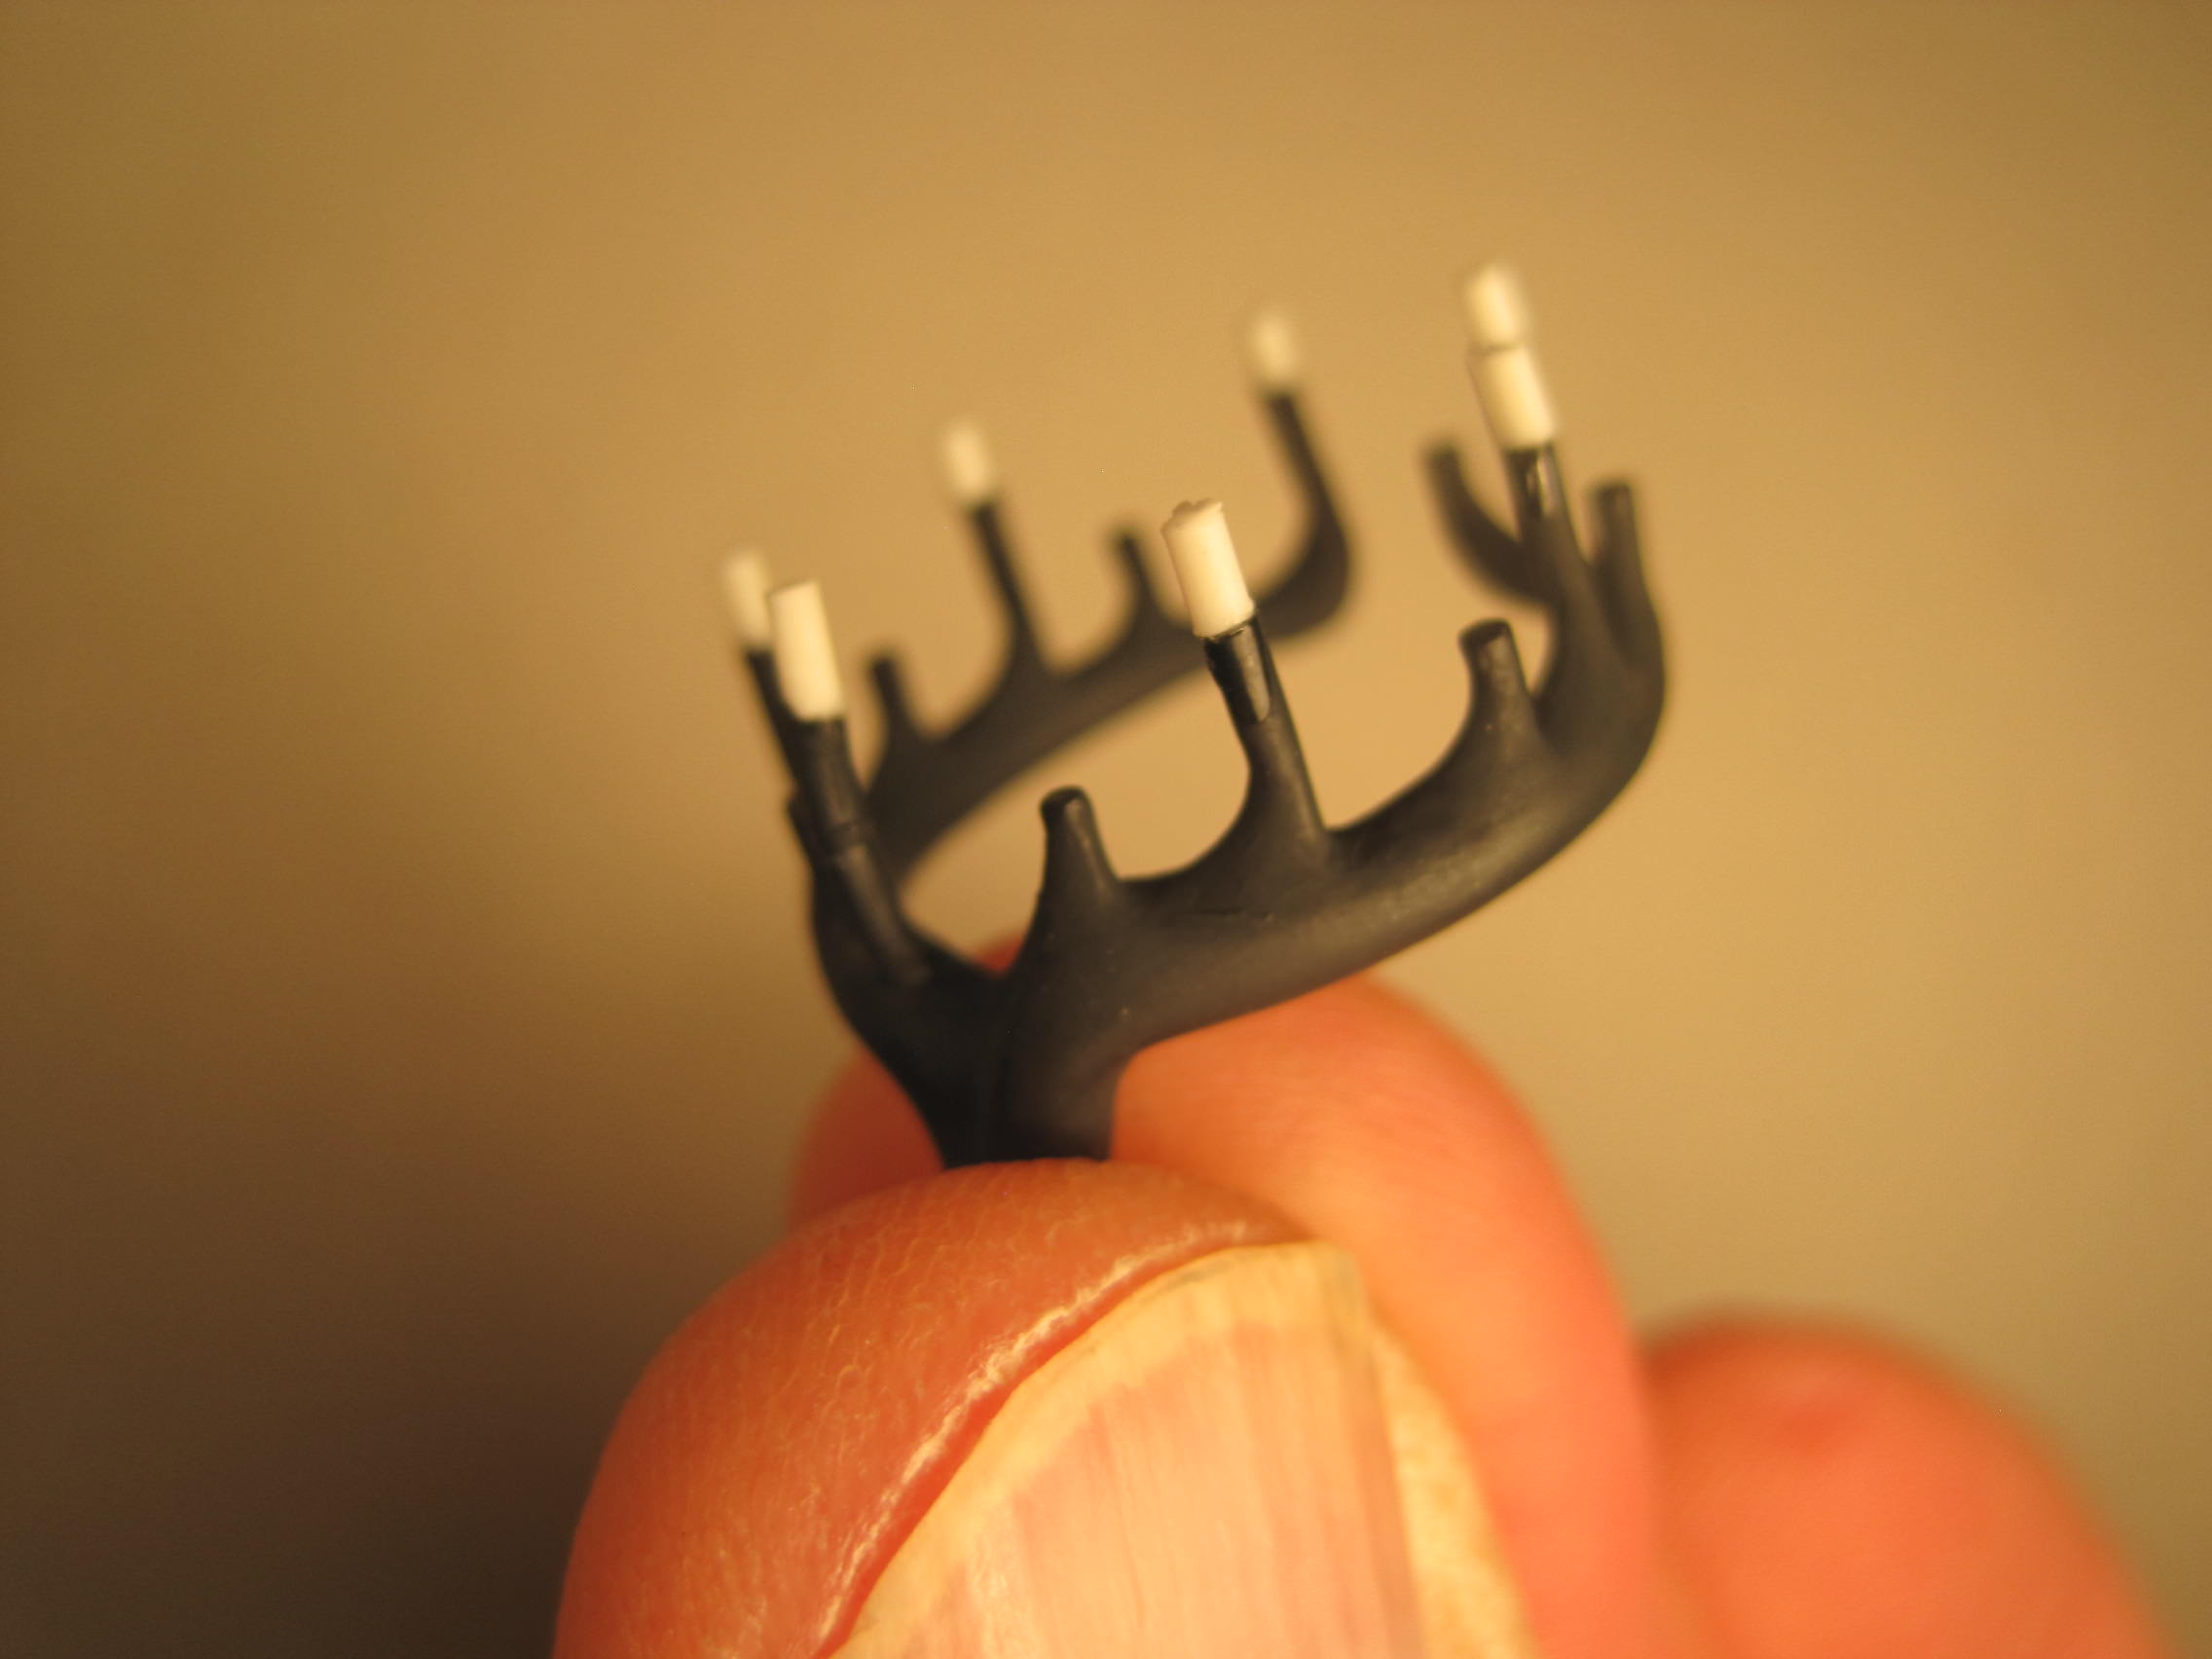

Next step is to try and figure out the best sequence for assembly and painting of the wings.
Switching over the the engines, I noticed that the exhaust manifolds are not long enough to reach the front cylinders by about 2mm, so I added some short extenders so they'll mate up better.


Next step is to try and figure out the best sequence for assembly and painting of the wings.
thathaway3

Joined: September 10, 2004
KitMaker: 1,610 posts
AeroScale: 85 posts

Posted: Monday, March 26, 2018 - 07:22 PM UTC
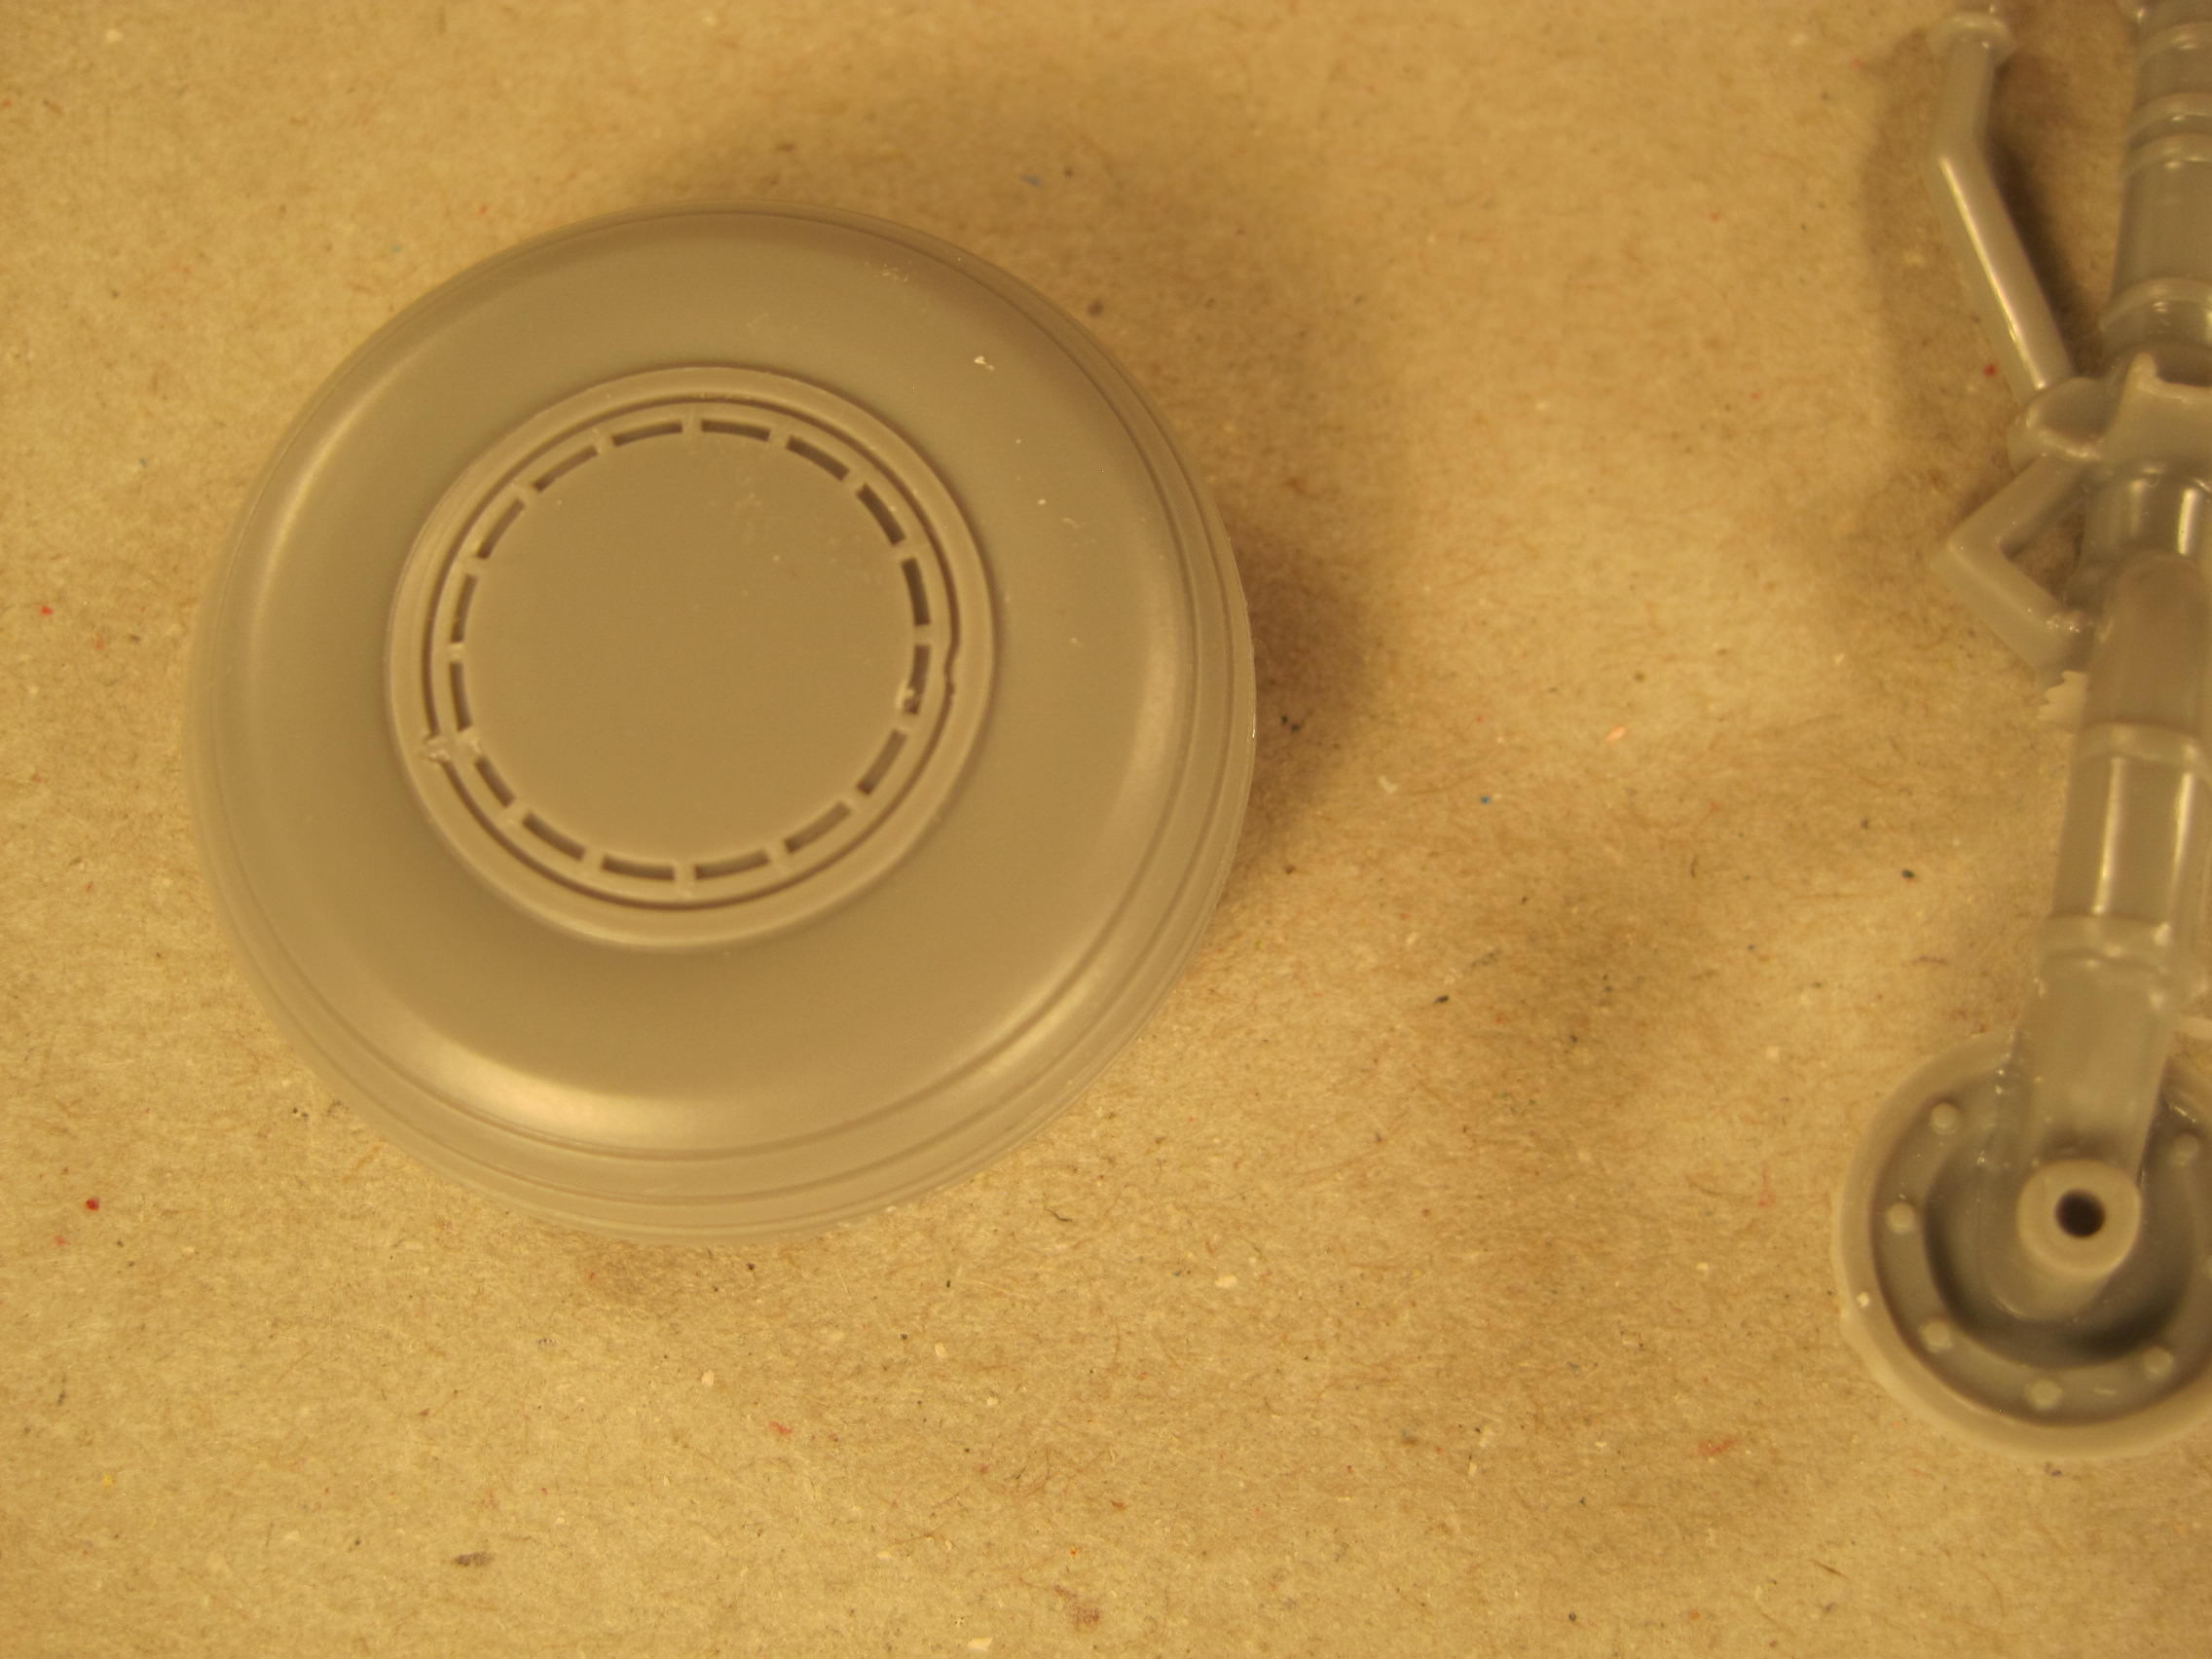
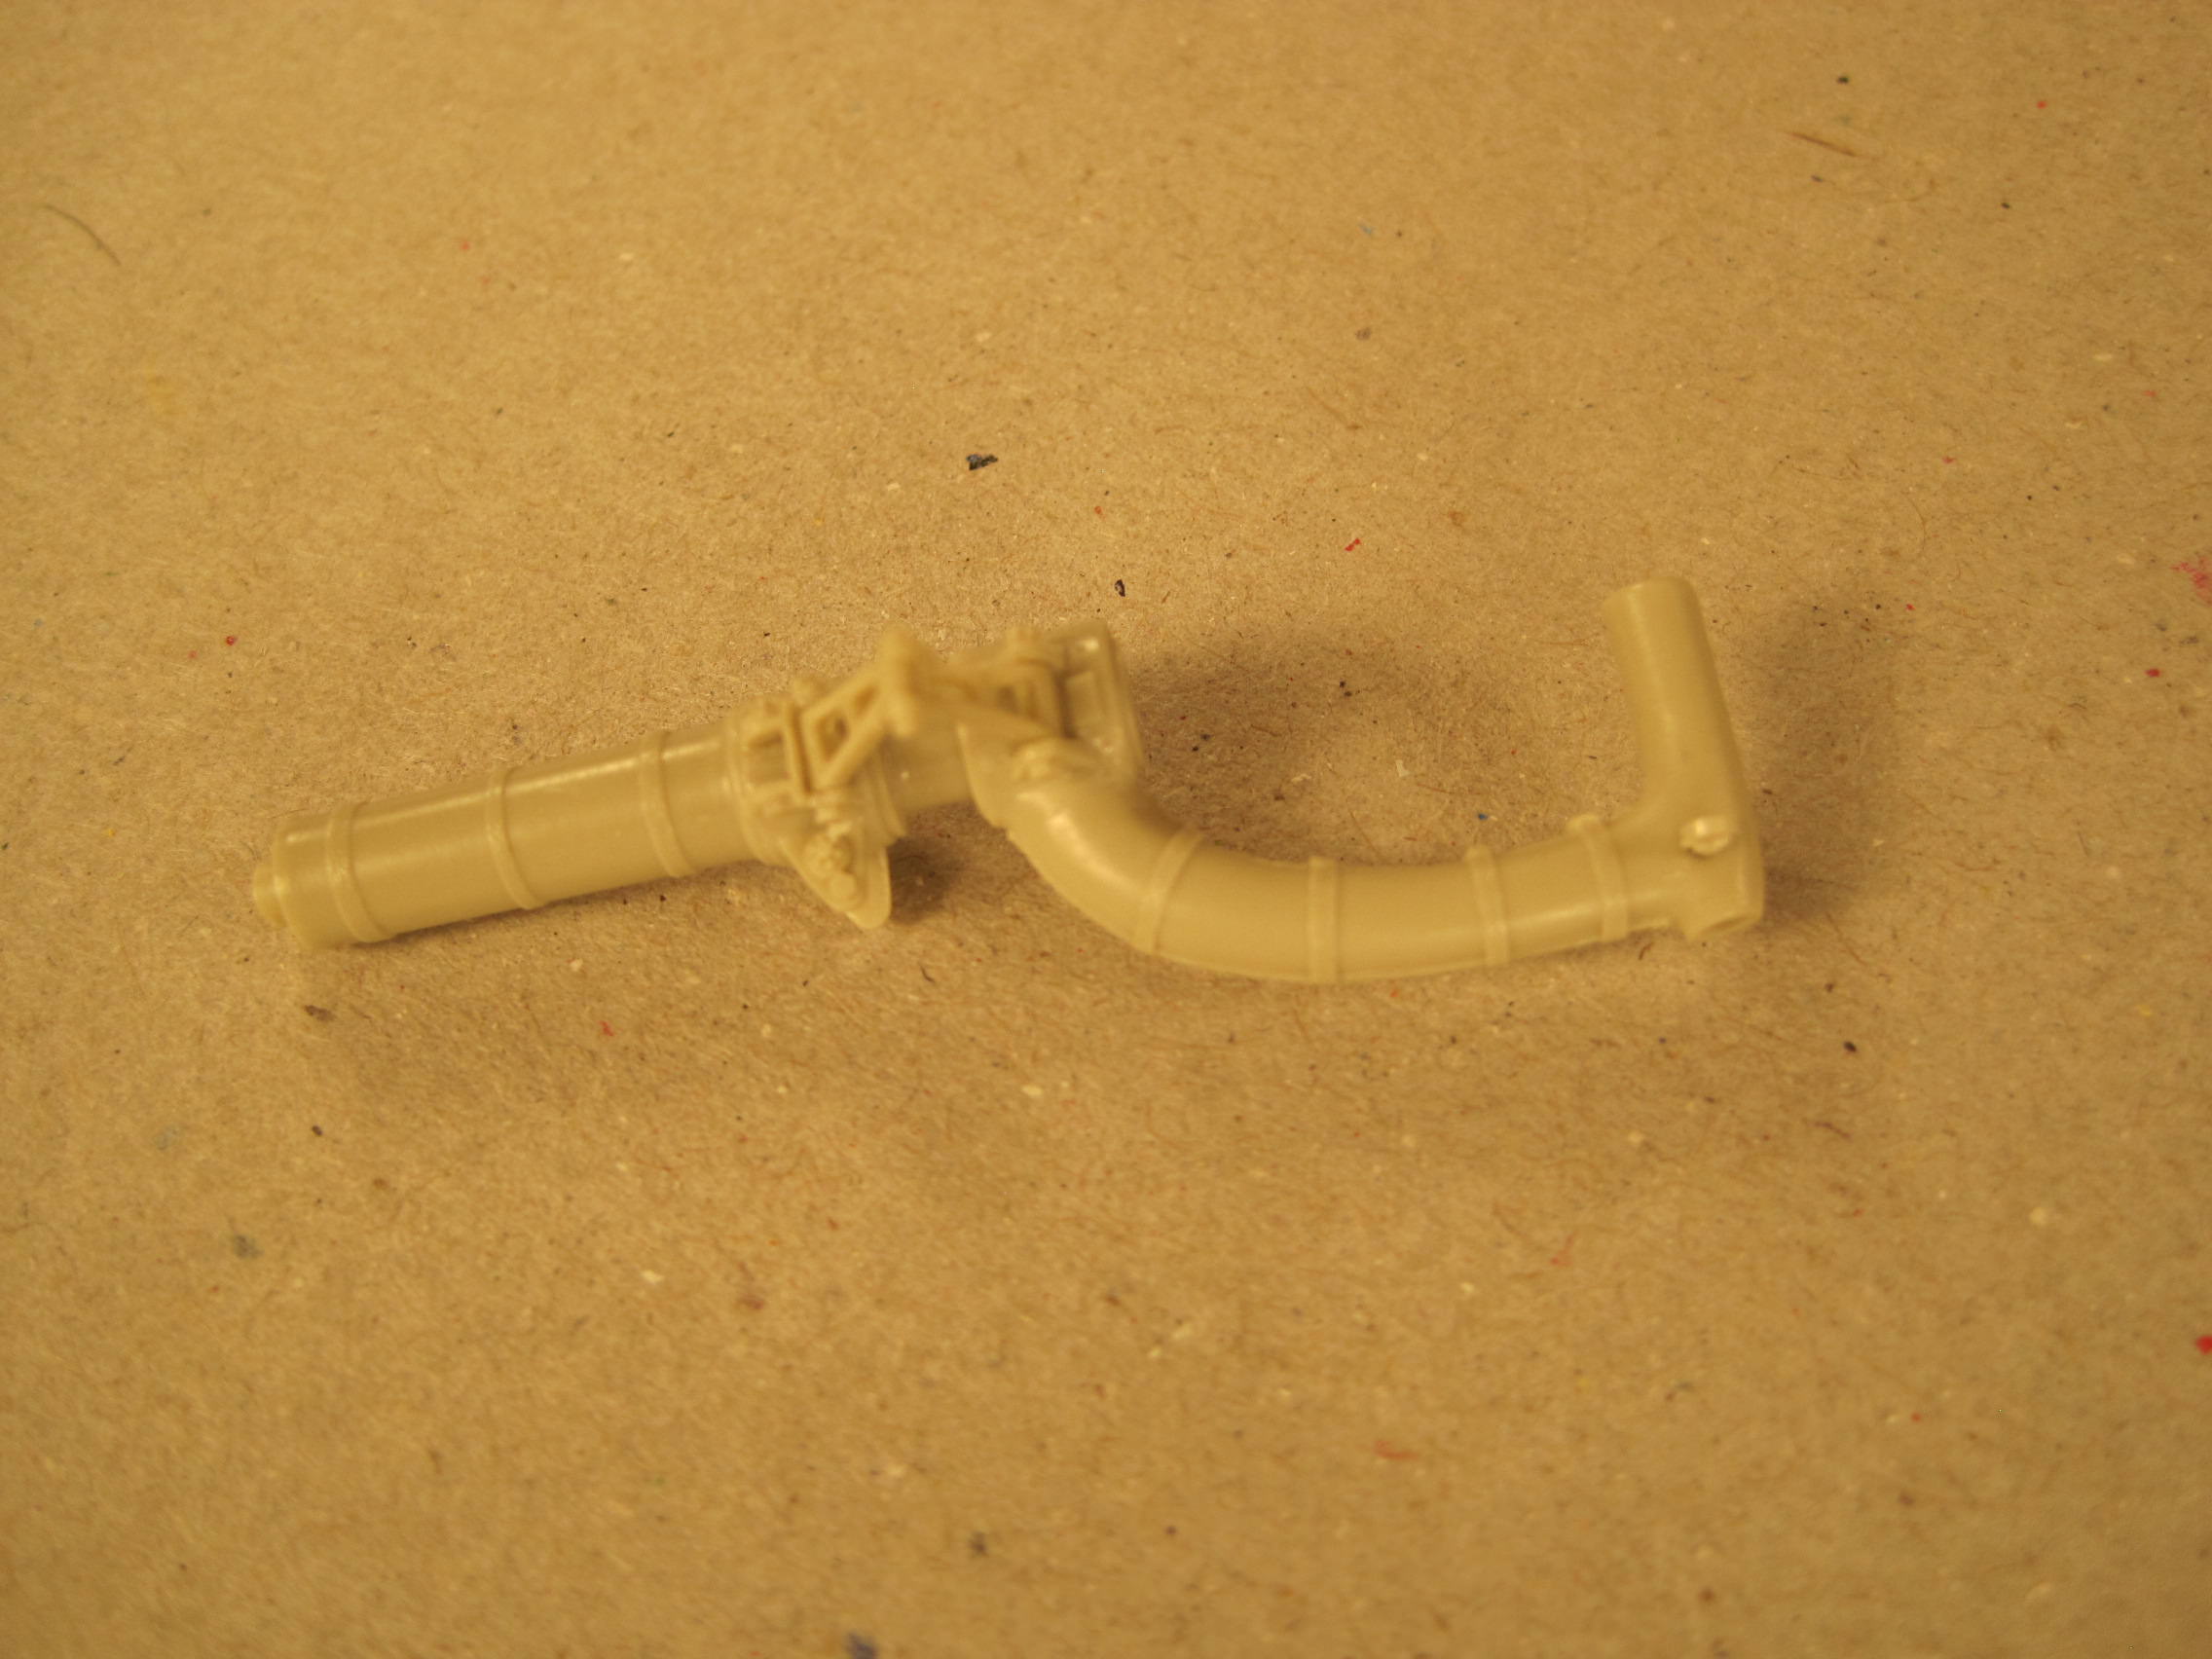
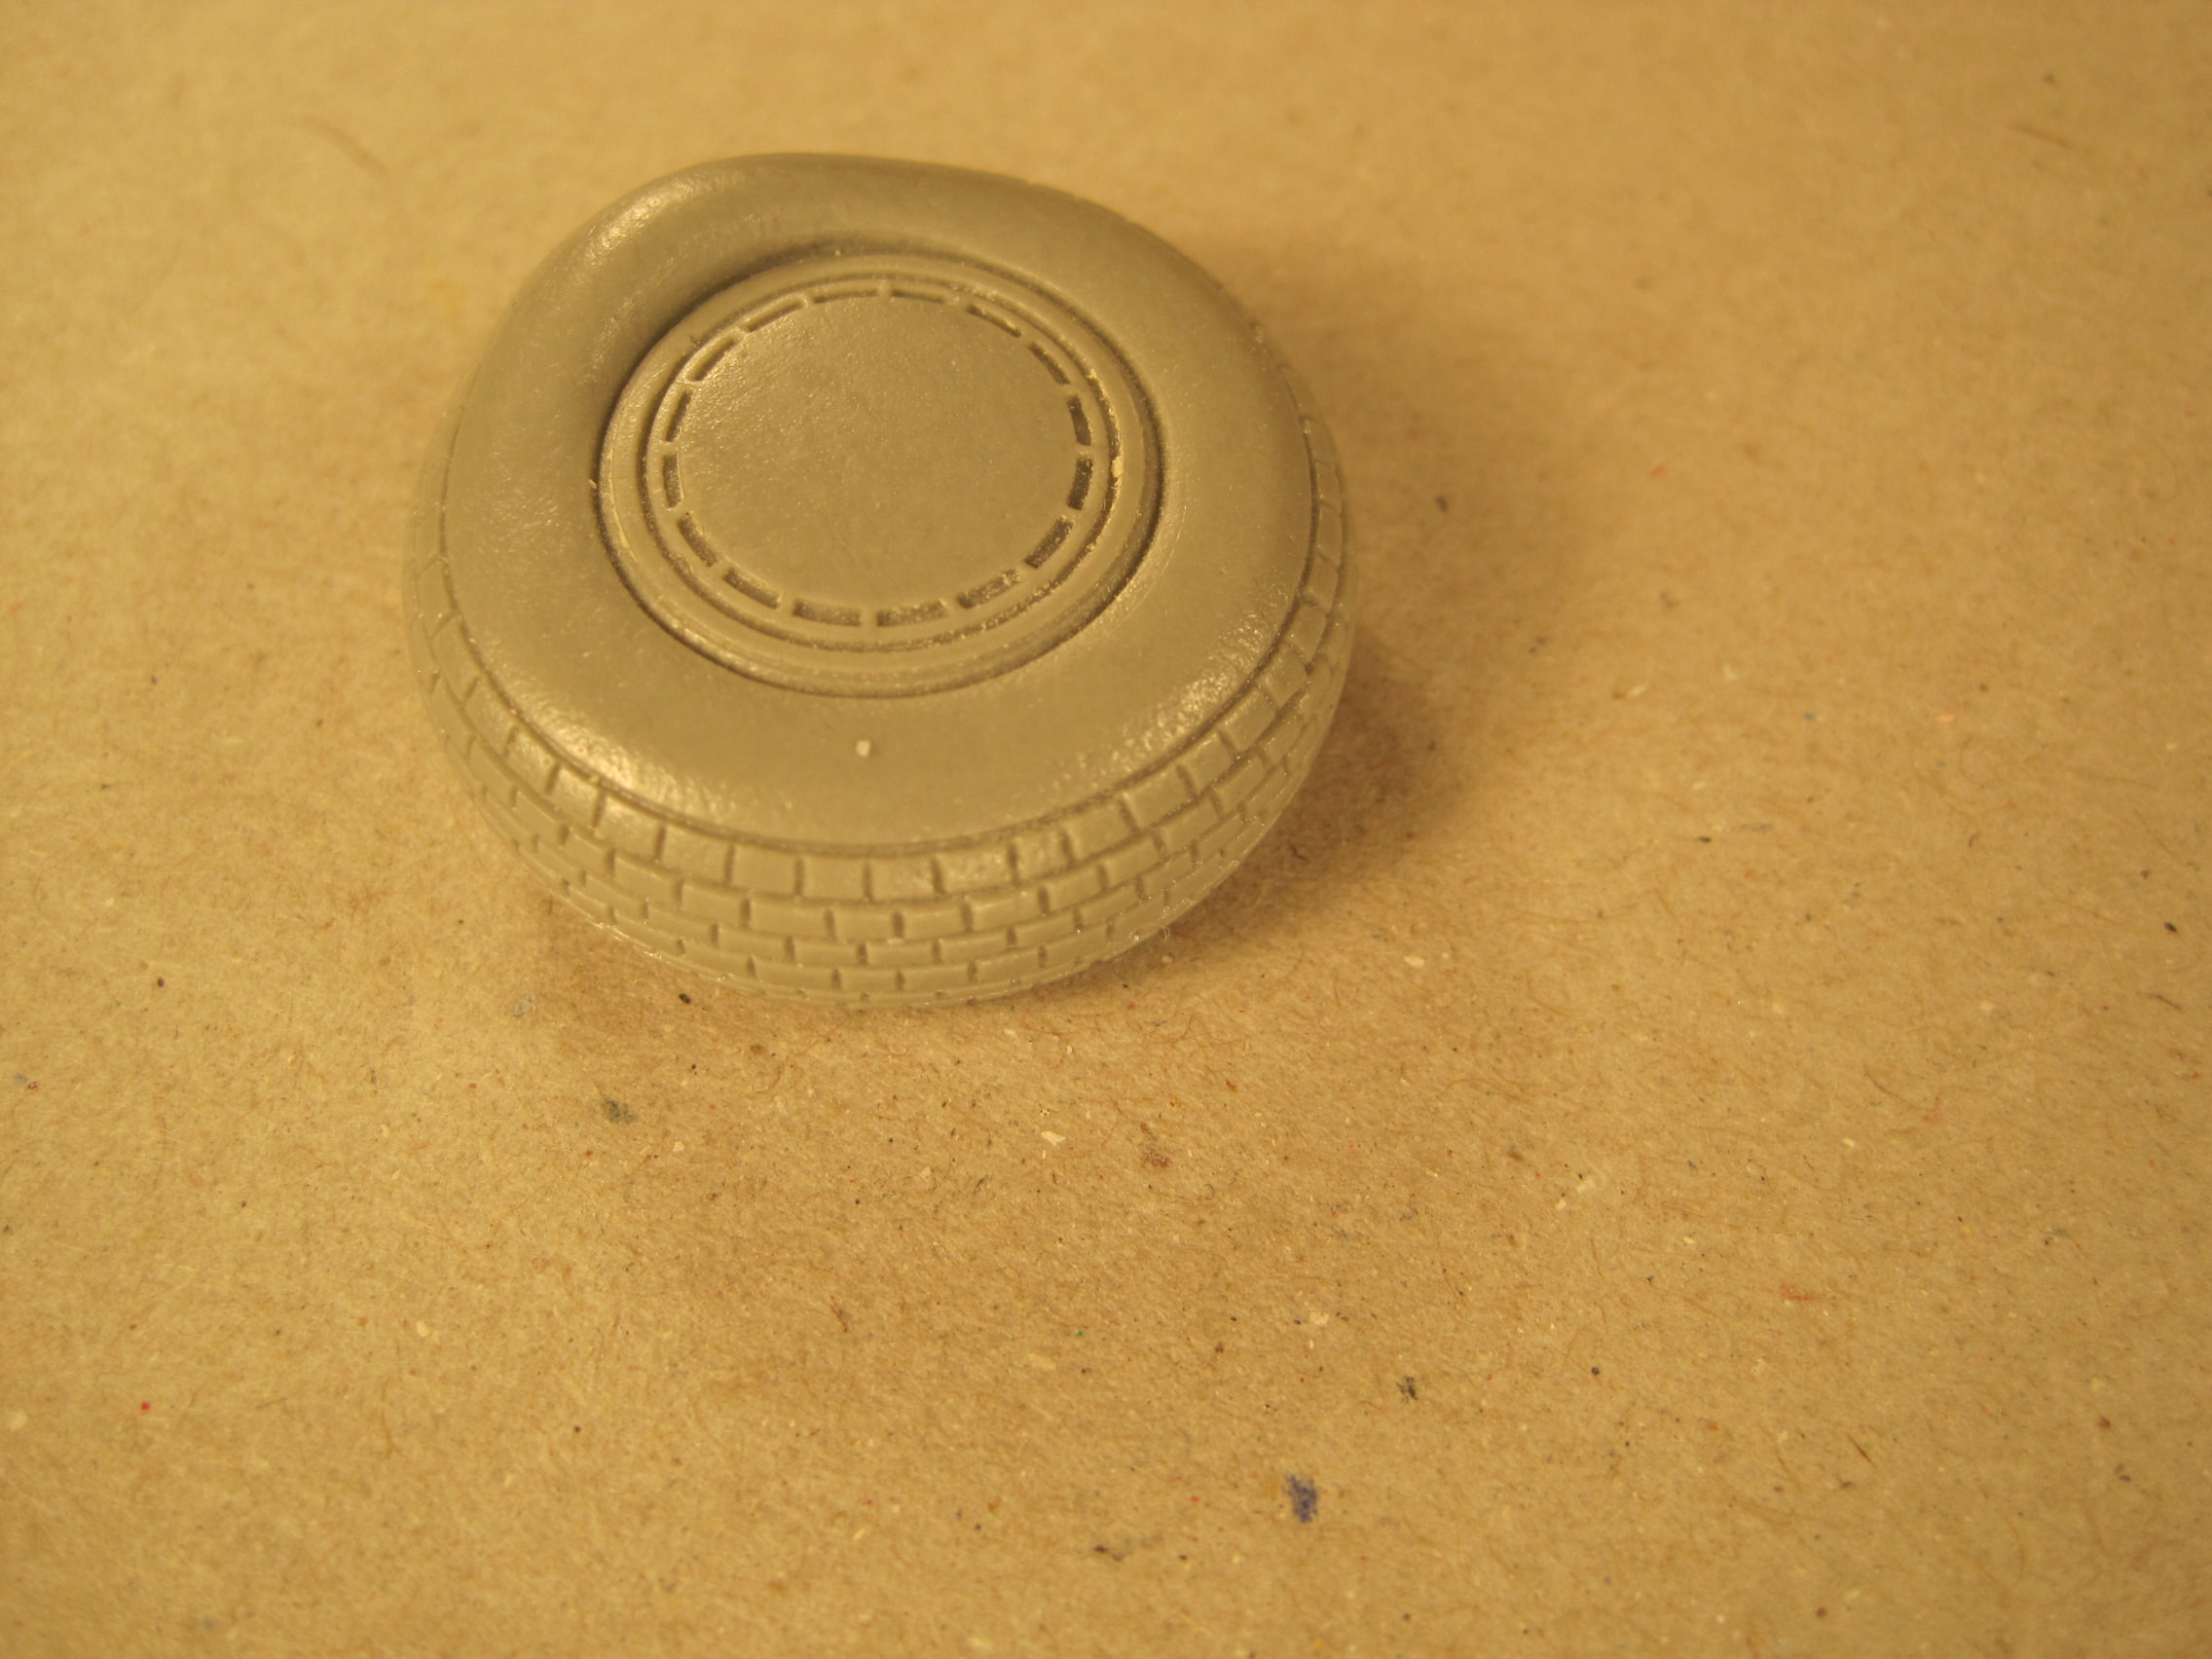
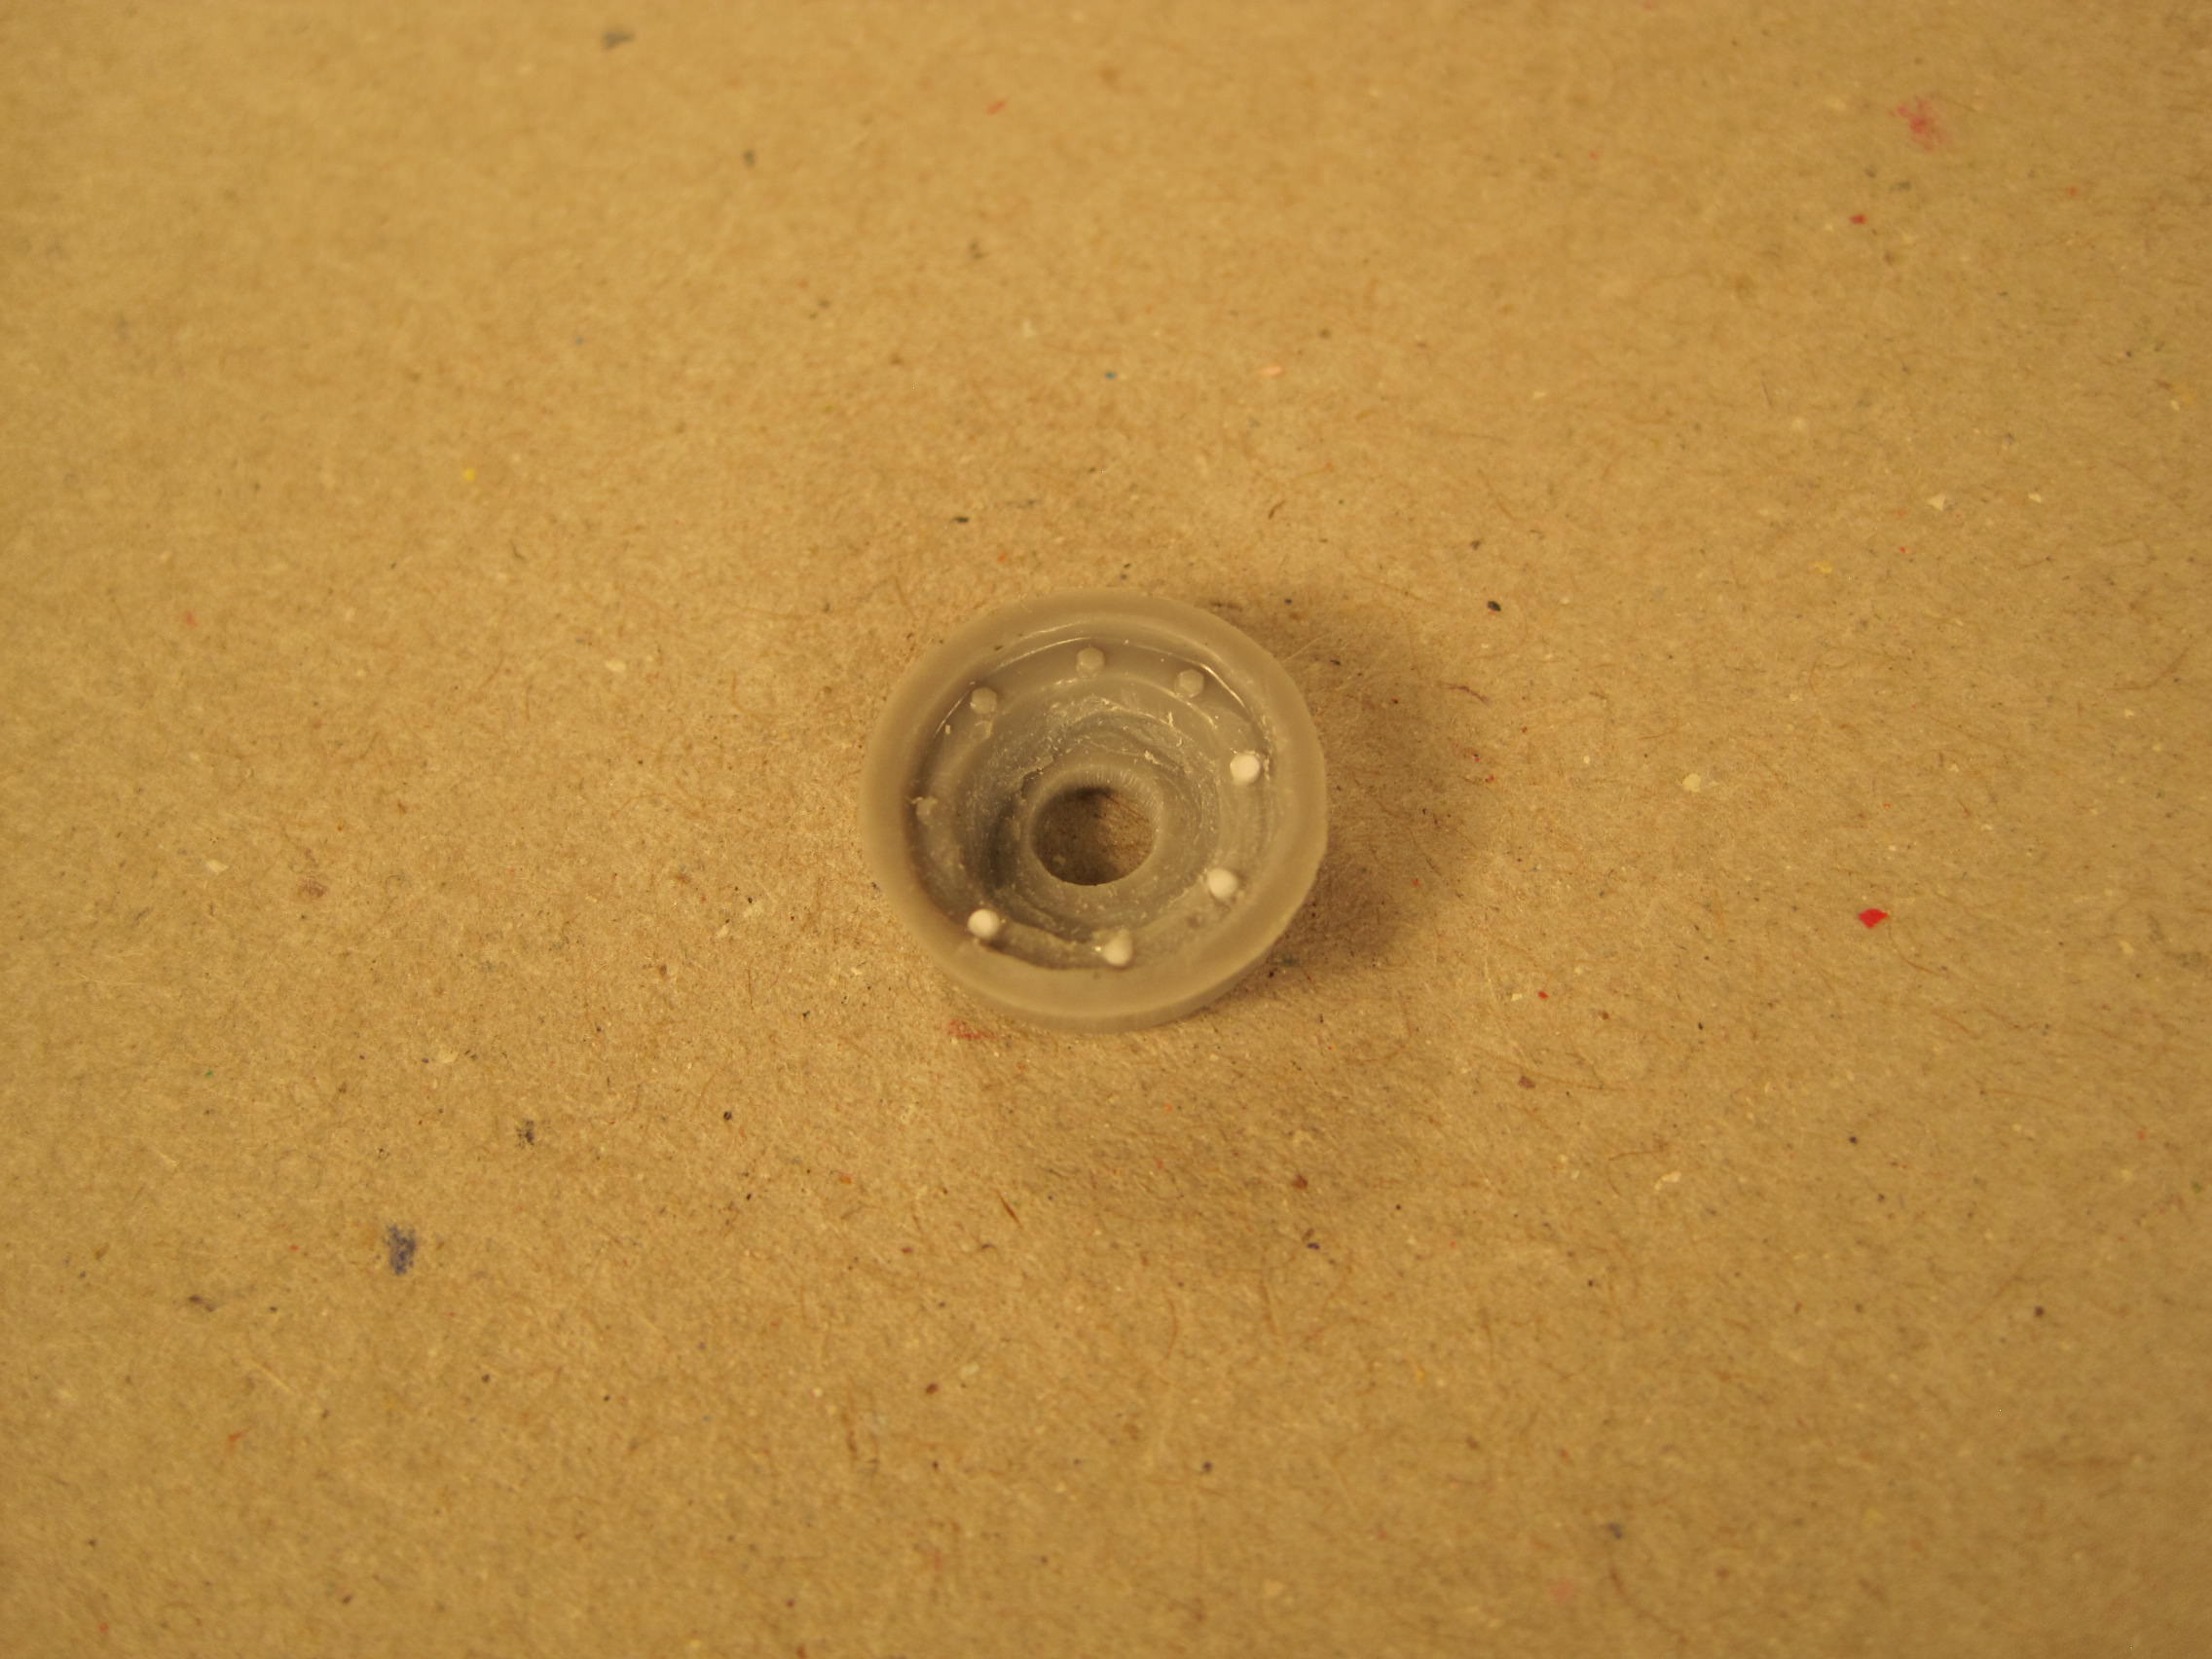
Working on the landing gear. The first picture shows the kit tire and main oleo landing strut. I have the resin after market gear which is much better as well as tires which are done to show the weight of the aircraft. Neither the A/M struts nor the tires have the brake drums included in the kit strut, so I removed that, cleaned it up and installed it on the strut. The last photo shows a comparison of the kit version, to what I'll install.




thathaway3

Joined: September 10, 2004
KitMaker: 1,610 posts
AeroScale: 85 posts

Posted: Monday, March 26, 2018 - 10:44 PM UTC
For the nose gear, I liked the after market resin tire, but I preferred the kit wheel as it seemed more like the wheels I found in my reference photos,
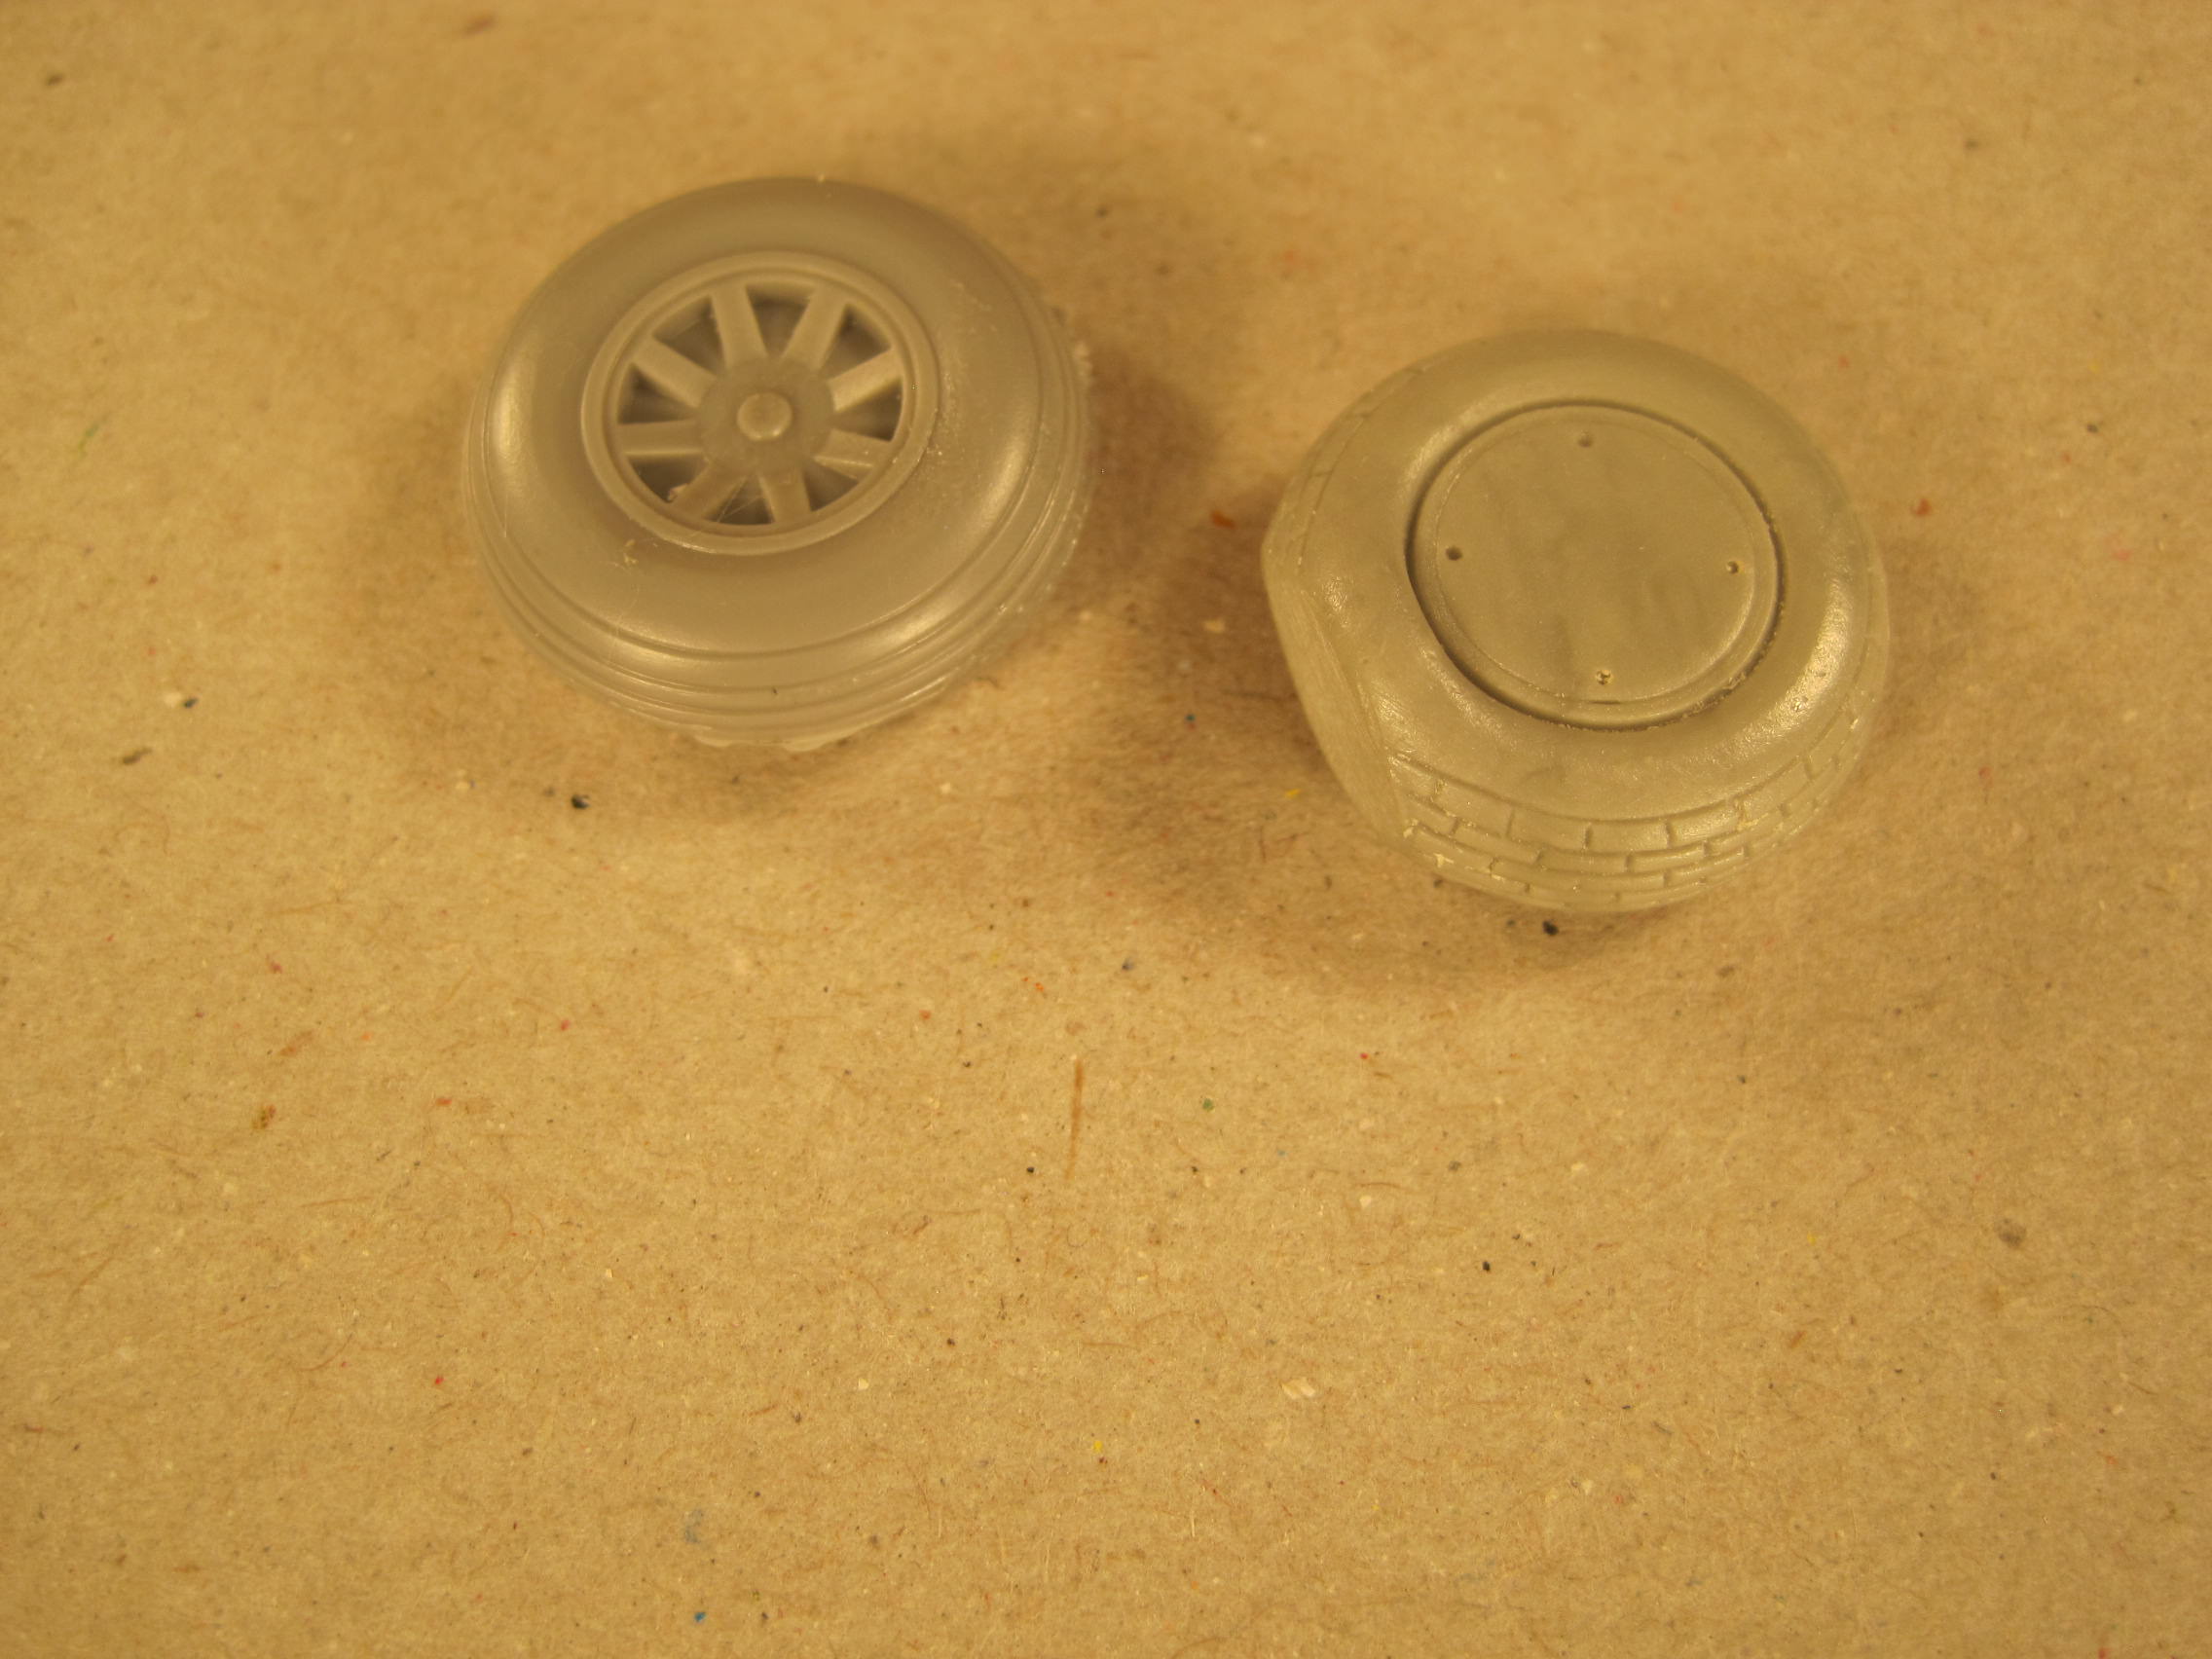
so I cut off the kit tire, drilled out the resin wheel and combined them. Because the two halves of the kit wheel didn't fit up against each other, I used some washers as shims for proper spacing. And while it's not much, the added weight on the nose wheel will hopefully help out with balance later.
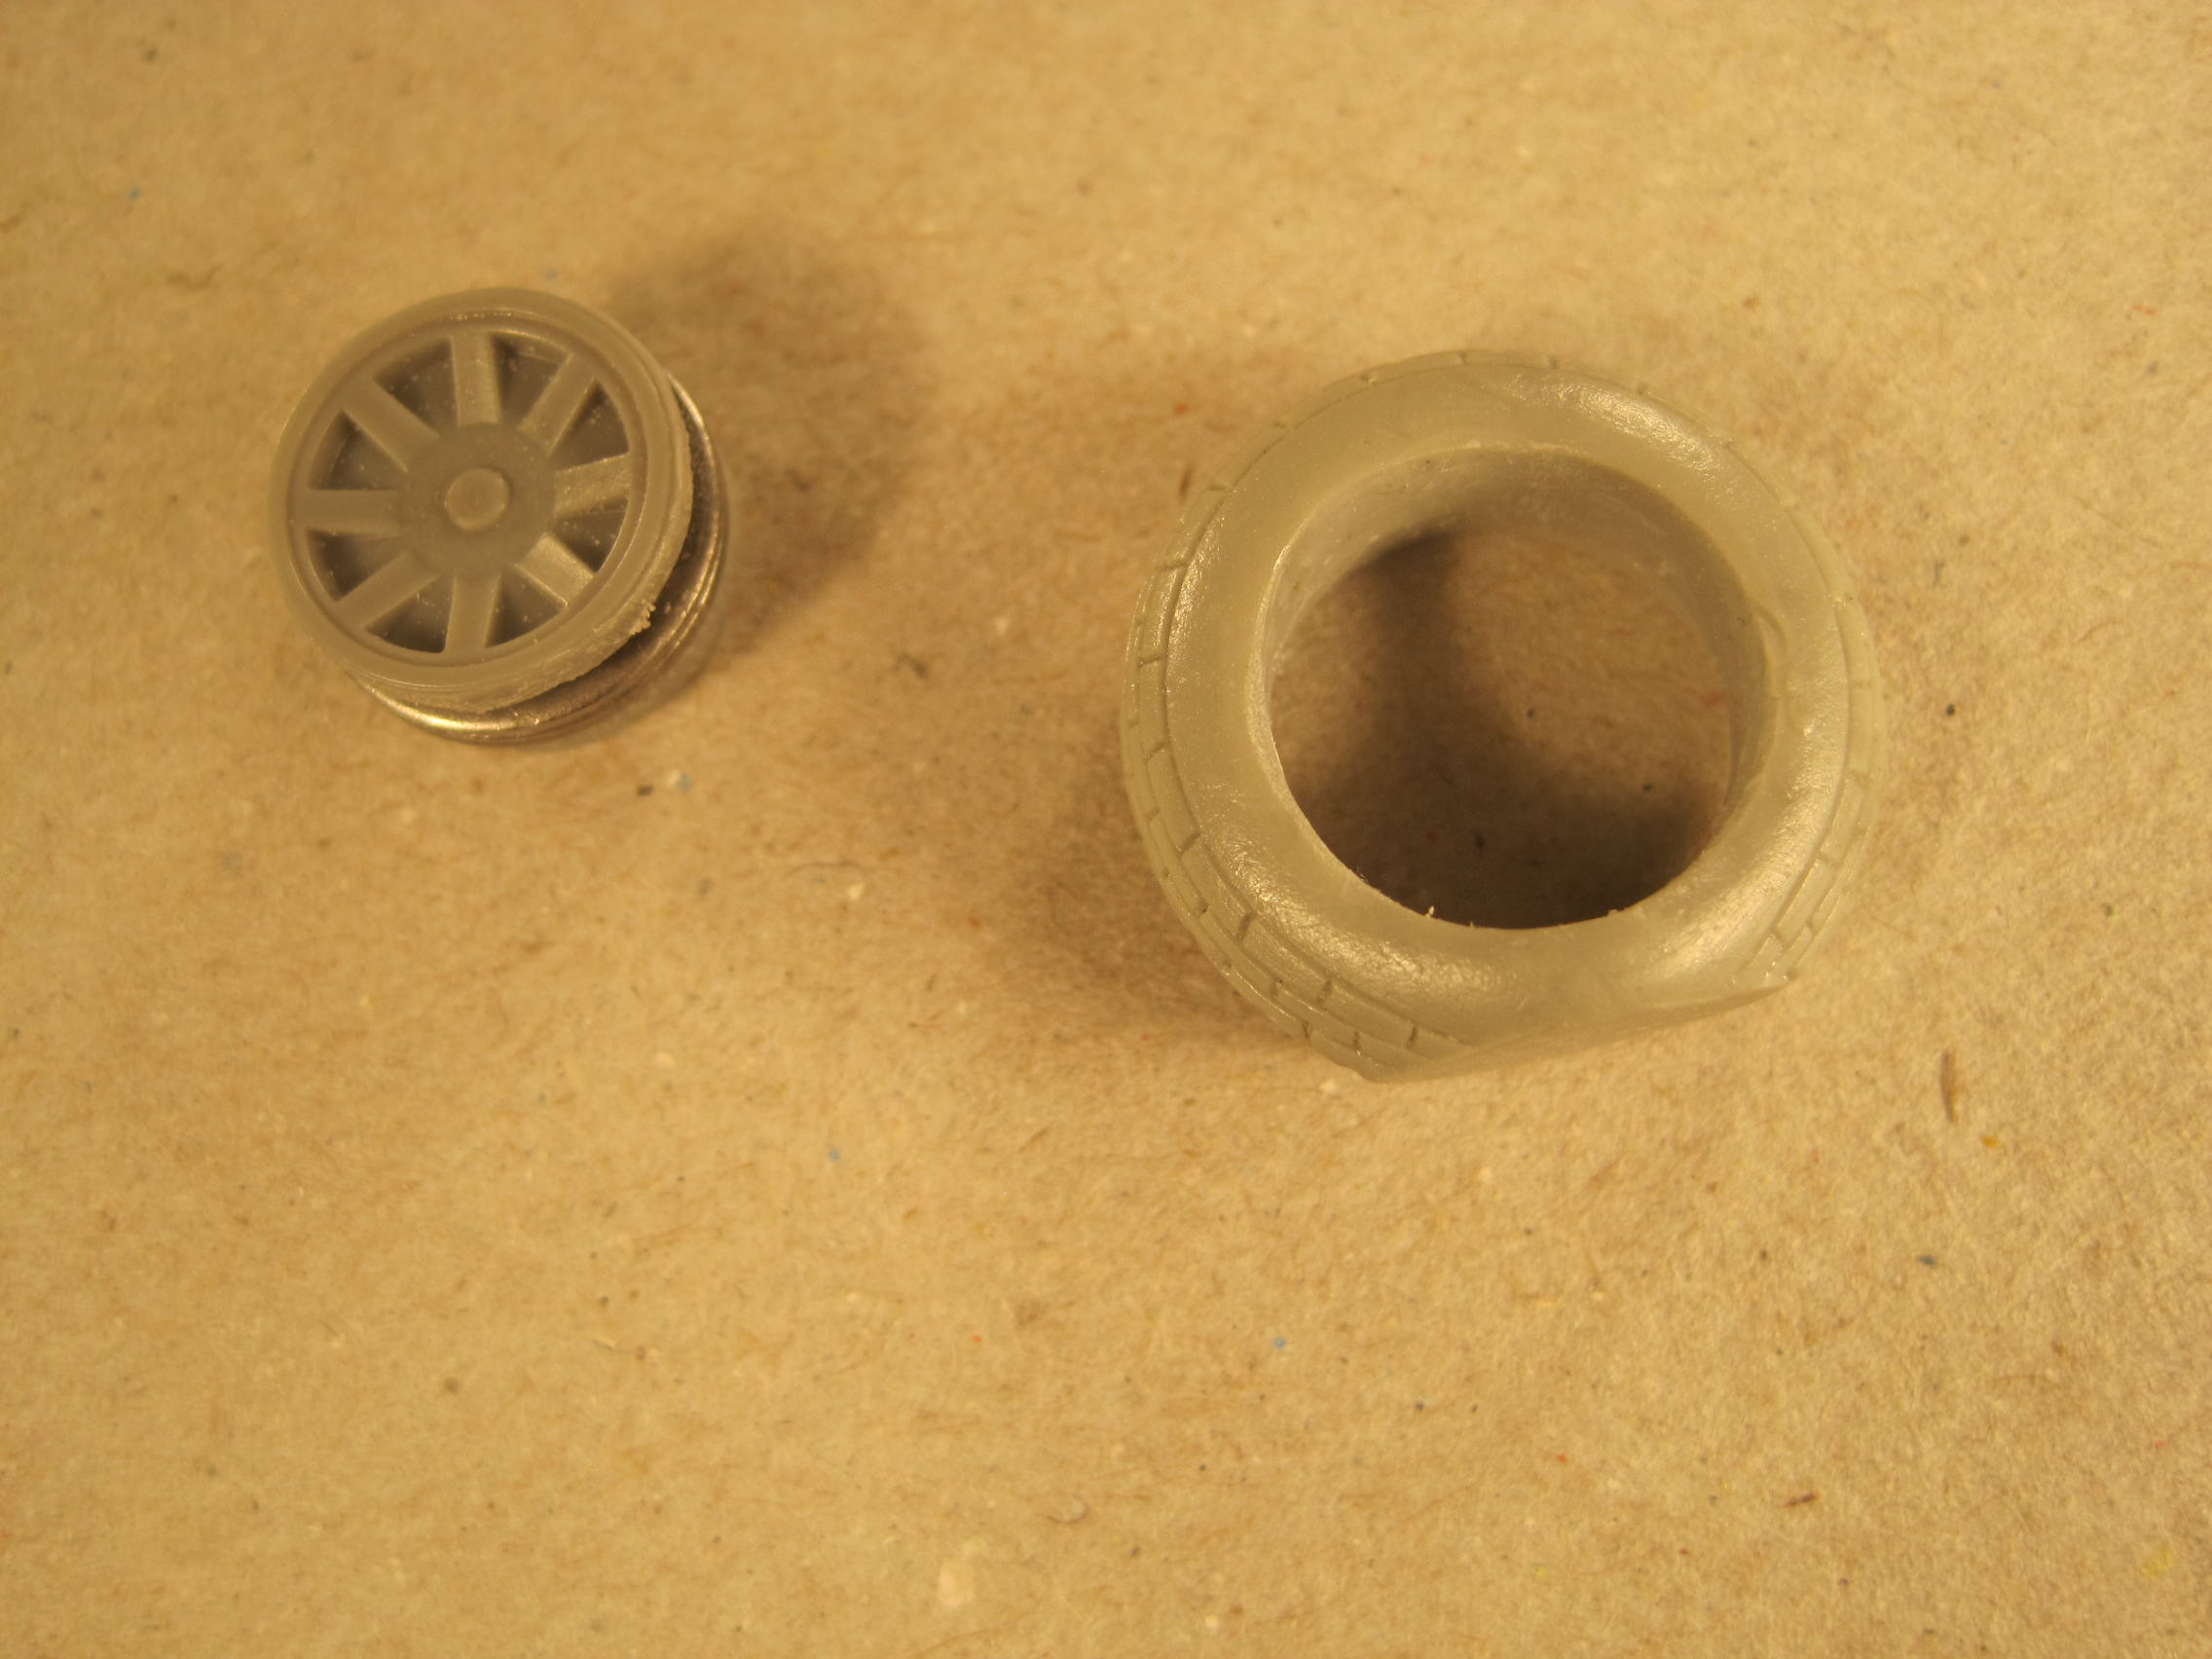

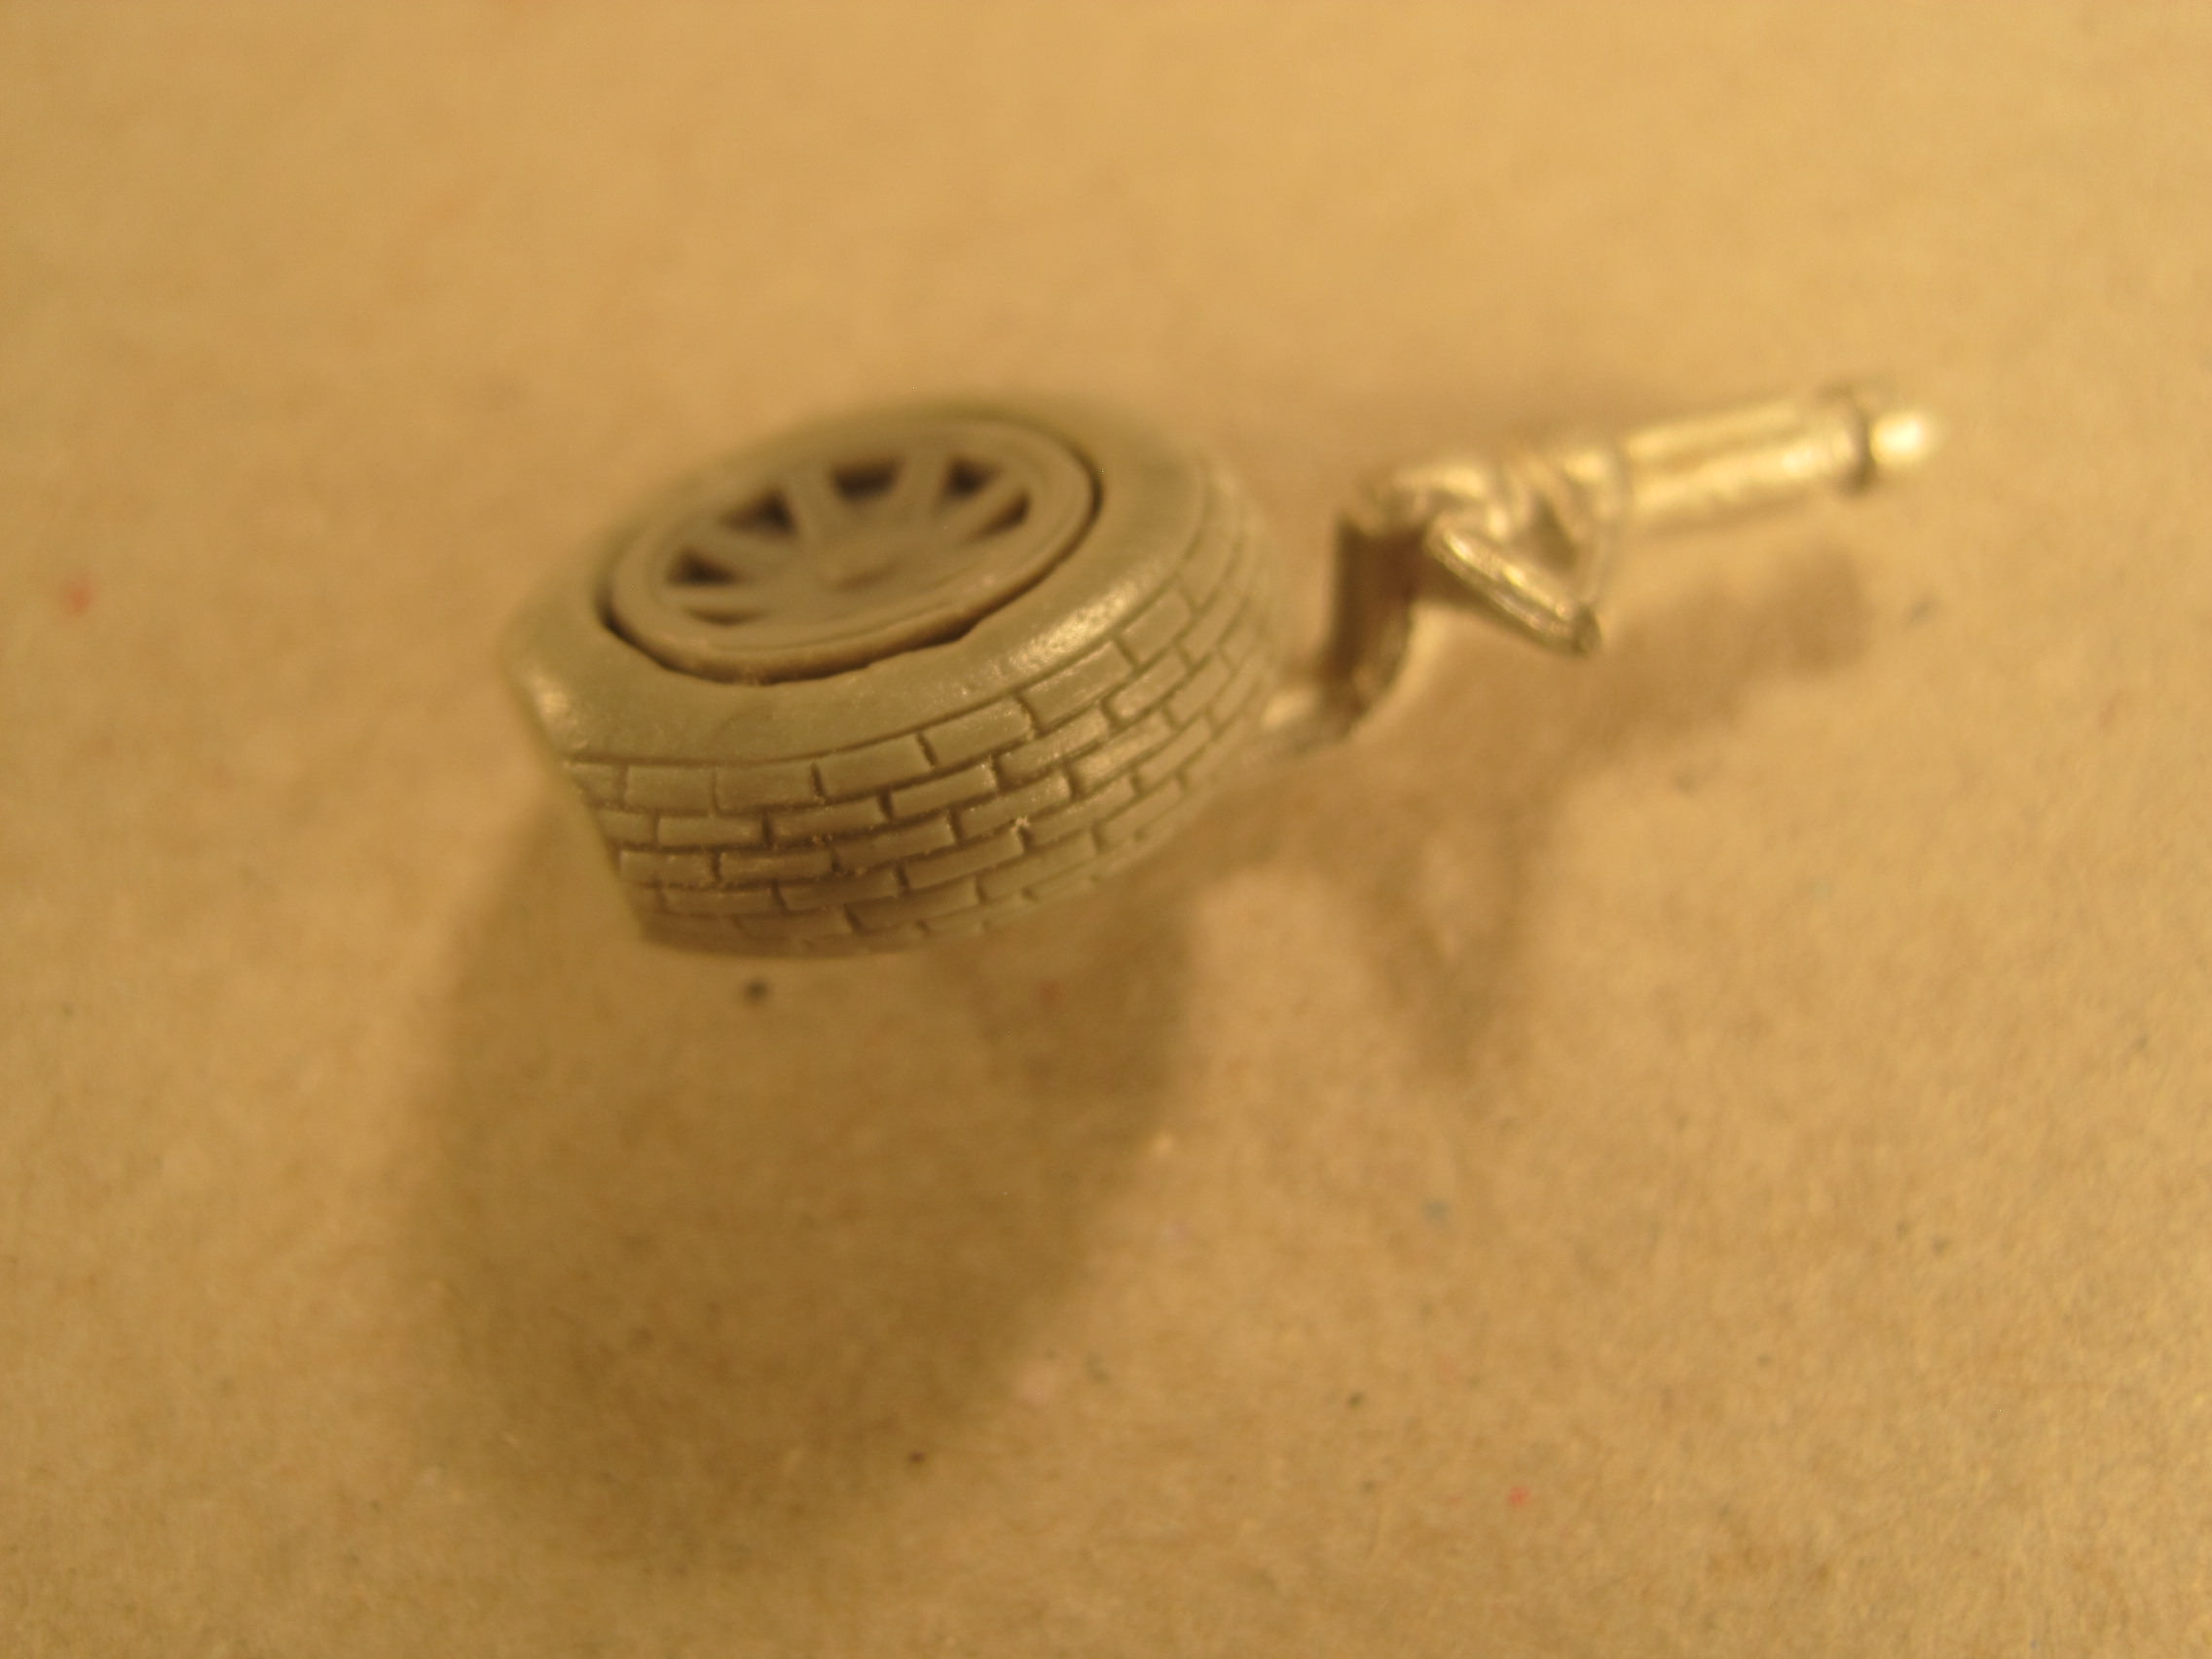
My next step will be to scratch build the scissors linkage on the oleo strut, since both the kit and my after market metal struts just have a molded blob. There isn't too much difference between the kit and after markets struts, so I'll use the after market one since it's metal and weighs slightly more than the plastic one from the kit.


so I cut off the kit tire, drilled out the resin wheel and combined them. Because the two halves of the kit wheel didn't fit up against each other, I used some washers as shims for proper spacing. And while it's not much, the added weight on the nose wheel will hopefully help out with balance later.


My next step will be to scratch build the scissors linkage on the oleo strut, since both the kit and my after market metal struts just have a molded blob. There isn't too much difference between the kit and after markets struts, so I'll use the after market one since it's metal and weighs slightly more than the plastic one from the kit.

thathaway3

Joined: September 10, 2004
KitMaker: 1,610 posts
AeroScale: 85 posts

Posted: Monday, May 28, 2018 - 07:02 AM UTC
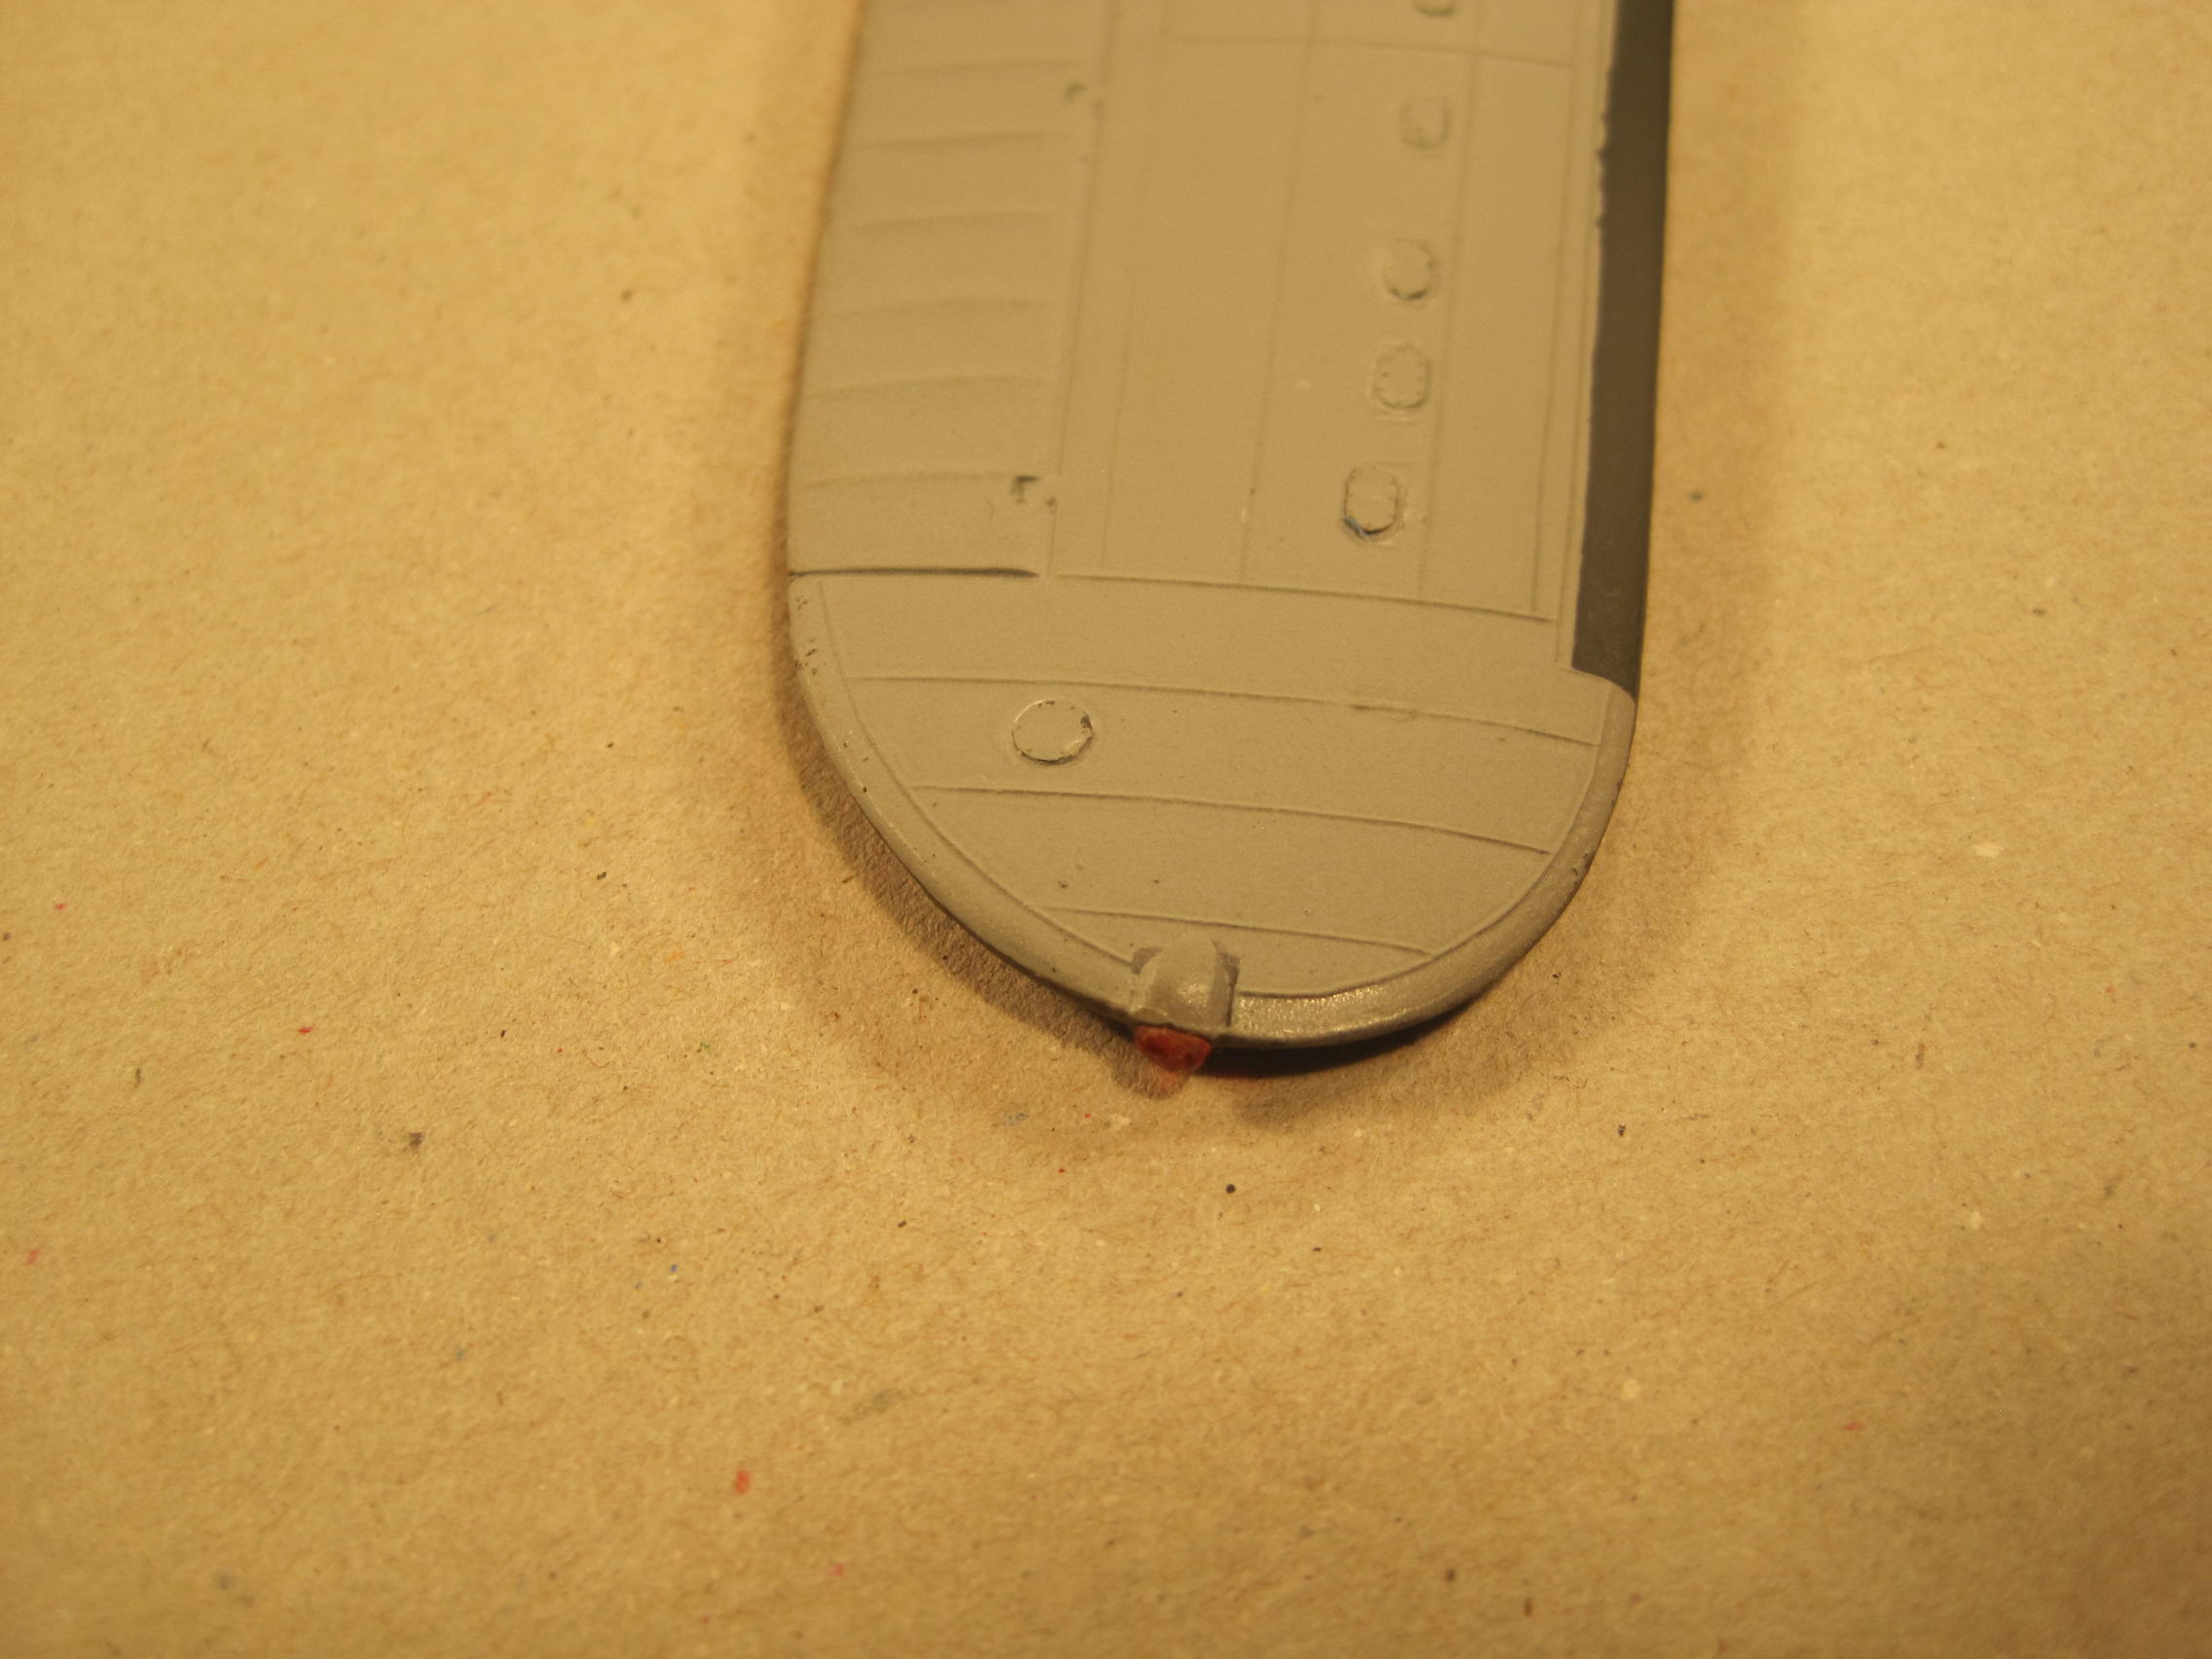
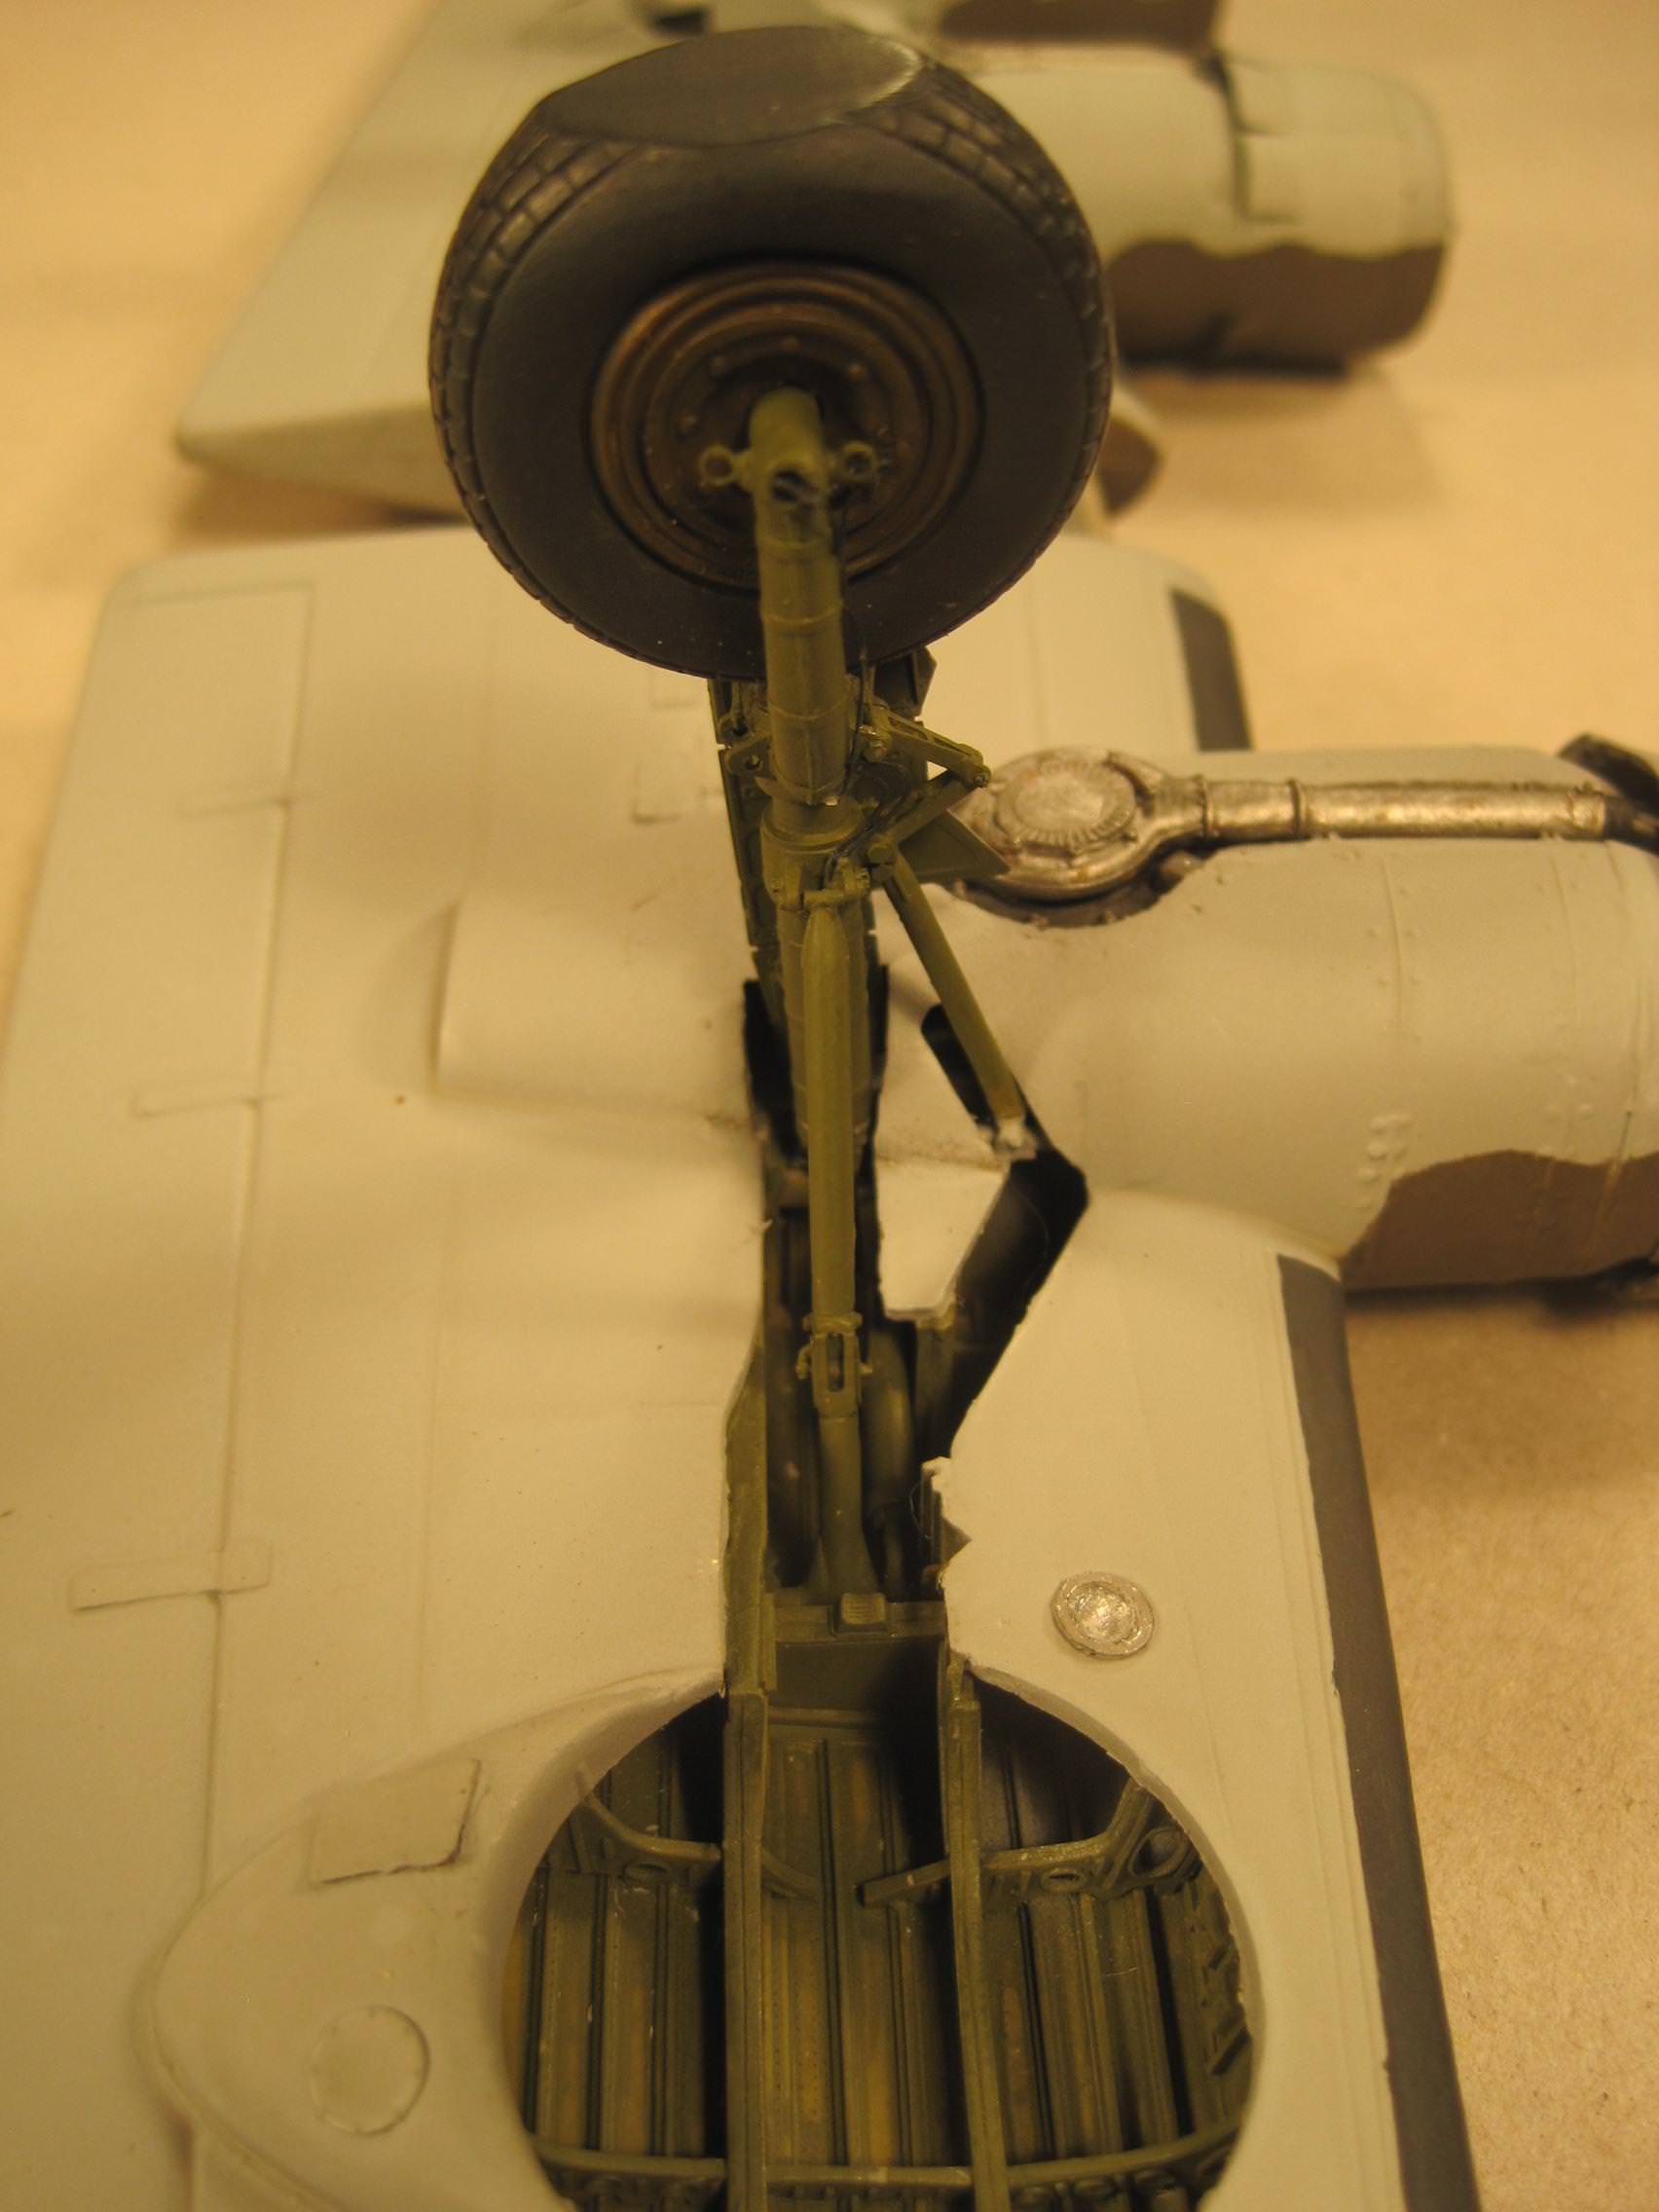
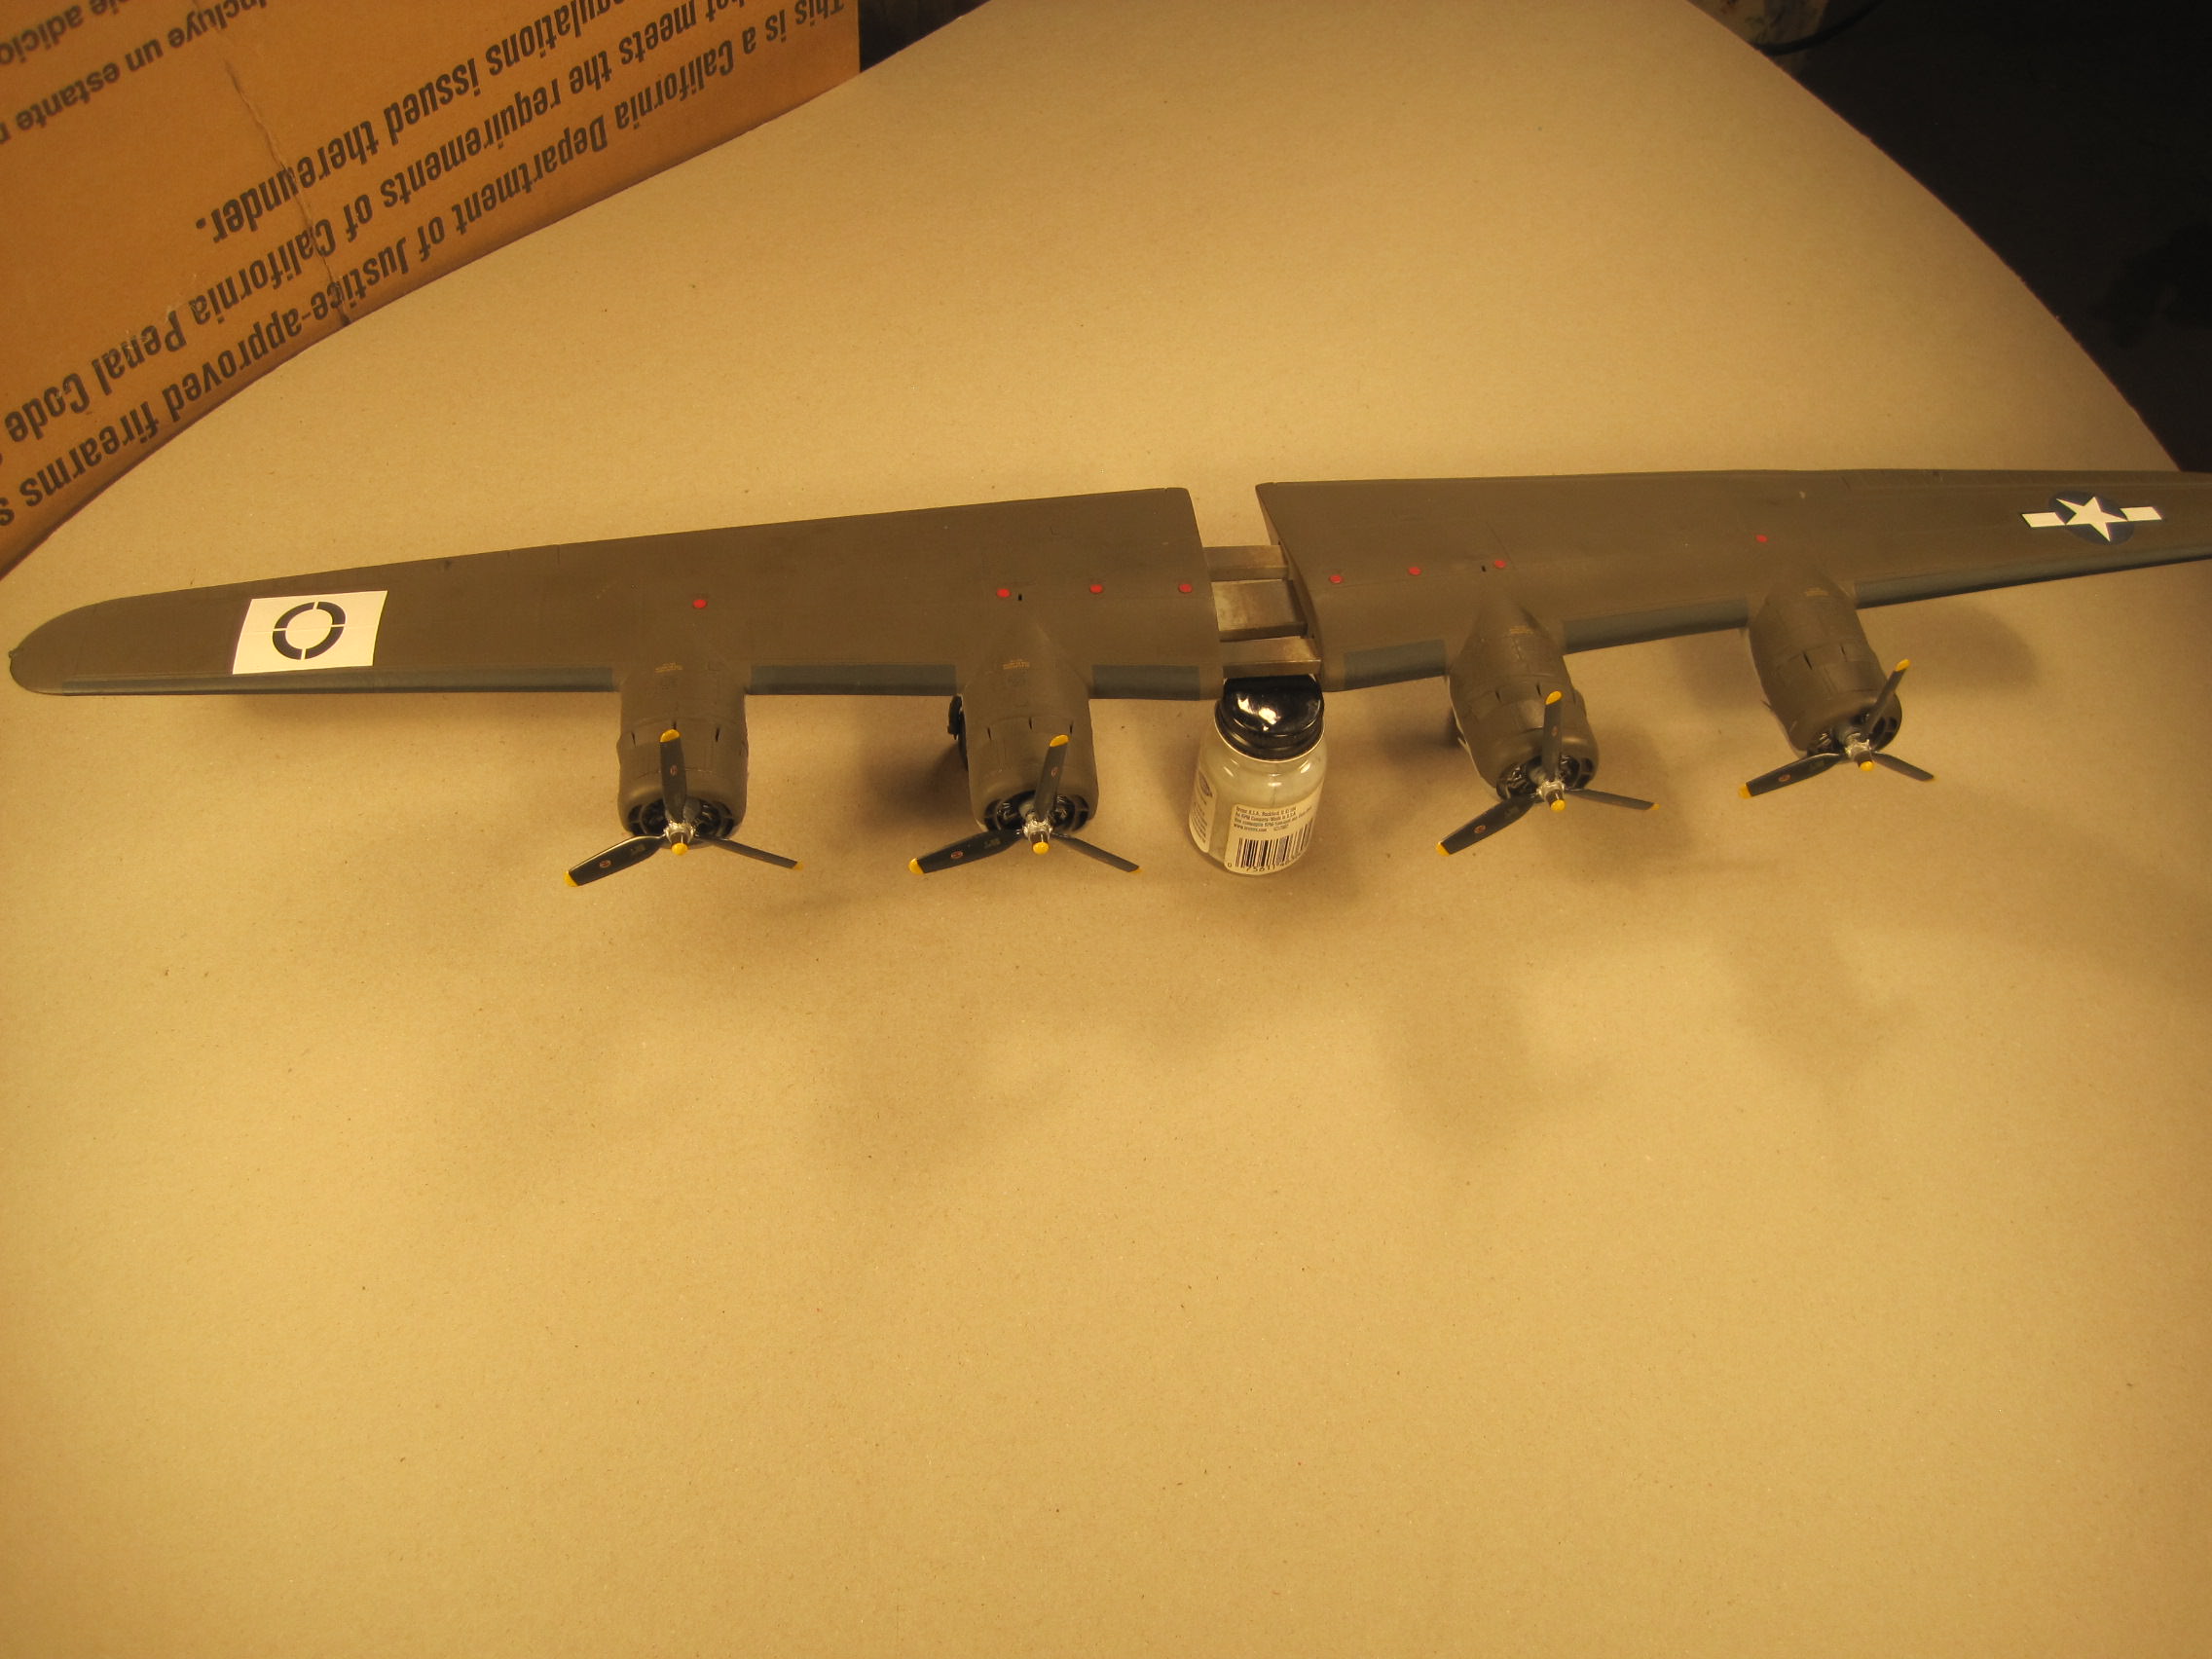
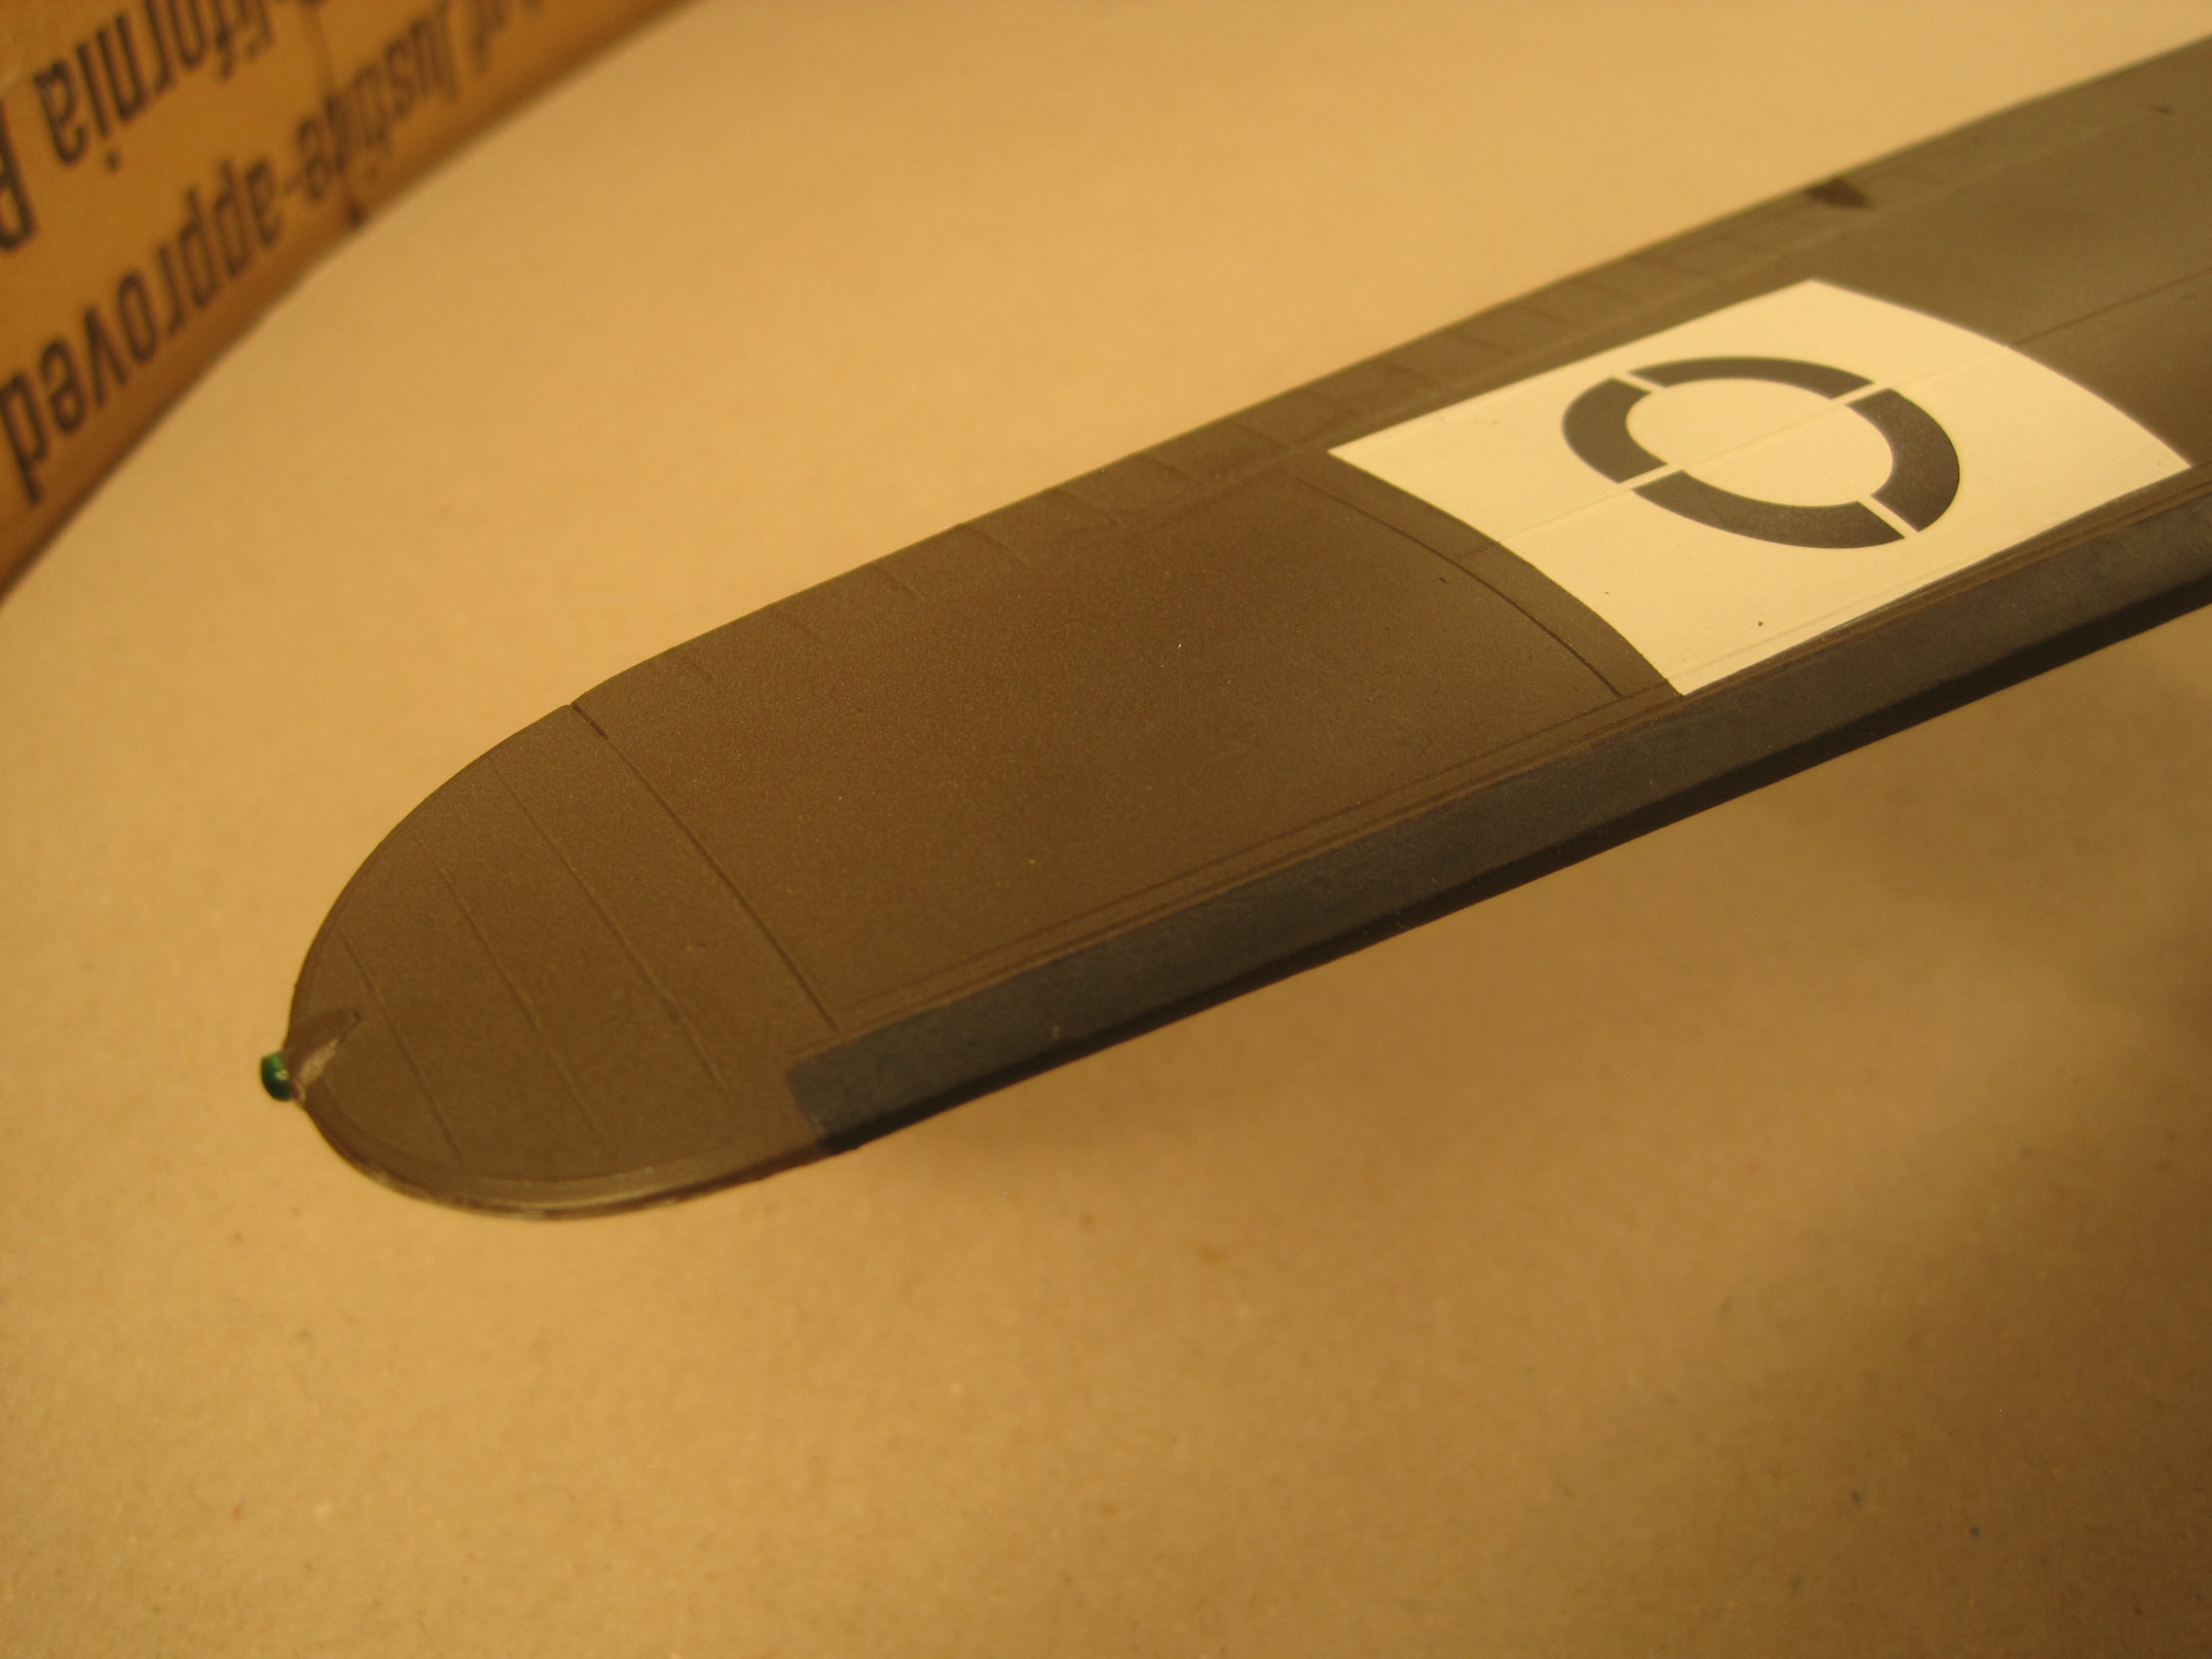
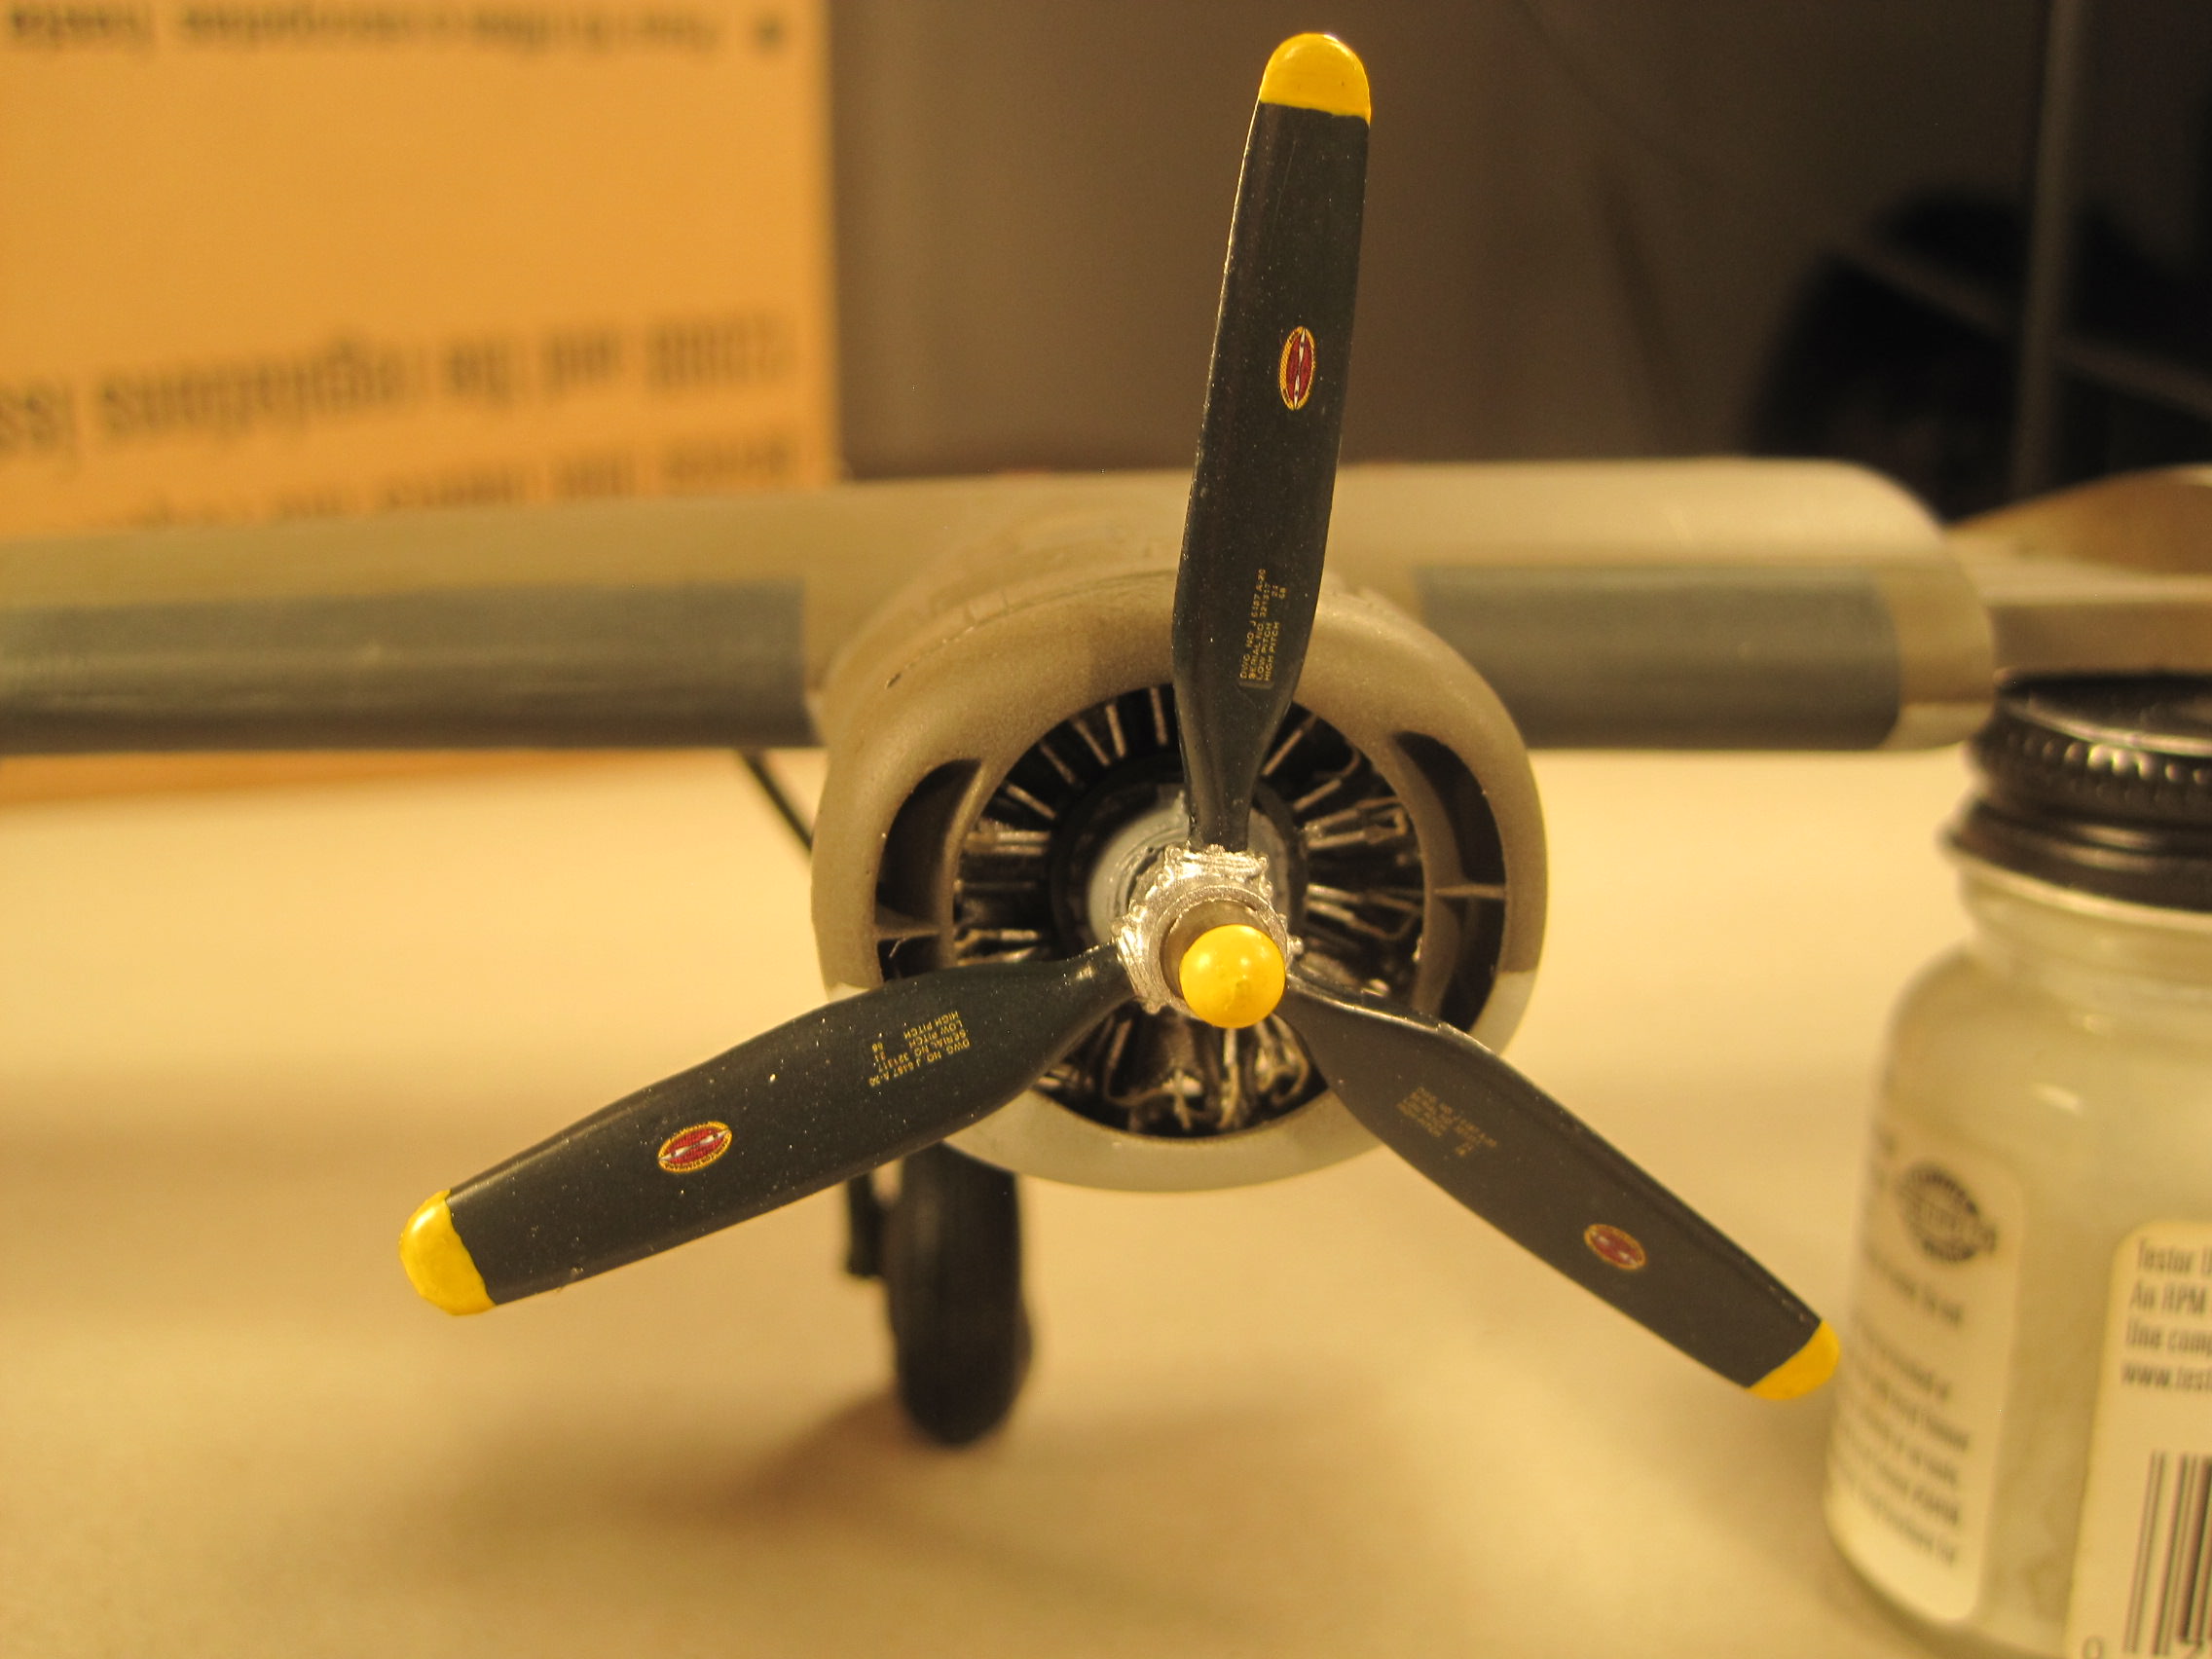
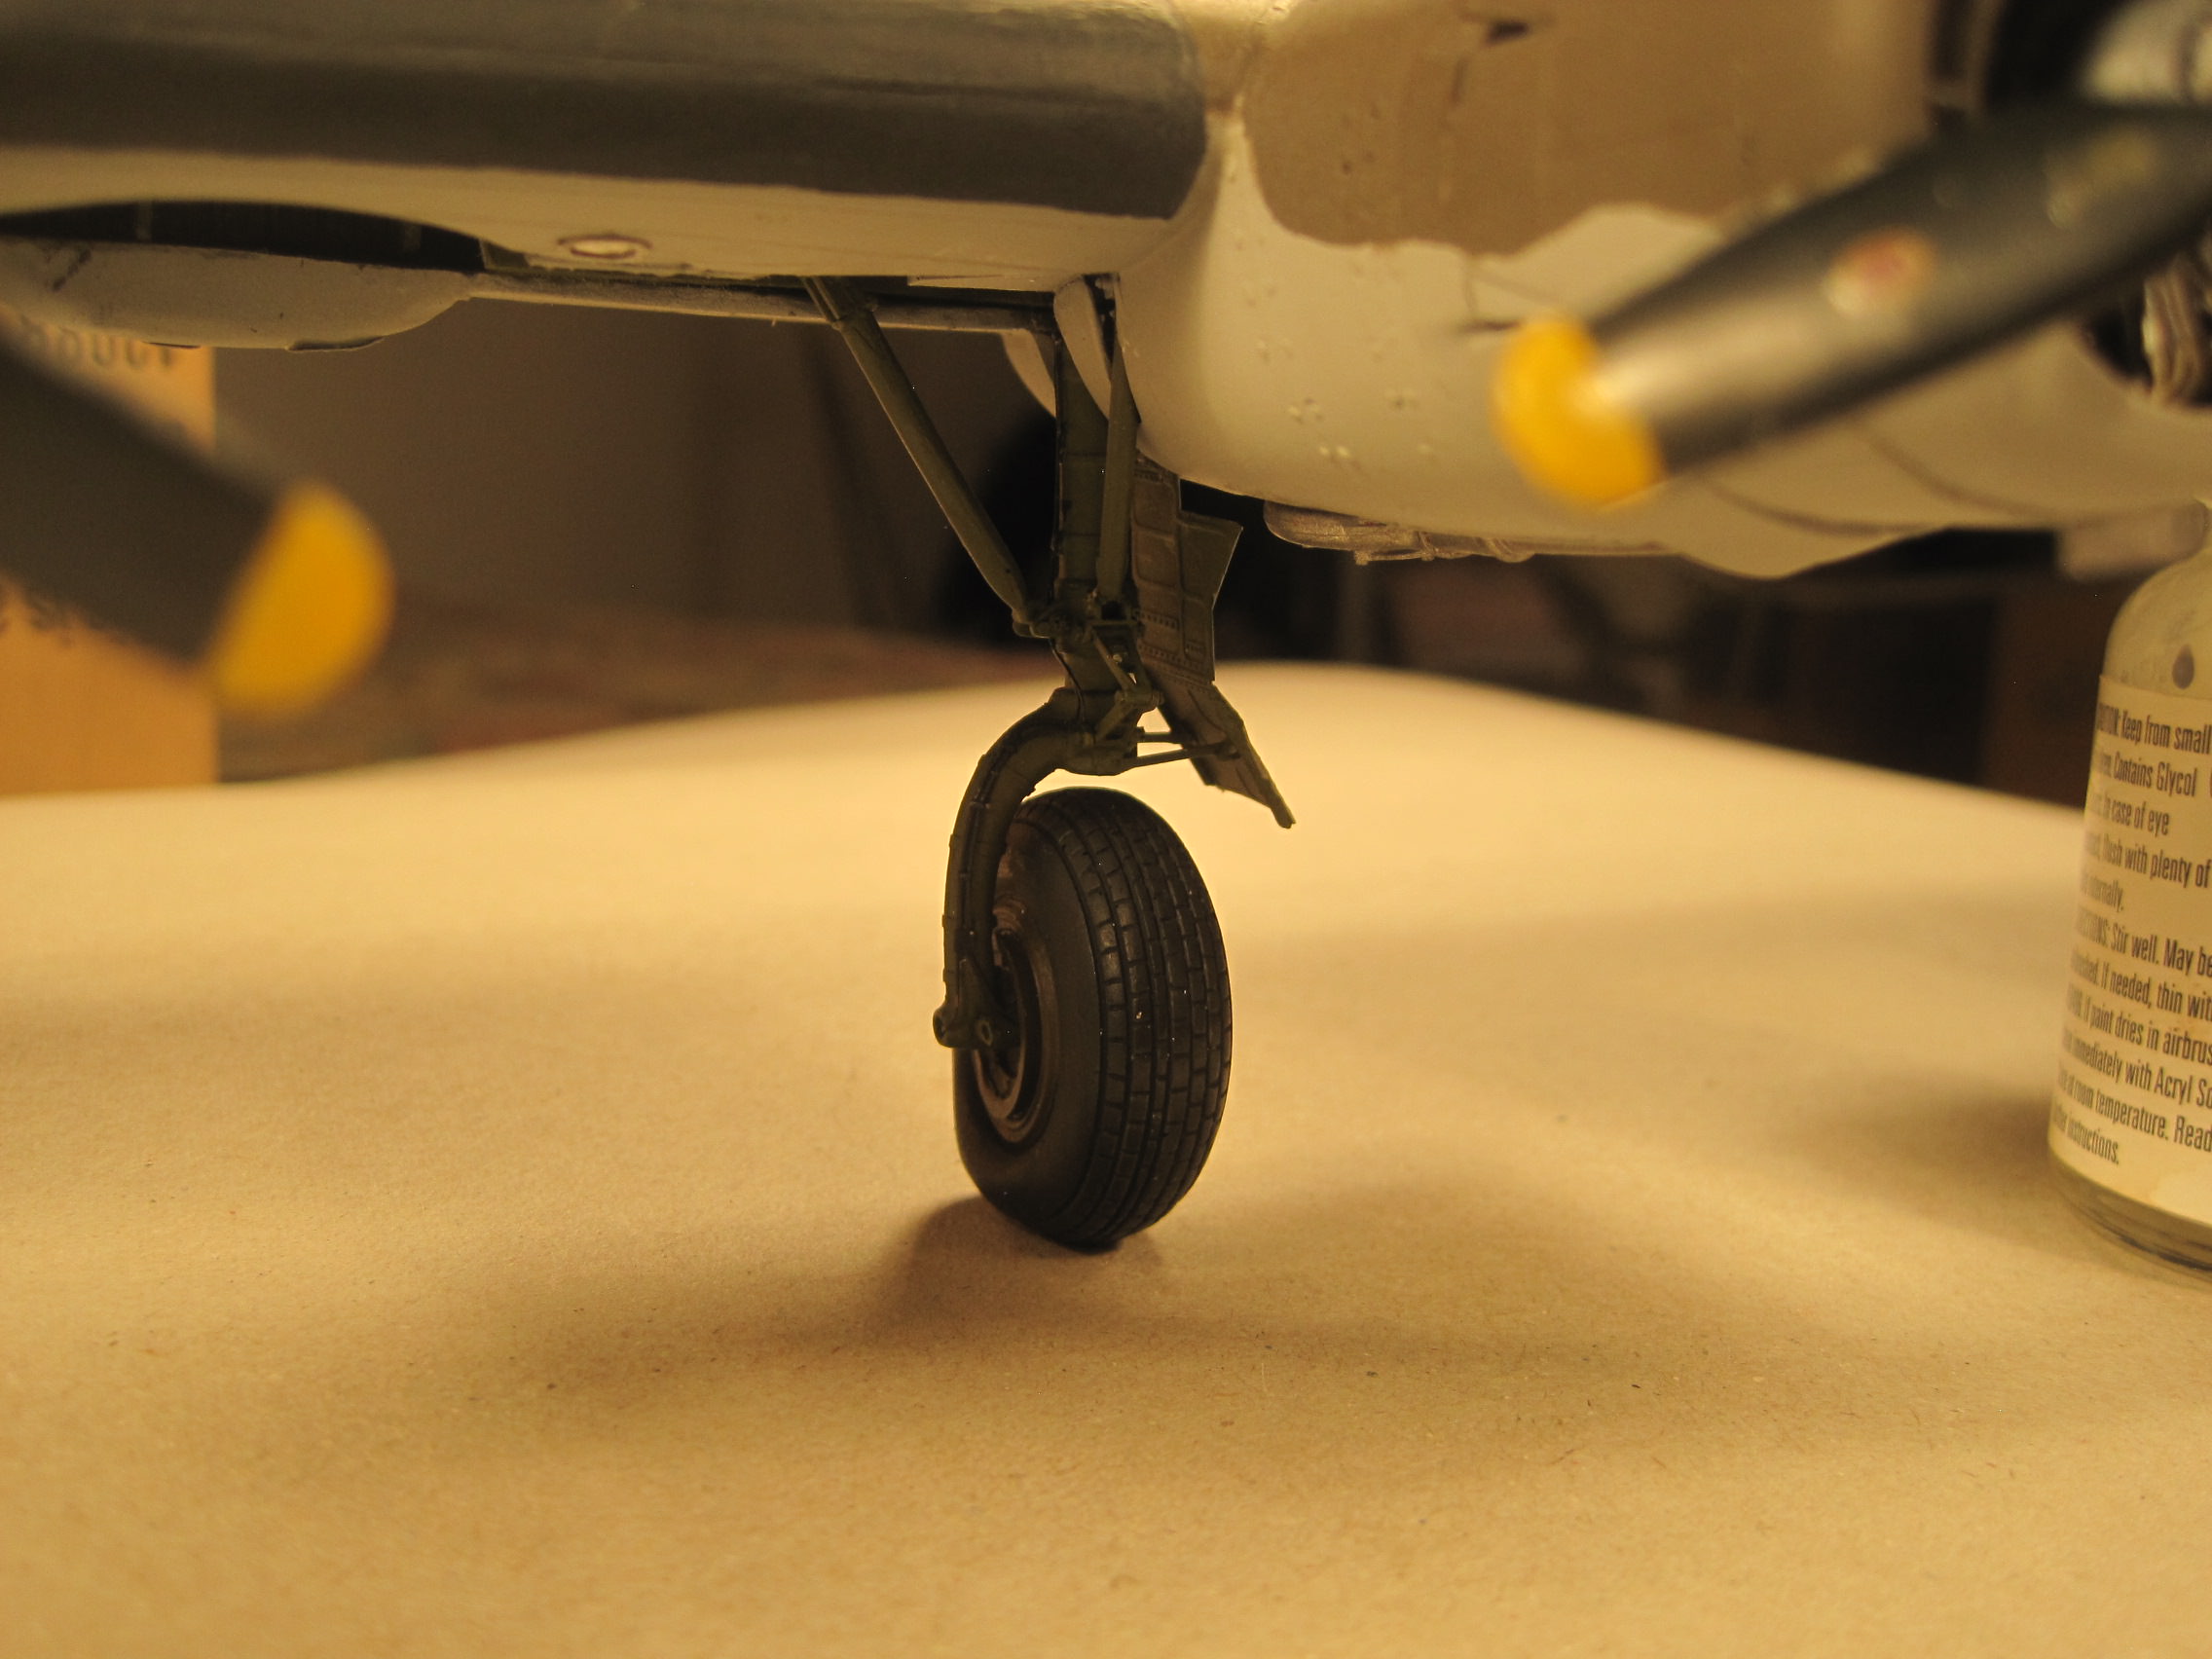
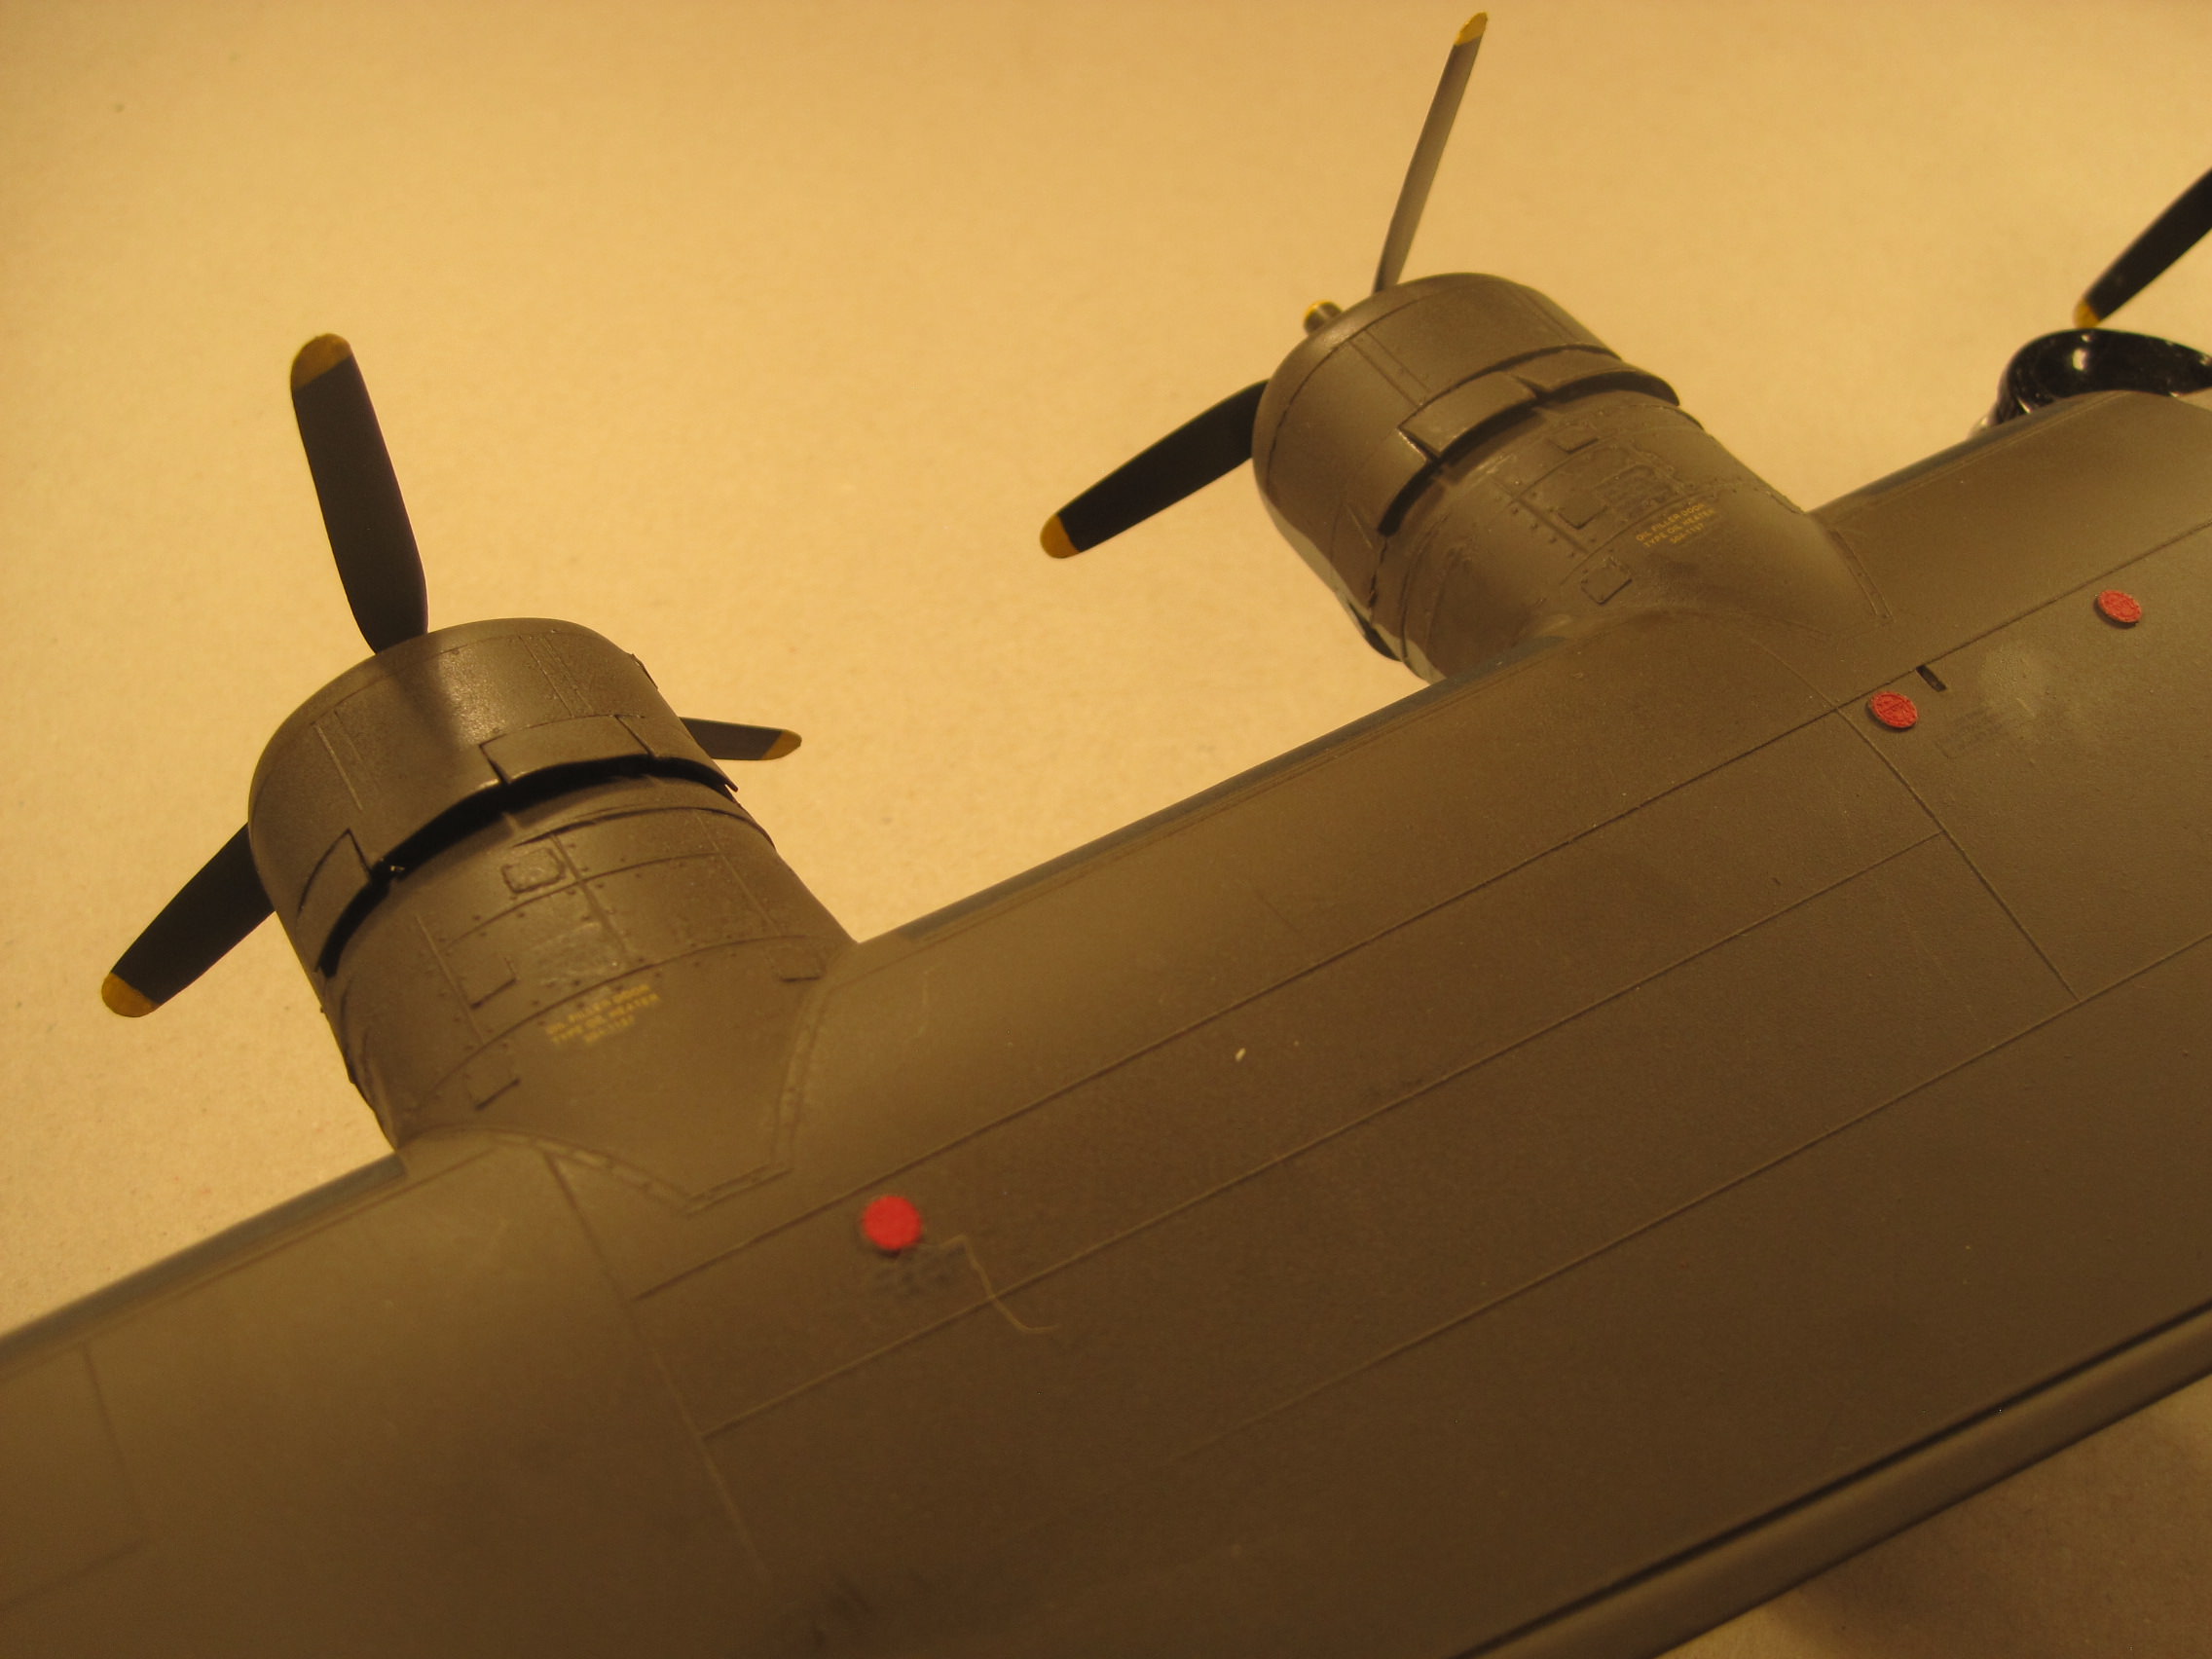
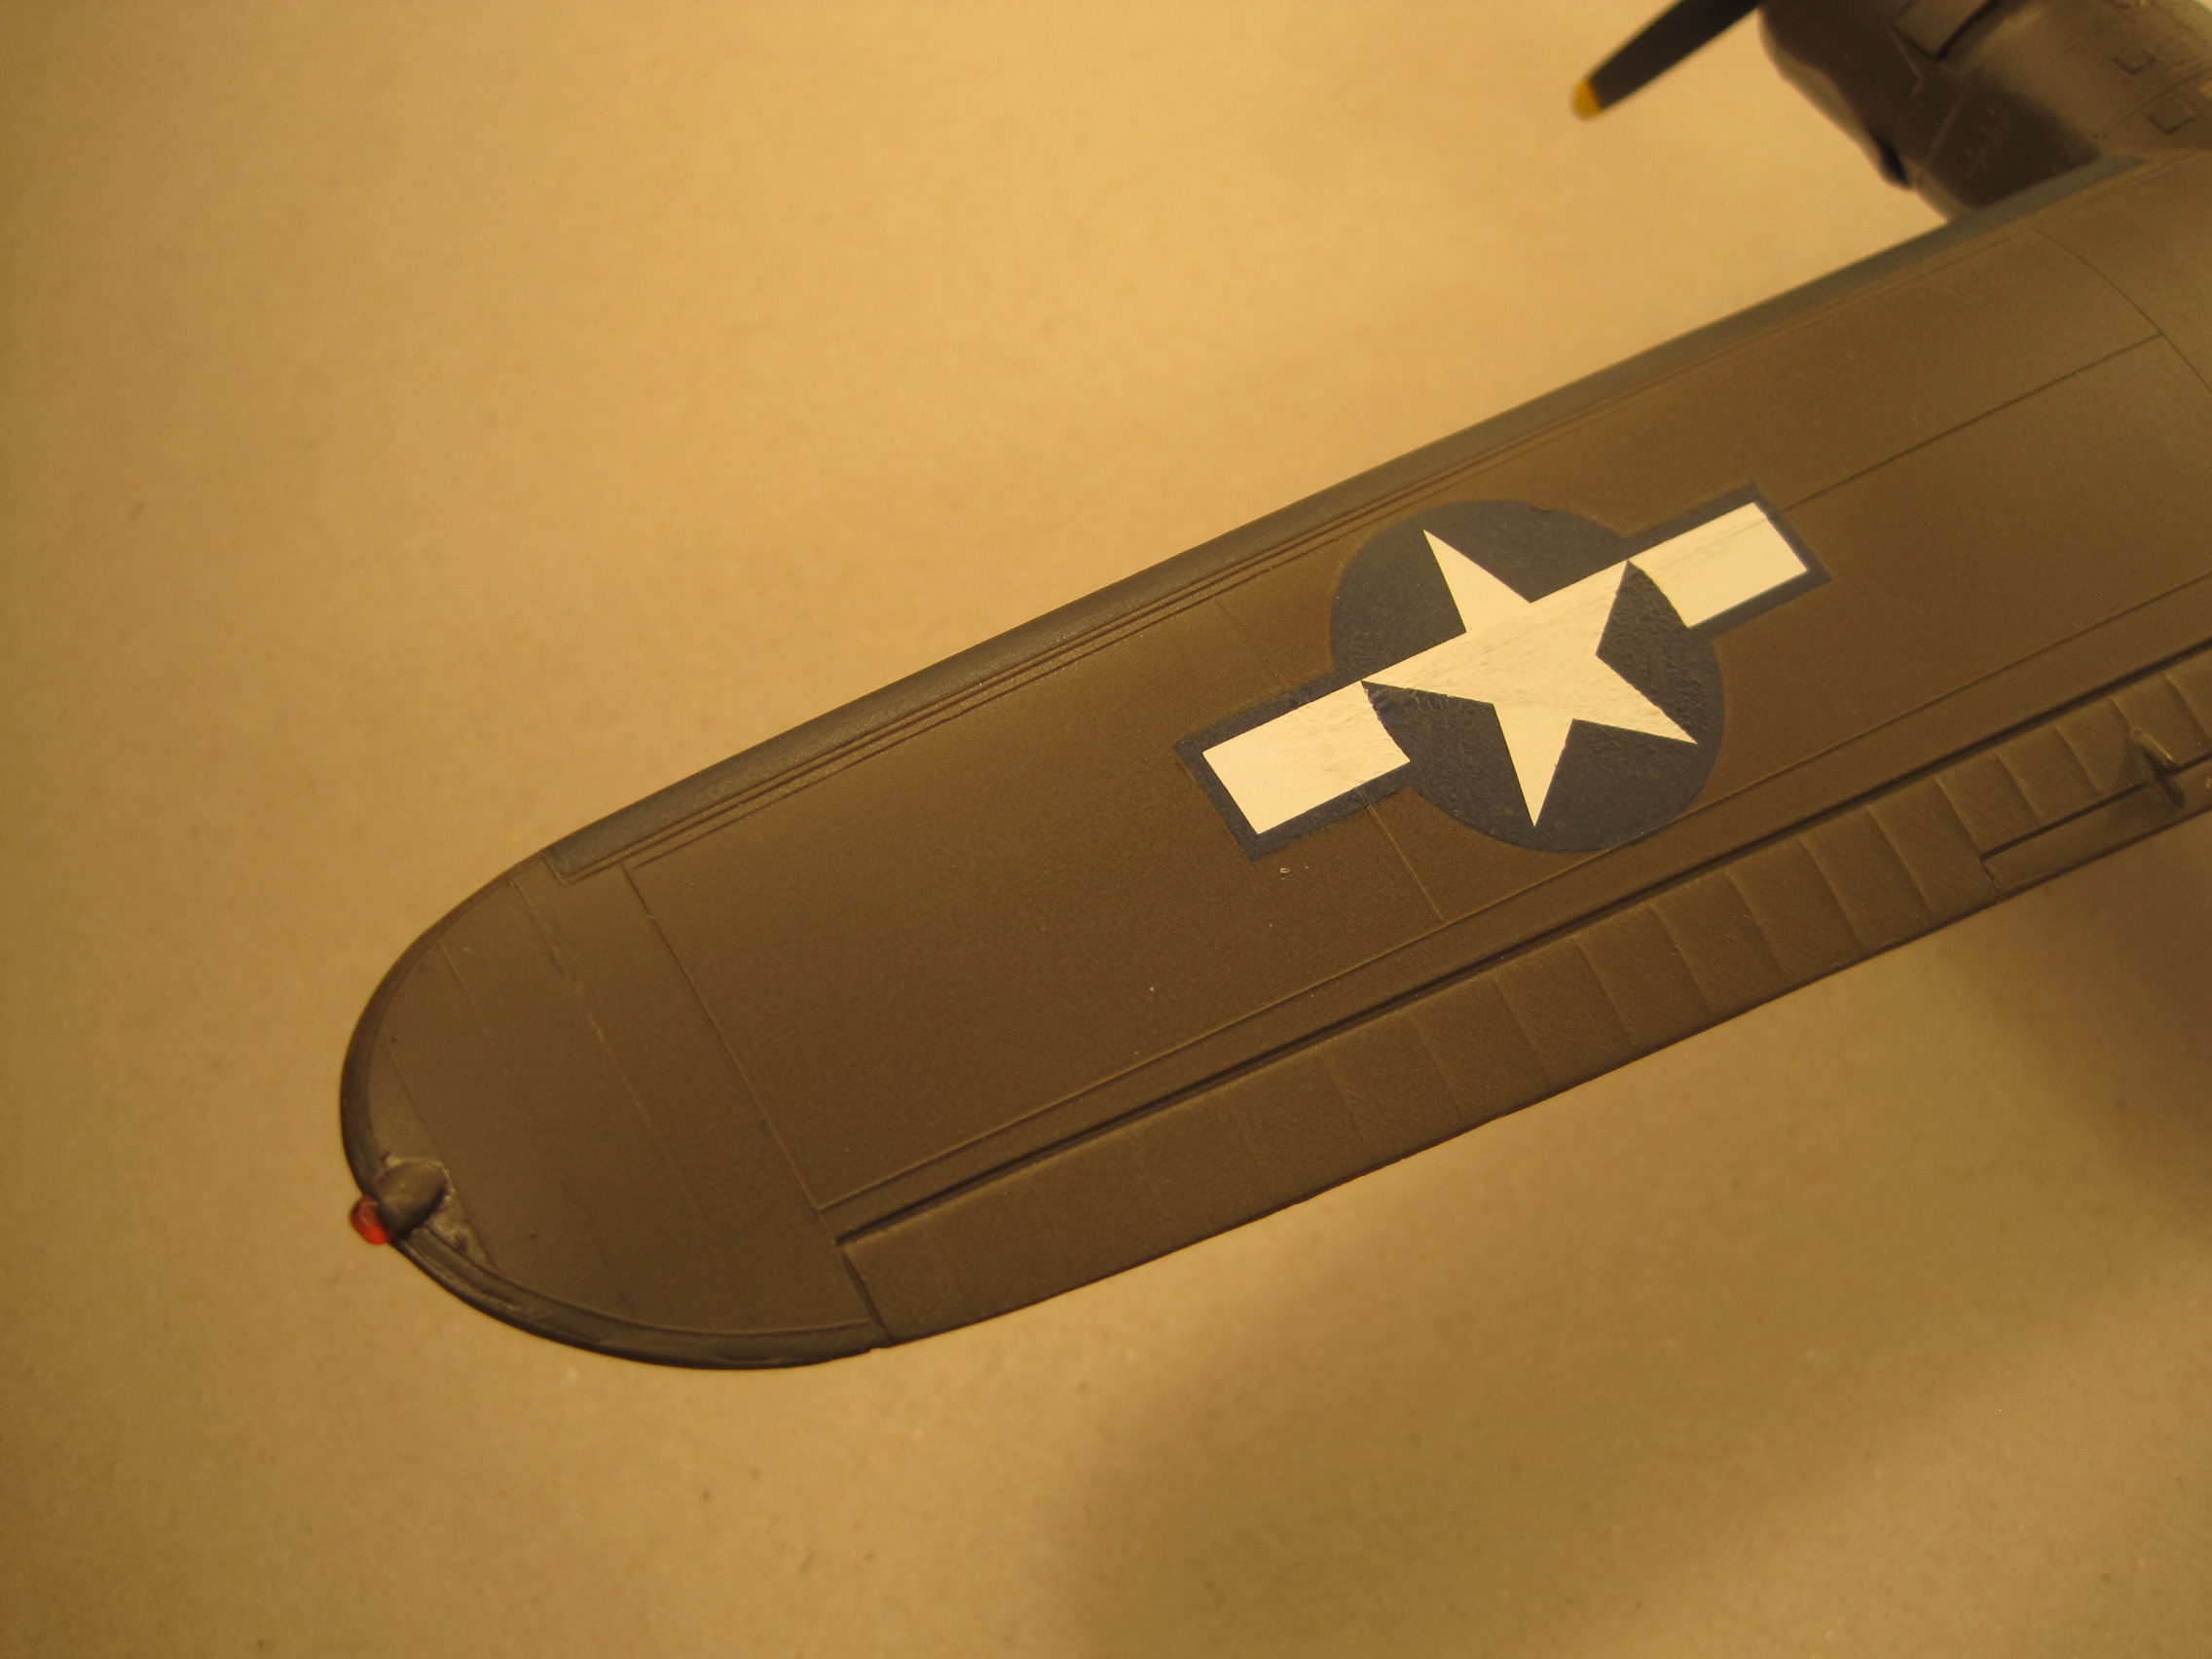
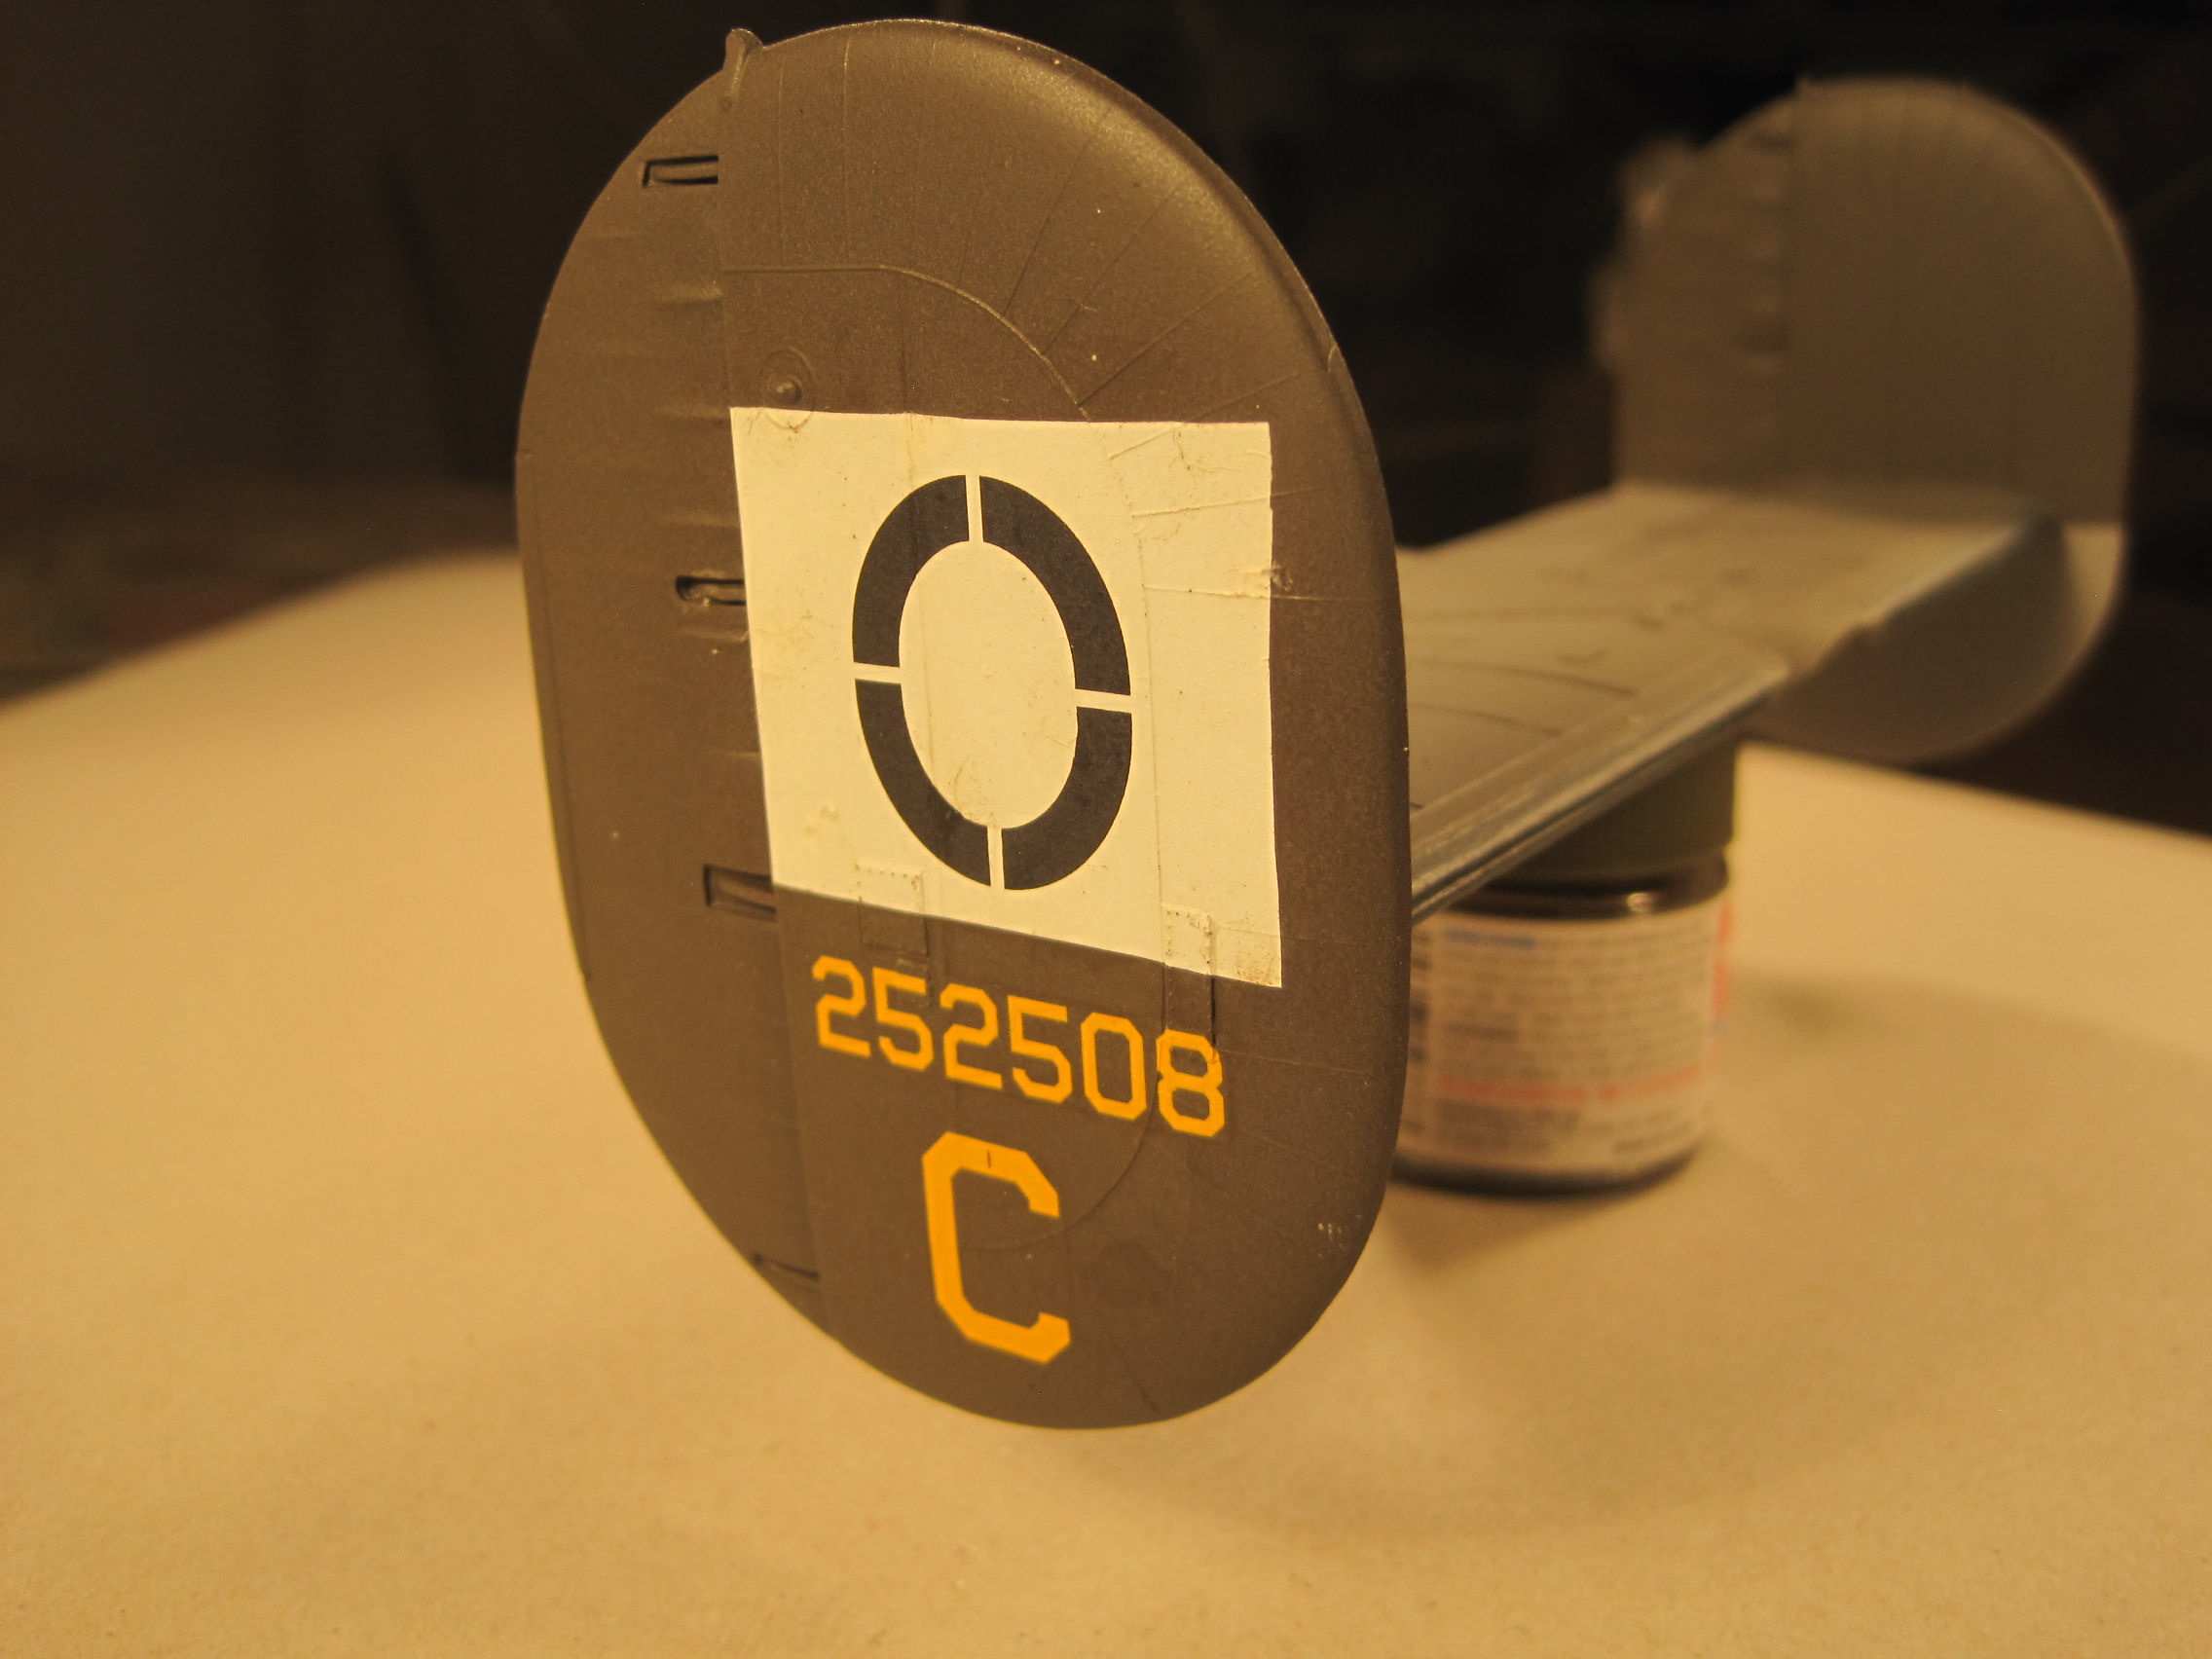
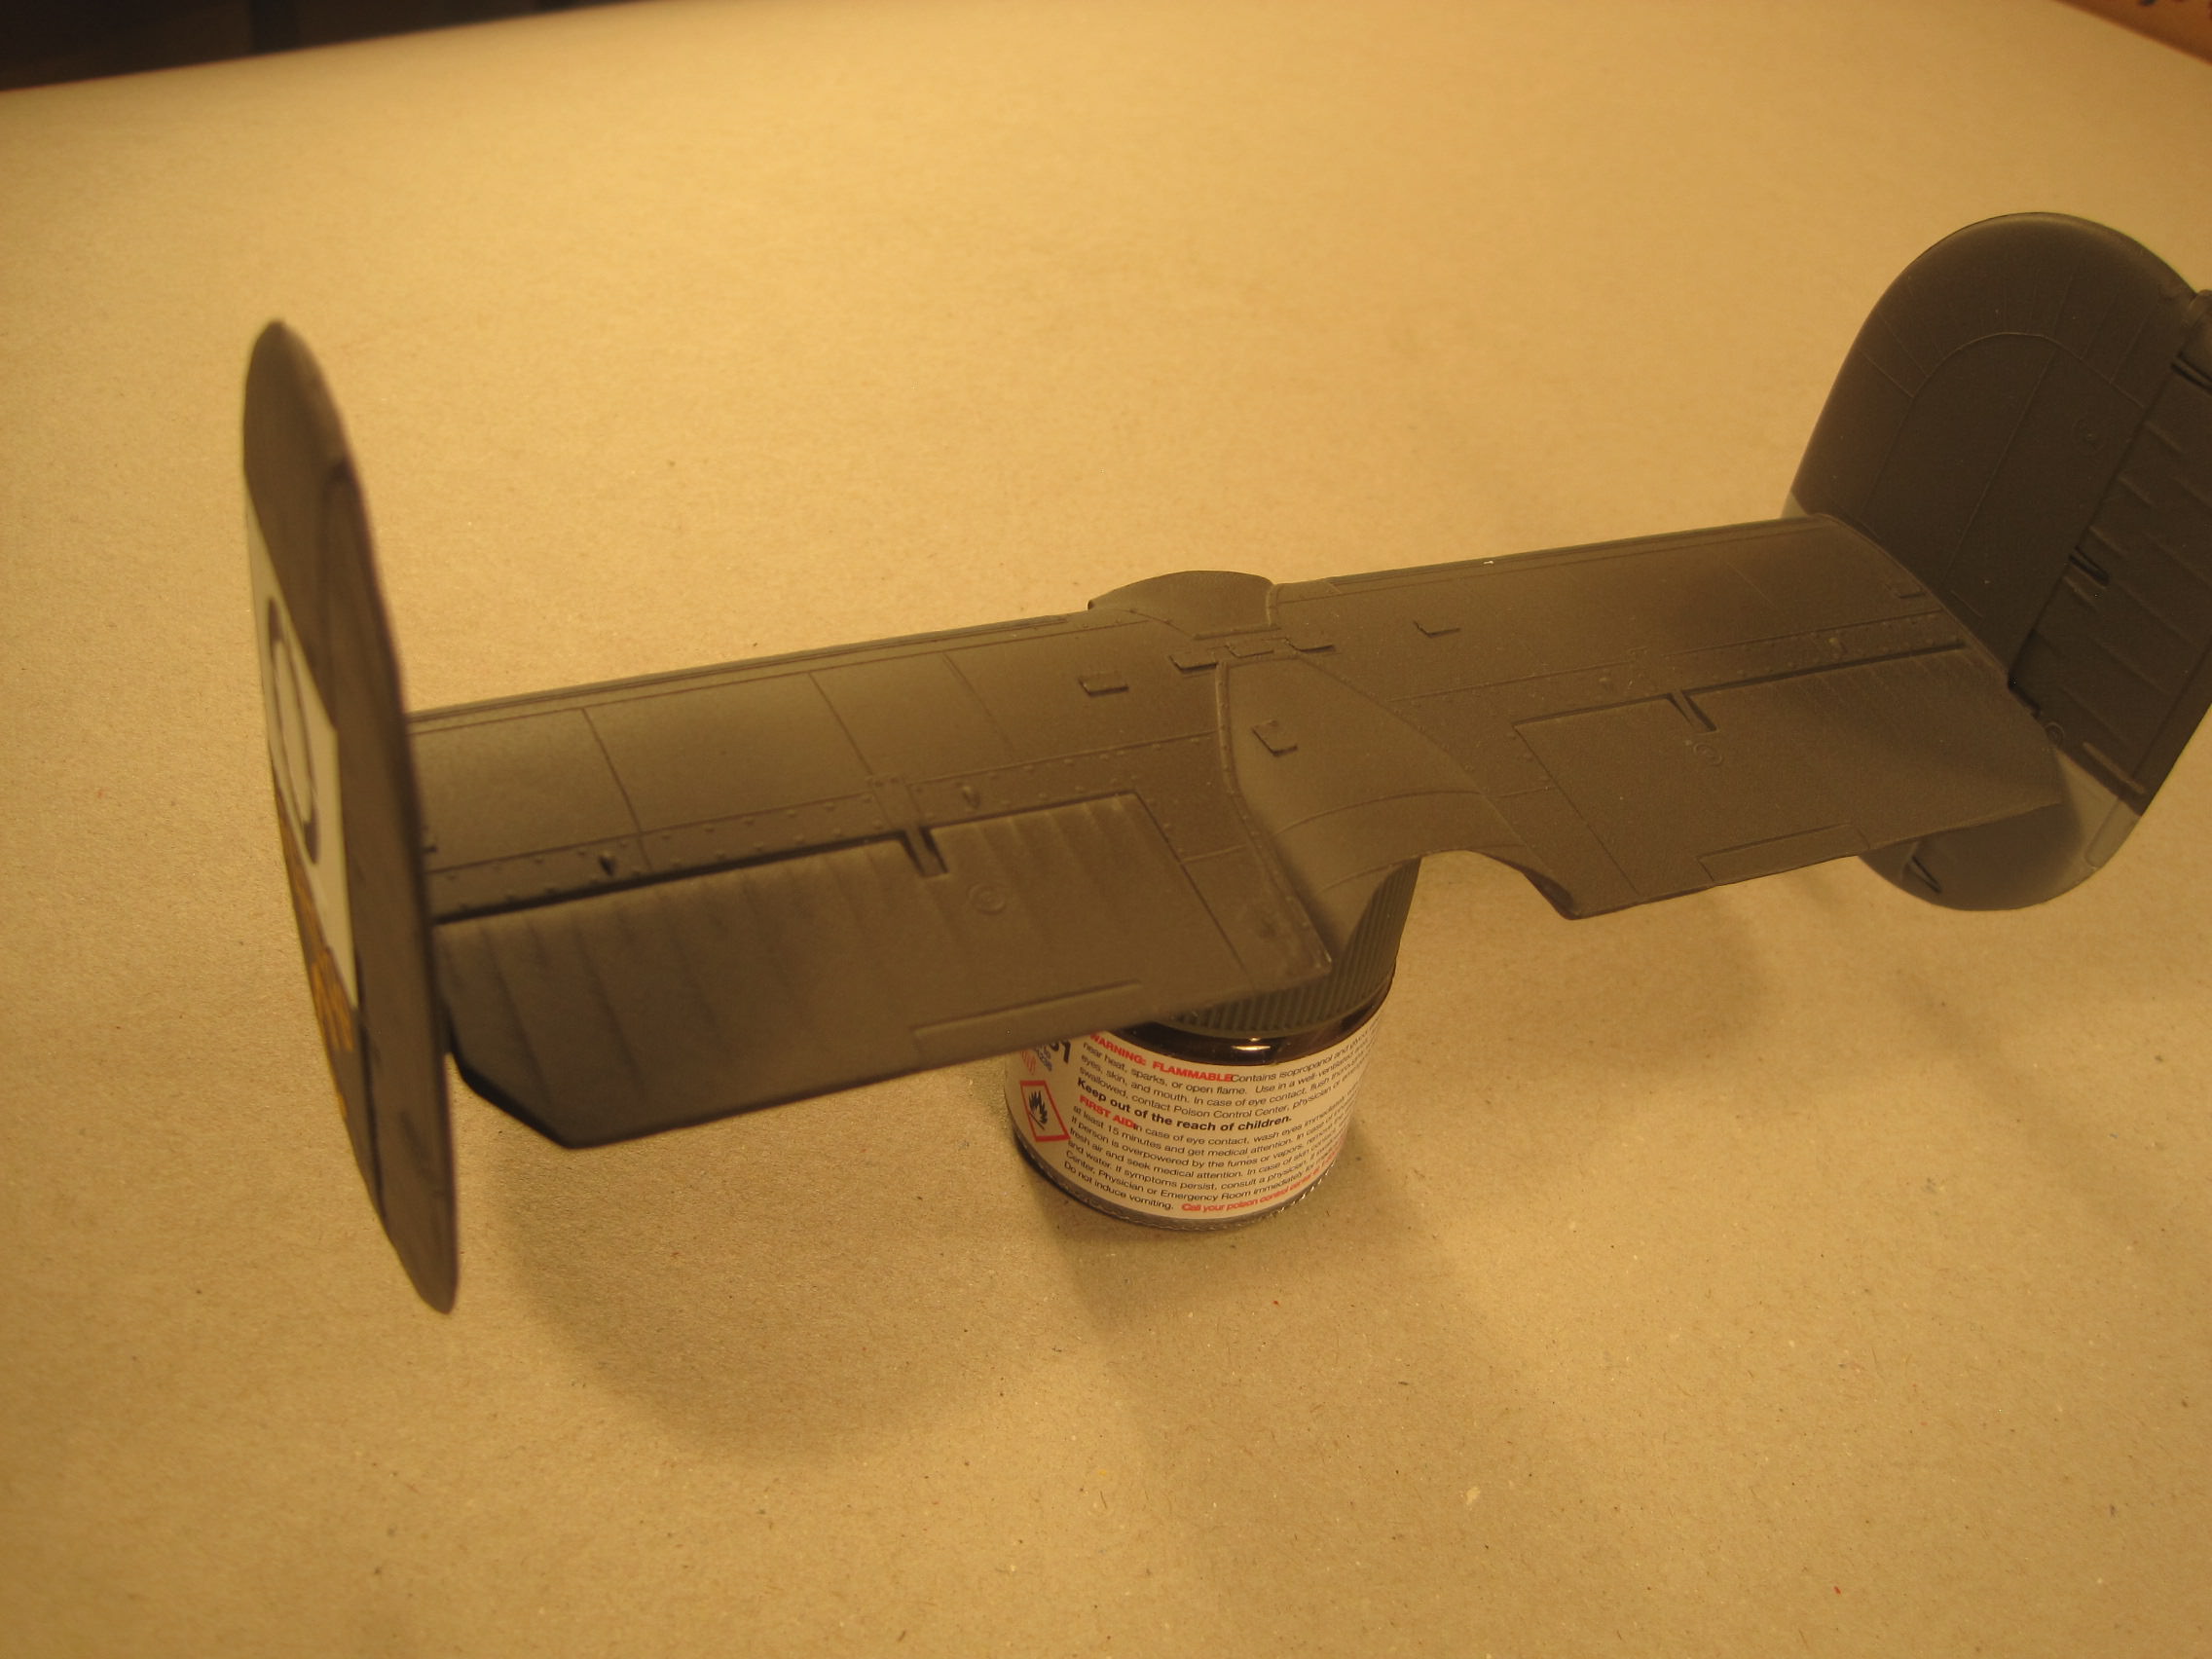
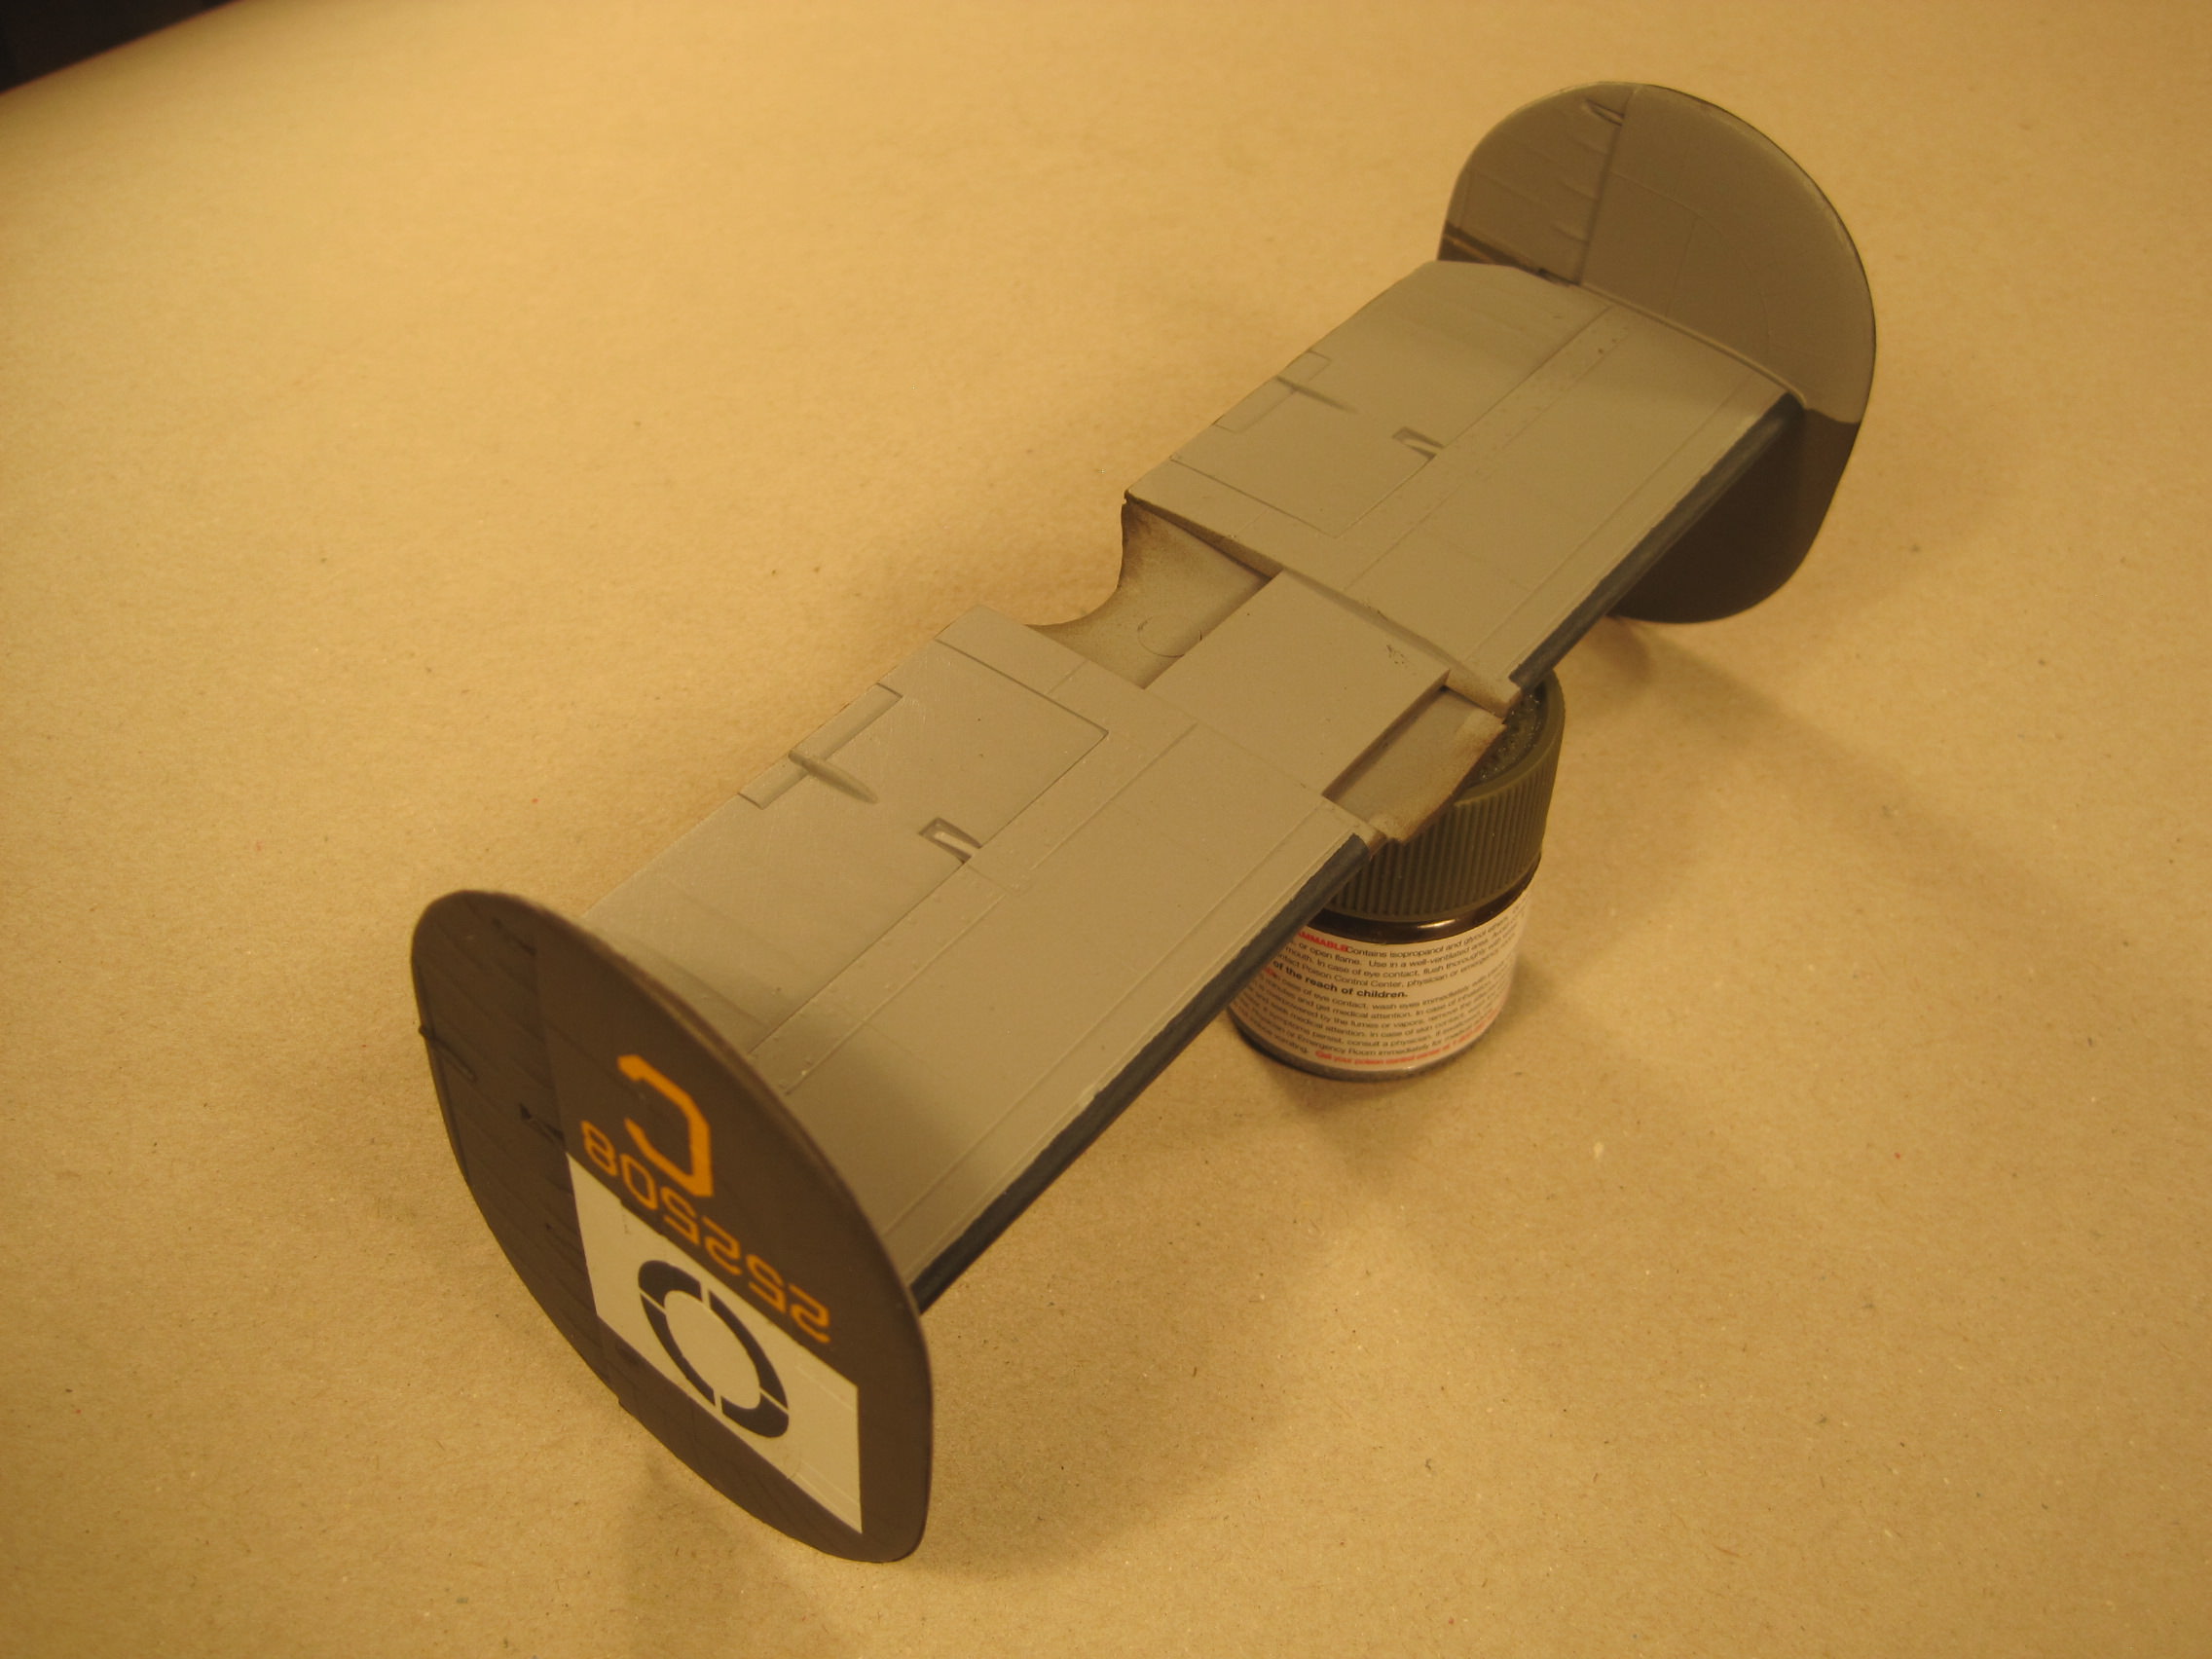
Here's an update on my build. I've laid off the interior for a bit, but in what is probably a most unusual approach to building this kit, I've now completely finished off the wings and the tail section. This is probably going to be it for a while as we've decided to completely finish our basement and THAT means about 2 months on our part to go through everything and get the entire place emptied, and then another two months on the contractor's part to do everything. And probably some additional time to get up and back in operation.

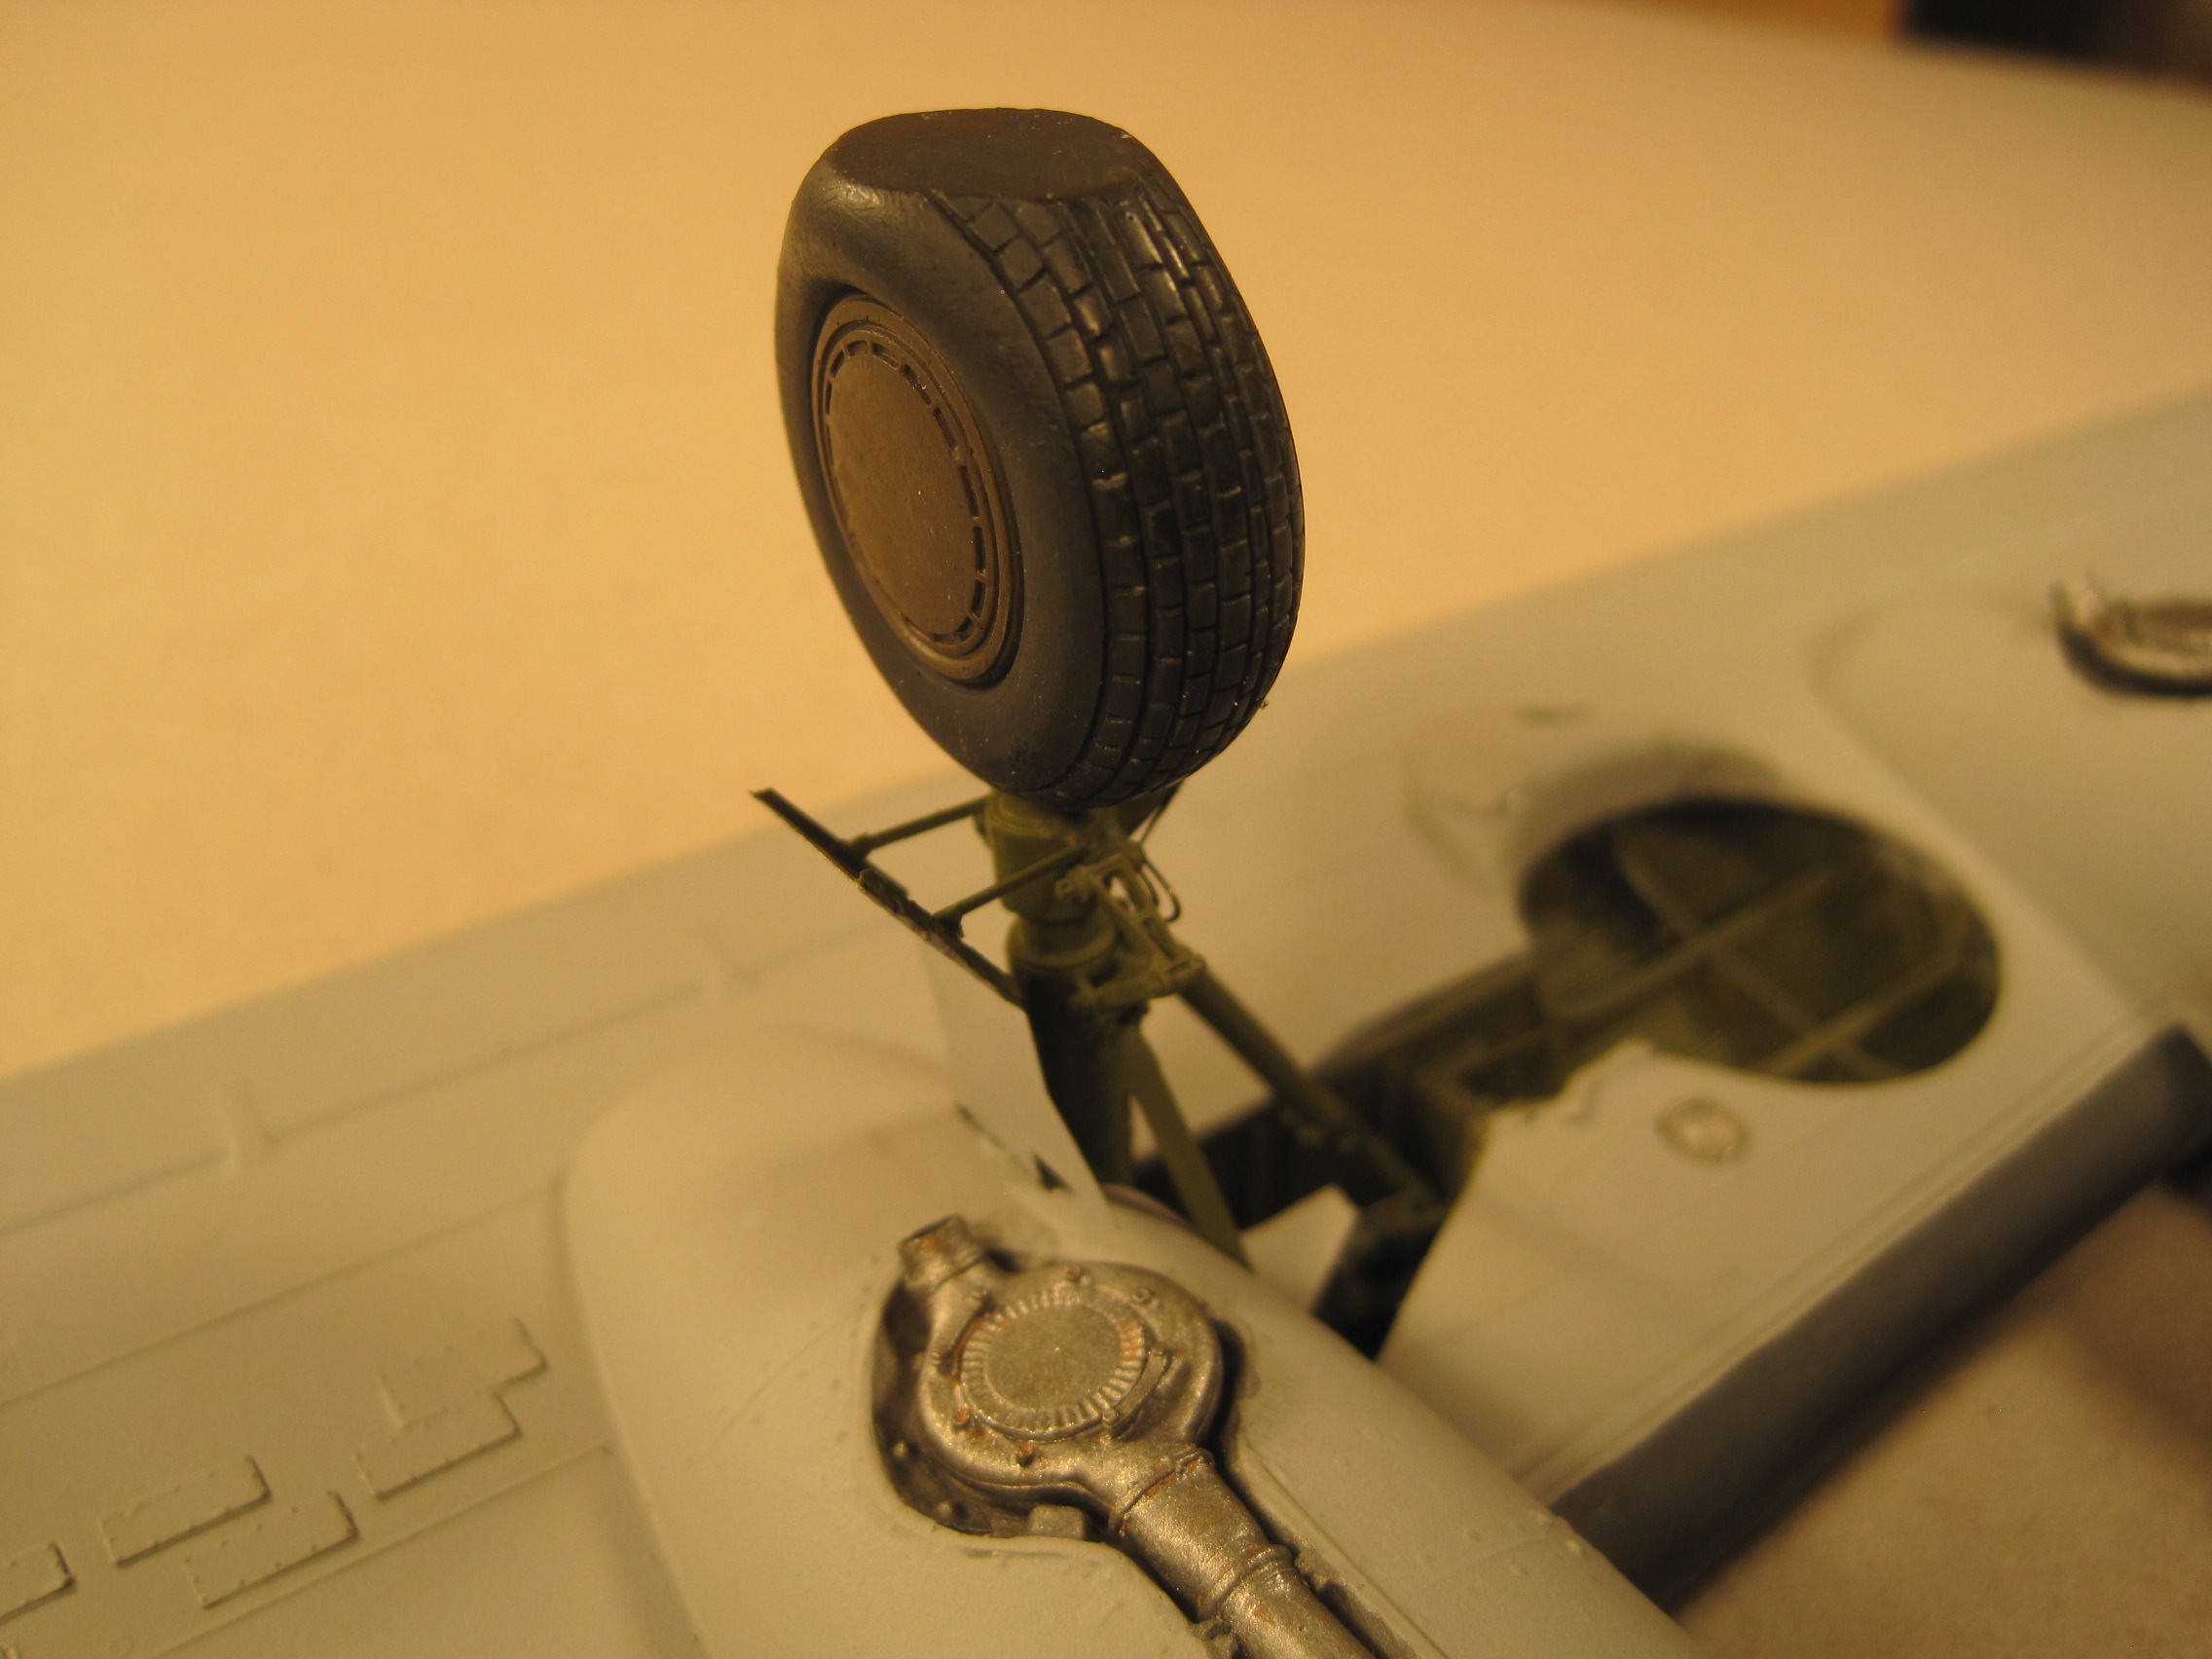
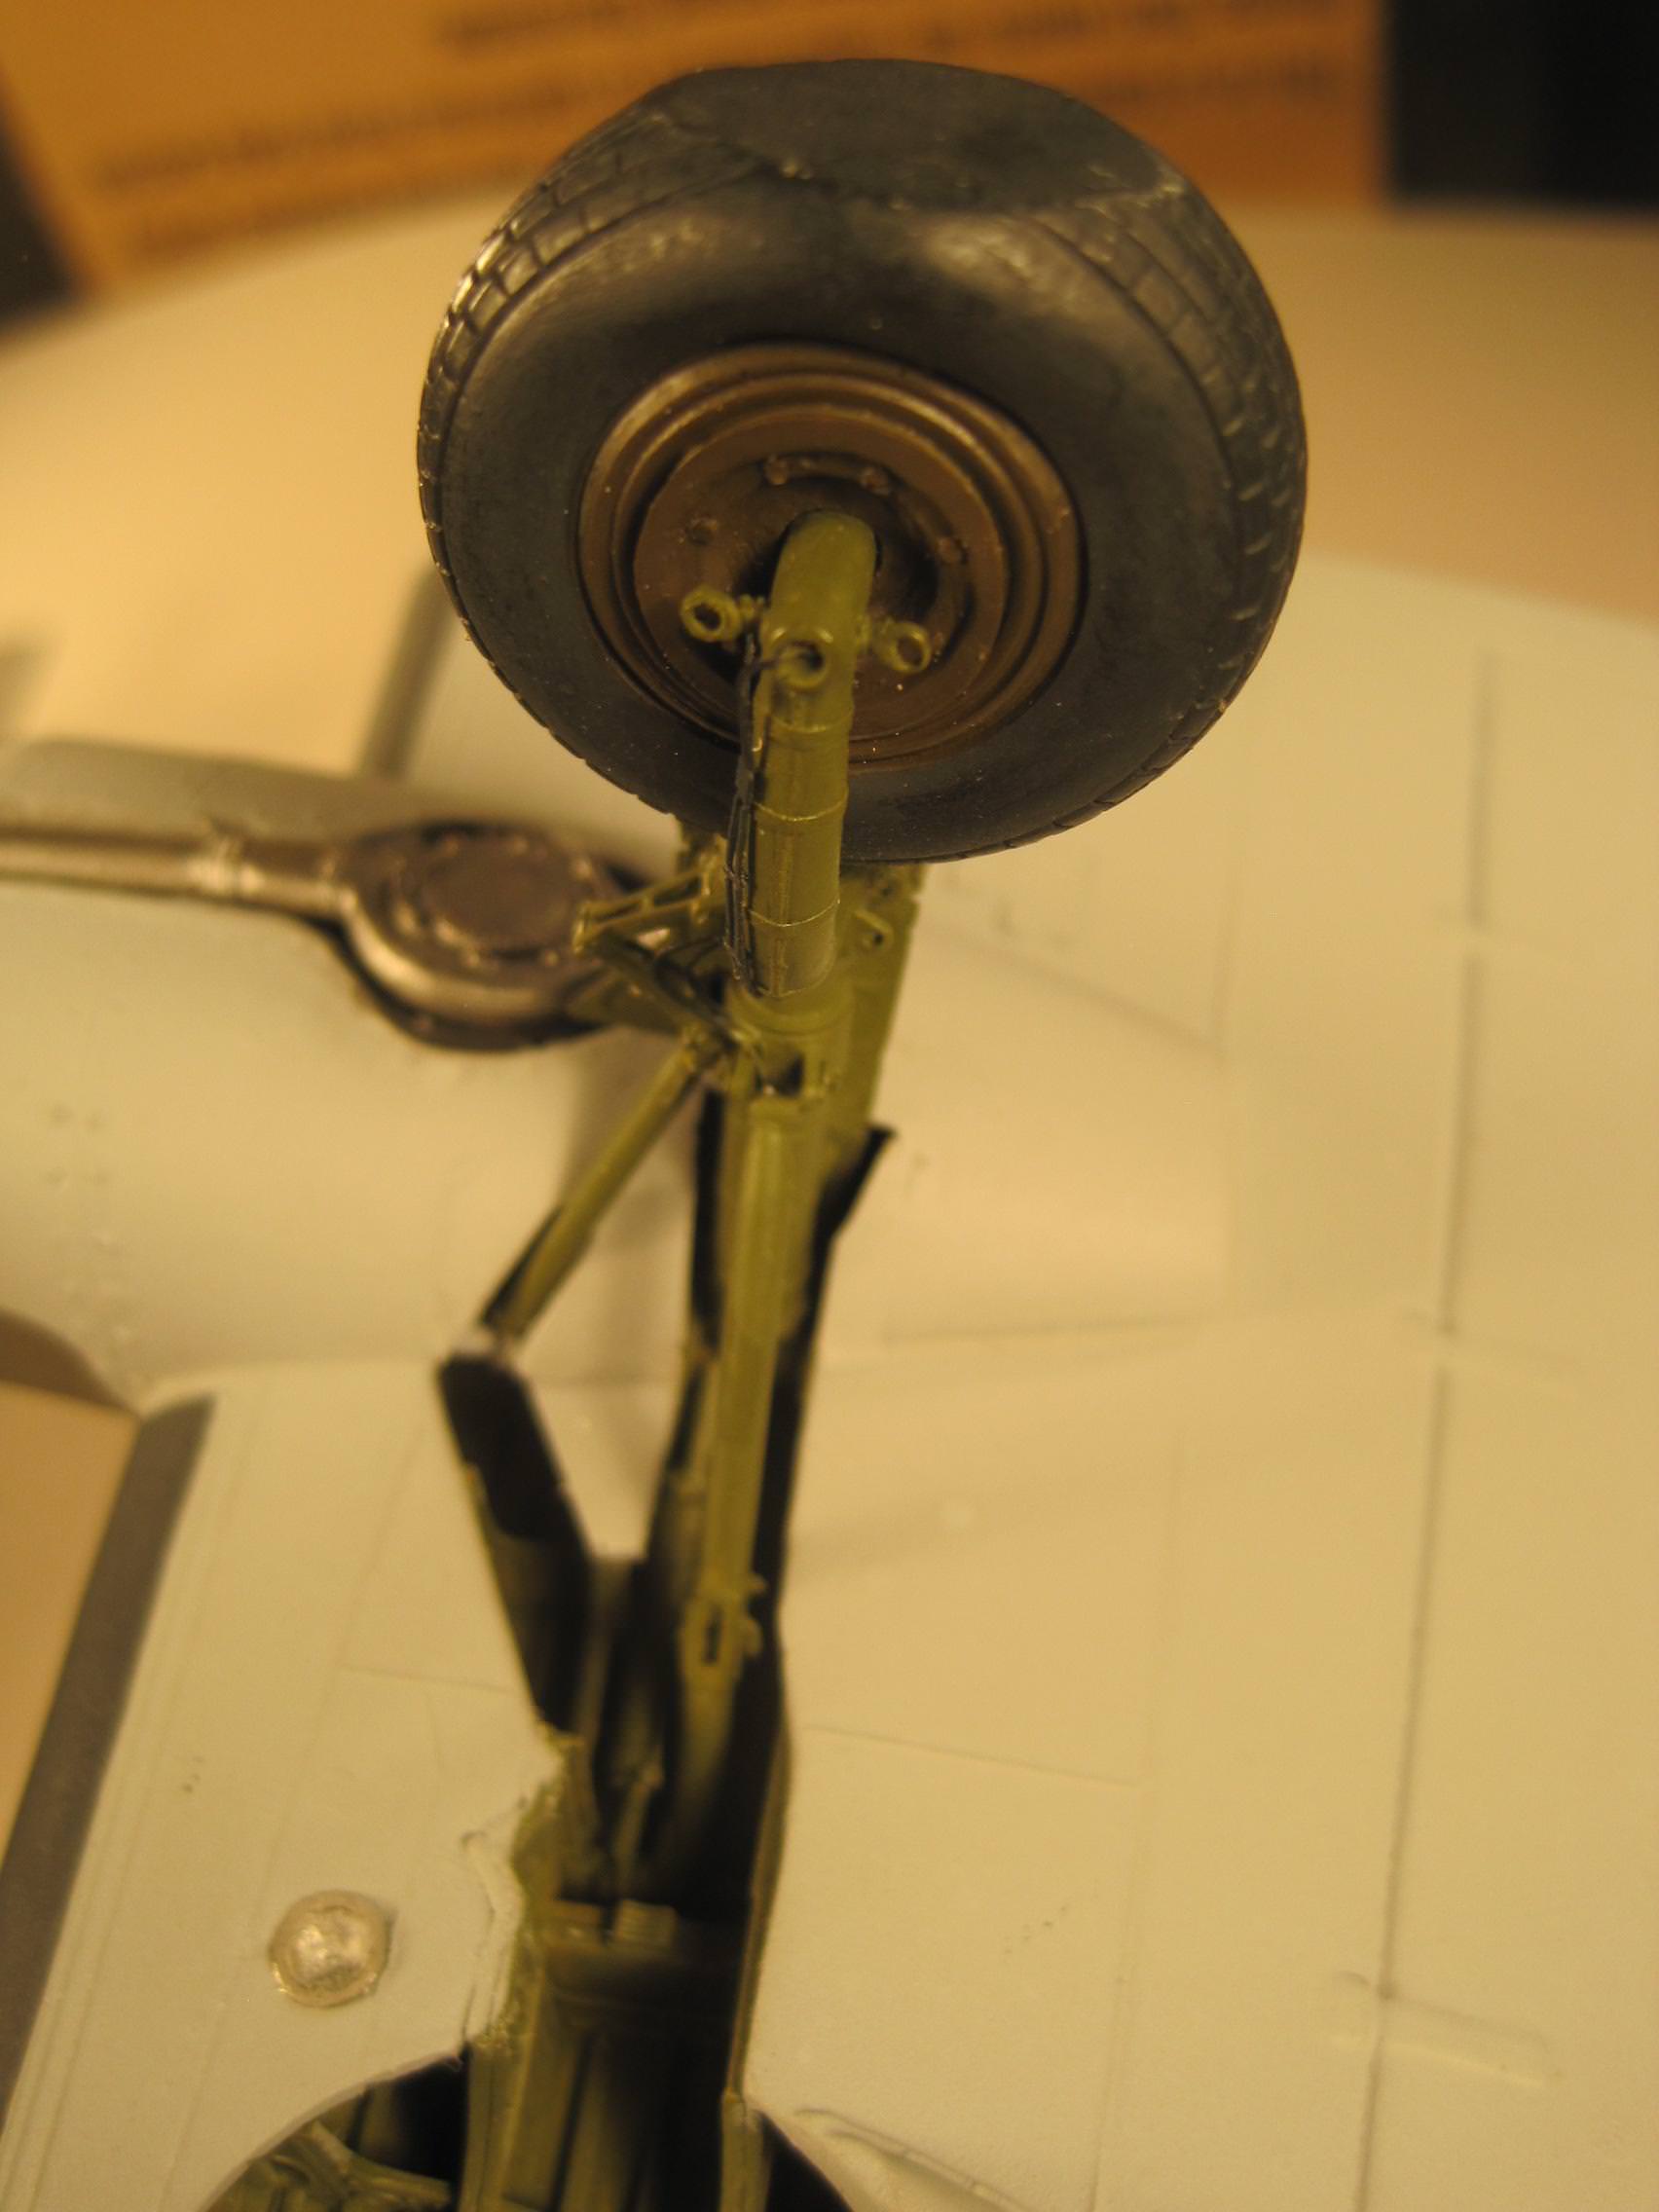
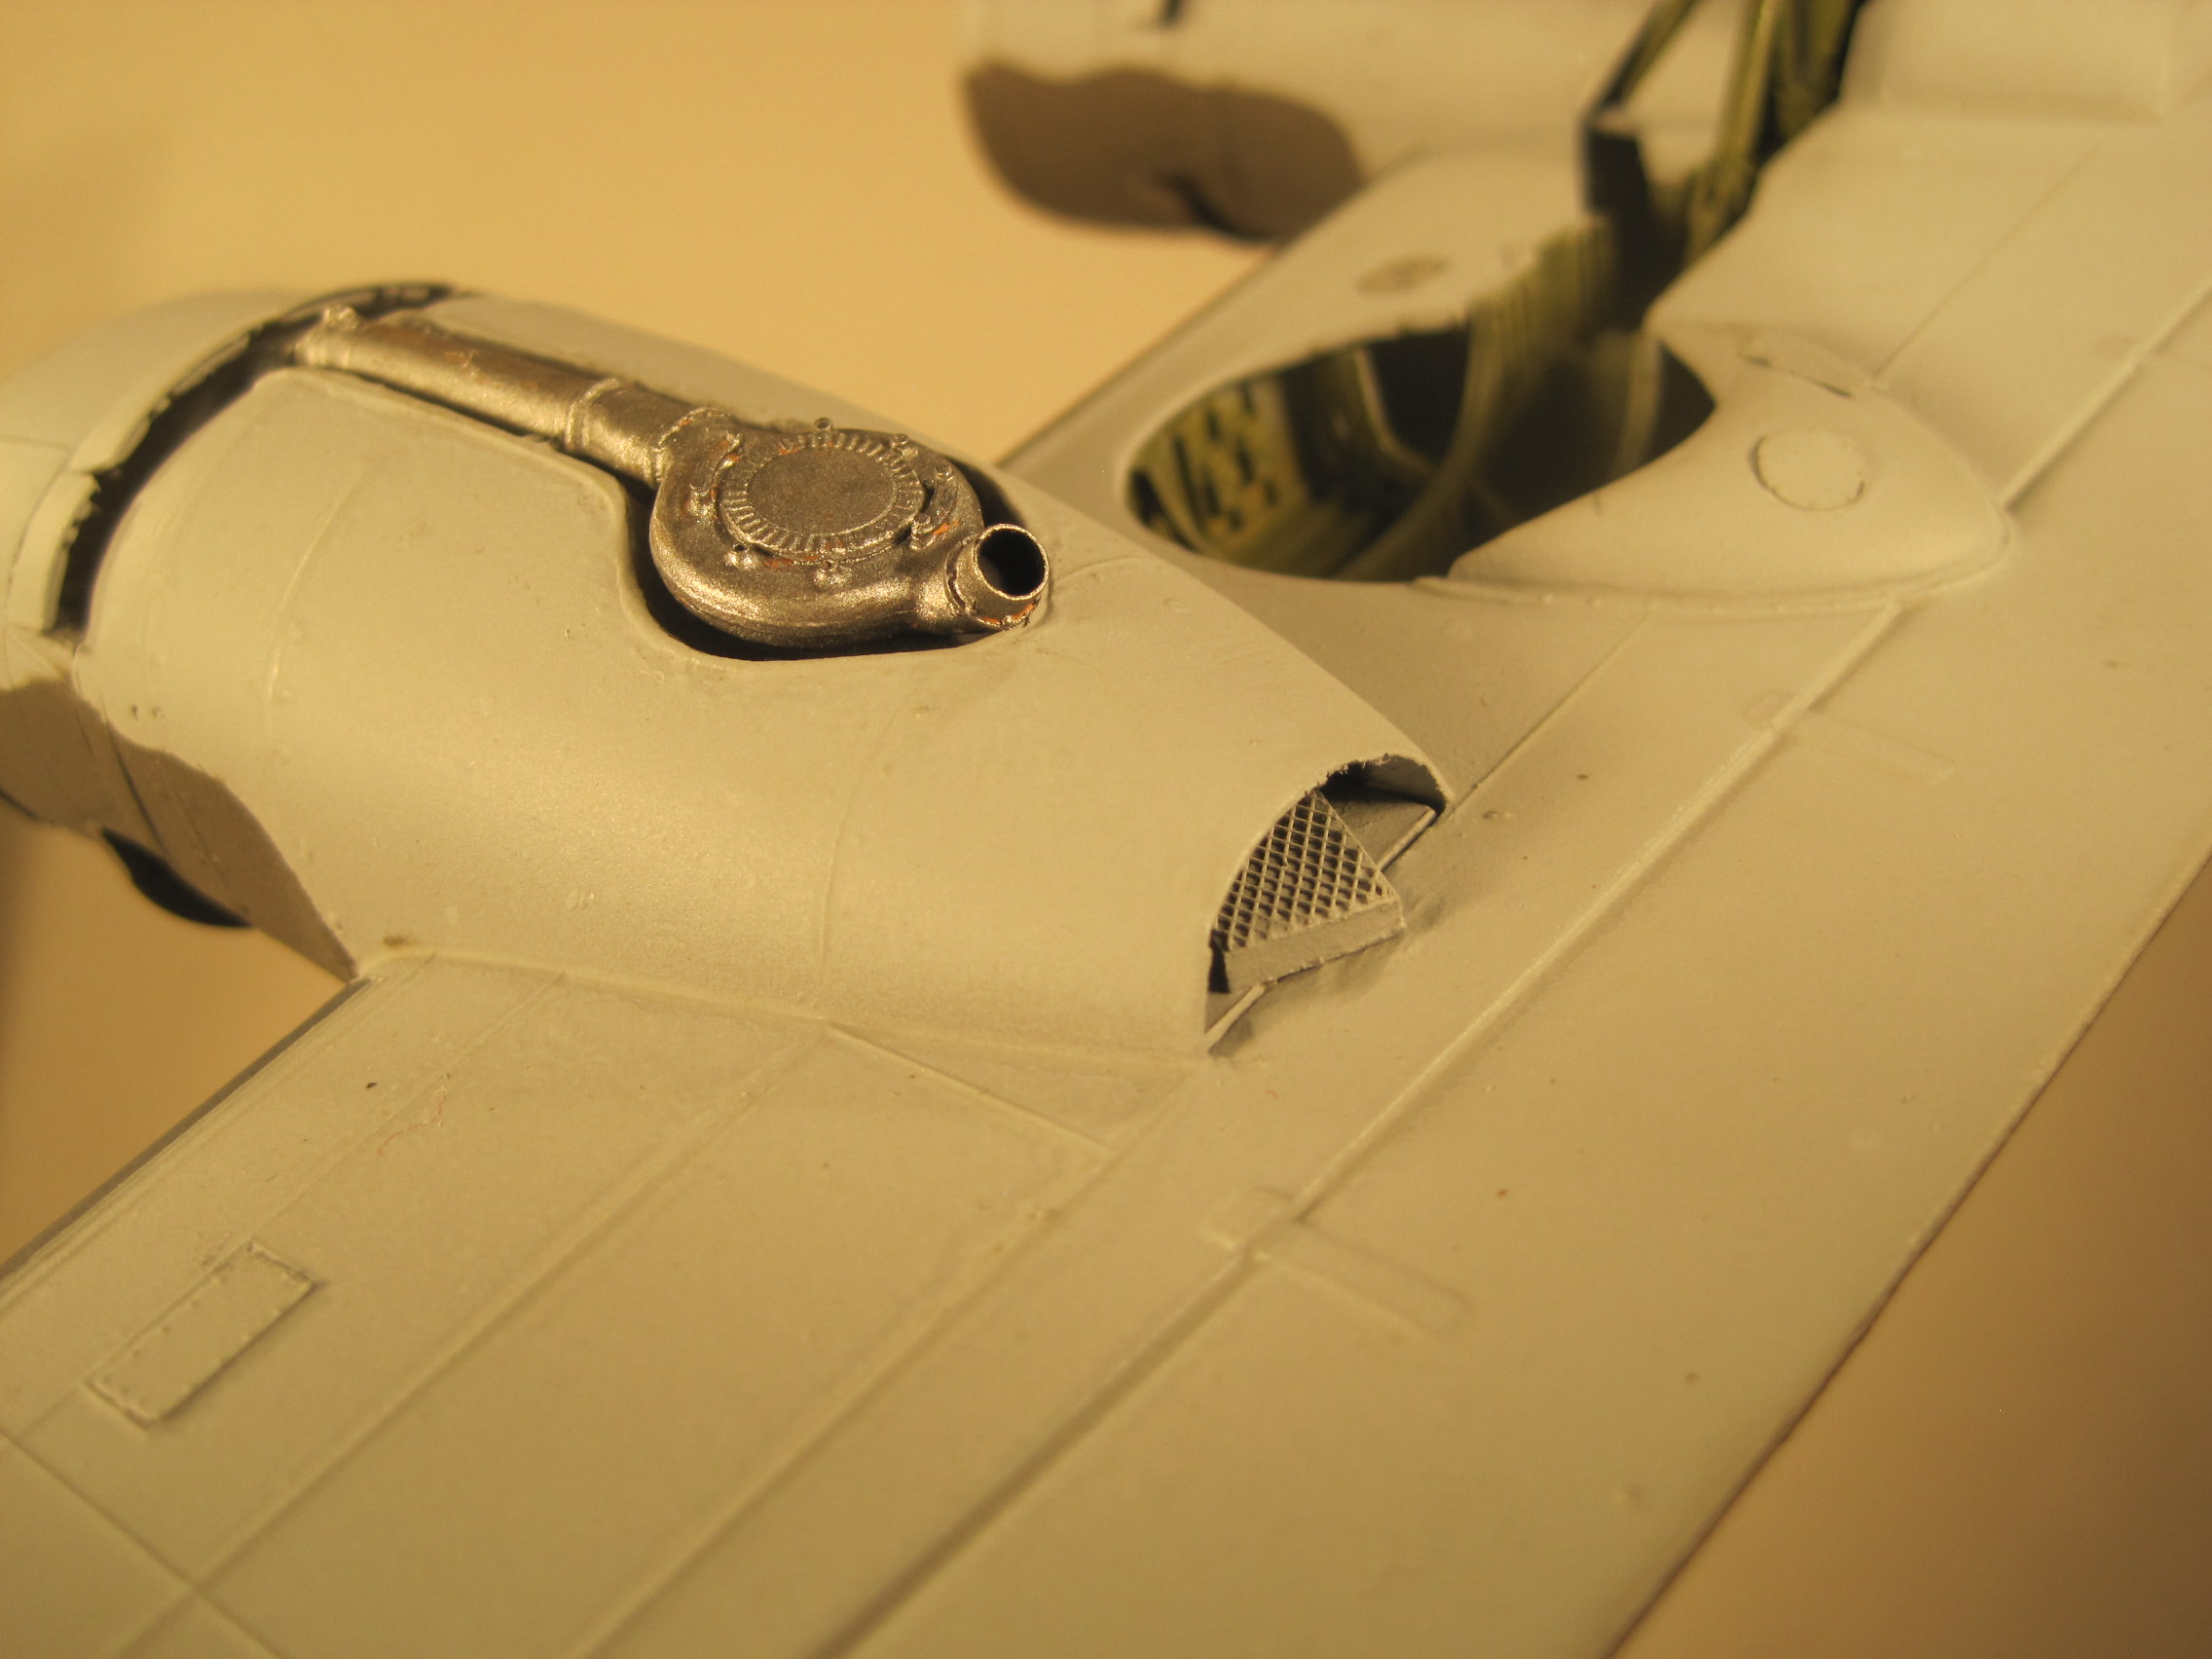
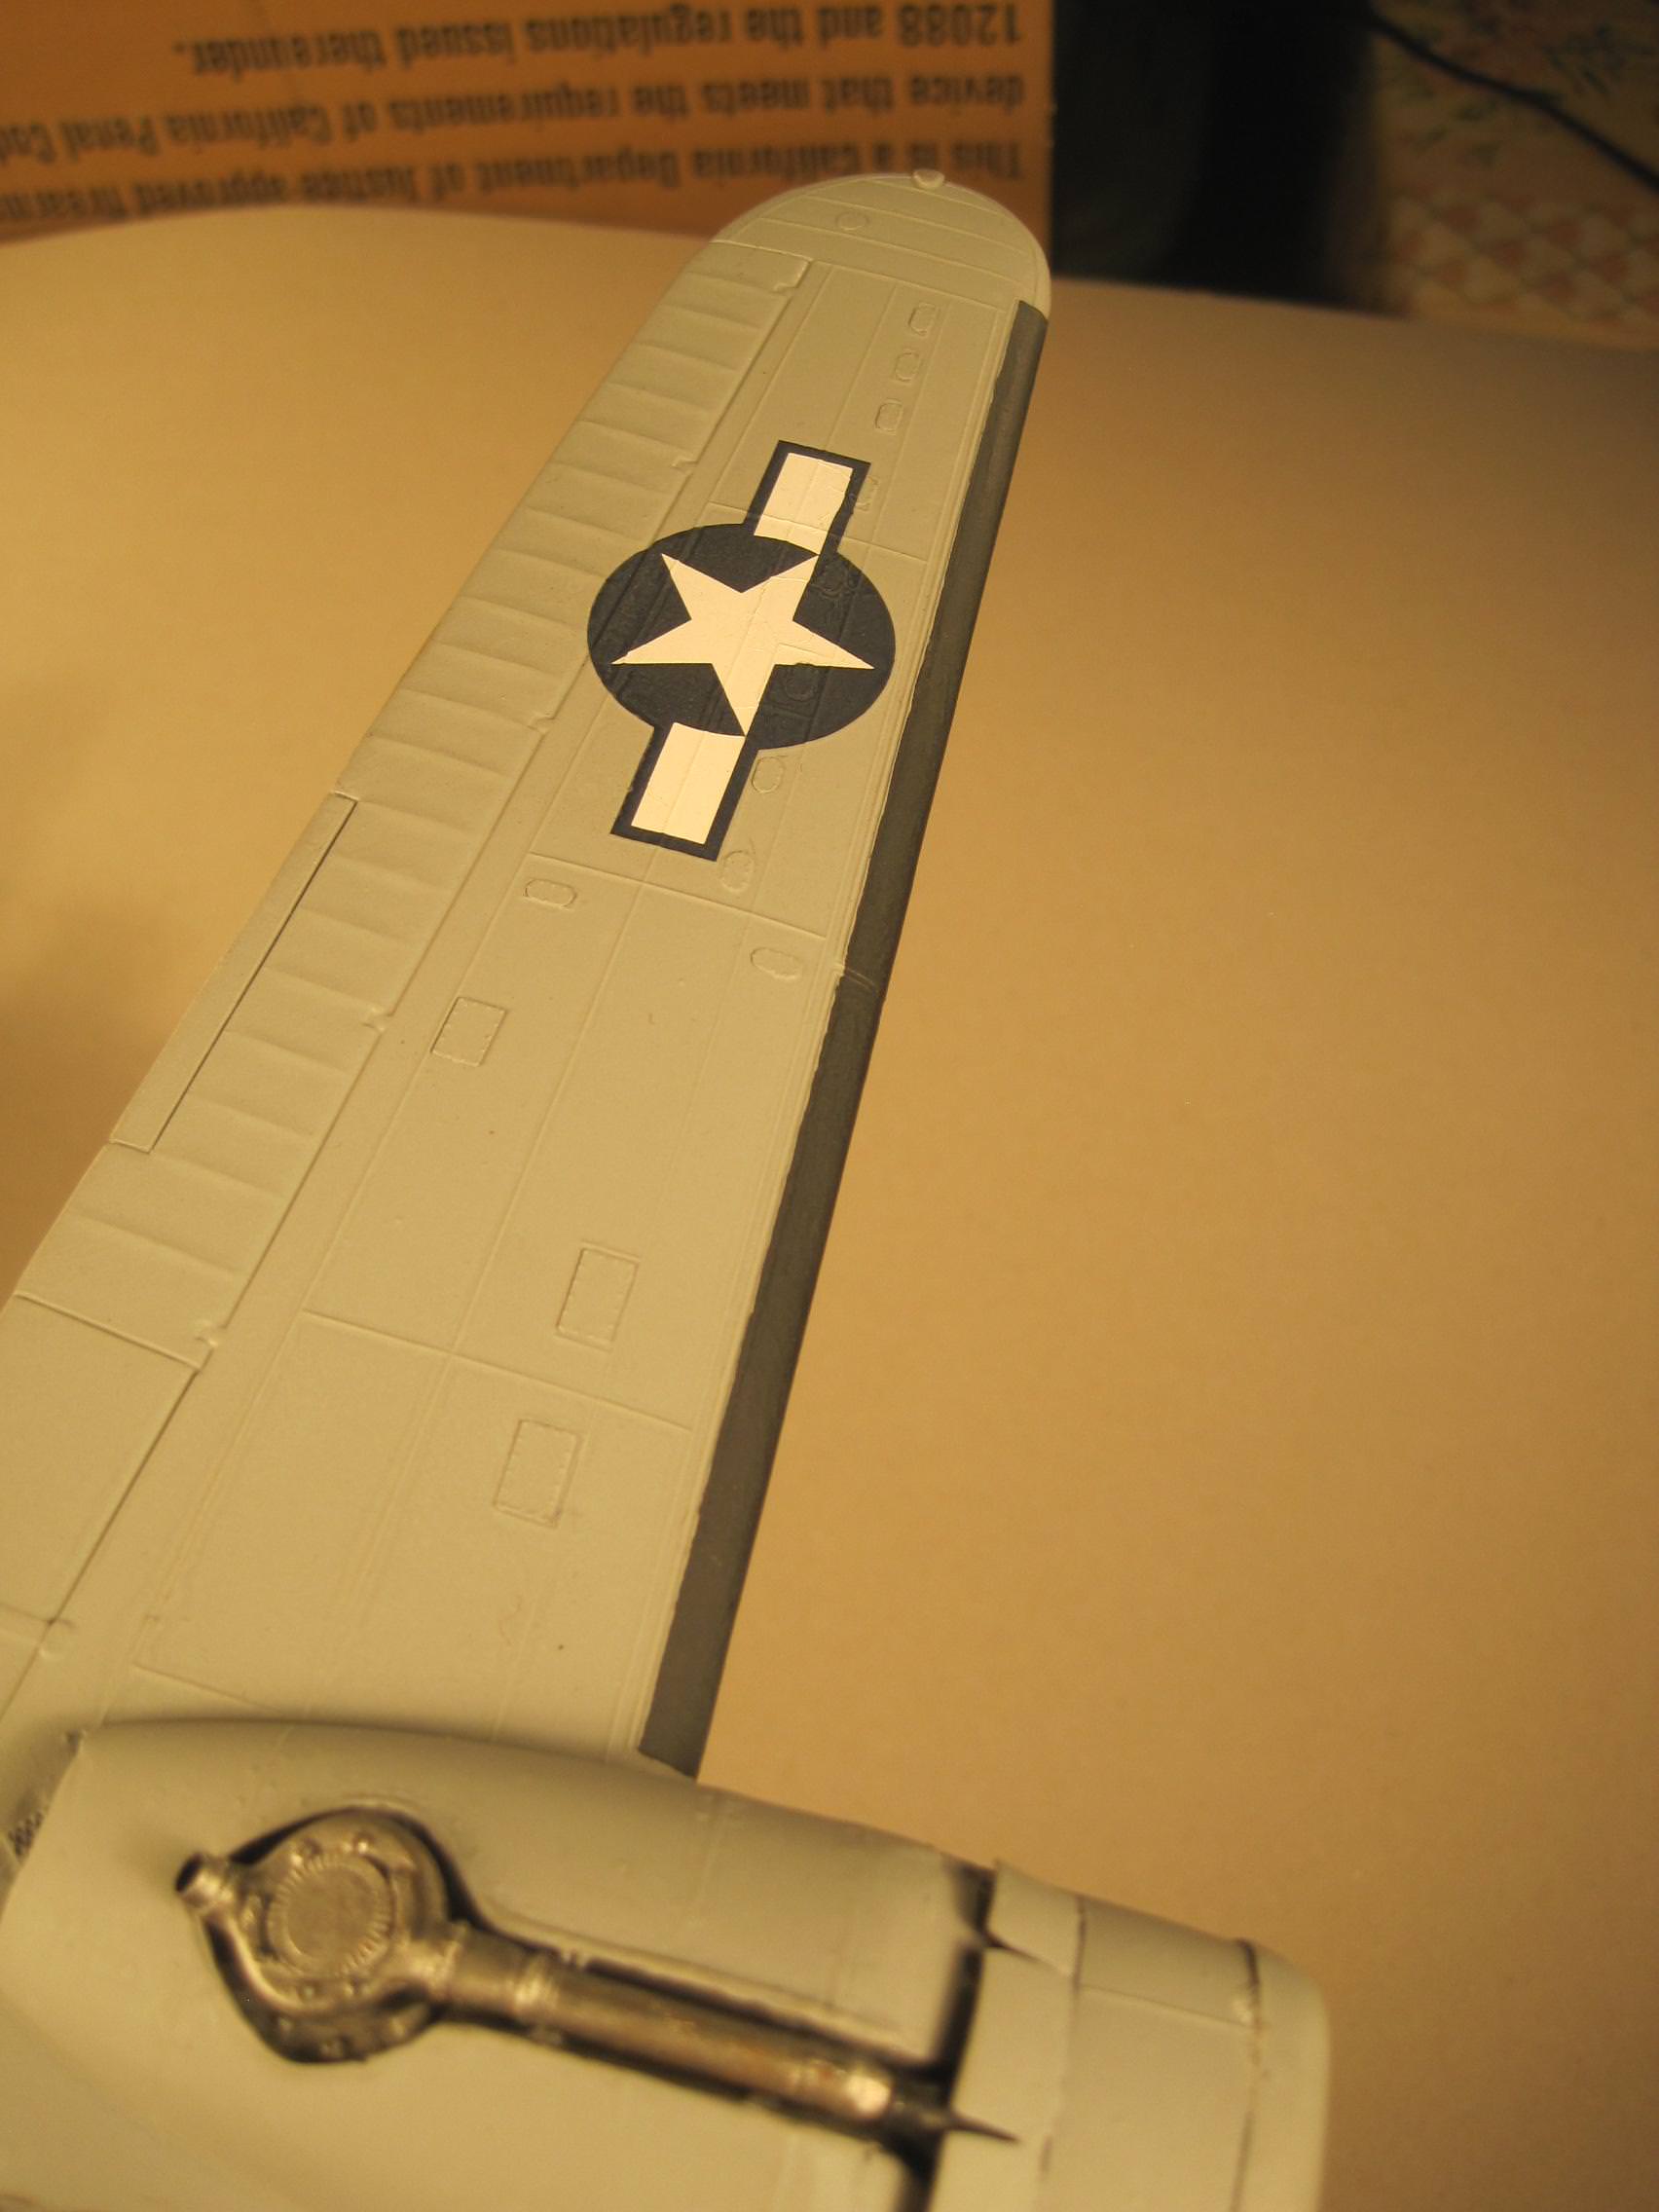



thathaway3

Joined: September 10, 2004
KitMaker: 1,610 posts
AeroScale: 85 posts

Posted: Saturday, August 25, 2018 - 12:38 PM UTC
Time for an update. I managed to get the majority of the basement emptied out so the contractor can start the finishing project the day after Labor Day. But I waited until the last minute to close down my work room and attached is the next batch of photos on my progress. This will be the last update for some time, as I don't expect the contractor to finish until early-mid November, and after they're done I expect it'll be a while before I can get everything set up to get back to work. One thing I did have to do is re-work the ball turret. Turns out that the kit provided floor support sits way too high which means that when the turret is retracted inside, not enough is visible above the floor. And in order to allow the ball to sit higher in the support, I also had to make a larger diameter ring support which in turn meant I had to make the opening in the fuselage a bit larger. One of the problems you deal with when you scratch build I guess. Still lots of work to do, but I've done quite a bit of research on the communication gear so I'll be ready to tackle that and the bomb bay when I resume building
Hope you enjoy the photos.
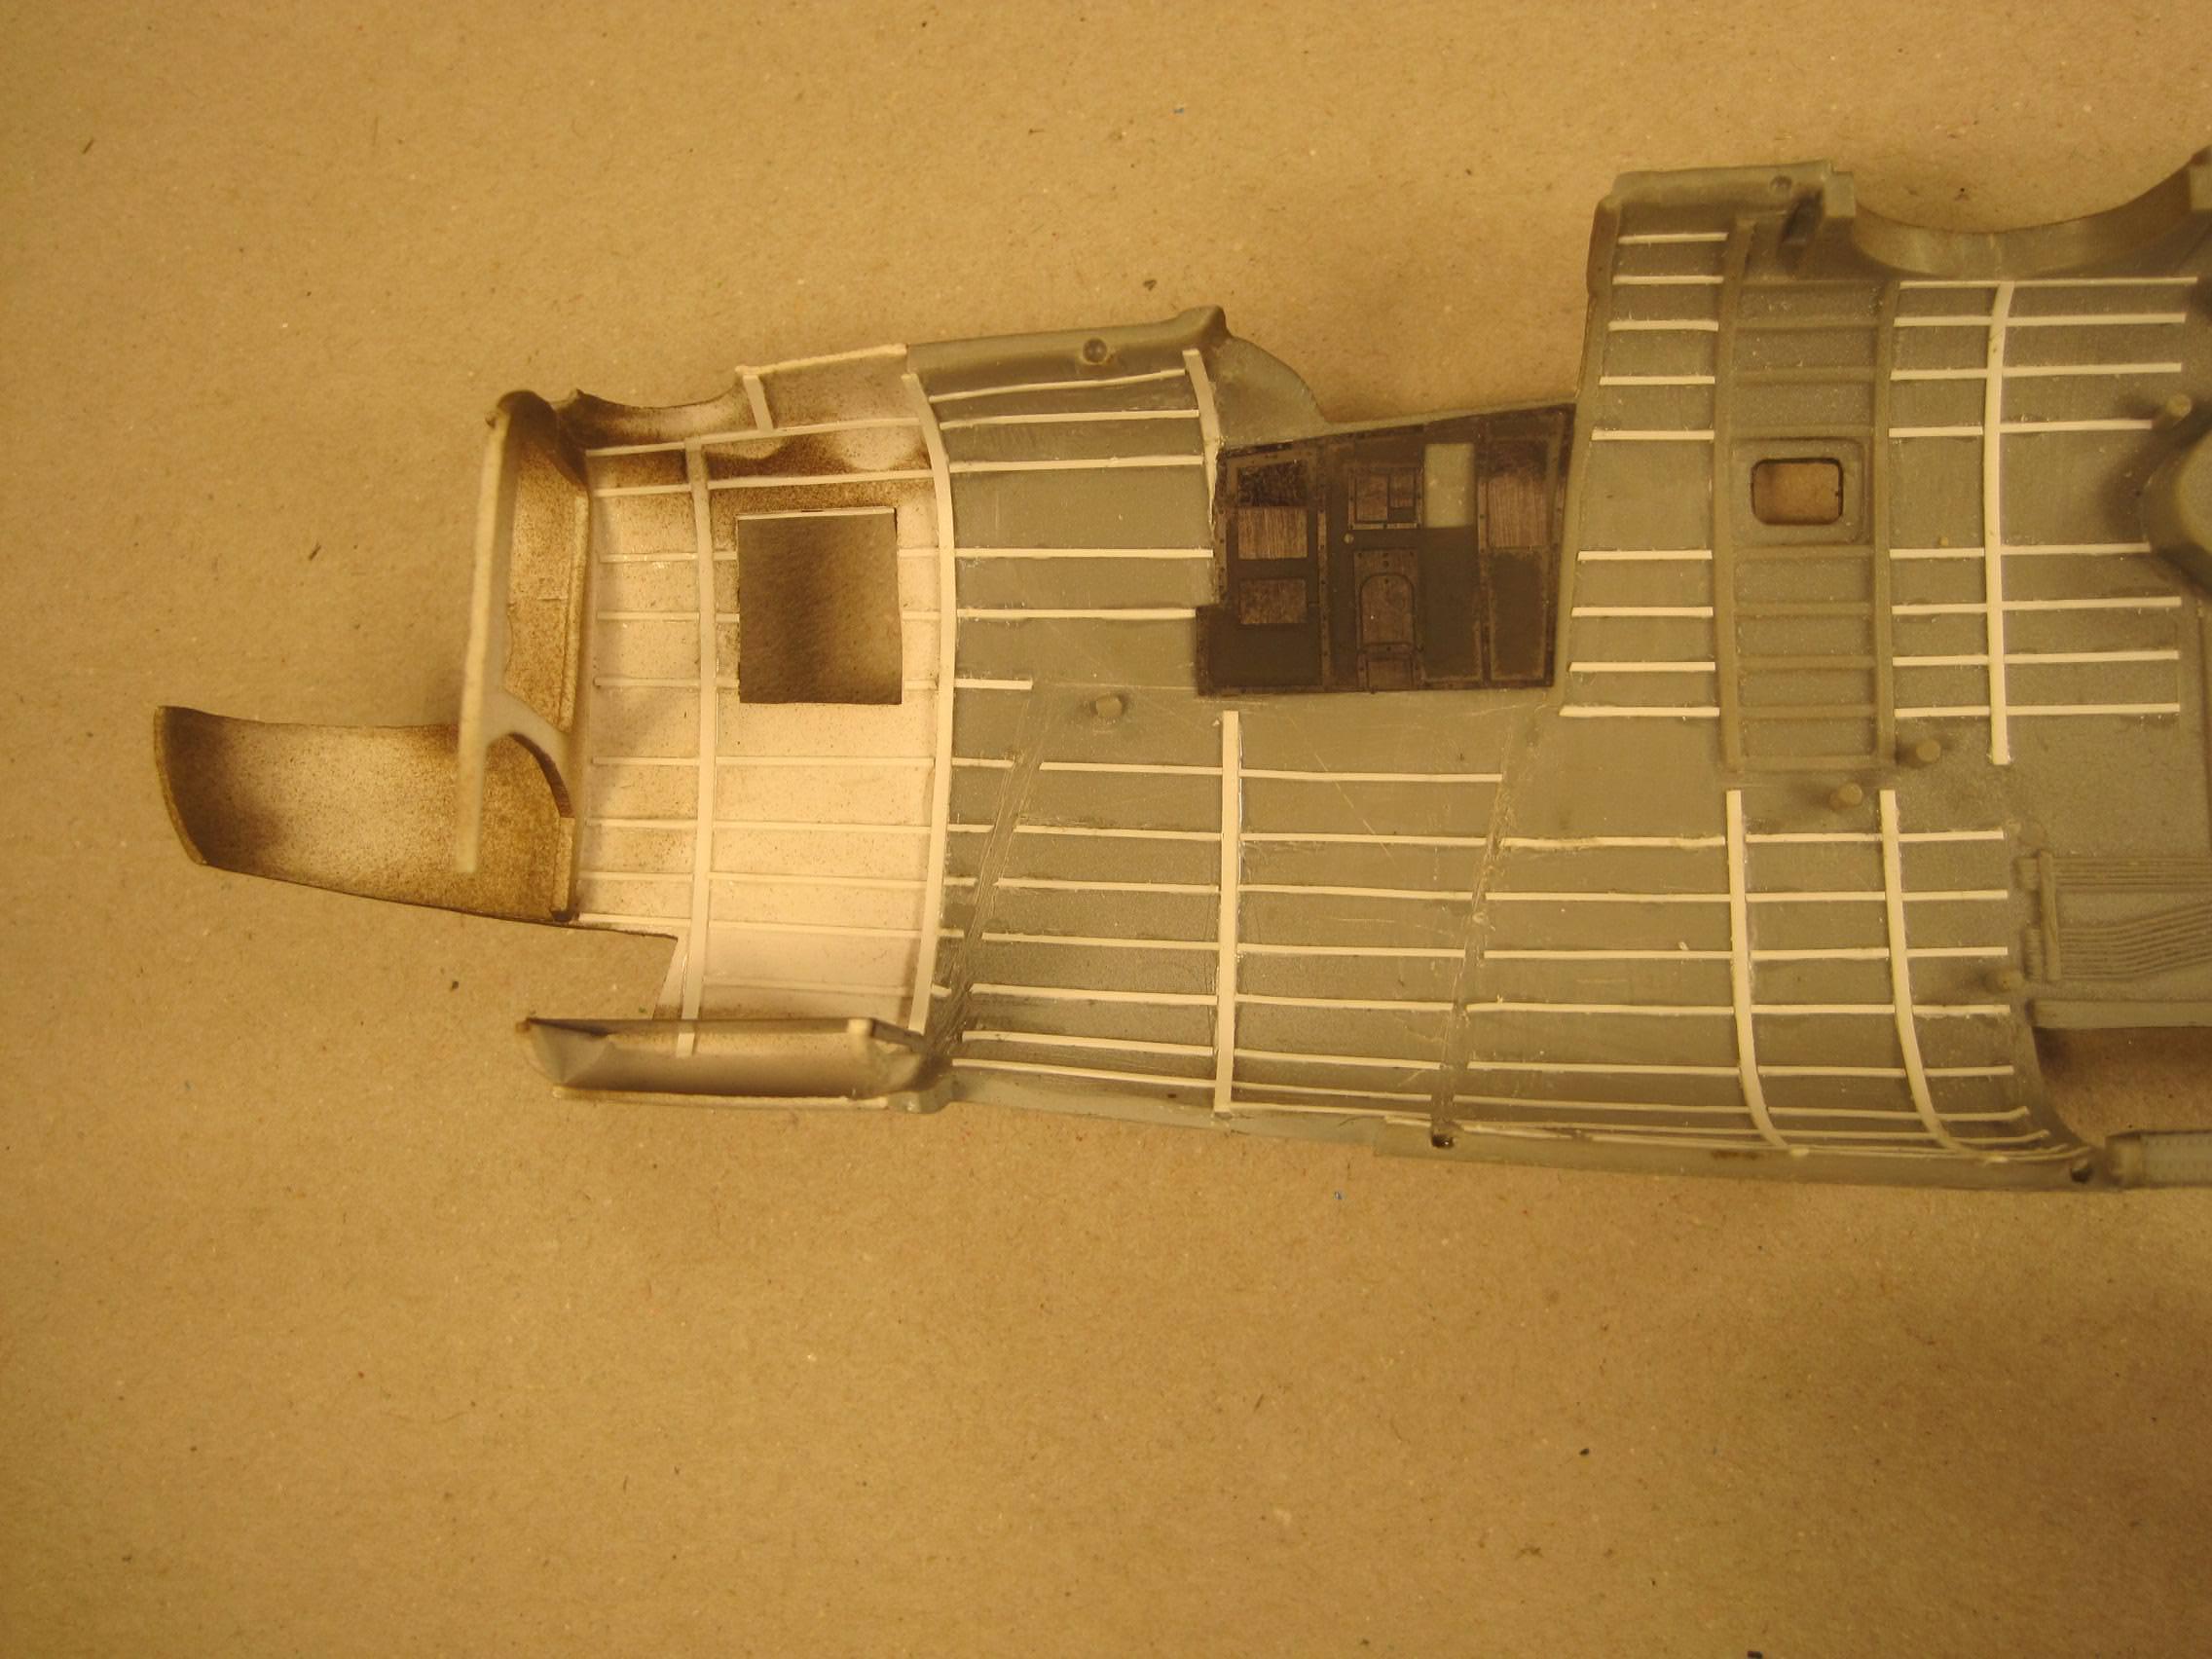
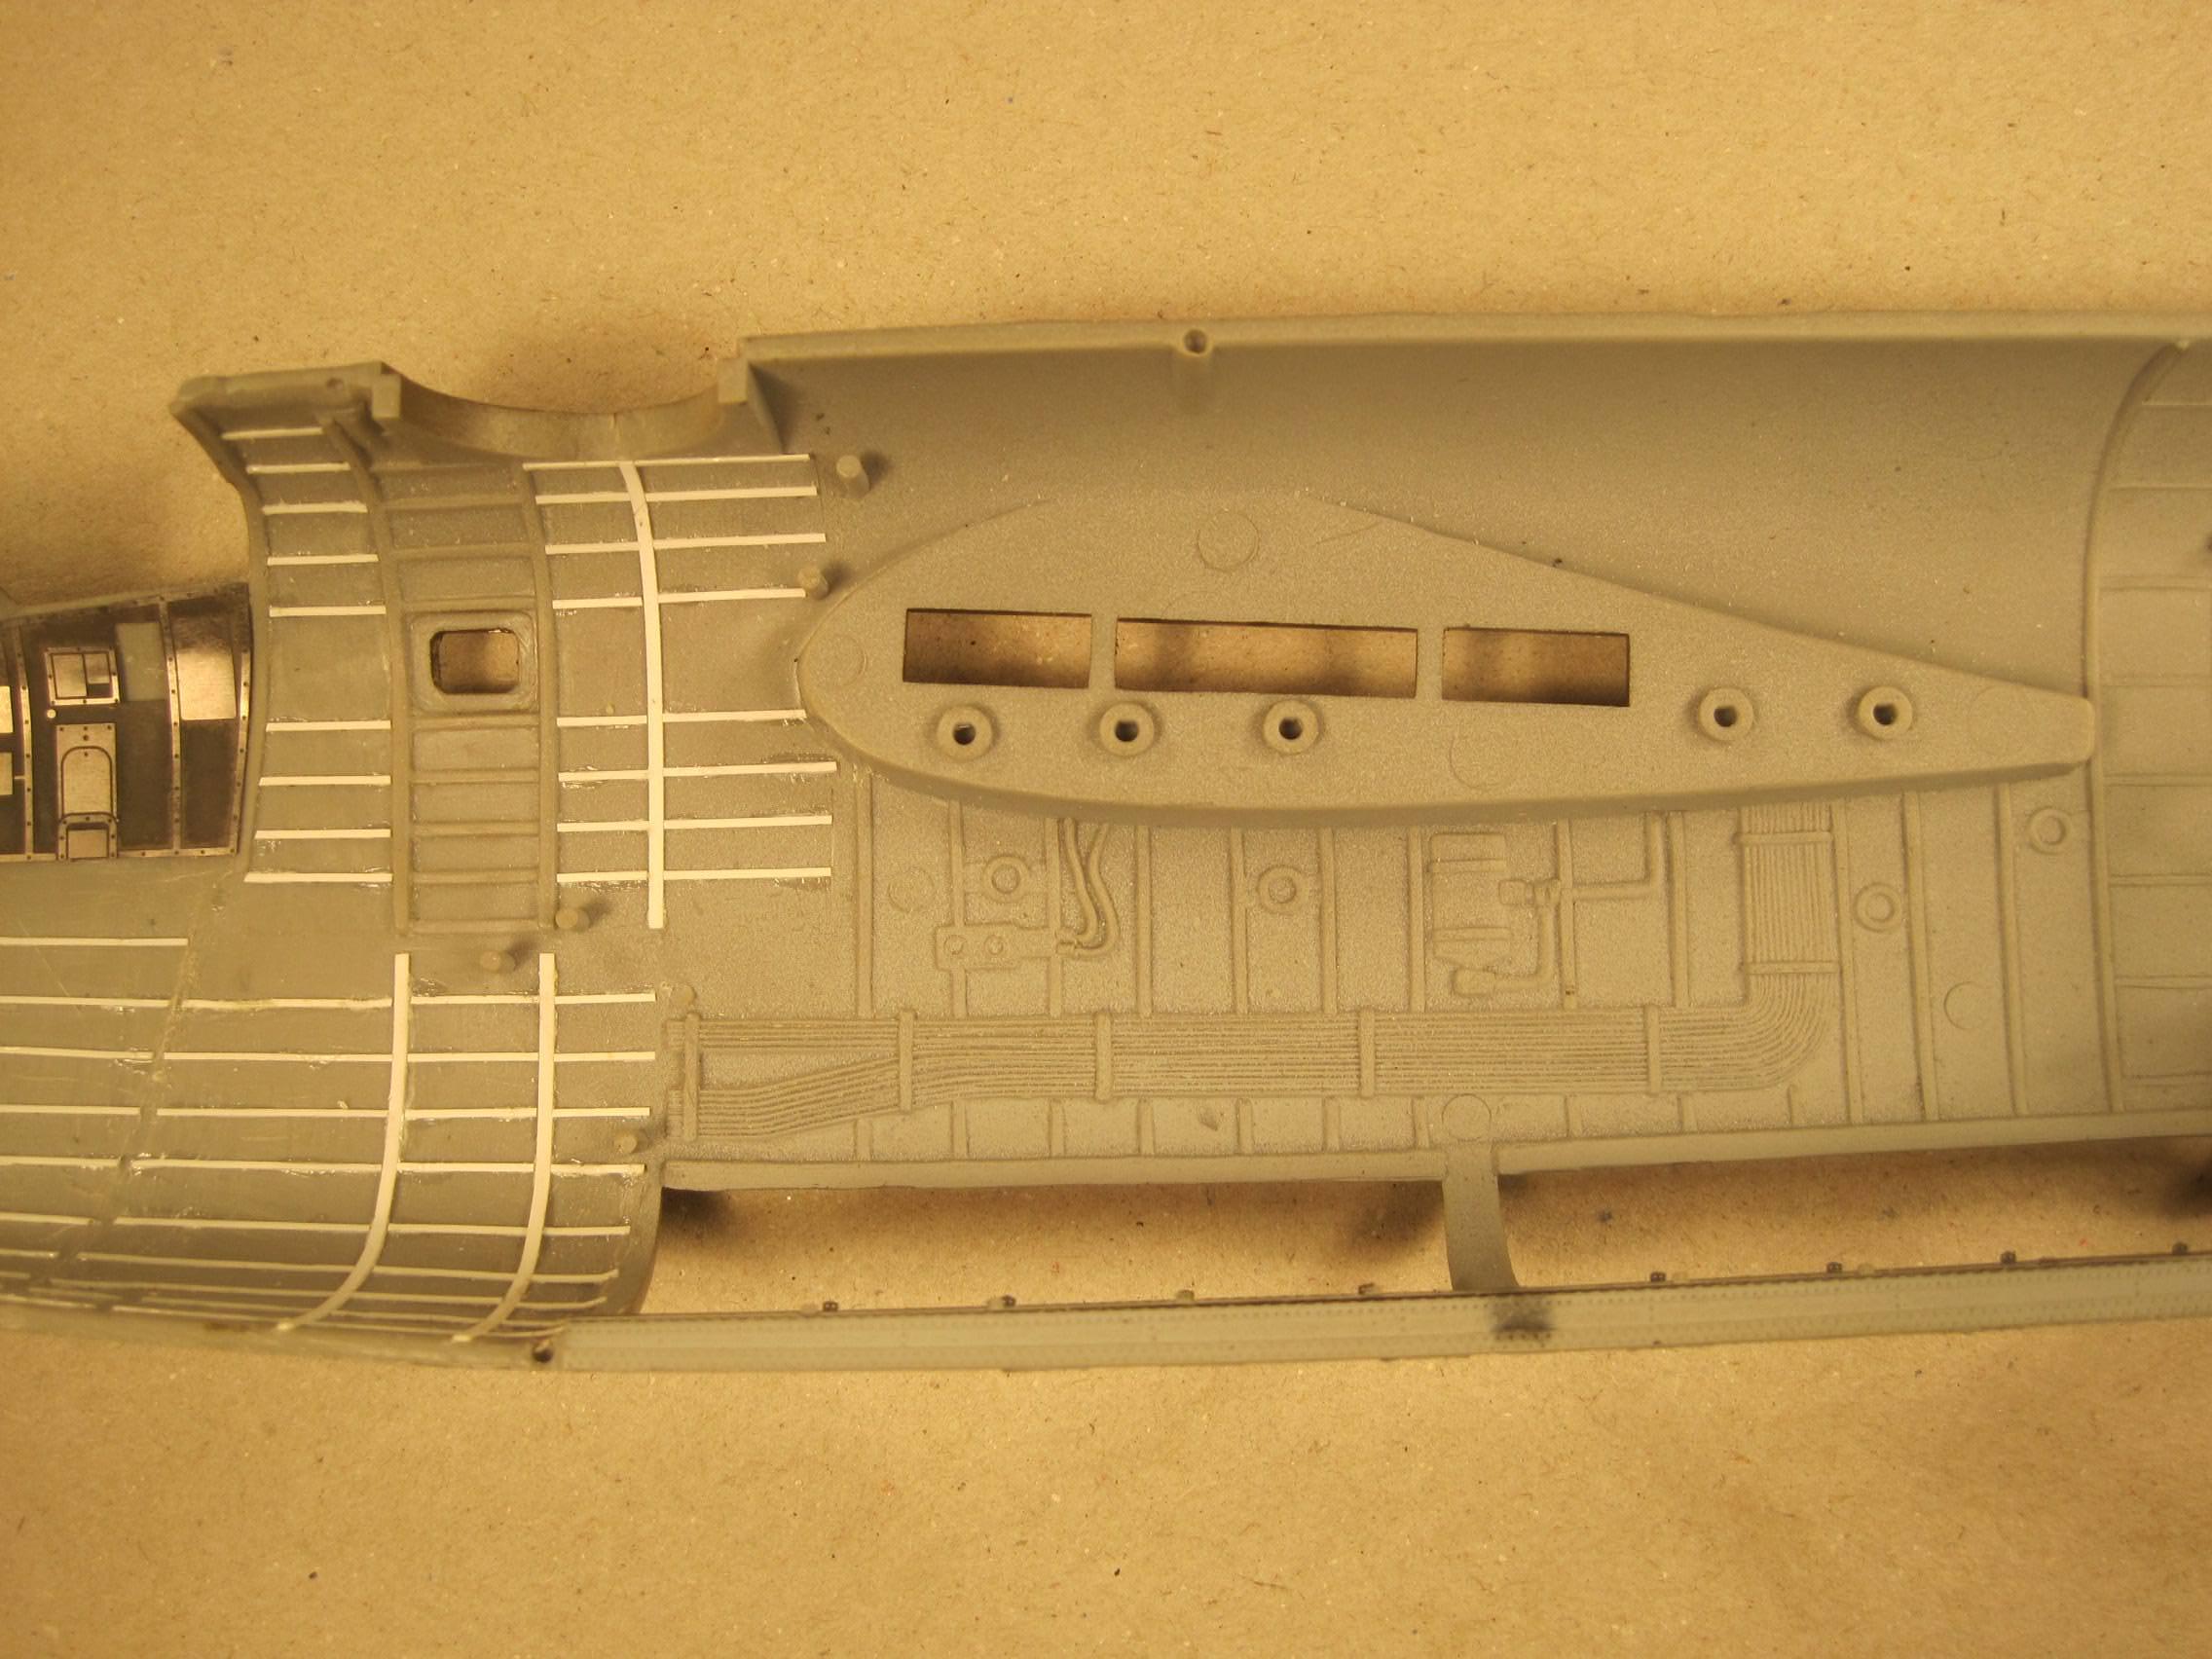
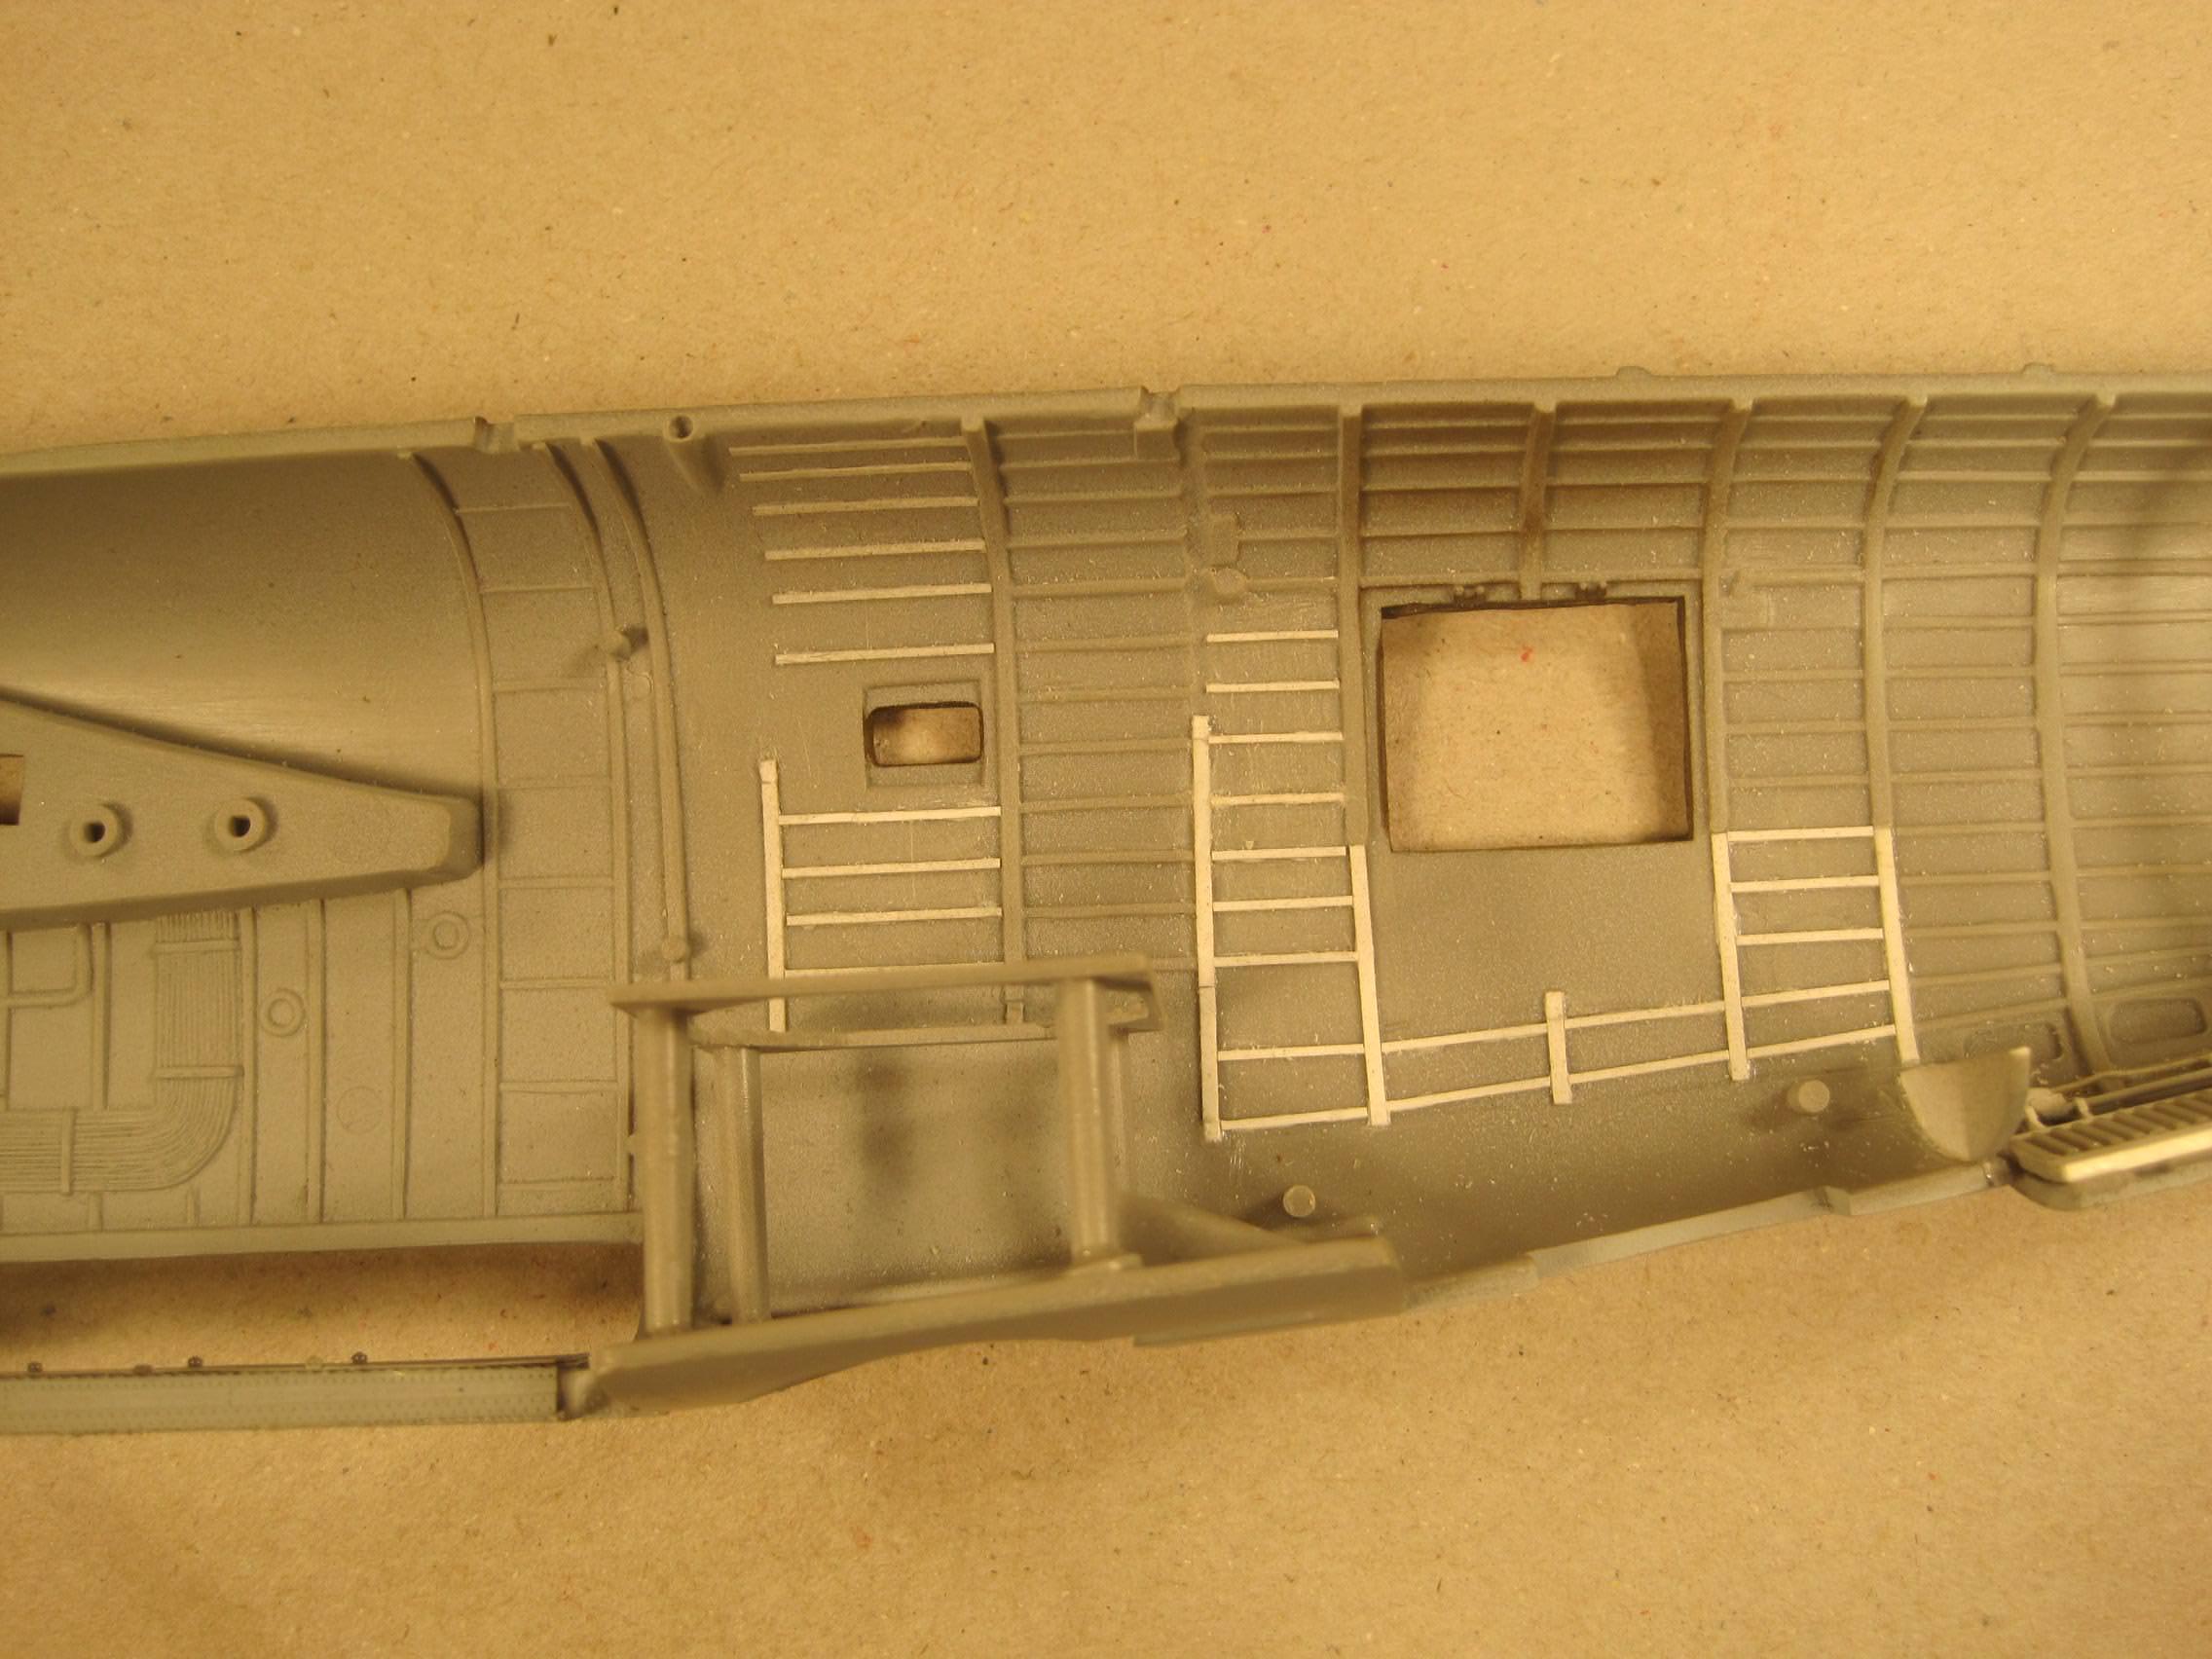

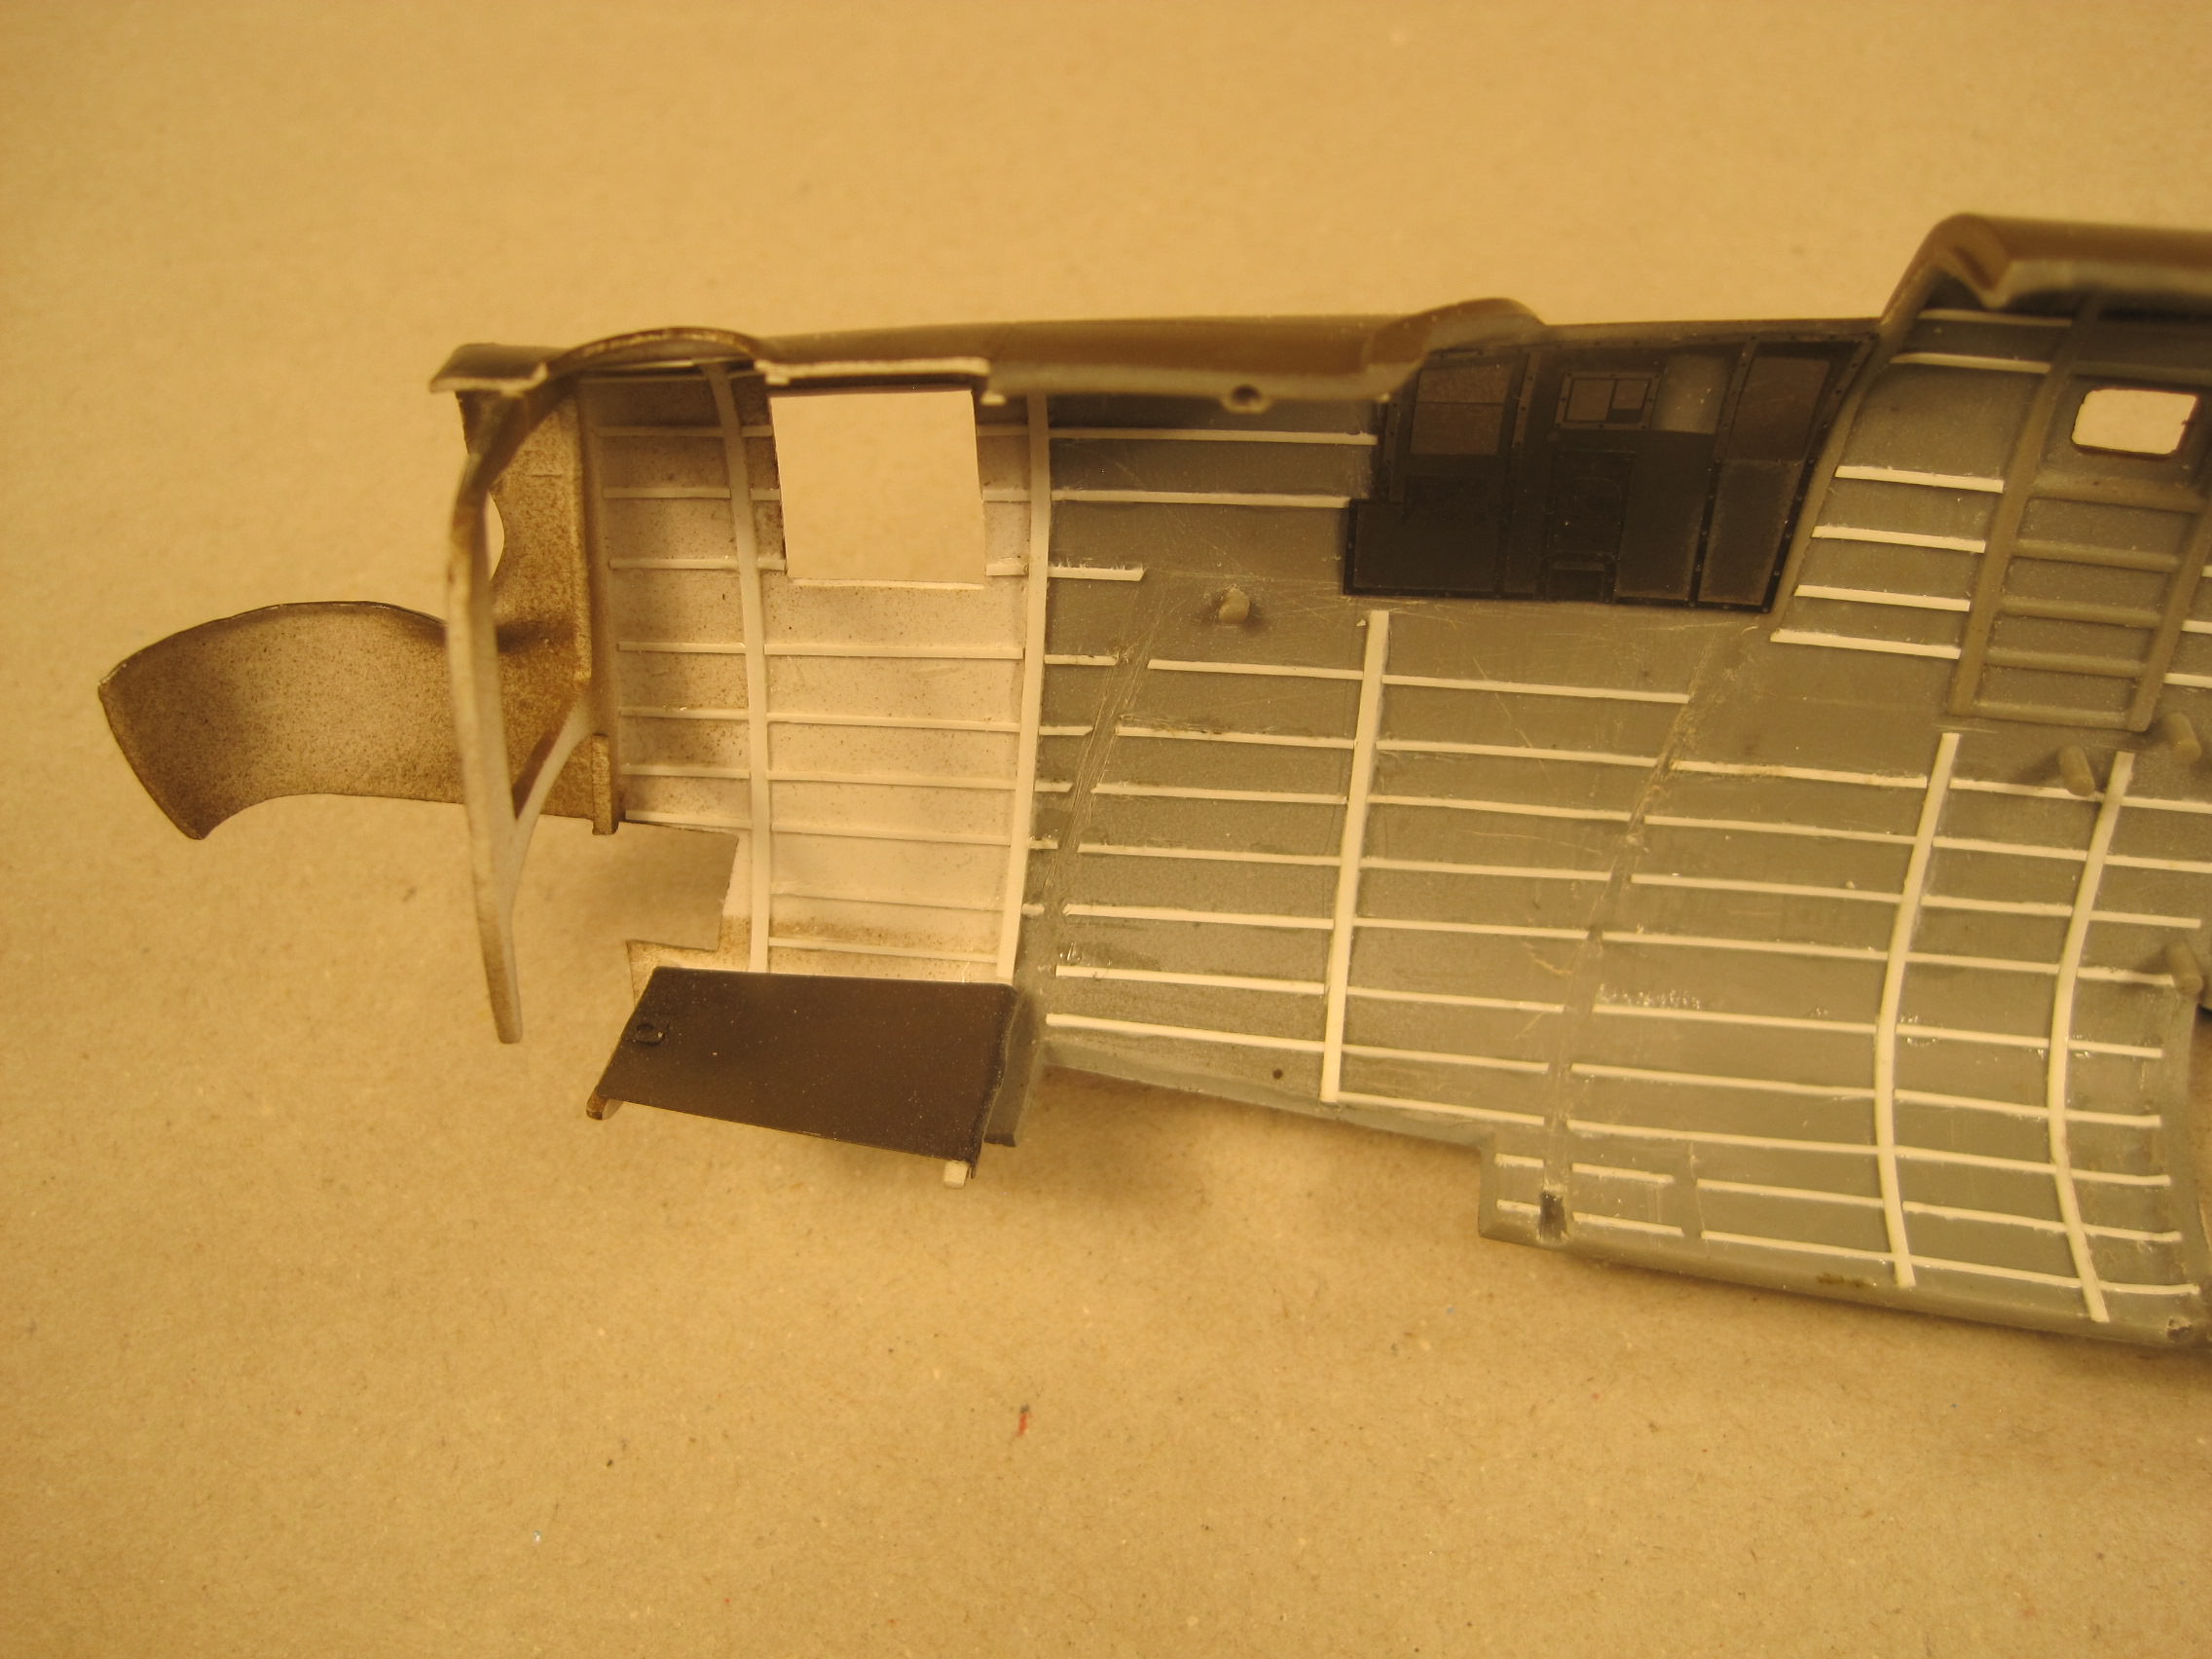
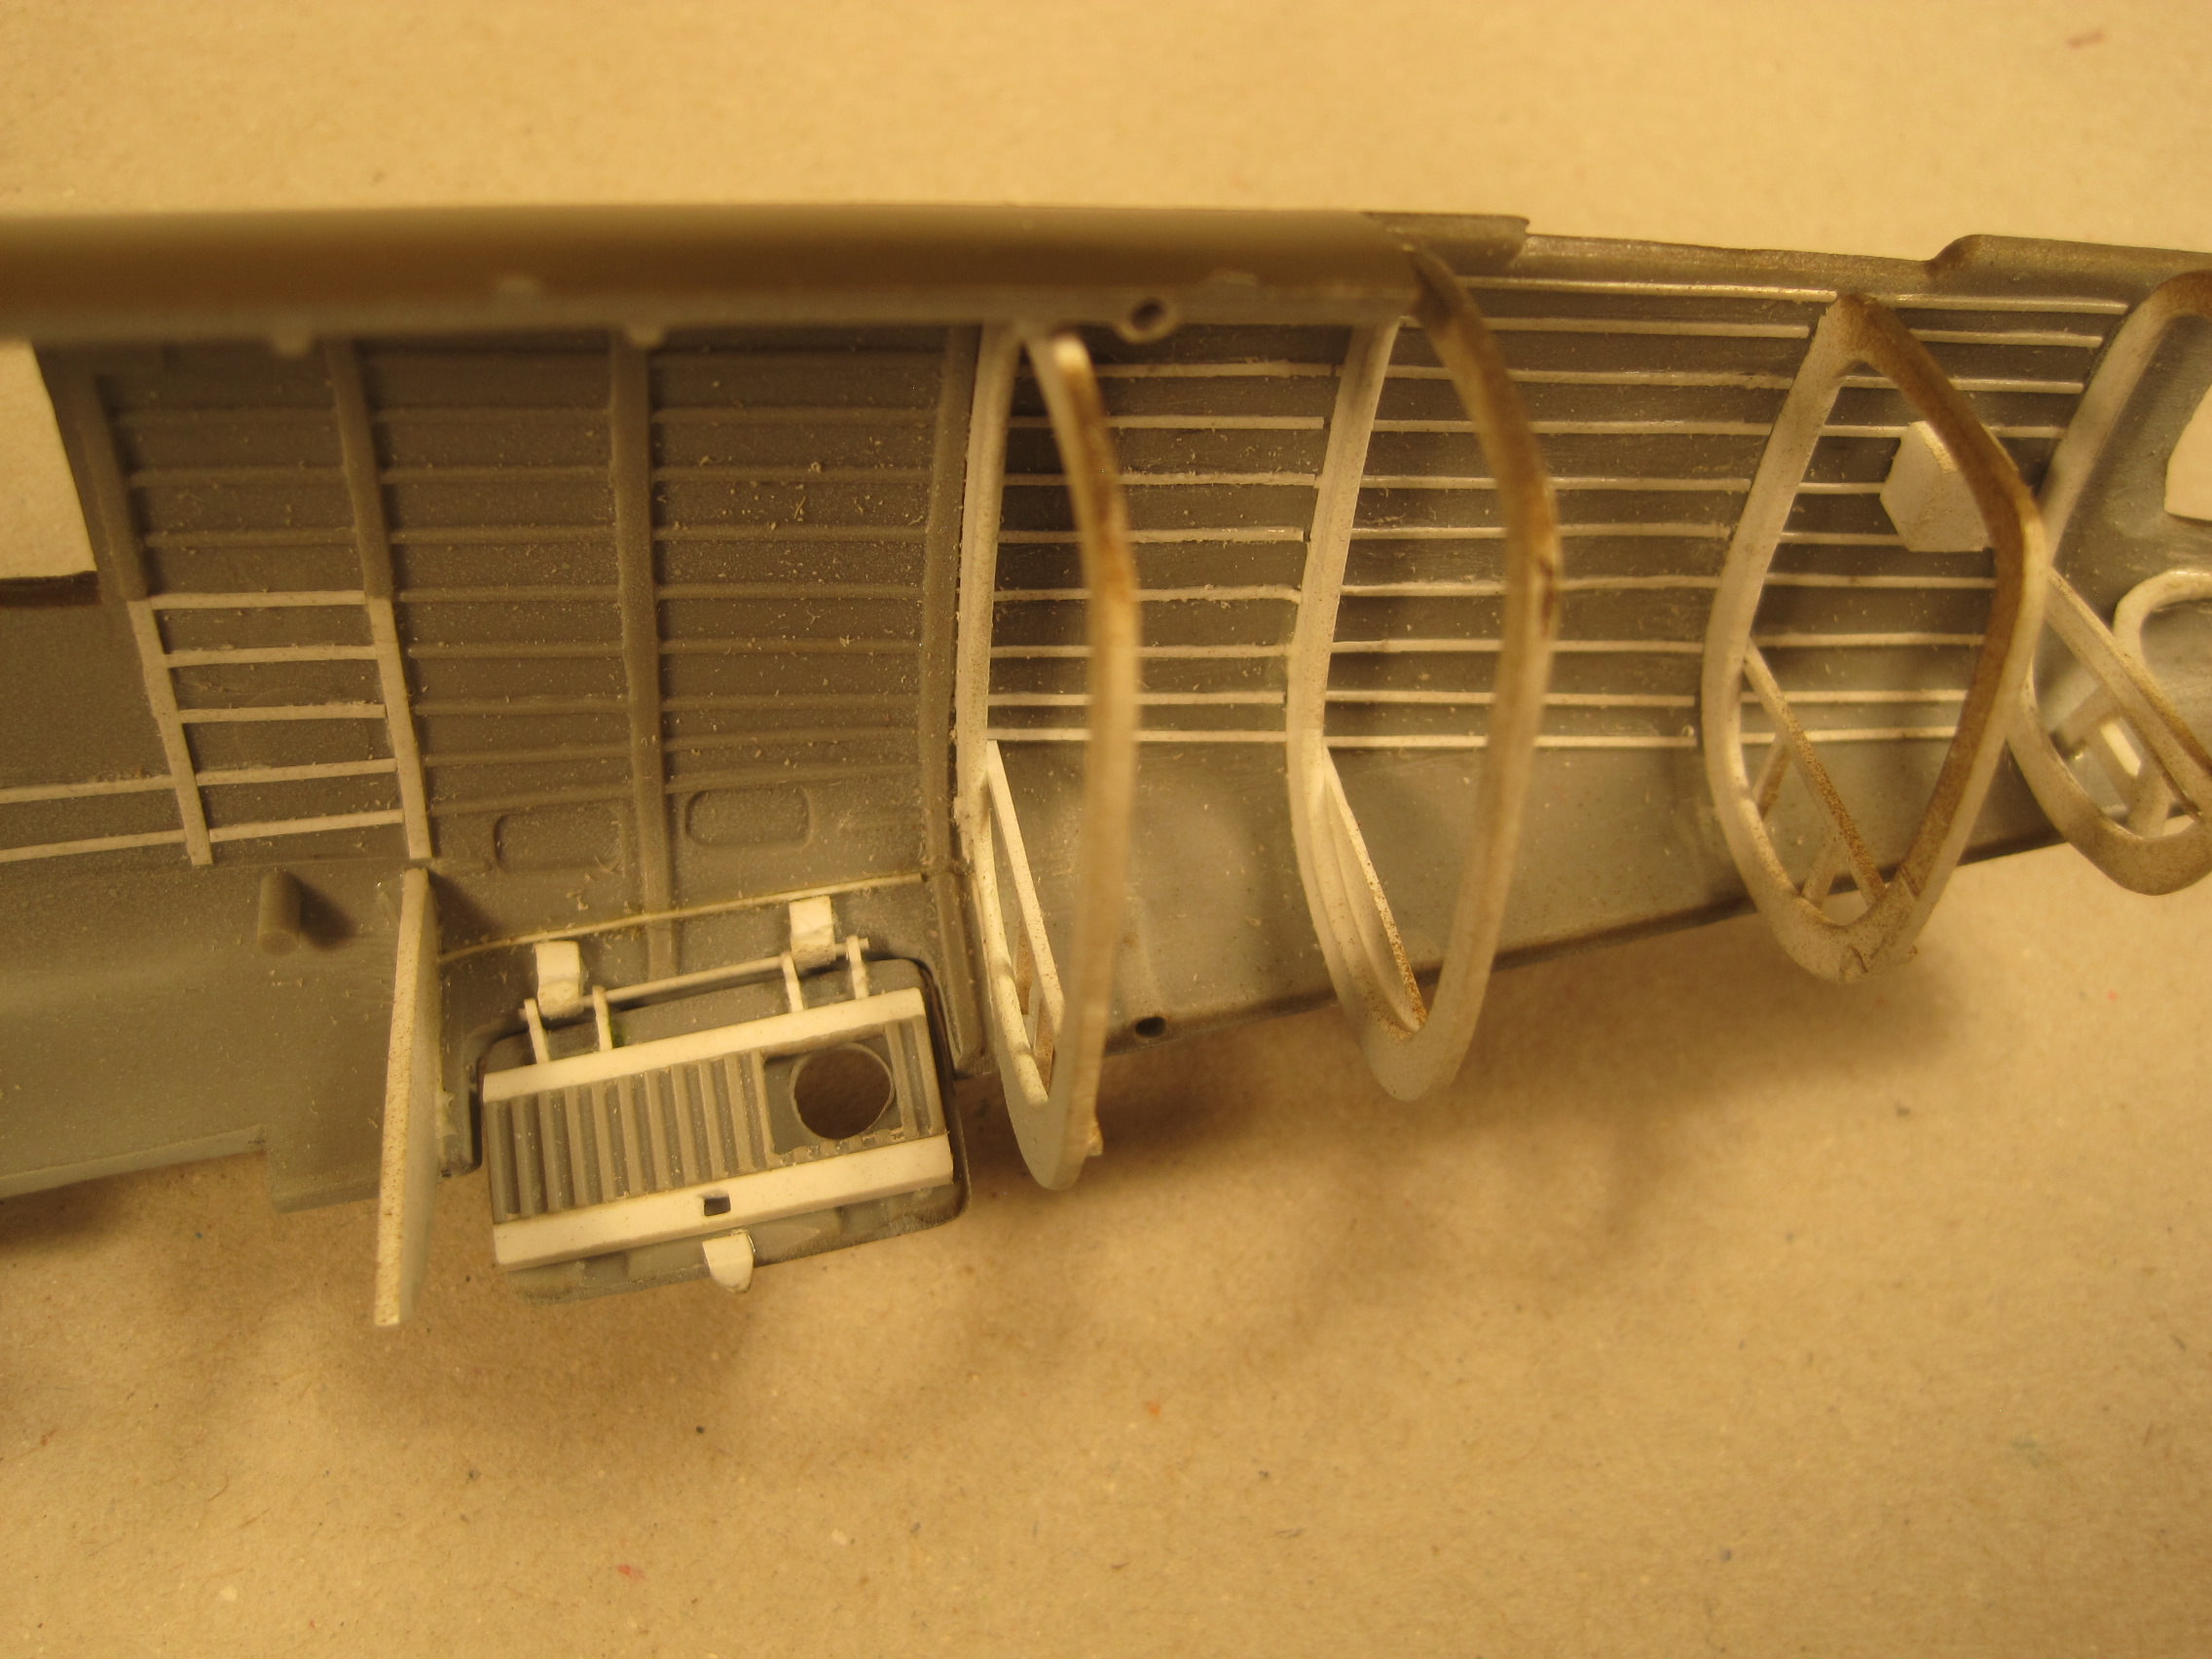
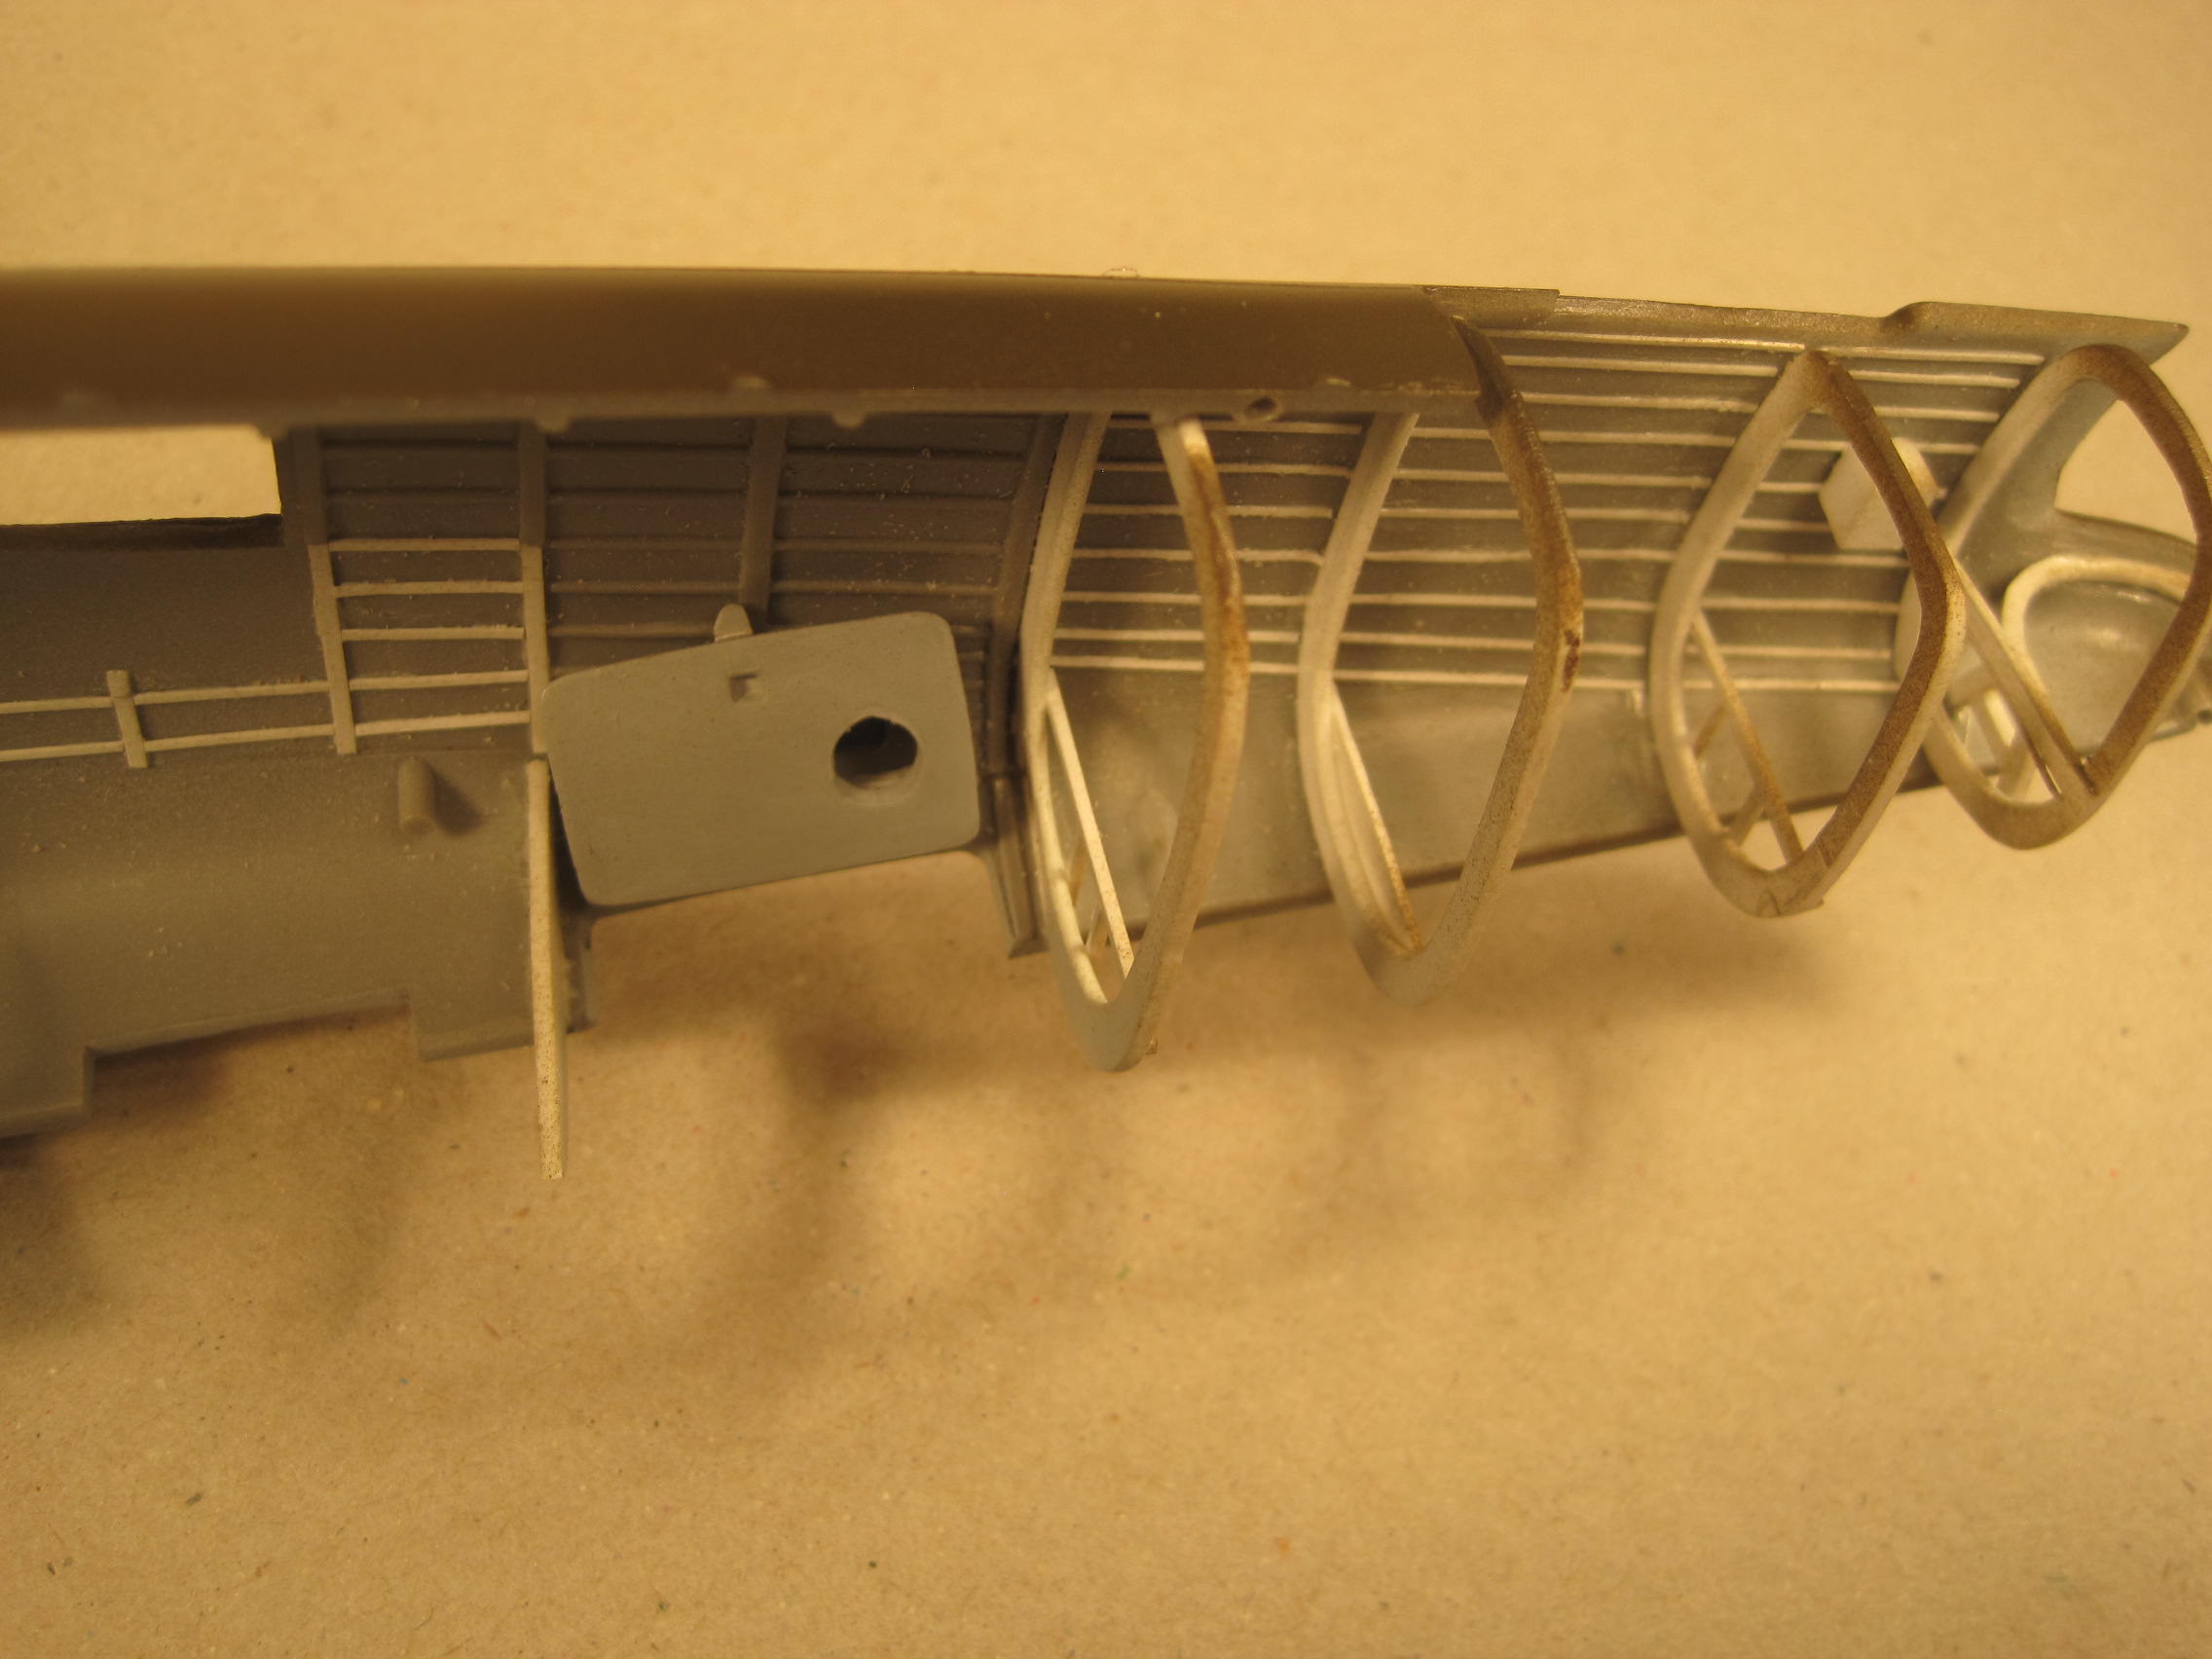

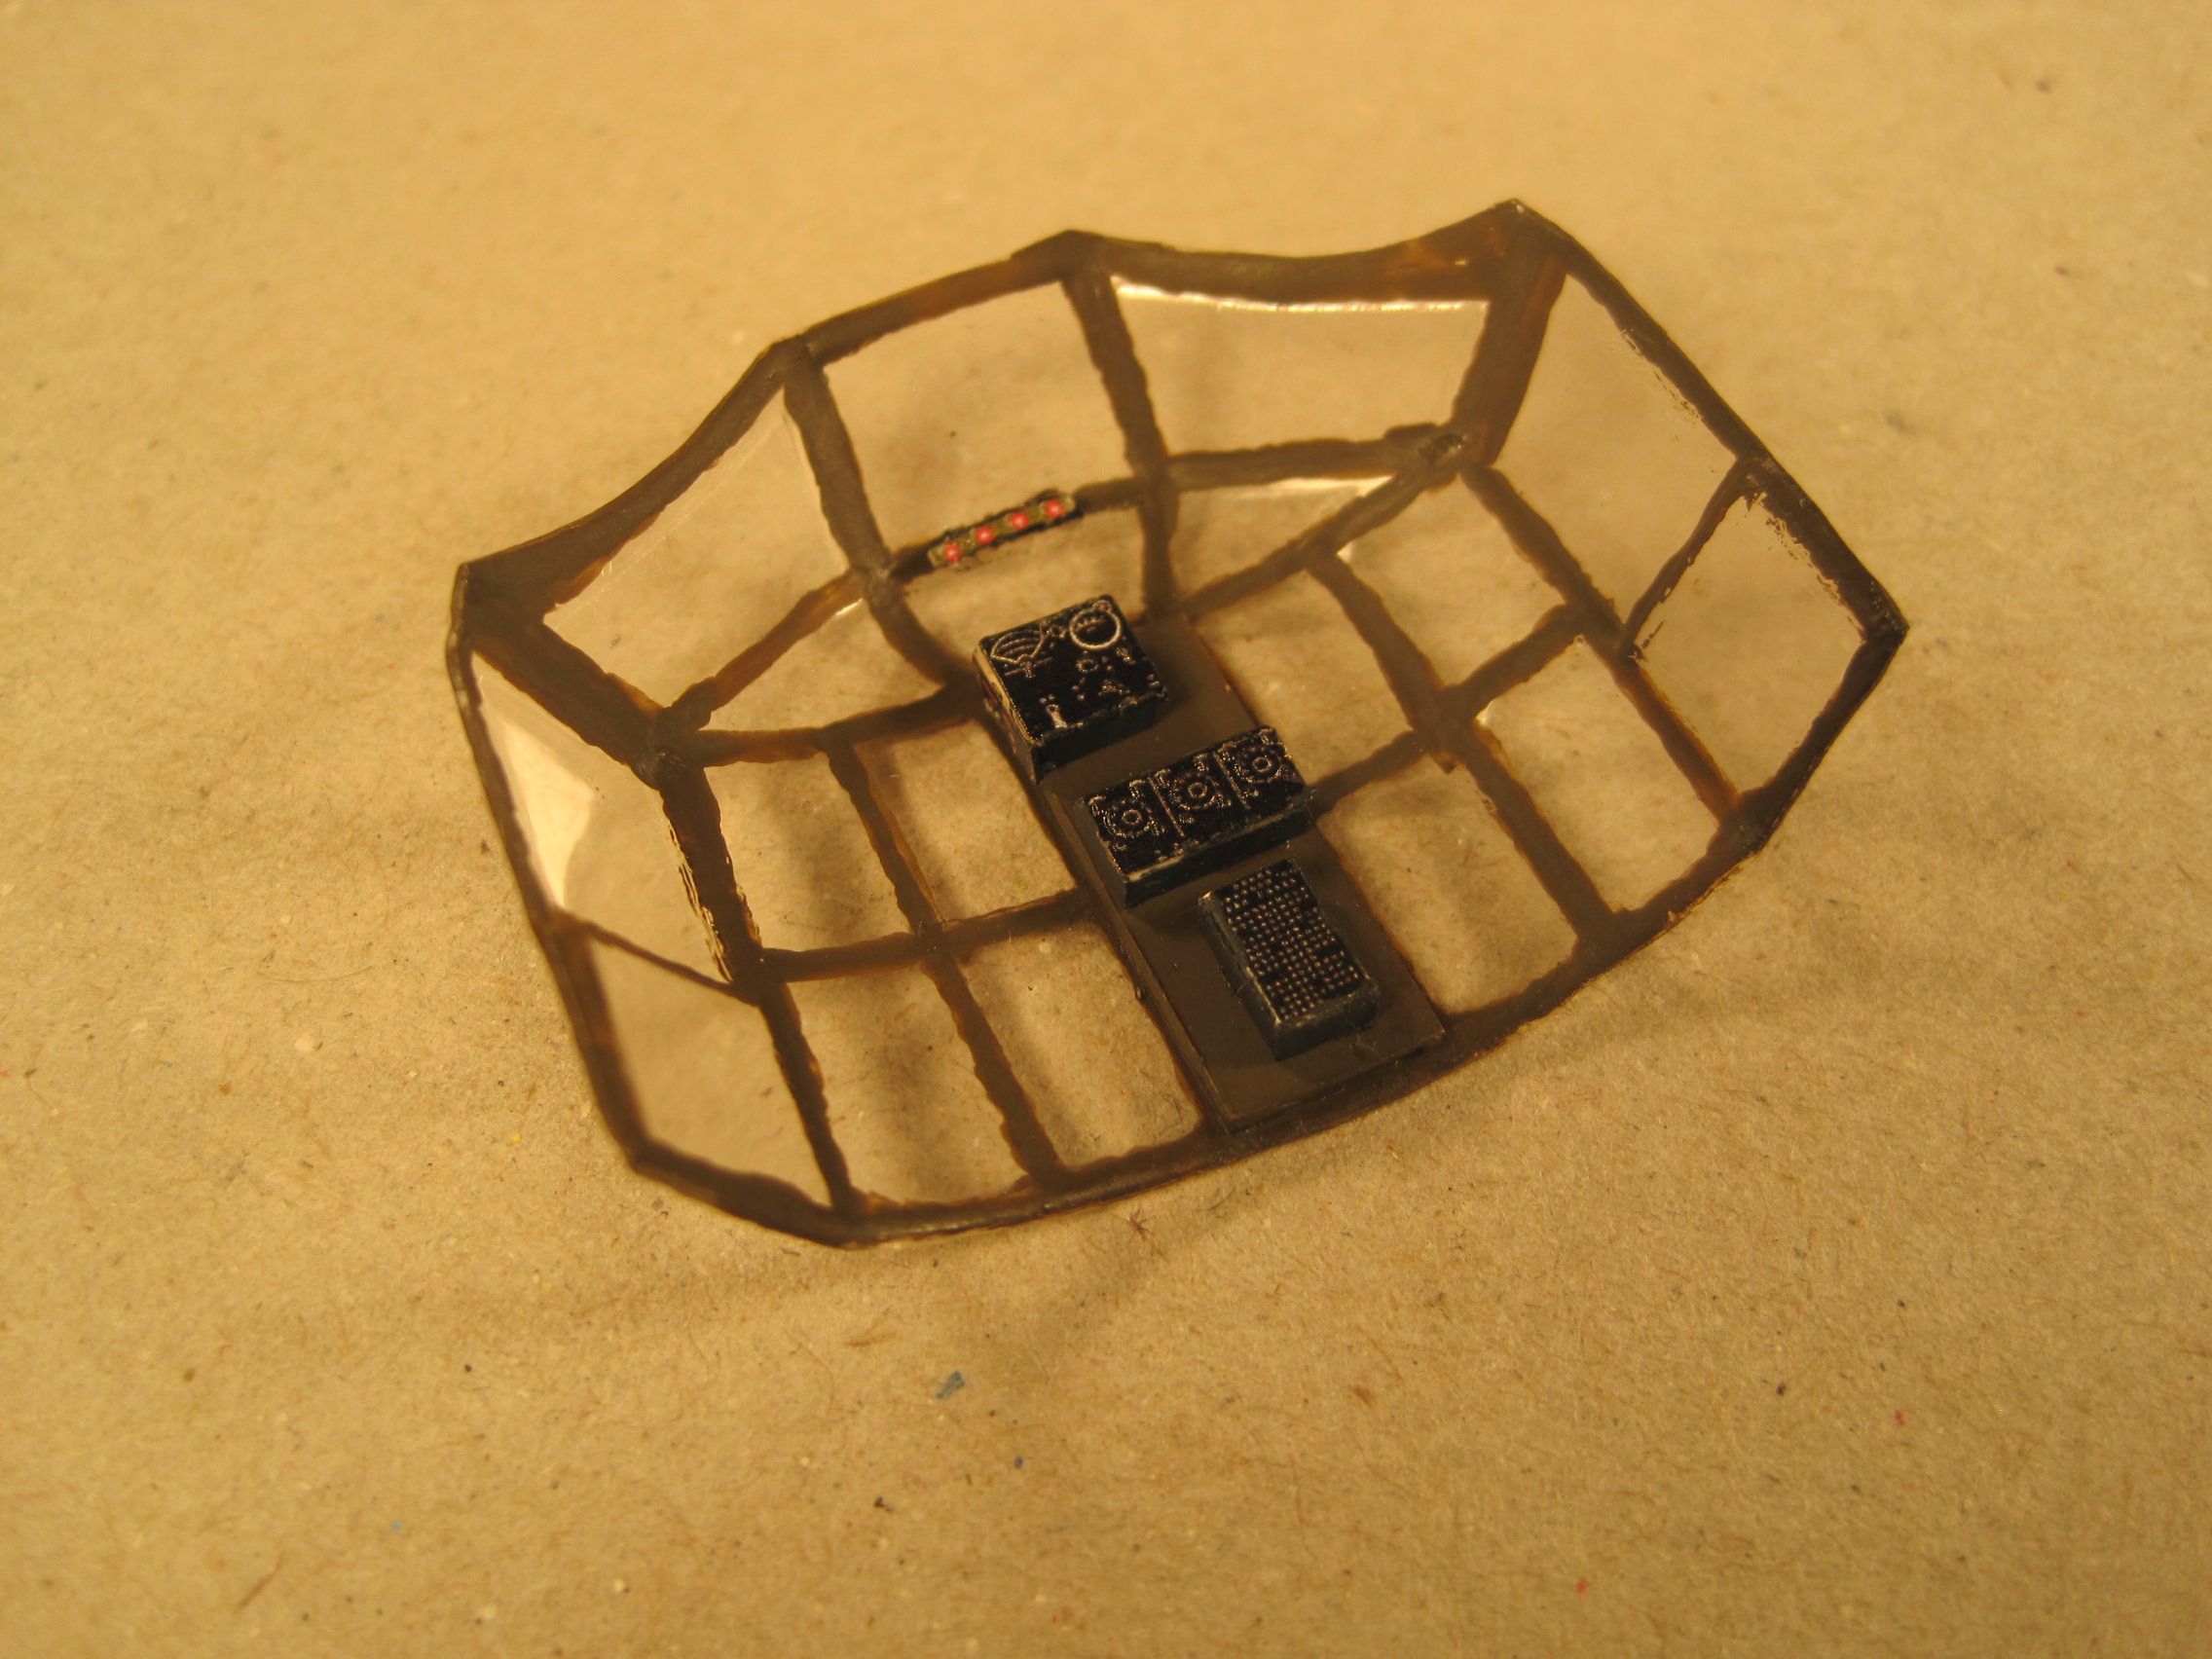
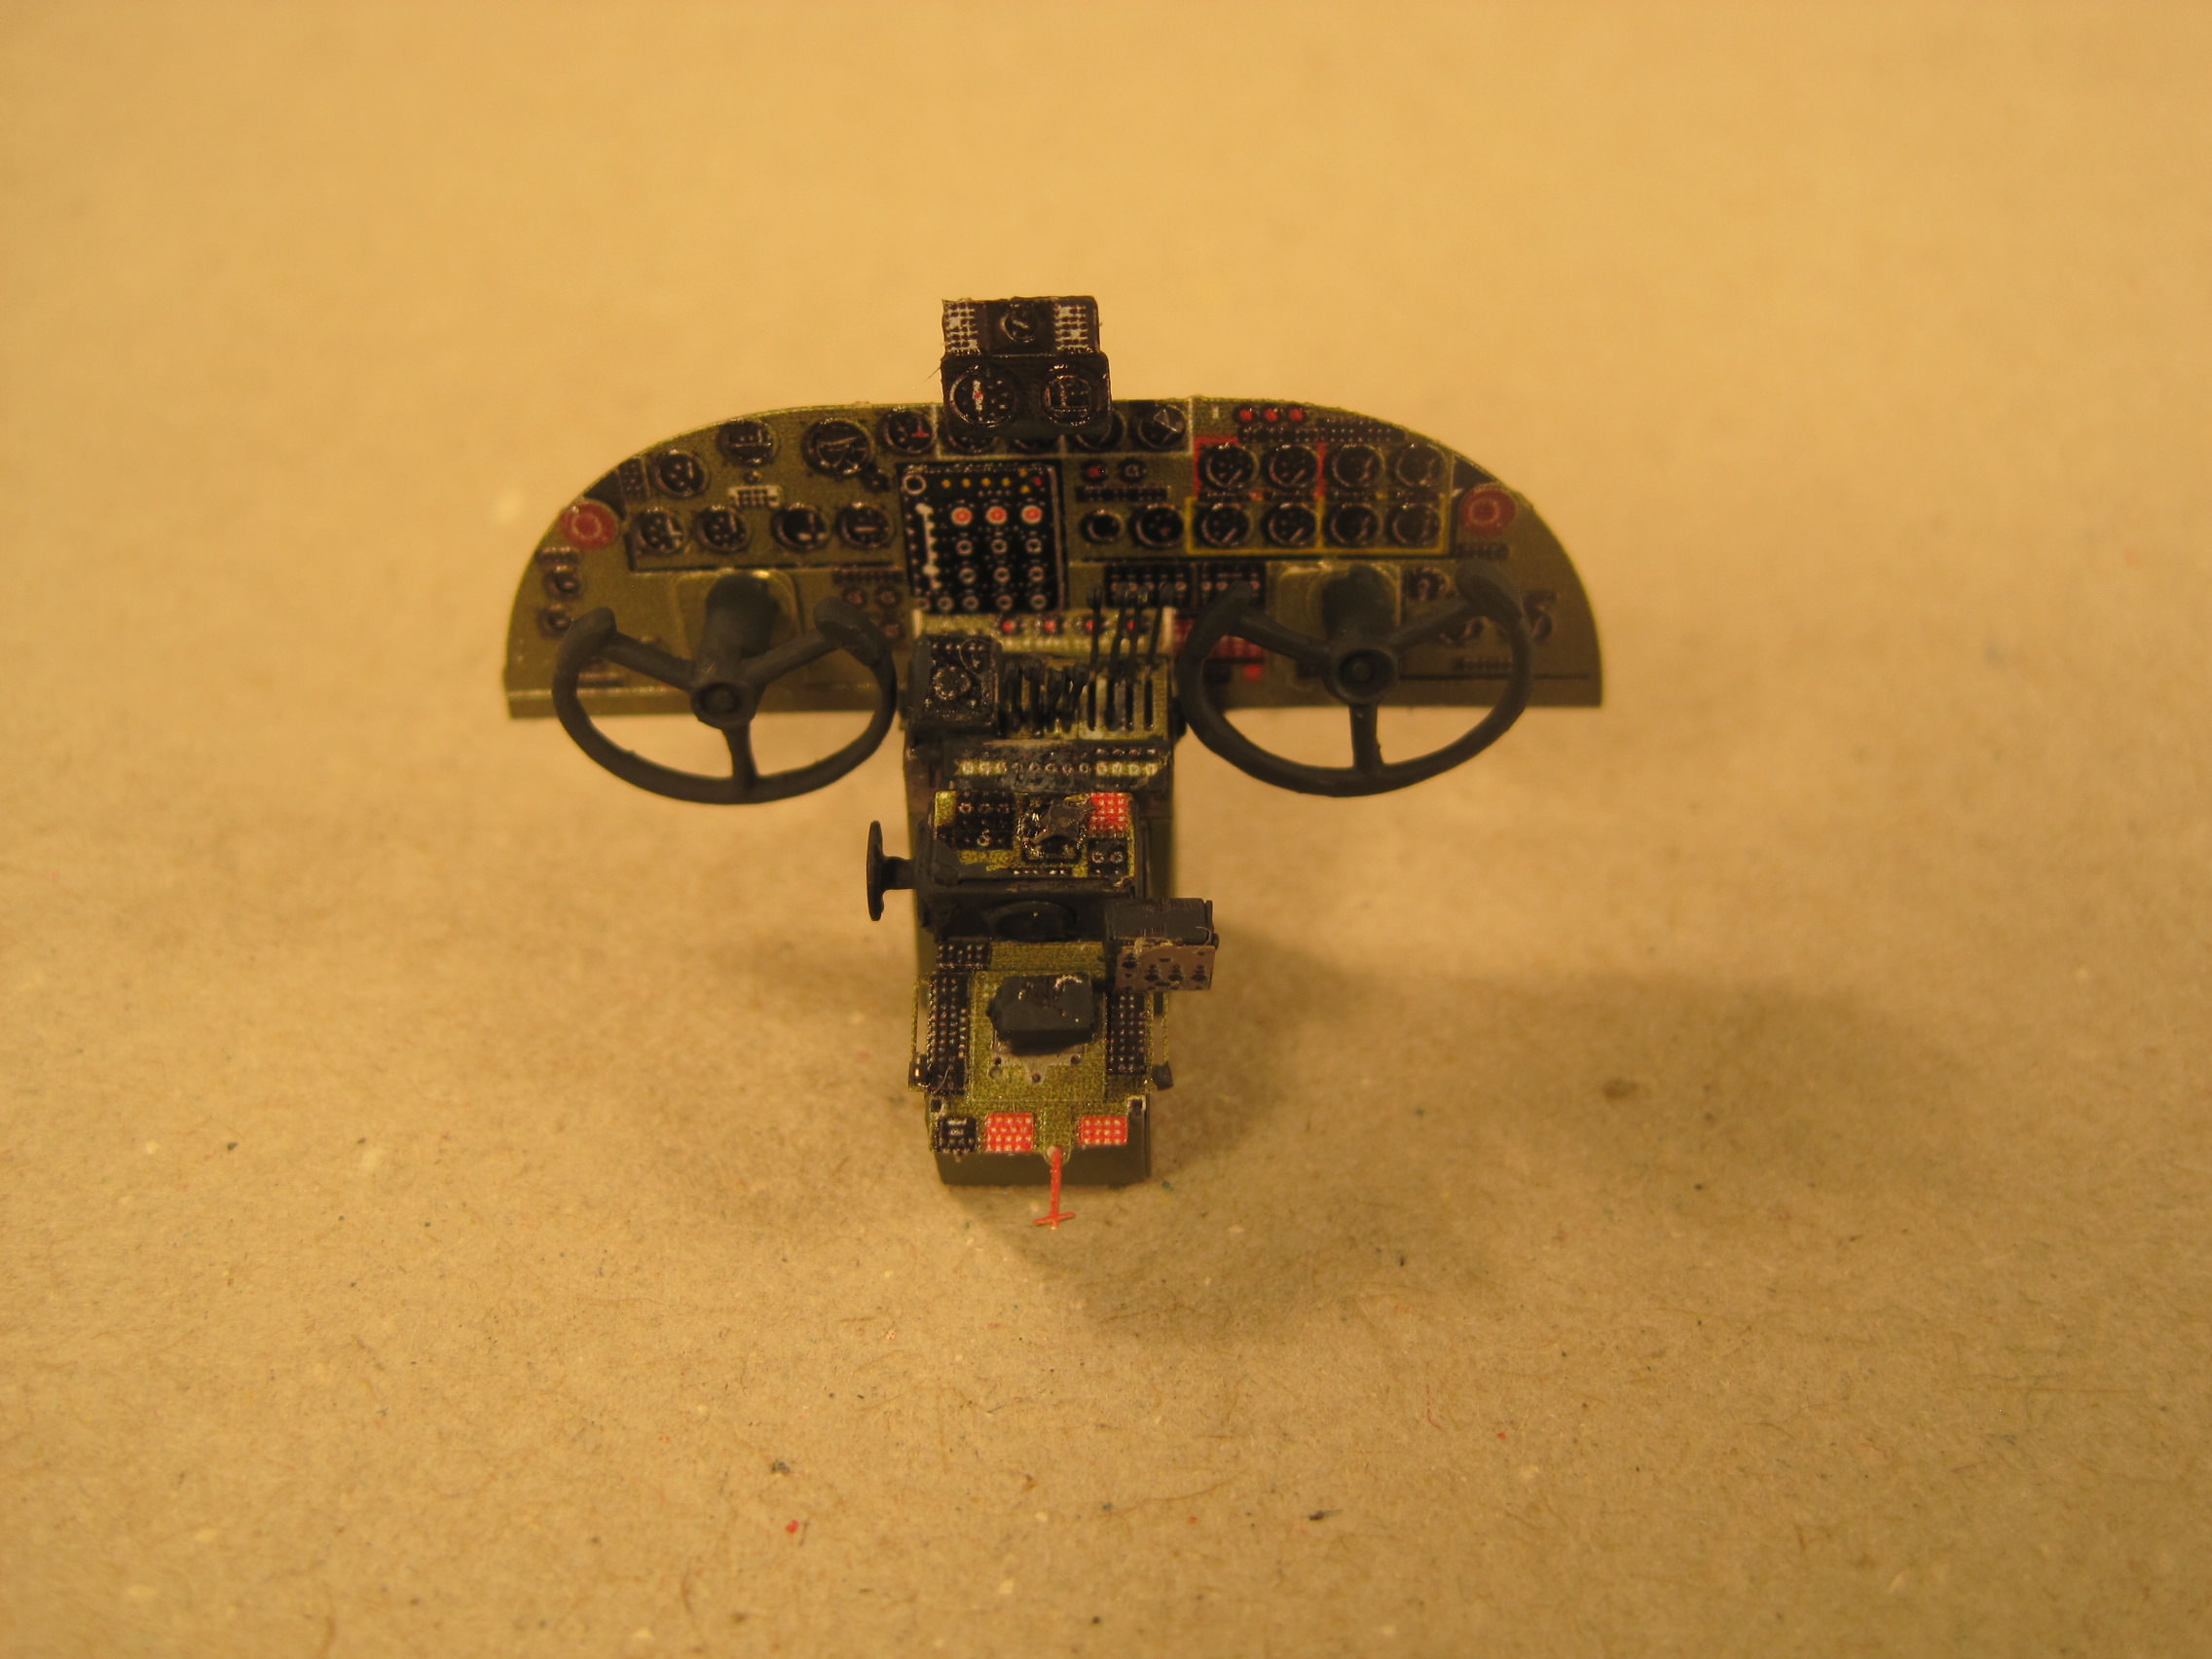
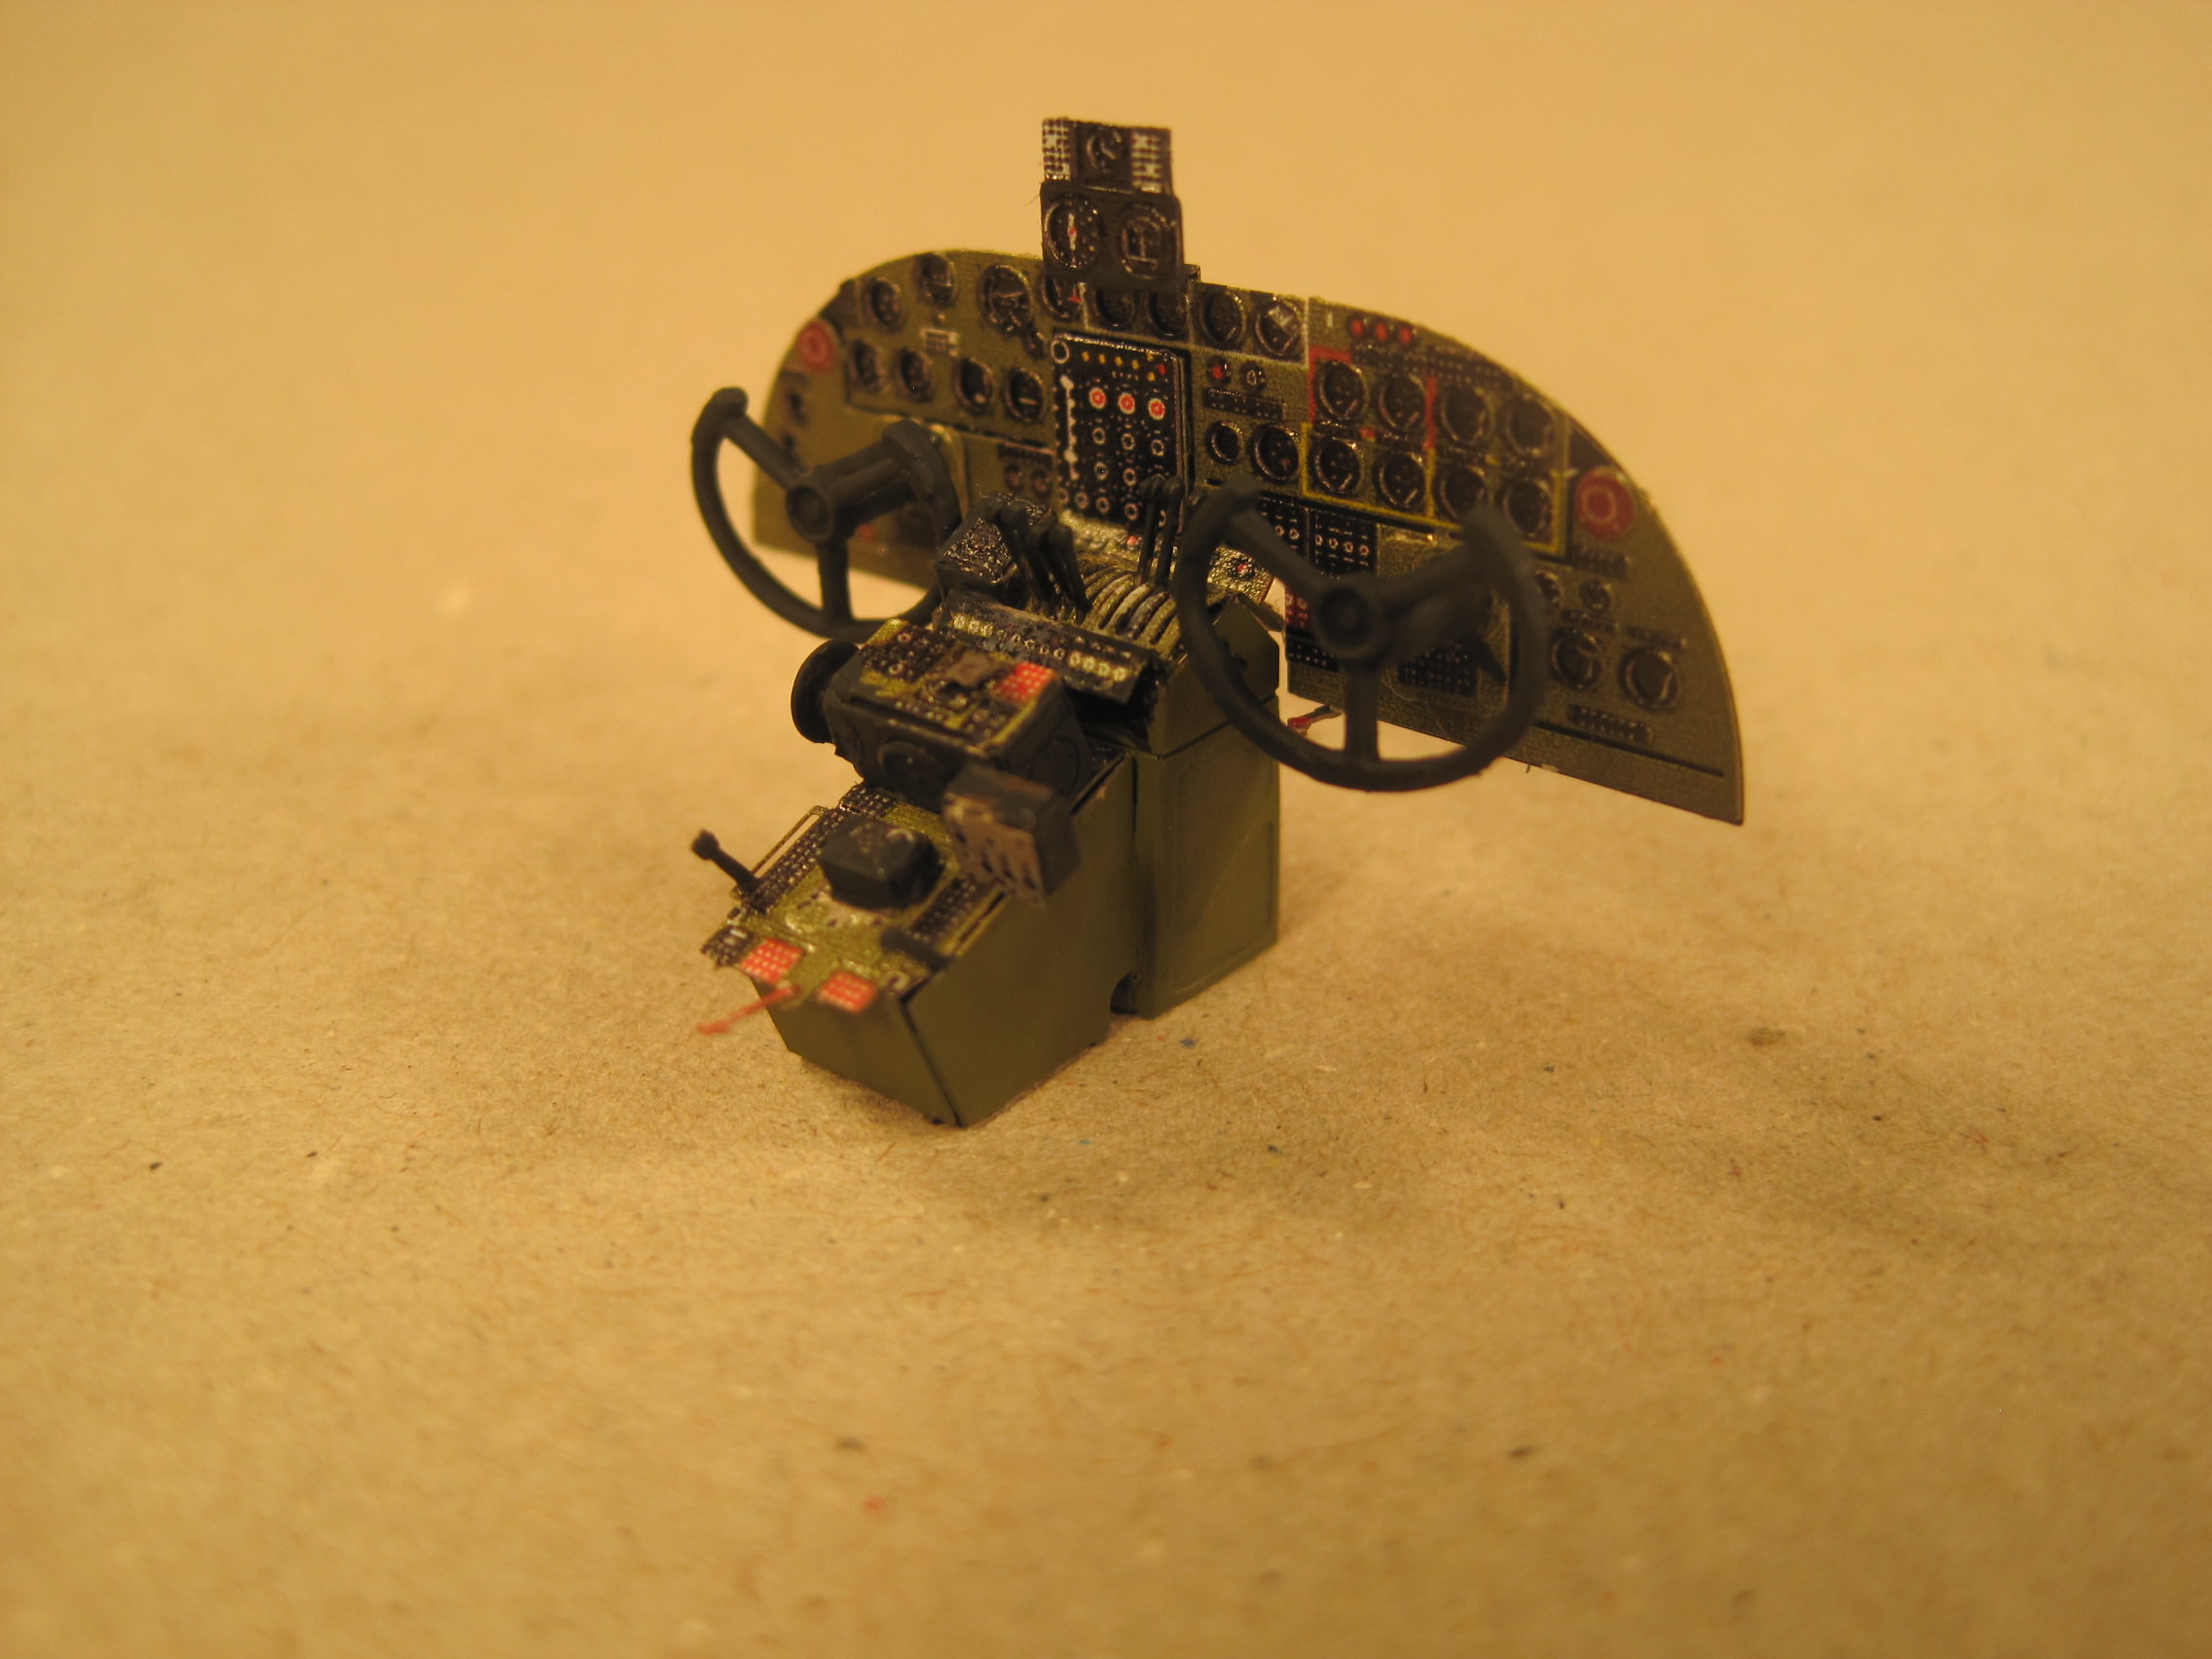
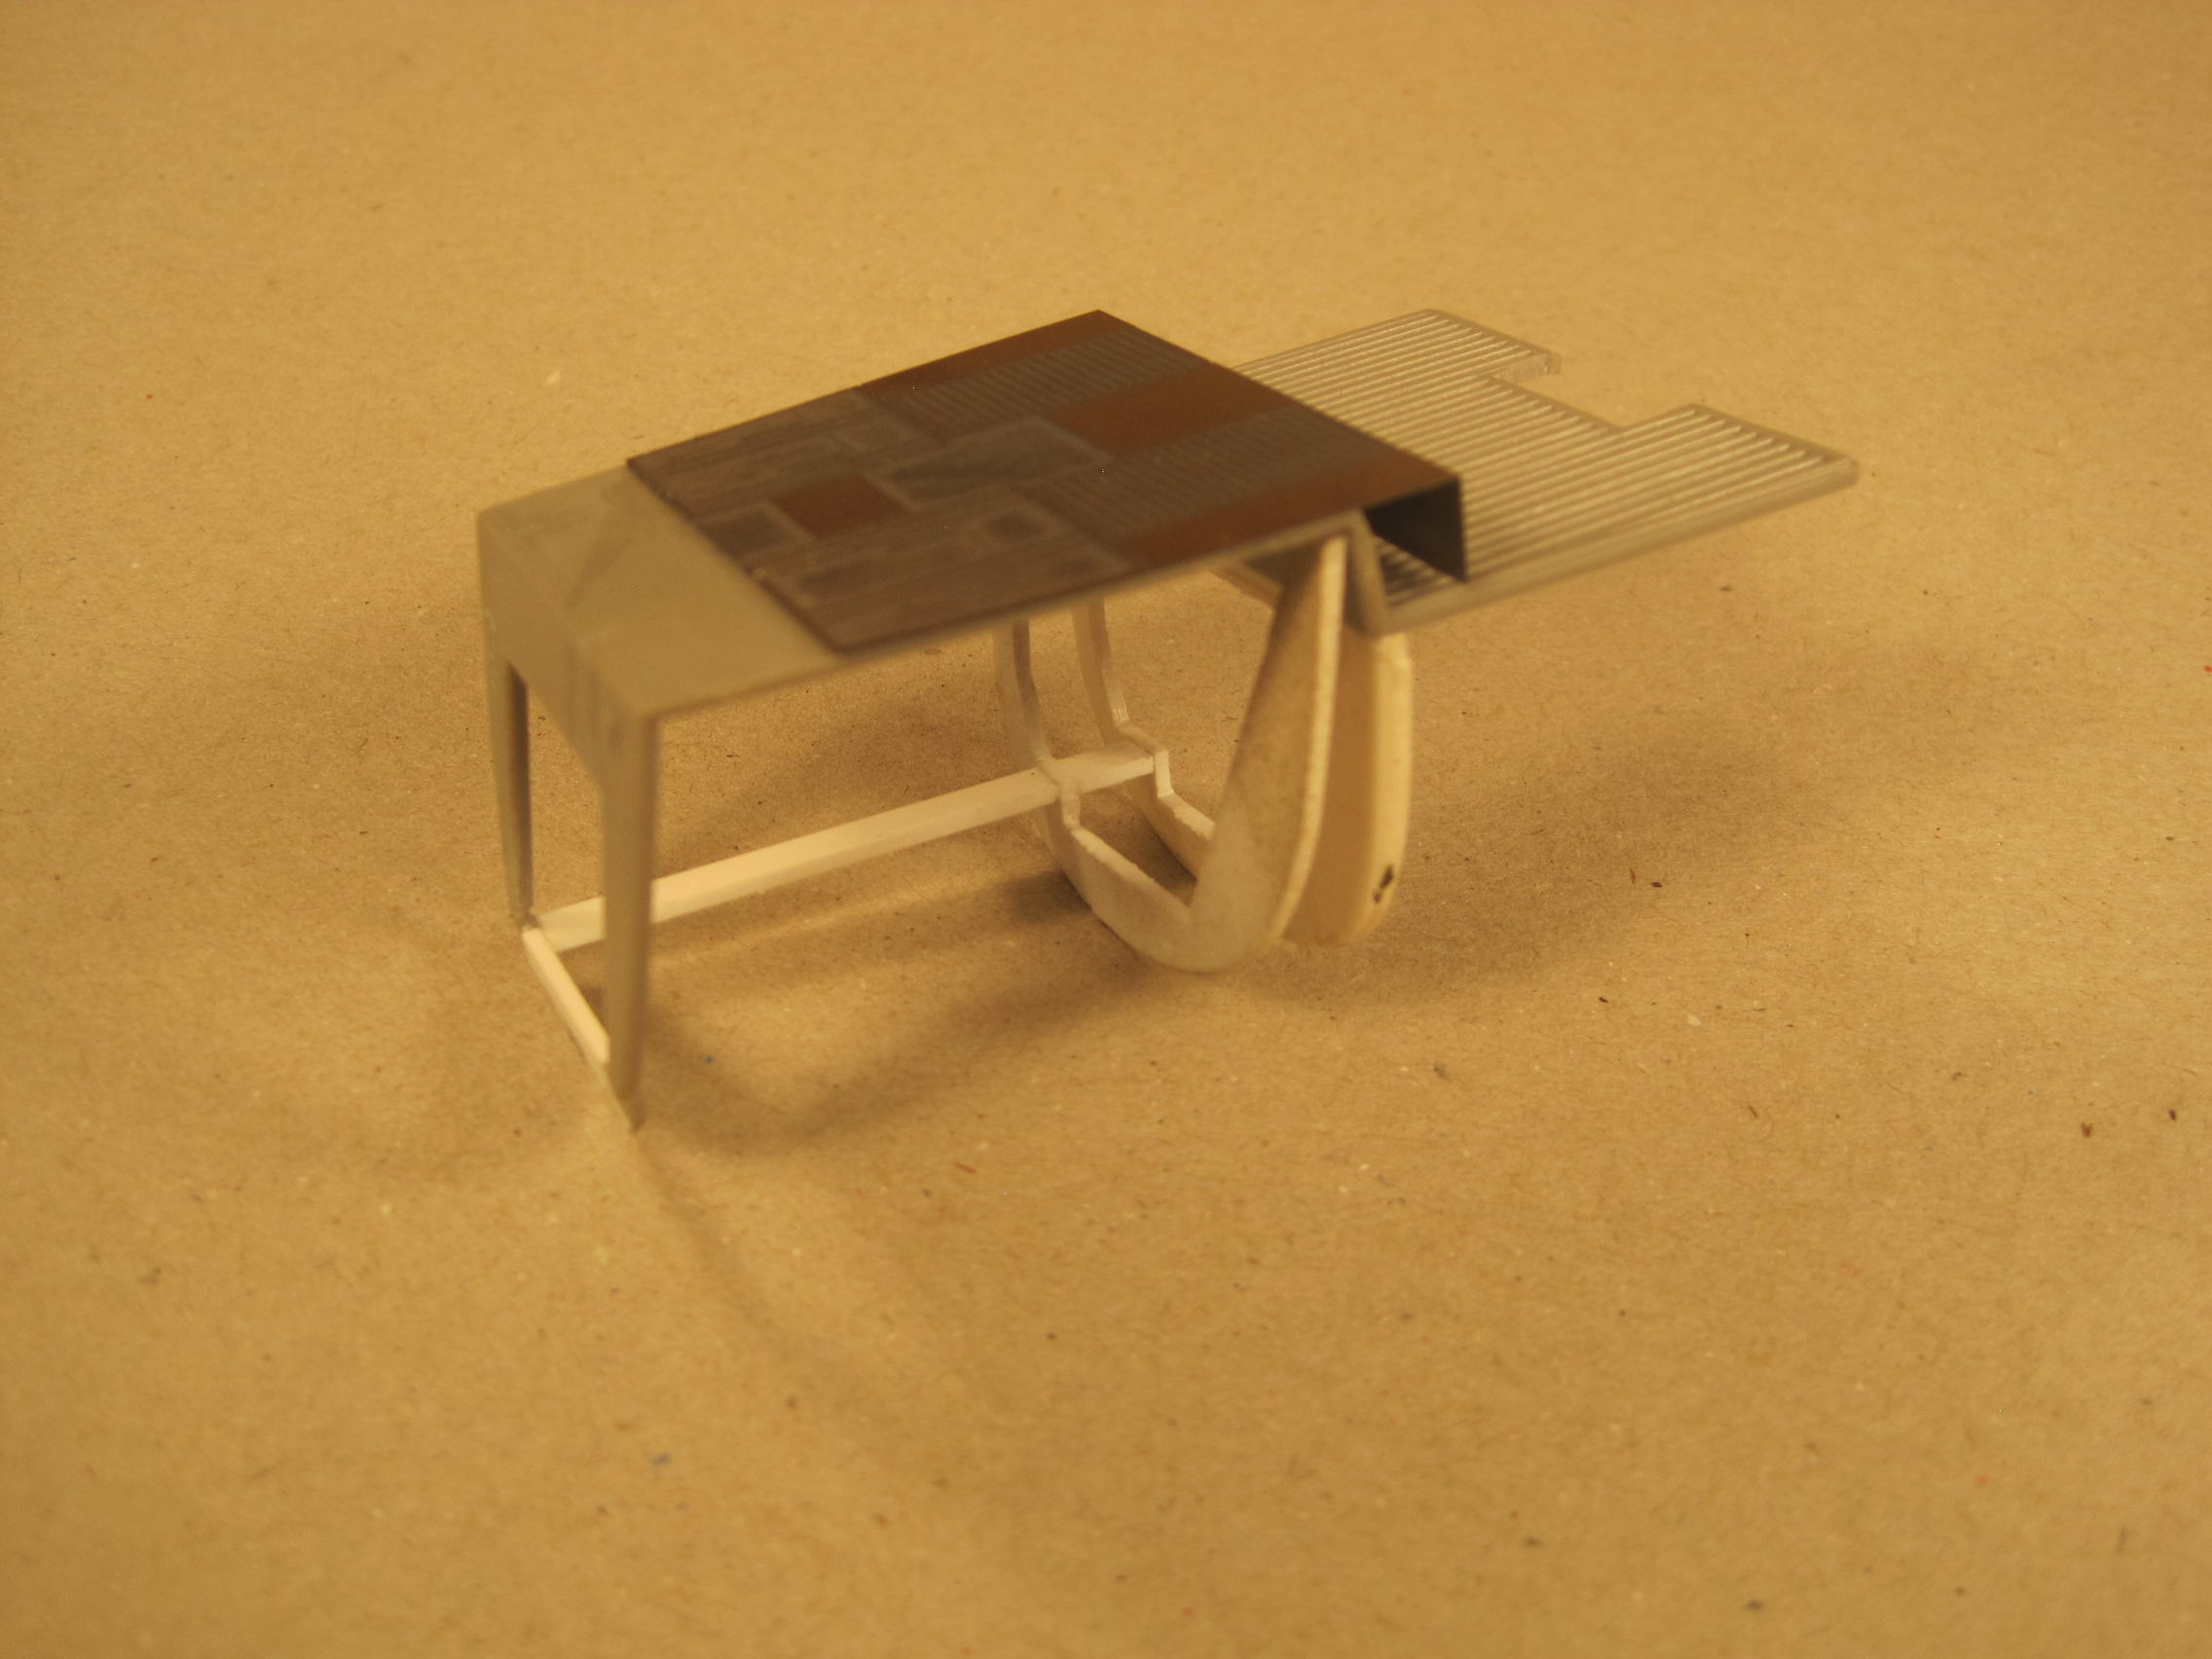
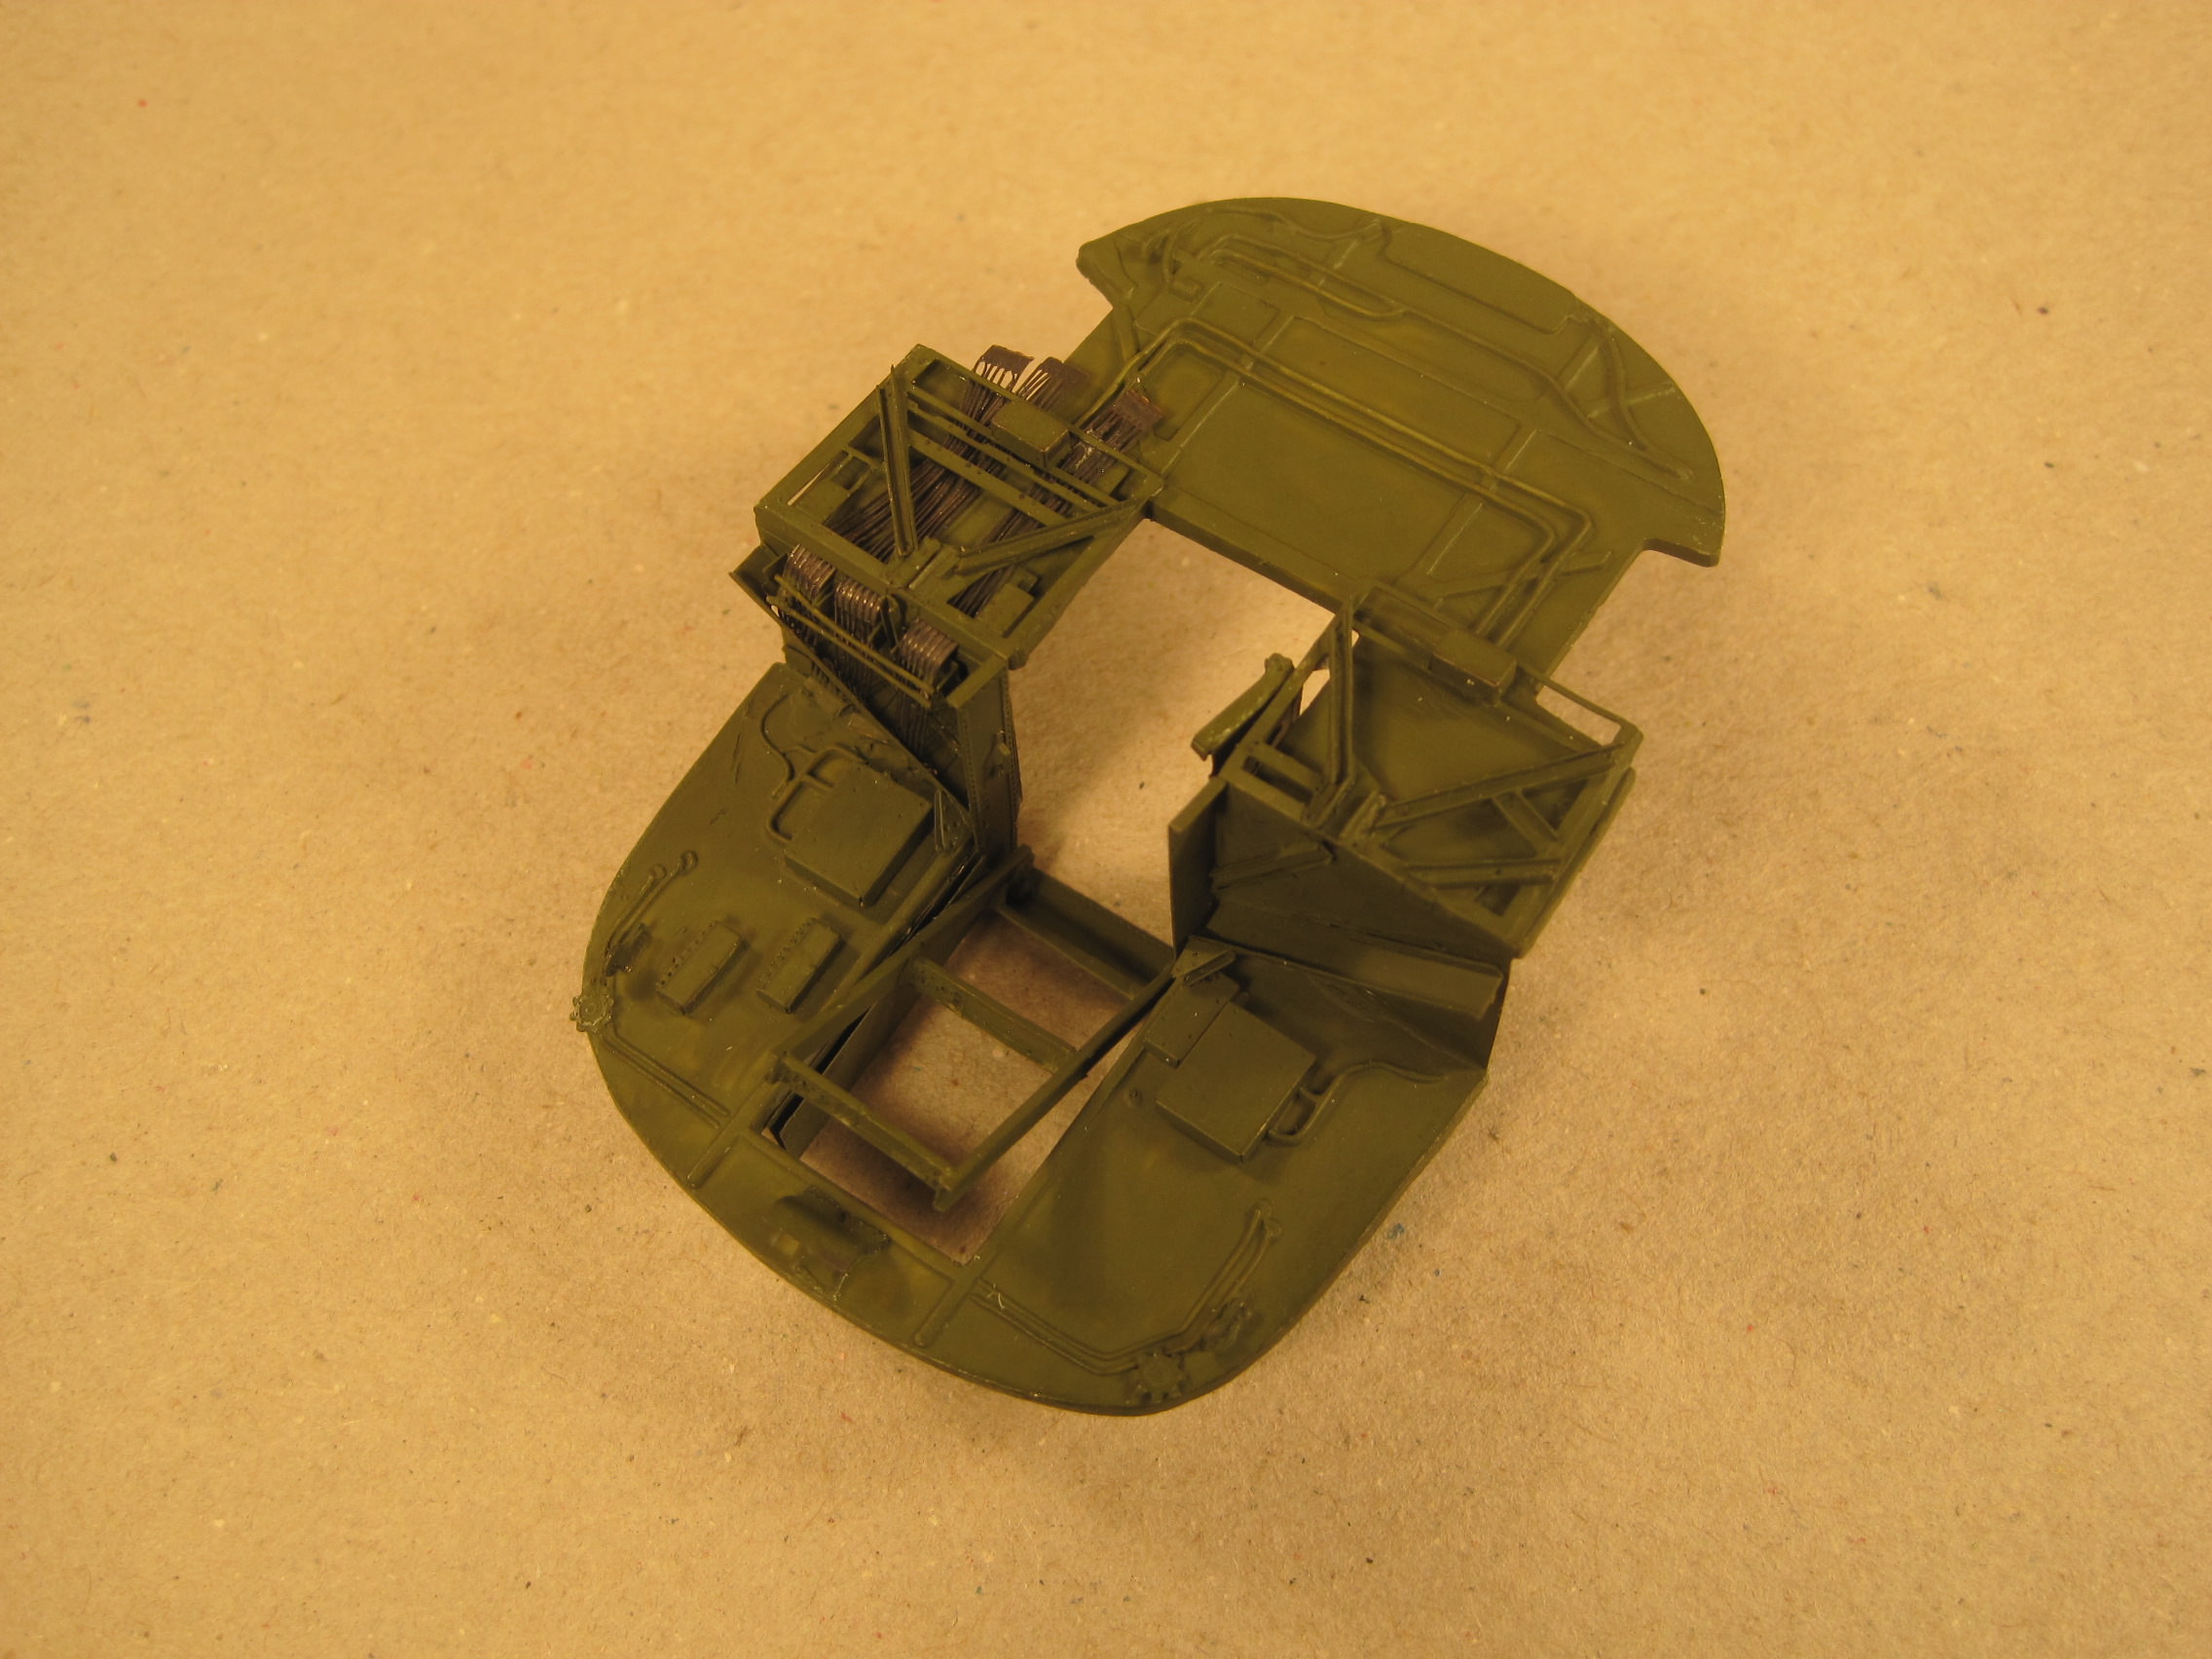


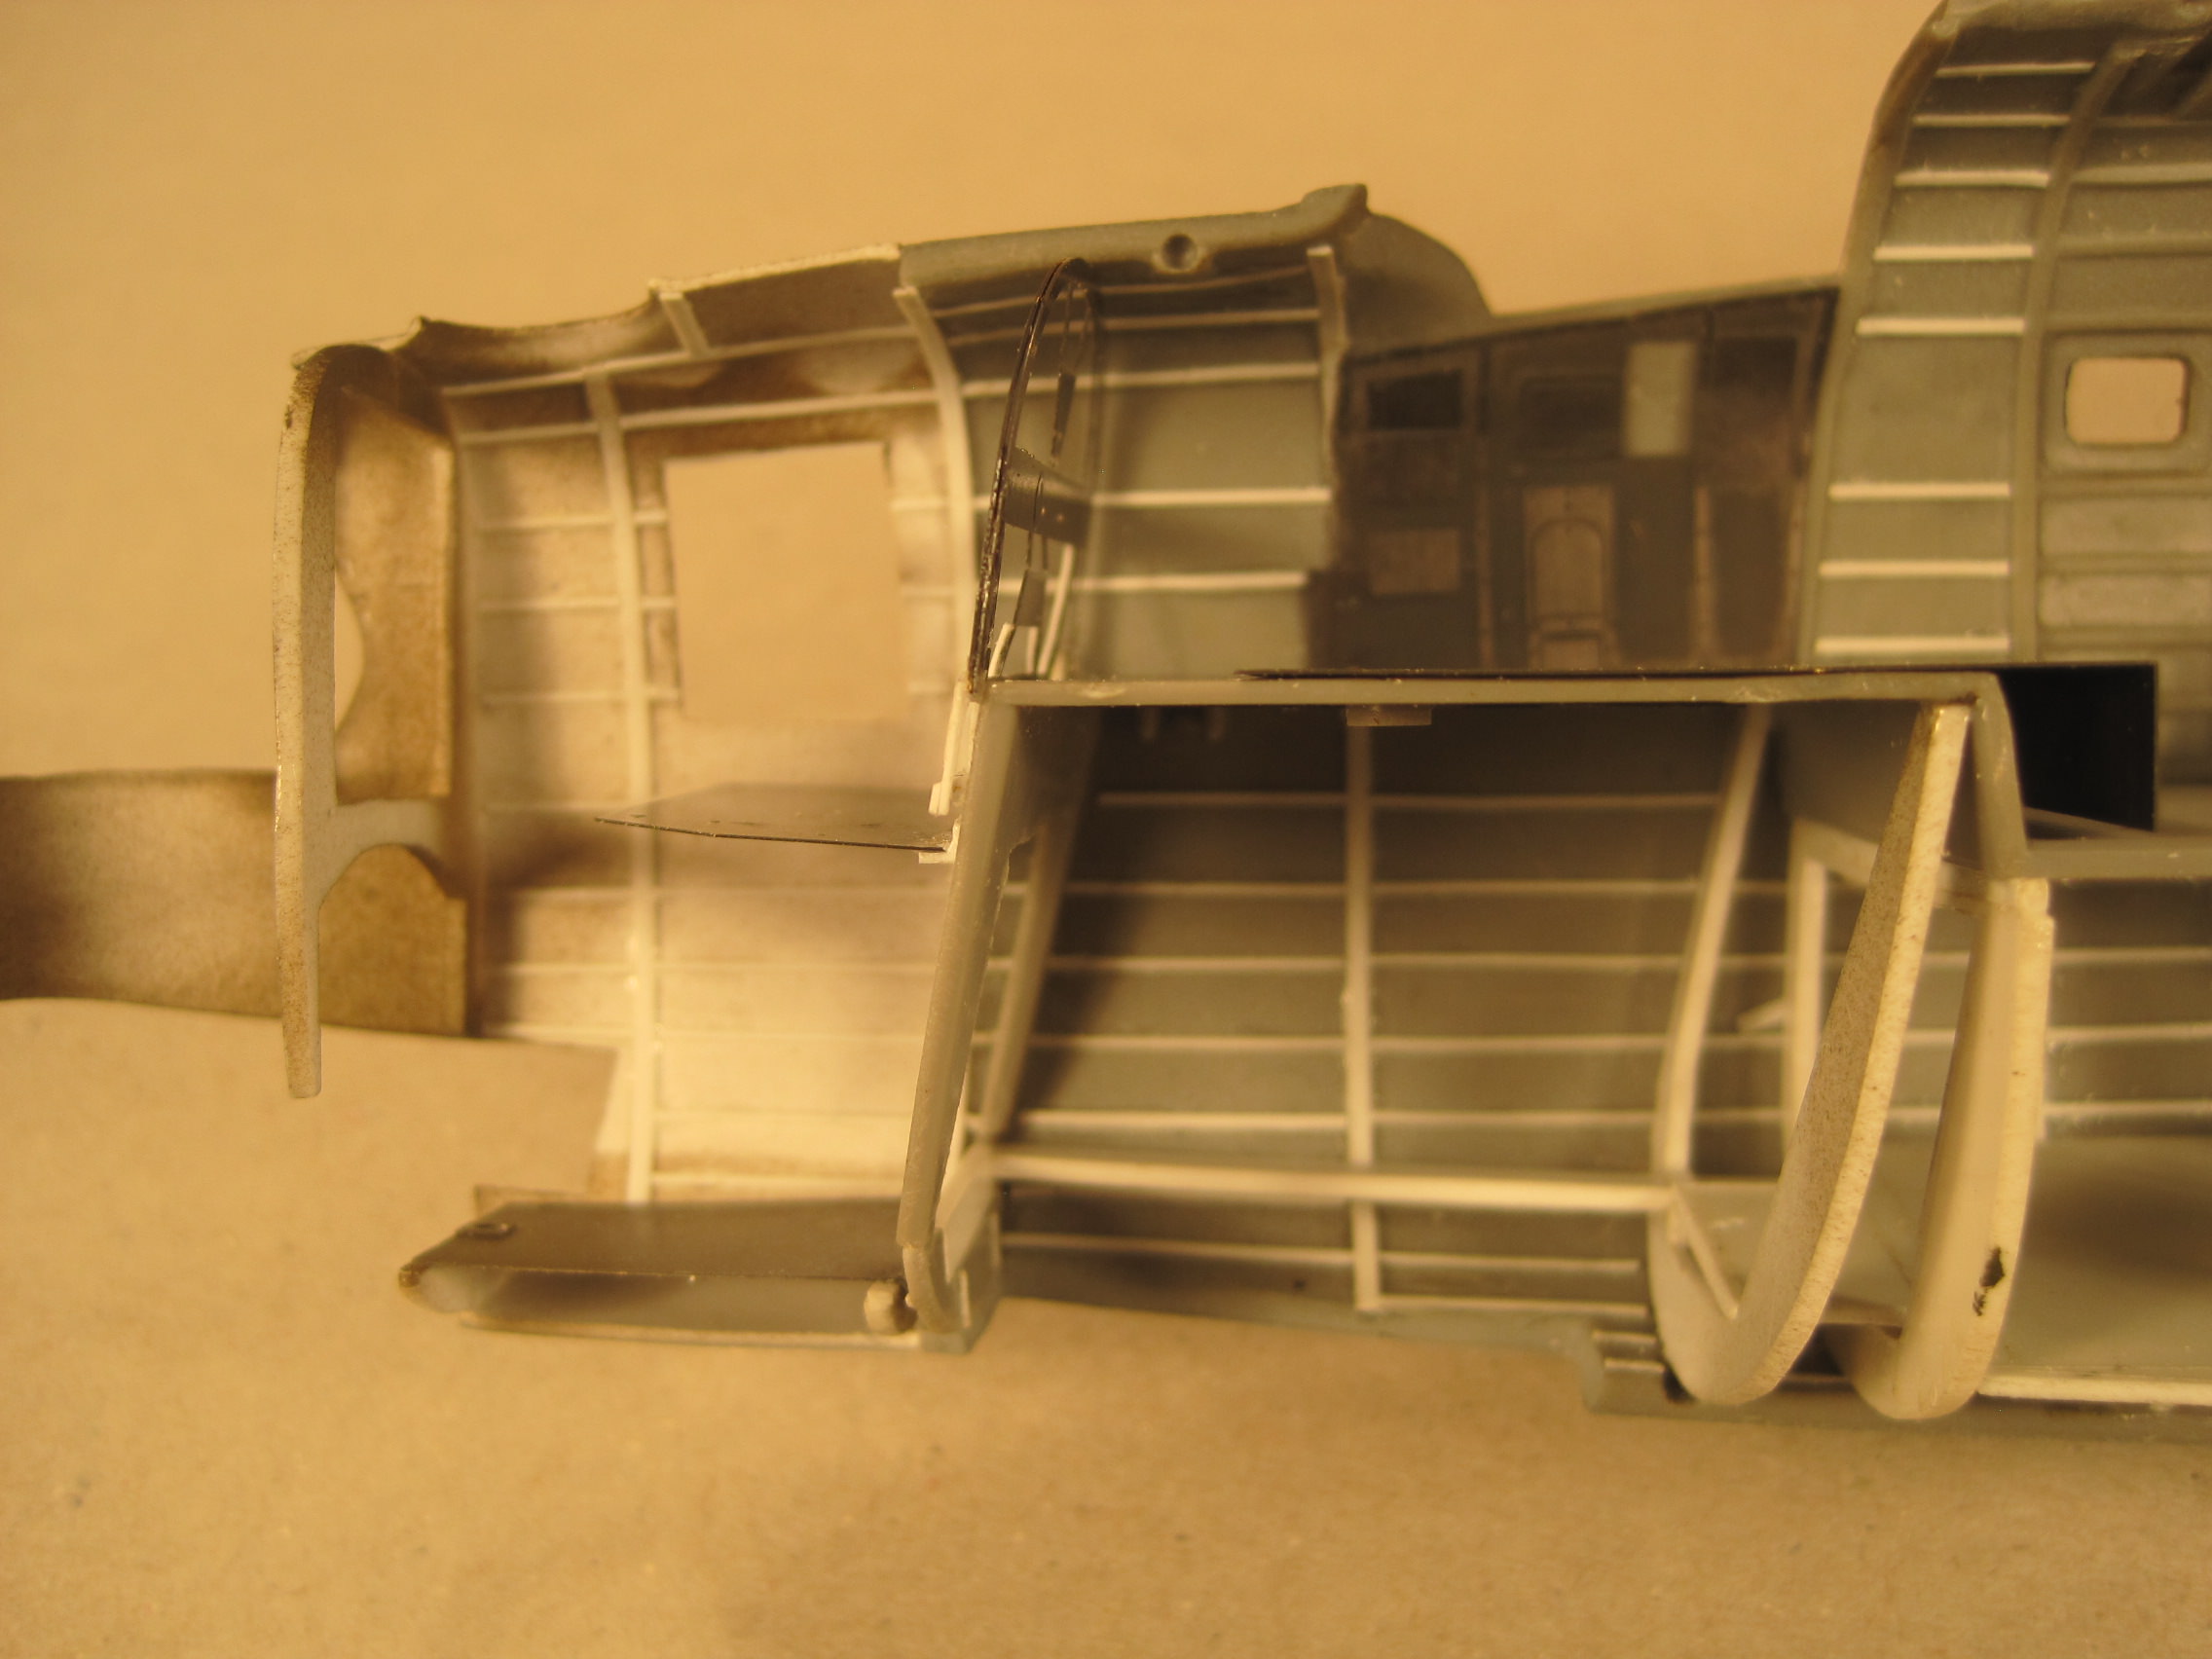

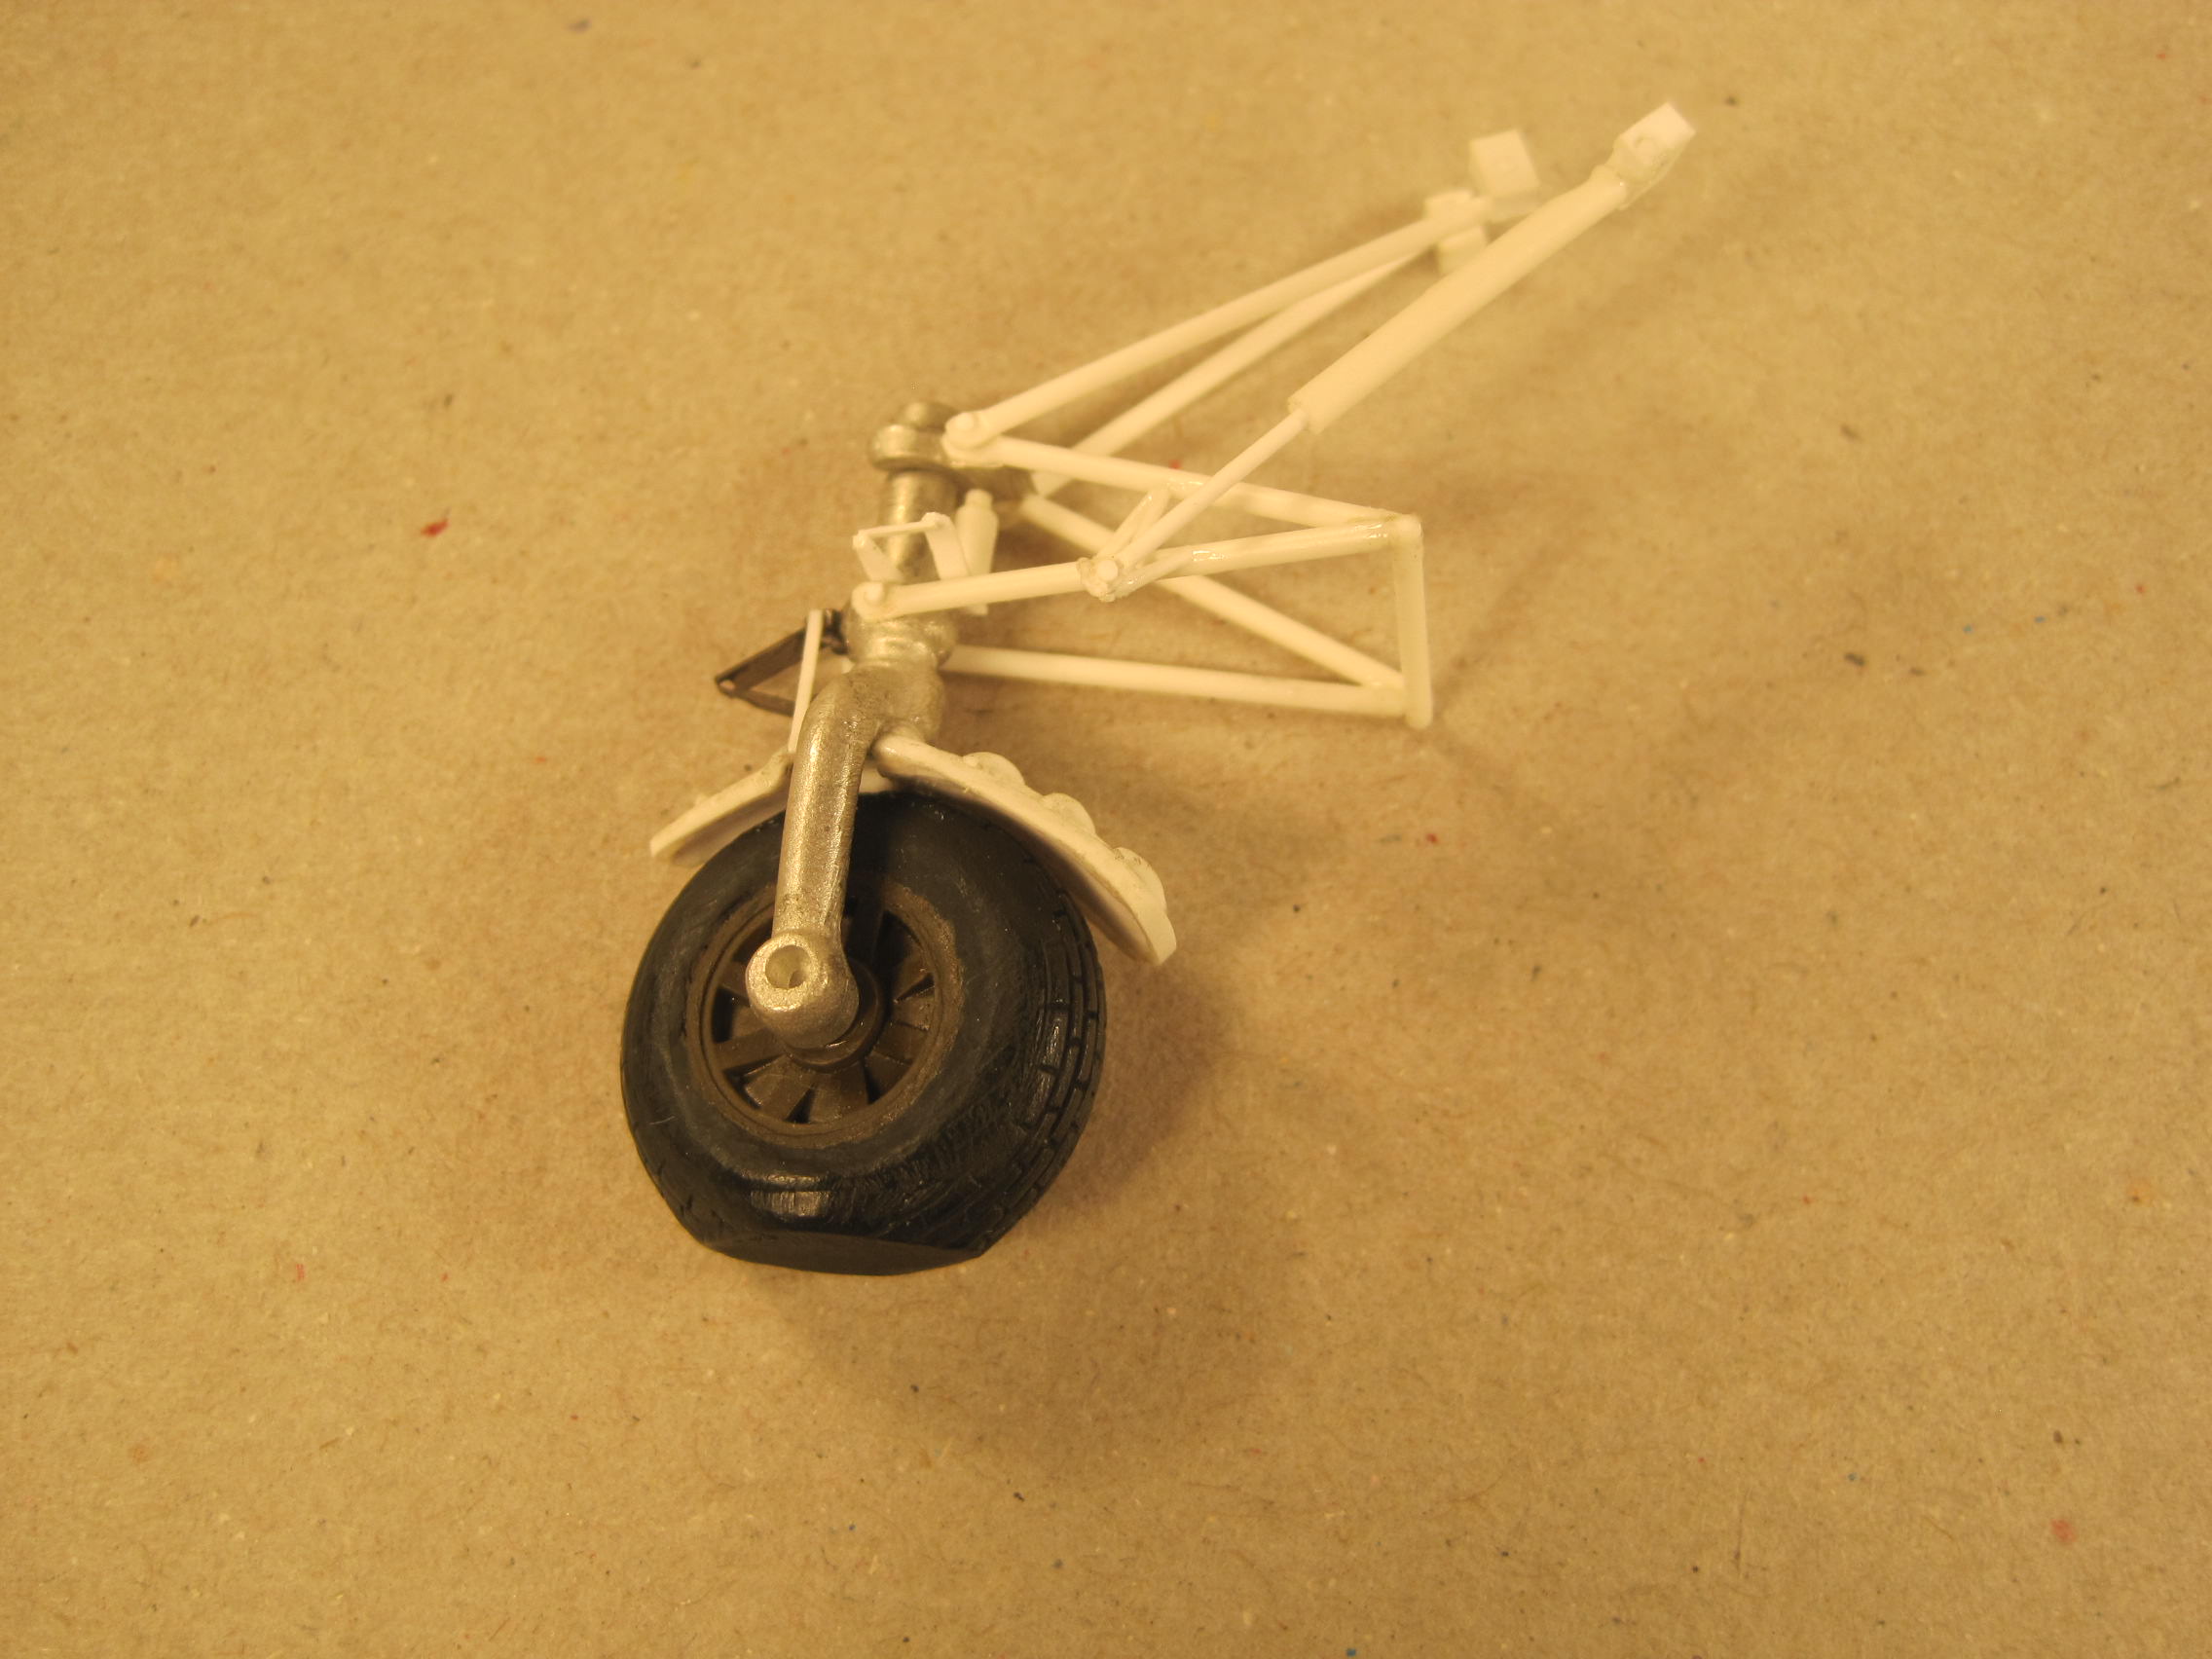
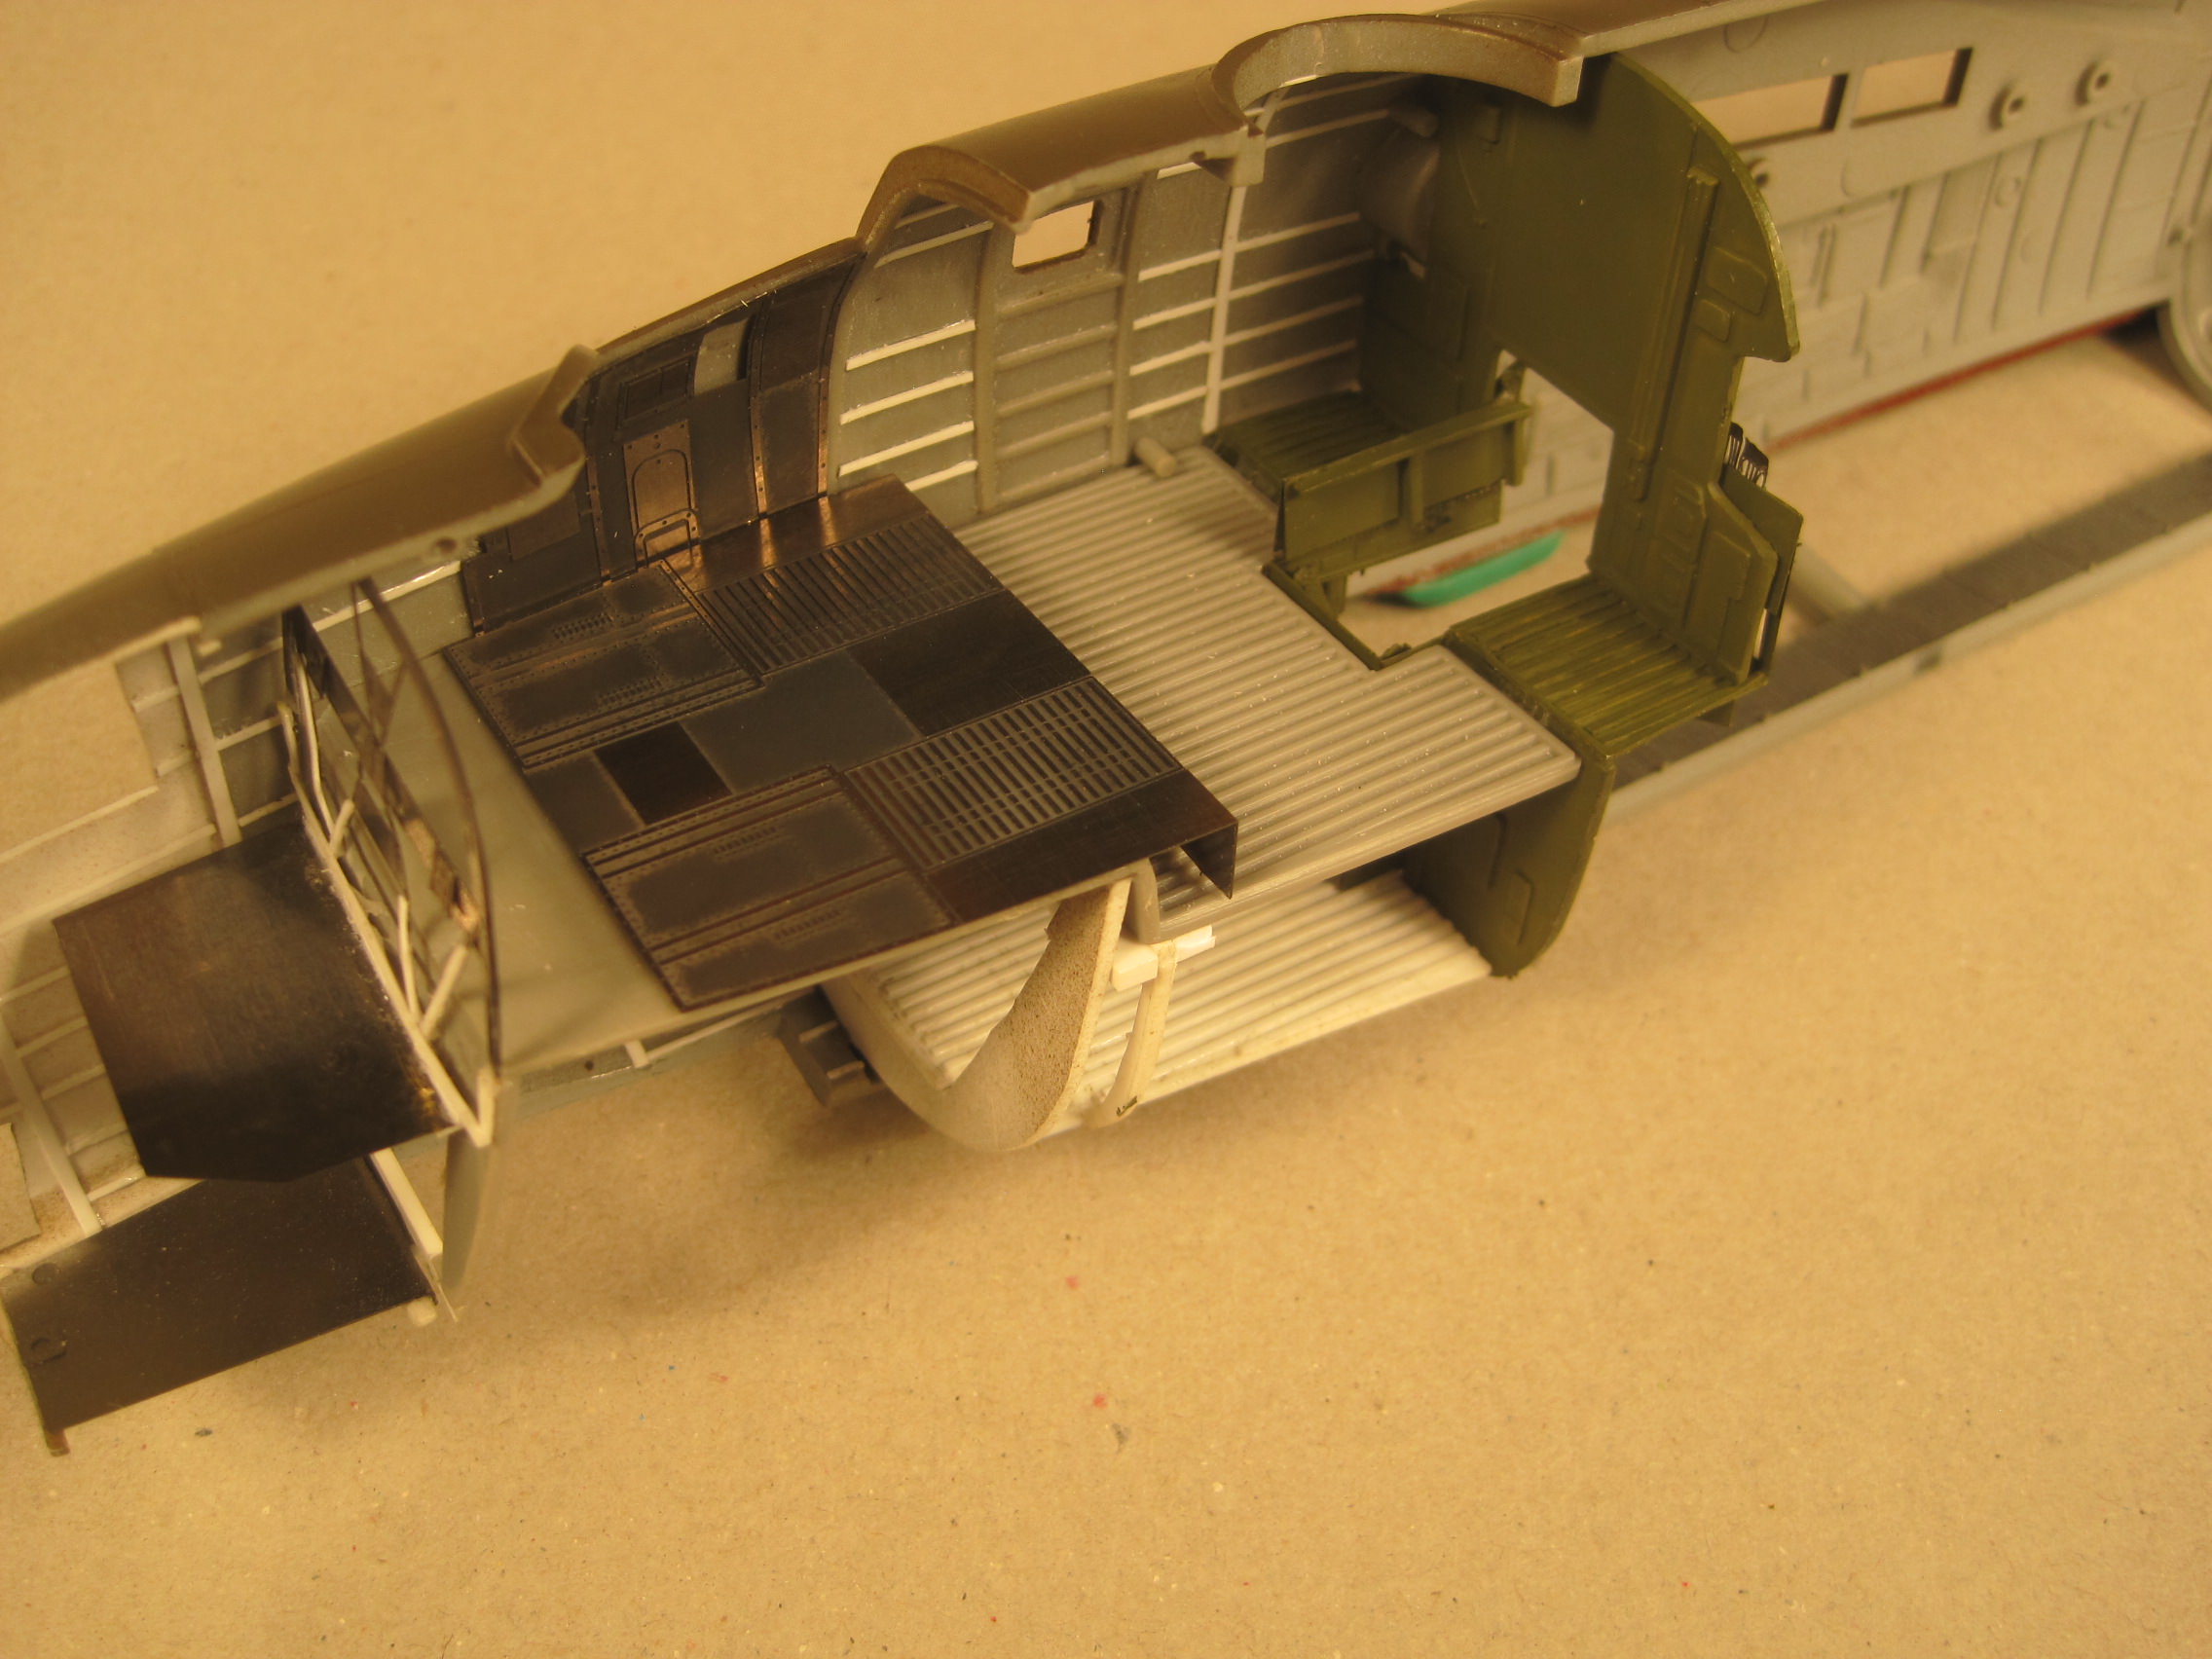
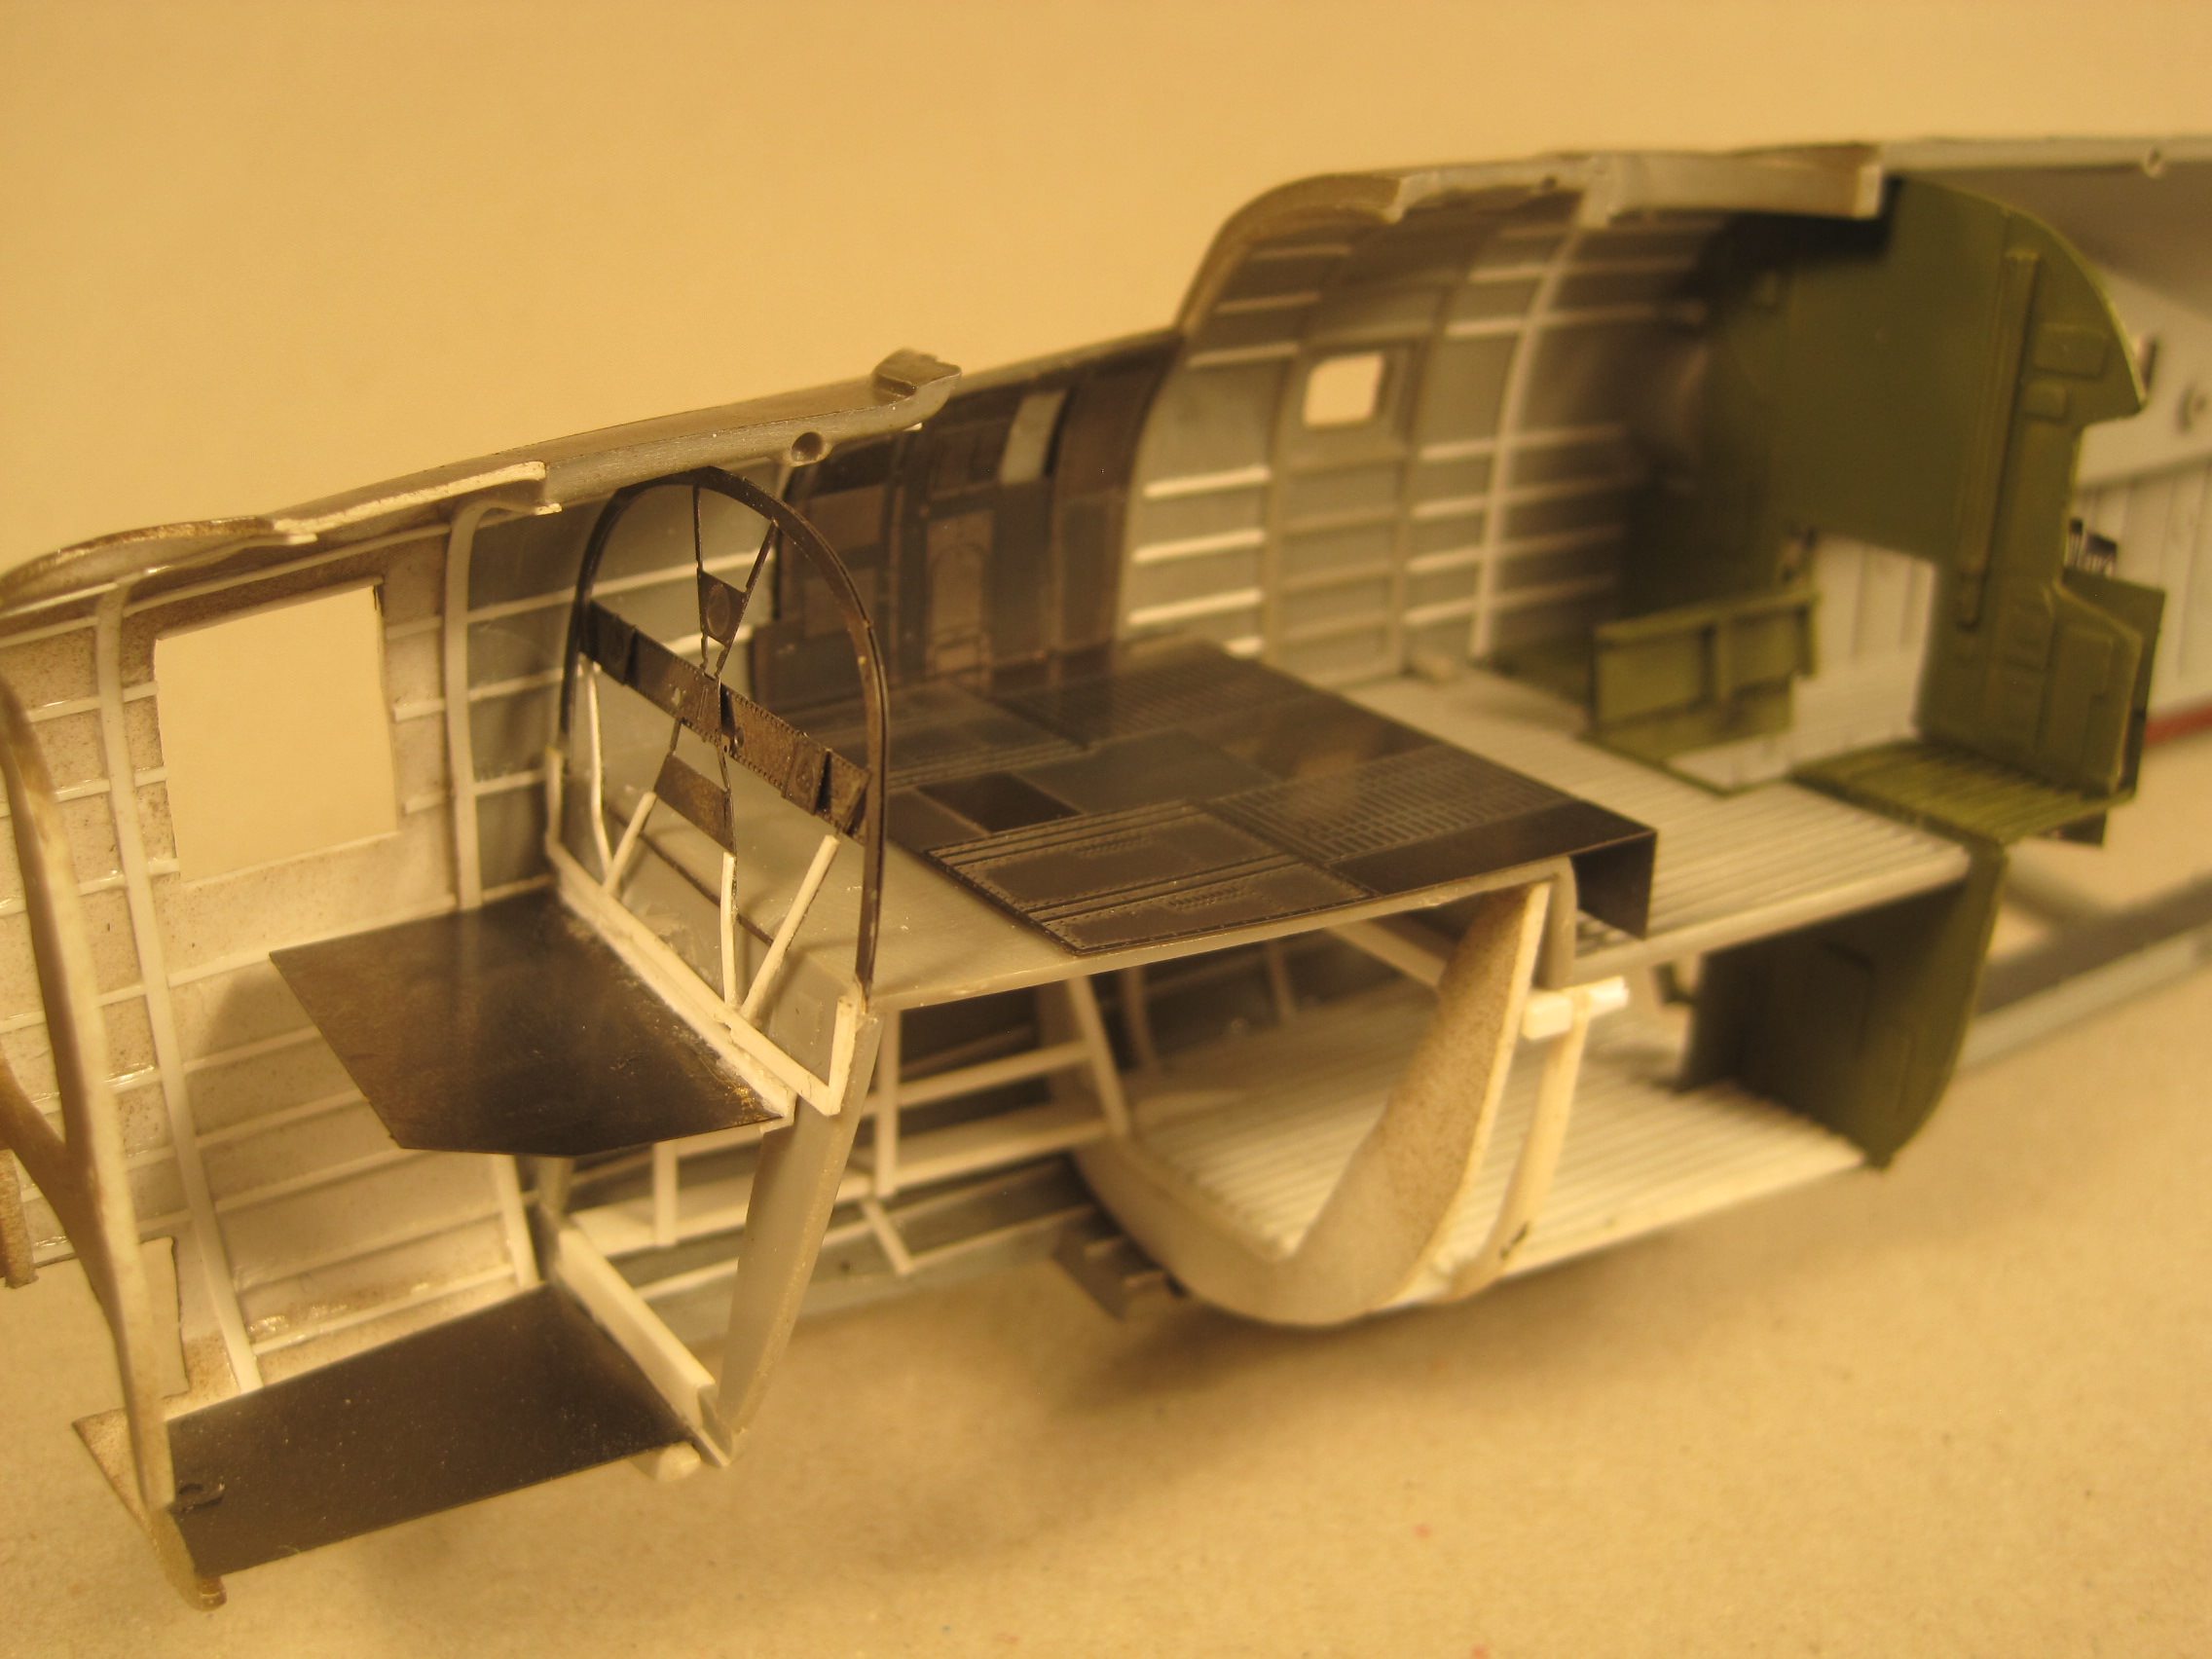
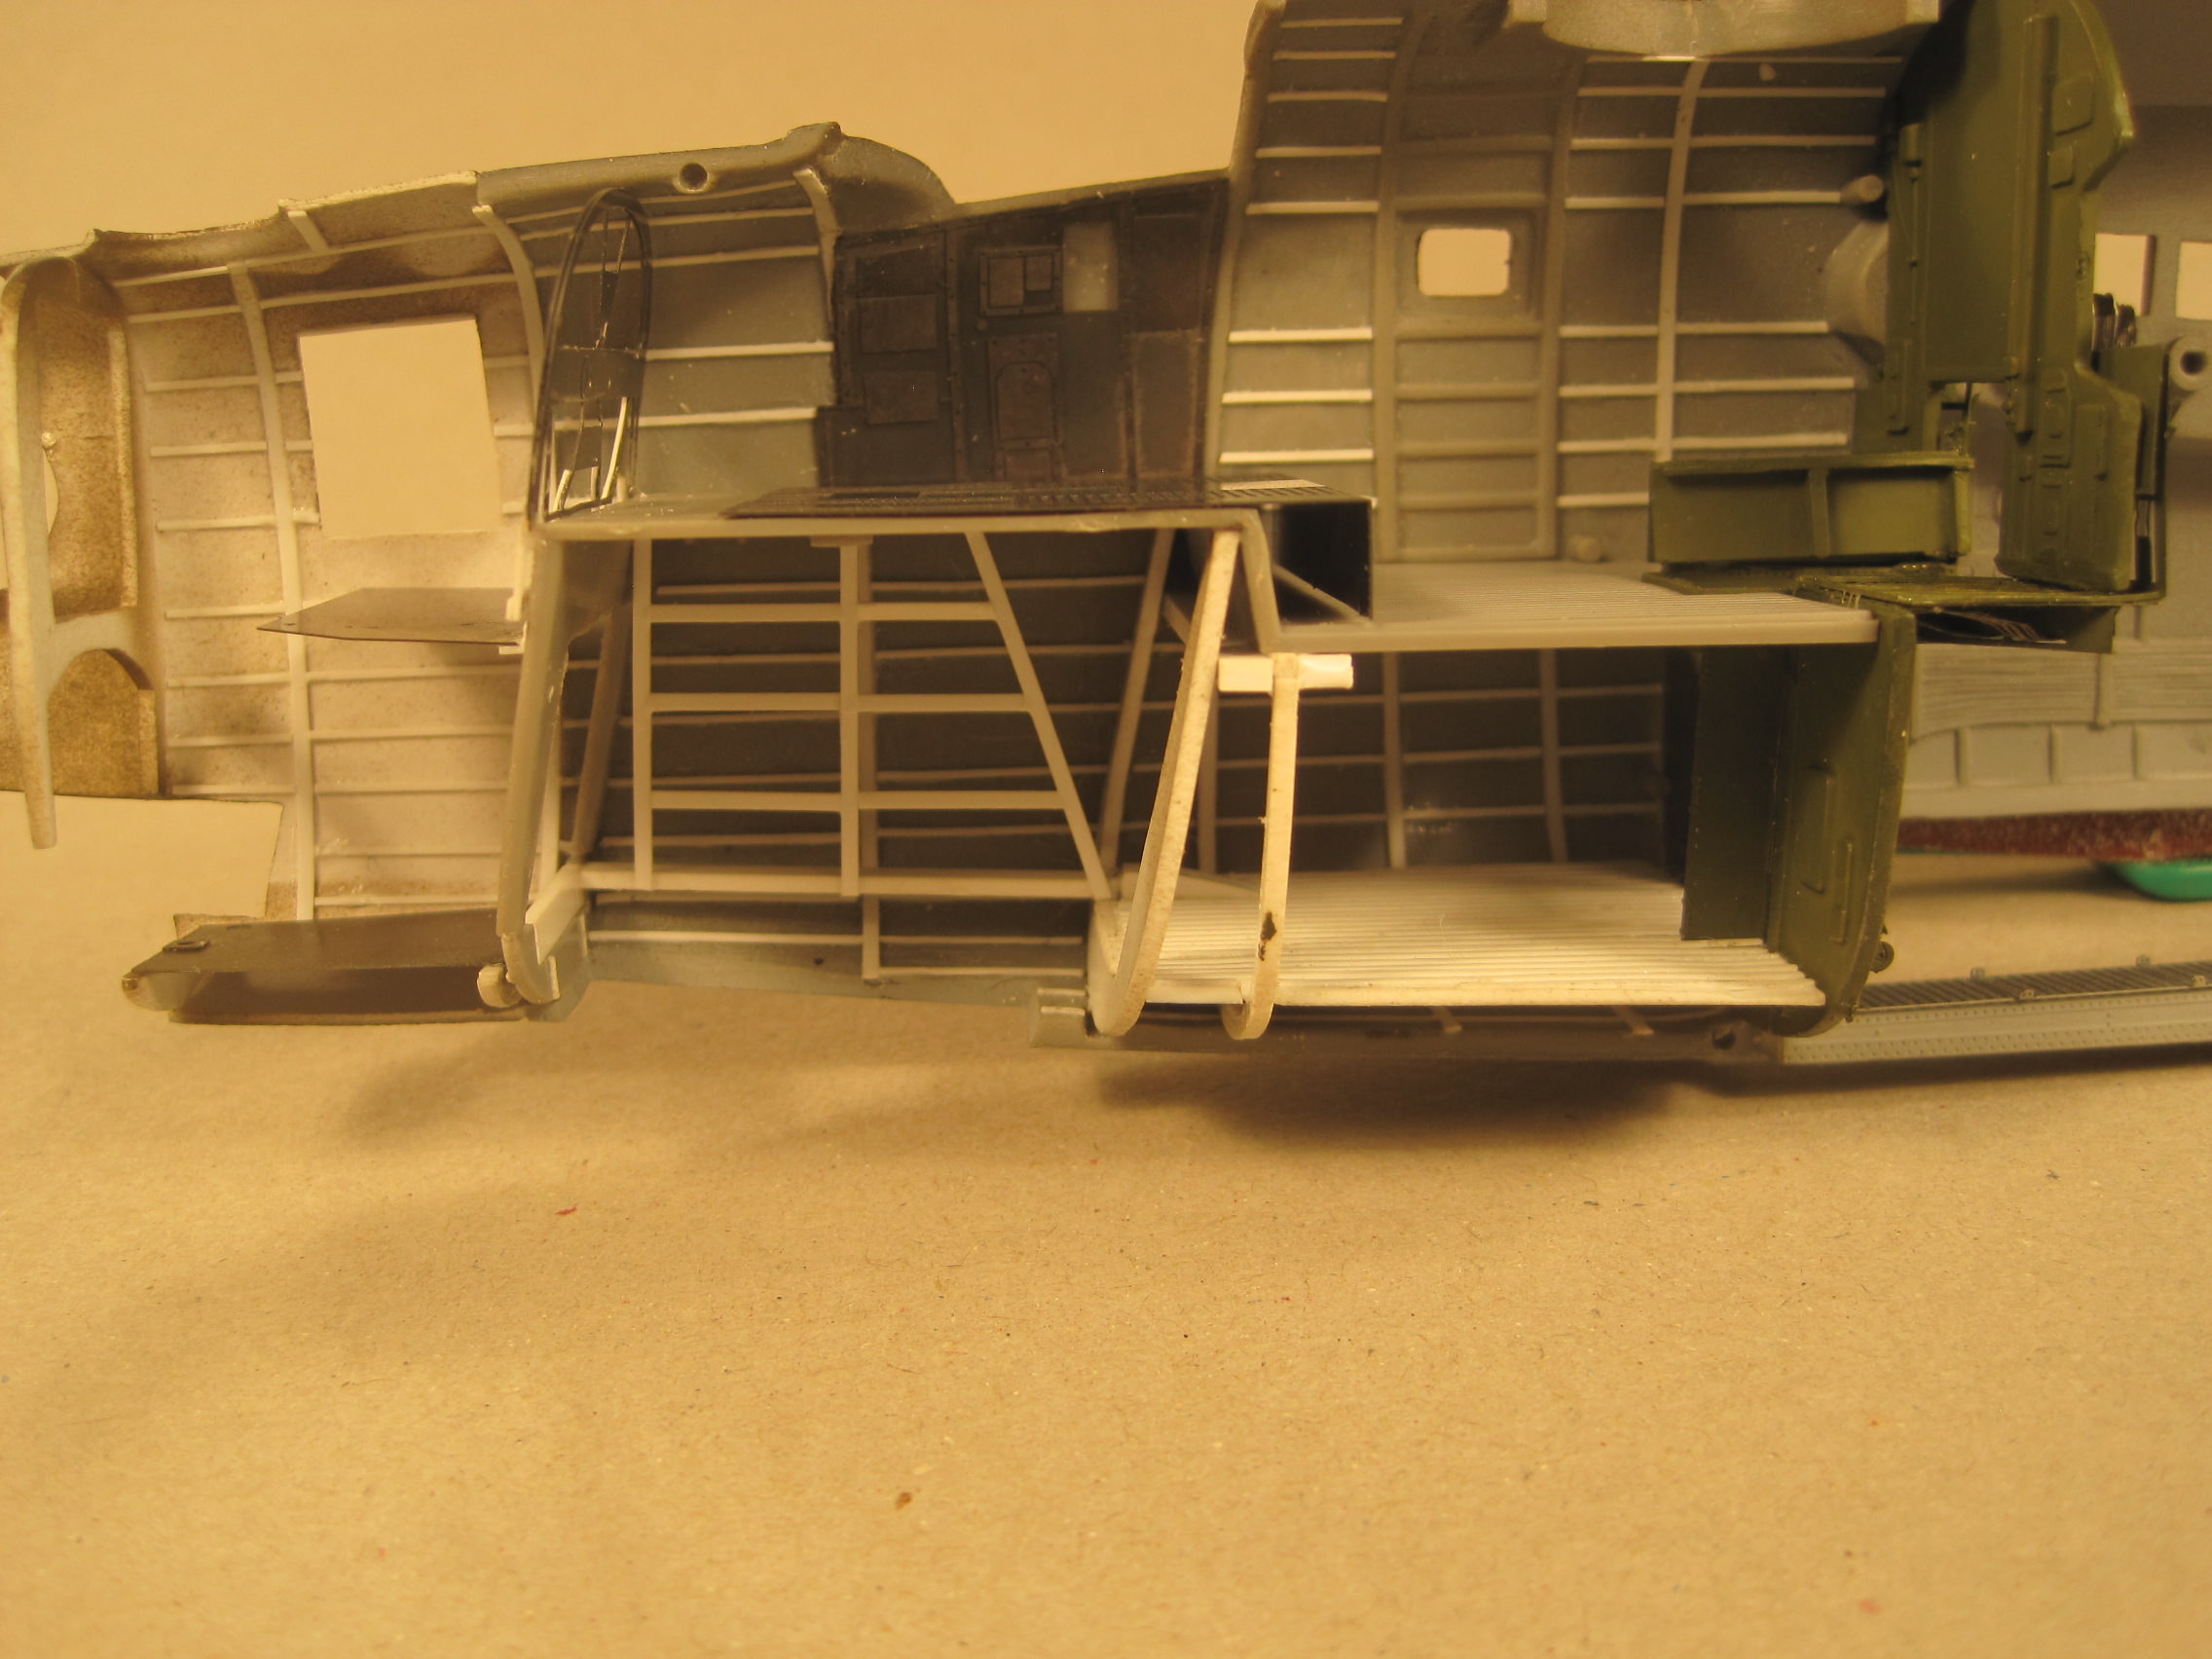

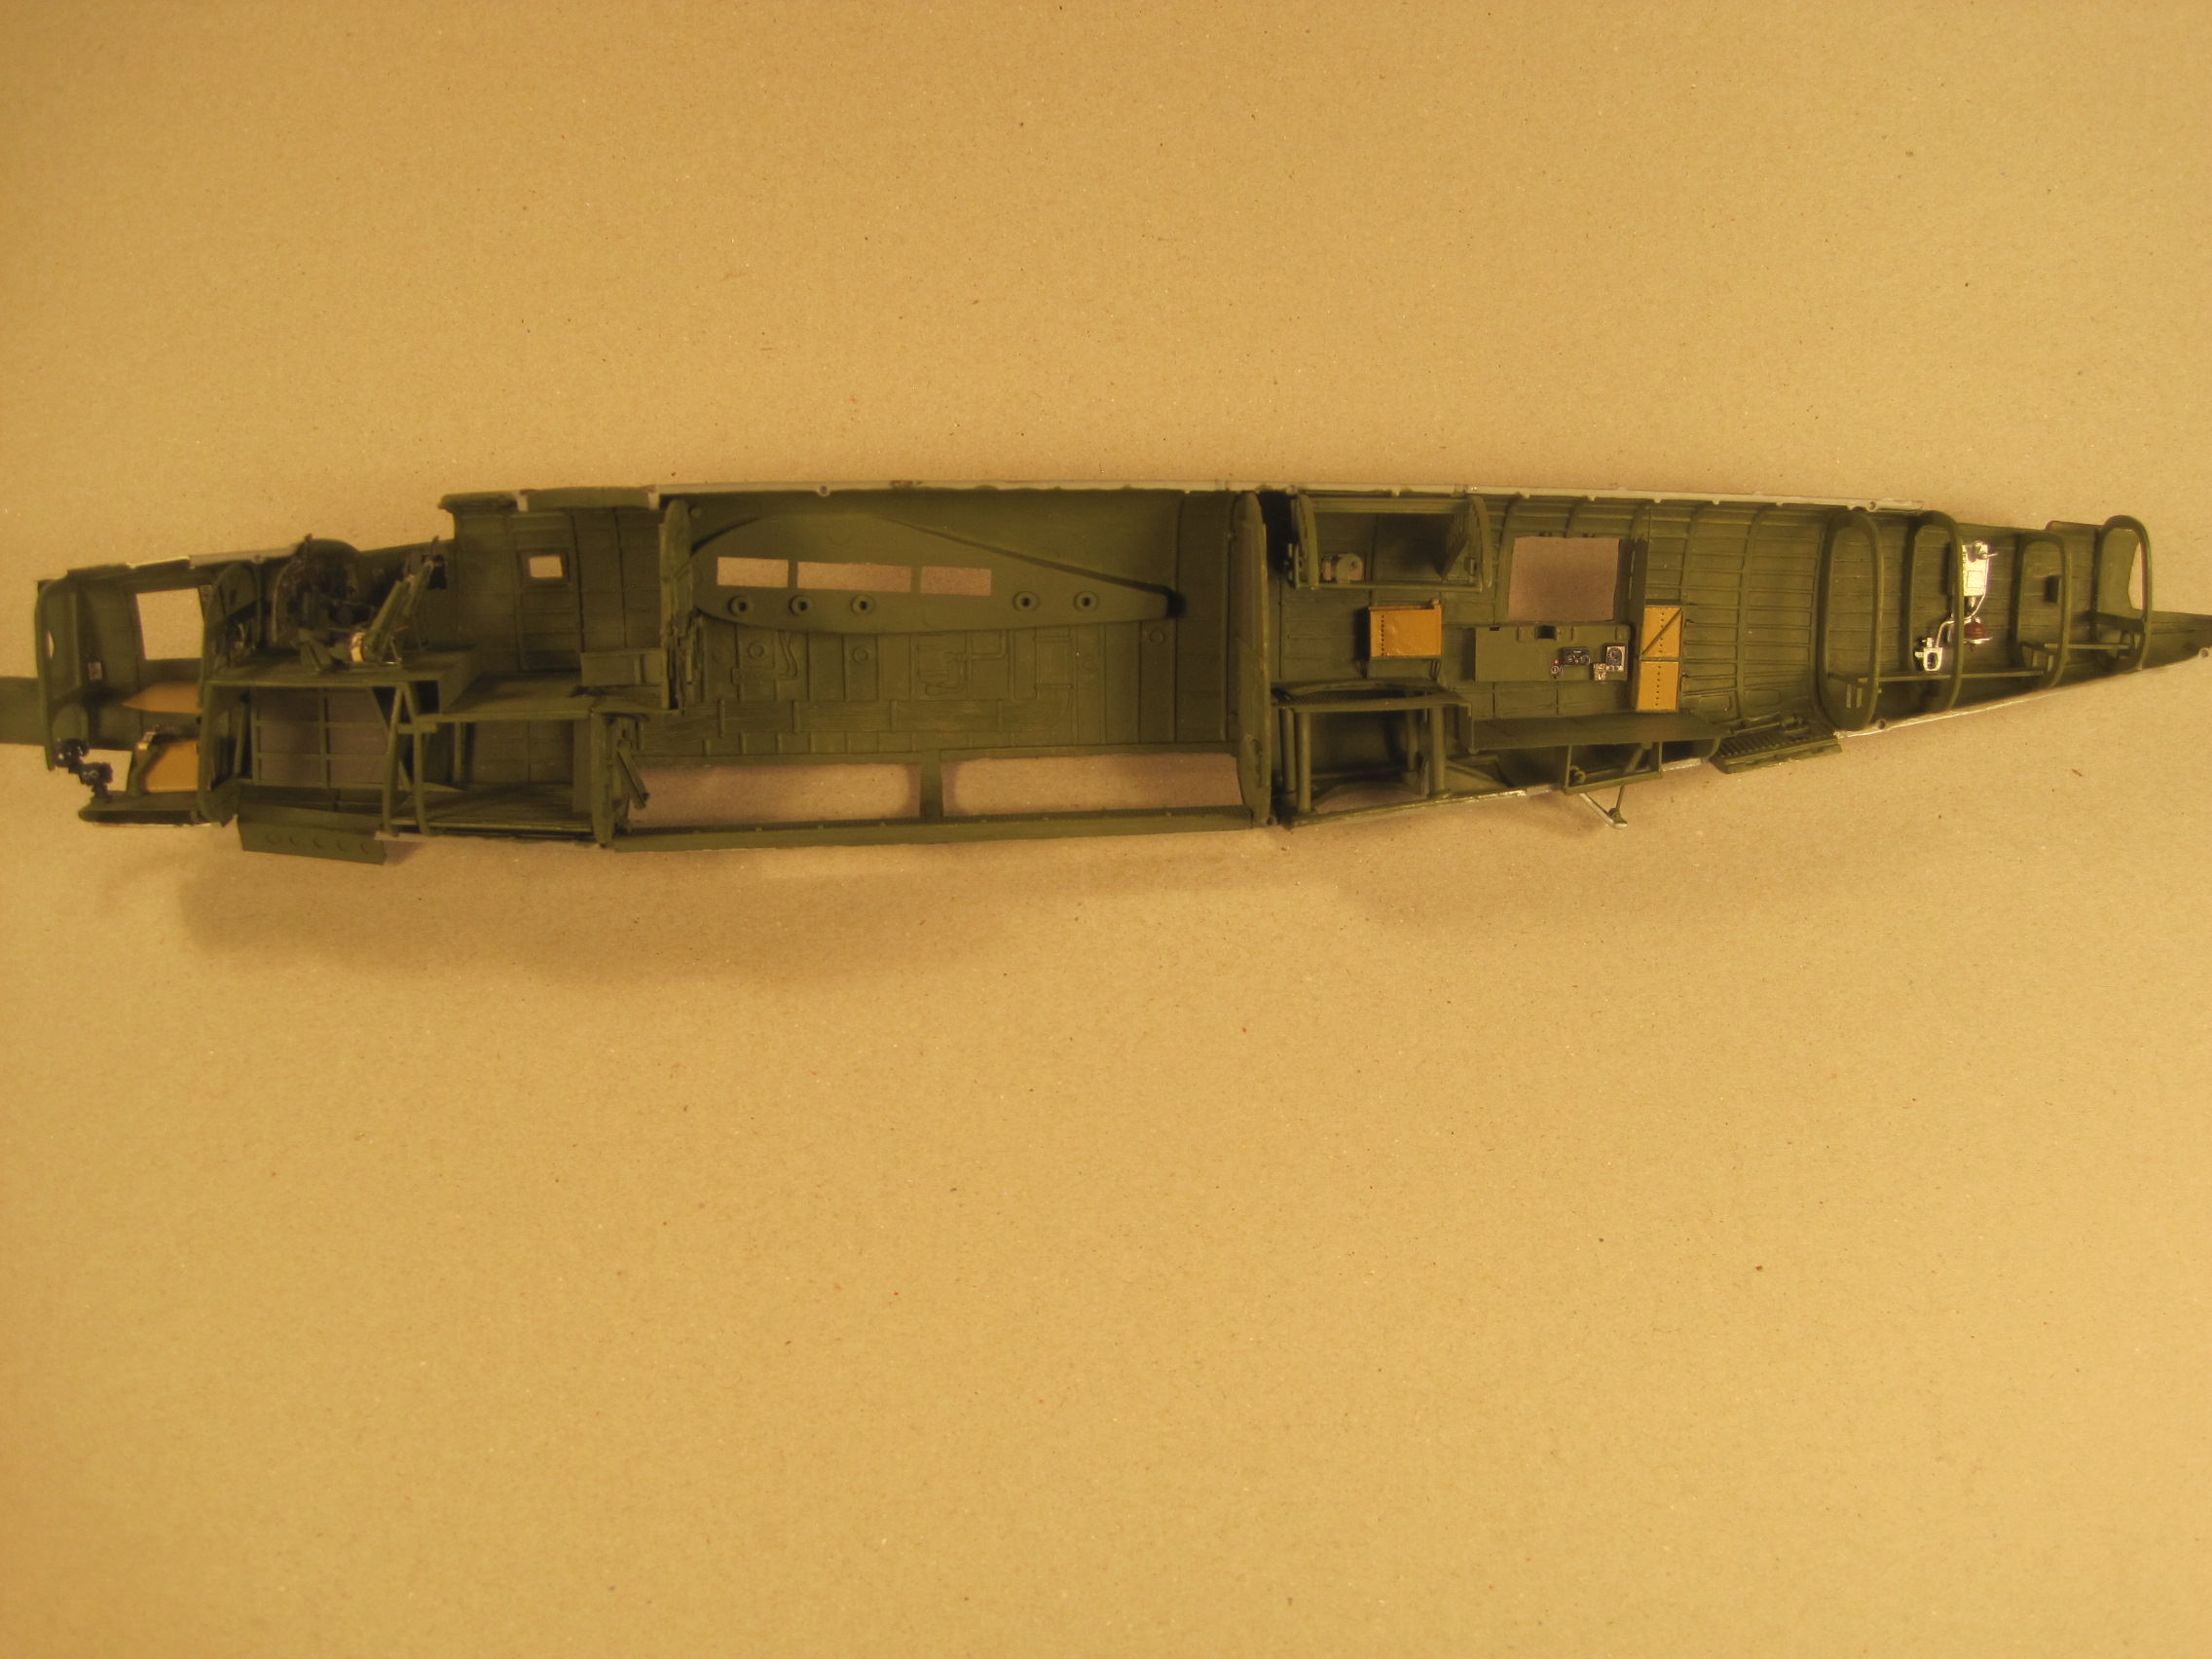

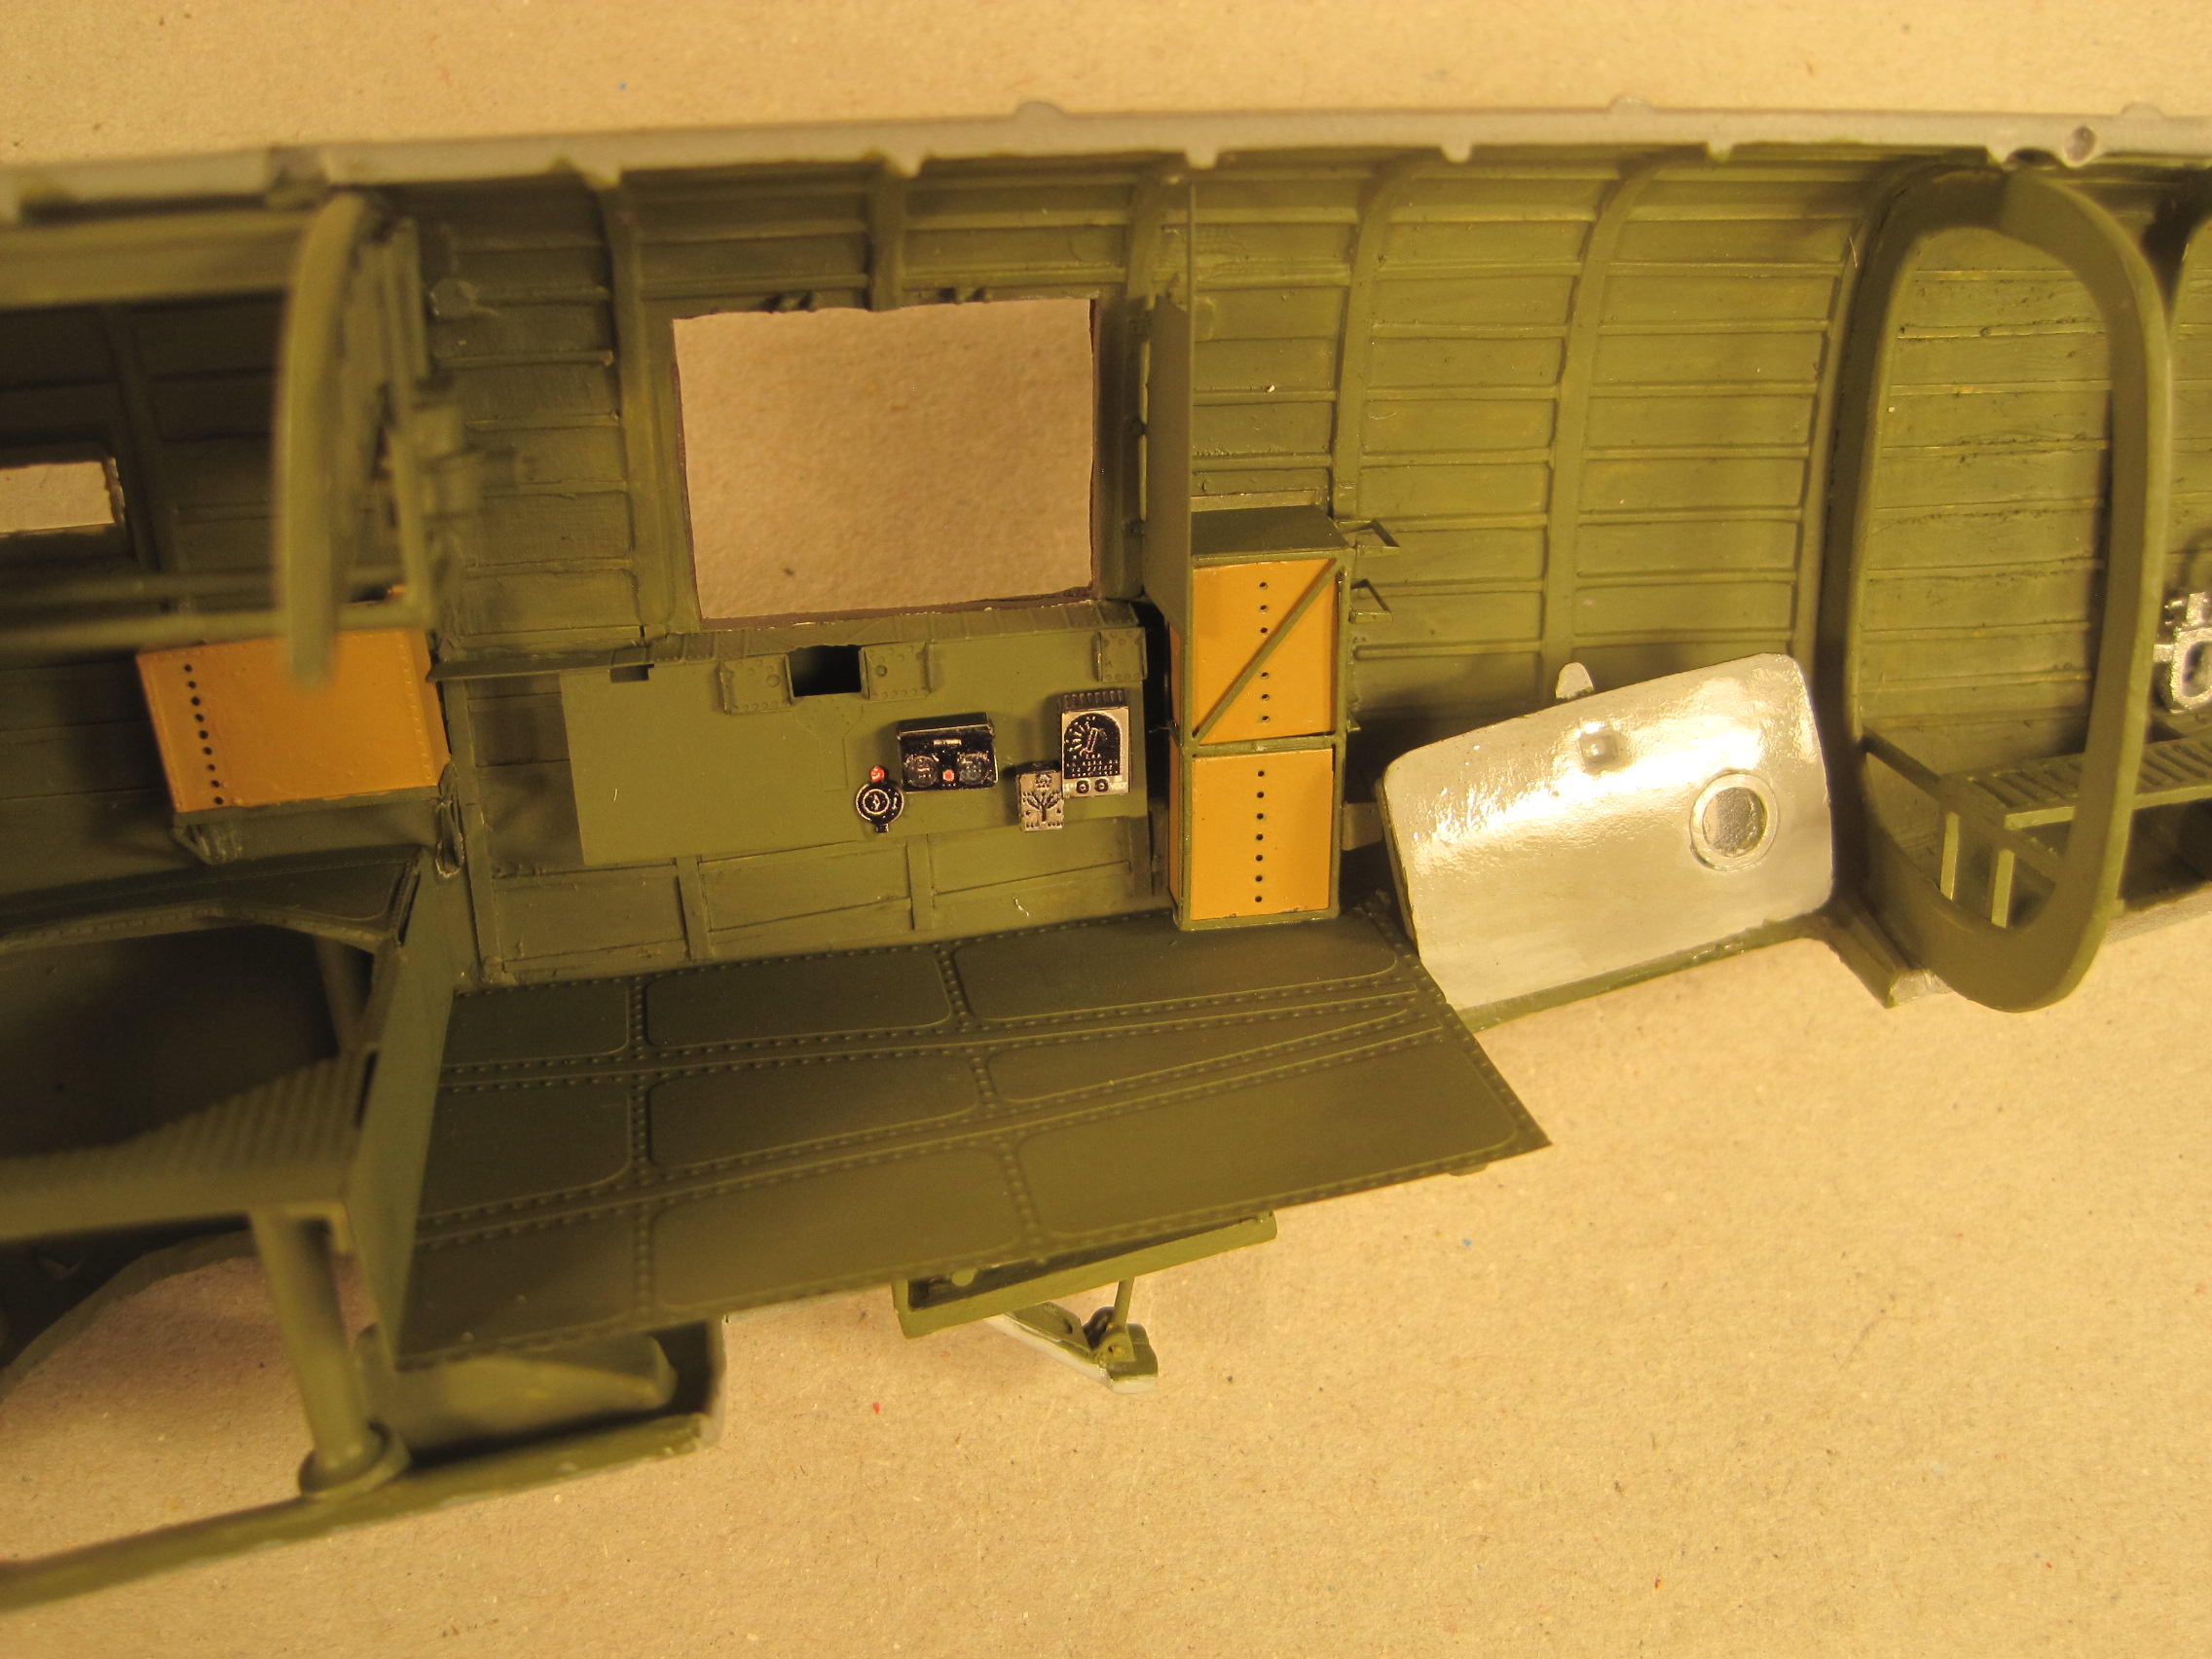
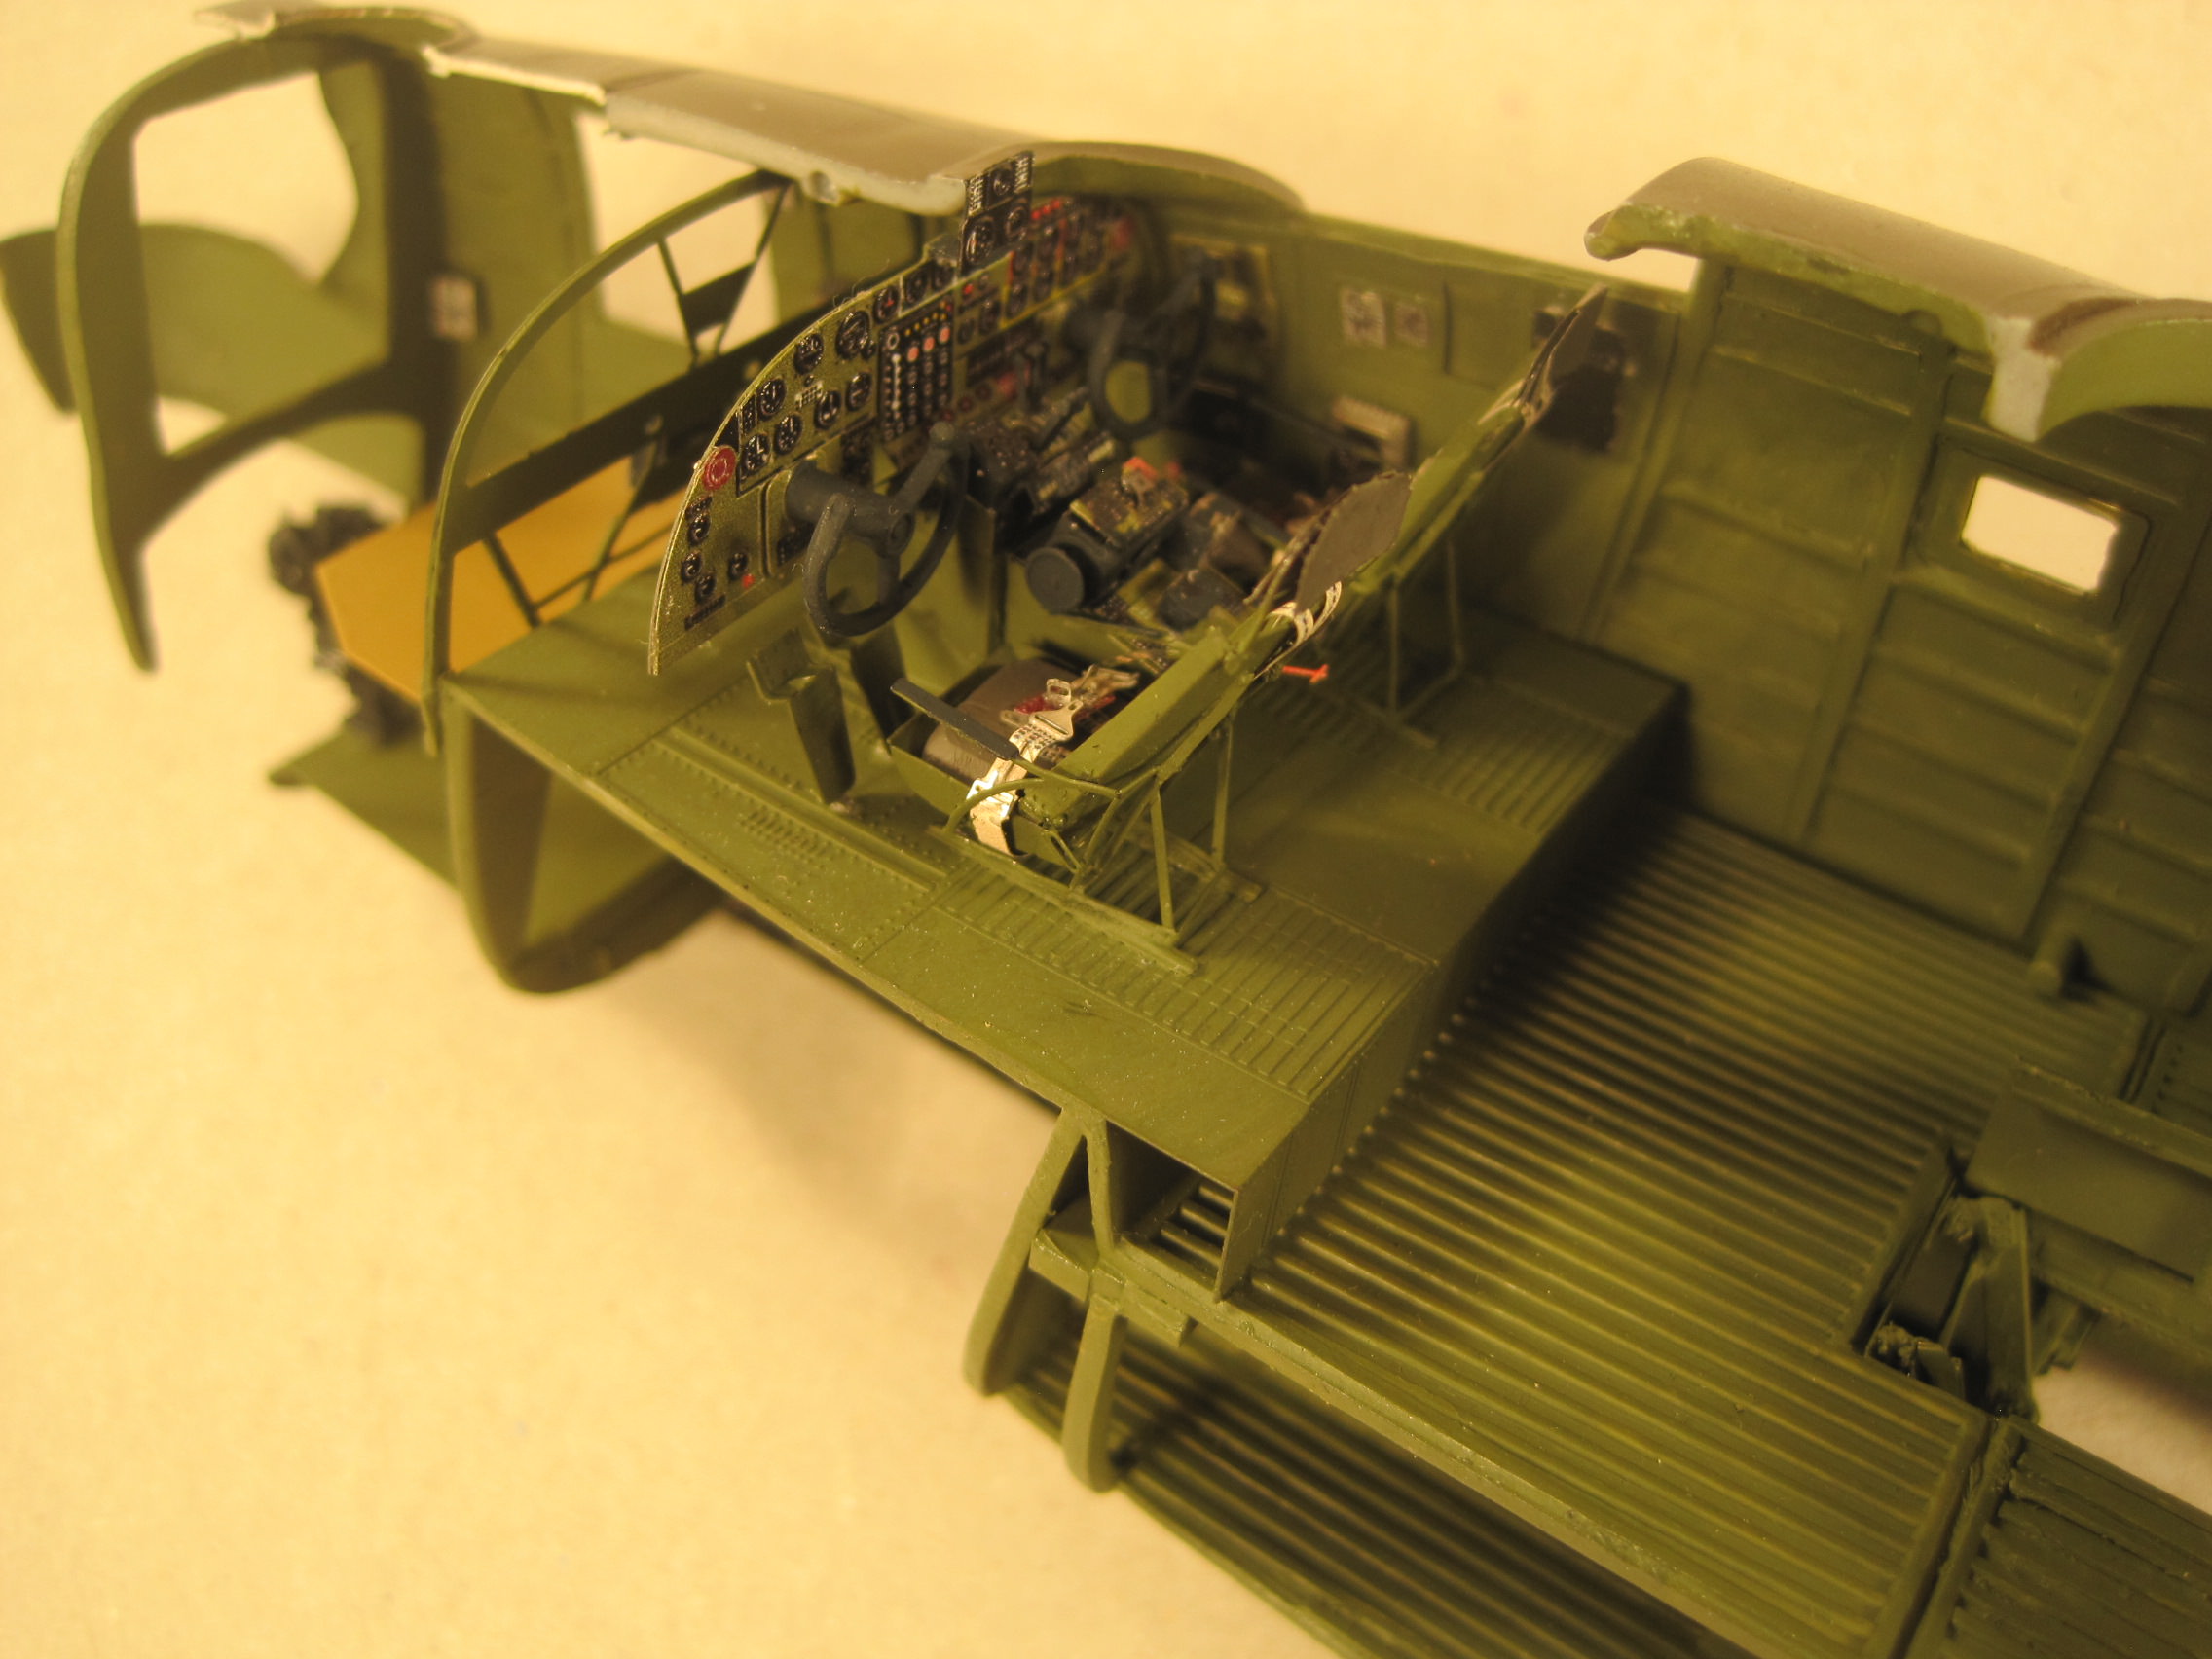
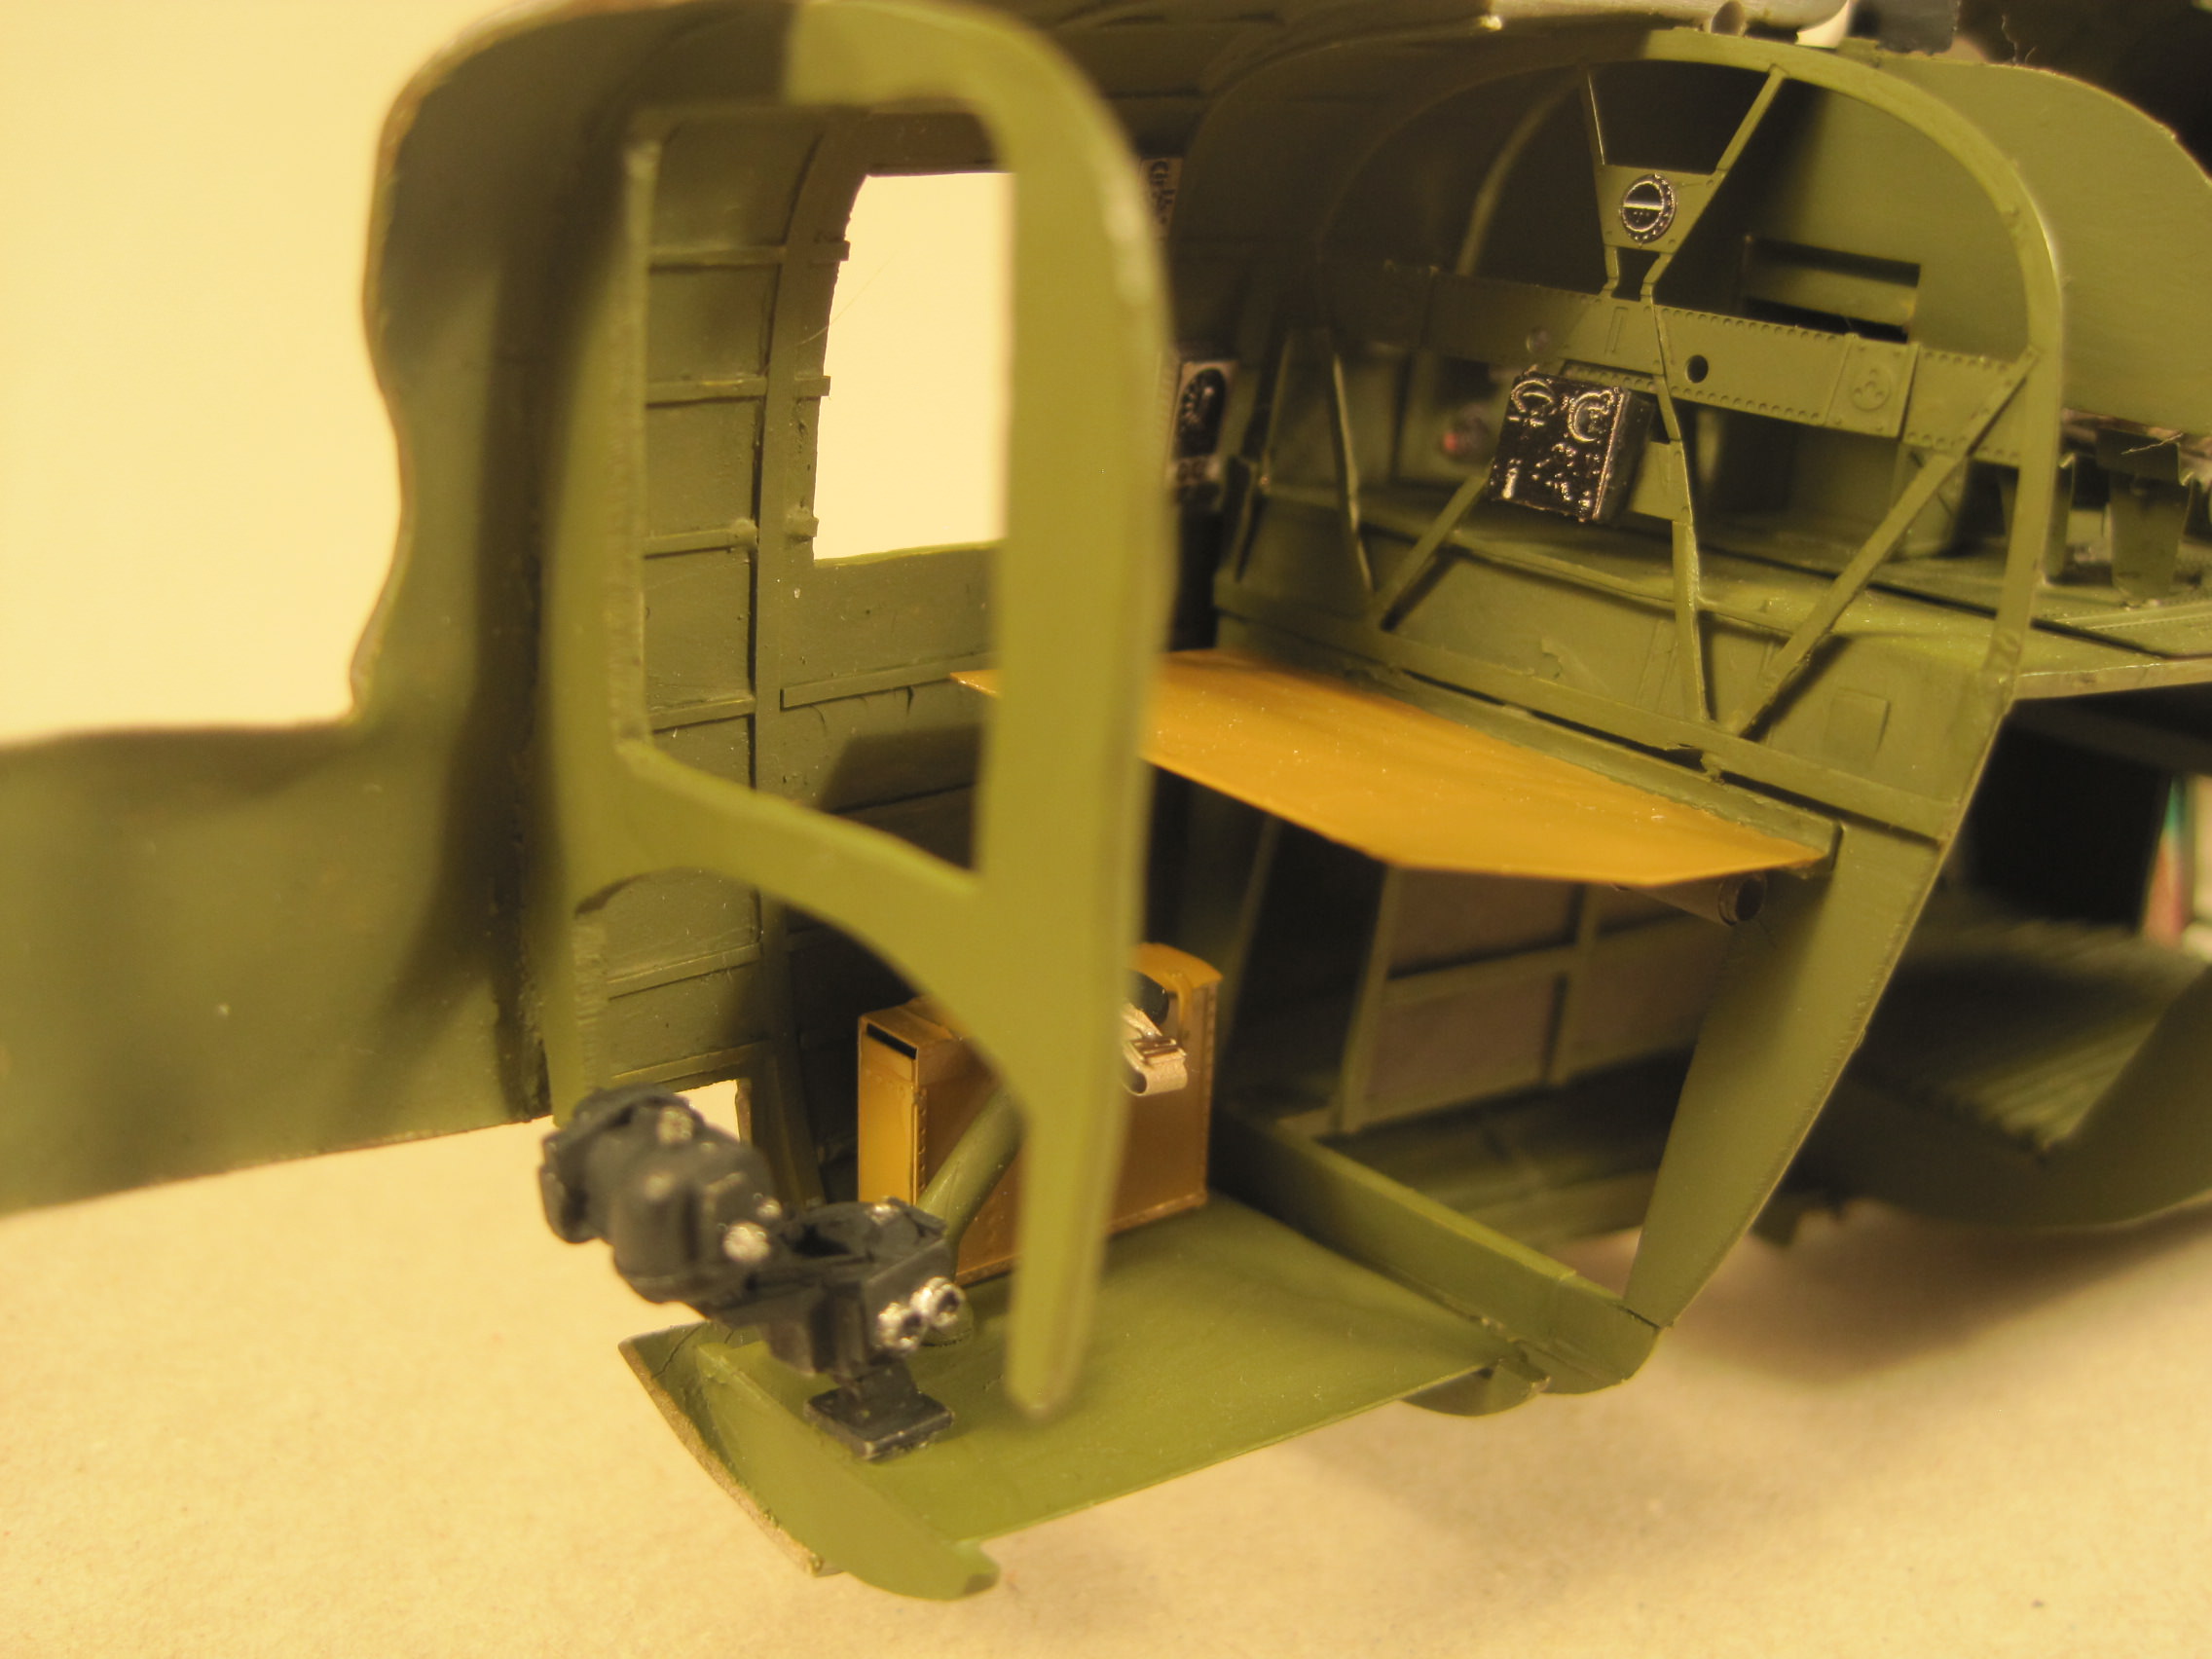
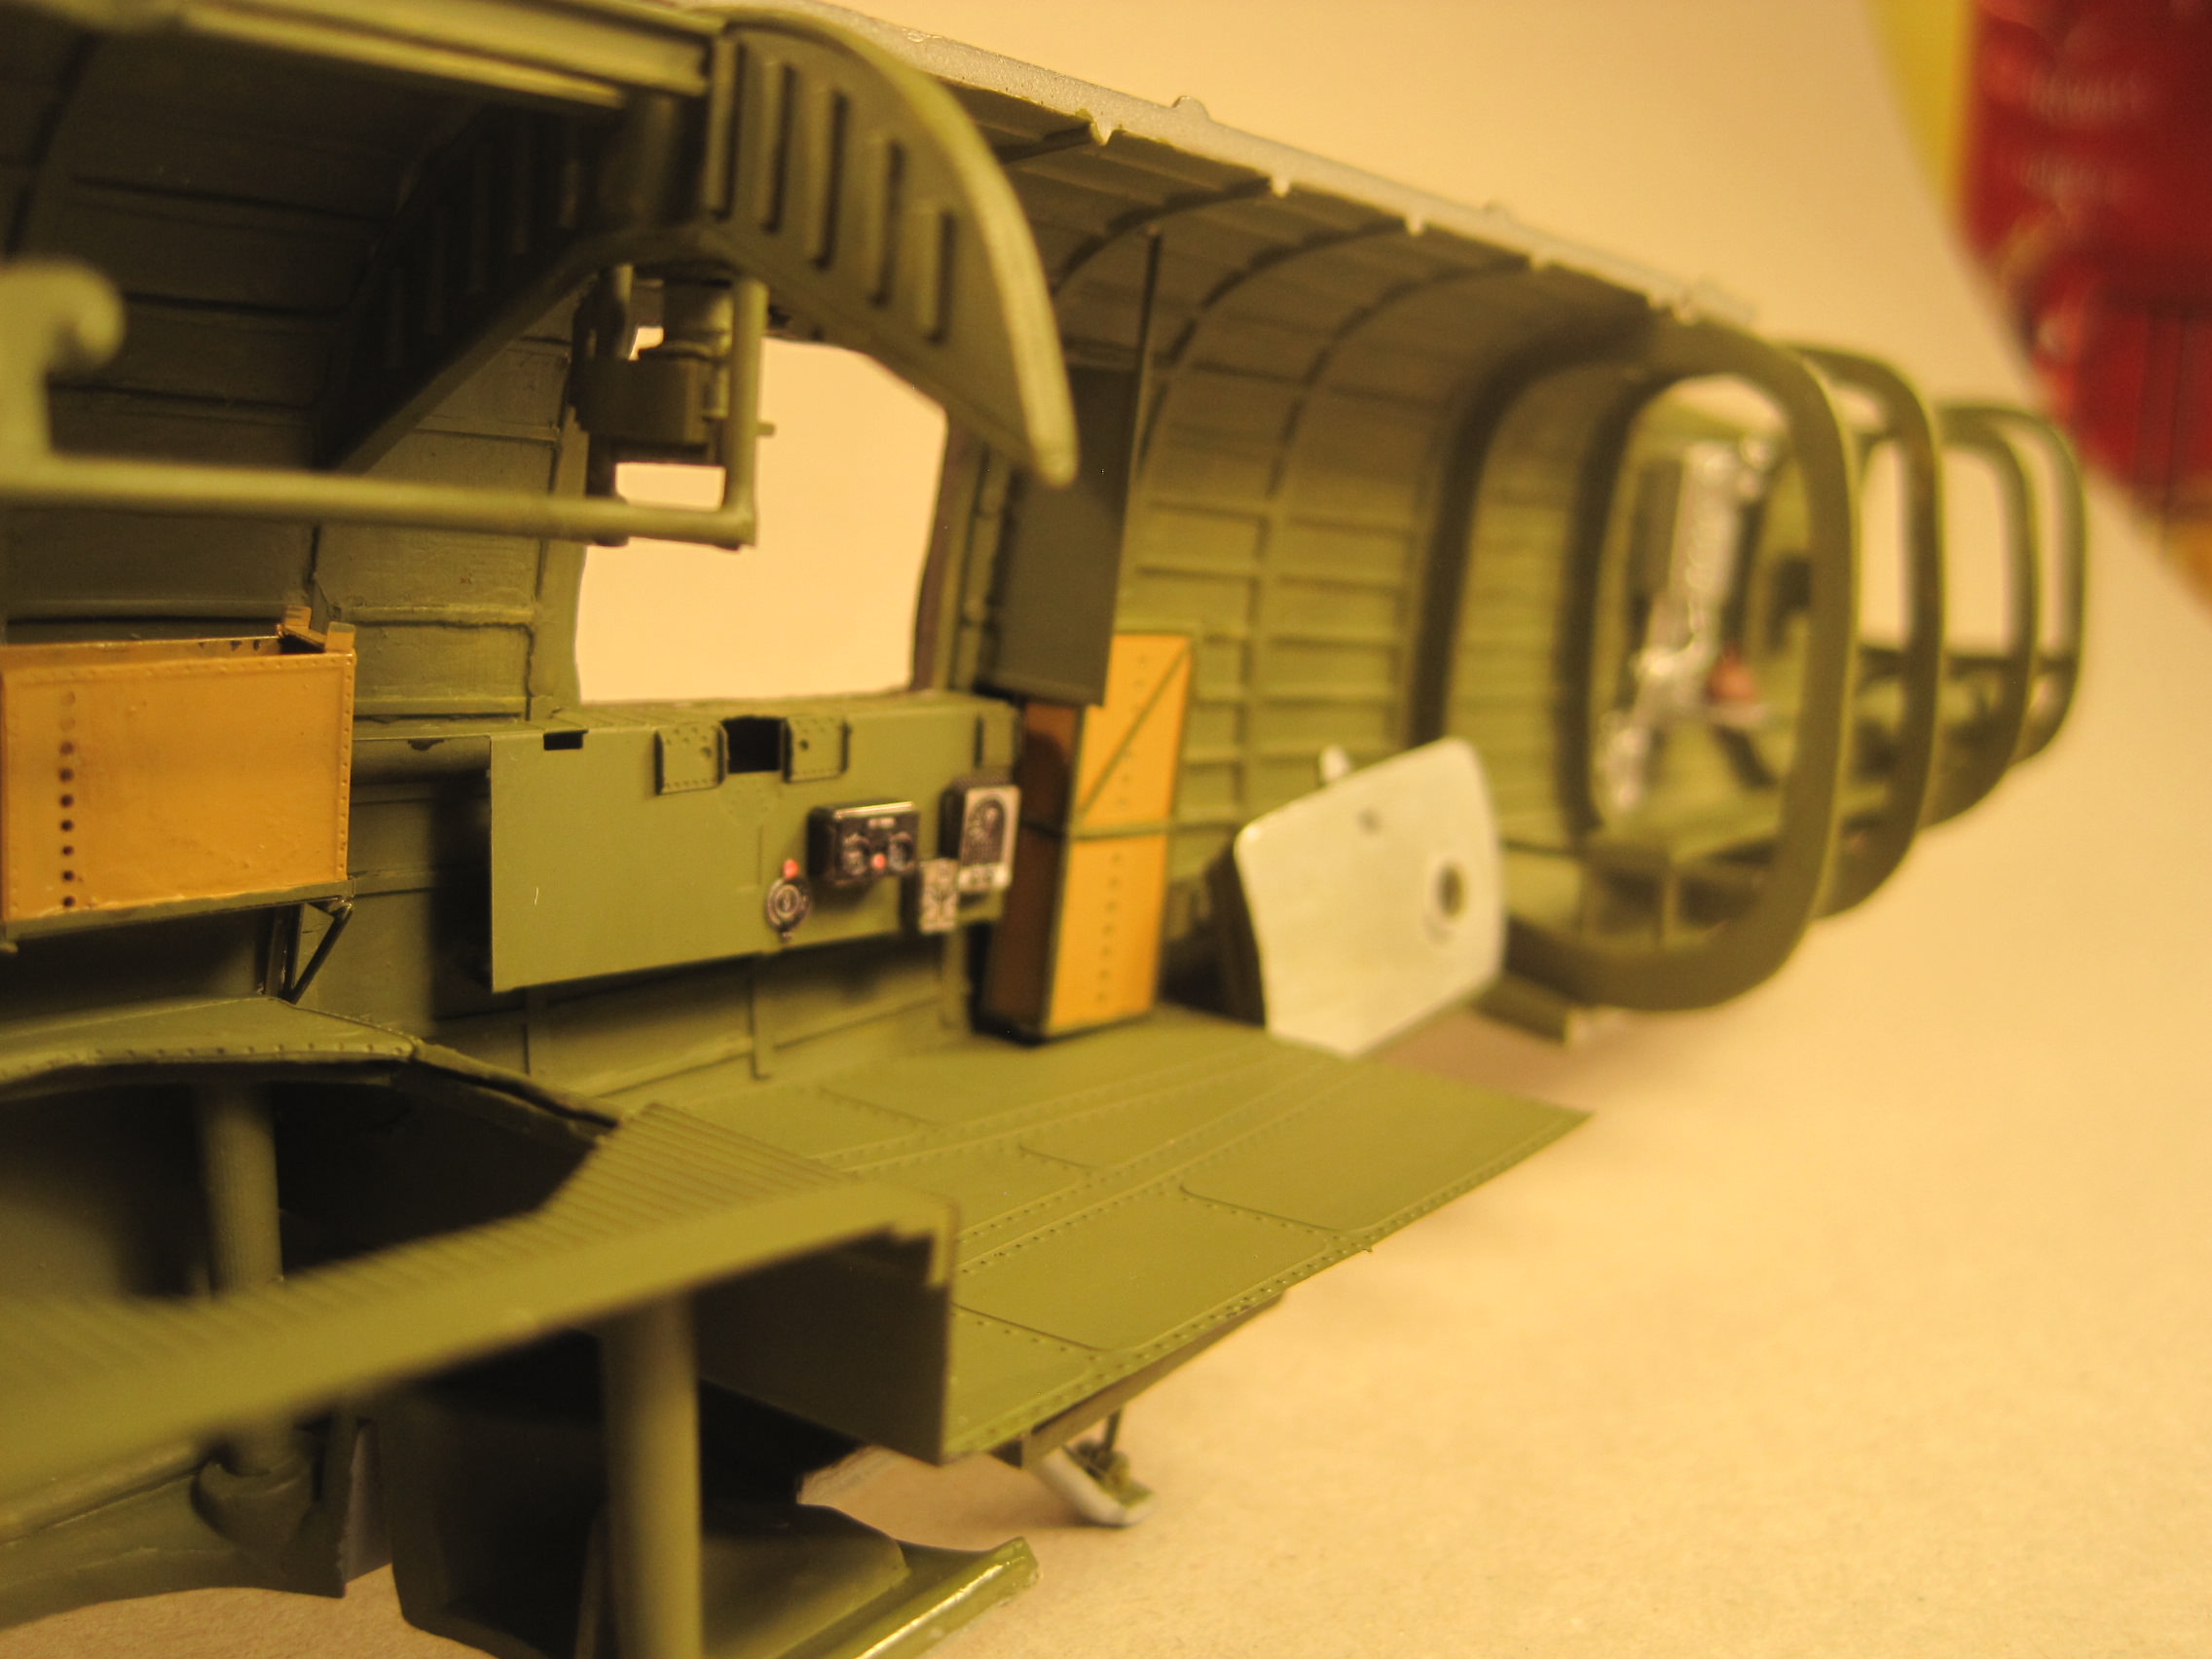

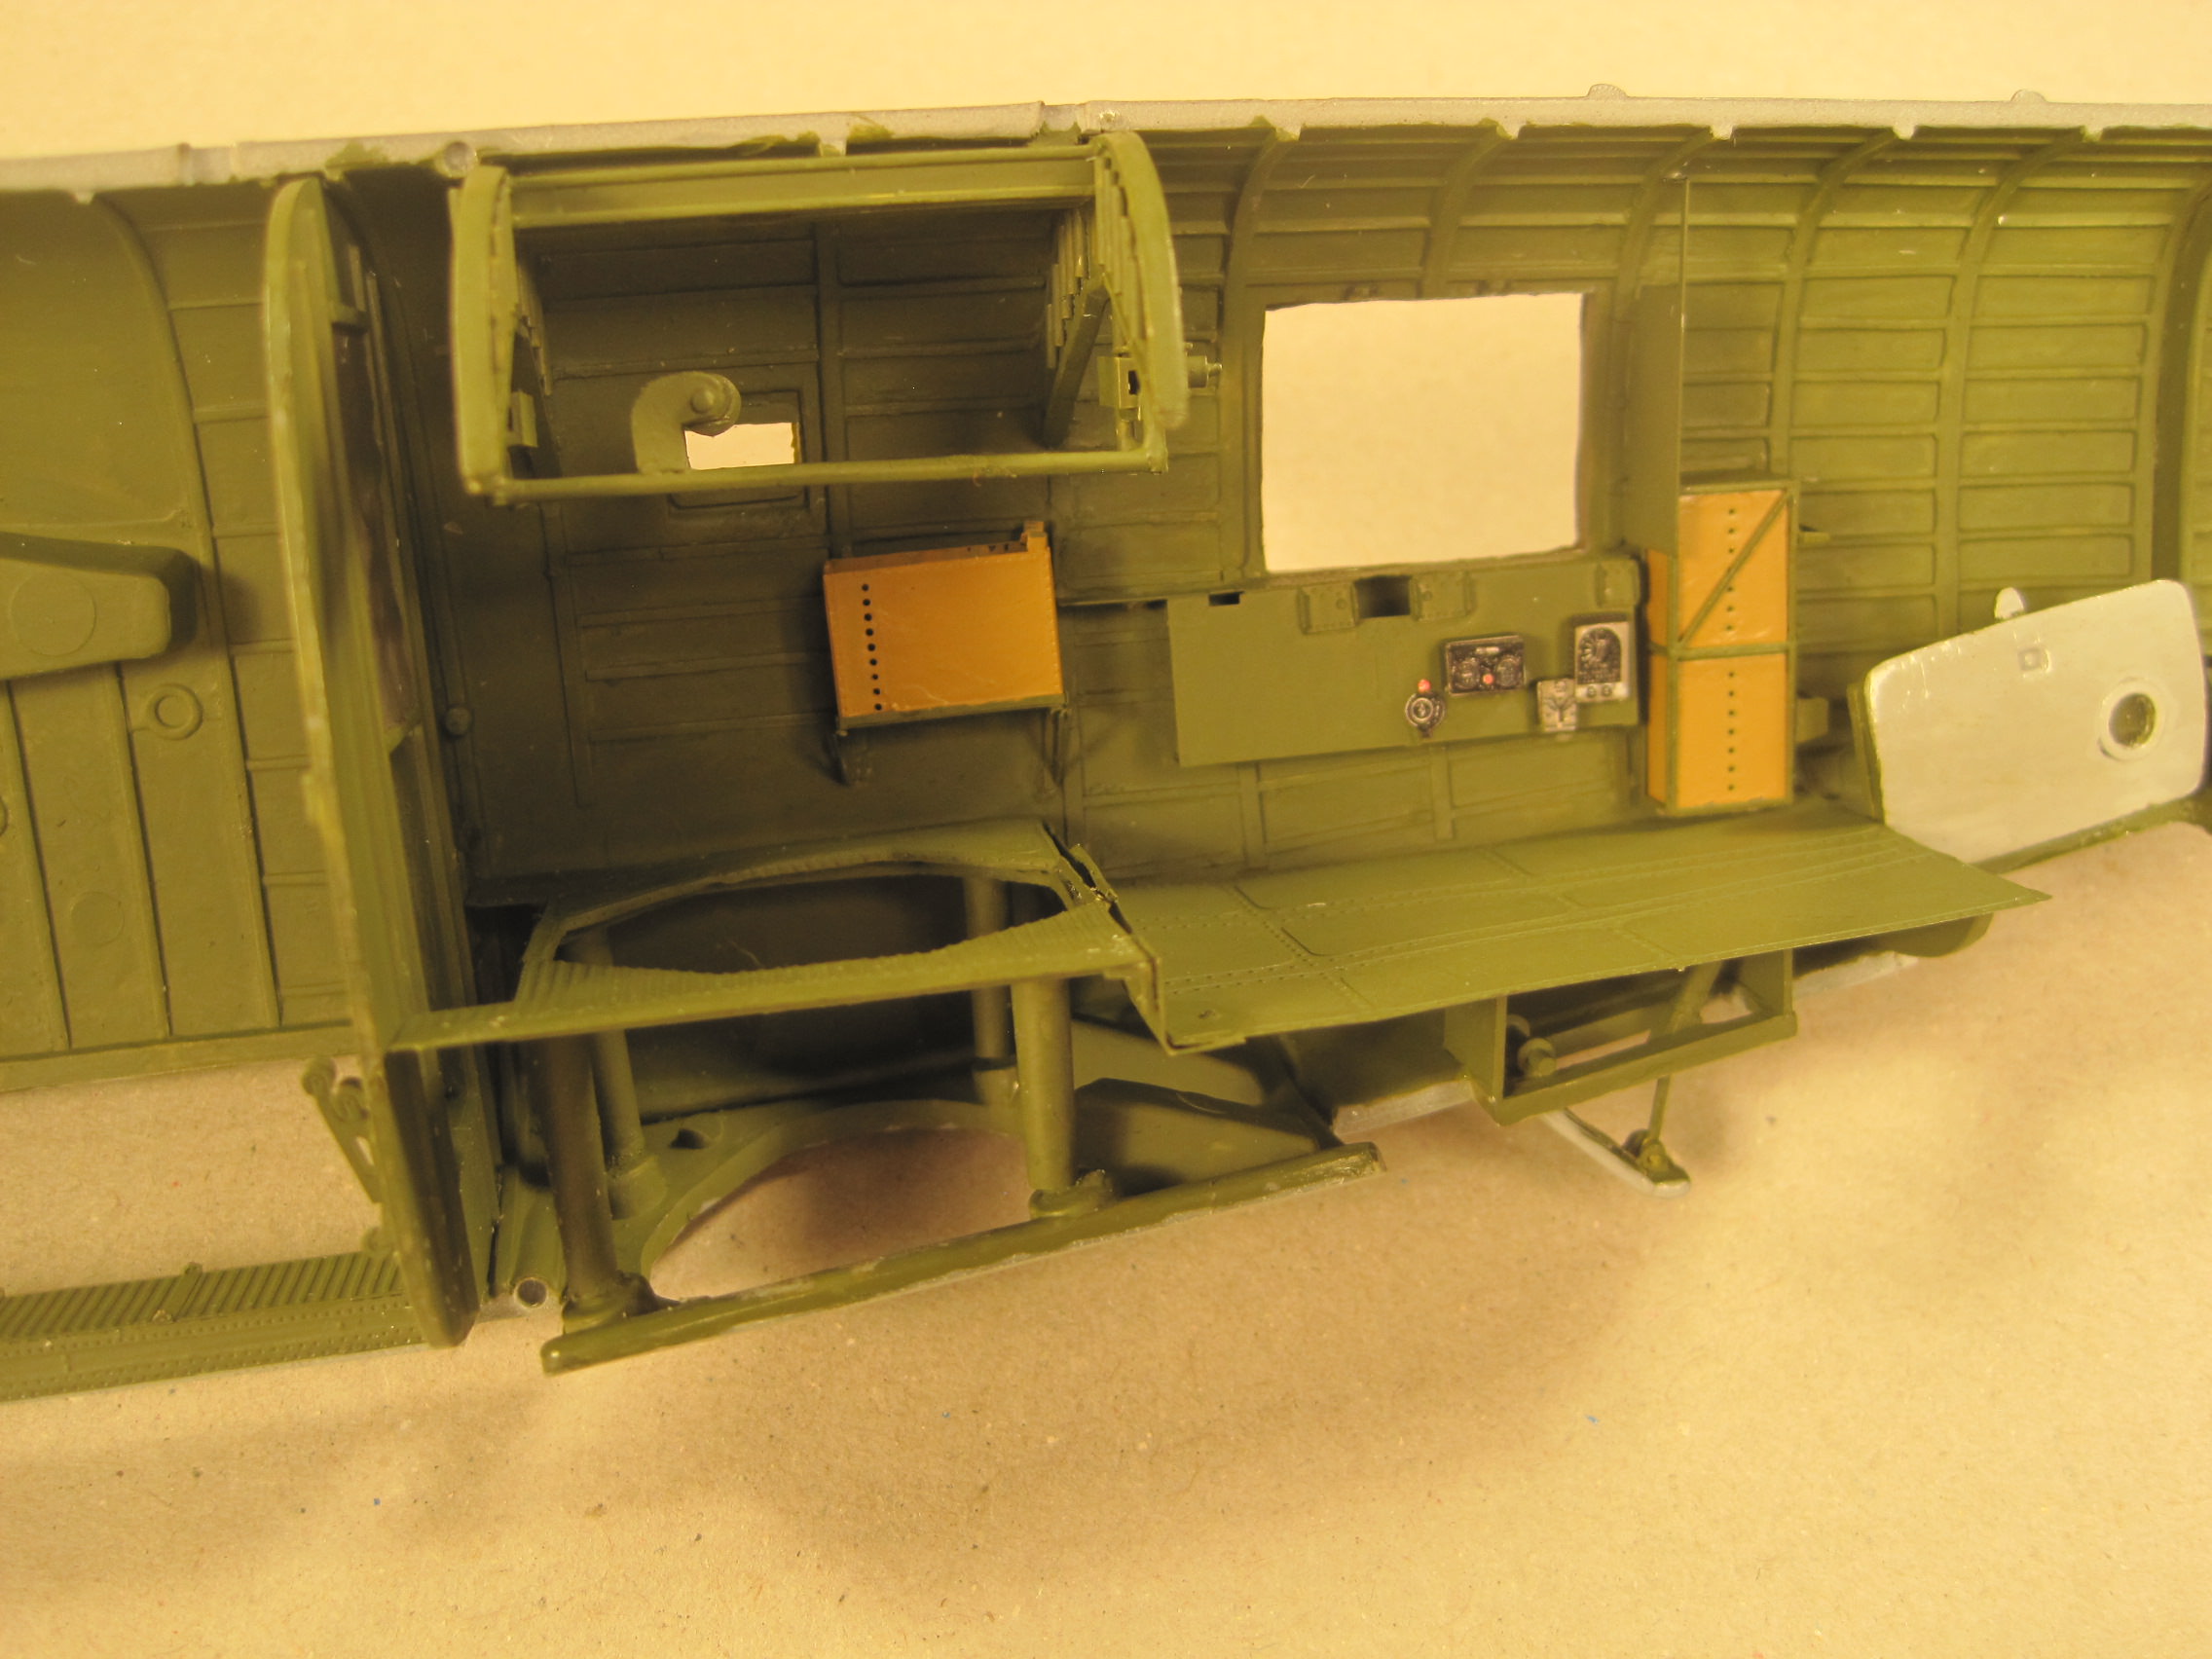
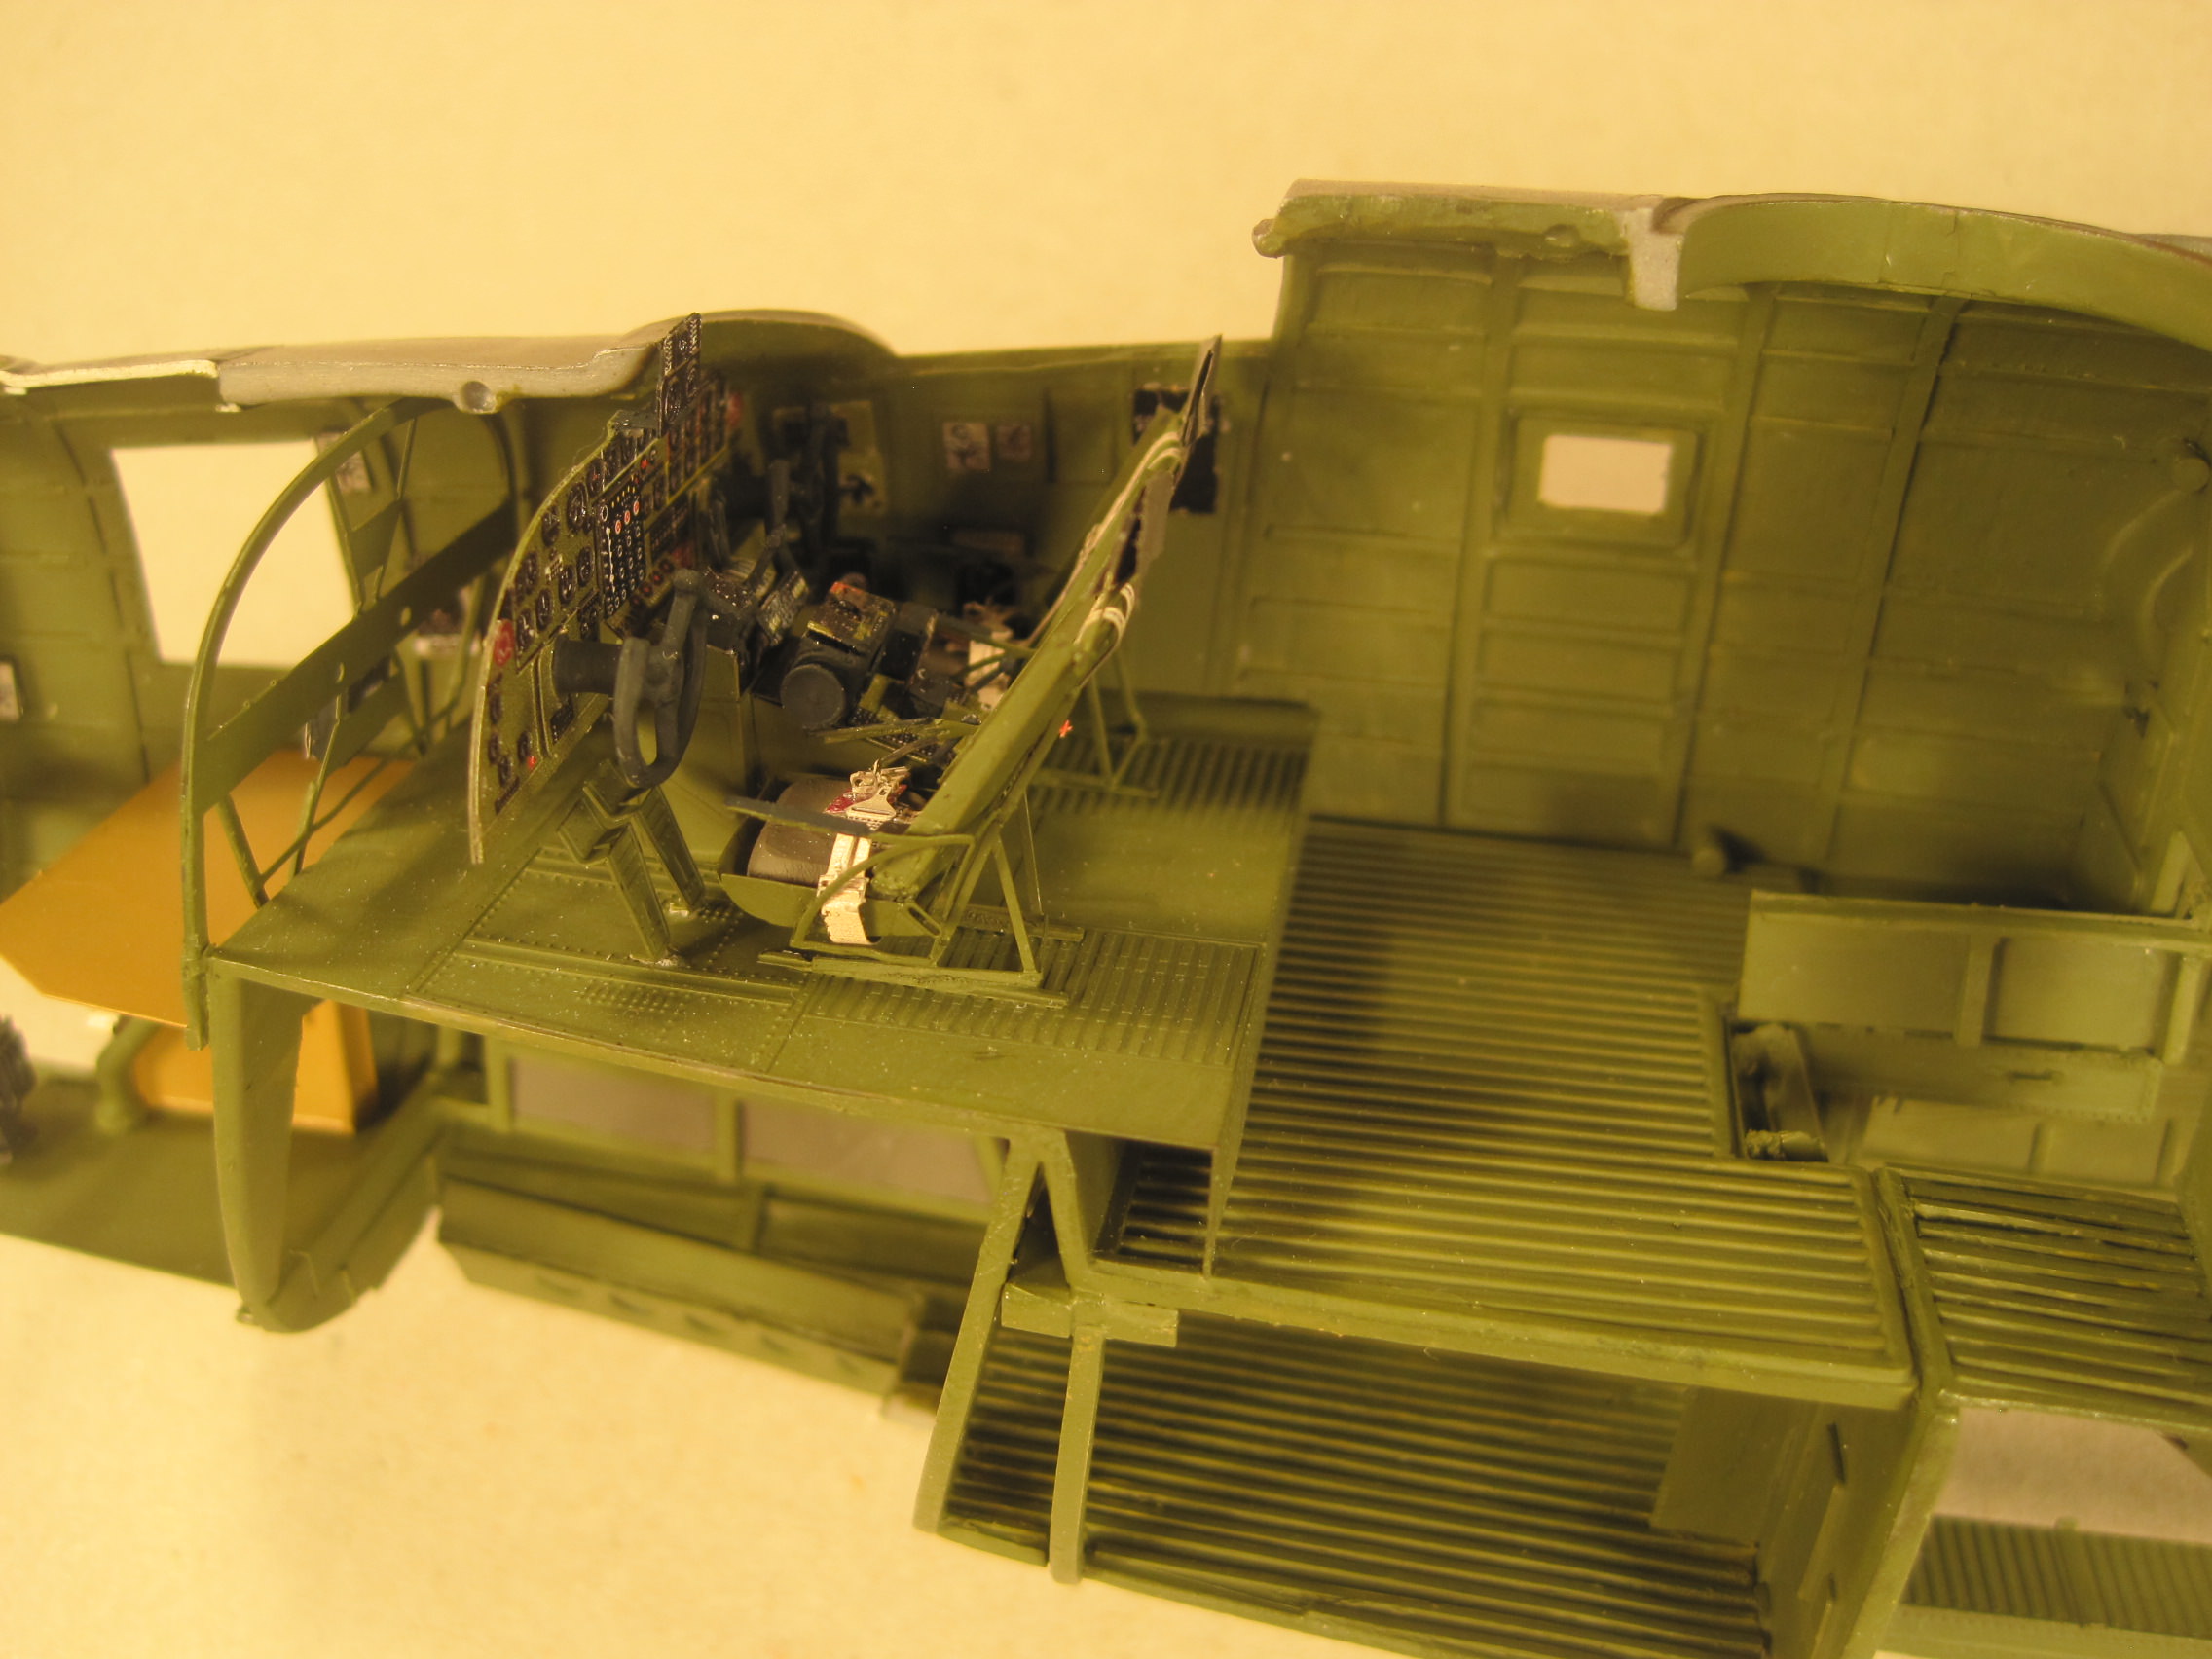
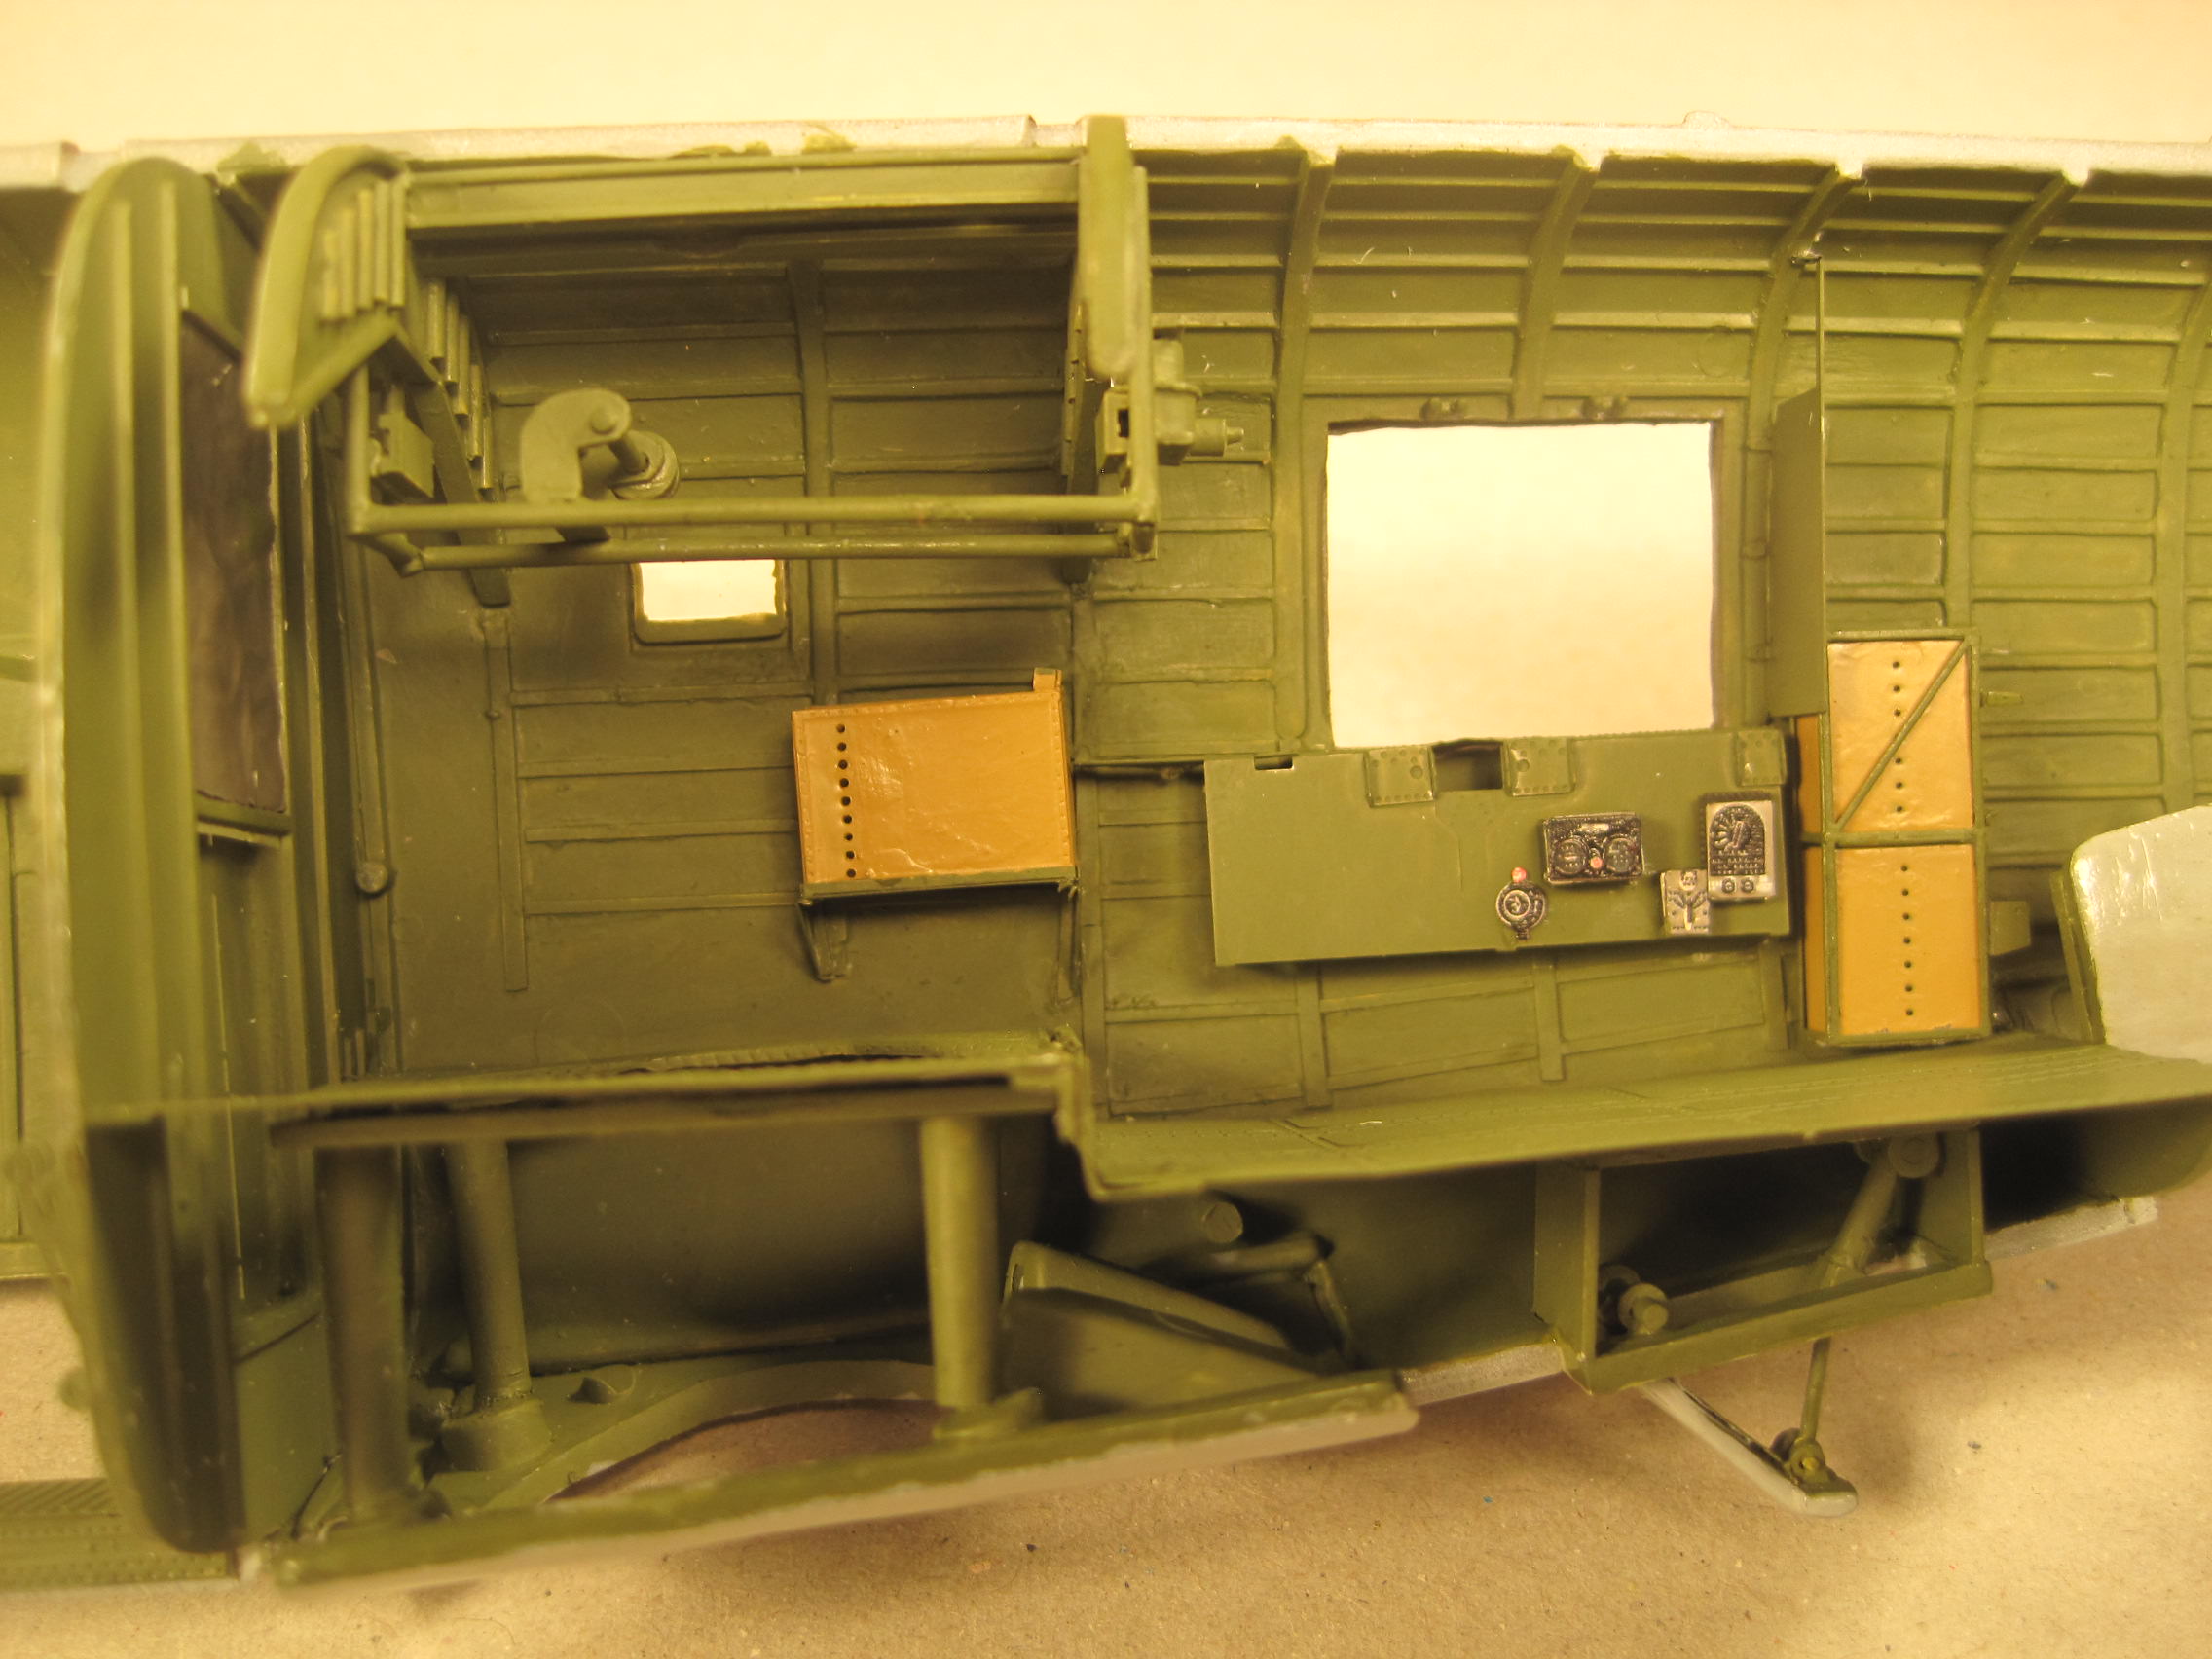

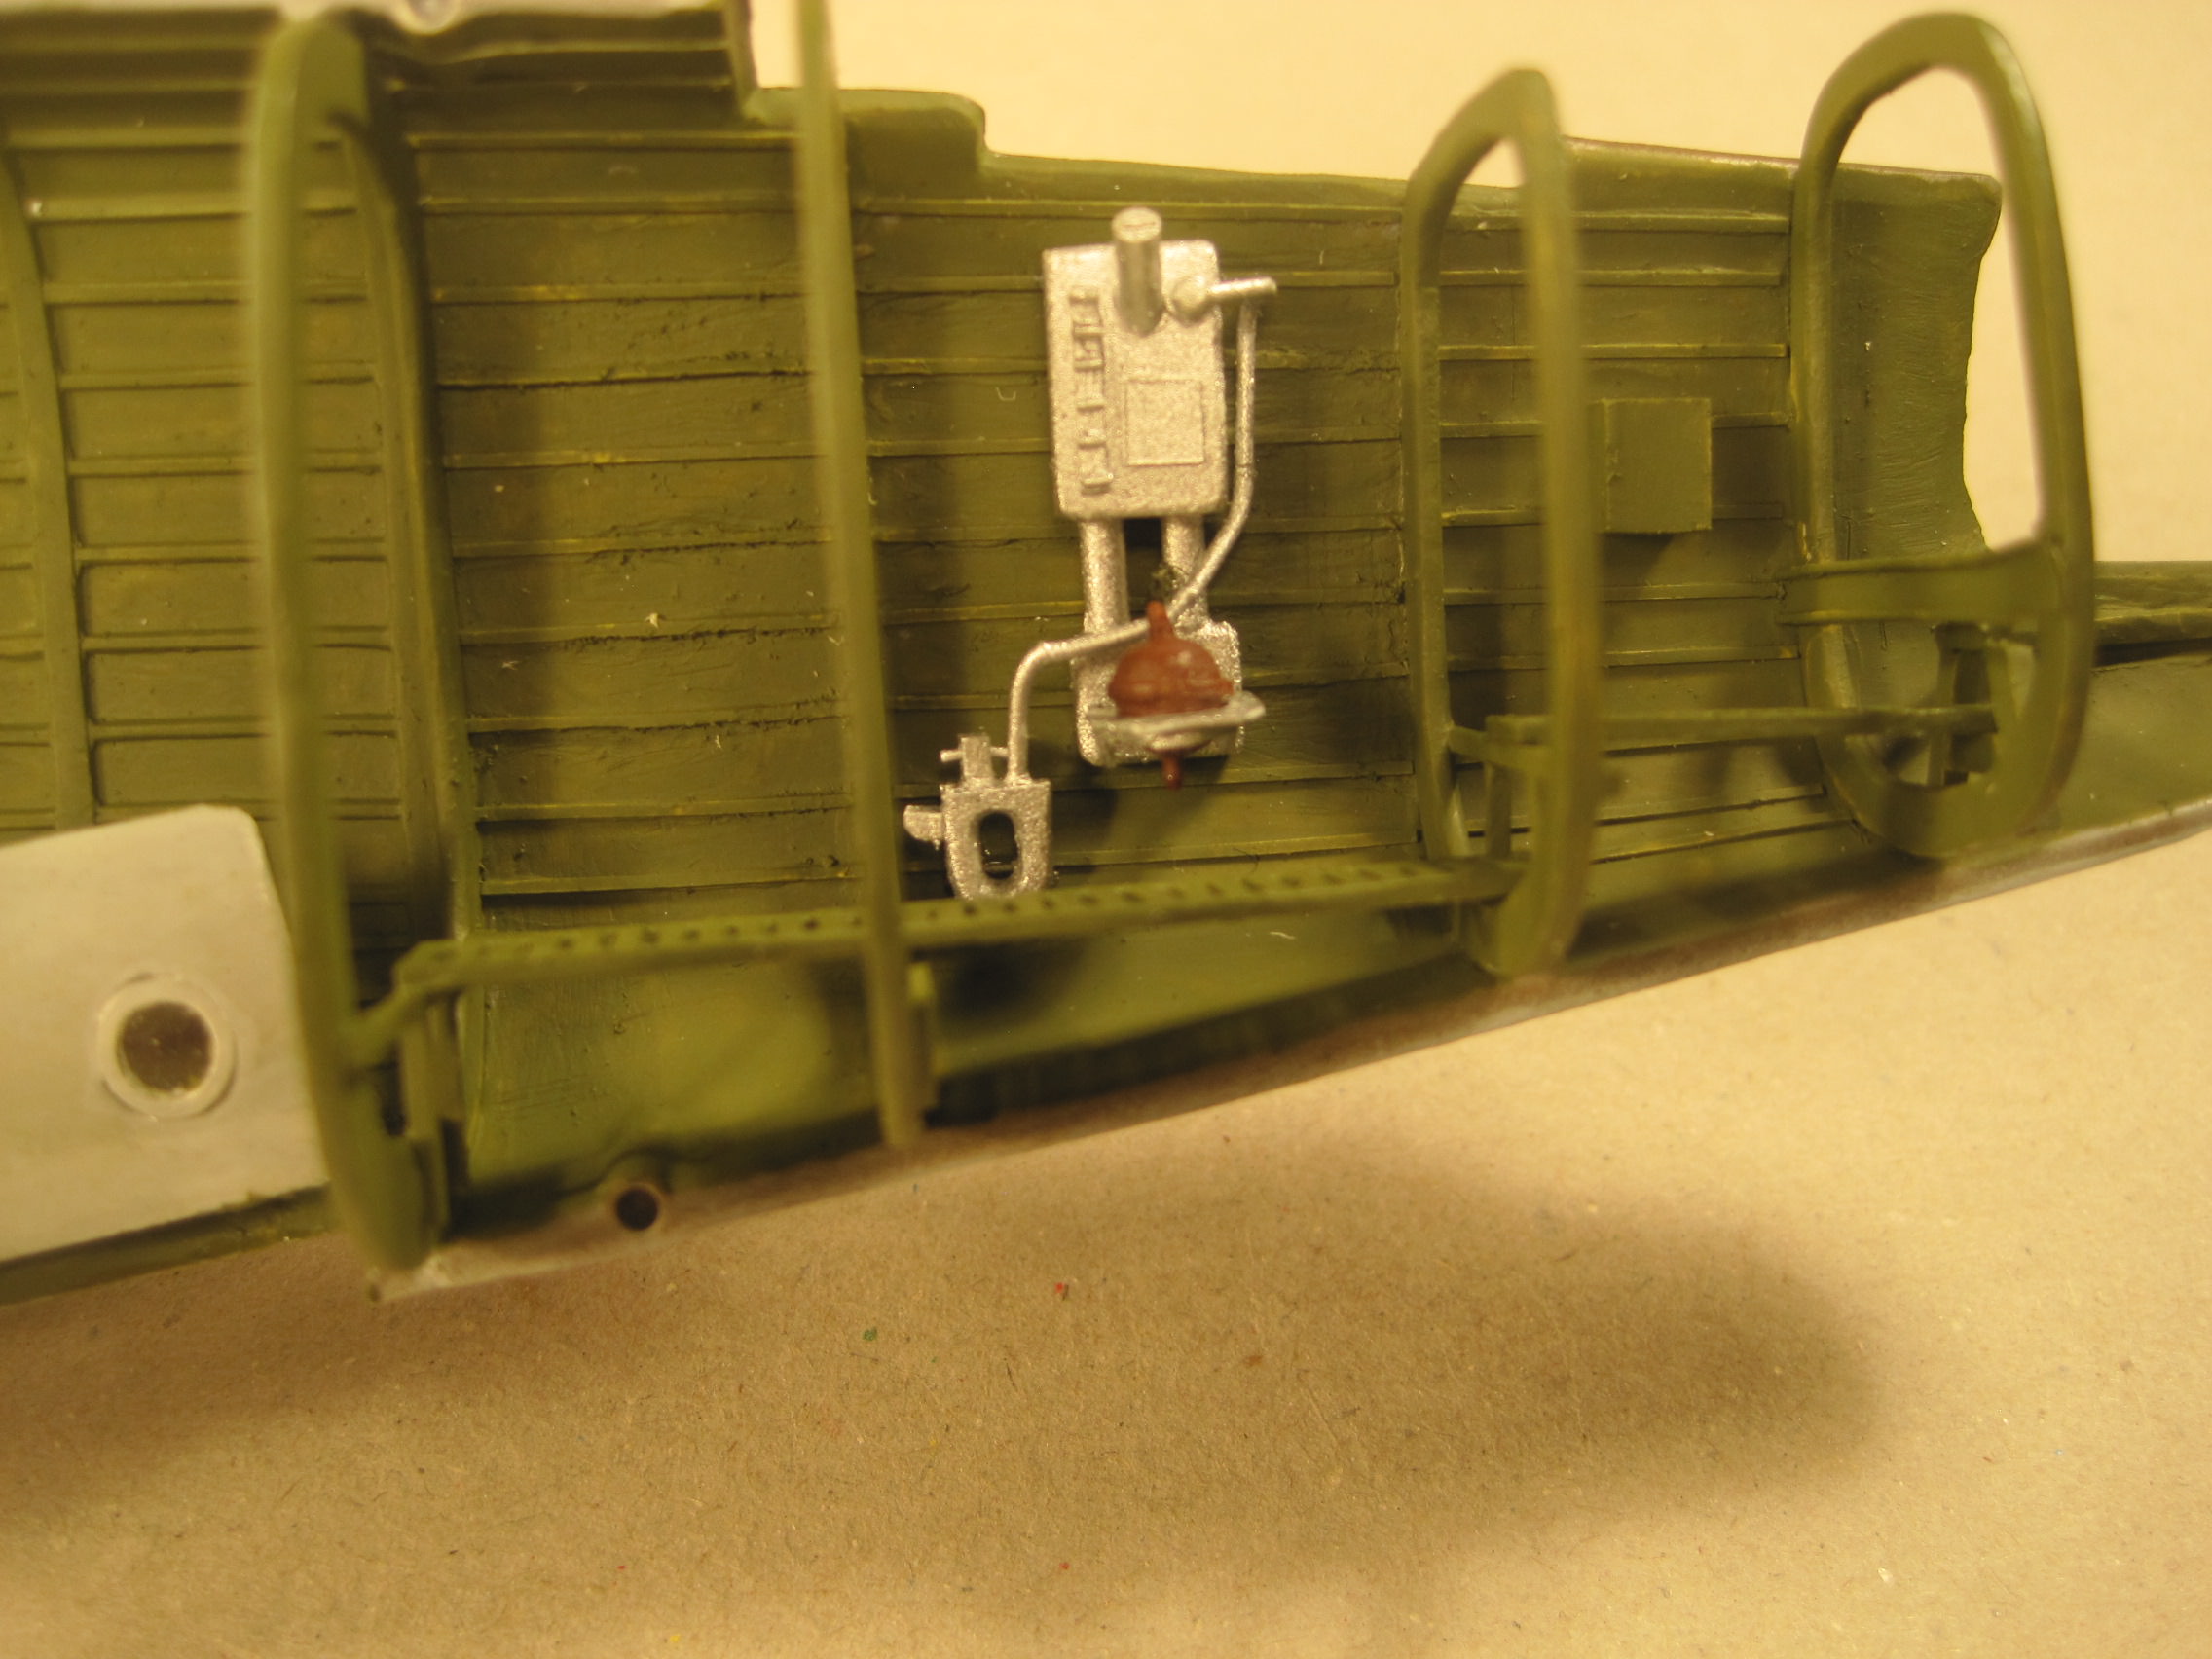
Hope you enjoy the photos.


rdt1953

Joined: February 06, 2015
KitMaker: 1,098 posts
AeroScale: 900 posts

Posted: Saturday, August 25, 2018 - 01:17 PM UTC
Hi Tom - I've been lurking in the shadows and just want to compliment you on your beautiful workmanship . Nice to see another post - hurry up and get the basement done so we can have more !
As an aside I have watched the Collings Foundation B 24 on several occasions and have come to the conclusion that it's center of gravity must be exactly over the main landing gear as I have never seen an an aircraft hobby horse so much while taxiing . Almost made me seasick while watching !
Cheers - Richard
 |


