_GOTOBOTTOM
World War II
Discuss WWII and the era directly before and after the war from 1935-1949.
Hosted by Rowan Baylis
TBD-1 Midway Ens. George Gay
pnance26
_VISITCOMMUNITY
California, United States
Joined: January 22, 2016
KitMaker: 766 posts
AeroScale: 103 posts
Posted: Saturday, March 04, 2017 - 02:00 AM UTC
Well here we go...

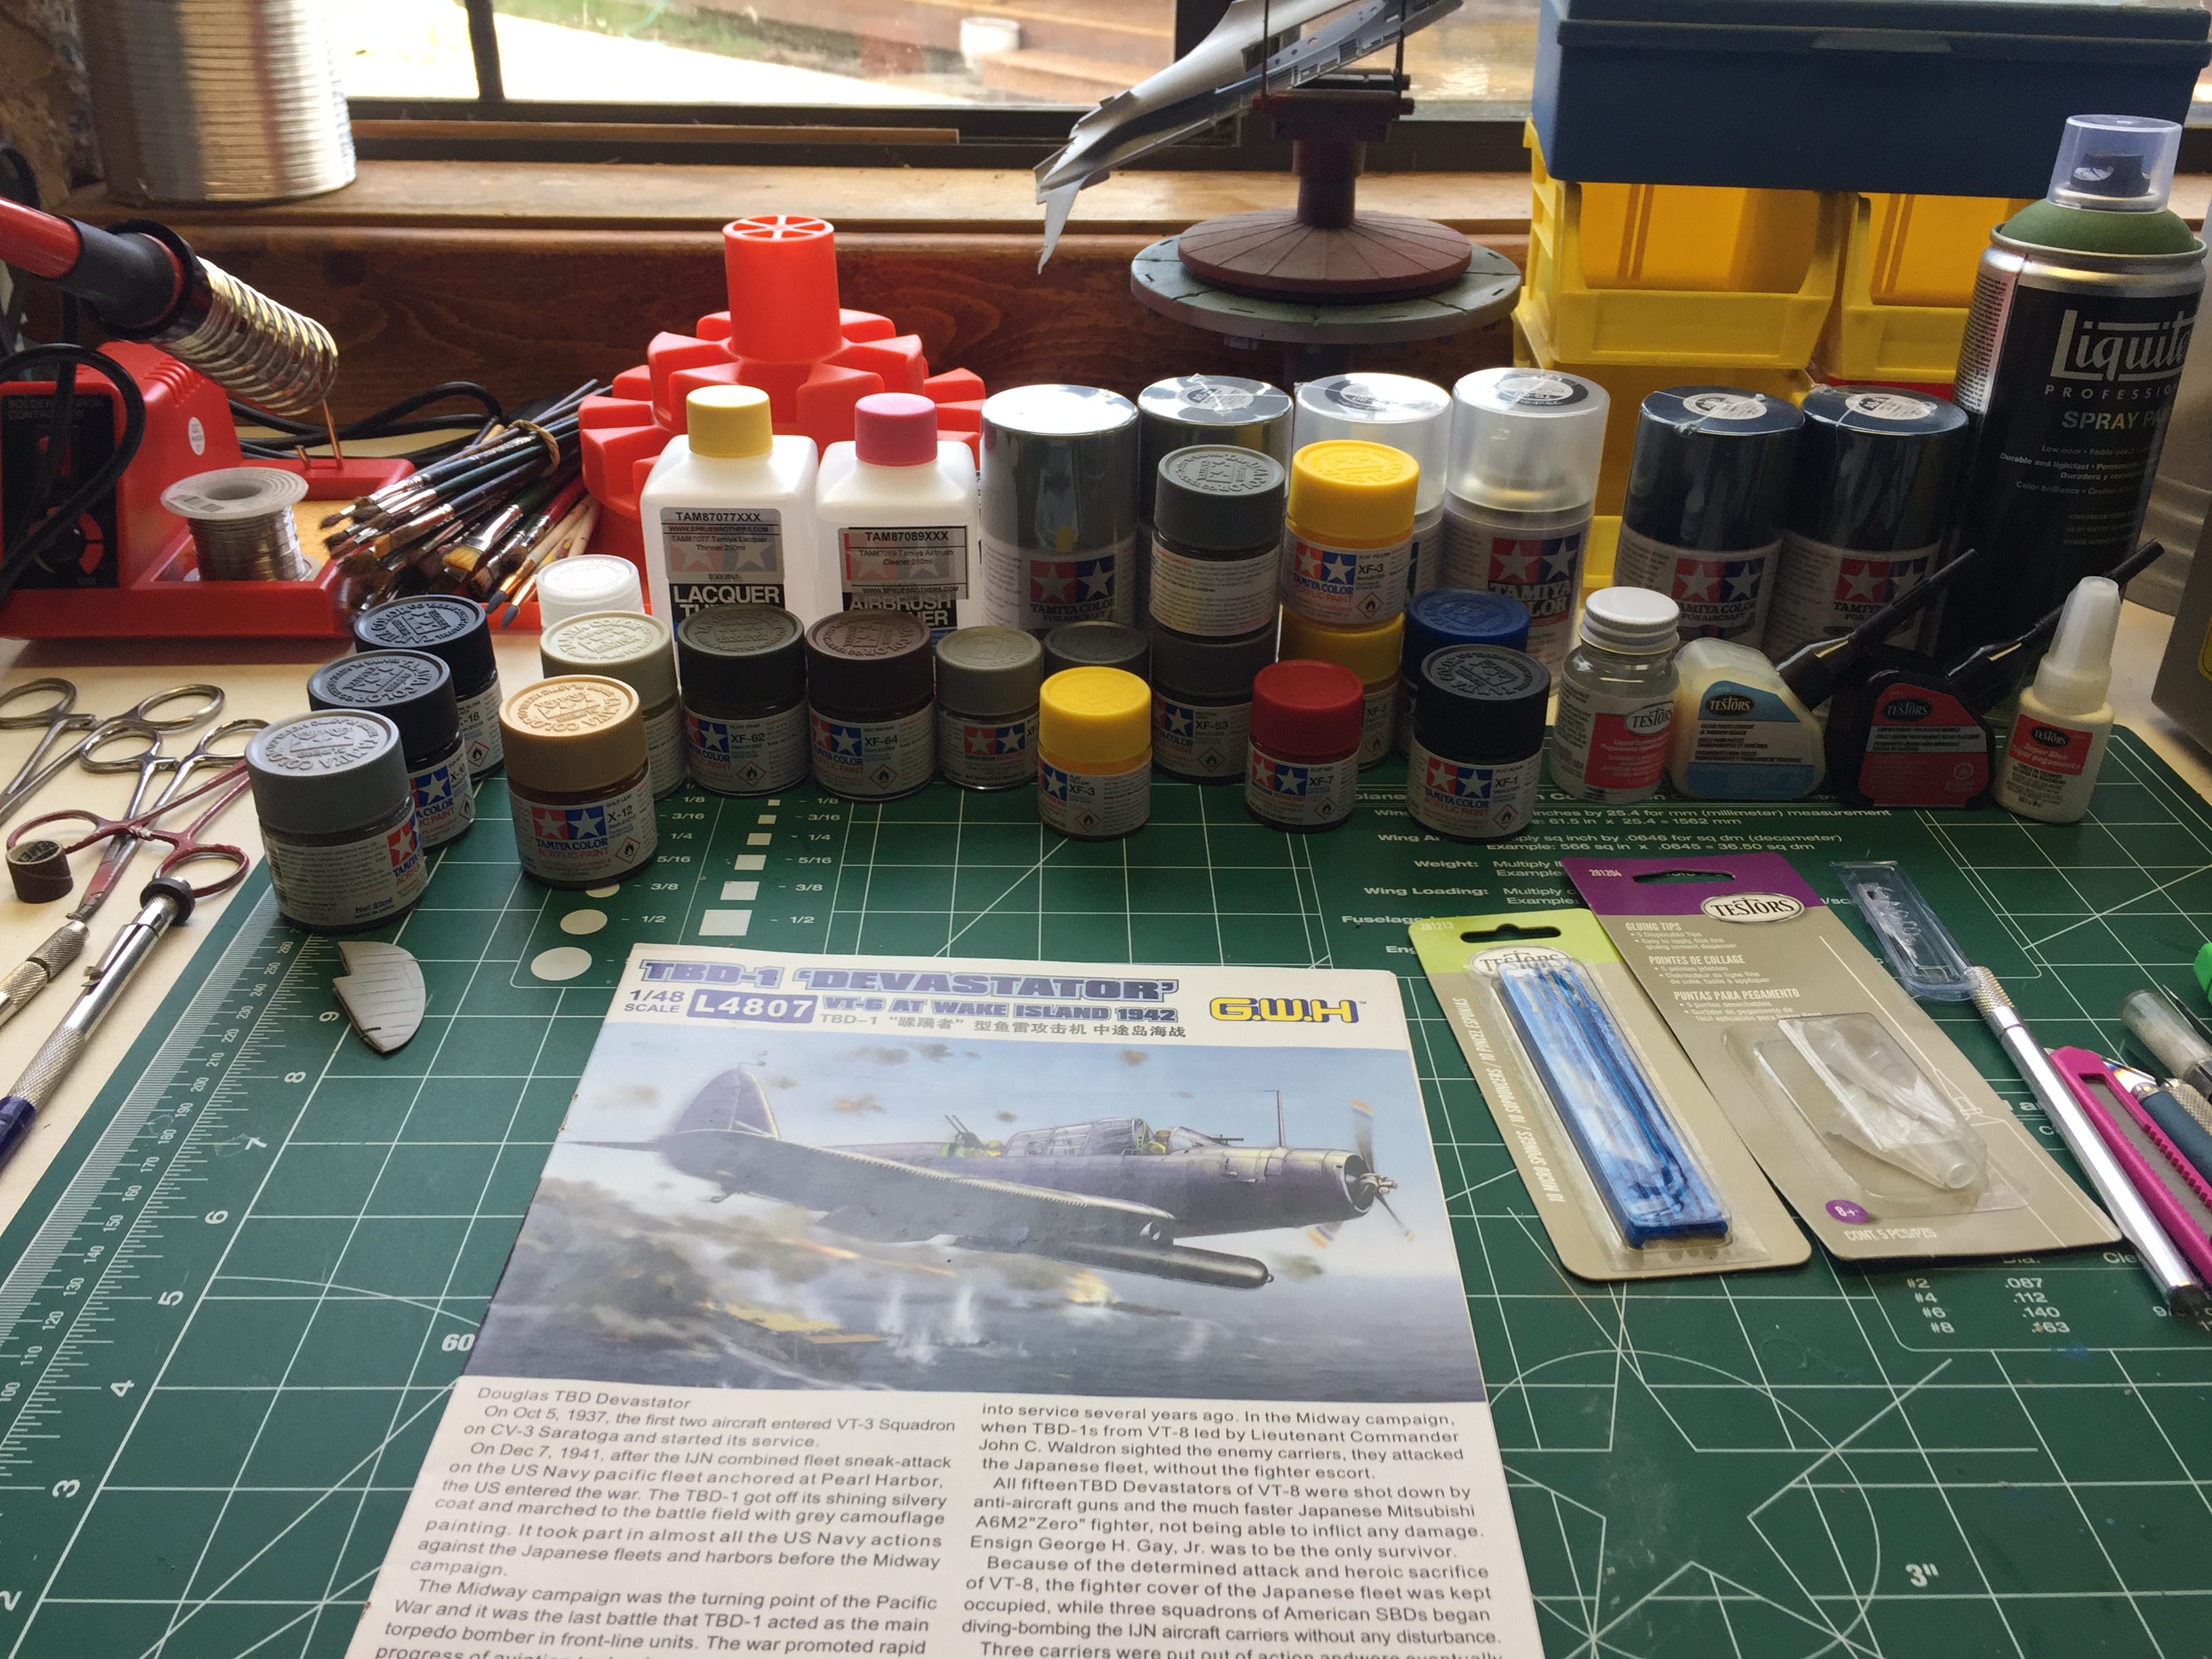
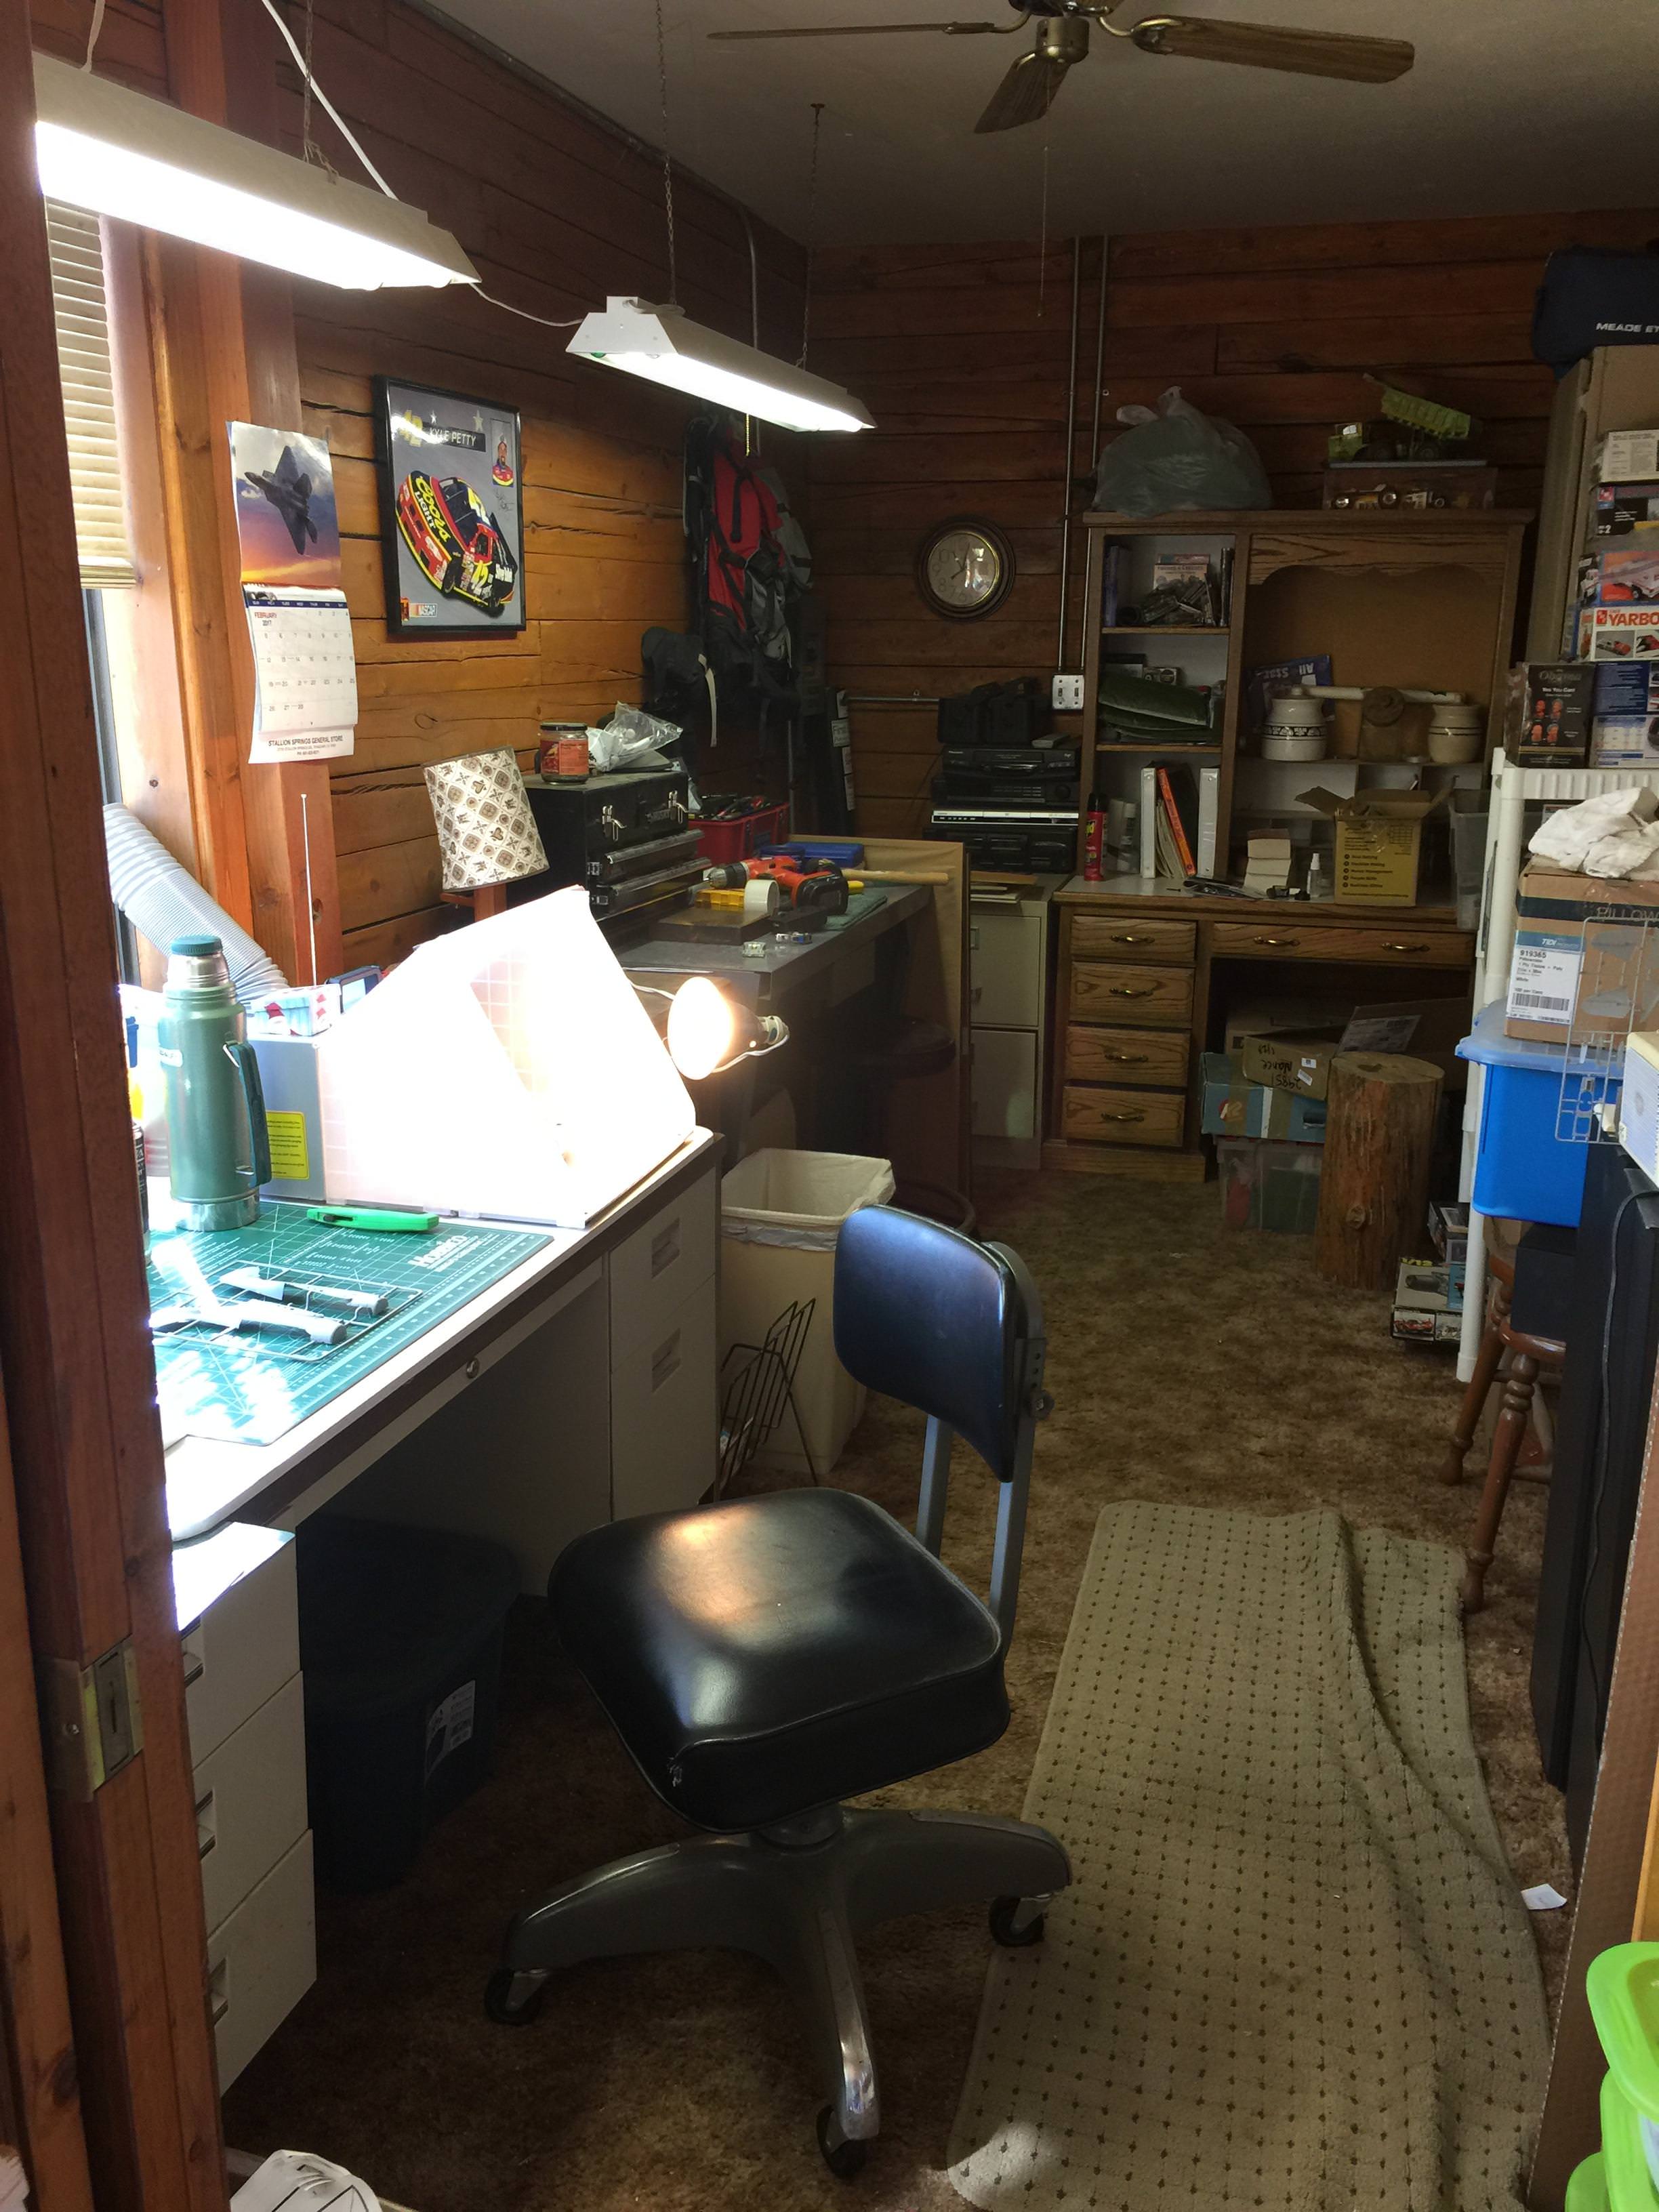
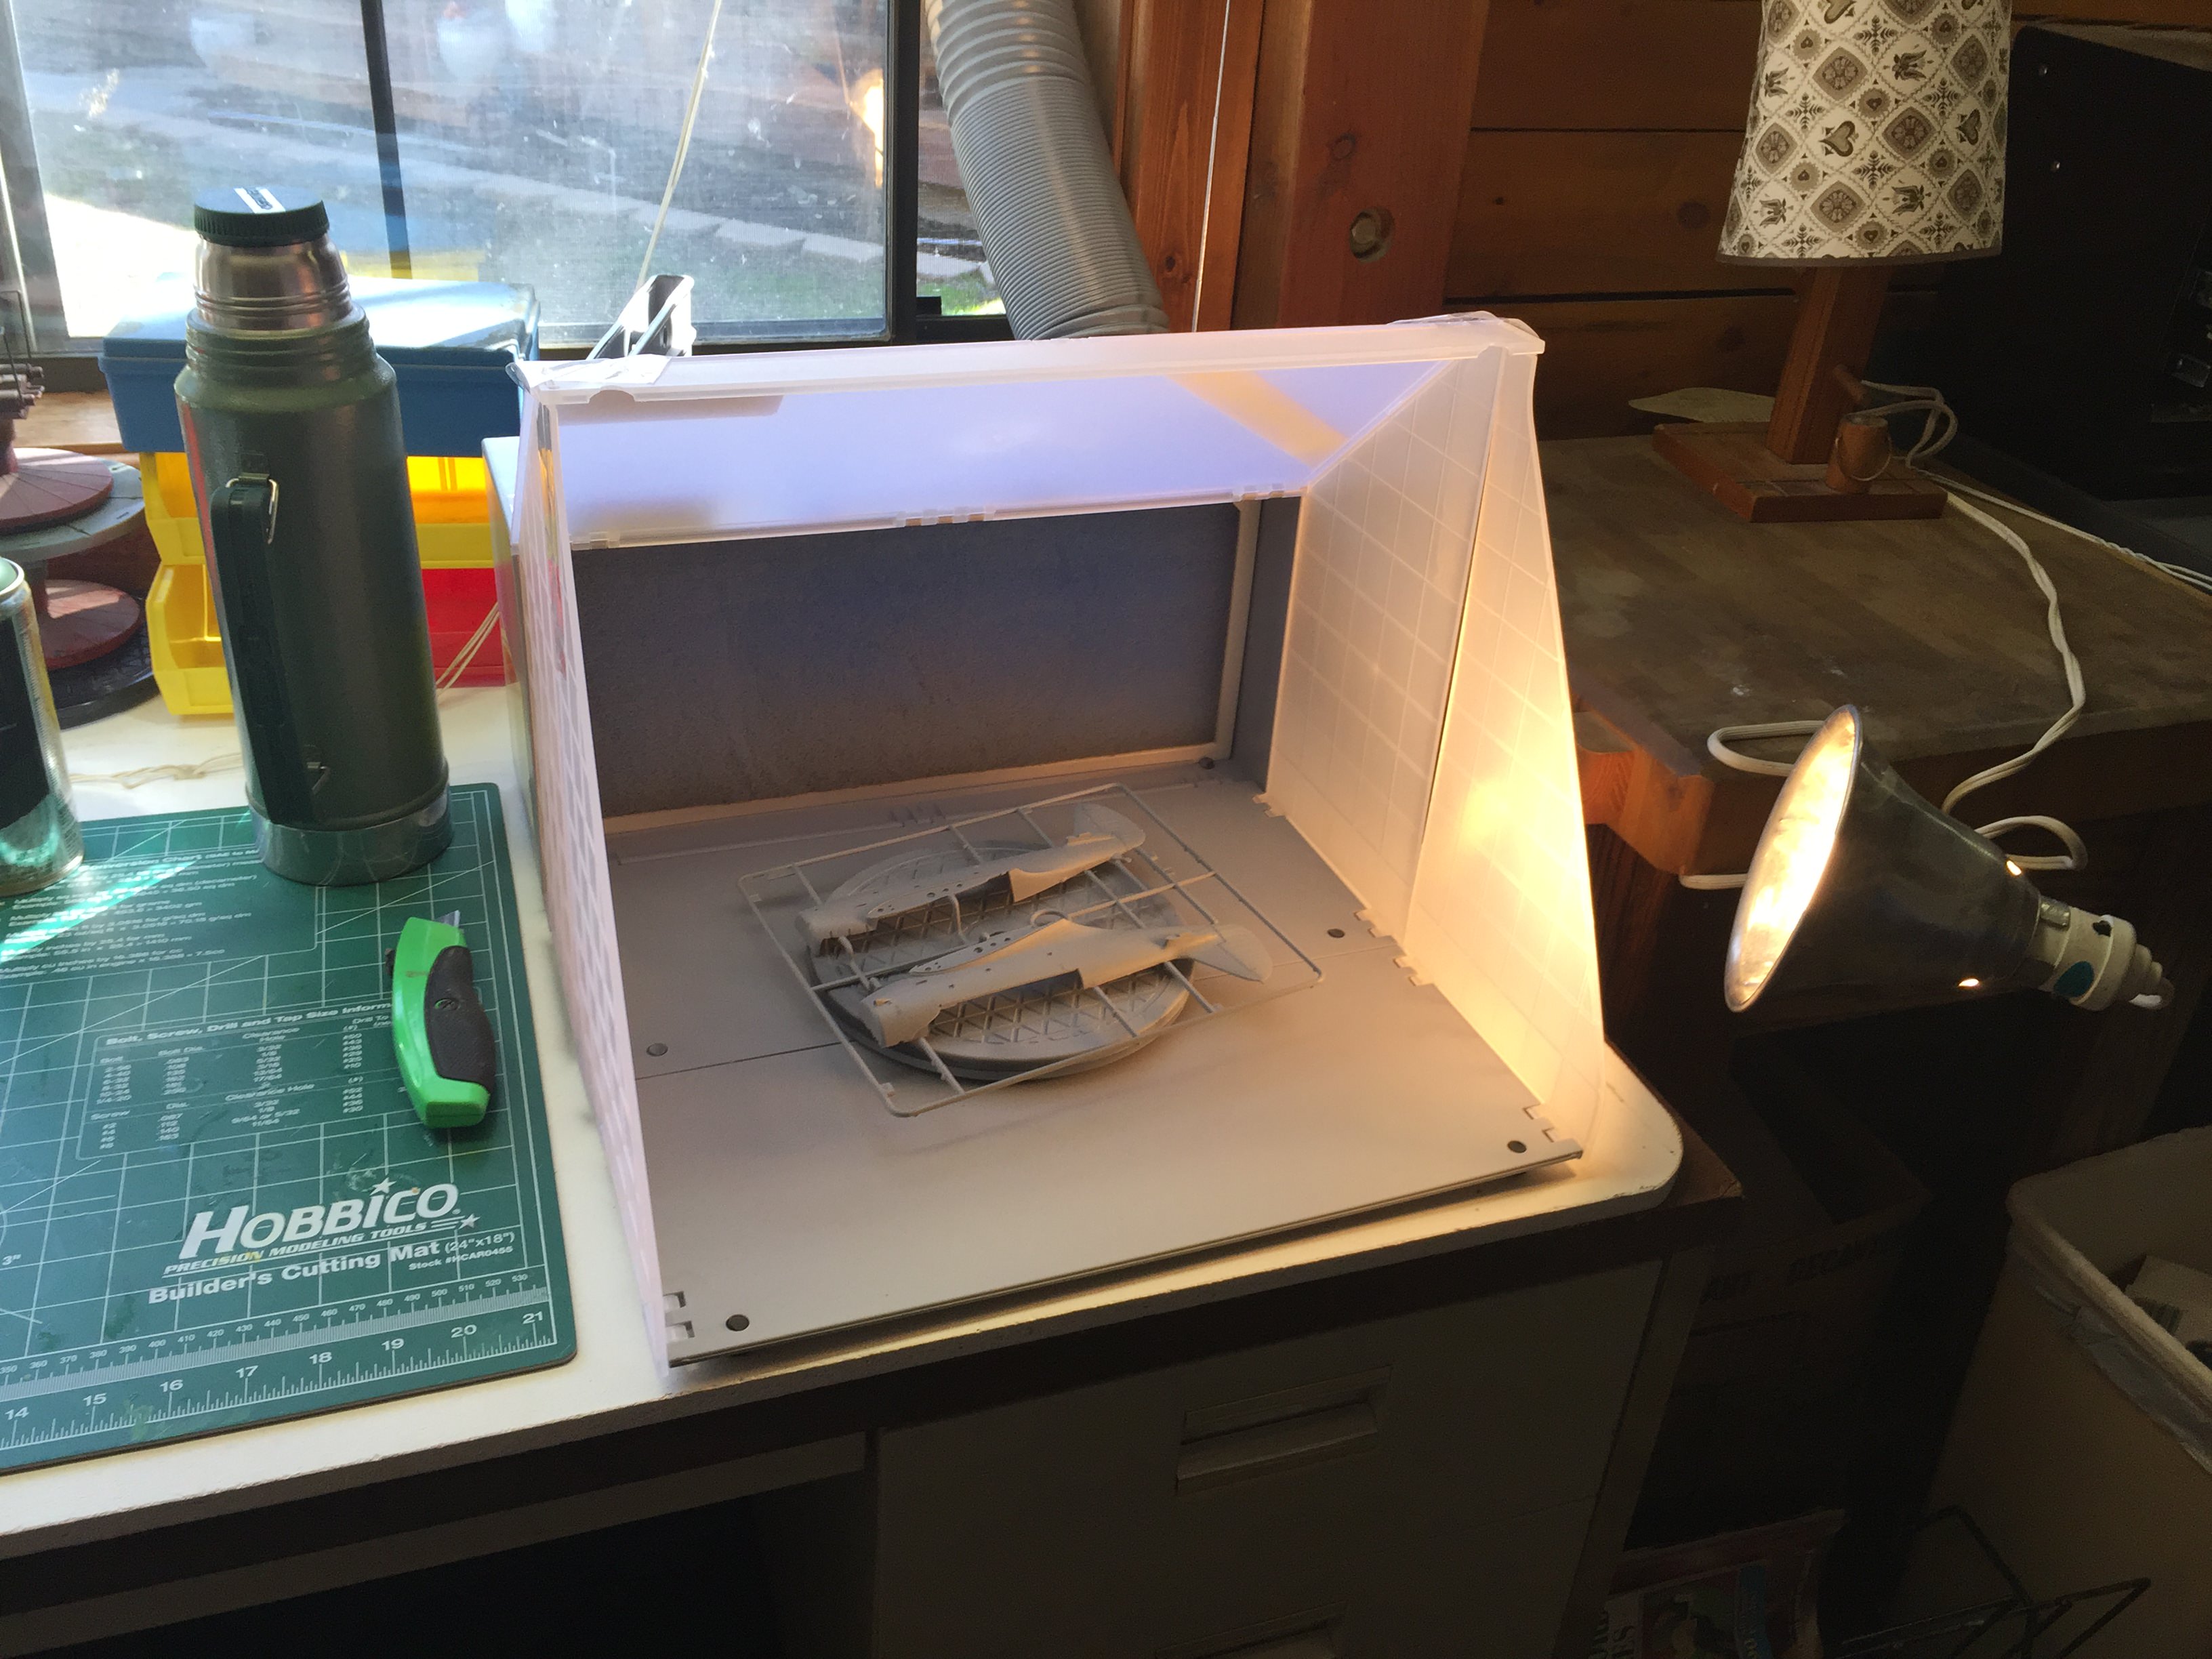
First of all a view of my all new workspace which is a work in progress...

The kit...
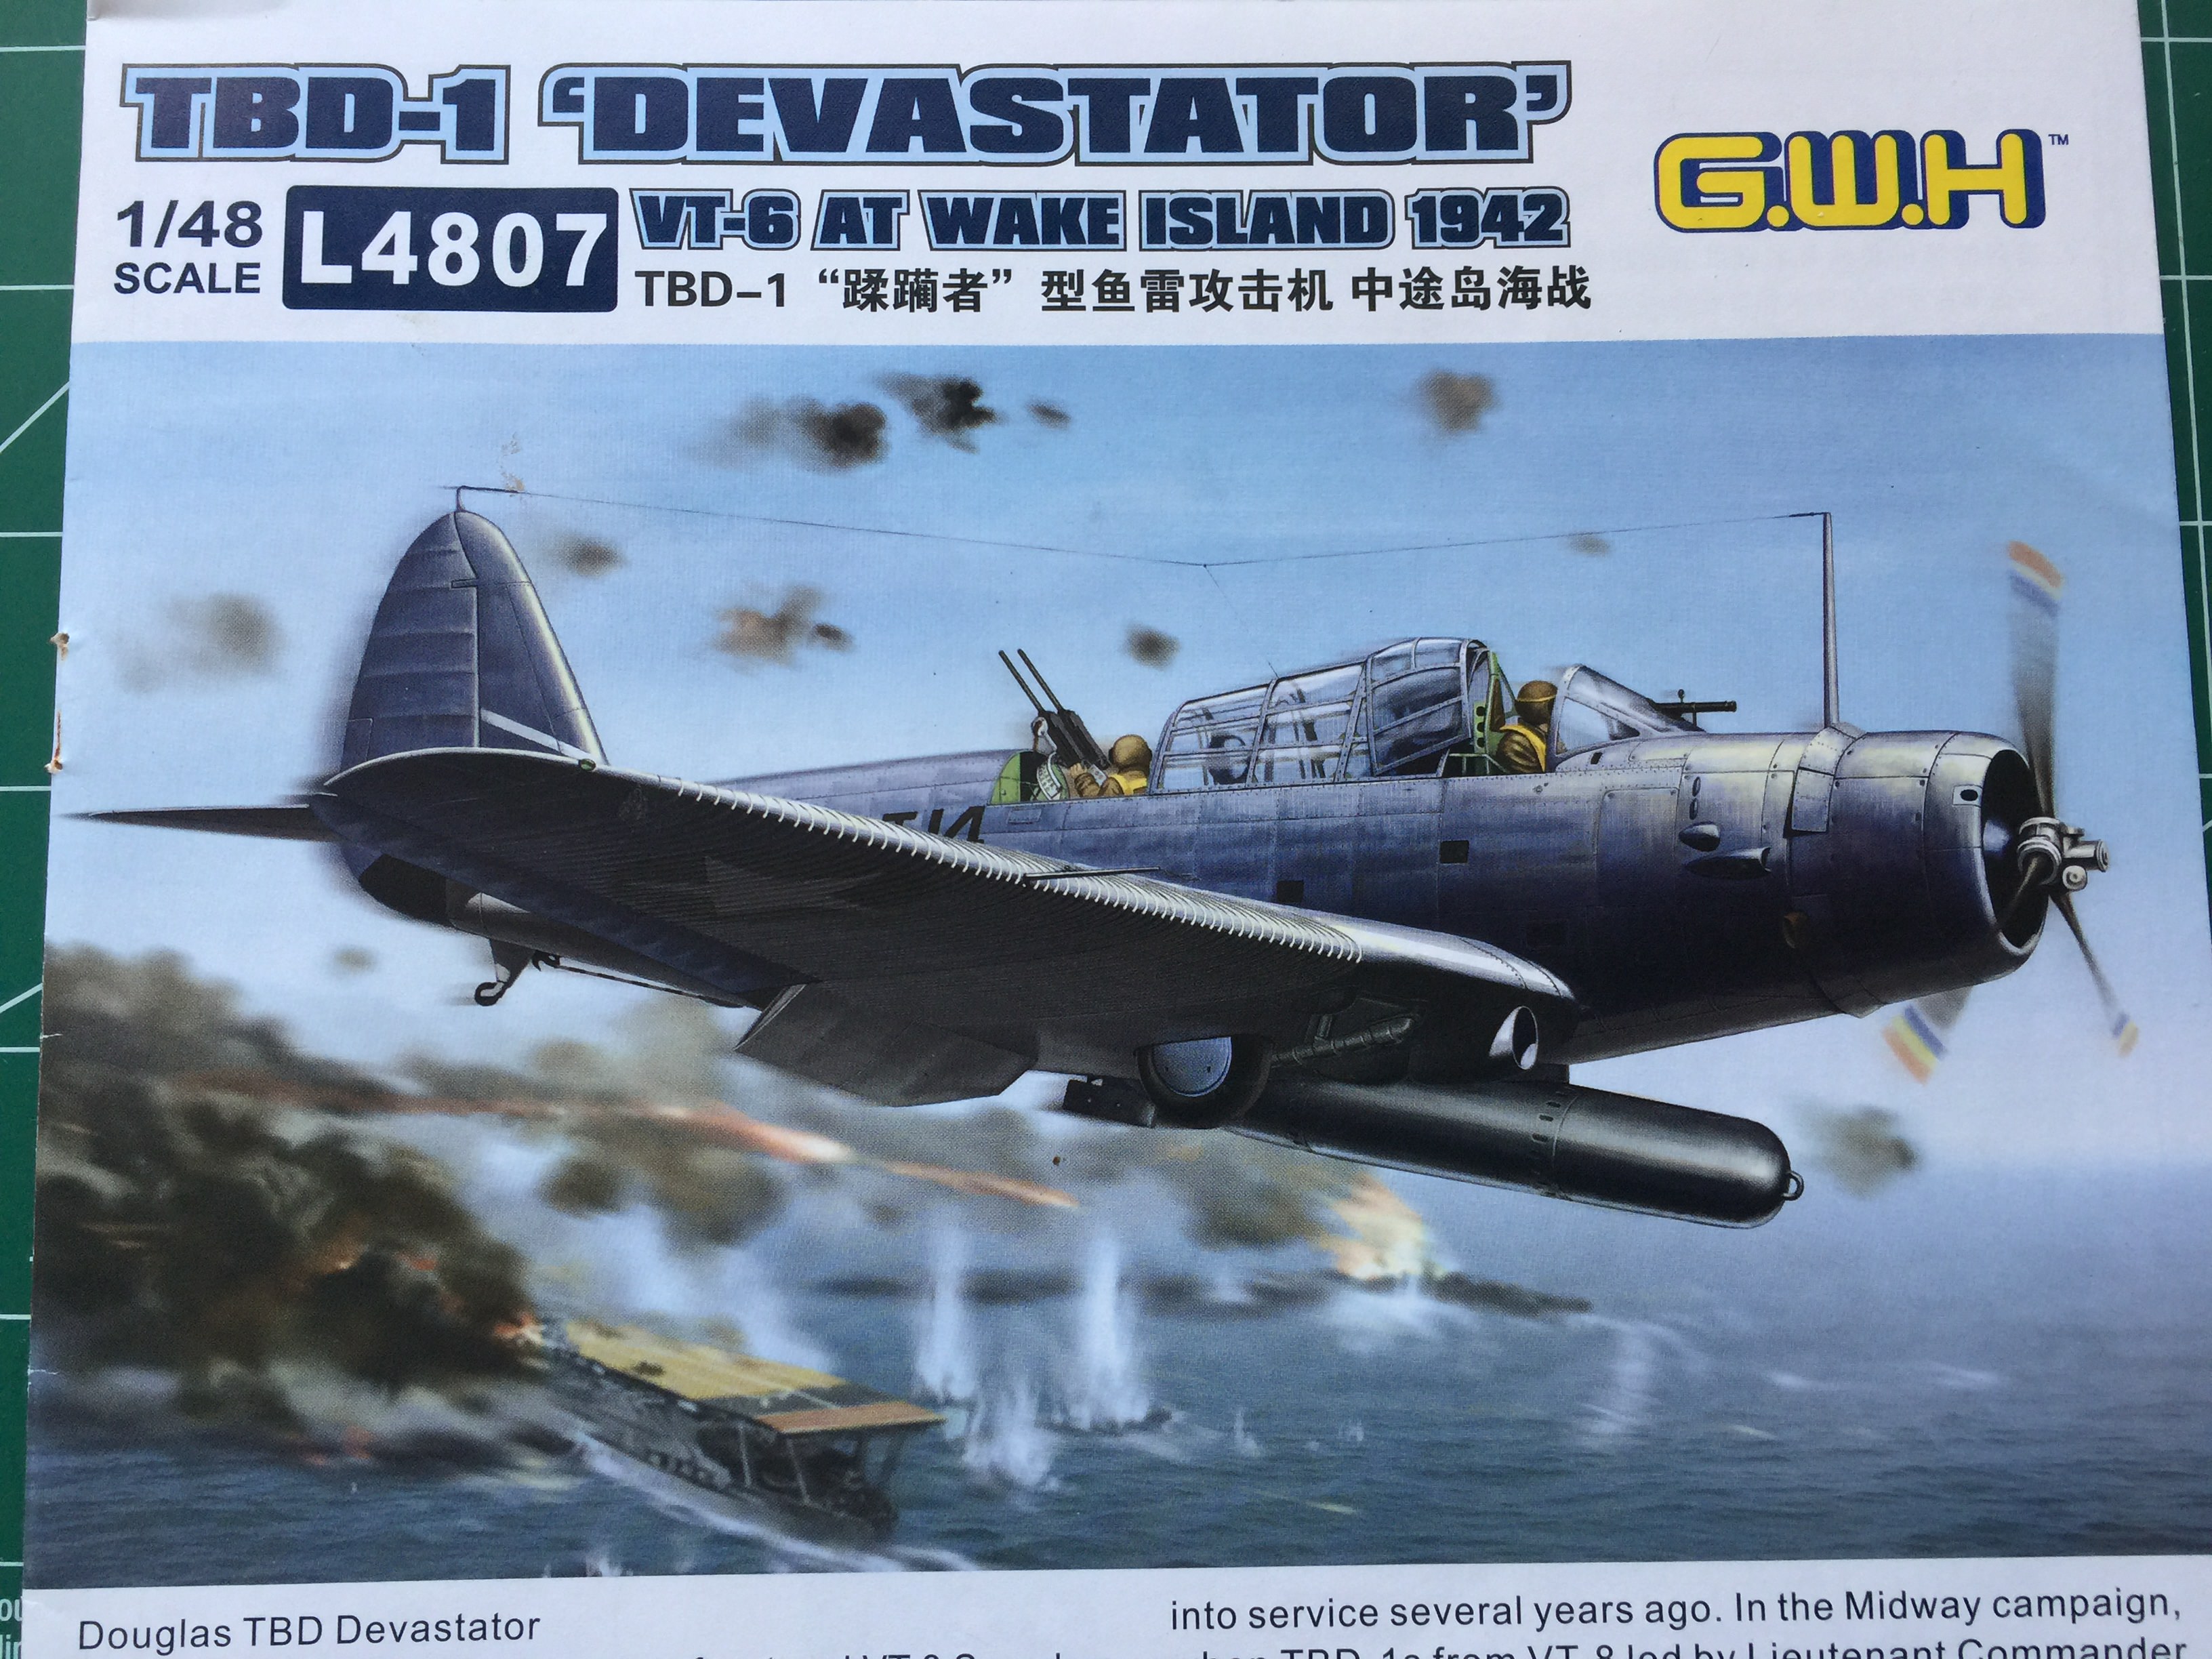


Your comments are always welcome!
Scrodes
_VISITCOMMUNITY
Ontario, Canada
Joined: July 22, 2012
KitMaker: 771 posts
AeroScale: 763 posts
Posted: Saturday, March 04, 2017 - 07:40 AM UTC
I'm actually relieved/surprised that this isn't a thread about the old Monogram kit.
pnance26
_VISITCOMMUNITY
California, United States
Joined: January 22, 2016
KitMaker: 766 posts
AeroScale: 103 posts
Posted: Saturday, March 04, 2017 - 08:27 AM UTC

Quoted Text

I'm actually relieved/surprised that this isn't a thread about the old Monogram kit.


Not a chance... I paid mucho dinero to make sure I didn't get that kit! This one looks like a winner!
pnance26
_VISITCOMMUNITY
California, United States
Joined: January 22, 2016
KitMaker: 766 posts
AeroScale: 103 posts
Posted: Tuesday, March 07, 2017 - 08:40 AM UTC
Well... now I know why I build 1/32nd aircraft and 1/35th armor. The little fiddly bits, especially photo-etched are enough to drive an OCD person like me over the edge.

I got about 1/2 of one step done today in about 3 hours. Will post pics tomorrow.

I also realized I need to complete the rear gunner figure right now instead of waiting since the rear gunner position is the second assembly of the build. Working on getting him posed, painted and gored up for the trip.

Pics to follow tomorrow...
BlackWidow
_VISITCOMMUNITY
European Union
Joined: August 09, 2009
KitMaker: 1,732 posts
AeroScale: 1,336 posts
Posted: Tuesday, March 07, 2017 - 01:15 PM UTC

Quoted Text

....I got about 1/2 of one step done today in about 3 hours ....


Patrick, no one speaks of speed building when we're working on our great hobby. Take your time, when you're ready, you're ready.

I just finished my Petlyakov Pe-2 after 7 weeks (435 parts). Our hobby is not done on a rainy Sunday afternoon.

Happy modelling!
Torsten
c4willy
#305
_VISITCOMMUNITY
Christchurch, New Zealand
Joined: February 01, 2006
KitMaker: 1,673 posts
AeroScale: 1,517 posts
Posted: Wednesday, March 08, 2017 - 12:21 AM UTC
Hi Patrick you can see why now we pick and choose what photo-etch to add as some of it is just to small to work with (I have hands the size of dinner plates) or simply doesn't add anything other than frustration level. Torsten's right take your time if needs be walk away and do something else then come back. I find myself taking micro breaks all the time (I have a wife and two adult daughters so there are always interruptions!) but it keeps me fresh as I often spend quite a number of hours working in the man cave.
kurnuy
_VISITCOMMUNITY
West-Vlaaderen, Belgium
Joined: August 22, 2009
KitMaker: 1,491 posts
AeroScale: 13 posts
Posted: Wednesday, March 08, 2017 - 12:42 AM UTC
Okay here you are Patrick . I have to echo the gents above , besides that a nice start of the build .


Kurt
pnance26
_VISITCOMMUNITY
California, United States
Joined: January 22, 2016
KitMaker: 766 posts
AeroScale: 103 posts
Posted: Wednesday, March 08, 2017 - 03:16 AM UTC
Thank you all for your kind words of encouragement! It means a great deal.

Seems a shame to do all this work to an aircraft that is going to end up in the drink! But it has to be right before it can be wronged, correct?

Four hours work so far...


Your comments and criticisms are always welcome!
rdt1953
_VISITCOMMUNITY
New Jersey, United States
Joined: February 06, 2015
KitMaker: 1,098 posts
AeroScale: 900 posts
Posted: Wednesday, March 08, 2017 - 06:30 AM UTC
Patrick - Looks great - keep at it ! - Richard
Redhand
#522
_VISITCOMMUNITY
New Jersey, United States
Joined: January 20, 2013
KitMaker: 1,460 posts
AeroScale: 1,443 posts
Posted: Wednesday, March 08, 2017 - 07:05 AM UTC
This is one of my favorite aircraft. The interior colors have always been a source of frustration. I did one in bluegray with light gray undersides and a aluminum cockpit (because that was the thinking at the time, before certain other photographic evidence came to light)

The "better thinking" now is that shortly after the aluminum interiors went into active service sunlight reflections resulted in the upper cockpit interior sides being painted in flat black to reduce reflection. Now there are pictures showing "interior green" in these aircraft, and the thinking is that this was done during depot overhauls.

When I haven't seen is the difference in color between floor and the seats that you are showing in your build. Since this is on my to do list one of these years I'd appreciate any info you can provide.
pnance26
_VISITCOMMUNITY
California, United States
Joined: January 22, 2016
KitMaker: 766 posts
AeroScale: 103 posts
Posted: Wednesday, March 08, 2017 - 07:10 AM UTC

Quoted Text

This is one of my favorite aircraft. The interior colors have always been a source of frustration. I did one in bluegray with light gray undersides and a aluminum cockpit (because that was the thinking at the time, before certain other photographic evidence came to light)

The "better thinking" now is that shortly after the aluminum interiors went into active service sunlight reflections resulted in the upper cockpit interior sides being painted in flat black to reduce reflection. Now there are pictures showing "interior green" in these aircraft, and the thinking is that this was done during depot overhauls.

When I haven't seen is the difference in color between floor and the seats that you are showing in your build. Since this is on my to do list one of these years I'd appreciate any info you can provide.


No real info here, Brian, except for the fact that this very near the end of service for this aircraft. While they were somewhat successful at Coral Sea, they were outclassed by the Zero. I figure since this is a diorama model and will largely go unseen, it will not be a source of accuracy by any means. The greens varied depending on what was available, to the best of my sources. And if it really matters, then don't look to me for historical accuracy!
pnance26
_VISITCOMMUNITY
California, United States
Joined: January 22, 2016
KitMaker: 766 posts
AeroScale: 103 posts
Posted: Wednesday, March 08, 2017 - 07:25 PM UTC
So... a couple of pieces of info on the GWH kit...

In the third assembly step, two decals are called out for the back of the pilot headrest/bulkhead... Decal #39 and Decal #40. Too bad the decal sheet only goes to 38!

Also, the photoetch sheet is misnumbered for the seat belts. Being as this aircraft never used shoulder straps during its service life, they are a nice leftover for another day! Too bad the kit doesn't come with figures. They could and would be a welcome addition.


Also, you'd better watch everything that you do as some of the assembly such as the rudder control rod is a tiny piece of very fragile (I mean I broke it) rod that is attached at FOUR places on the sprue. Same for the rudder pedals (which I managed to keep intact).

Maybe I am not used to the scale but it seems very small bits should have one maybe two sprue attachment points. I have broken (and mended) three pieces now. Thank goodness I have that ability.

Will post more on other deficiencies... but as you can see by the photos above, there is a lot going on in this kit!
pnance26
_VISITCOMMUNITY
California, United States
Joined: January 22, 2016
KitMaker: 766 posts
AeroScale: 103 posts
Posted: Wednesday, March 08, 2017 - 07:30 PM UTC

Quoted Text

This is one of my favorite aircraft. The interior colors have always been a source of frustration. I did one in bluegray with light gray undersides and a aluminum cockpit (because that was the thinking at the time, before certain other photographic evidence came to light)

The "better thinking" now is that shortly after the aluminum interiors went into active service sunlight reflections resulted in the upper cockpit interior sides being painted in flat black to reduce reflection. Now there are pictures showing "interior green" in these aircraft, and the thinking is that this was done during depot overhauls.

When I haven't seen is the difference in color between floor and the seats that you are showing in your build. Since this is on my to do list one of these years I'd appreciate any info you can provide.


Also, Brian, please take into consideration that the floor and bulkheads have had a black drybrushing/wash applied that was not done to the seats.
pnance26
_VISITCOMMUNITY
California, United States
Joined: January 22, 2016
KitMaker: 766 posts
AeroScale: 103 posts
Posted: Thursday, March 09, 2017 - 05:54 AM UTC
Not that anyone notices, but I work a full week and then have a week off...

Today it was back to the grind for 12 hours a day so thanks for looking and see you next week!
thegirl
_VISITCOMMUNITY
Alberta, Canada
Joined: January 19, 2008
KitMaker: 6,743 posts
AeroScale: 6,151 posts
Posted: Friday, March 10, 2017 - 09:43 PM UTC
Following your build with interest ...


Terri
pnance26
_VISITCOMMUNITY
California, United States
Joined: January 22, 2016
KitMaker: 766 posts
AeroScale: 103 posts
Posted: Friday, March 10, 2017 - 10:48 PM UTC
So did I make a major error by not painting the PE seat belts? How does one do that and not destroy the look?

Your advice and comments are always welcome.
Kevlar06
_VISITCOMMUNITY
Washington, United States
Joined: March 15, 2009
KitMaker: 3,670 posts
AeroScale: 833 posts
Posted: Saturday, March 11, 2017 - 12:04 AM UTC

Quoted Text

So did I make a major error by not painting the PE seat belts? How does one do that and not destroy the look?

Your advice and comments are always welcome.


Were they already painted? Some do come in a "color" set with paint already on-- Eduard's early efforts had the paint flaking off if you bent the belts, but I understand they've corrected it on the newer versions. I generally just give the belts a wash of burnt umber to make them look a little darker in the folds. By the way, I sent you a PM regarding the canopies, but they are done now, I'll be sending them back Monday so you should get them next week. I'll provide a note with what to do with them next in my opinion (you'll need to do some prep and cutting), and some prep materials. They were very flimsy and fiddly in the gunners position, given thier size and construction, I have some suggestions, and provided several copies for "experimentation". GW has the radio compartment canopy section wrong in that they provide two separate pieces in the "telescoping set", but that part of the canopy did not slide open. You'll see what I'm talking about when you get them.
VR, Russ
pnance26
_VISITCOMMUNITY
California, United States
Joined: January 22, 2016
KitMaker: 766 posts
AeroScale: 103 posts
Posted: Saturday, March 11, 2017 - 05:56 AM UTC
Wow! Thanks! And the PE belts are installed already so I guess it's too late!

I look forward to seeing the canopies. I will let you know when they arrive.
pnance26
_VISITCOMMUNITY
California, United States
Joined: January 22, 2016
KitMaker: 766 posts
AeroScale: 103 posts
Posted: Saturday, March 18, 2017 - 07:19 AM UTC
Good afternoon!

I did manage to spend some time at the work bench yesterday and today but not as much as I would have liked. Just working on the cockpit is very slow and very detailed. There are even PE ammo belts for the twin guns but they will wait until the gunner is in place.

Once again, GWH has mismarked the PE sheet for a couple of parts. And there are places w

here the directions are very vague. There is a part C21 that is very involved. The only problem is they forget to show where it goes on the model!

I will try to get some photos tomorrow. I did test fit the cockpit to the left fuselage and it fits like a glove with very little gap. I am very pleased with it.

And tomorrow the airbrush comes out for the first time in almost two years. The interior green goes on tomorrow.

I am also planning on doing some damage to the aircraft such as projectile holes. What kind of ammo did the Aero fire and how big would the hold in the skin of an aircraft be? Could they pierce a canopy without completely shattering it?

Also, I will be asking about exhaust and smoke staining along with a few oil leaks. I have never done an aircraft with that kind of weathering. Is there a tutorial somewhere?

Thanks in advance and tomorrow will be picture day!
c4willy
#305
_VISITCOMMUNITY
Christchurch, New Zealand
Joined: February 01, 2006
KitMaker: 1,673 posts
AeroScale: 1,517 posts
Posted: Saturday, March 18, 2017 - 01:33 PM UTC
Hi Patrick the Zero was armed with two 20mm canons and two rifle caliber machine guns. The machine guns were 7.7mm and would most likely punch small holes in the perspex however the canon shells could be either explosive, incendiary, armour piercing or tracer and any combination the pilot saw fit. Tracer was usually one in every three or four rounds. Some pilots eschewed their use as if they missed the tracer rounds alerted the enemy pilot to the fact they were being shot at.

The Zero pilot could switch between machine guns and canon or have both firing. So in short small and pretty large holes depending on what the pilot used to bring the plane down. But I think it would be a safe bet that they would've been using canons or both as they would want it in the drink pretty smartly.
pnance26
_VISITCOMMUNITY
California, United States
Joined: January 22, 2016
KitMaker: 766 posts
AeroScale: 103 posts
Posted: Sunday, March 19, 2017 - 05:43 AM UTC
Not feeling well today but managed to get the cockpit interior done and a few photos. I had to mount the lower body of the gunner at this point...


Your comments and criticism is aways welcome.
Kevlar06
_VISITCOMMUNITY
Washington, United States
Joined: March 15, 2009
KitMaker: 3,670 posts
AeroScale: 833 posts
Posted: Sunday, March 19, 2017 - 06:05 AM UTC
Patrick,
May just be the quality of the photos, but I think the "cockpit green" is coming out a little dark. Also, checl your PM, I sent you a message message regarding A6M armament, and another regarding the battle damage tutorial. I was wrong, it was in the Airfix Model world special of Scale Modeling. I'm going to try and mail it to you rather than electrons.
VR, Russ
pnance26
_VISITCOMMUNITY
California, United States
Joined: January 22, 2016
KitMaker: 766 posts
AeroScale: 103 posts
Posted: Sunday, March 19, 2017 - 06:59 AM UTC
Russ,

I am using Tamiya XF-72 IJN Green which might be too dark. I can lighten it with some white and reshoot it but it won't match the completed parts of the cockpit. I did notice that the lighting is poor but it is quite dark.

I am going to send you something very old and I think belonged to by uncle. It is the scrapbook of a young man fascinated with aeroplanes.

I will send you a sample of the stuff in the scrapbook. I am not really an aviation nut but I am sure you will know best where something like this belongs when you see it

Cheers!
pnance26
_VISITCOMMUNITY
California, United States
Joined: January 22, 2016
KitMaker: 766 posts
AeroScale: 103 posts
Posted: Wednesday, March 22, 2017 - 08:19 PM UTC

Quoted Text

So... a couple of pieces of info on the GWH kit...

In the third assembly step, two decals are called out for the back of the pilot headrest/bulkhead... Decal #39 and Decal #40. Too bad the decal sheet only goes to 38!

Also, the photoetch sheet is misnumbered for the seat belts. Being as this aircraft never used shoulder straps during its service life, they are a nice leftover for another day! Too bad the kit doesn't come with figures. They could and would be a welcome addition.


Also, you'd better watch everything that you do as some of the assembly such as the rudder control rod is a tiny piece of very fragile (I mean I broke it) rod that is attached at FOUR places on the sprue. Same for the rudder pedals (which I managed to keep intact).

Maybe I am not used to the scale but it seems very small bits should have one maybe two sprue attachment points. I have broken (and mended) three pieces now. Thank goodness I have that ability.

Will post more on other deficiencies... but as you can see by the photos above, there is a lot going on in this kit!


Major stuff about the decal sheet...
1) the #guide is off by two. If you are looking for decal #36, then use #34 and so on... very poor quality control.

2) This is probably the worst decal sheet I have ever worked with and I have done a few auto models. They are very thick and do not respond to MicroSol or MicroSet. They just lay there and after the moisture dissolves, they are not attached. Someone gave me the suggestion of using white vinegar. I've never used that before...

I have a better solution to the problem... GWH needs to get with it on decal sheets and PE sheets as both are misnumbered!

Also, on the second page on construction, there is a part C21 which is the bombardier's undertray with a window. It shows construction of the two parts but doesn't indicate where it is to be located. It is drawn but usually you indicated "hey, this goes here" which it doesn't...

I also "decanted" some paint last night for the very first time! What an easy process! I used a Planter's peanut can (cleaned very thoroughly) inside my paint booth with the fan running. Very smooth and poured into an empty jar. Now I can use the same colors again! Another first!

For Russ Bucy... I agree about the green being too dark so I went back to the original green. Mucho better... will show you in photos.

So anyway, I will try to get the photos up from the left fuselage half with the cockpit, etc in position when I get home tonight. I forgot to upload them last night!

Your comments and criticisms are always welcome.
pnance26
_VISITCOMMUNITY
California, United States
Joined: January 22, 2016
KitMaker: 766 posts
AeroScale: 103 posts
Posted: Wednesday, March 22, 2017 - 09:58 PM UTC
I fixed the decal problem!

I found the aircraft marking for Torpedo 8 from Starfighter Decals and the instrument panel markings from MegaHobby who carries a UK line called Airscale! Another $20 to fix their problem but at least I know I will have something to work with that will actually work!

Phew... the little fiddly panels were one thing but I wasn't looking forward to doing the big decals like the wings!
 _GOTOTOP