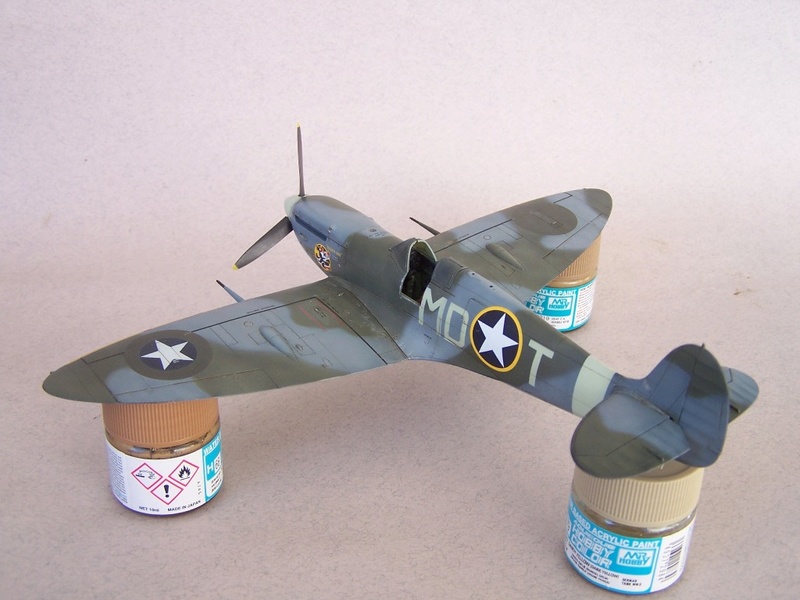
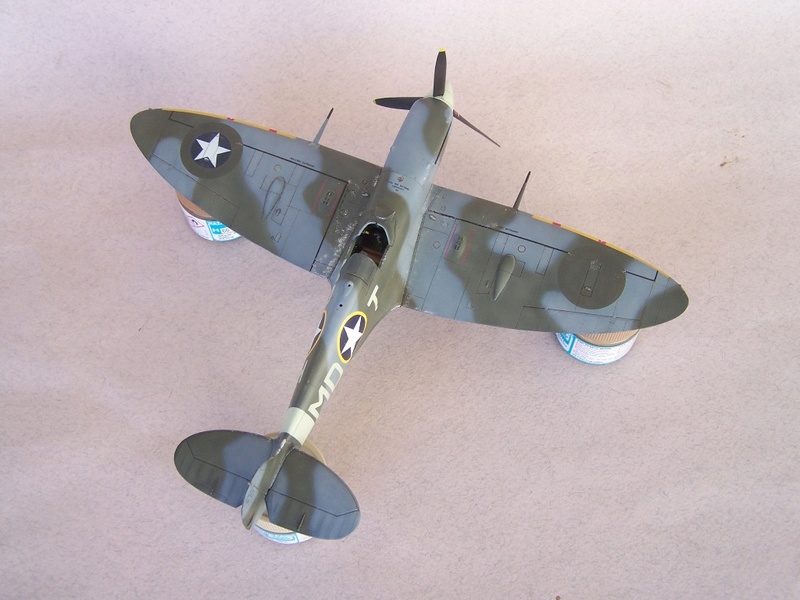
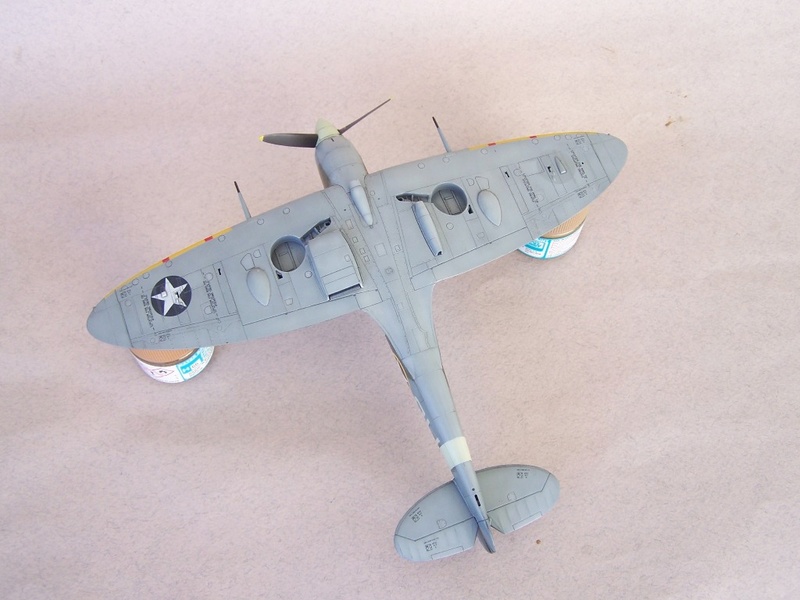
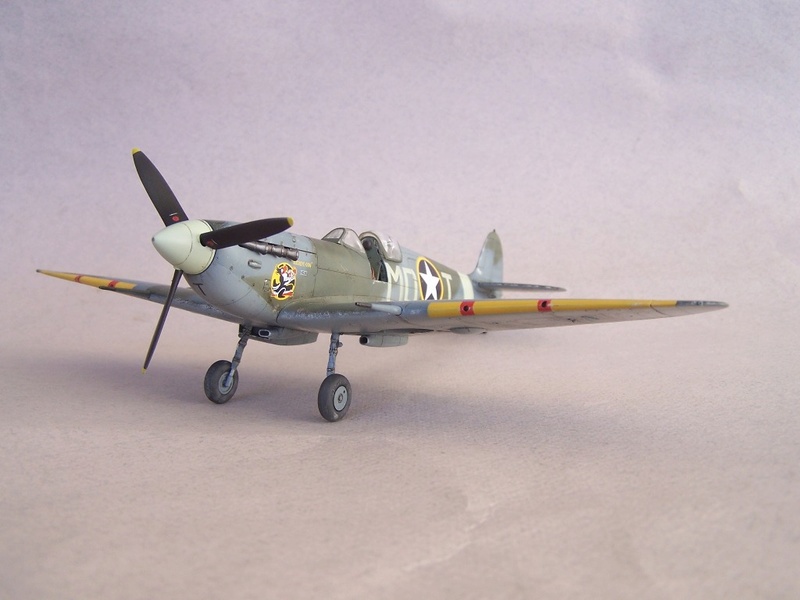
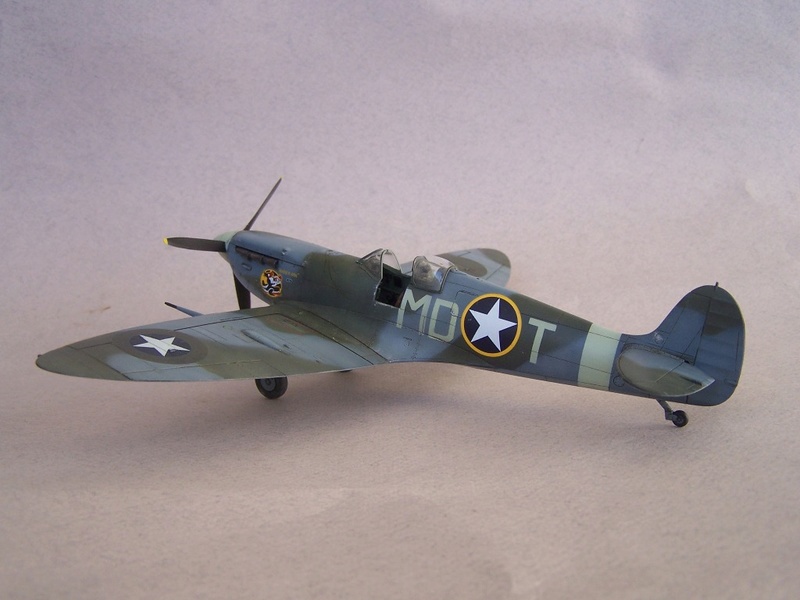
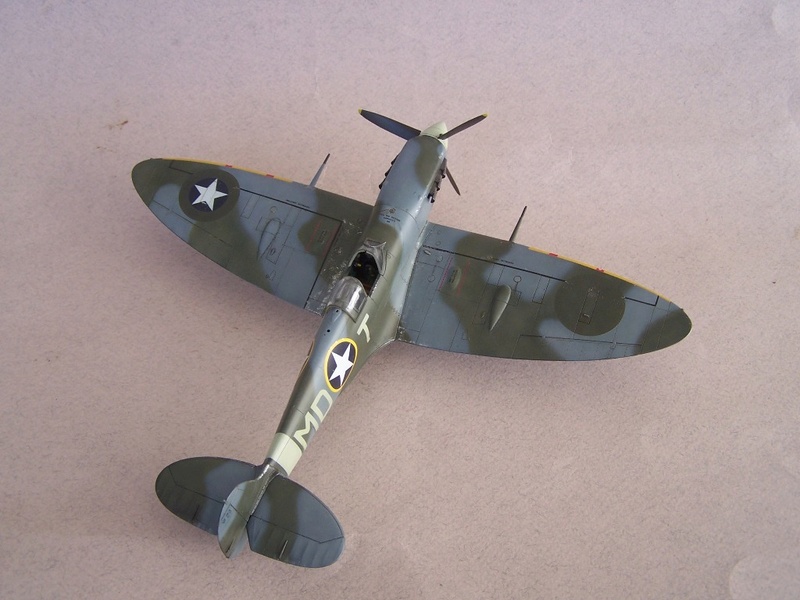
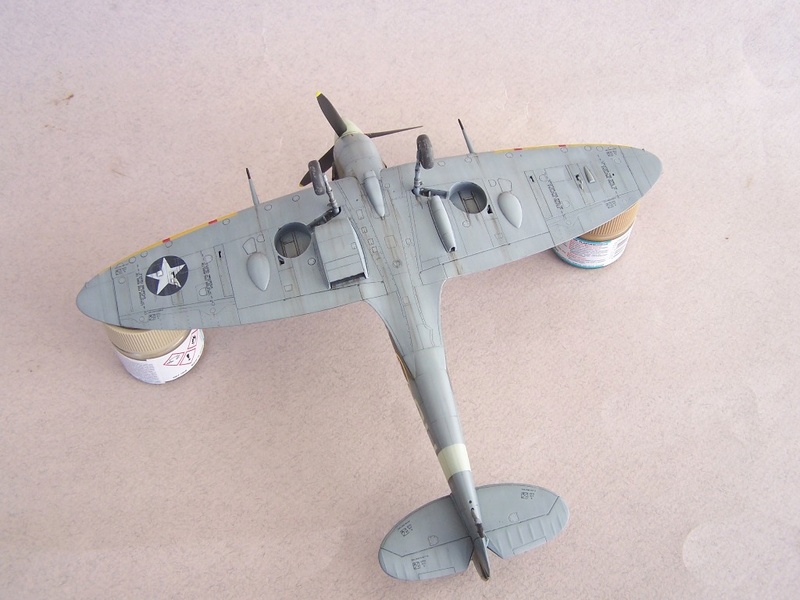
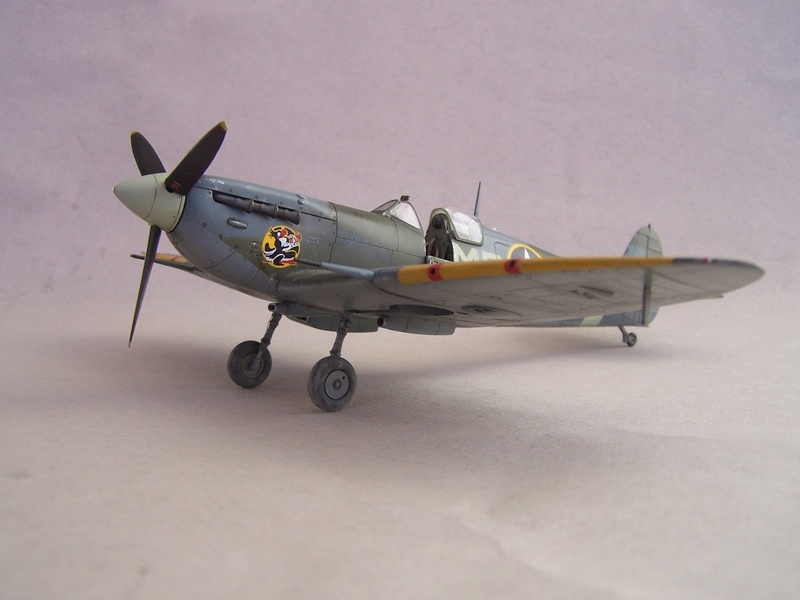
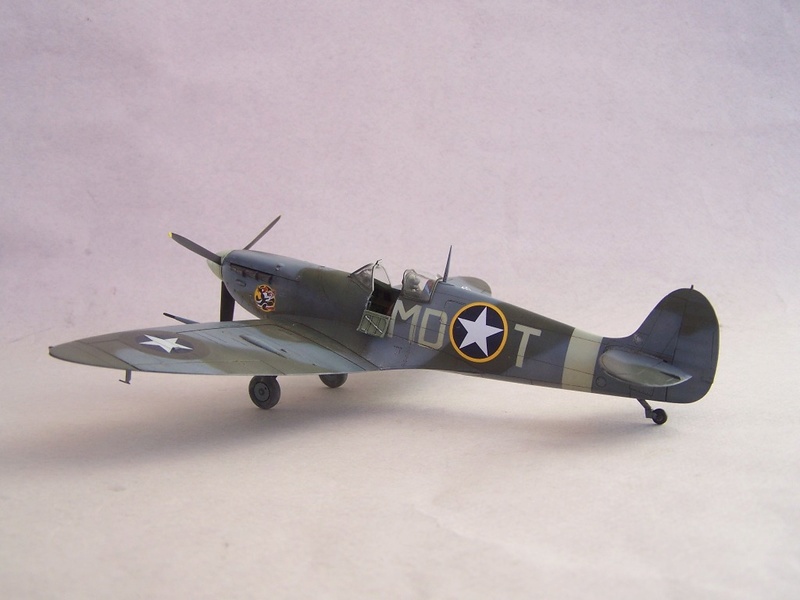
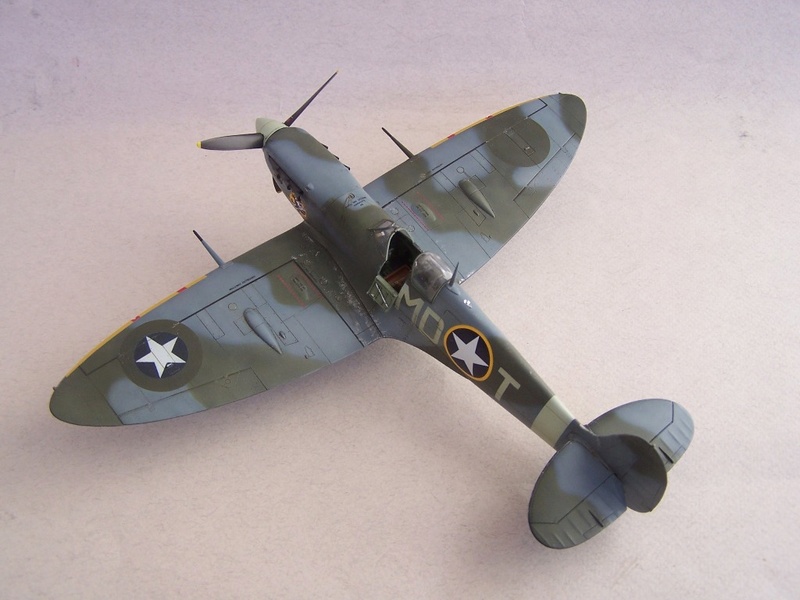
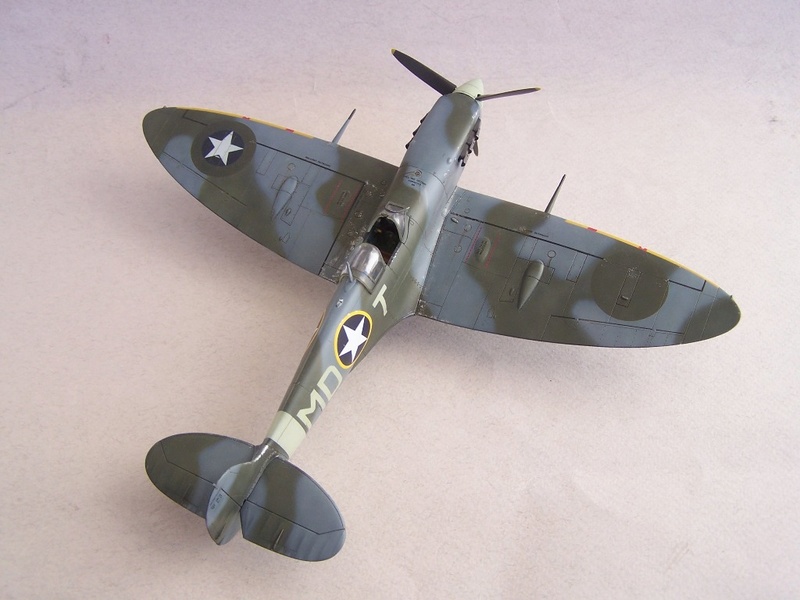
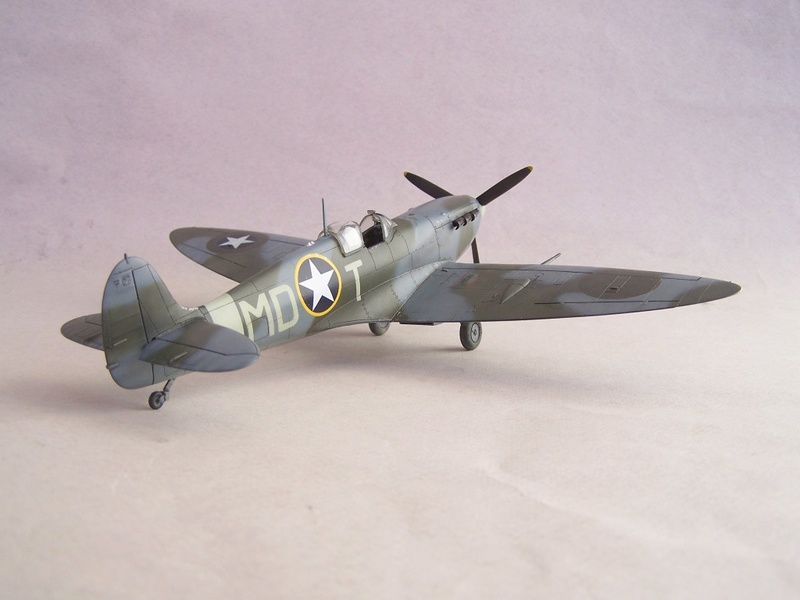
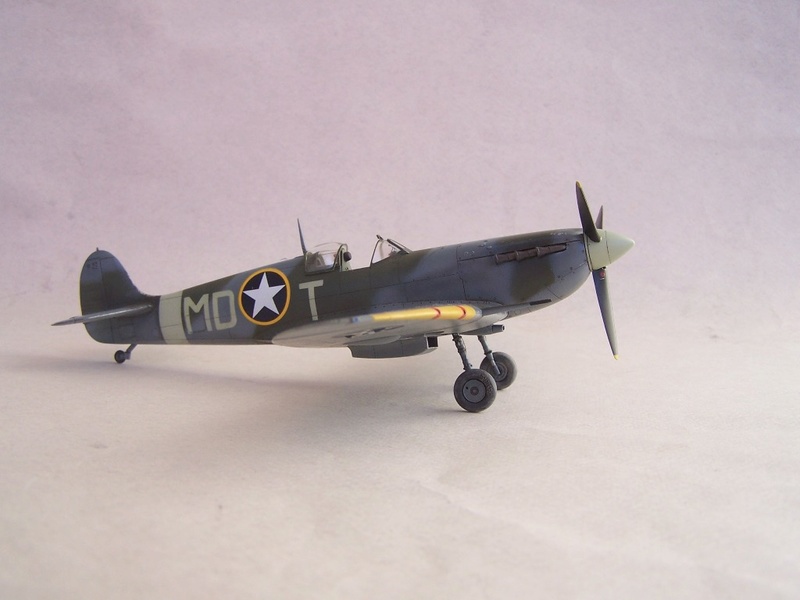
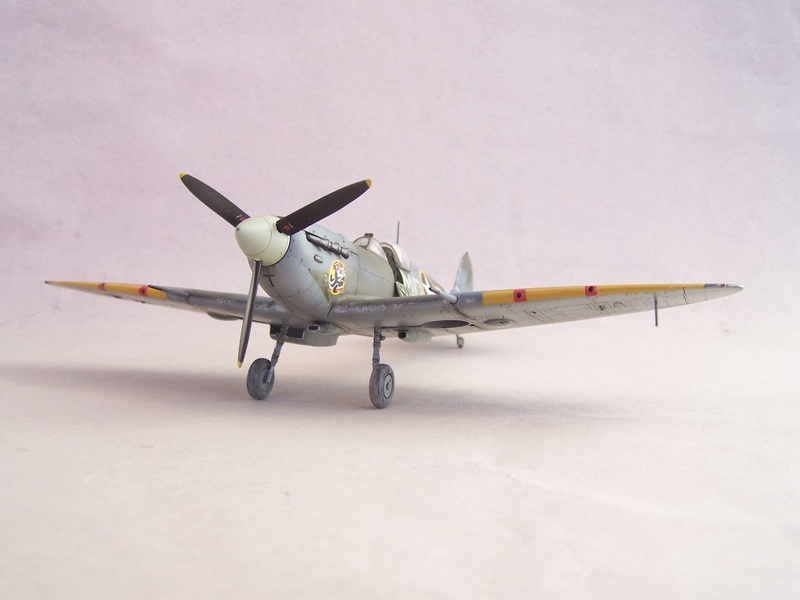
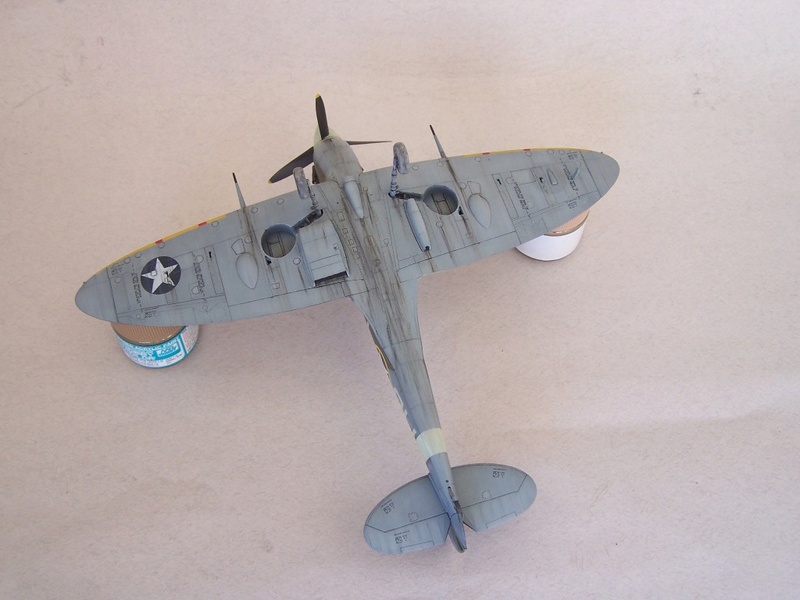
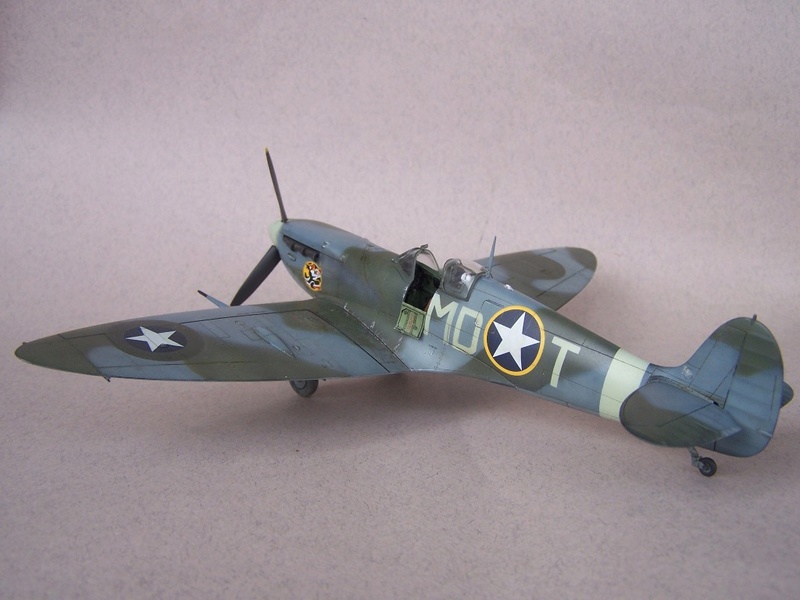
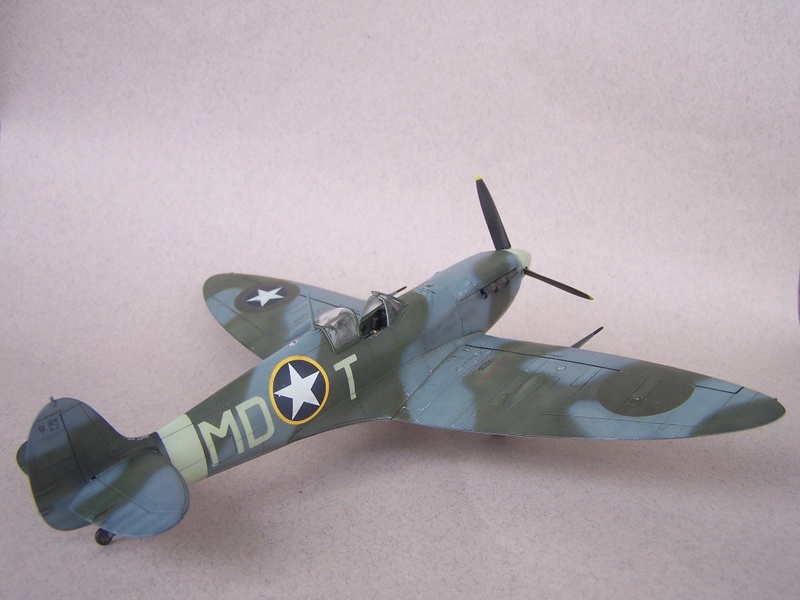
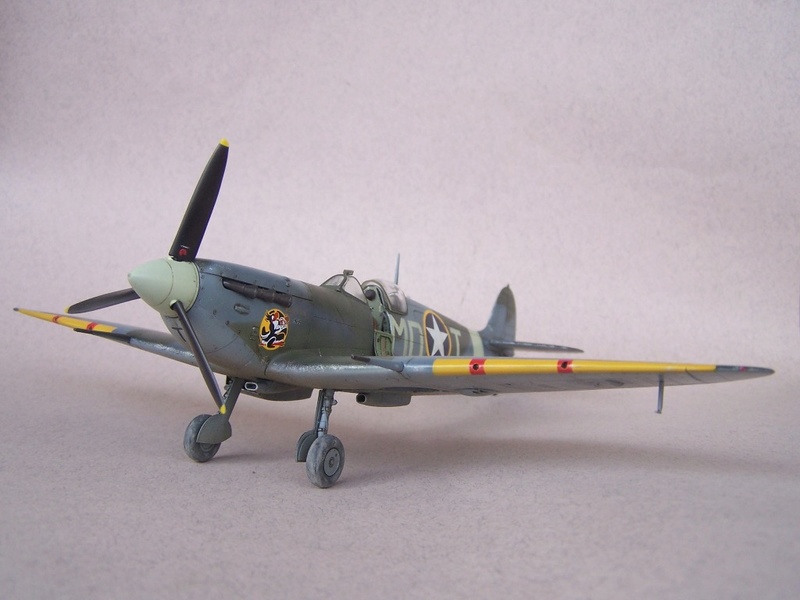
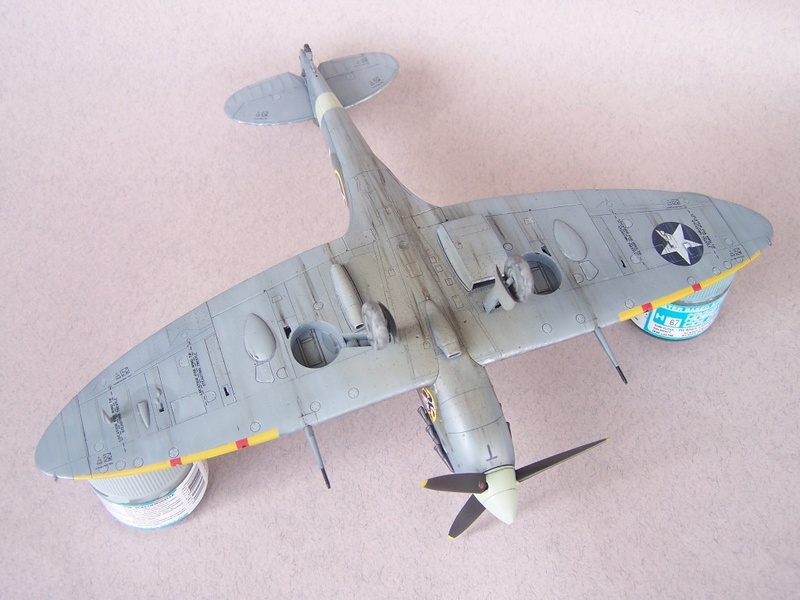
1/48 Supermarine Spitfire Mk.Vb (Tamiya)
Bulgaria
Joined: December 07, 2013
KitMaker: 908 posts
AeroScale: 206 posts
Posted: Monday, April 03, 2017 - 11:14 PM UTC
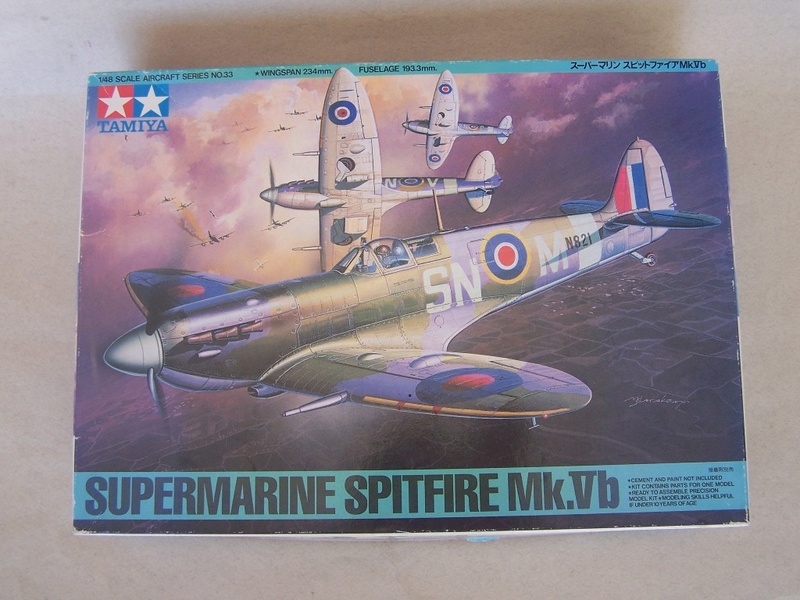
Before continuing with the other projects, I've found that that one Tamiya Spitfire is sitting idle for 7-8 years (I think

) in my stash. It's started and I had assembled and painted the cockpit, using Eduard PE for the inside.
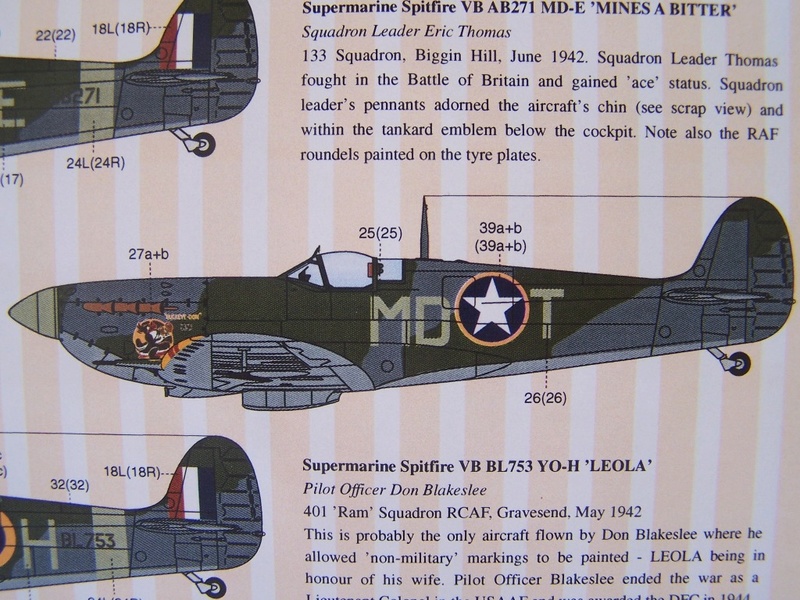
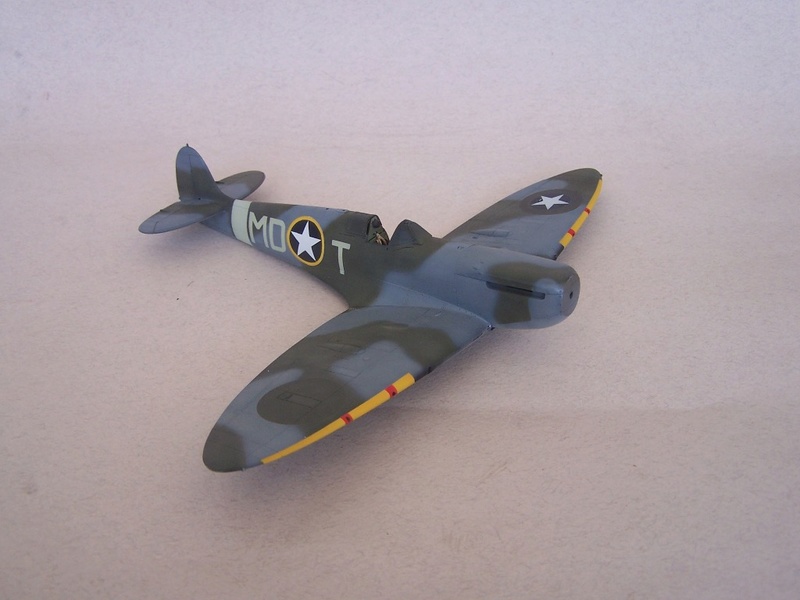
I decided to make the plane of Lt. Don Gentile "Buckeye-Don", an ace with 21 kills. Standard camouflage of Ocean grey, Medium sea grey and Dark green with overpainted national insignia. Decals are from Aeromaster sheet.
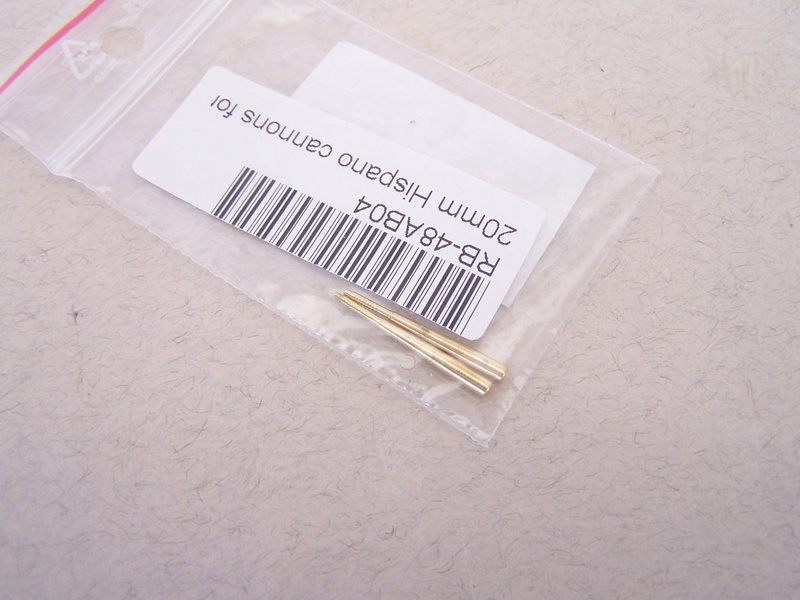
I will use also RB Hispano 20mm cannons and Quickboost exhausts (en route).
So this will take priority, kind of unfinished business, more pictures later

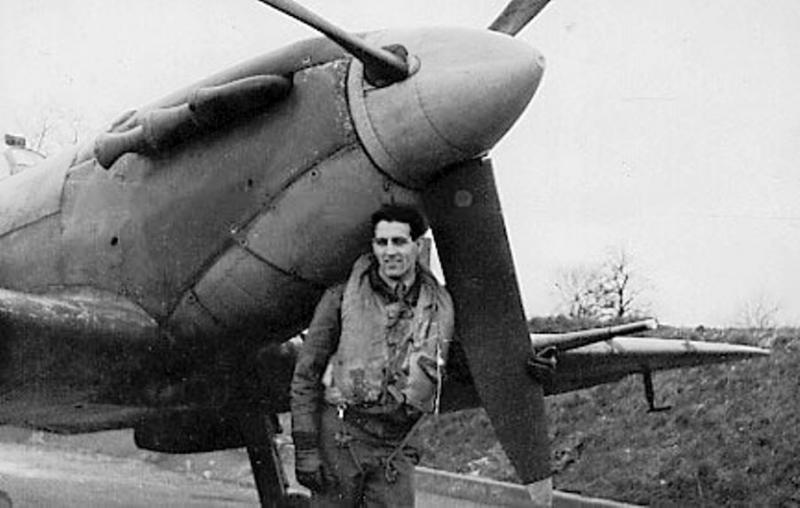

Cheers!
Bulgaria
Joined: December 07, 2013
KitMaker: 908 posts
AeroScale: 206 posts
Posted: Tuesday, April 04, 2017 - 05:06 PM UTC
Primer and Gunze MC silver over the walk area (for chipping)


Thanks!
Bulgaria
Joined: December 07, 2013
KitMaker: 908 posts
AeroScale: 206 posts
Posted: Saturday, April 08, 2017 - 07:24 PM UTC
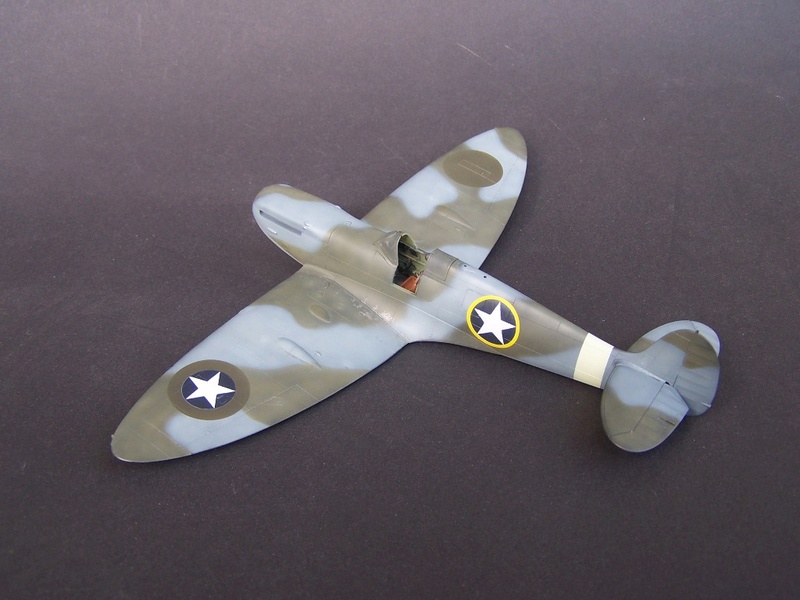
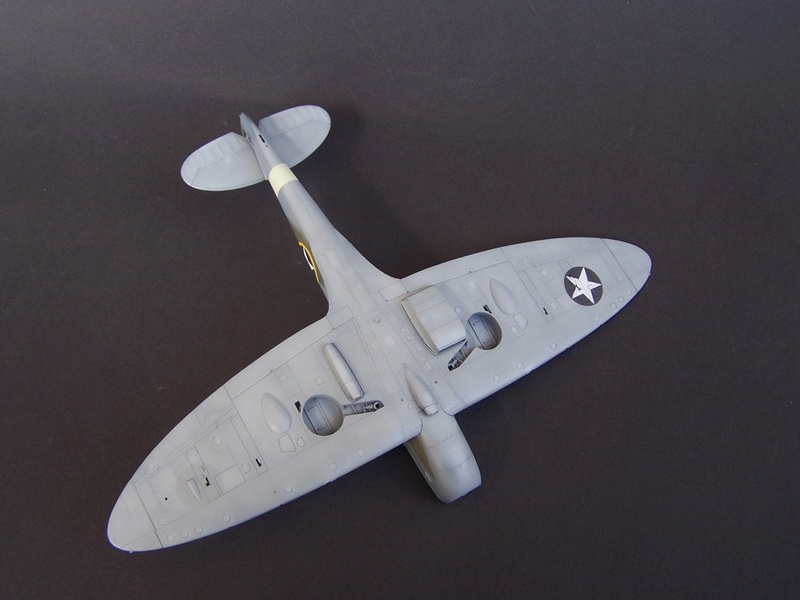
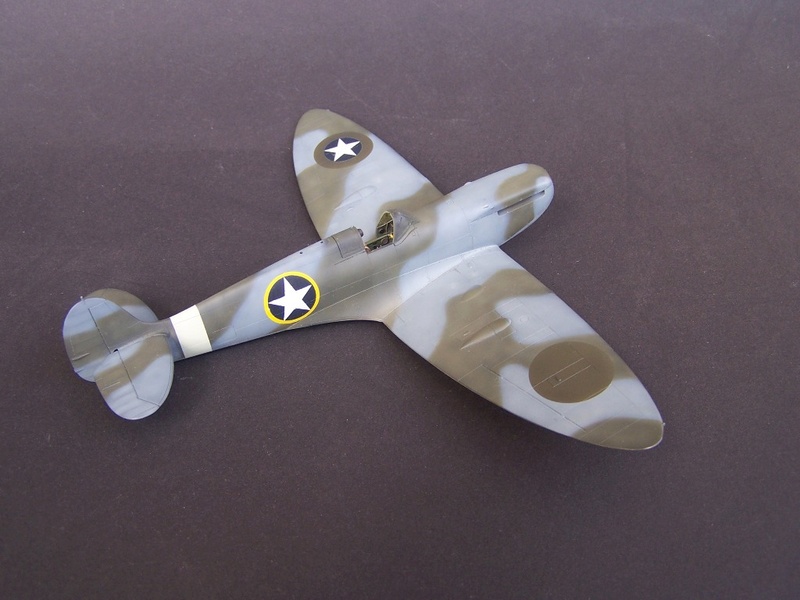
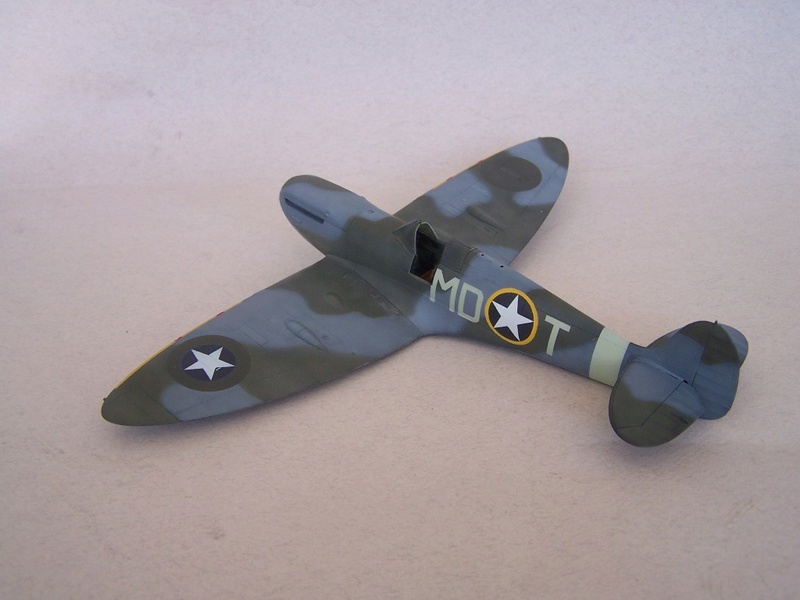
Main colors and marking with custom masks

The overpainted British insignia is with darker shade of the main colors.
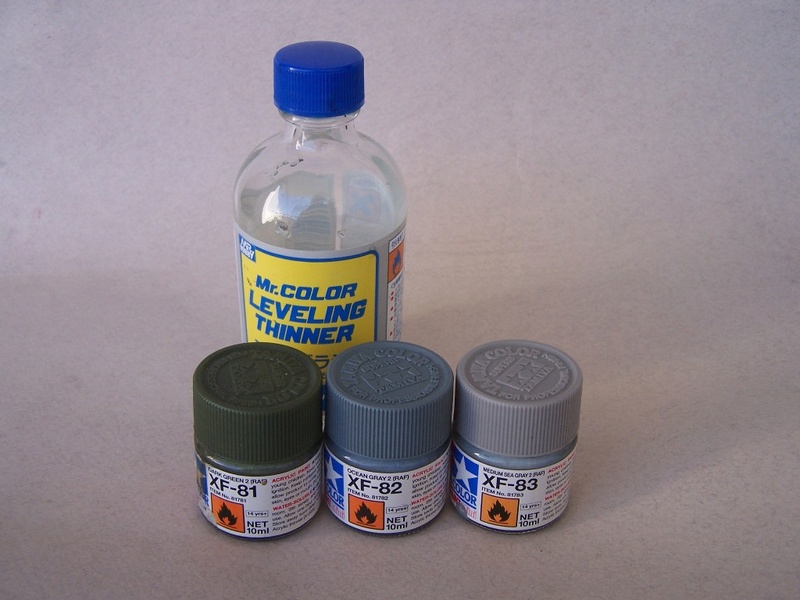
Yellow is Gunze RLM 04 and is darker in reality, same is with Sky (H-74). The black background is because my camera doesn't catch very well the Ocean grey and Medium sea grey and they appear bluish on light background.
Regards,
Alberta, Canada
Joined: January 19, 2008
KitMaker: 6,743 posts
AeroScale: 6,151 posts
Posted: Sunday, April 09, 2017 - 02:58 AM UTC
Nice job on the camo

Terri
Bulgaria
Joined: December 07, 2013
KitMaker: 908 posts
AeroScale: 206 posts
Posted: Sunday, April 09, 2017 - 03:15 PM UTC
Thank you, Terri!
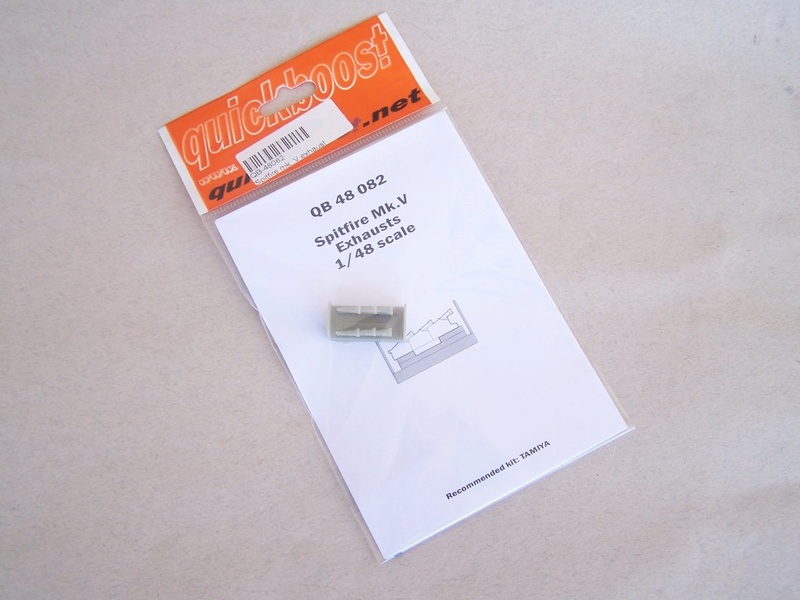
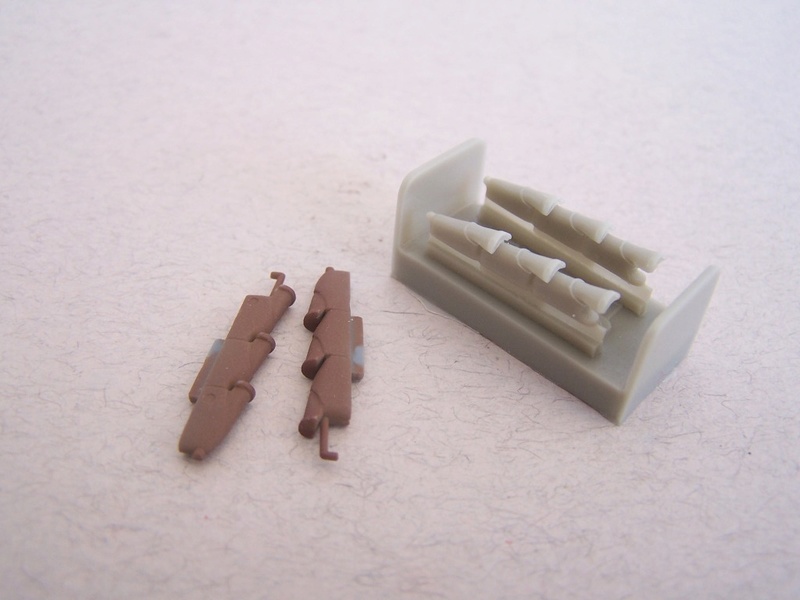
Resin exhaust arrived, compared to the kit ones. Only a bit of surgery is needed for removing the small bump on the front.
Bulgaria
Joined: December 07, 2013
KitMaker: 908 posts
AeroScale: 206 posts
Posted: Monday, April 10, 2017 - 04:39 PM UTC
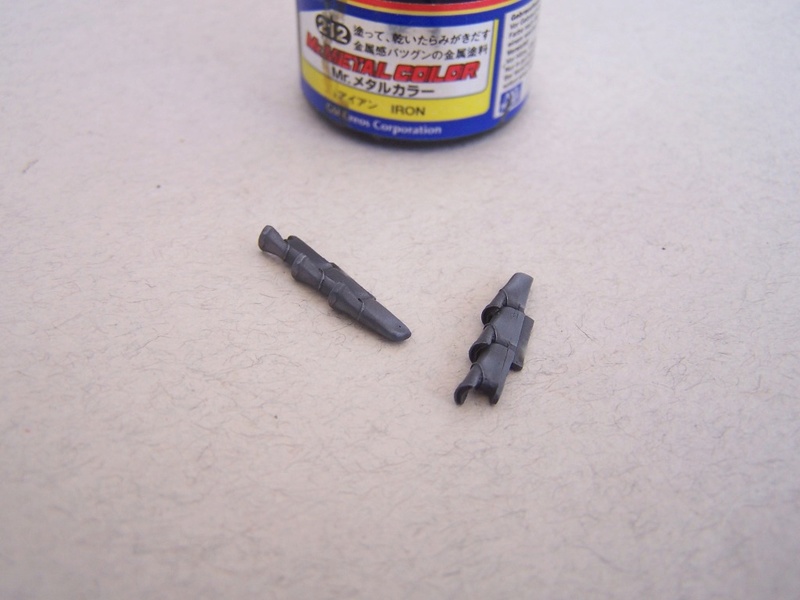
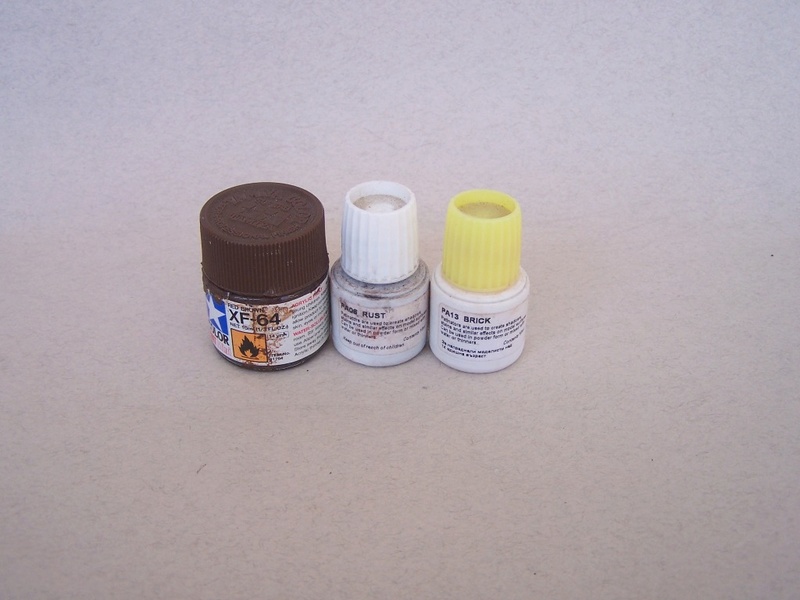
Painting the exhausts by the following way:
-Mr.Surfacer 1500 black primer;
-Mr.Metal color "Iron", polished with cotton swab;
-spraying highly diluted paint Red brown, like filter, then again polishing a bit;
-pigments Brick and Rust (Dark) here and there;

Regards,
Bulgaria
Joined: December 07, 2013
KitMaker: 908 posts
AeroScale: 206 posts
Posted: Wednesday, April 12, 2017 - 02:05 PM UTC
I finished painting the markings, only the black stripes on the wings left to do, then varnish and stencil data.

Thanks!
Bulgaria
Joined: December 07, 2013
KitMaker: 908 posts
AeroScale: 206 posts
Posted: Thursday, December 07, 2017 - 05:41 PM UTC
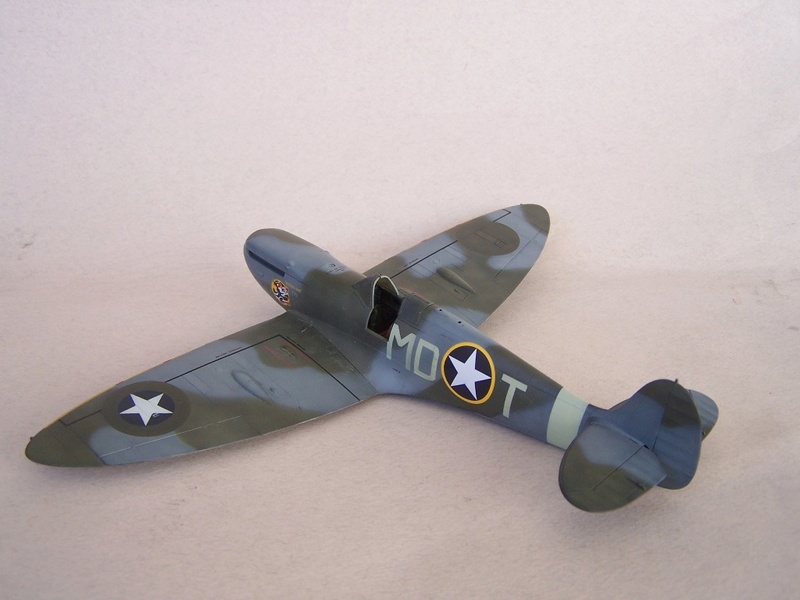
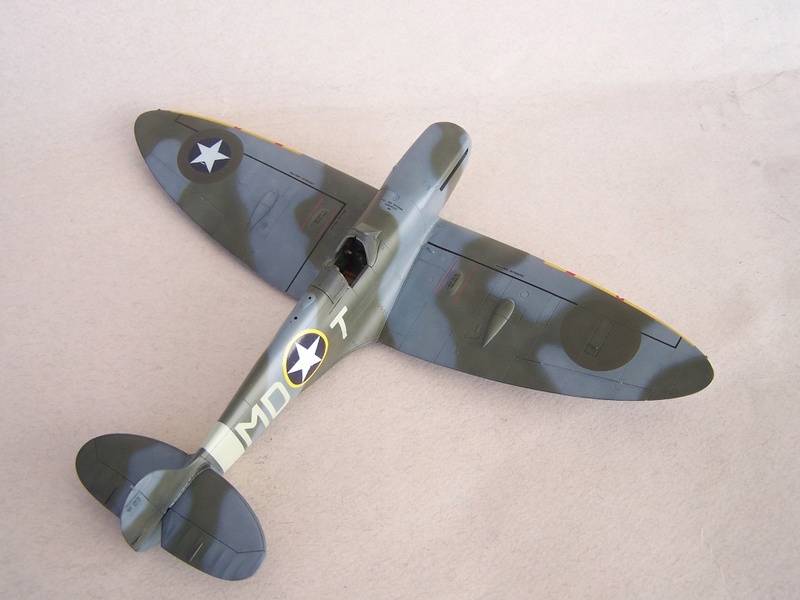
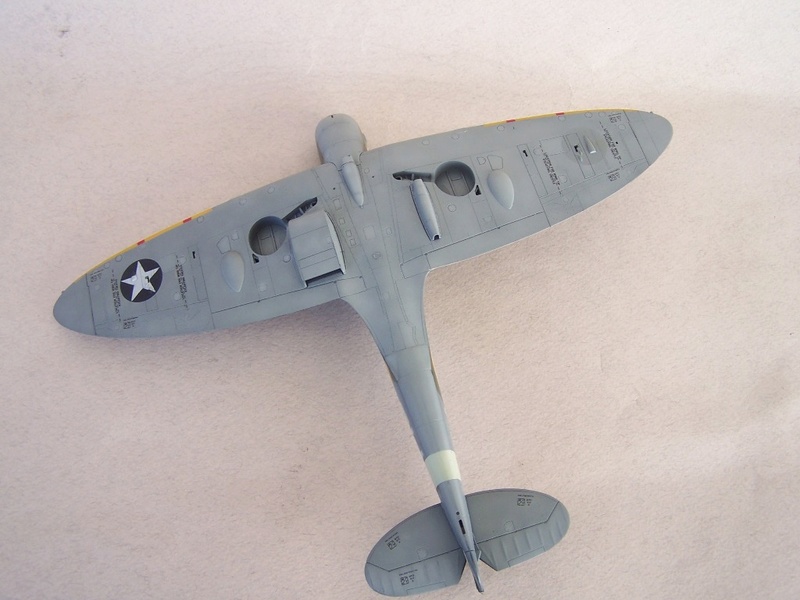
Stencils applied, black and red stripes are airbrushed with masks. I only have to find the correct Rotol propeller for Gentile's Spitfire.
Venelin
Joel_W
 Associate Editor
New York, United States
Joined: December 04, 2010
KitMaker: 11,666 posts
AeroScale: 7,410 posts
Posted: Friday, December 08, 2017 - 04:01 AM UTC
Venelin,
A most impressive camo paint scheme. Your black lines came out perfectly. Decals and stencils both looks spot on. You're doing one excellent build on the old Tamiya kit.
Joel
On my Workbench:
Monogram 1/24 scale 427 Shelby Cobra
Just Completed:
Beemax 1/24 scale BMW M3 E30 1992 Evolution II
Pennsylvania, United States
Joined: June 17, 2009
KitMaker: 566 posts
AeroScale: 507 posts
Posted: Friday, December 08, 2017 - 07:12 AM UTC
Very nice Venelin! Your attention to detail in the paint work is outstanding. I really like how your black wing walk line is still faintly visible through the green on the oversprayed roundels
"...Fat, drunk, and stupid is no way to go through life son"
Bulgaria
Joined: December 07, 2013
KitMaker: 908 posts
AeroScale: 206 posts
Posted: Friday, December 08, 2017 - 12:05 PM UTC
Thanks, Joel, Mike!
Tamiya doesn't provide the correct Rotol propeller for that Spitfire. There's only one aftermarket option from Ultracast that I know, but it's very hard to find and I didn't like the shipping cost

So I added those things-"cowls" may be (don't know the English word, sorry) by cutting plastic tube and gluing them on the spinner. They have to be at slight angle on the right. Also I modified the spinner's point with sharpened brass tube.

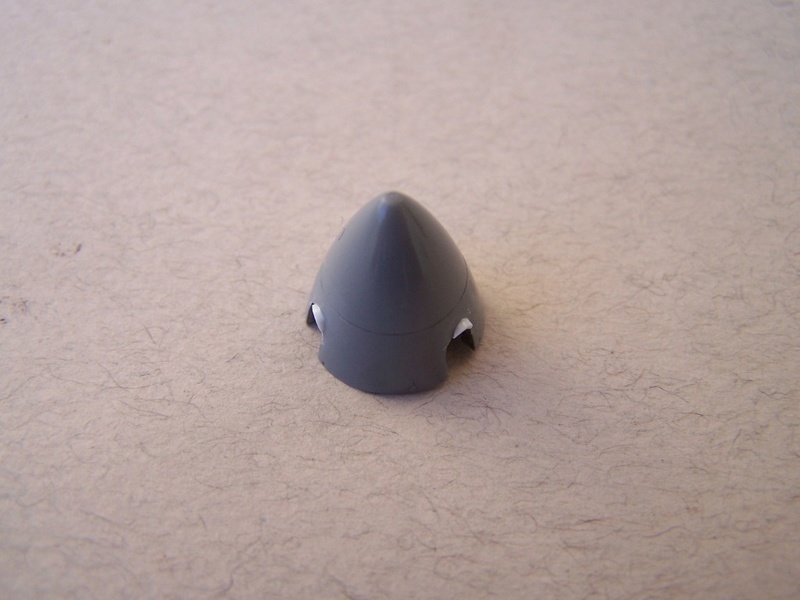
Cheers!
Bulgaria
Joined: December 07, 2013
KitMaker: 908 posts
AeroScale: 206 posts
Posted: Saturday, December 09, 2017 - 01:21 PM UTC
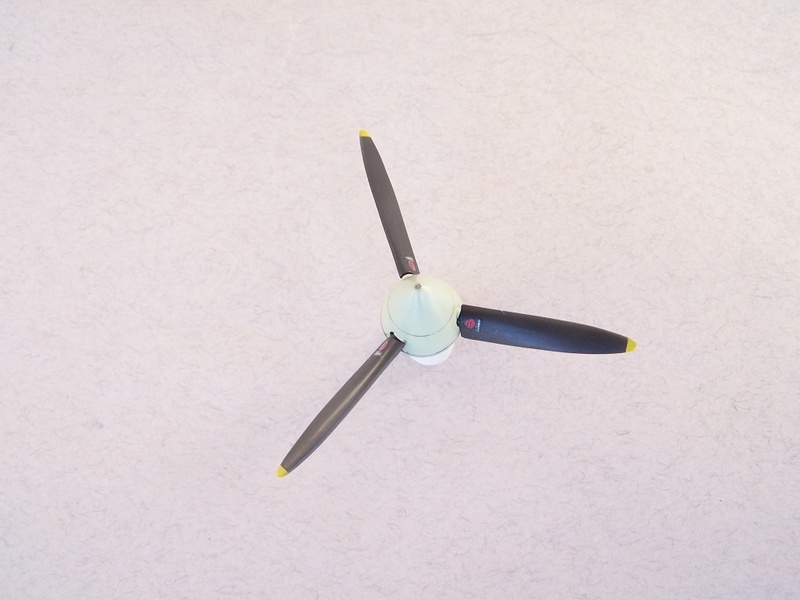
Propeller is ready
Bulgaria
Joined: December 07, 2013
KitMaker: 908 posts
AeroScale: 206 posts
Posted: Saturday, December 09, 2017 - 04:48 PM UTC
Alberta, Canada
Joined: January 19, 2008
KitMaker: 6,743 posts
AeroScale: 6,151 posts
Posted: Saturday, December 09, 2017 - 07:16 PM UTC
She is really shaping up nicely so far , looking forward on seeing the next up-date .
Terri
Bulgaria
Joined: December 07, 2013
KitMaker: 908 posts
AeroScale: 206 posts
Posted: Monday, December 11, 2017 - 05:48 PM UTC
Joel_W
 Associate Editor
New York, United States
Joined: December 04, 2010
KitMaker: 11,666 posts
AeroScale: 7,410 posts
Posted: Tuesday, December 12, 2017 - 04:36 AM UTC
Venelin,
A most impressive build to date. Nice detailing the prop cuffs, it's those small details that make a big difference.
Joel
On my Workbench:
Monogram 1/24 scale 427 Shelby Cobra
Just Completed:
Beemax 1/24 scale BMW M3 E30 1992 Evolution II
Bulgaria
Joined: December 07, 2013
KitMaker: 908 posts
AeroScale: 206 posts
Posted: Wednesday, December 13, 2017 - 05:04 PM UTC
Joel_W
 Associate Editor
New York, United States
Joined: December 04, 2010
KitMaker: 11,666 posts
AeroScale: 7,410 posts
Posted: Wednesday, December 13, 2017 - 11:24 PM UTC
Venelin,
Impressive to say the least. Almost at the finish line, and getting there in style for sure.
Joel
On my Workbench:
Monogram 1/24 scale 427 Shelby Cobra
Just Completed:
Beemax 1/24 scale BMW M3 E30 1992 Evolution II
Merlin
 Senior Editor
#017
United Kingdom
Joined: June 11, 2003
KitMaker: 17,582 posts
AeroScale: 12,795 posts
Posted: Thursday, December 14, 2017 - 03:59 AM UTC
Hi Venelin
Really great build!

The fairings on the spinner caught my eye when I shot a
walkaround of the RAF Museum's Mk.V when I volunteered there, so it's great to see you add them. It's those sort of little points that make for an outstanding model. I really like the way you've handled the distinctive oil-staining on the belly.
Do be sure to submit this beauty as a Feature once you've finished the build - it really deserves to be on the Frontpage.

All the best
Rowan

BEWARE OF THE FEW...
As I grow older, I regret to say that a detestable habit of thinking seems to be getting a hold of me. - H. Rider Haggard
Bulgaria
Joined: December 07, 2013
KitMaker: 908 posts
AeroScale: 206 posts
Posted: Thursday, December 14, 2017 - 11:36 AM UTC
Thanks, Joel, Rowan!
Strangely, those fairings are omitted even on aftermarket spinners, and from my understanding, that type of spinner is very common on Mk.V .
Rowan, I will be glad to submit my Spitfire as Feature, but can you explain me how to do that, thanks!
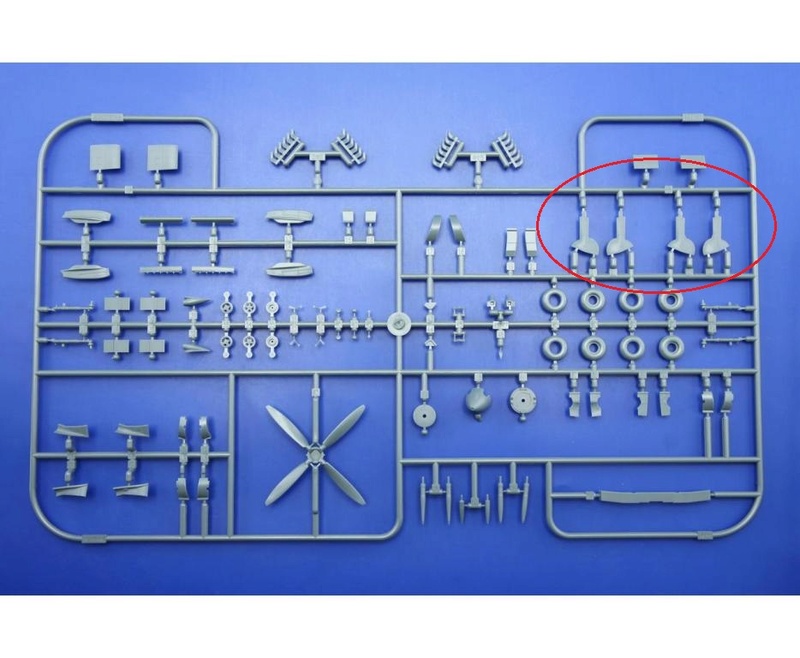
I've found replacement for the lost wheel well cover, with some modification they will be OK. And a reason to buy another Spitfire

Venelin
Bulgaria
Joined: December 07, 2013
KitMaker: 908 posts
AeroScale: 206 posts
Posted: Friday, March 30, 2018 - 06:33 PM UTC
European Union
Joined: August 09, 2009
KitMaker: 1,732 posts
AeroScale: 1,336 posts
Posted: Friday, March 30, 2018 - 10:59 PM UTC
Venelin, as always from you a wonderfull build of an icon. A bit too dirty for my taste but that's subjective. Good to see that you have found a substitute for the lost wheel cover. I would have suggested to write to Tamiya Germany and ask for a replacement but Eduard Spits are also first choice. You're right, you can never have too many Spits. When I look at my stash I think the same ....

Torsten

My campaigns for 2020:
MiGs - Done !
The Big Three - Done !
65 years Bundeswehr - Done !
40 years Leopard 2 - Done !
Land Lease - Done !
Illinois, United States
Joined: December 08, 2017
KitMaker: 82 posts
AeroScale: 27 posts
Posted: Saturday, March 31, 2018 - 02:51 AM UTC
Bulgaria
Joined: December 07, 2013
KitMaker: 908 posts
AeroScale: 206 posts
Posted: Saturday, March 31, 2018 - 11:14 AM UTC
Thanks!
I can't wait to start the Eduard Spit, looking even better

Cheers!
Joel_W
 Associate Editor
New York, United States
Joined: December 04, 2010
KitMaker: 11,666 posts
AeroScale: 7,410 posts
Posted: Saturday, March 31, 2018 - 07:20 PM UTC
Venelin,
Sure glad I was along for the ride on your build. The final presentation is really perfect for a operational aircraft. Just one thought; I'd lighten up the weathering on the tires some as a lot of the mud and dirt tends to get rubbed and blown off once it dries unless it's within a treaded pattern.
Joel
On my Workbench:
Monogram 1/24 scale 427 Shelby Cobra
Just Completed:
Beemax 1/24 scale BMW M3 E30 1992 Evolution II
 ) in my stash. It's started and I had assembled and painted the cockpit, using Eduard PE for the inside.


