Stockholm, Sweden
Joined: May 02, 2006
KitMaker: 1,953 posts
AeroScale: 1,902 posts
Posted: Friday, December 29, 2017 - 12:16 AM UTC
I did an Eduard 110
five years ago, ever since then I've been waiting for one of the later night fighter variants. Not that I have ever been a real 110-fan but the kit was so nice that I felt like doing another one

!
As you can see, I've made some progress already, I've had it on the build table besides my other projects and whenever there have been any spare time I've done some basic assembly and clean-up of the parts. But now, with the
latest Spitfire finished it is time to start this one for real!
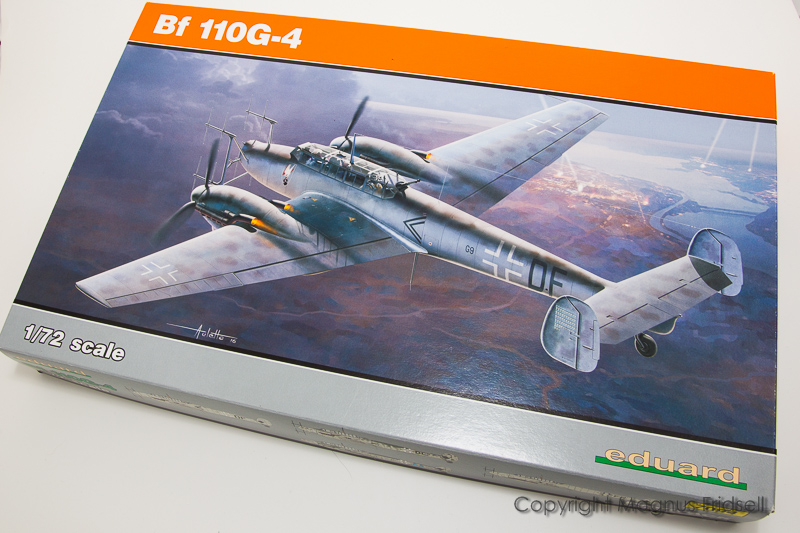
Boxart is as usual when it comes to Eduard really boxART!
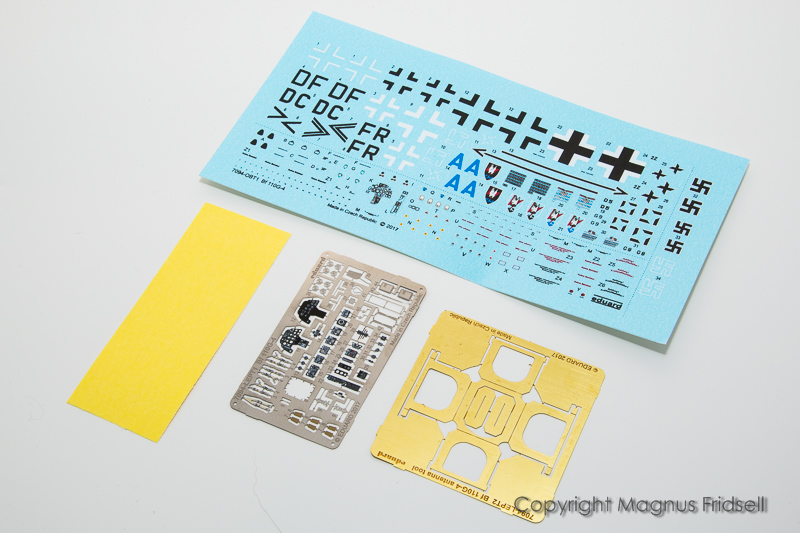
Decals for four different aircraft, masks (highly relevant for this kind of canopy

!), coloured etch and finally an etched mounting jig for the radar antennae!
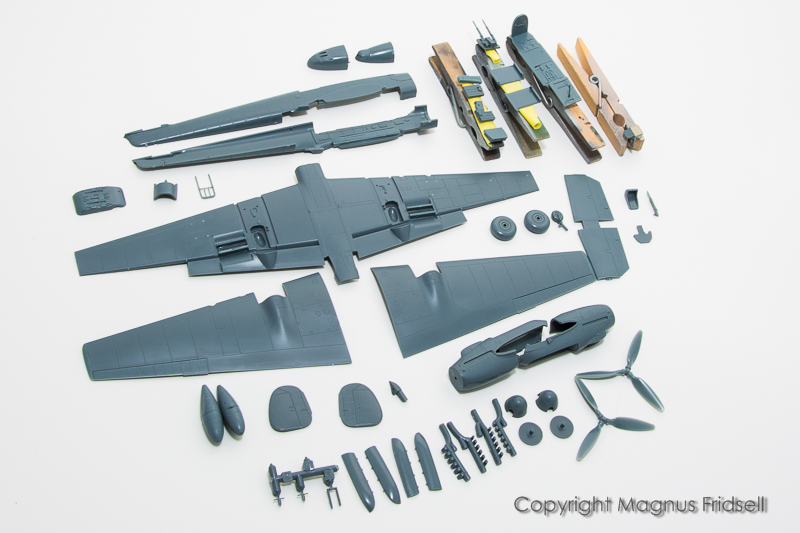
A load of bits and pieces! Next step will be a coat of primer.

Magnus
Press banner to the right to follow my trail to the new forums!
Joel_W
 Associate Editor
New York, United States
Joined: December 04, 2010
KitMaker: 11,666 posts
AeroScale: 7,410 posts
Posted: Friday, December 29, 2017 - 12:19 AM UTC
Magnus,
another build ready to go. I'll be following it right to completion for sure.
Joel
On my Workbench:
Monogram 1/24 scale 427 Shelby Cobra
Just Completed:
Beemax 1/24 scale BMW M3 E30 1992 Evolution II
Stockholm, Sweden
Joined: May 02, 2006
KitMaker: 1,953 posts
AeroScale: 1,902 posts
Posted: Friday, December 29, 2017 - 12:23 AM UTC
Joel! How on earth did you do that? I think that post was up for like three minutes before you found it

?

Magnus
Press banner to the right to follow my trail to the new forums!
England - South East, United Kingdom
Joined: September 15, 2004
KitMaker: 4,728 posts
AeroScale: 1,351 posts
Posted: Friday, December 29, 2017 - 02:09 AM UTC
Following along Magnus as I received one of these for Christmas plus it’s always good to see your work.
On the bench...
Italeri A129 Mangusta
British Bulldog Spitfire theme build
AussieReg
 Associate Editor
#007
Victoria, Australia
Joined: June 09, 2009
KitMaker: 8,156 posts
AeroScale: 3,756 posts
Posted: Friday, December 29, 2017 - 02:52 AM UTC
I will be following this one as well Magnus, I really enjoyed your last 110 build.
Cheers, D (patiently waiting and watching for sticks!) 😎
ON the bench
Revell 1/24 '53 Corvette (building as '54)
Revell 1/24 BMW 507 Coupe and Cabrio
Italeri 1/48 Me262 B-1a/U1 Nightfighter
Monogram 1/24 '57 Chevy Nomad
Dragon 1/350 USS Frank Knox DD-742
Bayern, Germany
Joined: January 17, 2006
KitMaker: 673 posts
AeroScale: 492 posts
Posted: Sunday, December 31, 2017 - 02:49 PM UTC
Hi Magnus, I will be following along with your build as well. The parts break down looks very organized!
Ernest
Stockholm, Sweden
Joined: May 02, 2006
KitMaker: 1,953 posts
AeroScale: 1,902 posts
Posted: Monday, January 01, 2018 - 11:58 AM UTC
Luciano! You lucky man! I NEVER get any kits for Christmas, I strongly suspect that my wife has struck some kind of no-plastic-kits-at-all-for-my-husband-deal with Santa

!
Damian! No need to test your patience much this time, have a look below

!
Ernest! Organisation strictly for photo purposes, modelling bench is in its usual state of disarray

!
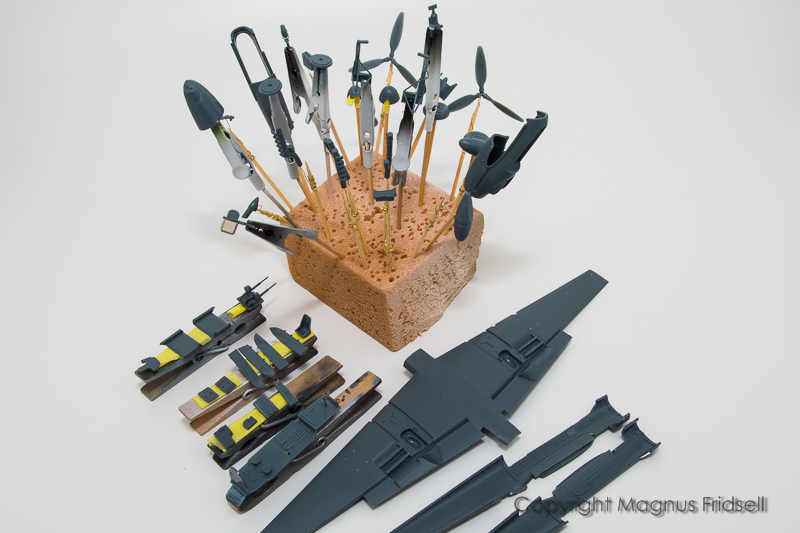
So, photo taken on the first day of the new year, bodes well for 2018 I think! Parts on sticks, waiting for primer

!

Magnus
Press banner to the right to follow my trail to the new forums!
Stockholm, Sweden
Joined: May 02, 2006
KitMaker: 1,953 posts
AeroScale: 1,902 posts
Posted: Friday, January 05, 2018 - 01:08 PM UTC
Moving forward! Even if there is quite a lot of parts compared to my usual fighter kits, everything fits so well. And the all-grey cockpit didn't test my detail painting skills to the limit either

!
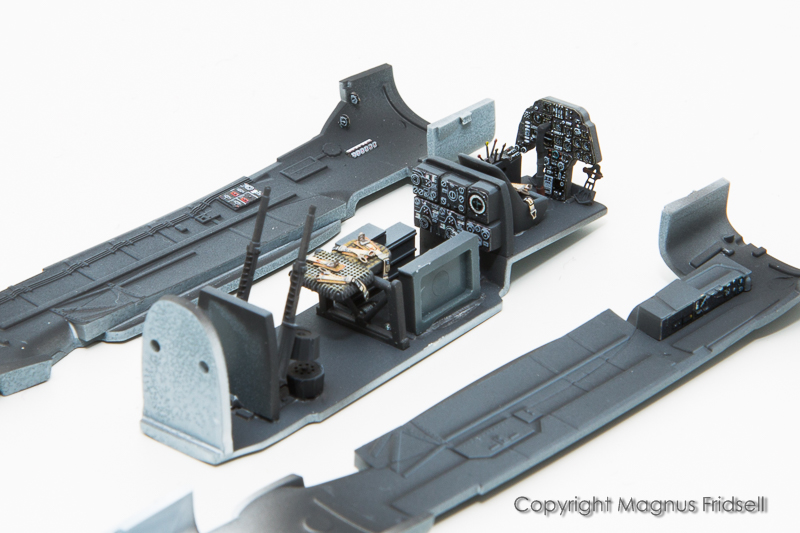
One almost complete cockpit, painted and ready! The printed PE really raises the bar for stuff like radio/radar box fronts!
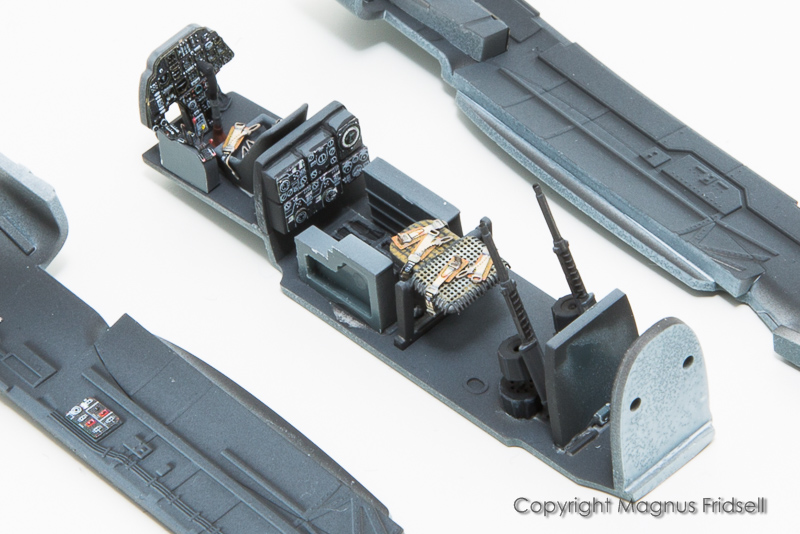
Note how the double 20-mm "Schräge Musik"-installation is sitting right in the face of the rear gunner. I think flying in these night fighters was very unpleasant in many ways...
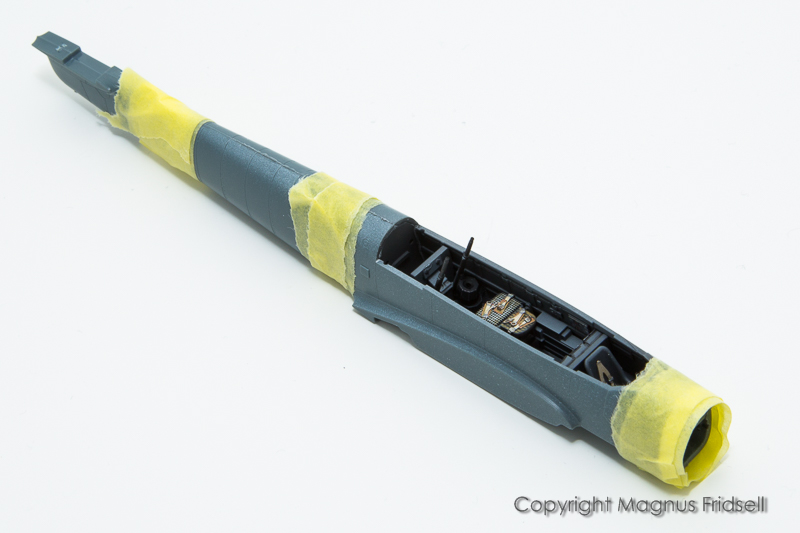
Glued and taped up...
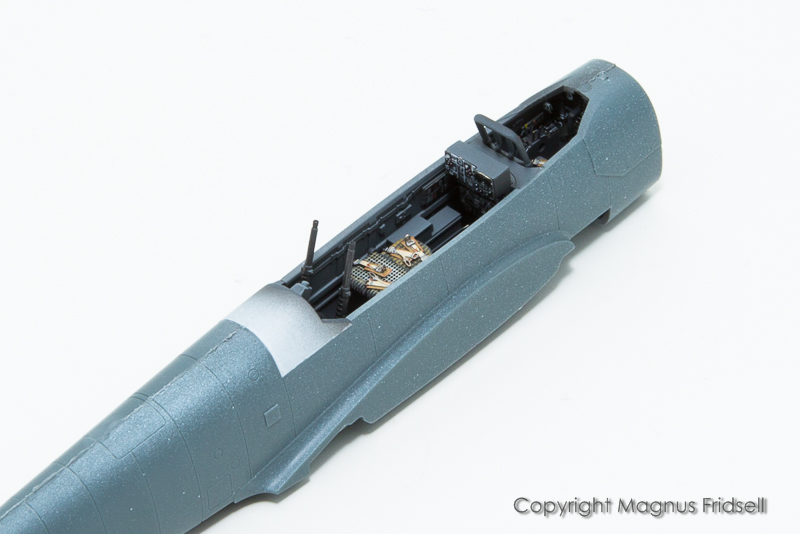
...and set aside for a few days to harden thoroughly, time for some work on the wings!

Magnus
Press banner to the right to follow my trail to the new forums!
AussieReg
 Associate Editor
#007
Victoria, Australia
Joined: June 09, 2009
KitMaker: 8,156 posts
AeroScale: 3,756 posts
Posted: Friday, January 05, 2018 - 02:08 PM UTC
Very nice work, coming together beautifully Magnus! As always, satisfying to see the stick array as well.
Cheers, D
ON the bench
Revell 1/24 '53 Corvette (building as '54)
Revell 1/24 BMW 507 Coupe and Cabrio
Italeri 1/48 Me262 B-1a/U1 Nightfighter
Monogram 1/24 '57 Chevy Nomad
Dragon 1/350 USS Frank Knox DD-742
England - South East, United Kingdom
Joined: September 15, 2004
KitMaker: 4,728 posts
AeroScale: 1,351 posts
Posted: Friday, January 05, 2018 - 02:10 PM UTC
Quoted Text
Luciano! You lucky man! I NEVER get any kits for Christmas, I strongly suspect that my wife has struck some kind of no-plastic-kits-at-all-for-my-husband-deal with Santa

Magnus
Magnus I wish it were so, I brought the kit myself from Eduard but when the parcel arrived I resisted and left it until Christmas morning to open it, also had the new 1/48 Royal class Fw-190A-4 in the parcel

As you may notice on my signature I have the Eduard 110D on the bench, this is the weekend kit but with the Owl 110D-3 Spanner Anlage conversion. This adds the infrared search light under the nose and sight in the windshield plus decals for something a bit different. I’ll get some photos up soon, although my progress is slow at the moment due to life getting in the way.

That cockpit really looks good by the way
On the bench...
Italeri A129 Mangusta
British Bulldog Spitfire theme build
Bayern, Germany
Joined: January 17, 2006
KitMaker: 673 posts
AeroScale: 492 posts
Posted: Friday, January 05, 2018 - 04:04 PM UTC
Magnus, the pit looks the biz! Great work in such a scale my friend.
Ernest
Berlin, Germany
Joined: October 12, 2008
KitMaker: 709 posts
AeroScale: 651 posts
Posted: Friday, January 05, 2018 - 07:34 PM UTC
Magnus, great to see you back so quickly after you finished your beautifully done Spitfire!
Graet start on that next one, the details look awesome.
Will follow up as usual and watching up closely, not only because I have one of Eduard's 110 in stash.
Thomas

Sometimes you need to distance yourself to see things clearly - Lao Tzu -
... in scale and in real life -T.
Stockholm, Sweden
Joined: May 02, 2006
KitMaker: 1,953 posts
AeroScale: 1,902 posts
Posted: Saturday, January 06, 2018 - 10:21 PM UTC
Damian! I always think of you whenever I post a stick pic

!
Luciano! Such things have been known to happen around here as well

! Sounds like an interesting machine you're doing!
Ernest! Thanks a lot, especially coming from you who obviously
know your 110:s!
Thomas! Thanks! And you're in for a treat with that 110!
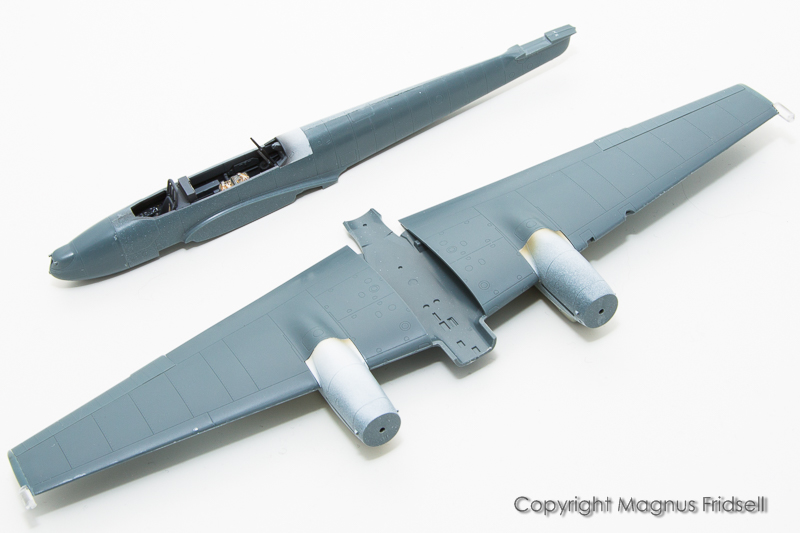
I've been making good progress the last few days, wings and engine nacelles glued, nose is on and I've made a small modification, adding wingtip lights from clear sprue.
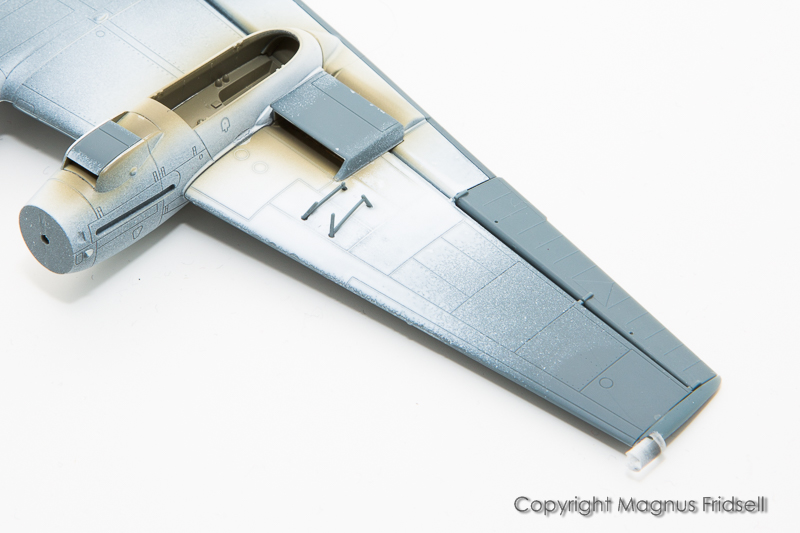
The tank supports were real troublemakers but it did help a lot doing this before the wing was glued together, allowing working from the inside for a tidier joint!

Magnus
Press banner to the right to follow my trail to the new forums!
Bayern, Germany
Joined: January 17, 2006
KitMaker: 673 posts
AeroScale: 492 posts
Posted: Sunday, January 07, 2018 - 12:33 AM UTC
Hi Magnus, the pit looks great. I agree that the schräge music must have been very unpleasant for the gunner when fired. The wings look like they are coming along well. I have built a couple of Eduard's 1/48 Bf110's and the nacelles were always a challenge to get the fit right. Do they fit better on the 1/72 scale kit? By the way, thank you for the nice words about my knowledge of the 110, I read a lot. javascript:PasteSmiley(':p')
Ernest

Stockholm, Sweden
Joined: May 02, 2006
KitMaker: 1,953 posts
AeroScale: 1,902 posts
Posted: Tuesday, January 09, 2018 - 03:29 PM UTC
Ernest! The 1/48 Eduard kits of the 110 have always had a reputation for being fiddly and somewhat difficult builds, there is nothing of that in the newer 72-scale kits!
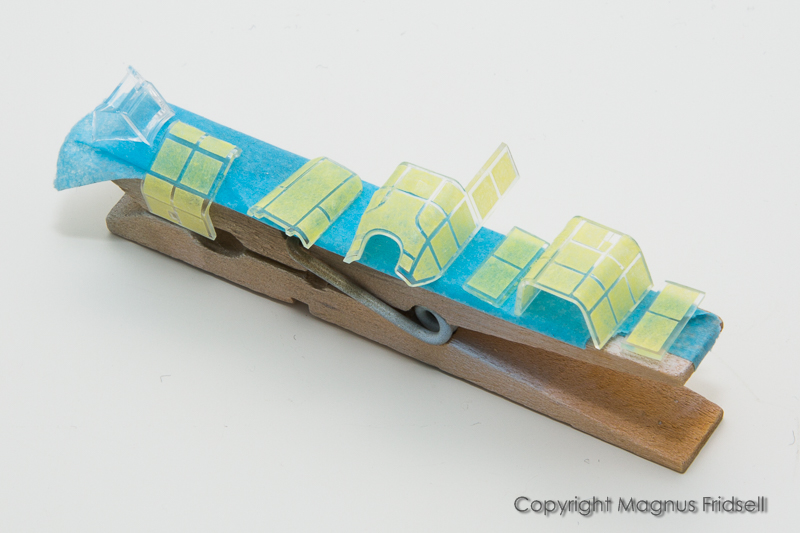
Masks. I love them on this kind of kit!
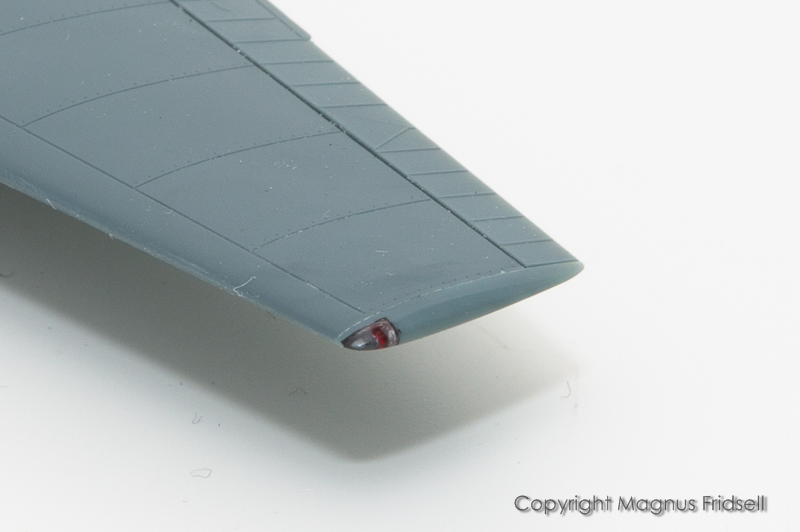
Wingtip light filed to shape and polished.

Magnus
Press banner to the right to follow my trail to the new forums!
AussieReg
 Associate Editor
#007
Victoria, Australia
Joined: June 09, 2009
KitMaker: 8,156 posts
AeroScale: 3,756 posts
Posted: Tuesday, January 09, 2018 - 04:05 PM UTC
Really neat work Magnus, that wingtip light looks especially nice considering it is 1/72!
Cheers, D
ON the bench
Revell 1/24 '53 Corvette (building as '54)
Revell 1/24 BMW 507 Coupe and Cabrio
Italeri 1/48 Me262 B-1a/U1 Nightfighter
Monogram 1/24 '57 Chevy Nomad
Dragon 1/350 USS Frank Knox DD-742
Joel_W
 Associate Editor
New York, United States
Joined: December 04, 2010
KitMaker: 11,666 posts
AeroScale: 7,410 posts
Posted: Tuesday, January 09, 2018 - 11:04 PM UTC
Magnus,
Now that's one very impressive cockpit. The colored PE looks great. Those greenhouse masks really saved a ton of time and look perfectly spaced, should really make a huge difference once it's painted and the masks are removed. Those wing tip lenses look like they were molded on.
You're flying through this build as I'm having trouble keeping up.
Joel
On my Workbench:
Monogram 1/24 scale 427 Shelby Cobra
Just Completed:
Beemax 1/24 scale BMW M3 E30 1992 Evolution II
United Kingdom
Joined: February 01, 2014
KitMaker: 35 posts
AeroScale: 4 posts
Posted: Wednesday, January 10, 2018 - 01:14 AM UTC
Alberta, Canada
Joined: January 19, 2008
KitMaker: 6,743 posts
AeroScale: 6,151 posts
Posted: Wednesday, January 10, 2018 - 04:46 AM UTC
Nice progress on your 110 Magnus

Terri
Stockholm, Sweden
Joined: May 02, 2006
KitMaker: 1,953 posts
AeroScale: 1,902 posts
Posted: Thursday, January 18, 2018 - 01:00 PM UTC
Friends! Thanks for following!
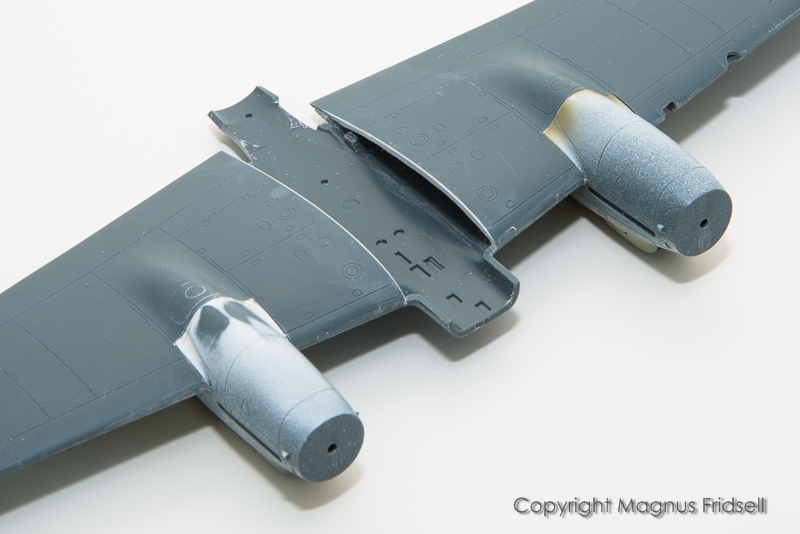
I didn't get the same perfect fit as on my last 110-build so I glued thin shims of pc to the wing root edges that I sanded until I got a tight fit against the fuselage. A lot easier than filling and sanding afterwards!
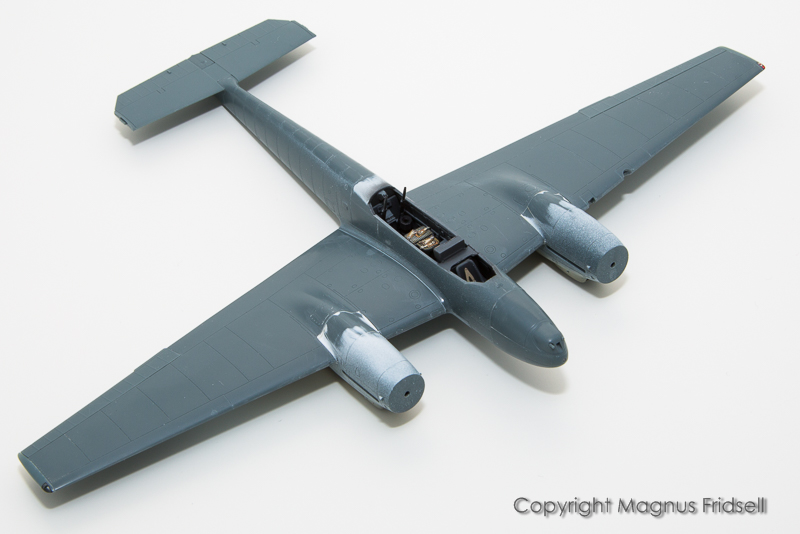

And suddenly we have an almost complete 110!

Magnus
Press banner to the right to follow my trail to the new forums!
Lisboa, Portugal
Joined: August 27, 2010
KitMaker: 679 posts
AeroScale: 669 posts
Posted: Friday, January 19, 2018 - 01:33 AM UTC
Magnus,
It’s looking very nice indeed, well done! Now those wingtip lights and lens...damm they look really good even more considering the scale. Wish I could master 1/3 of your scratch talent
Cheers
Pedro

#306
Victoria, Australia
Joined: June 27, 2010
KitMaker: 3,959 posts
AeroScale: 598 posts
Posted: Tuesday, January 23, 2018 - 01:55 AM UTC
Magnus, I didn't realize you had started a new build so quickly after your excellent Spitfire!
I am all caught up and following along now, though I fear I am coming in towards the end of this build

Stay home and build models!
In 1/72
Gloster Gladiator MkII for the Bi-planes Campaign
In 1/350
Airfix 1:350 Type 45 Destroyer
Joel_W
 Associate Editor
New York, United States
Joined: December 04, 2010
KitMaker: 11,666 posts
AeroScale: 7,410 posts
Posted: Wednesday, January 24, 2018 - 06:46 AM UTC
Magnus,
Like I said earlier in the build, you're flying through this one, yet the work is your usual excellent quality. Nicely done with the sheet plastic wing root spacers. A much better alternative to glue then putty, sanding, etc till one has it as good as they're going to get it.
Joel
On my Workbench:
Monogram 1/24 scale 427 Shelby Cobra
Just Completed:
Beemax 1/24 scale BMW M3 E30 1992 Evolution II
Stockholm, Sweden
Joined: May 02, 2006
KitMaker: 1,953 posts
AeroScale: 1,902 posts
Posted: Wednesday, January 24, 2018 - 05:52 PM UTC
Pedro! Wingtip lights is an easy thing to try, the trickiest part is gluing them securely enough to withstand the filing and sanding needed to contour them! Liberal amounts of CA-glue usually does the trick though.
Russell! I'm actually cheating a bit: I do things "slightly in parallel" meaning that I have one kit besides my main build that I can do a bit of work on whenever I'm waiting for something to dry on (or am bored with

) the main build. This results in kind of a jump start to the next project!
Joel! Thanks! I've learned the hard way, wing roots are typical hard-to-reach places that are difficult to restore!
Sorry, no photos this time, spent last evening applying wheel masks and preparing the canopies for paint!

Magnus
Press banner to the right to follow my trail to the new forums!
Stockholm, Sweden
Joined: May 02, 2006
KitMaker: 1,953 posts
AeroScale: 1,902 posts
Posted: Saturday, February 03, 2018 - 02:54 AM UTC
I've been away skiing and then I've been down with the flu for a few days so things have been a bit slow in the workshop. I'm also a bit annoyed that I didn't get that perfect fit I managed to get on my last 110-build so there has been some sanding to do around the engine nacelles and that kind of work isn't especially photogenic...
Anyway, I've managed to do some painting...
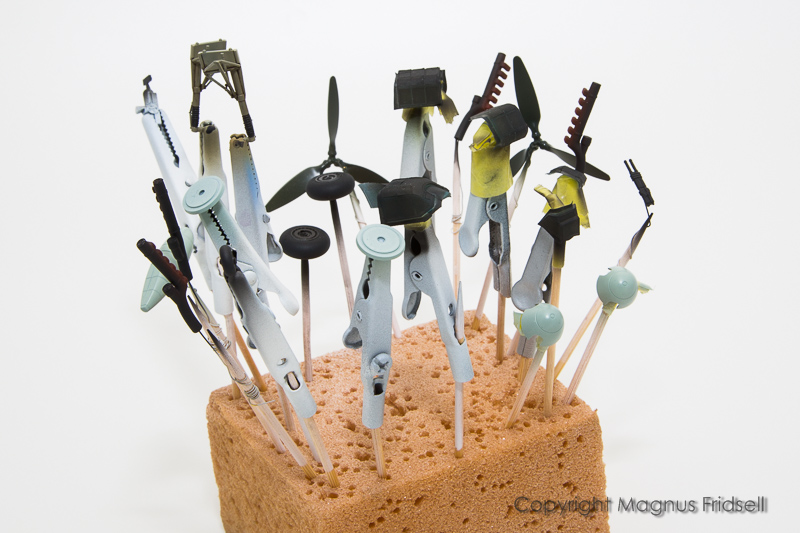
...always a good reason for a bit of parts-on-sticks

!
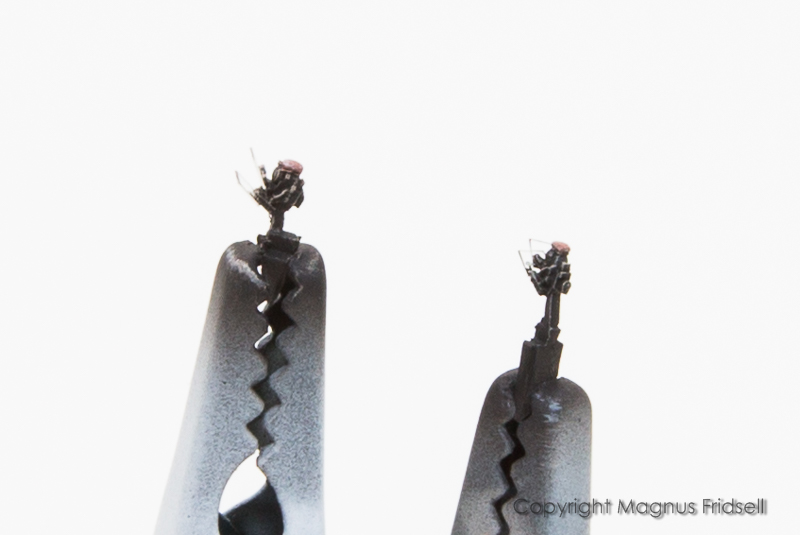
And I've assembled two Quickboost Revi 12's, one for the 110 and another one for a secret secondary project that I work a bit on when I'm getting bored by the 110... I'll let you know when it gets to center stage!

Magnus
Press banner to the right to follow my trail to the new forums!
 !
!

 !), coloured etch and finally an etched mounting jig for the radar antennae!


