Hi all,
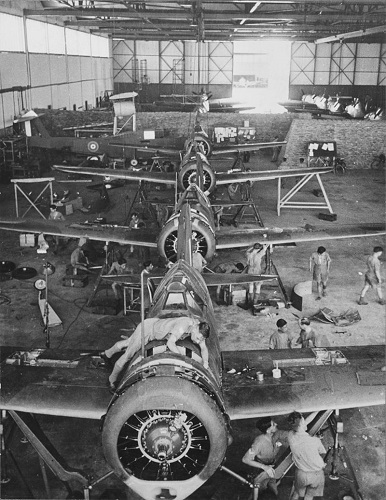
Lots of nice things going on here! Michael, I still don't know where you put all those big planes when your done. Iain, nice looking Defiant!
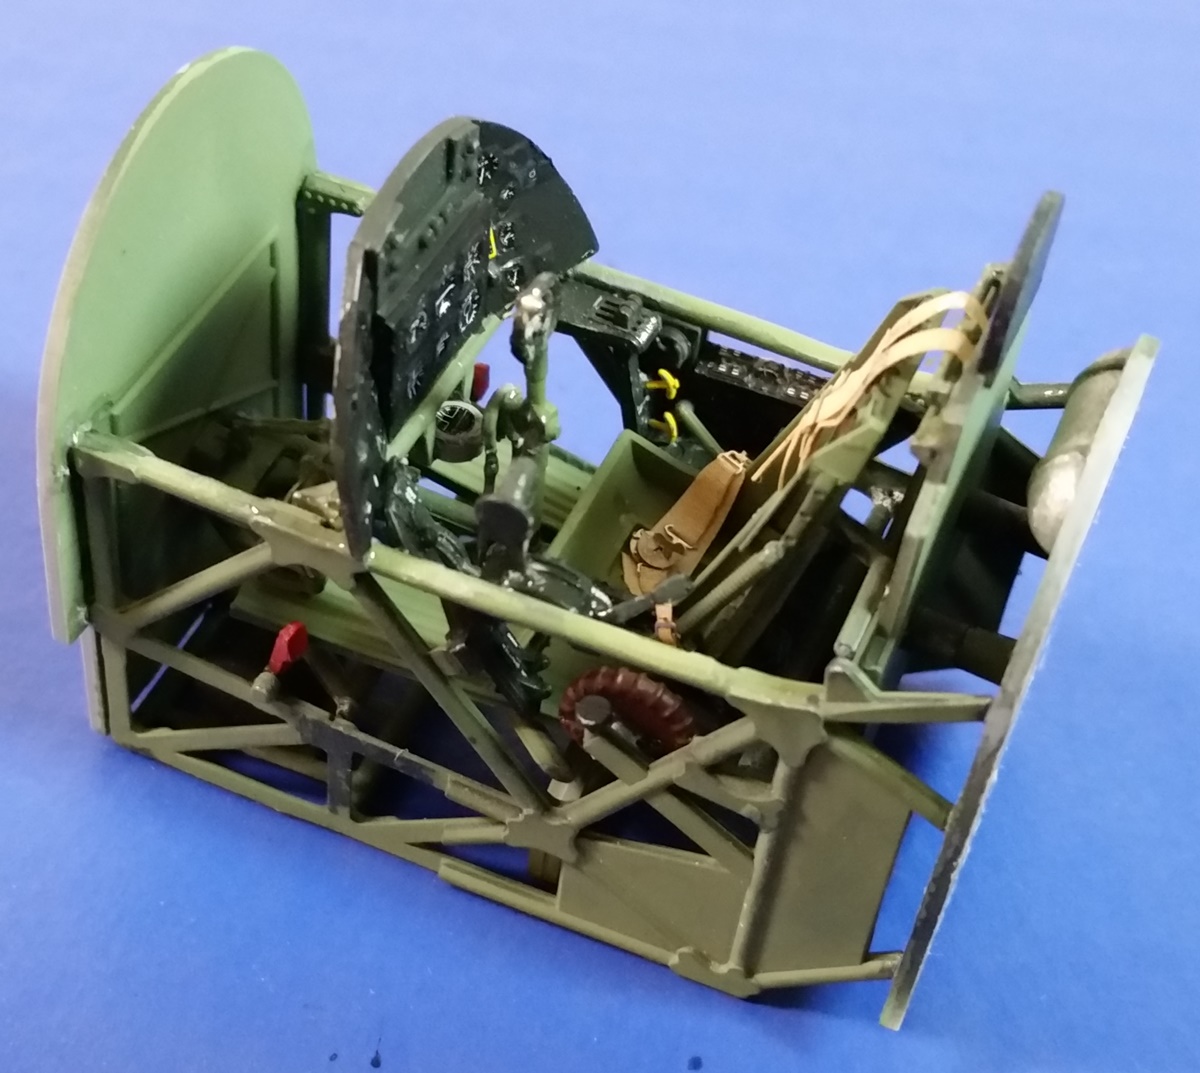
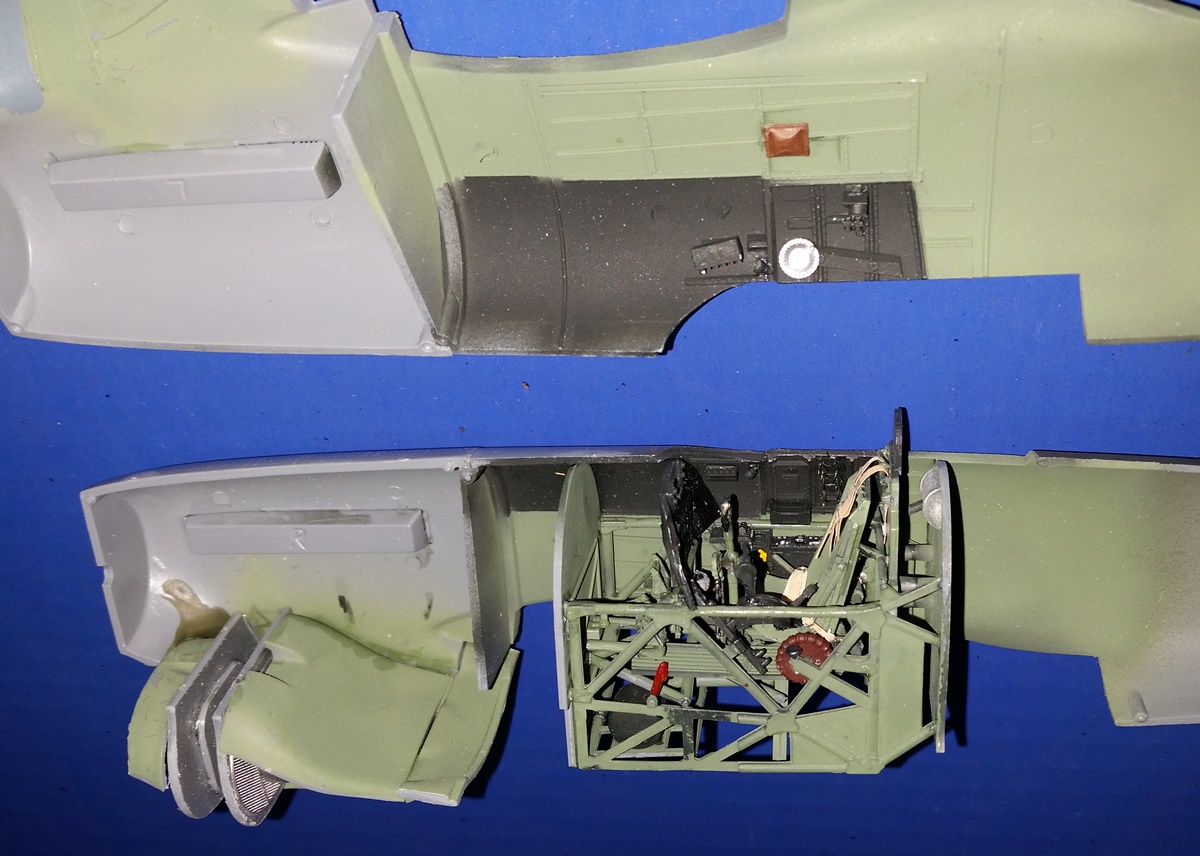
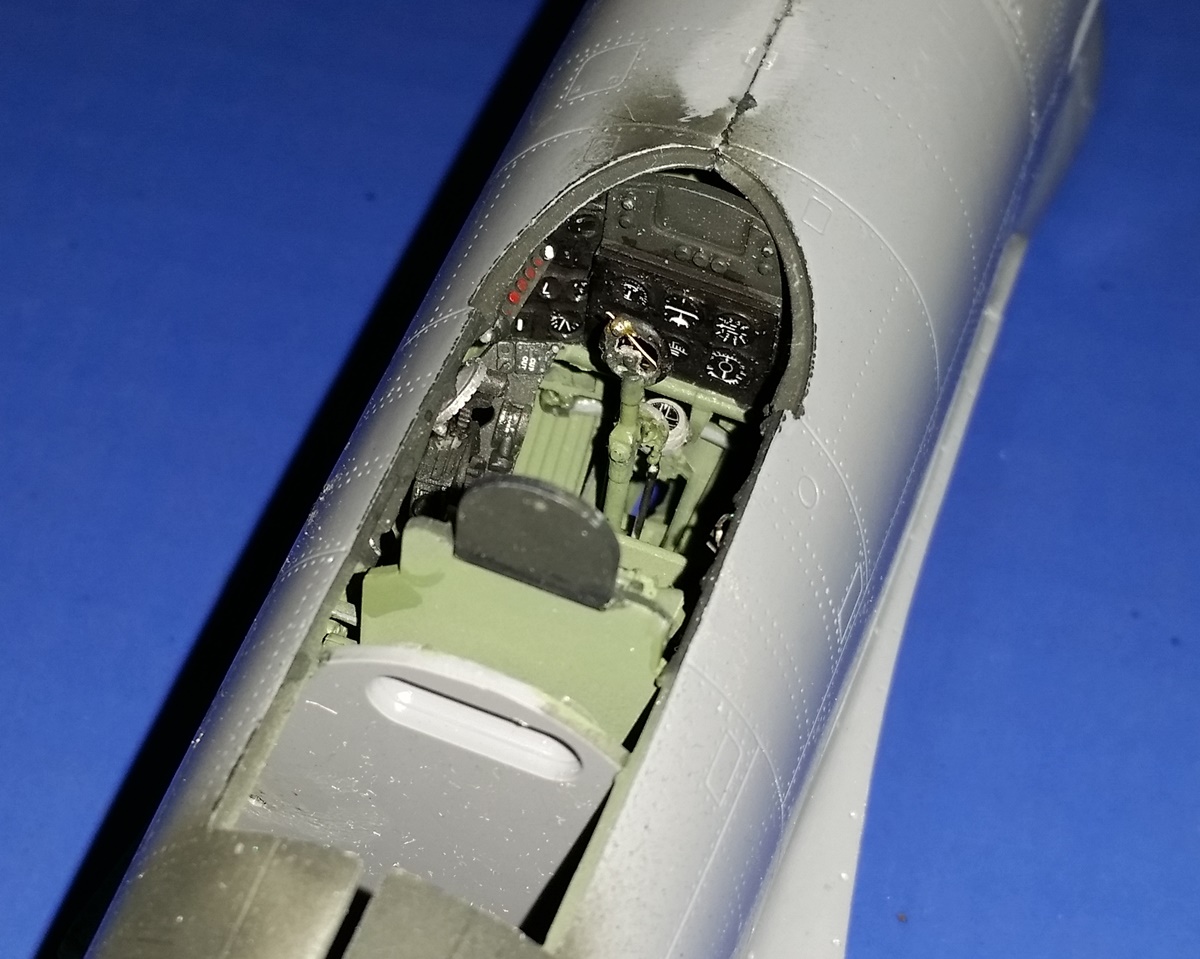
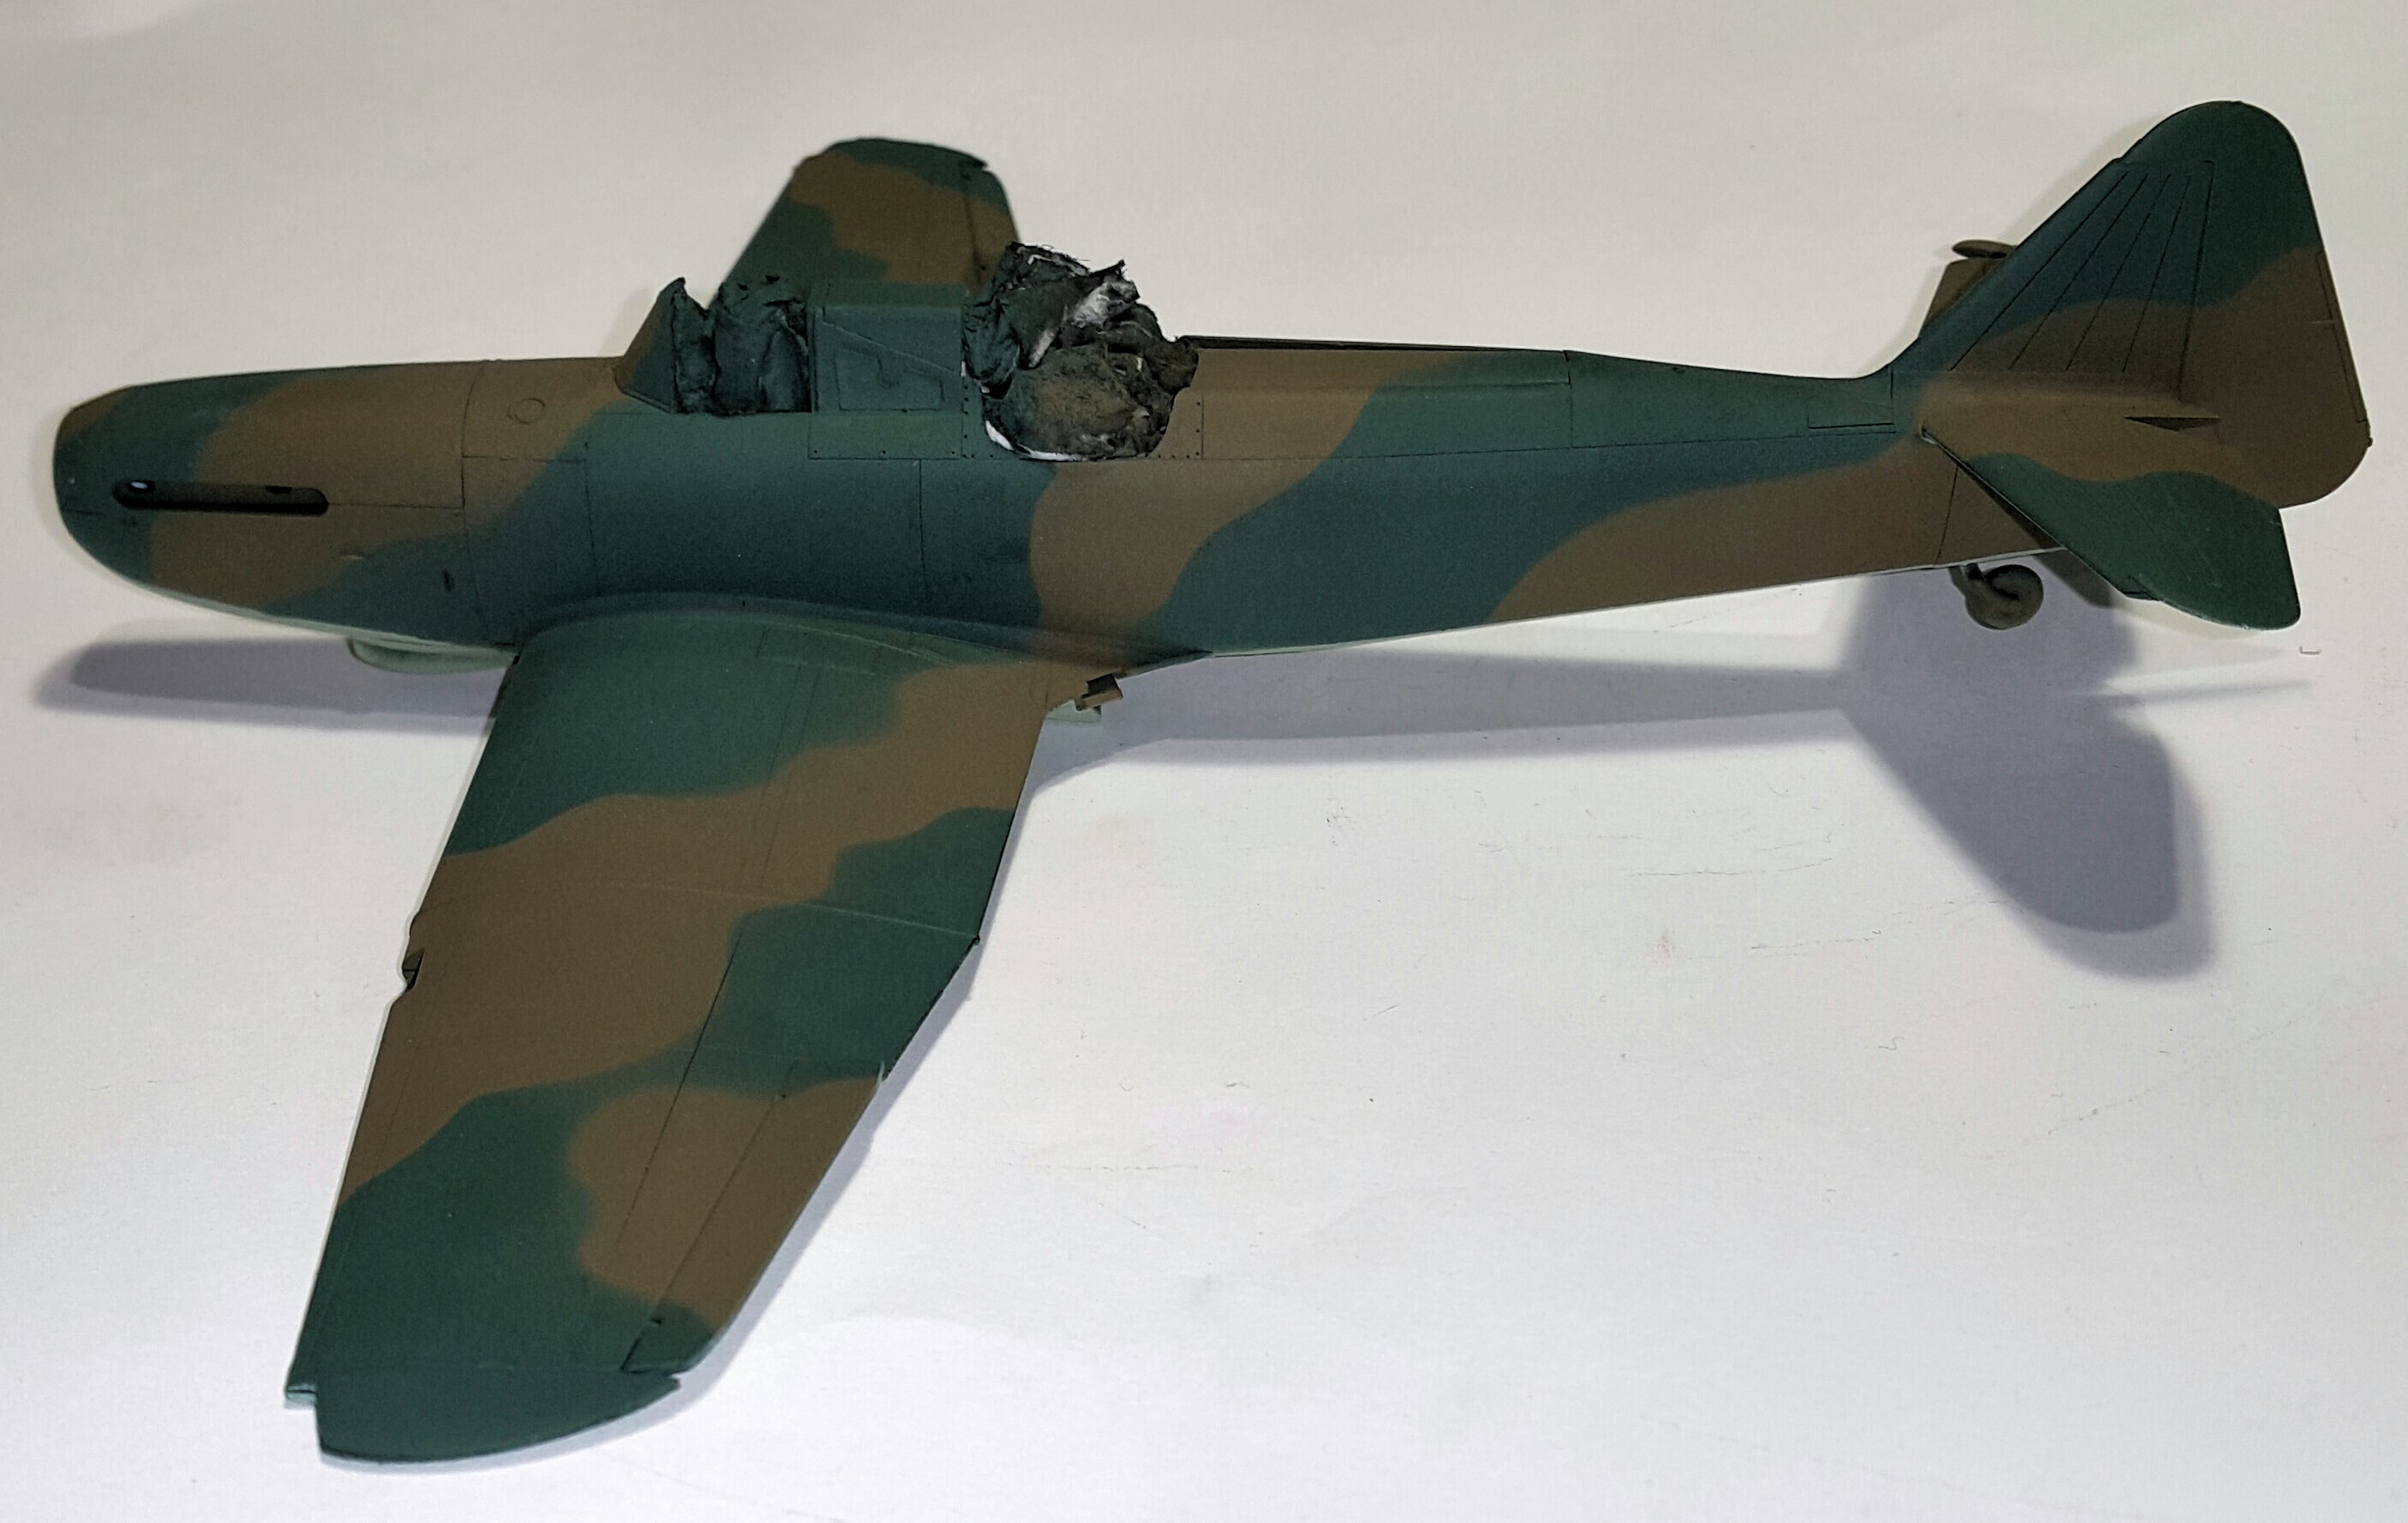
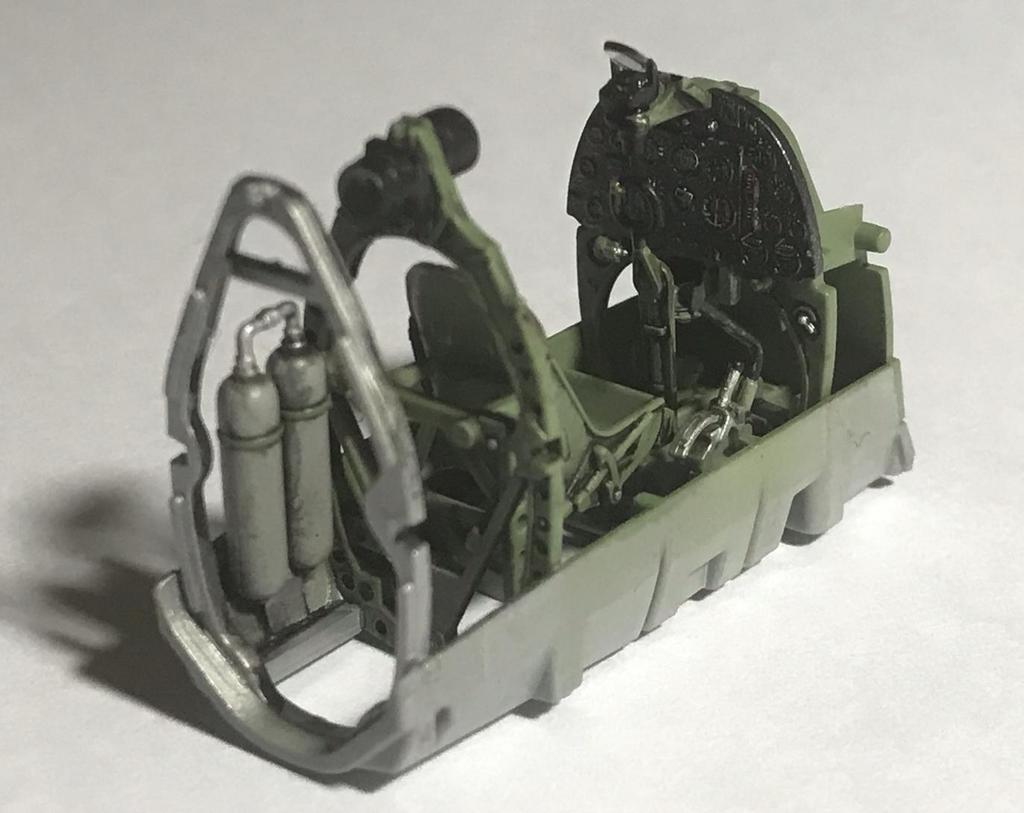
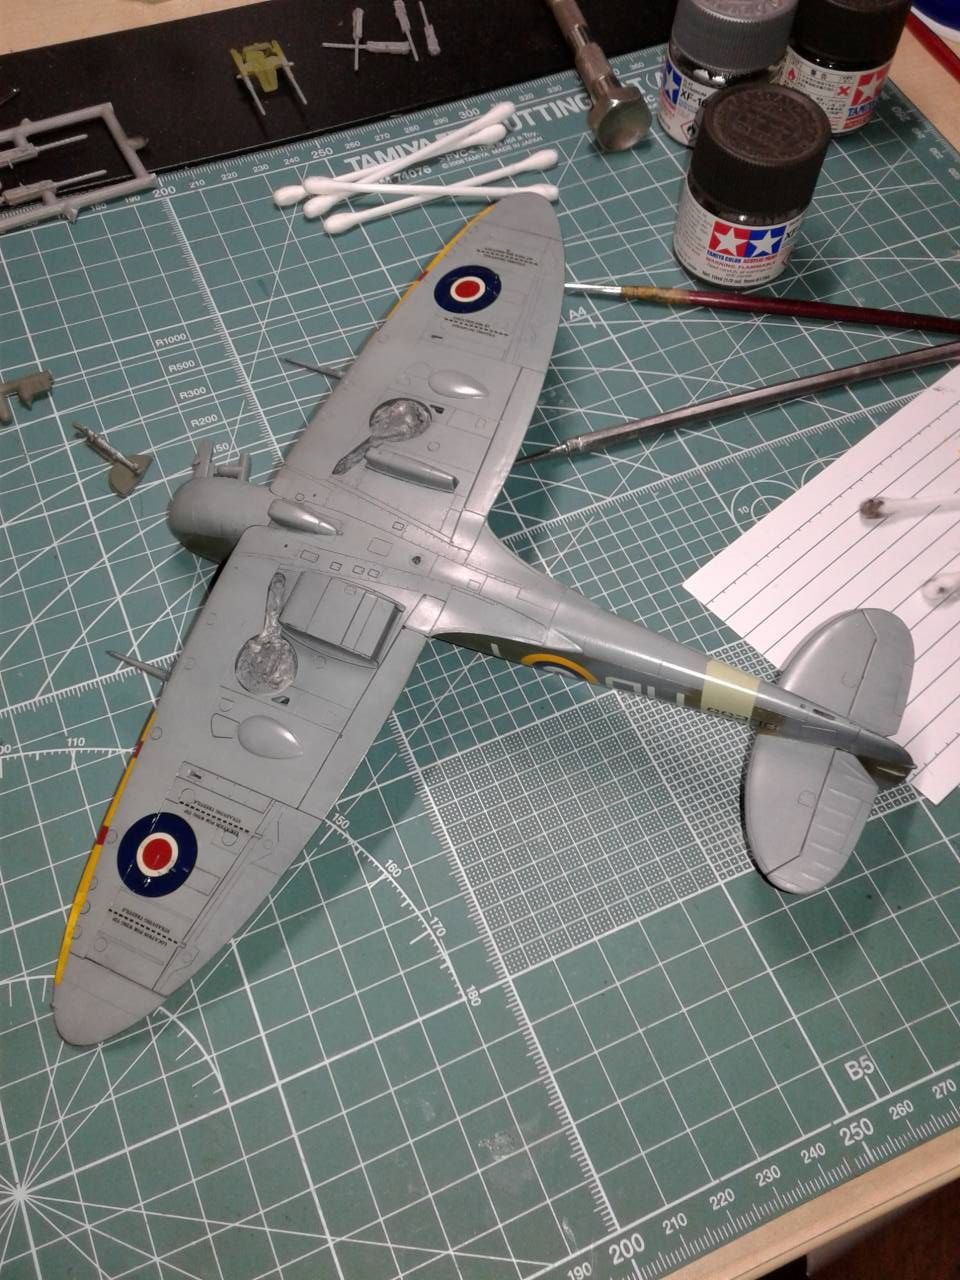
High time for me to make an update. Last time I was cruising along with one self-made hiccup. I apparently seem to have them on this one! Though, not bad at all. This is a nice kit from a model builders perspective.
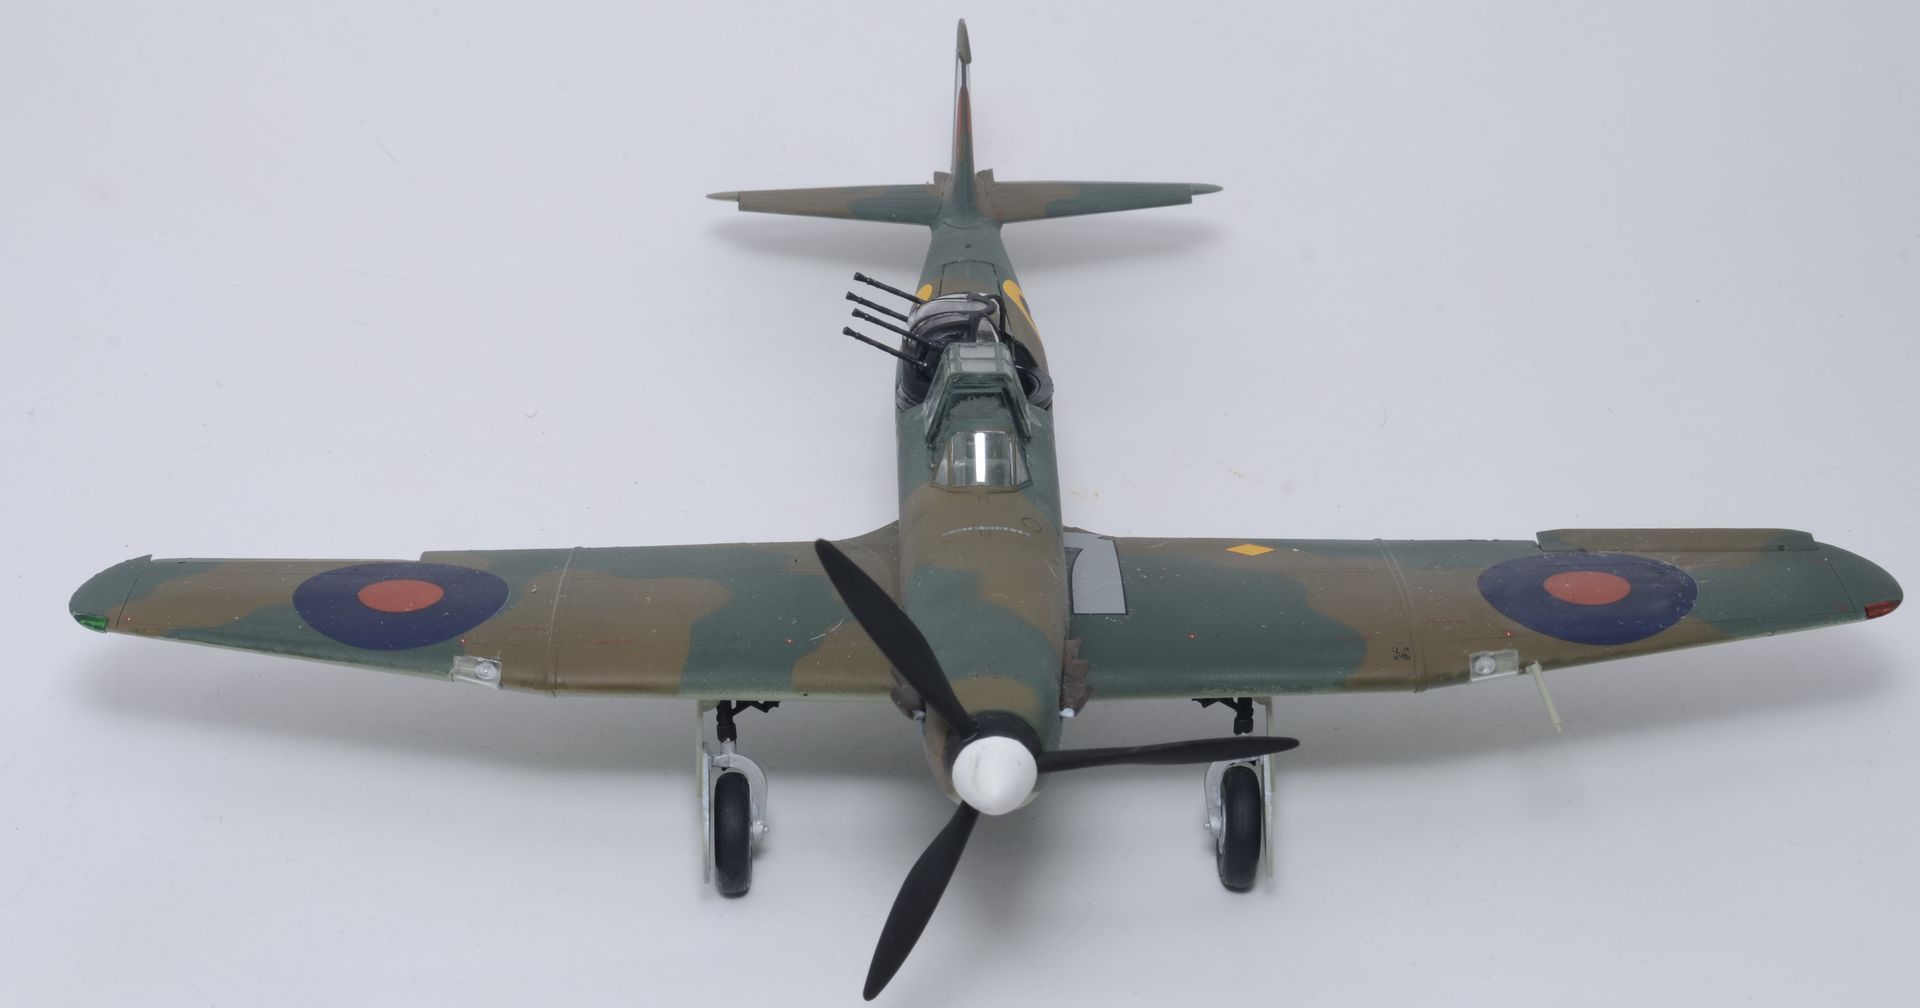
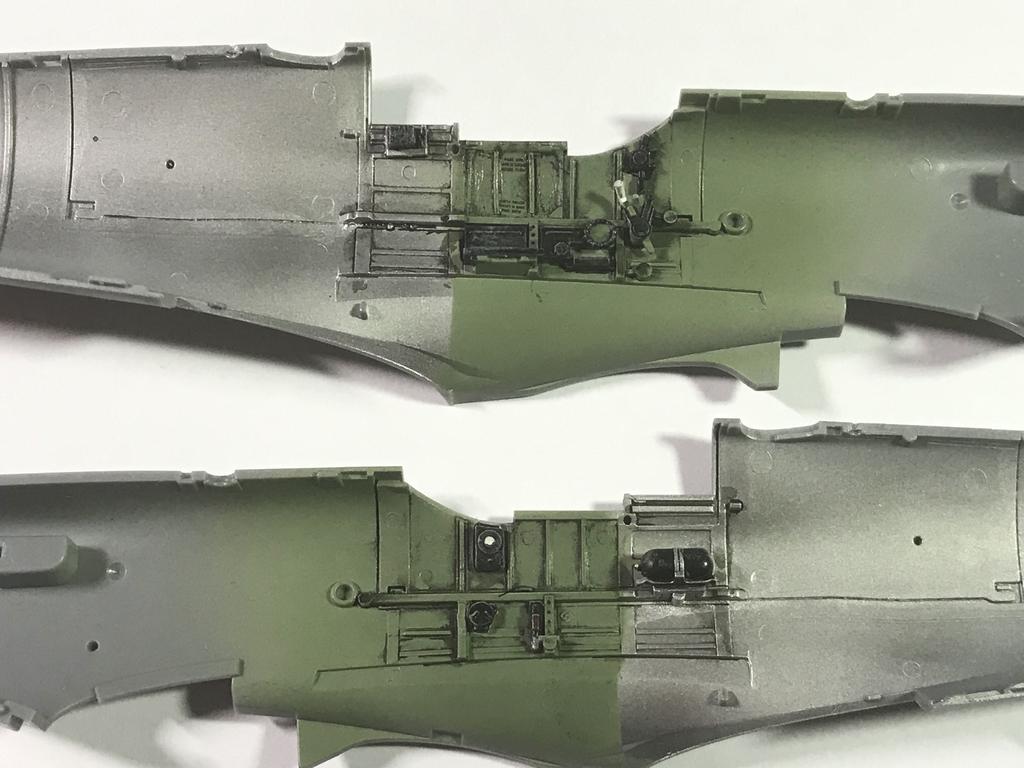
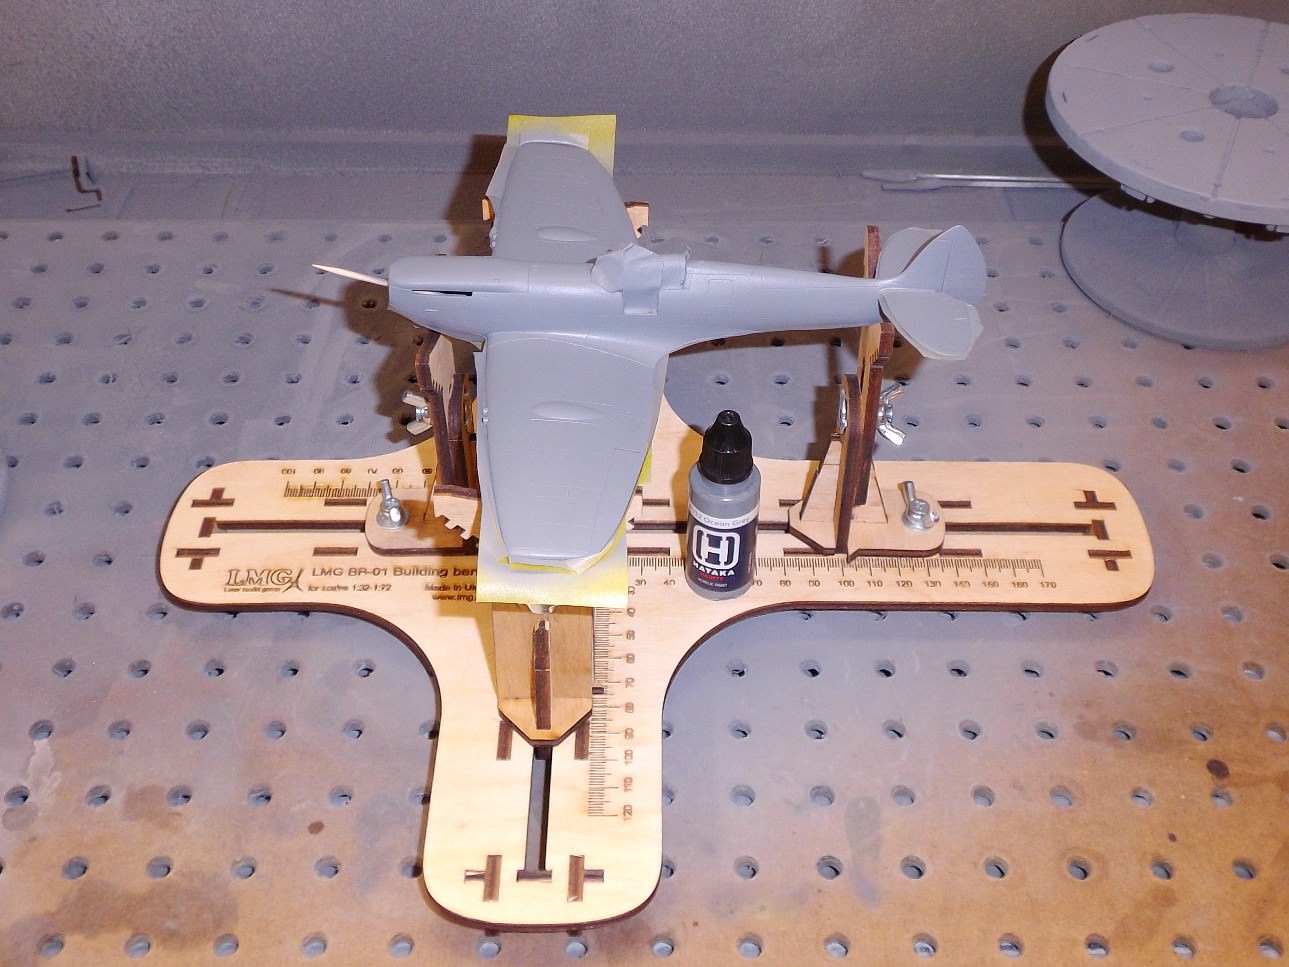
I tried a different base this time. Previously I'd use Tamiya gloss black (X-1), which is nice, but at 3.50 USD per 10 ml, I could foresee a cost factor down the road. So, I got Mr. Surfacer 1500 Black. Diluted 1:4 with Mr. Leveler 400. The result was very nice, the cost also is pretty good too (5.25 USD for 40 ml). Next up in the research lab will be determining differences with Mr. Leveler vs. plain old lacquer thinner. I'll keep you posted.
The underside color went on nice, and I think I'm really get the hang of black basing, of coarse, being an old researcher means I can't seem to let good enough be enough!
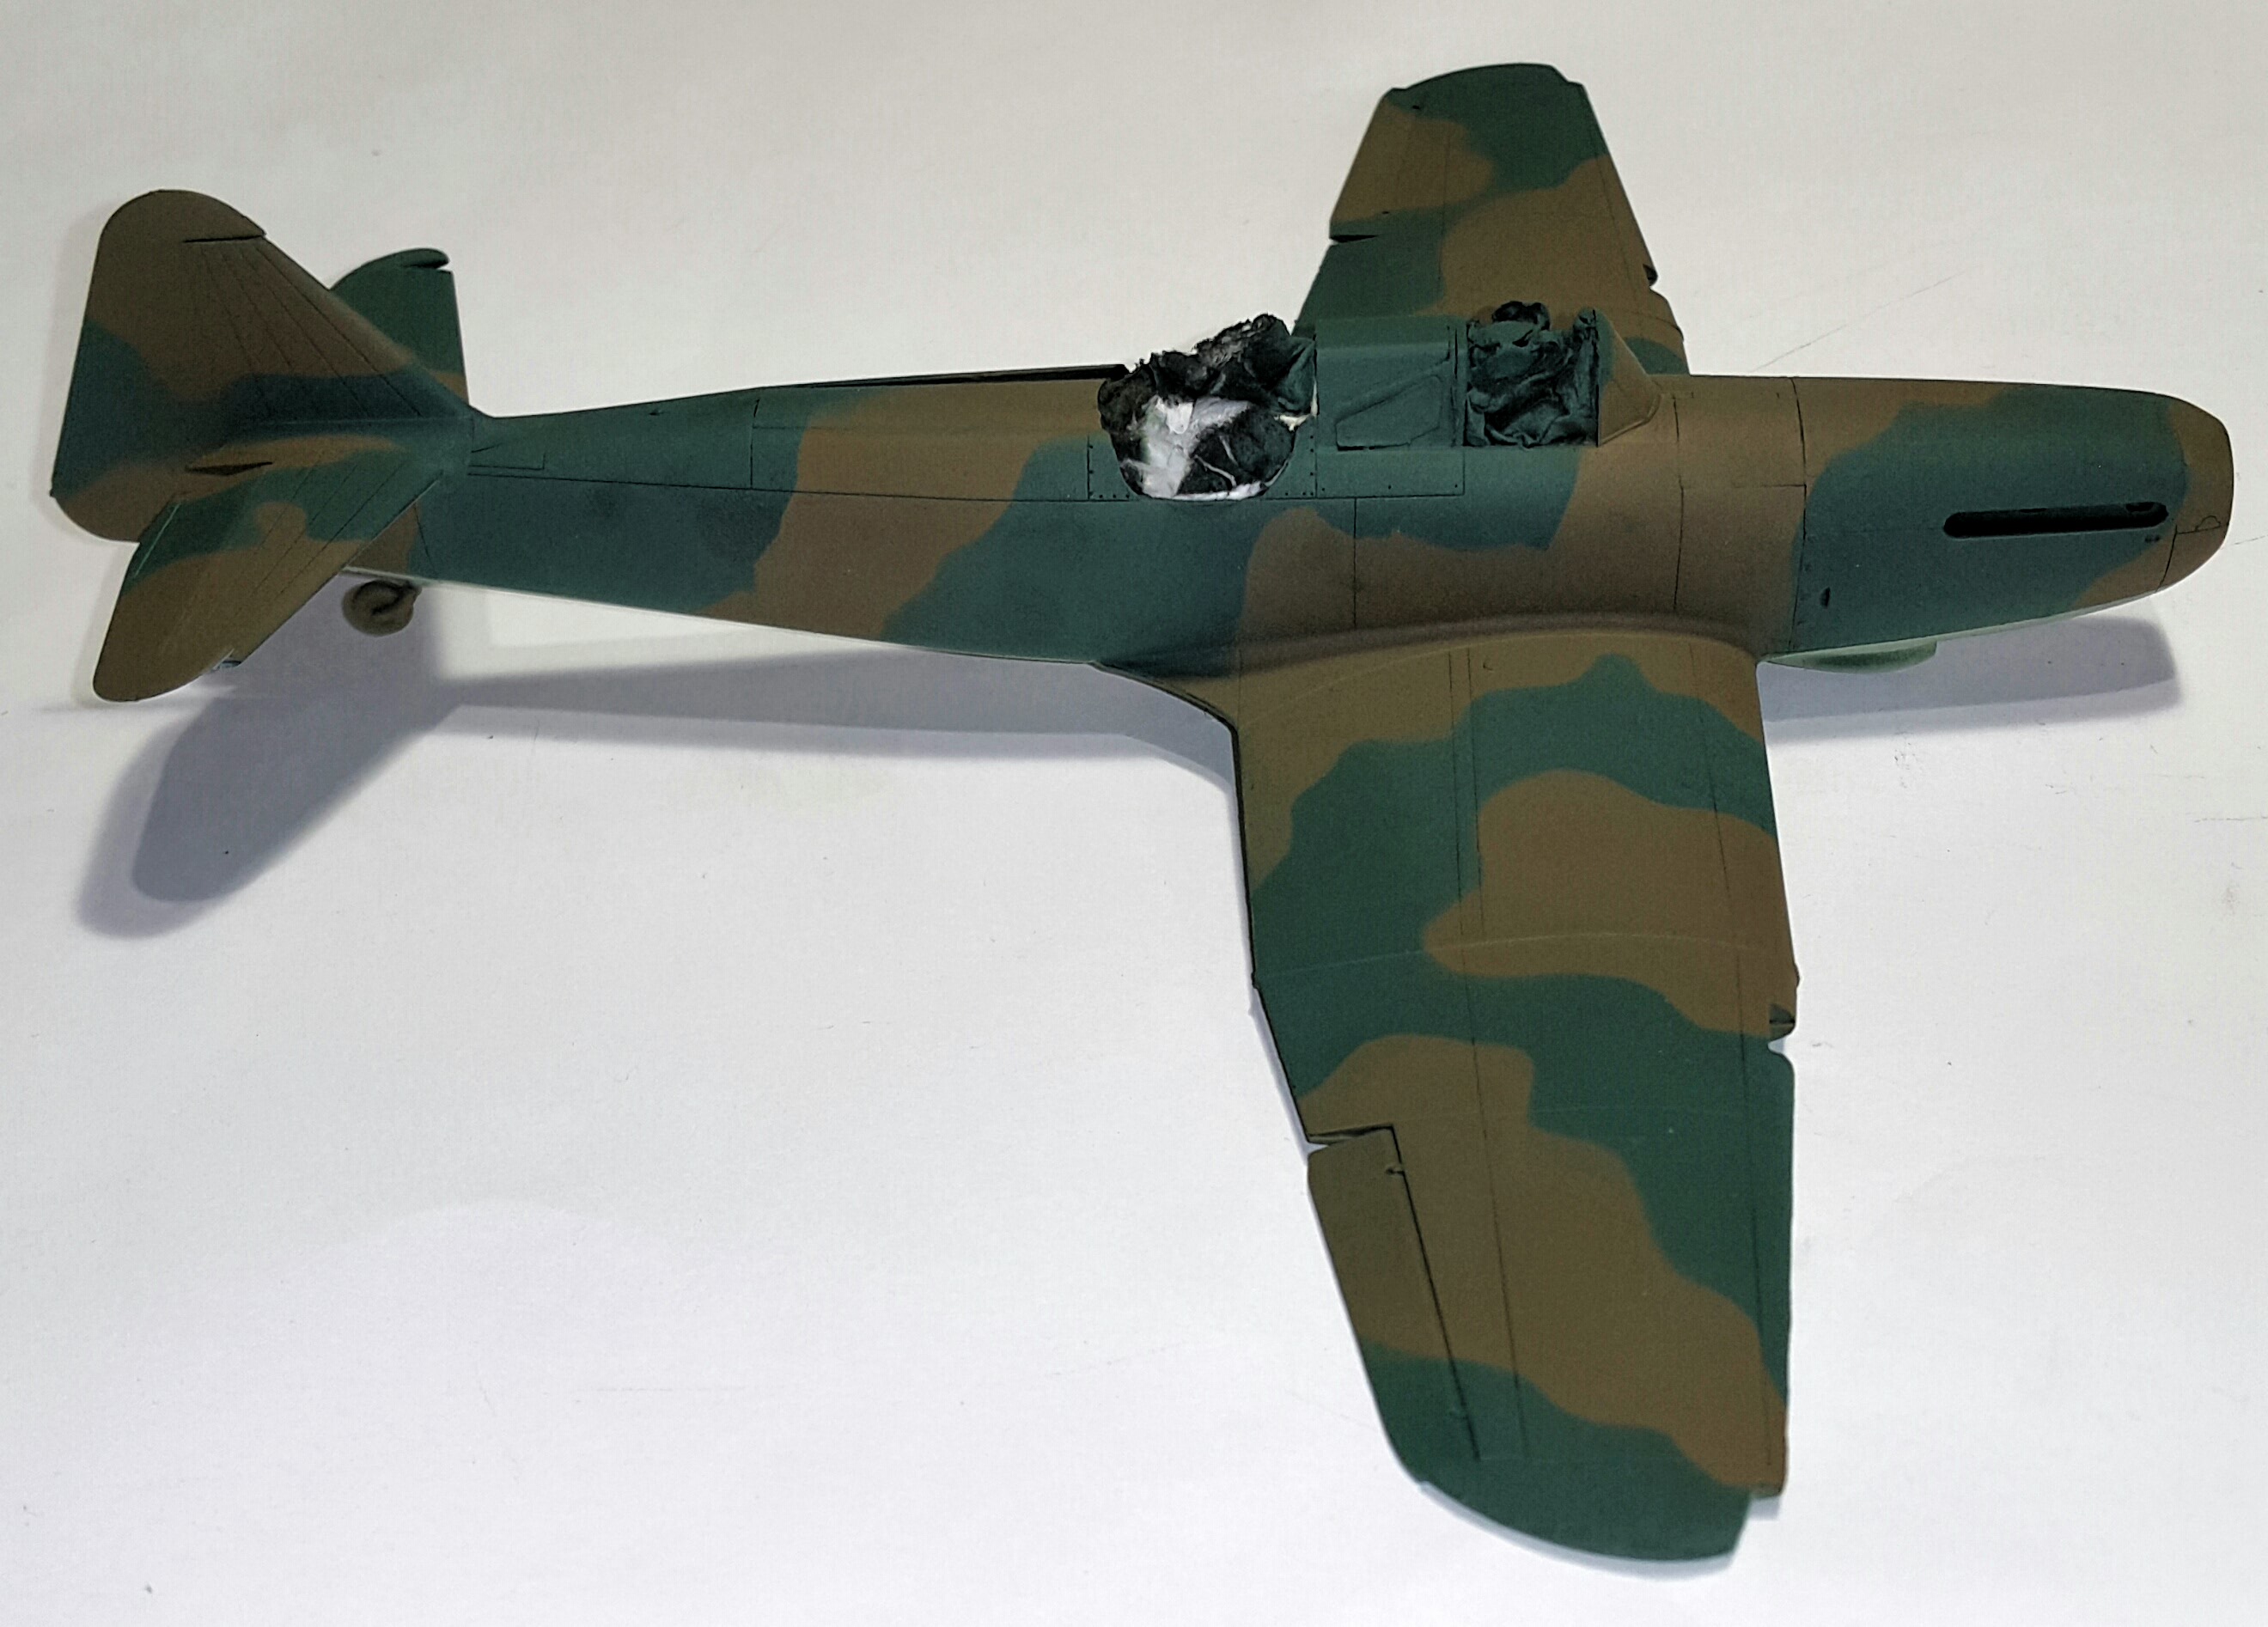
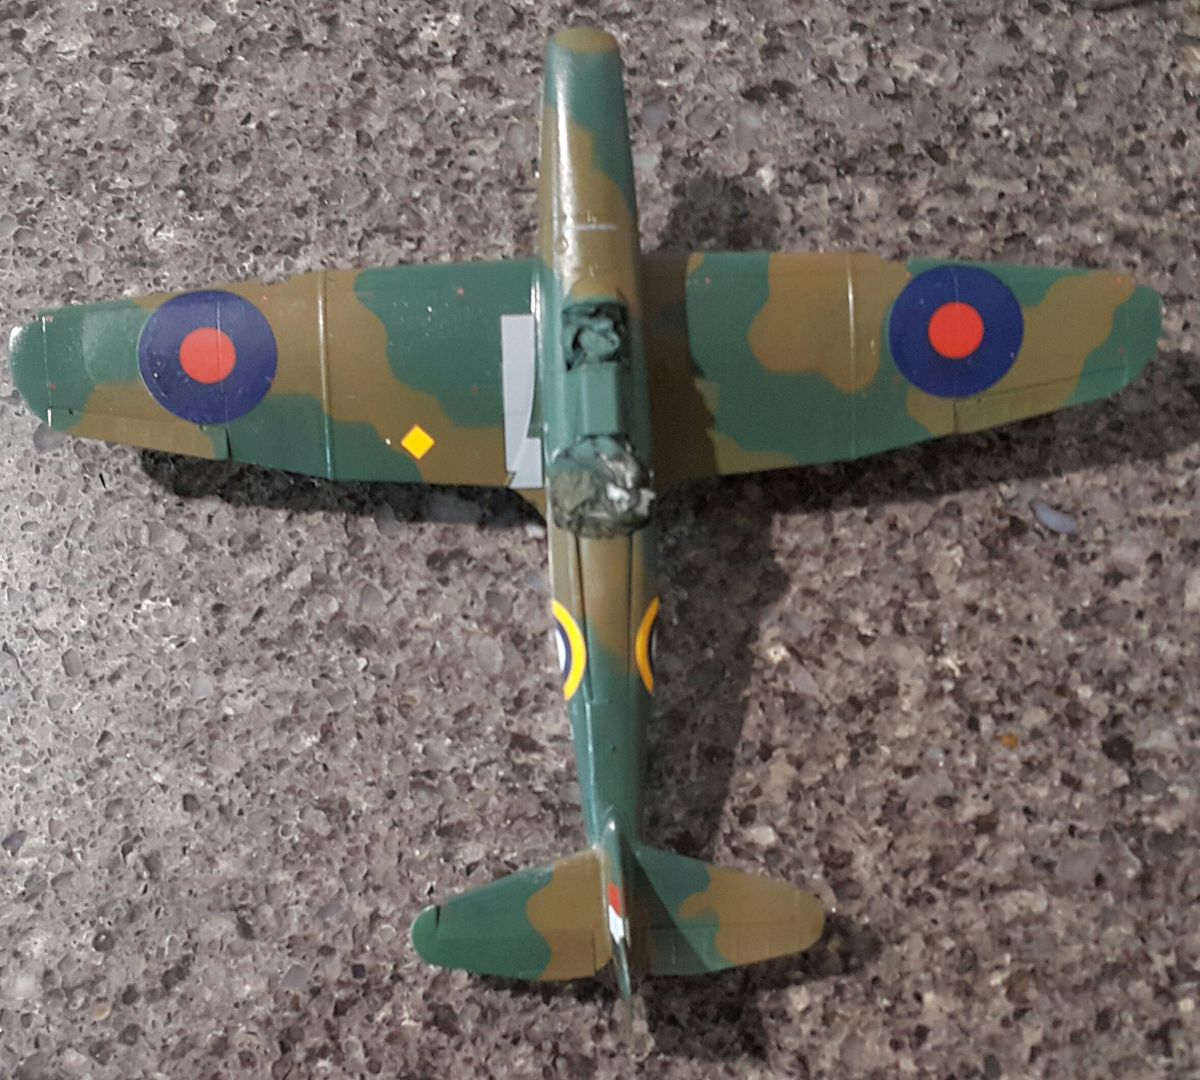
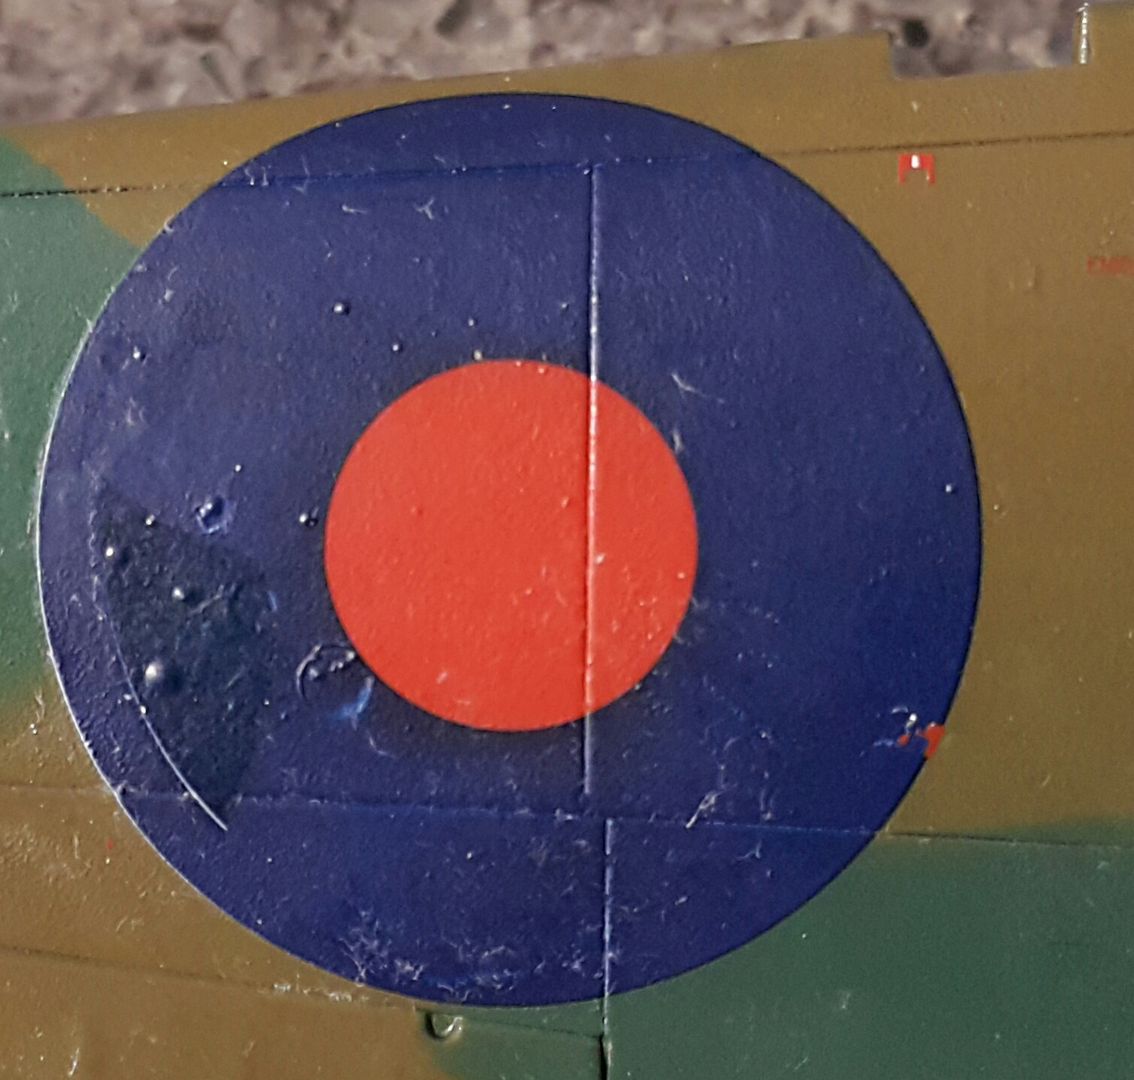
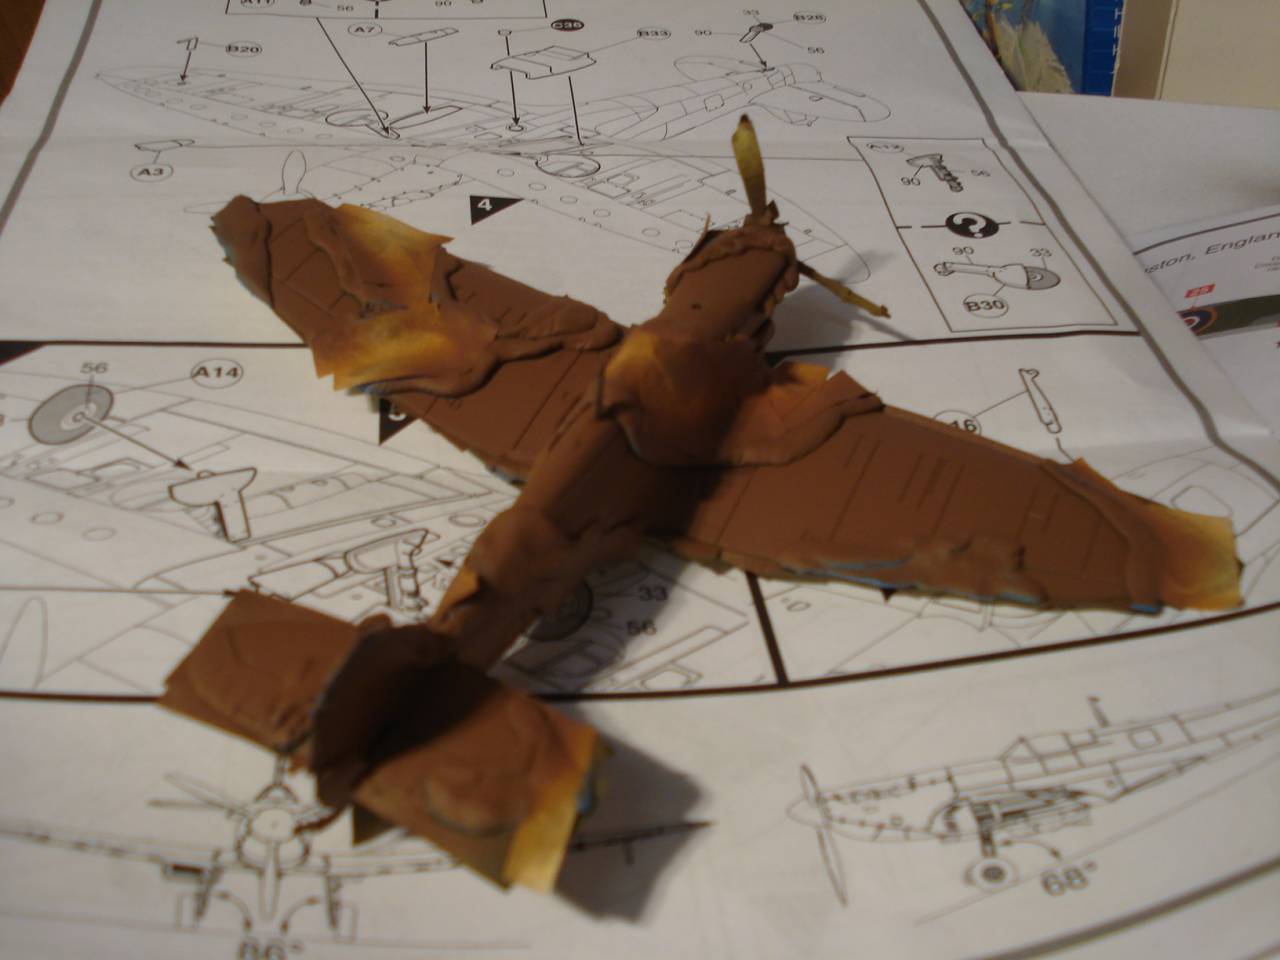
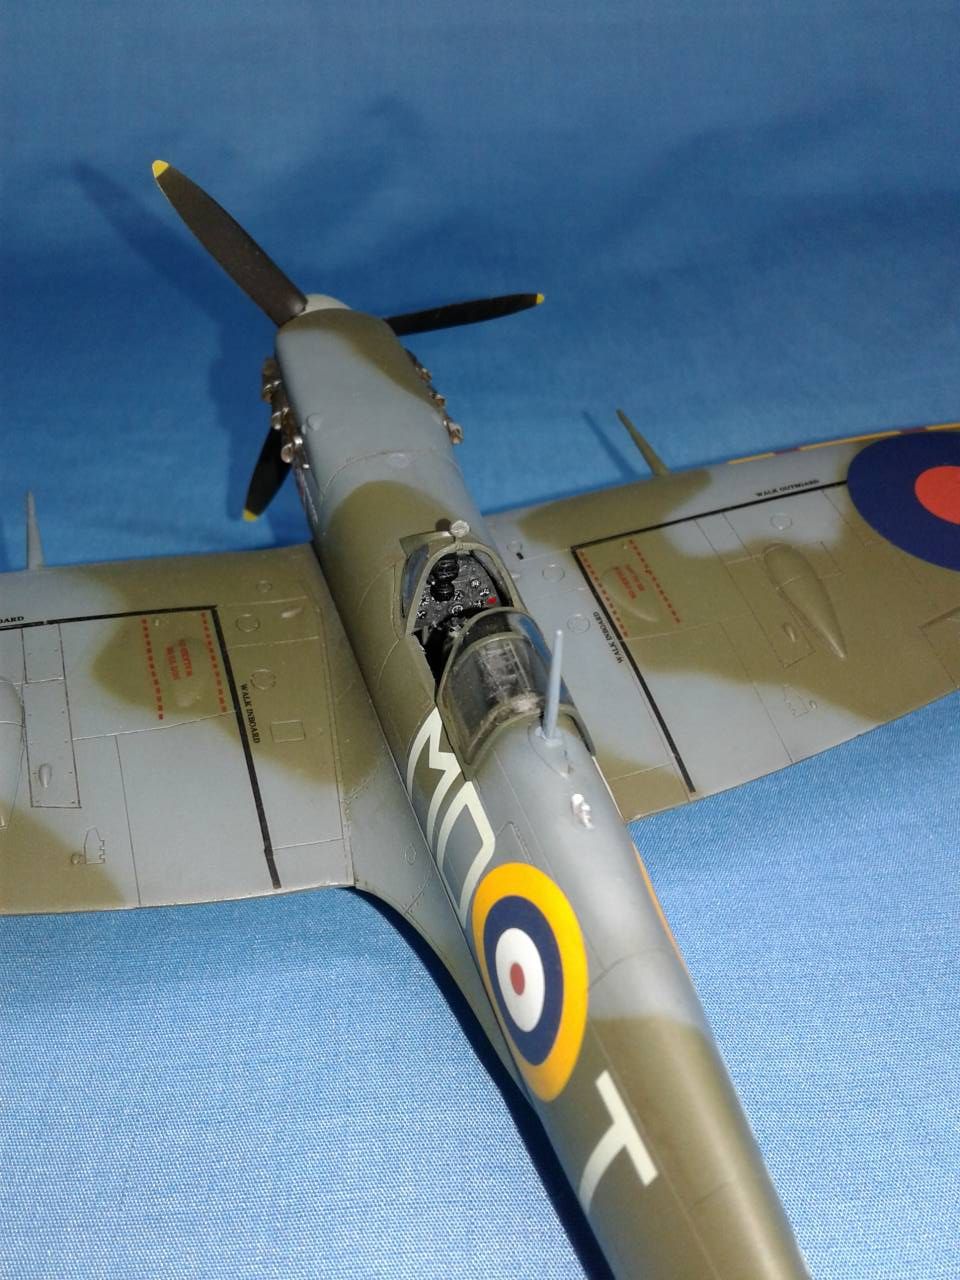
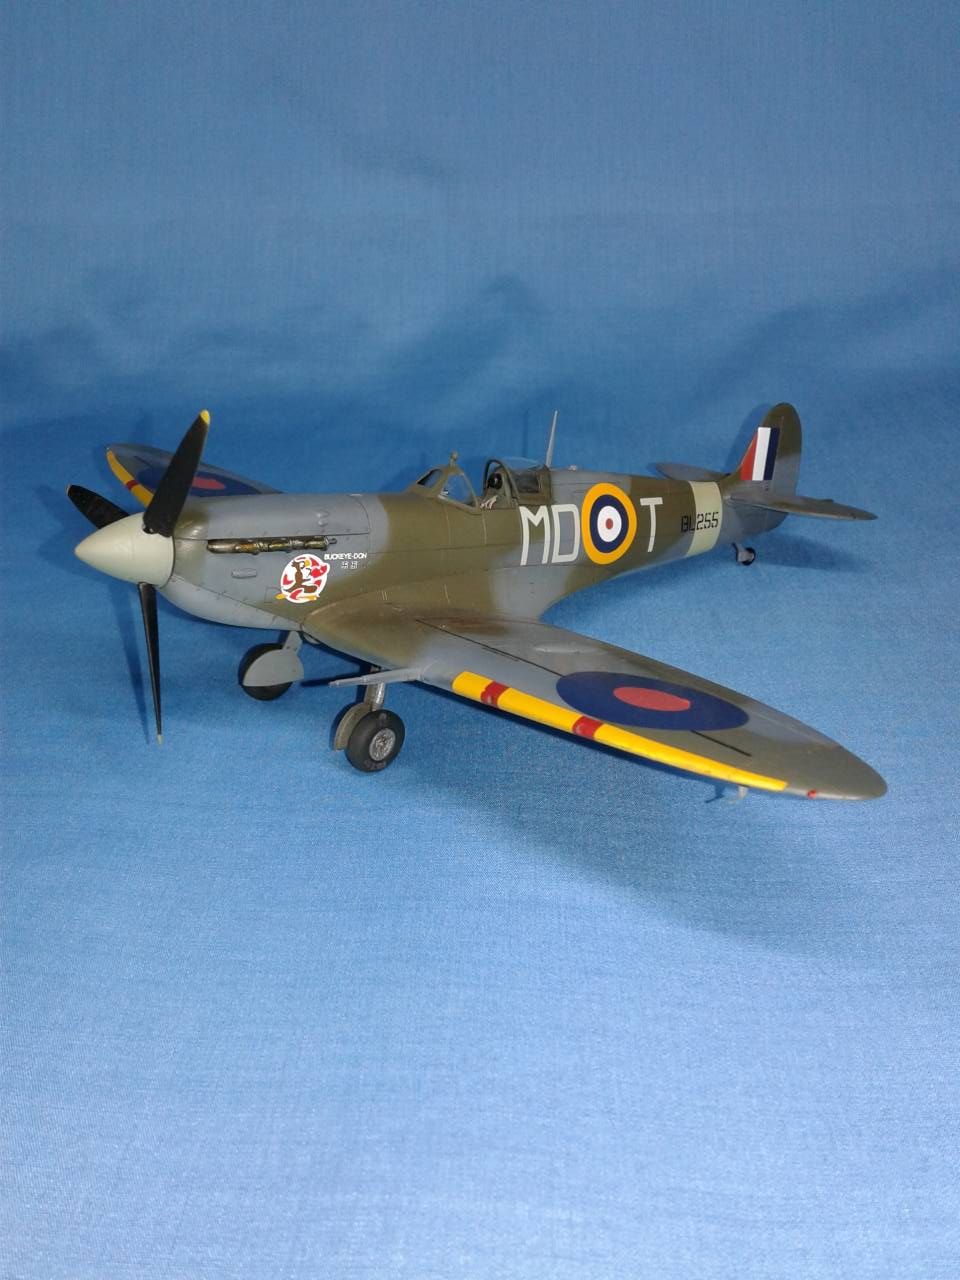
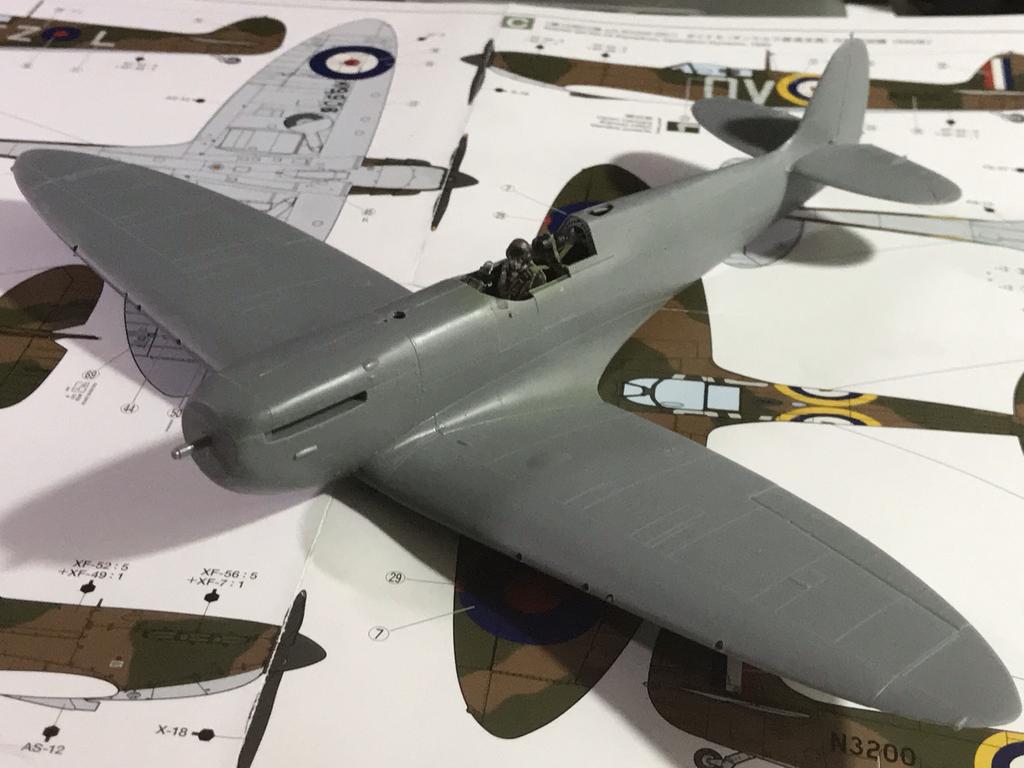
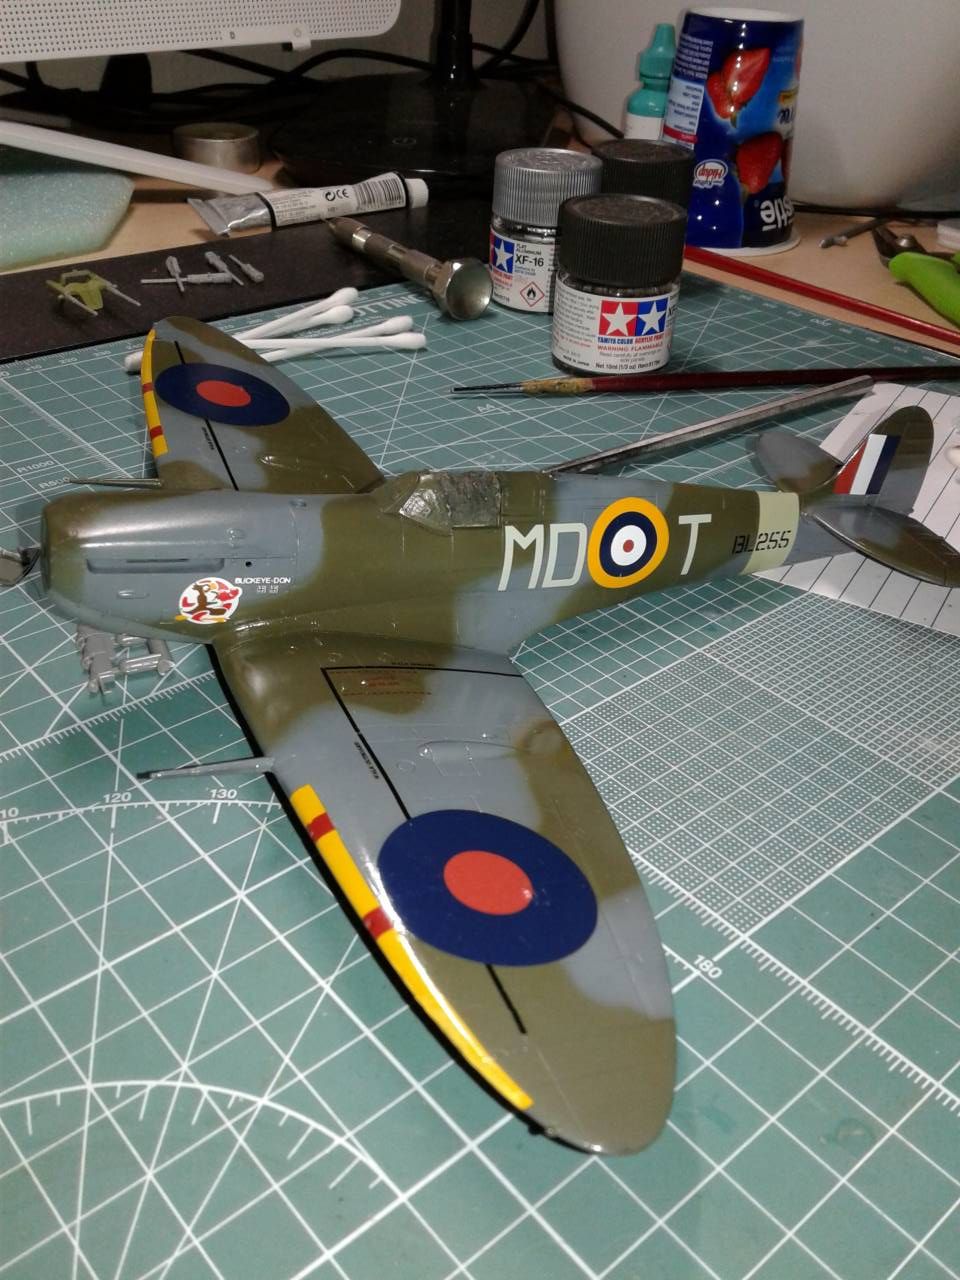
My first pass on the top colors was done free hand, and I thought it was good, but these birds were done using mats as paint masks. I painted the top completely with Ocean grey. Fortunately, Tamiya provides full scale Camo A drawings with the kit. So, I made a photocopy and cut out the areas that would be Ocean grey, using thin Tamiya tape rolled tight, I placed the masks onto the plane. I then sprayed on Tamiya Dark Green 2 RAF.
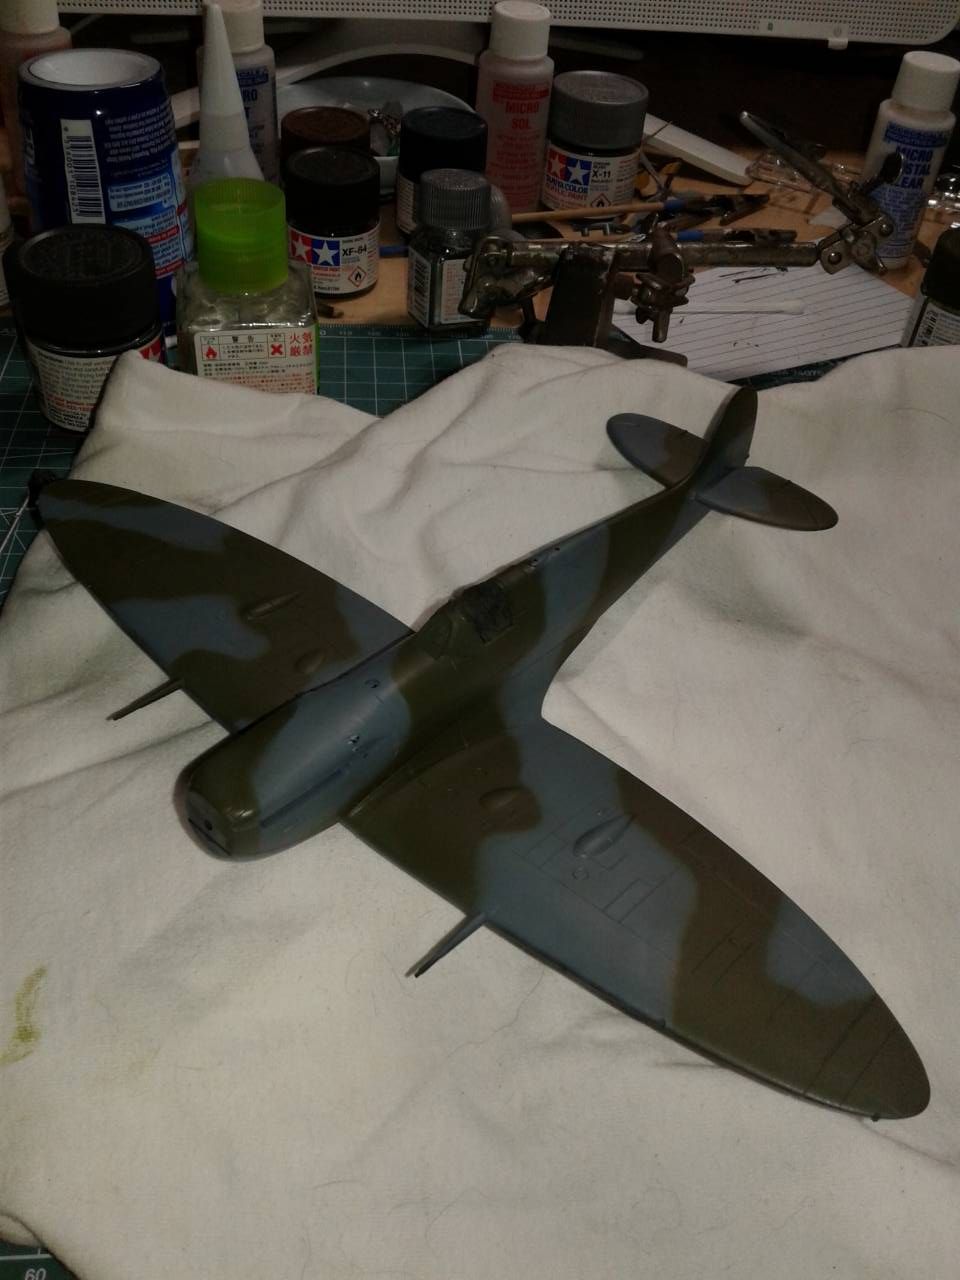
The end result was nice, though I will admit, my free hand job was just as nice. Guess I've moved a bit forward!
Next I glossed the bird using Future, mixed 75% with 25% IPA (70%), and a drop of soap to decrease the surface tension. And then it was time for decals!
Underside:
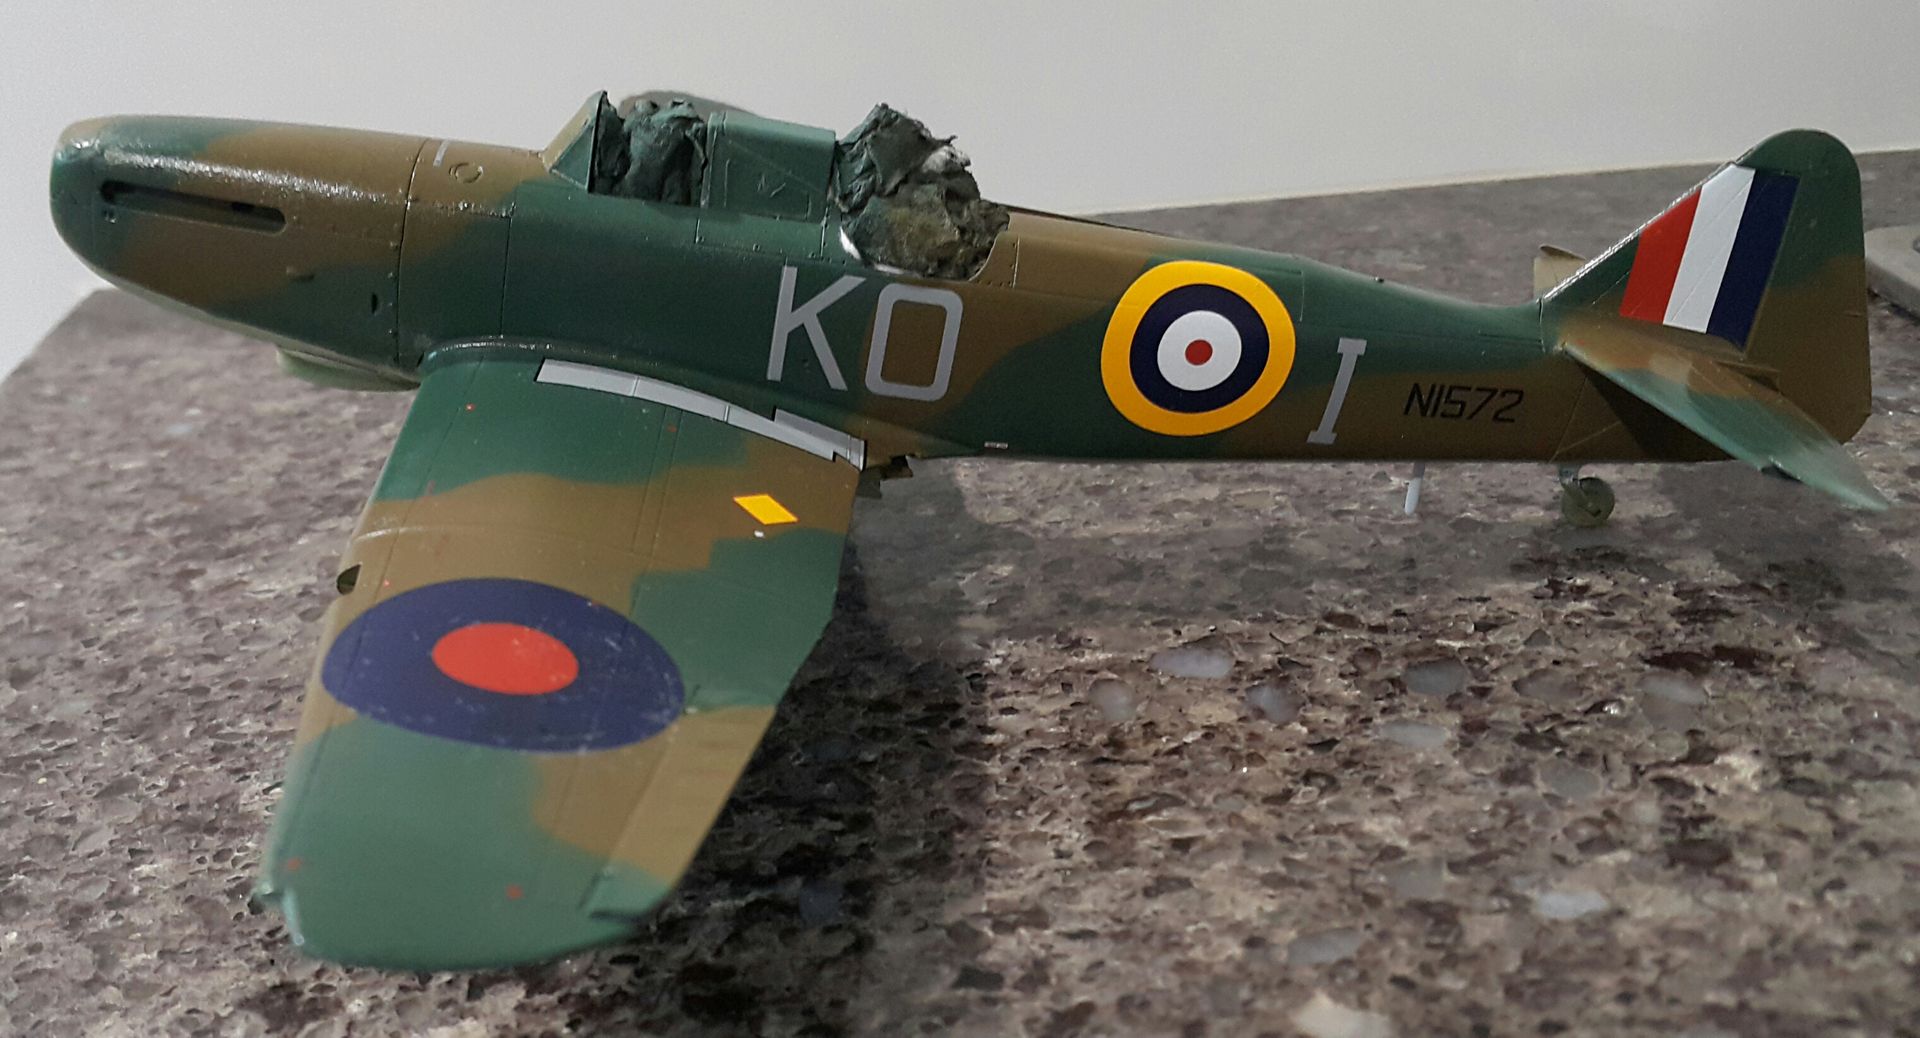
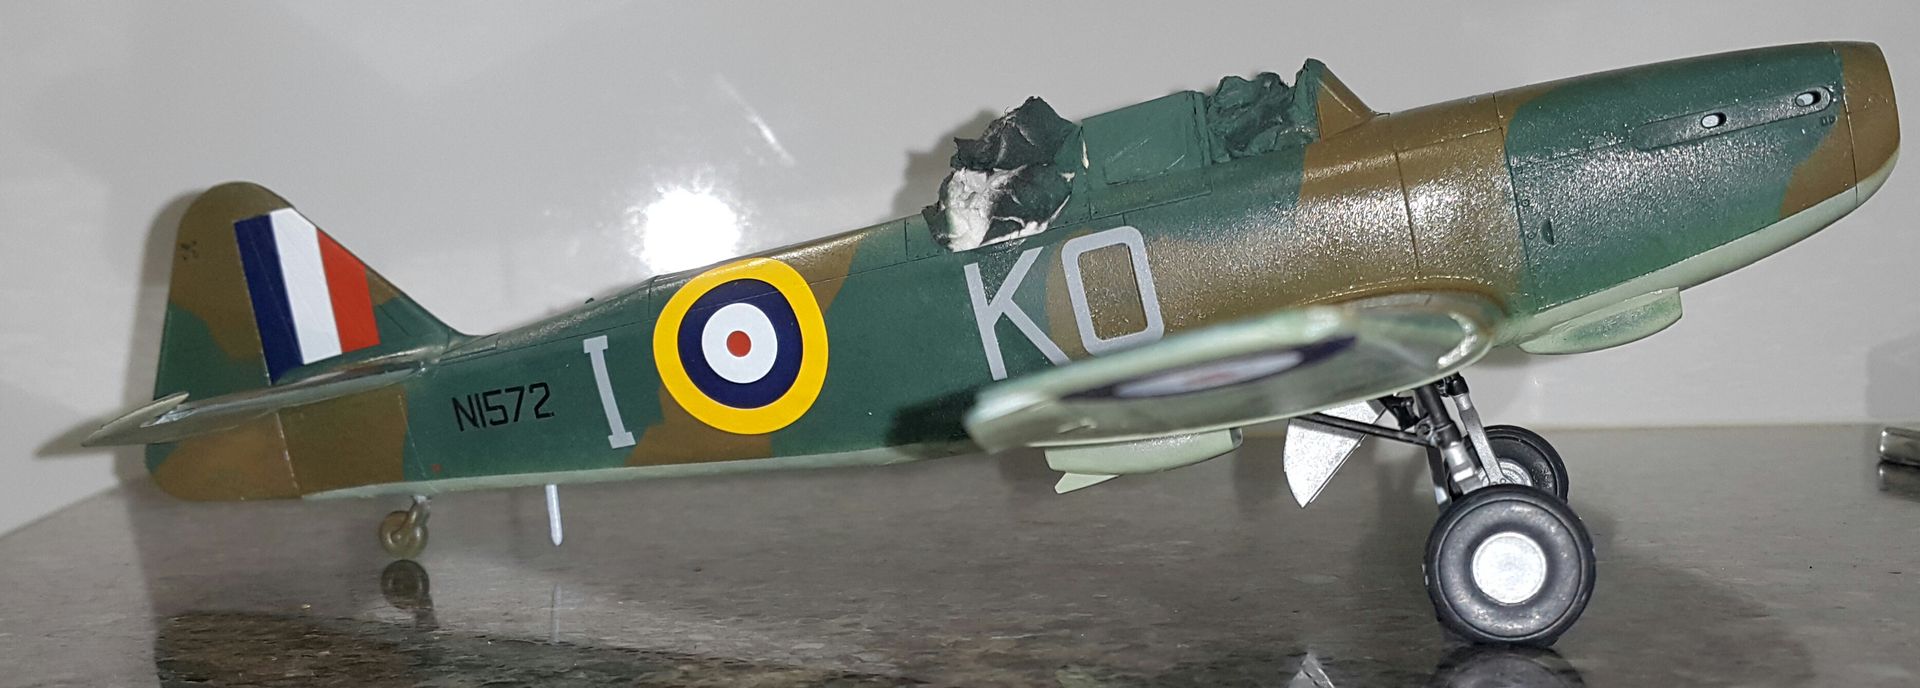
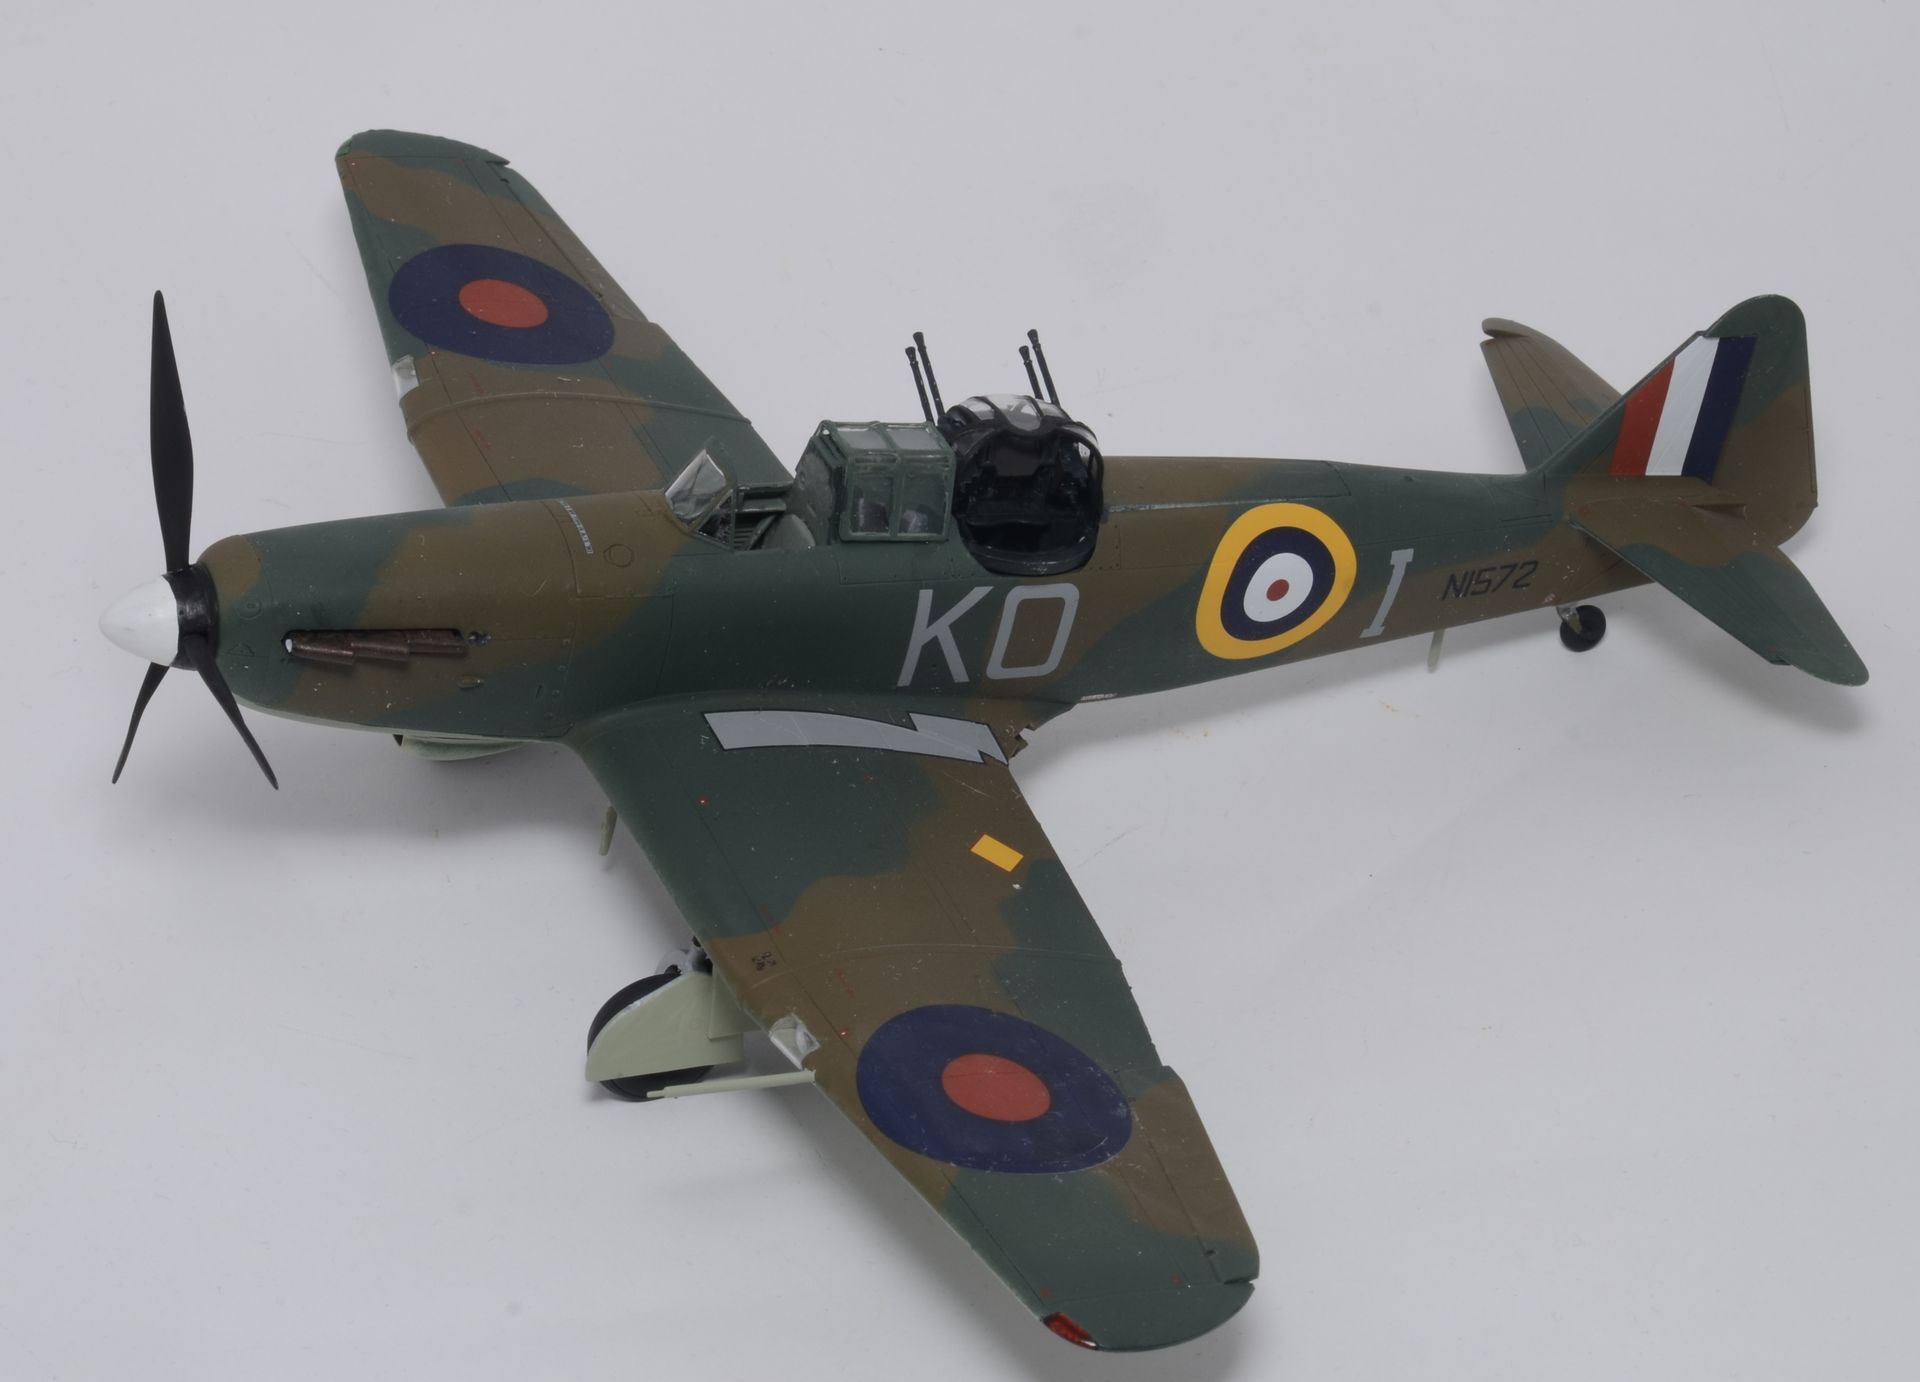
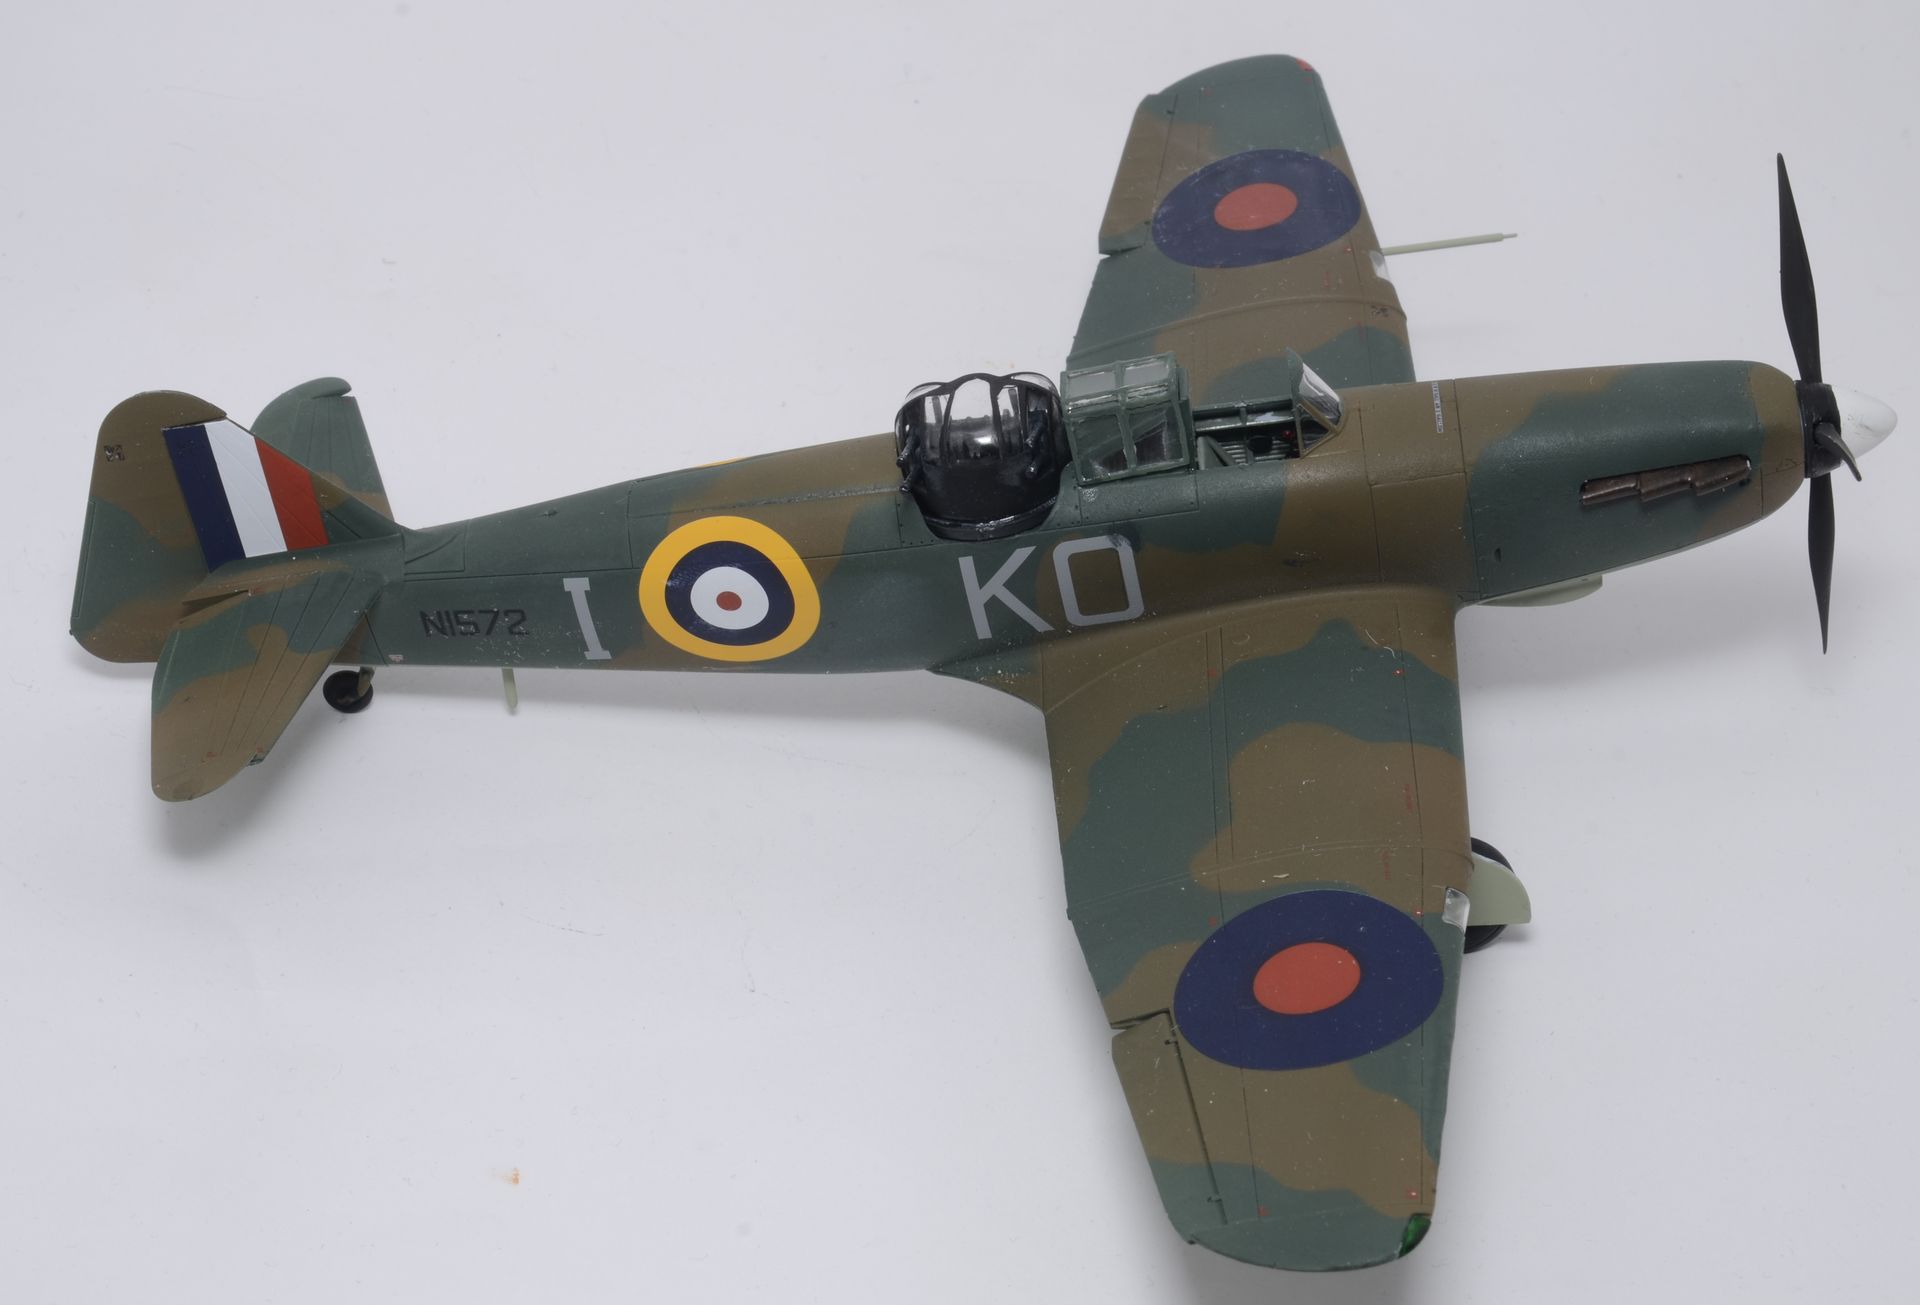
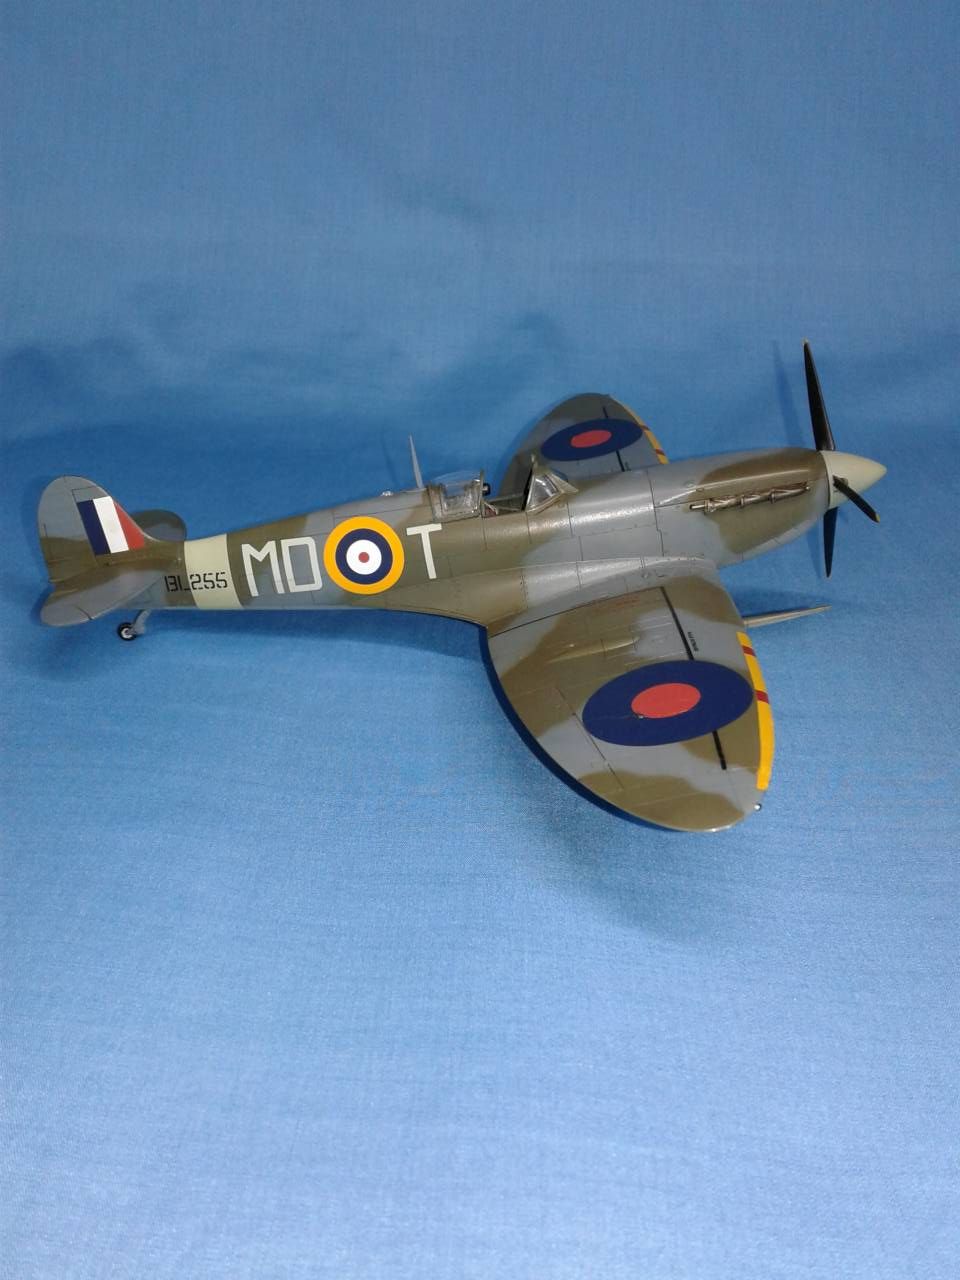
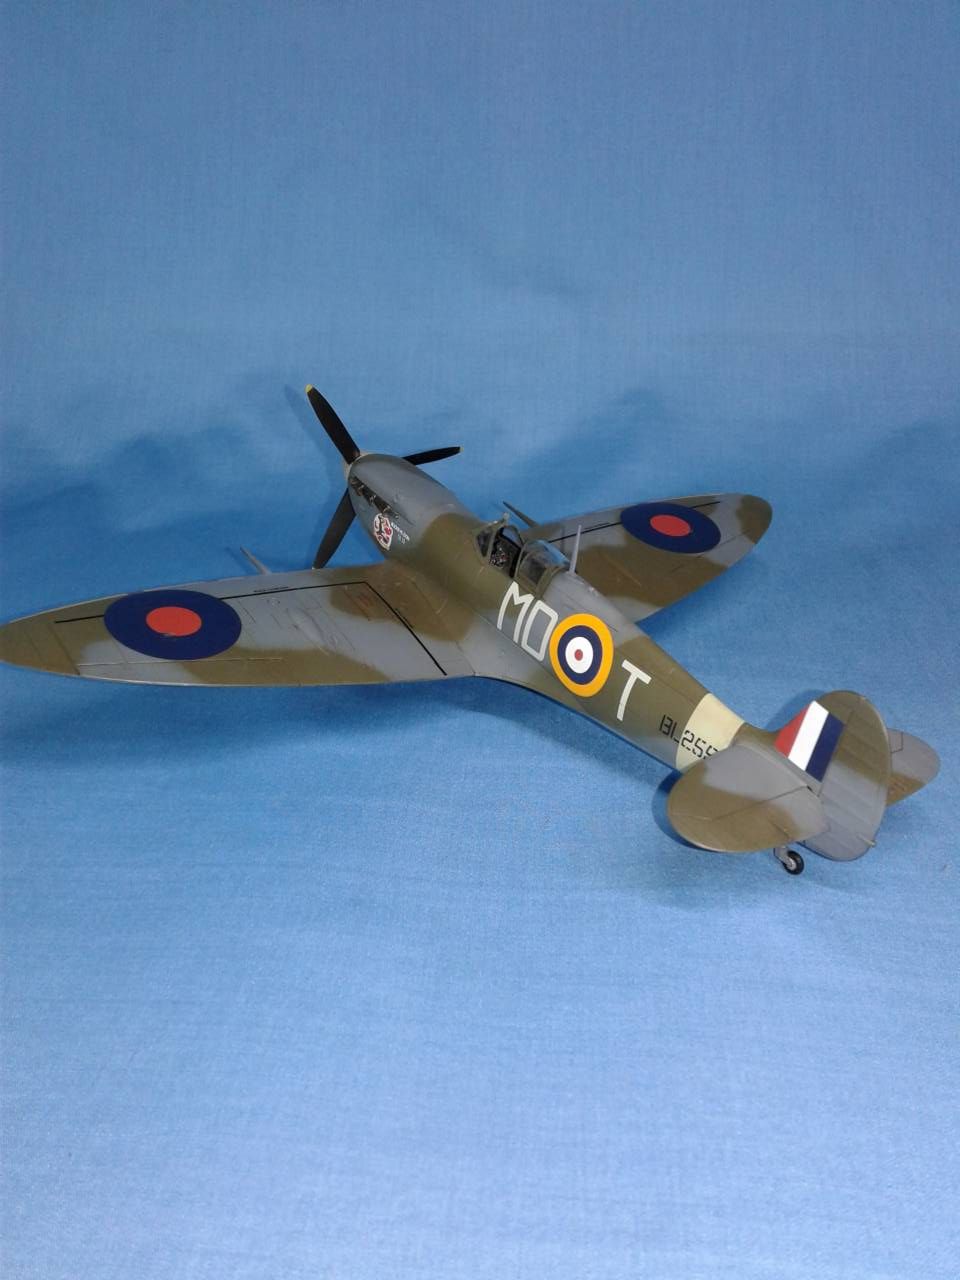
Given that I have quite a few Tamiya kits, and purchasing after market decals for each would be expensive, I felt that I needed to find a good solution to making their decals look "not so thick". While in the states for Dads birthday, I picked up a bottle of Solvaset. More experiments were conducted with favorable results. So for this build I opted to do the wings using the Tamiya decals, then for the fuselage and nose art I went with Aeromaster "The Eagle Squadron, part II" # 48-364. These have the artwork and codes for Don Gentile's spitfire when he served with the RAF.
Topside:
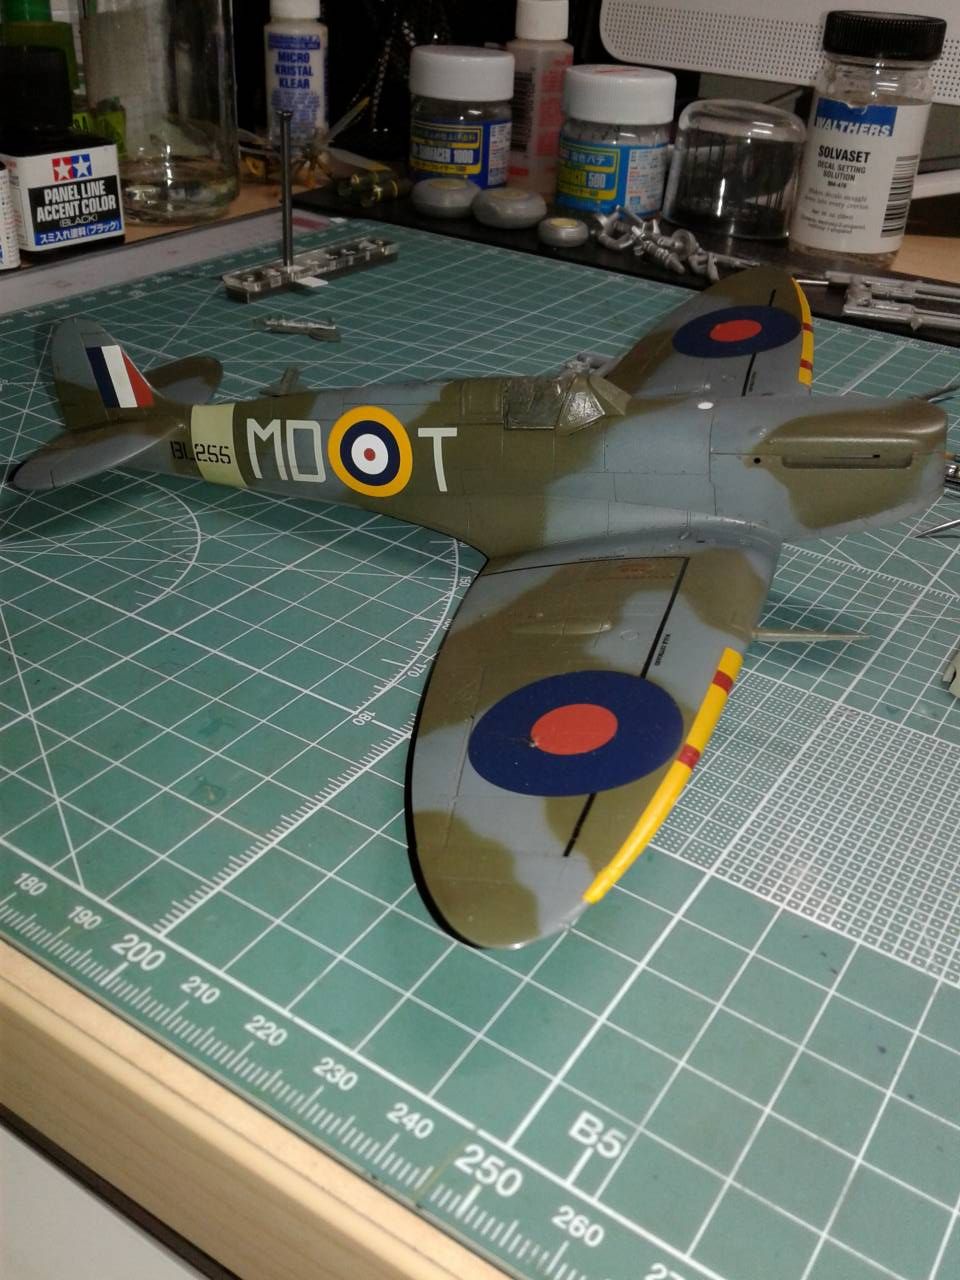
Once all was dried, I cleaned off all the reside from the mix of Solvaset, and the Micro Sol used on the fuselage. Sealed it with some future and it was off to some light weathering. I used Tamiya Panel line accent color as an experiment on the underside. Using black and dark brown. These work nicely, though I think that using oils thinned with turpentine are equally as good. One thing I did notice was how black on the underside was way too strong! I wound up toning all of it down with some burnt umber oil, thinned to about the color of black coffee using turpentine thinner. I liked the results.
I finally put on a flat coat of Mr. Color 182 Flat Clear, diluted 1:3 with Mr. Leveler. The results were acceptable to me!
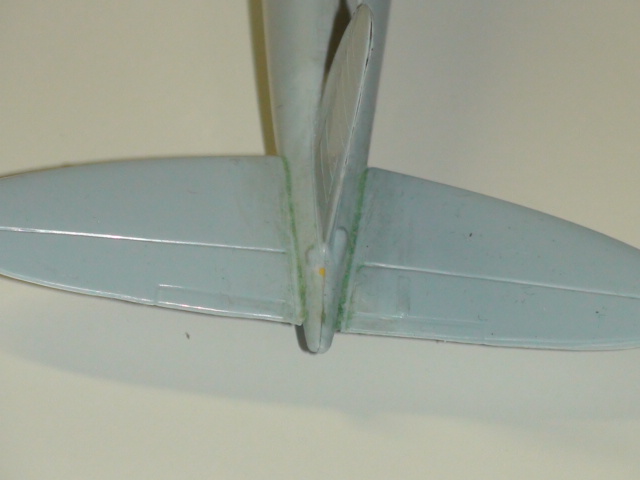
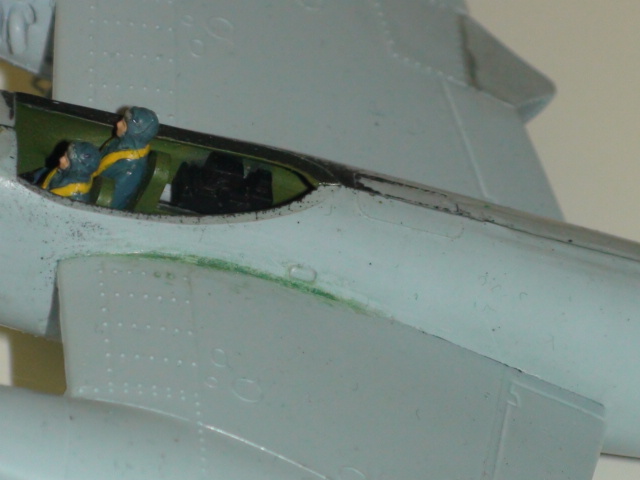
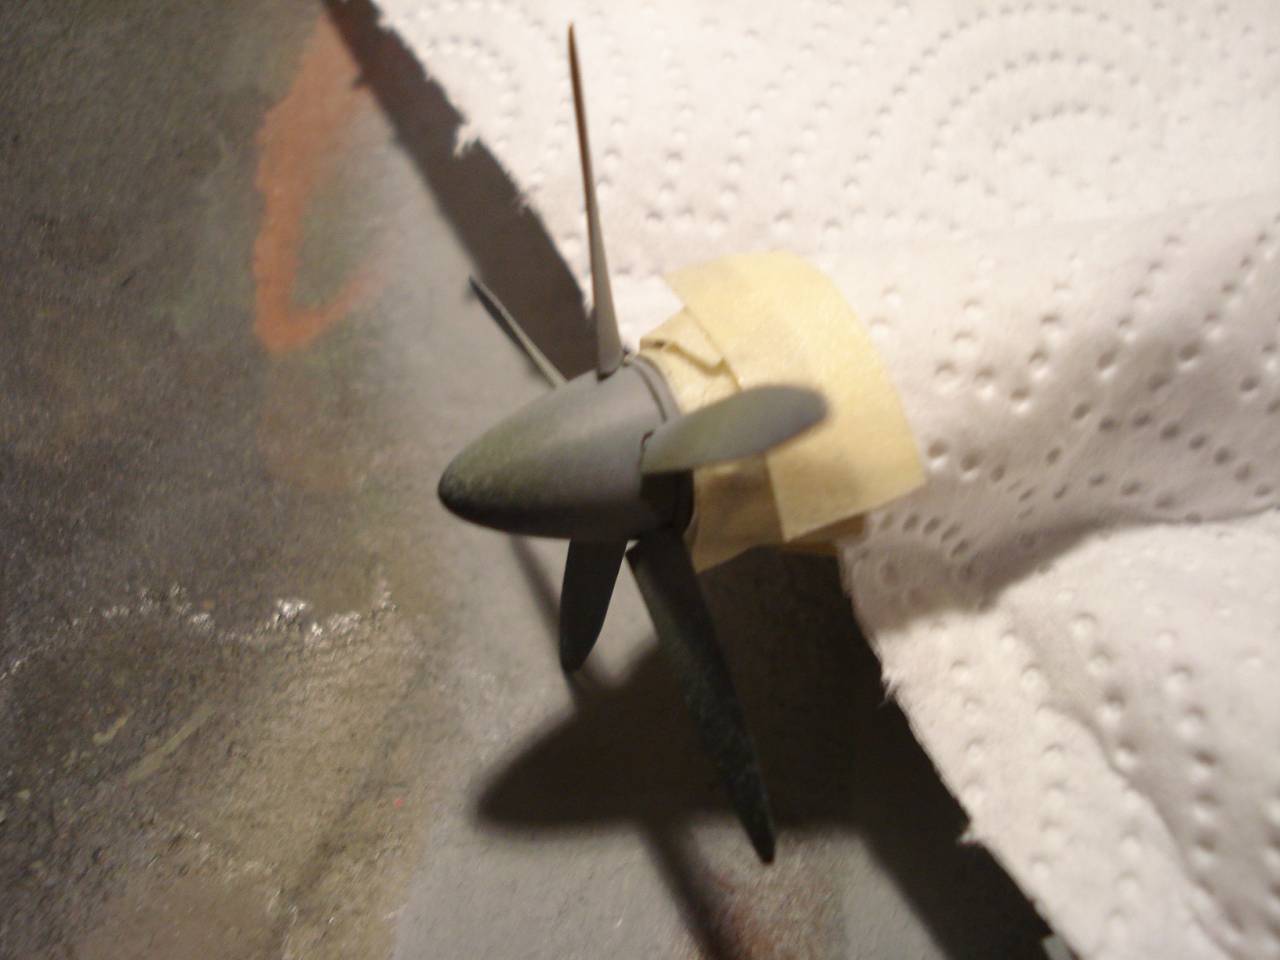
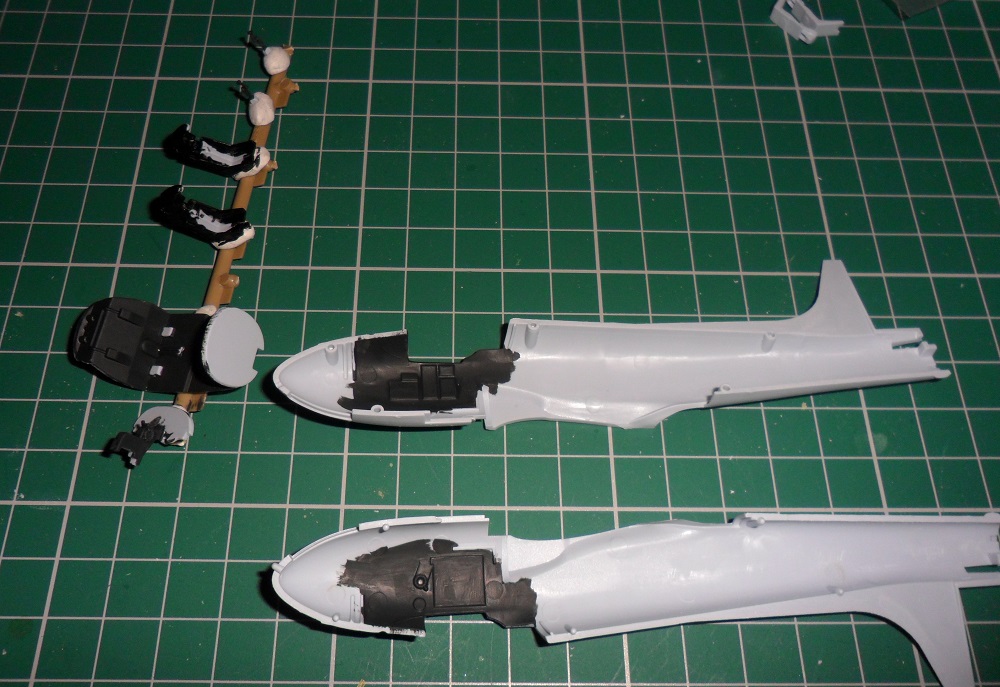
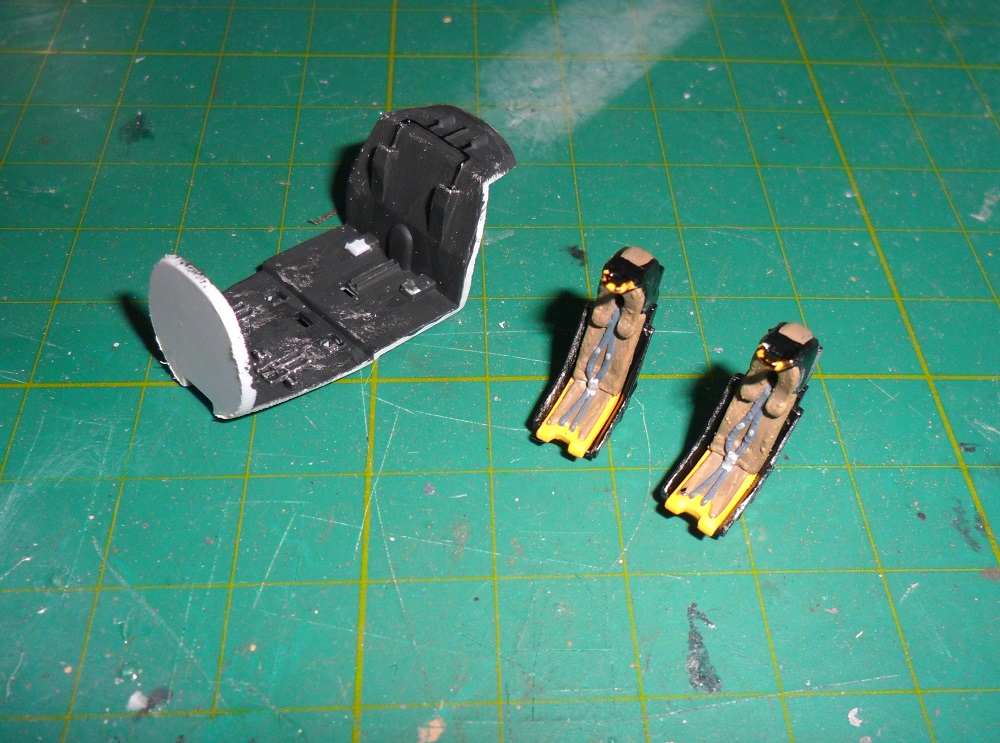
Next it was time for some little bits. Self inflicted wound number two! I somehow lost the fuel cap cover. I'm sure it'll show up when this goes on the dresser! I punched out a disc of 0.2 inch plastic and sanded to fit the opening. A little touch up paint, and I most likely will forget I did it! Since then I have drilled out the exhaust stacks a bit, and am about to add the few little parts. Self inflicted wound three! I managed to break off the antenna on top of the vertical fin. Gone forever from here, as the floors are swept about three times a day! Stretched sprue will fill in there.
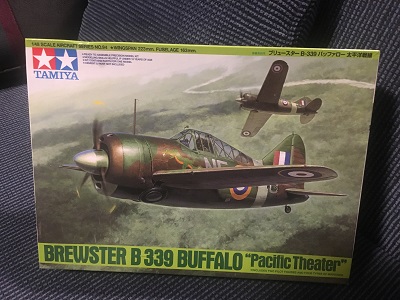
Aside from that I have to admit this kit really surprised me. Molded in 1994, this thing really is a "shake and bake" kit. I'm still not sure why I haven't done this one sooner. Well, more to follow.
Have fun and be safe!