Okay, finally ready to post pictures. The model is complete, sans armament
Ill get to that in a bit. It's not perfect, but time is simply up and "done is better than perfect."
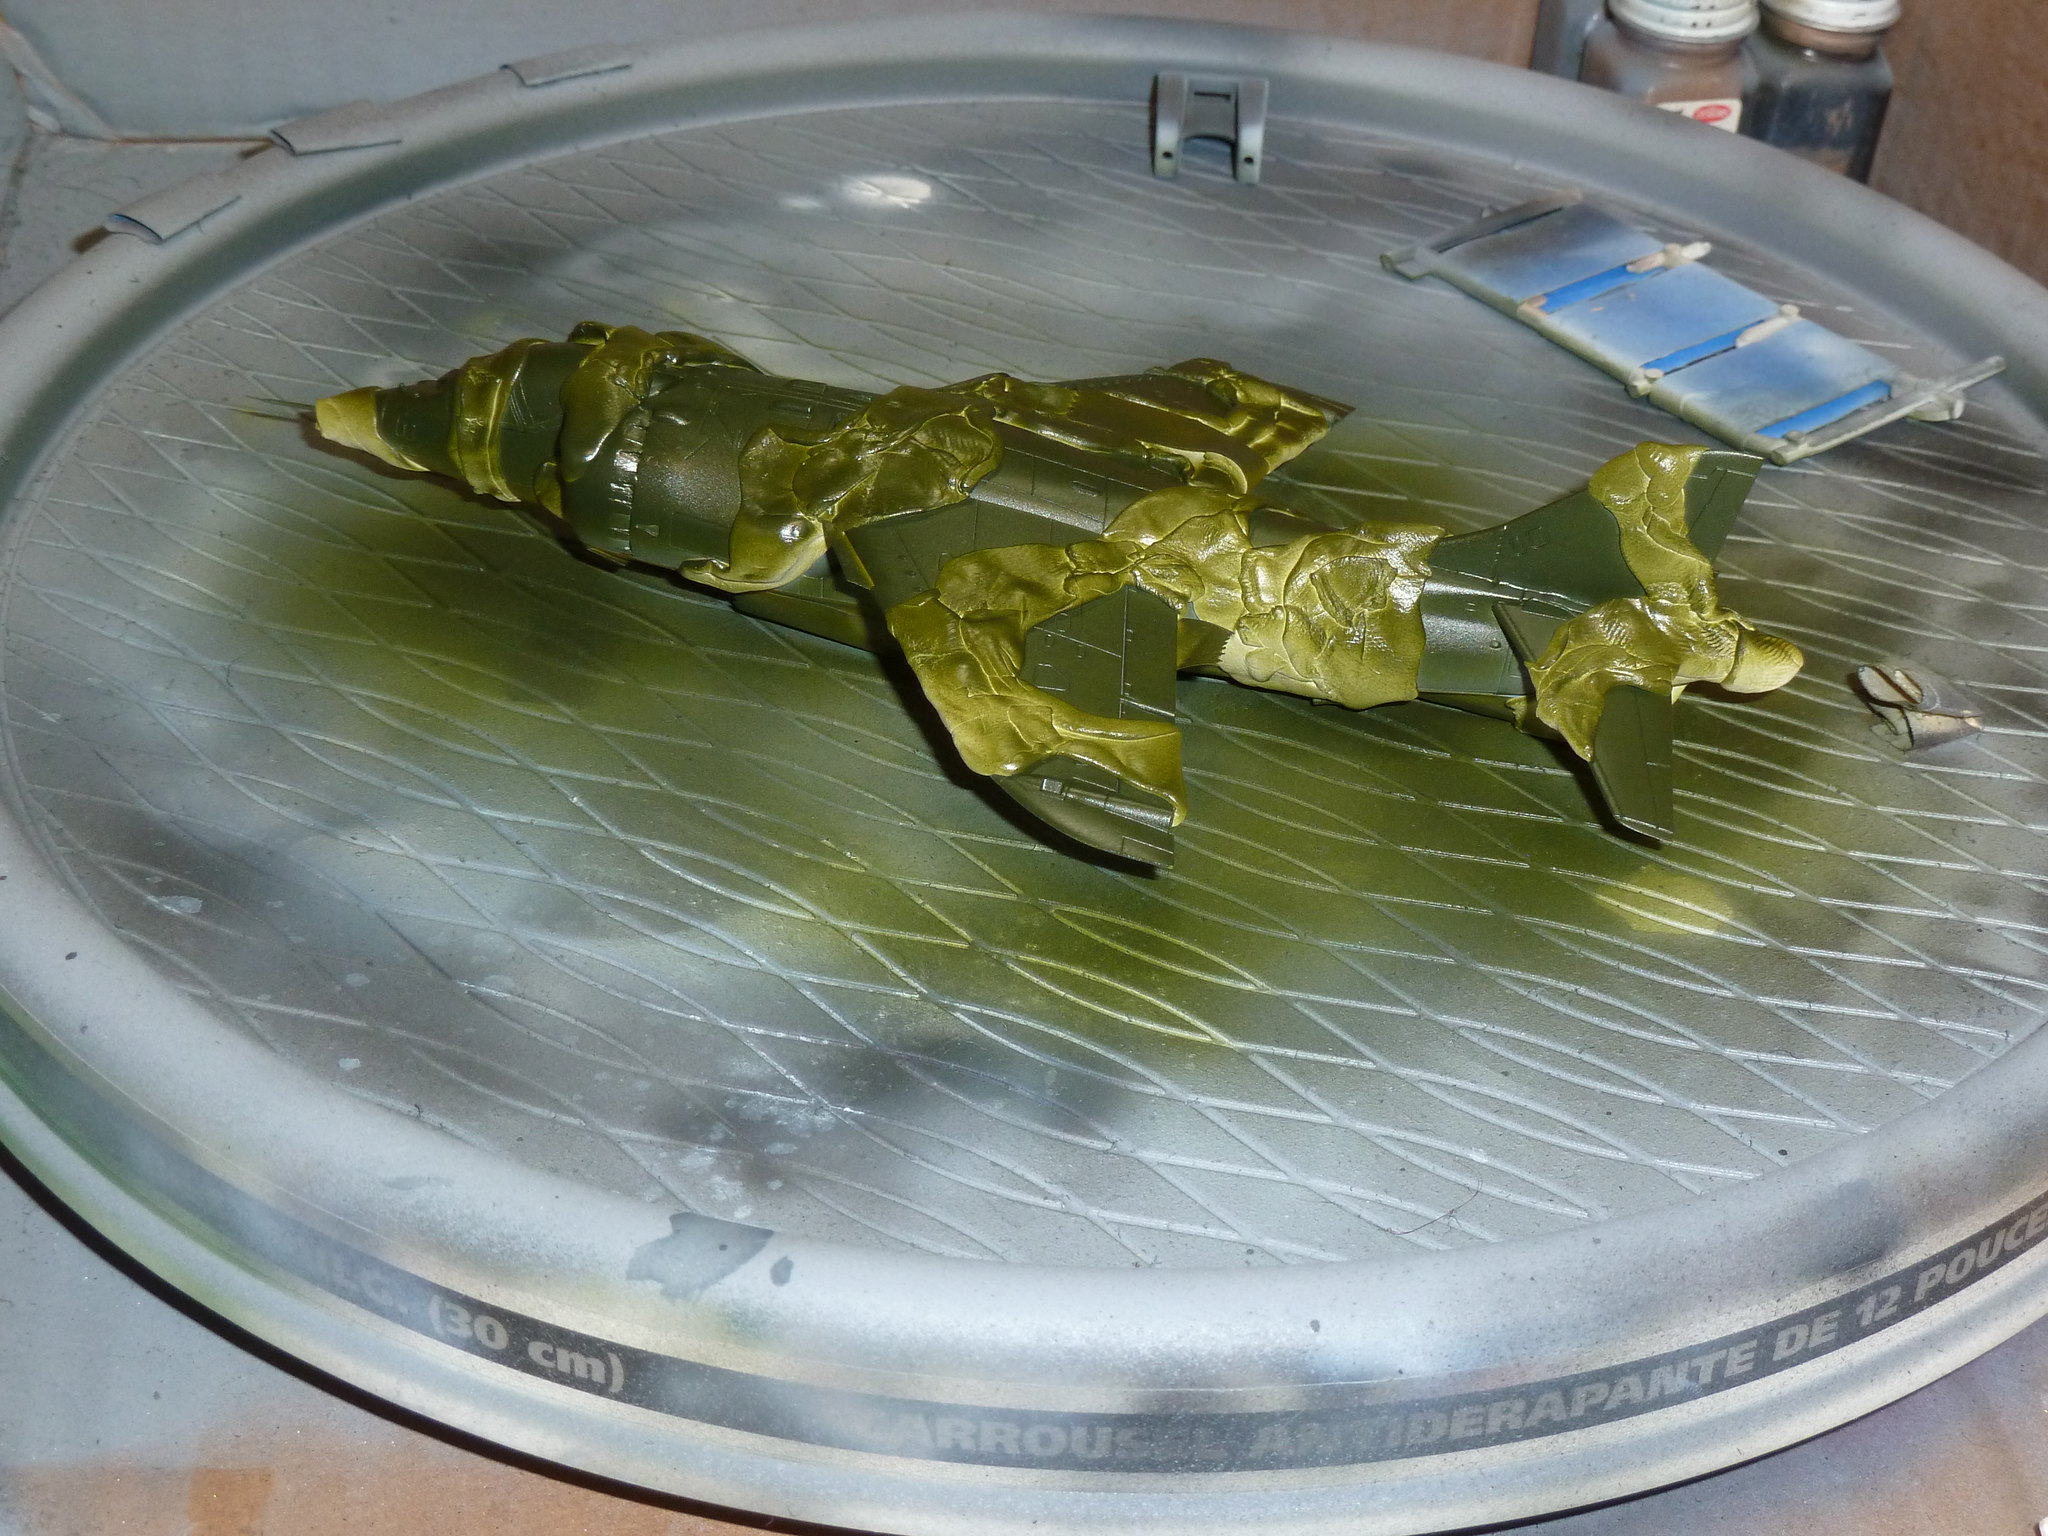
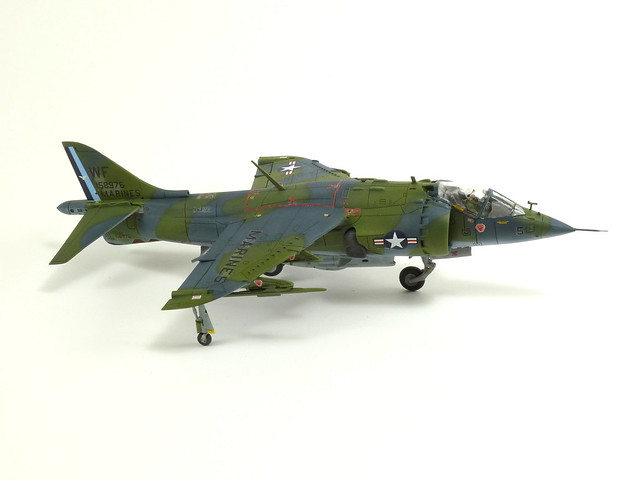
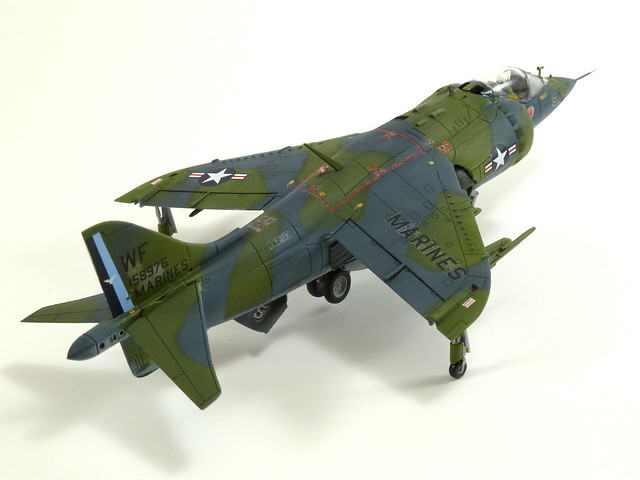
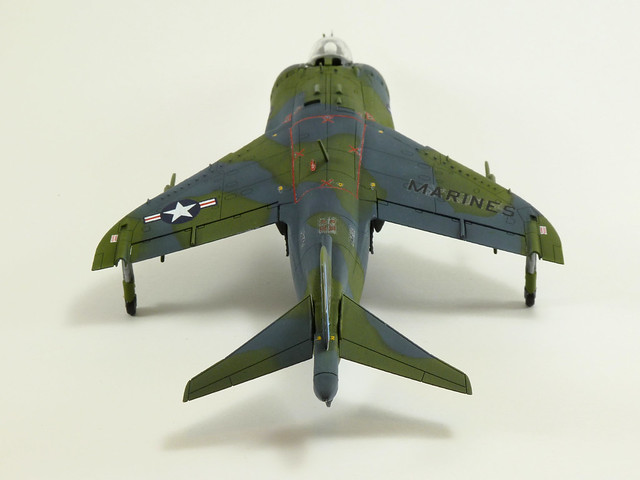
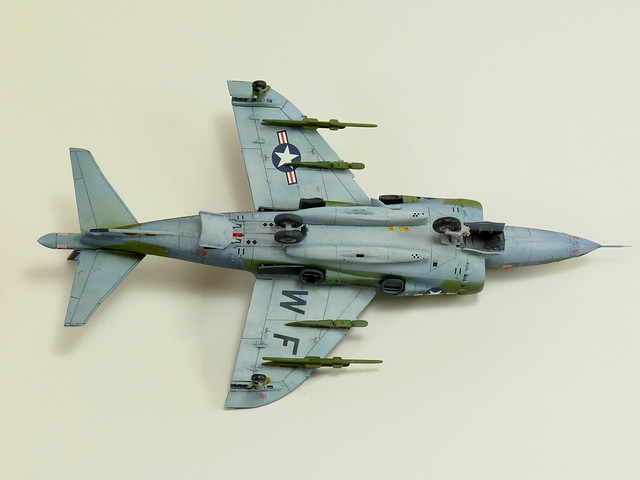
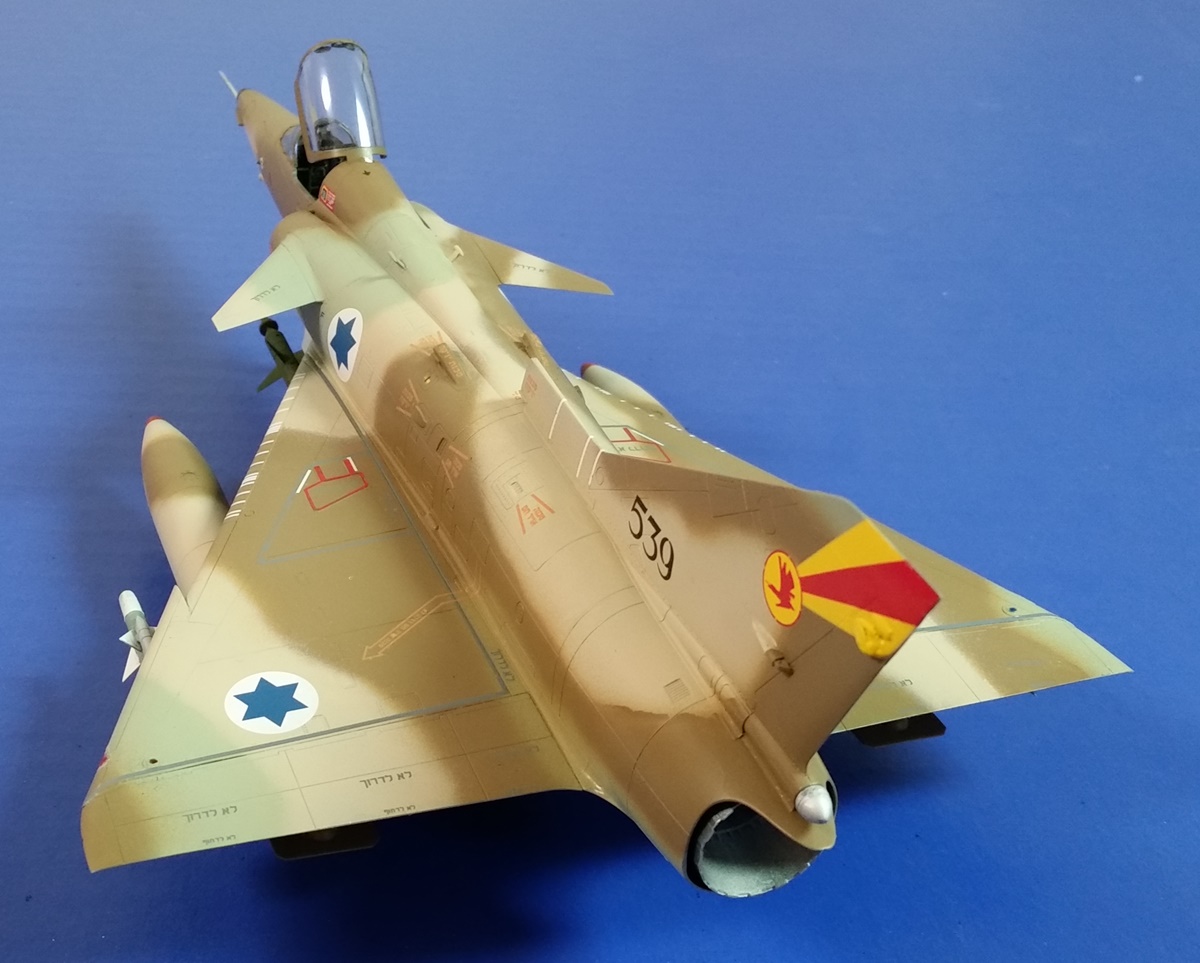
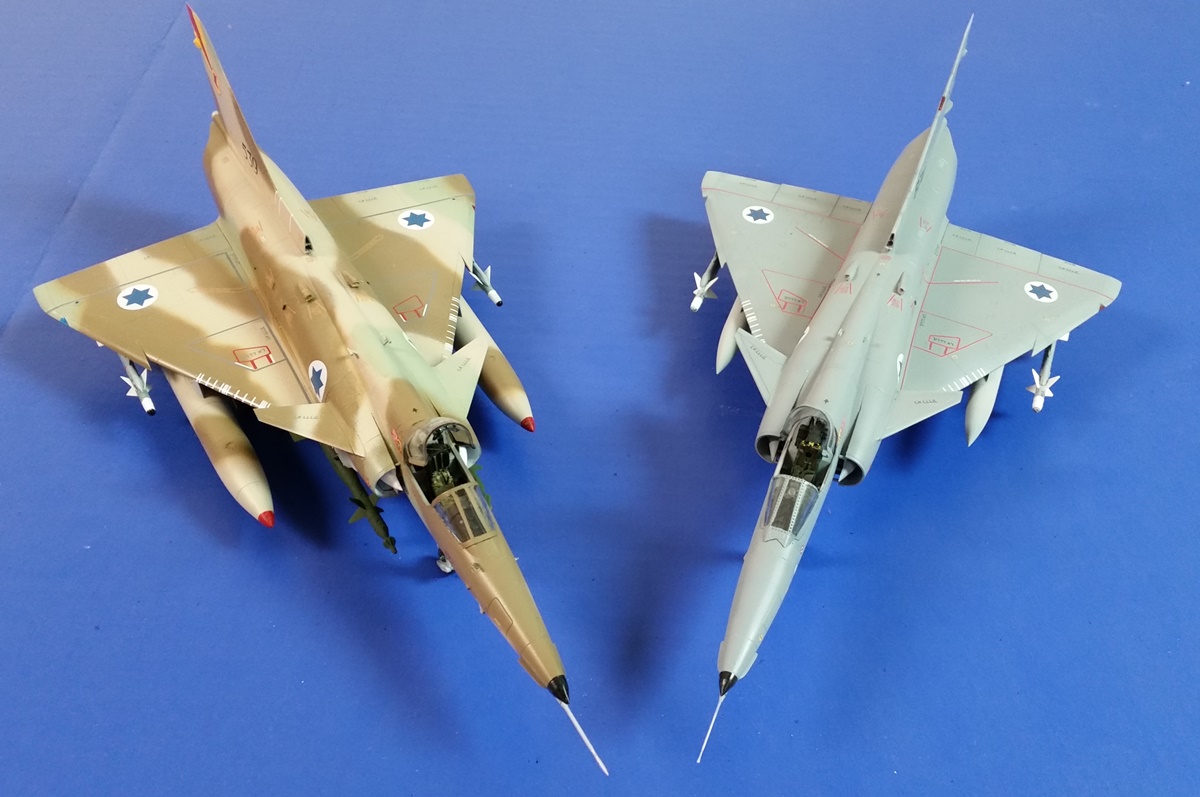
I dont have easy access to paints made for modelers, so I mostly use airbrush-ready acrylic paints from my local art supplies store. Pros: cheap, accessible, decent color spread, removable tops make for less wasted paint. Cons: average pigment density and uniformity, and while I personally enjoy mixing my own colors it does not make for convenient (or often matching) touch-ups. Anyway after the primer and preshading, I made mixes for the RAF camo colors, then sprayed underside --> topside gray --> topside green. Tape made for a (mostly) solid line between topside and underside colors while the putty made for light-to-medium overspray on the camo pattern.
Then I forgot to take pictures for a while
my bad.
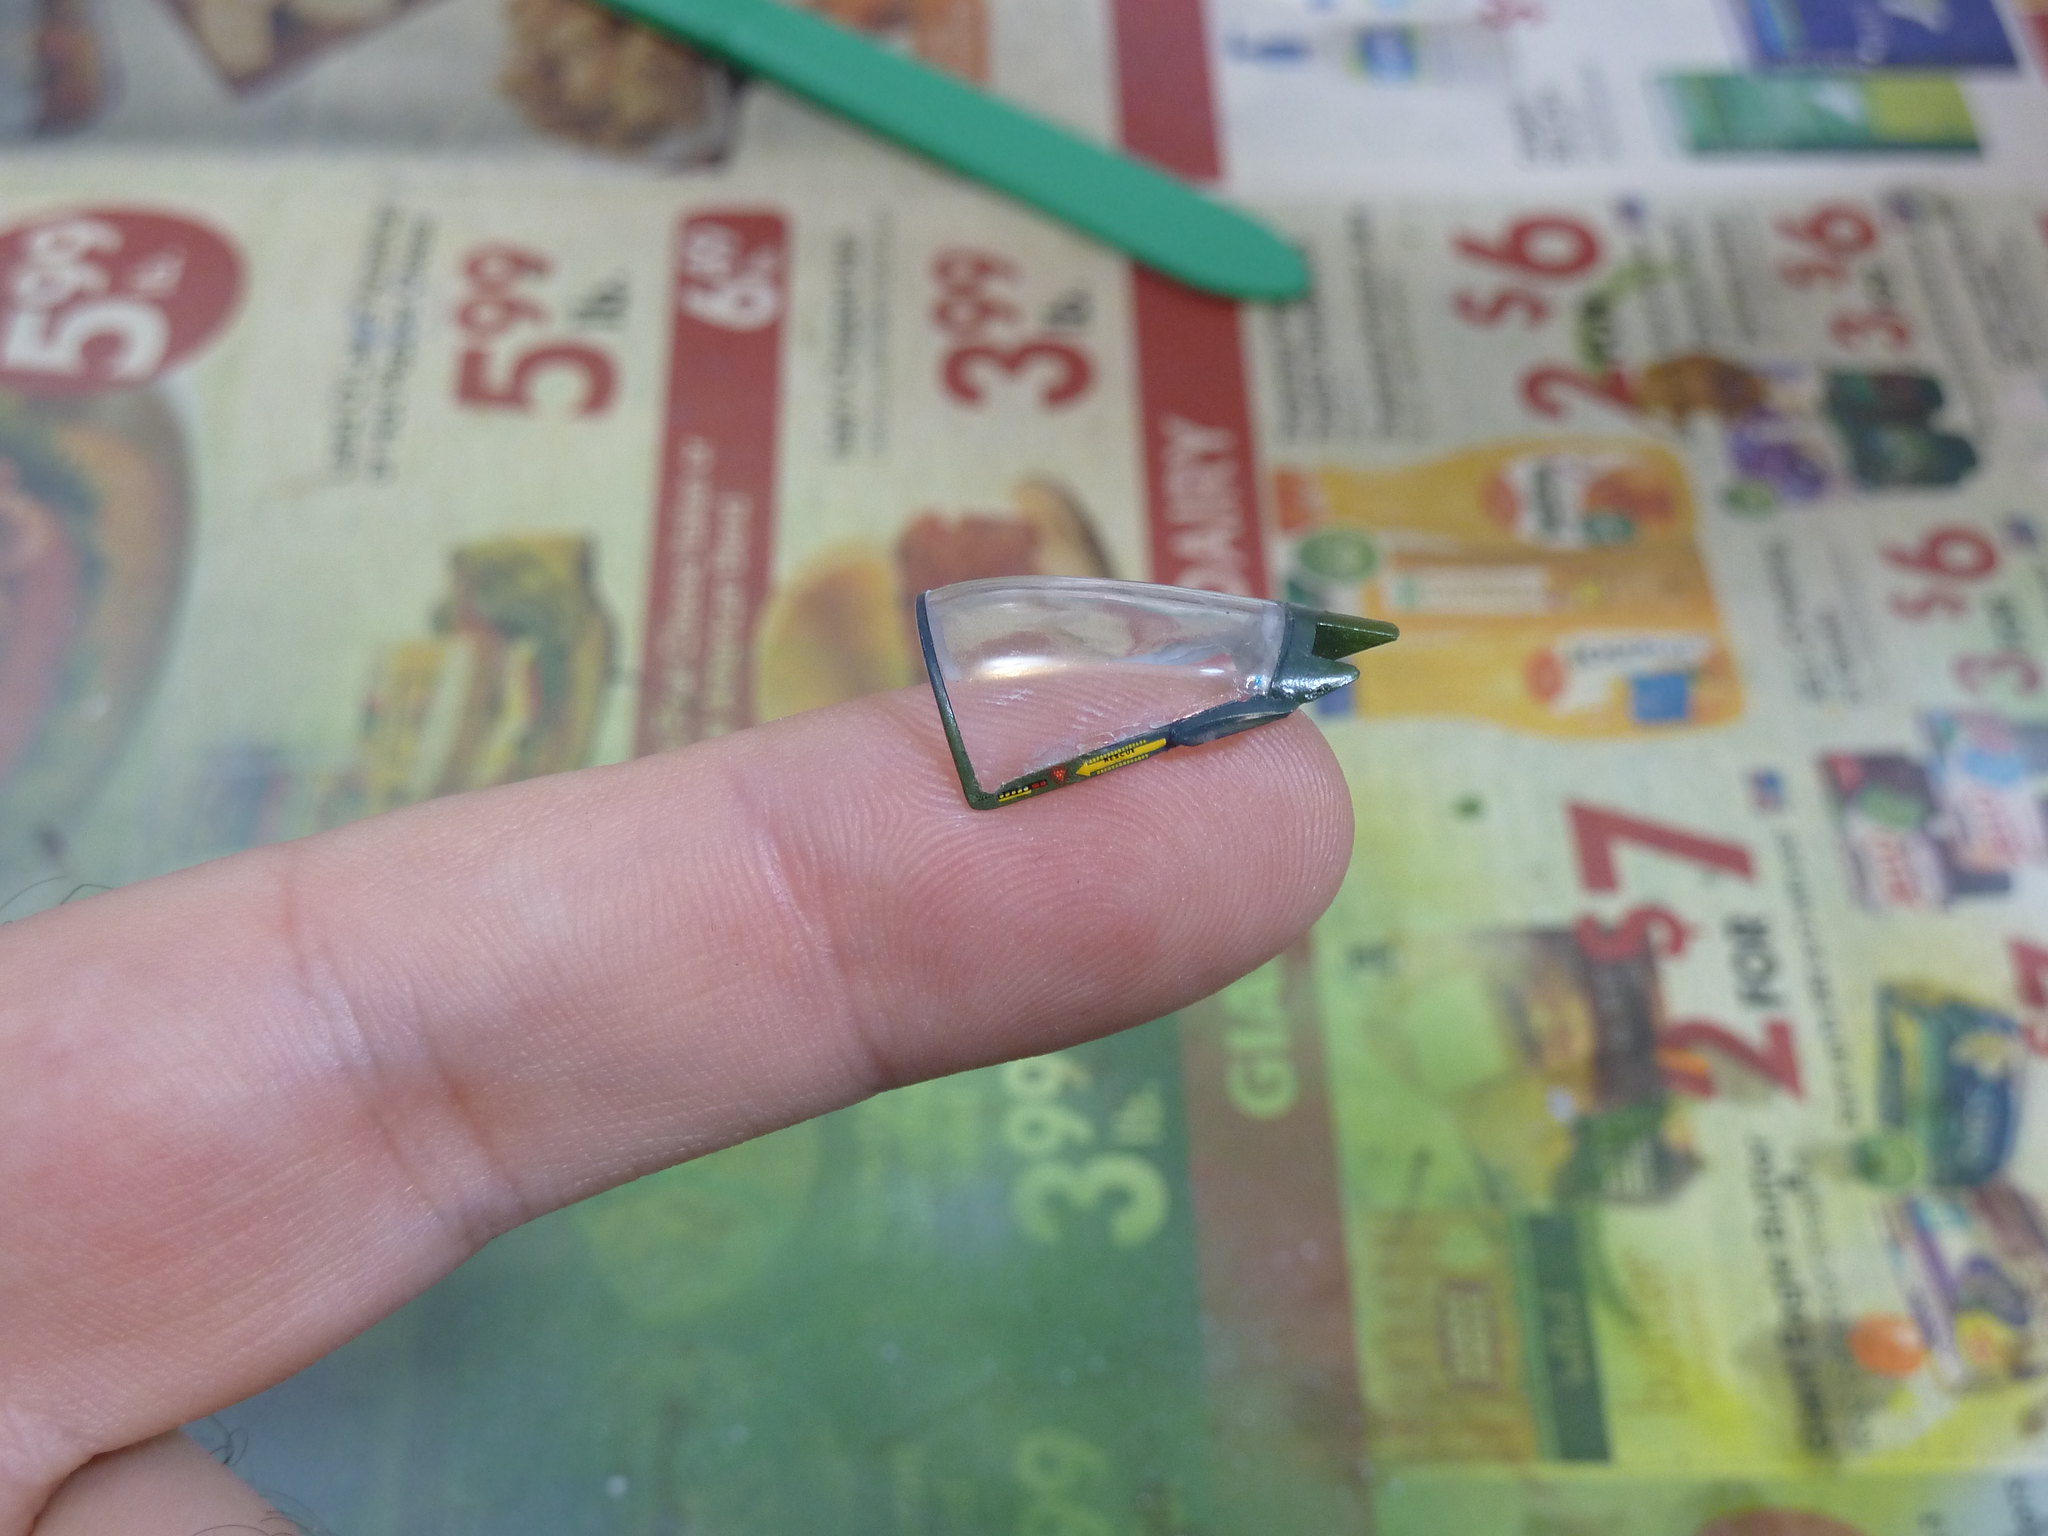
The canopy came out well with the Canopy Survival Kit + Micro Mask combo. The vinyl tape was a little stiffer than working with kabuki tape, but still separated near-perfectly from the plastic without ripping the adjacent paint. The Survival Kit is certainly more difficult than a kit-specific Eduard mask set, but the price and variety is worth it if youre working with generic and broad canopies. (And that being said, I do not regret buying a mask set for my P-61 build, and would certainly get one again if I ever went up against something like an He-111!)
Decals were my biggest sticking point. The Airfix kit had Cartograf decals with excellent color, register, and clarity even on the minuscule stencils
but they were all so damn thick and silvered like mad! I dont know if its something I did wrong or if its inherent with the sheet. Despite a good base coat of Future and over 10 coats of Micro-Set/Sol, they never softened up to fill in surface details nor thinned out the clear areas.
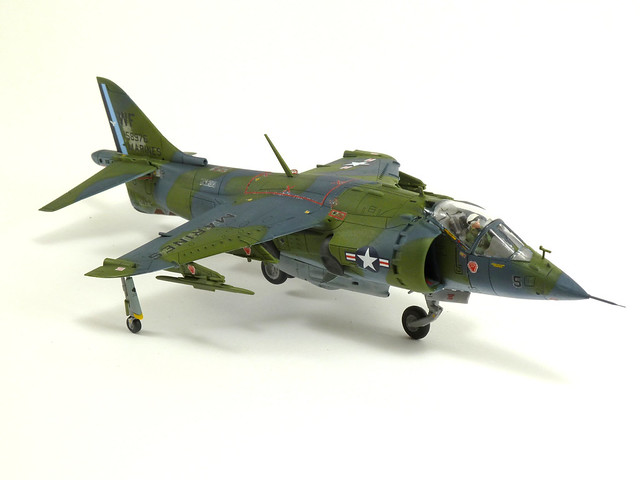
Whatever. Better done than perfect is the motto for this build. Sealed in with Micro-Flat, a panel wash with oils, a bit extra to dirty up the underside, lost a nav light to the Carpet Monster, turned around to actually defeat the Carpet Monster (!!!), then called it a finished product.


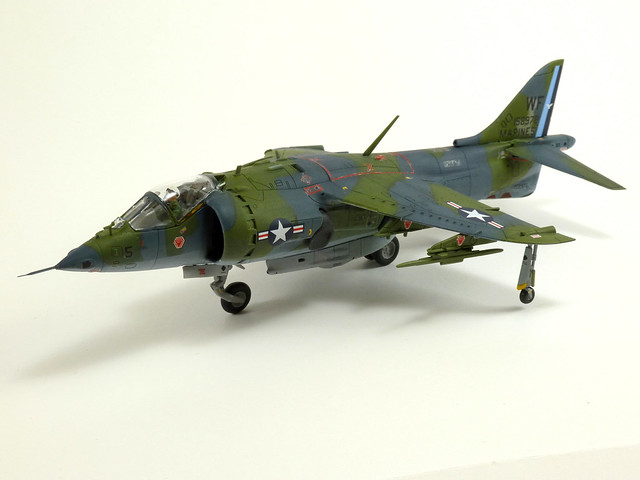
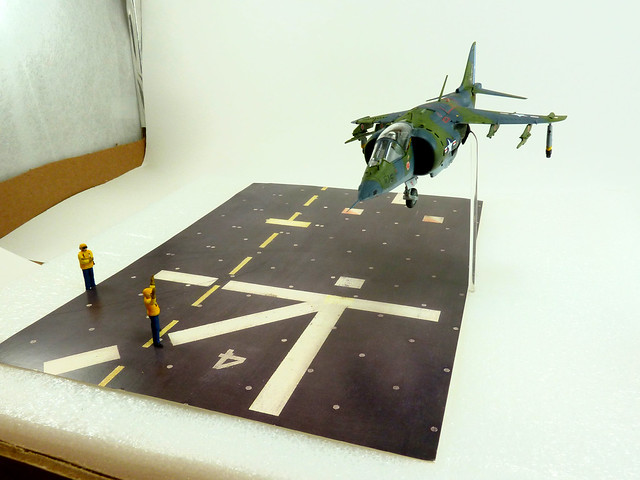
So no weapons or fuel tanks on the pylons? Initially this decision was because I wasnt going to have time to finish them before the campaign deadline. But after experimenting with the diorama layout, it began to look unlikely that the acrylic rod anchor would be able to slide in and out of the model if the inner fuel tanks were mounted. Not horrible if I wanted to keep it in place forever, but thats not my goal here. Plus there are tons of pictures of Harriers without stores, so theres no sacrificing realism here


And heres a quickie mock-up of the diorama, to be completed someday in the who-knows-when future! Base is a nice little Verlinden printout sitting on a thick foam board, figures are from a Fujimi deck crew set, acryic rod is an acrylic rod. (Oh and I bought a brass pitot tube replacement after I snapped off the plastic one, though it might be even more fragile than the plastic!) Heres a short-rod version of the dio:
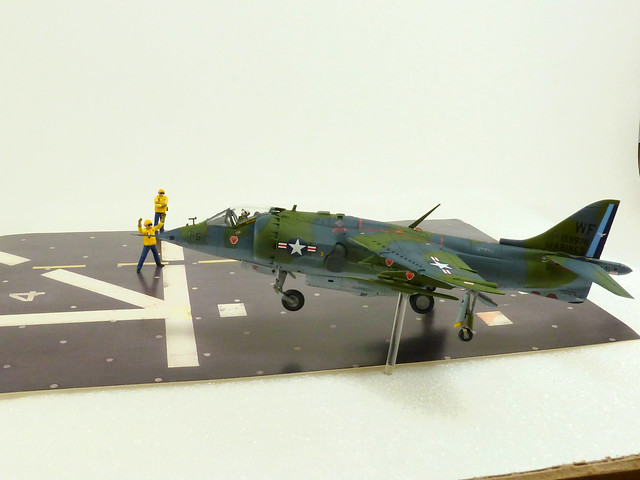
But Im leaning towards a taller version:
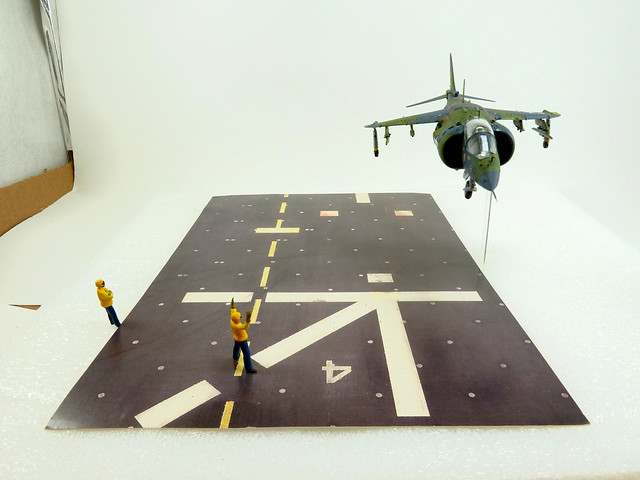
Either way, the rod will likely go through the Verlinden base to keep everything better centered. Two major issues to work out:
1. Maintaining proper balance fore and aft. Its pretty good with BBs plopped through the exhaust ports and settled in the rear, but that doesnt make for a perfect and predictable center of gravity.
2. Roughing up the bases surface. Its printed on glossy paper and it just doesnt look right. Im wondering if it just needs a few coats of flat or if I need to do something drastic like apply a thin layer of scenery water or Mod-Podge and tap it as it dries to get that heavy anti-slip flight deck texture. Suggestions always welcome!
But for now, please consider my campaign entry complete! Oh and Ill have my pics in the official gallery shortly
barring technical difficulties


 Finished project pictures coming soon, and I hope everyone else's builds are wrapping up nicely too!