litespeed
 News Reporter
England - North West, United Kingdom
Joined: October 15, 2009
KitMaker: 1,976 posts
AeroScale: 1,789 posts
Posted: Tuesday, May 26, 2020 - 10:55 PM UTC
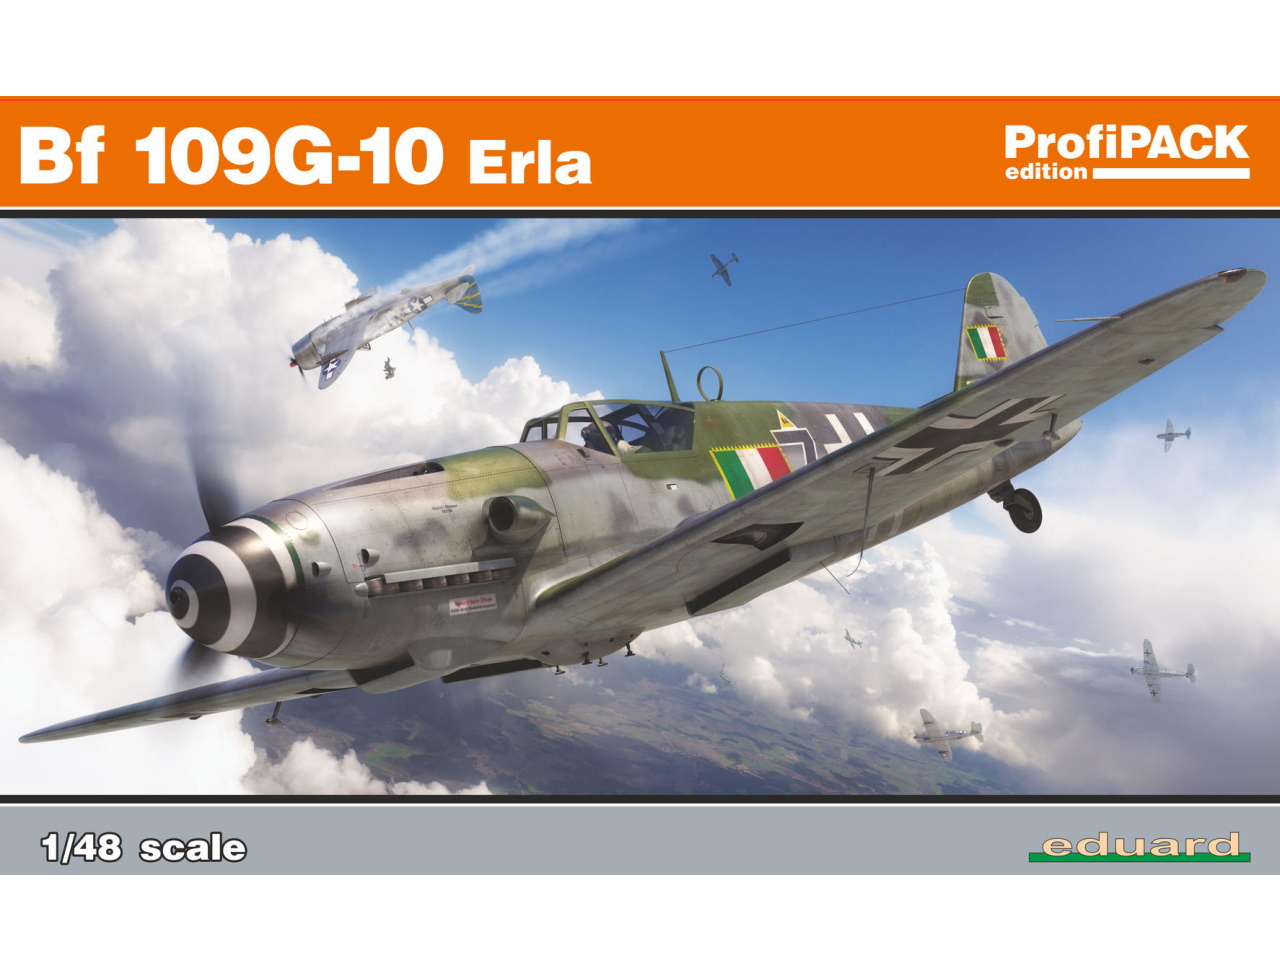
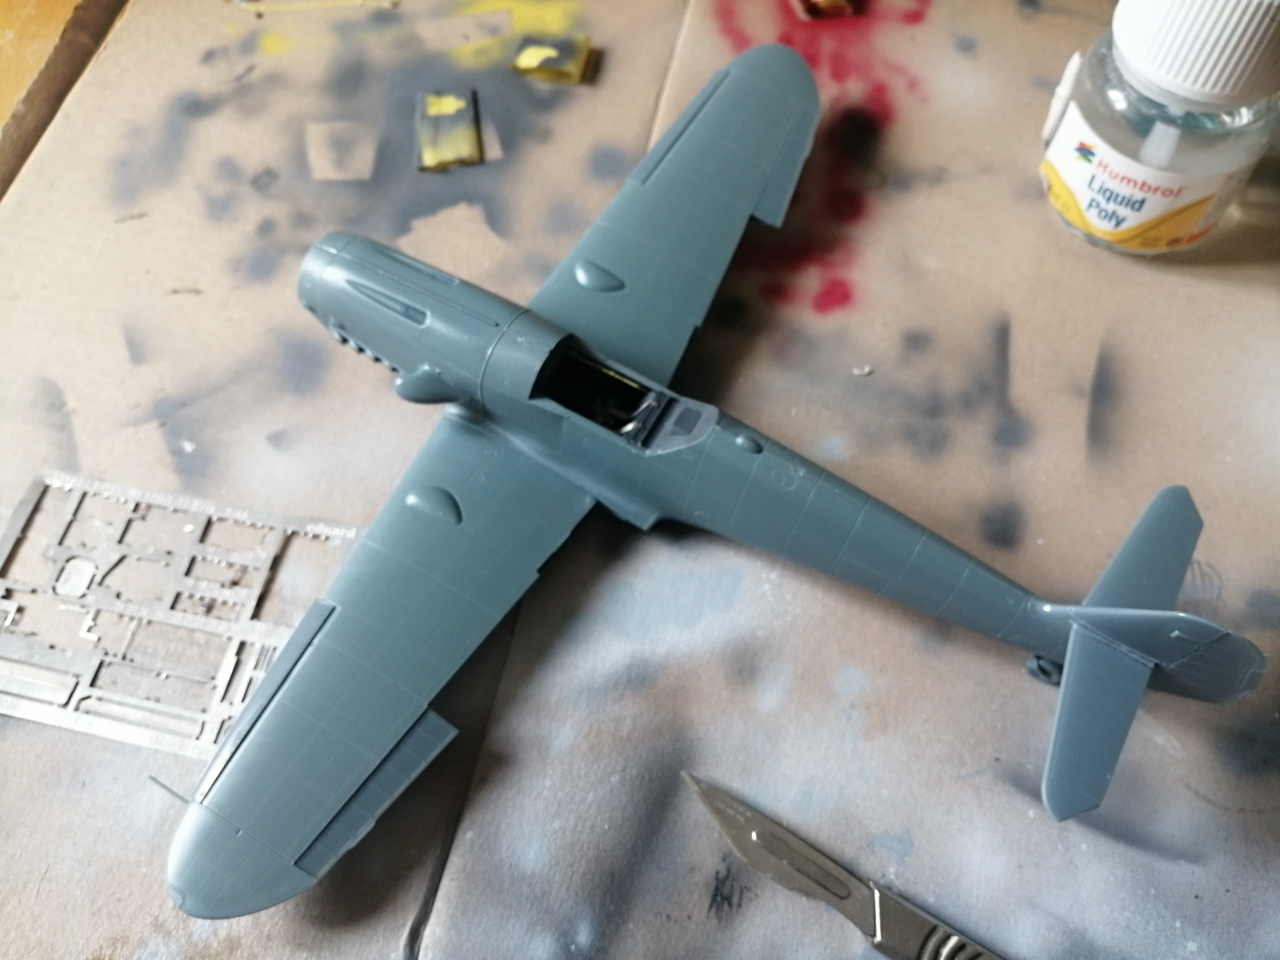
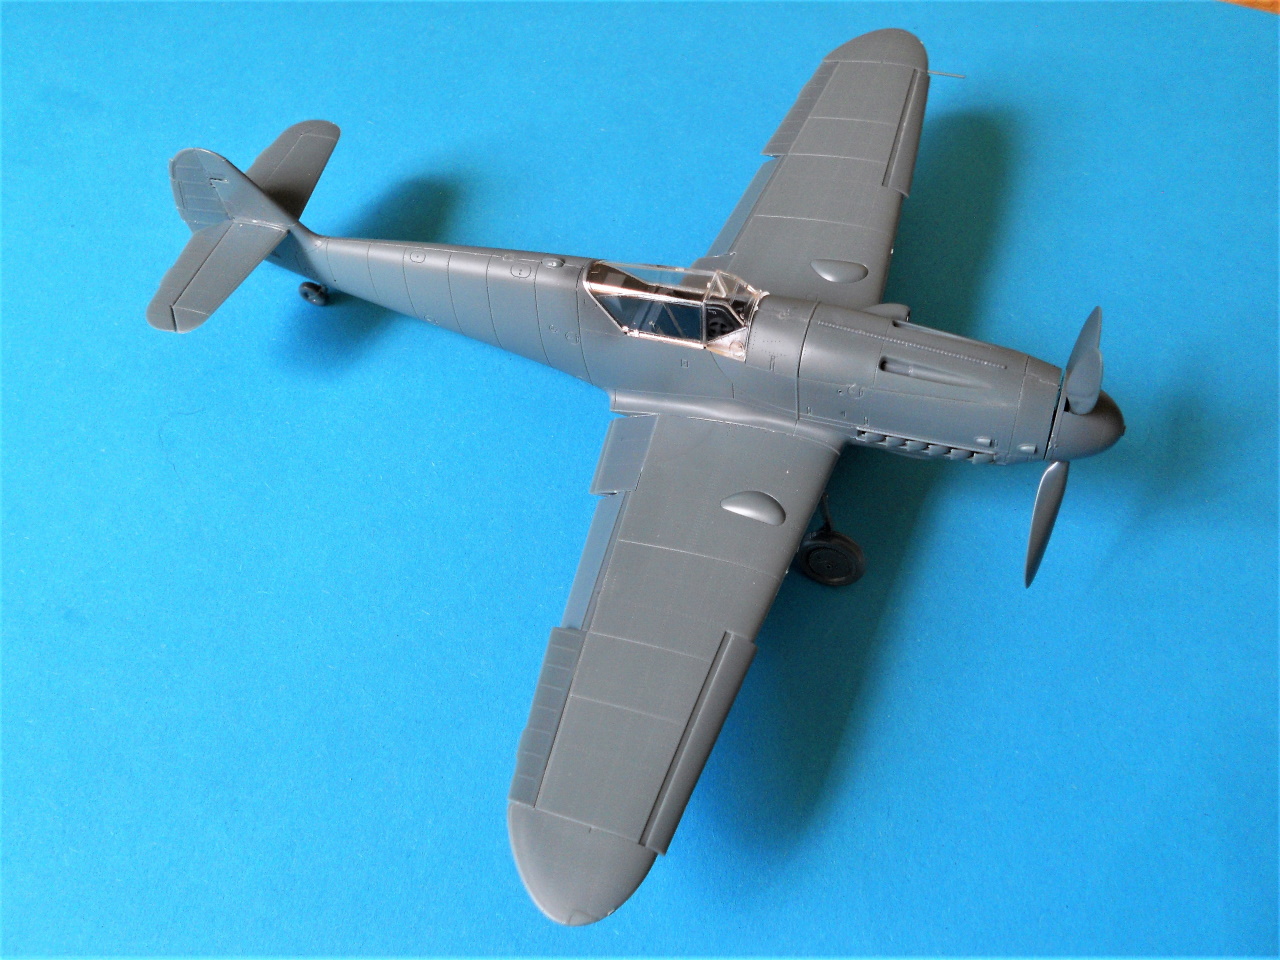
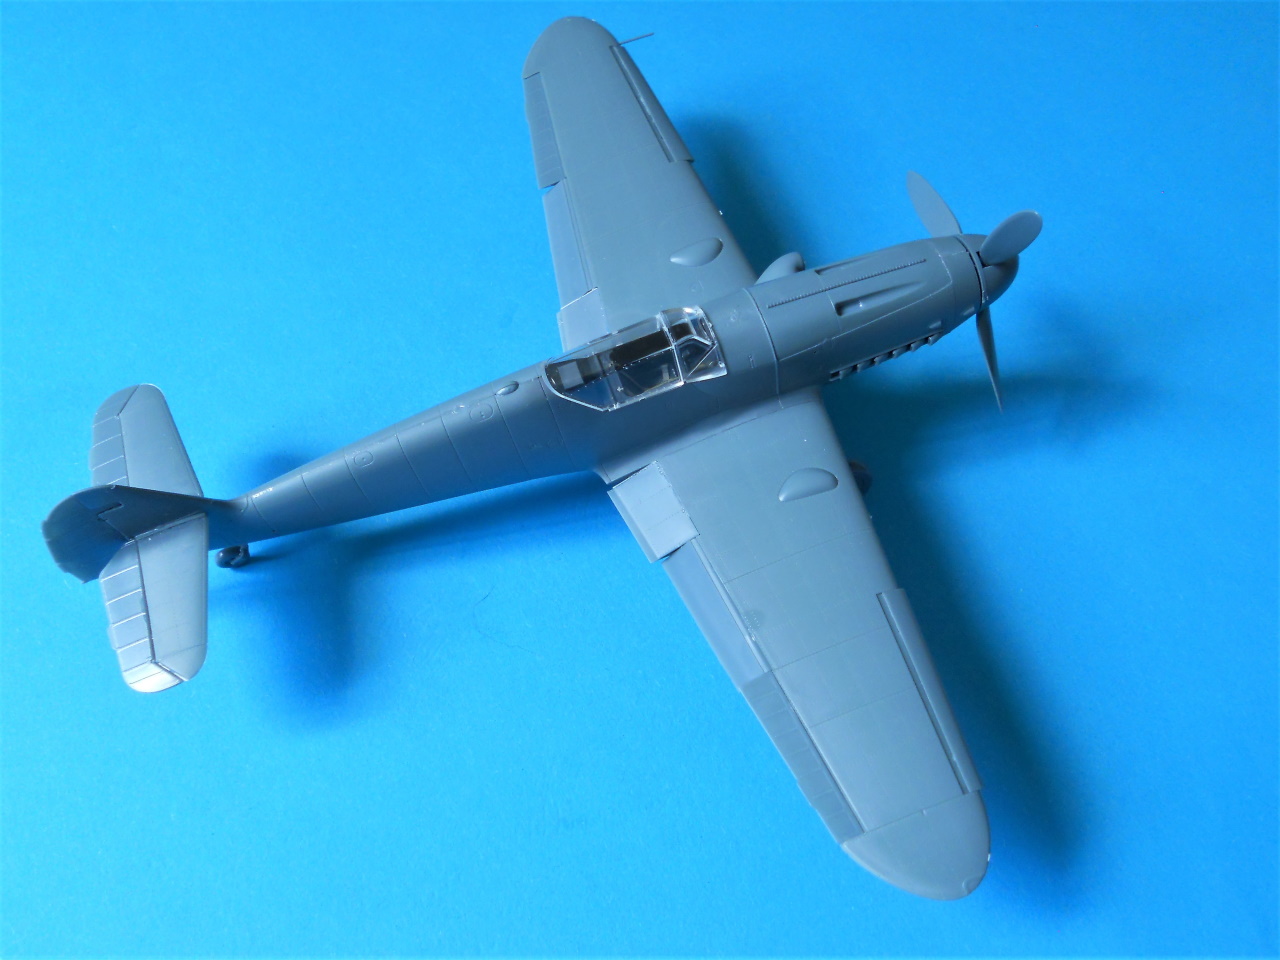
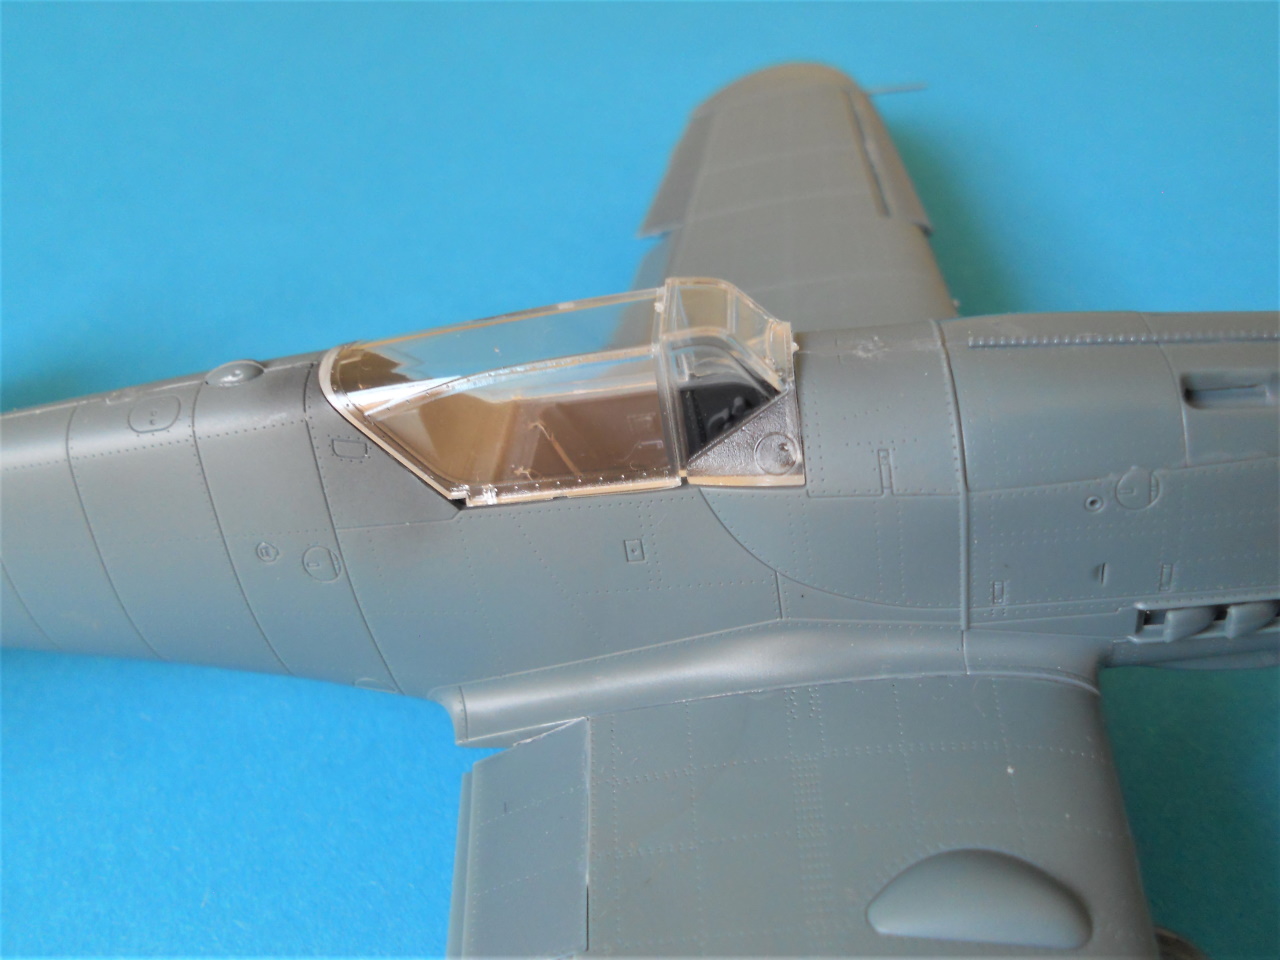
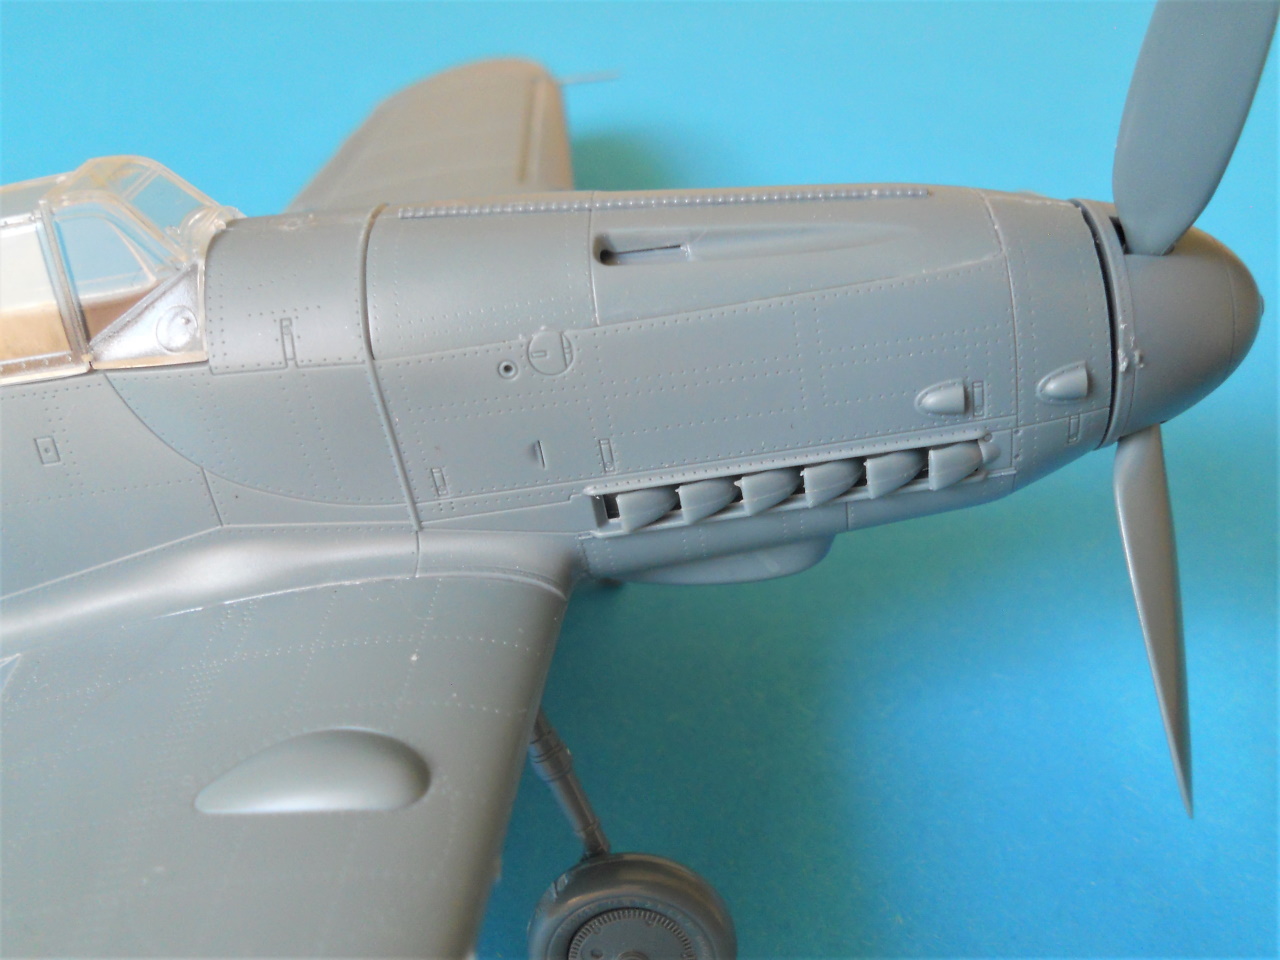
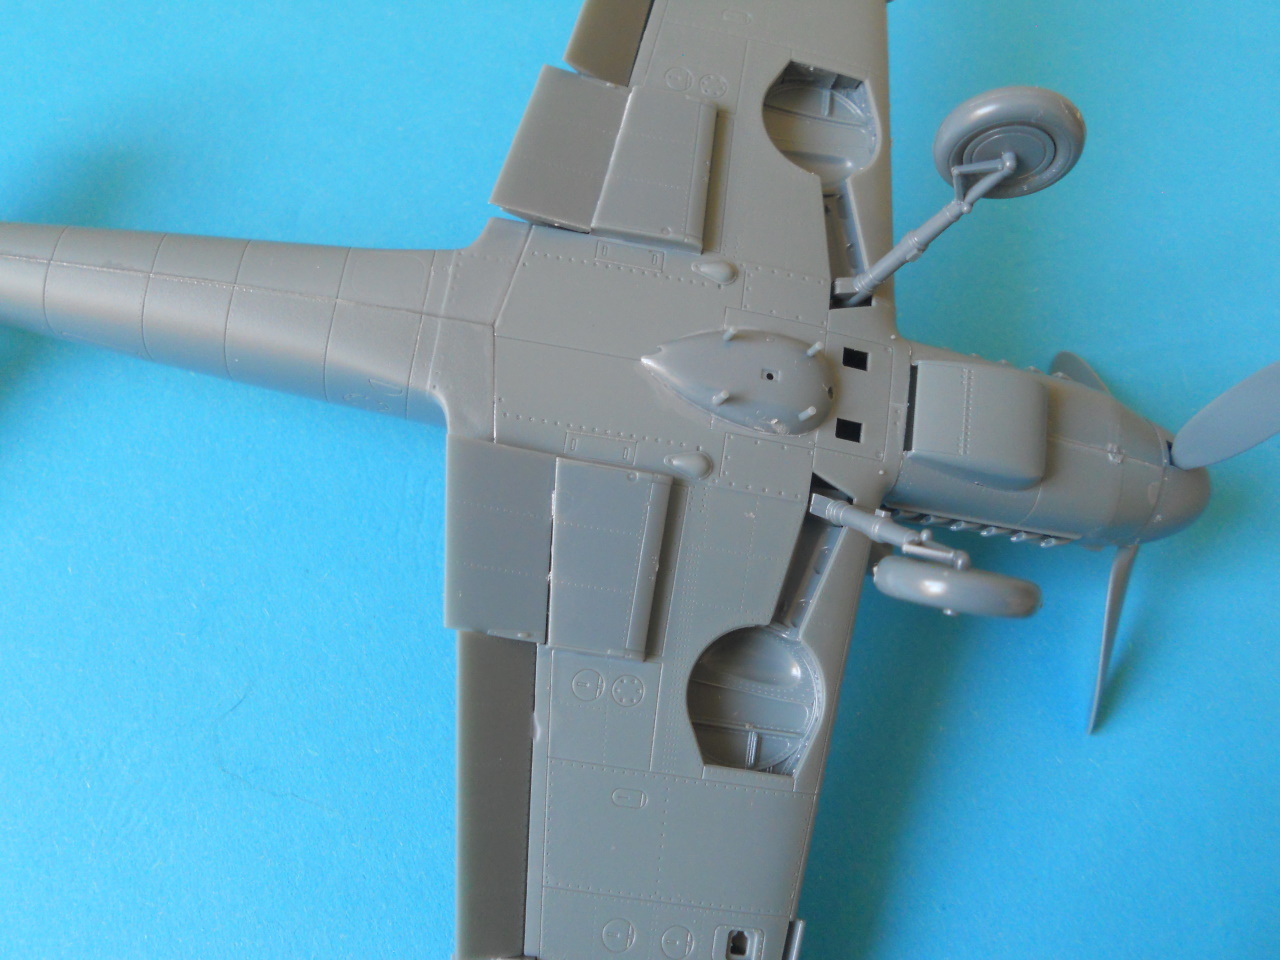
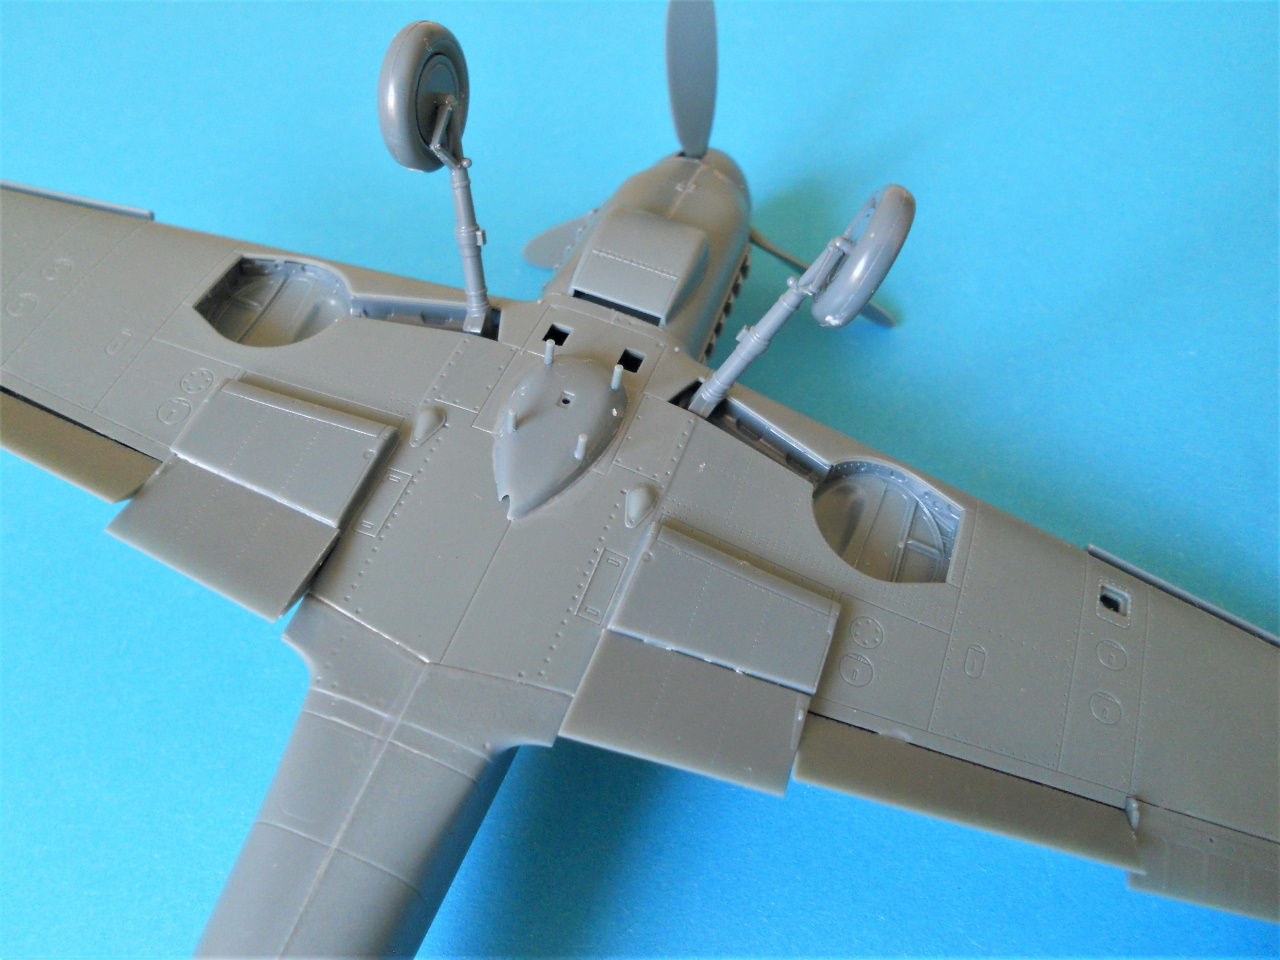
While I'm waiting for some paint to arrive for the Eduard 1/48 scale ERLA Bf 109 G-10 I will do just a little catch up with the build. I hurriedly built the
Bf 109 G-10 ERLA for the review, but quickly released that it was such a good kit it needed finishing.
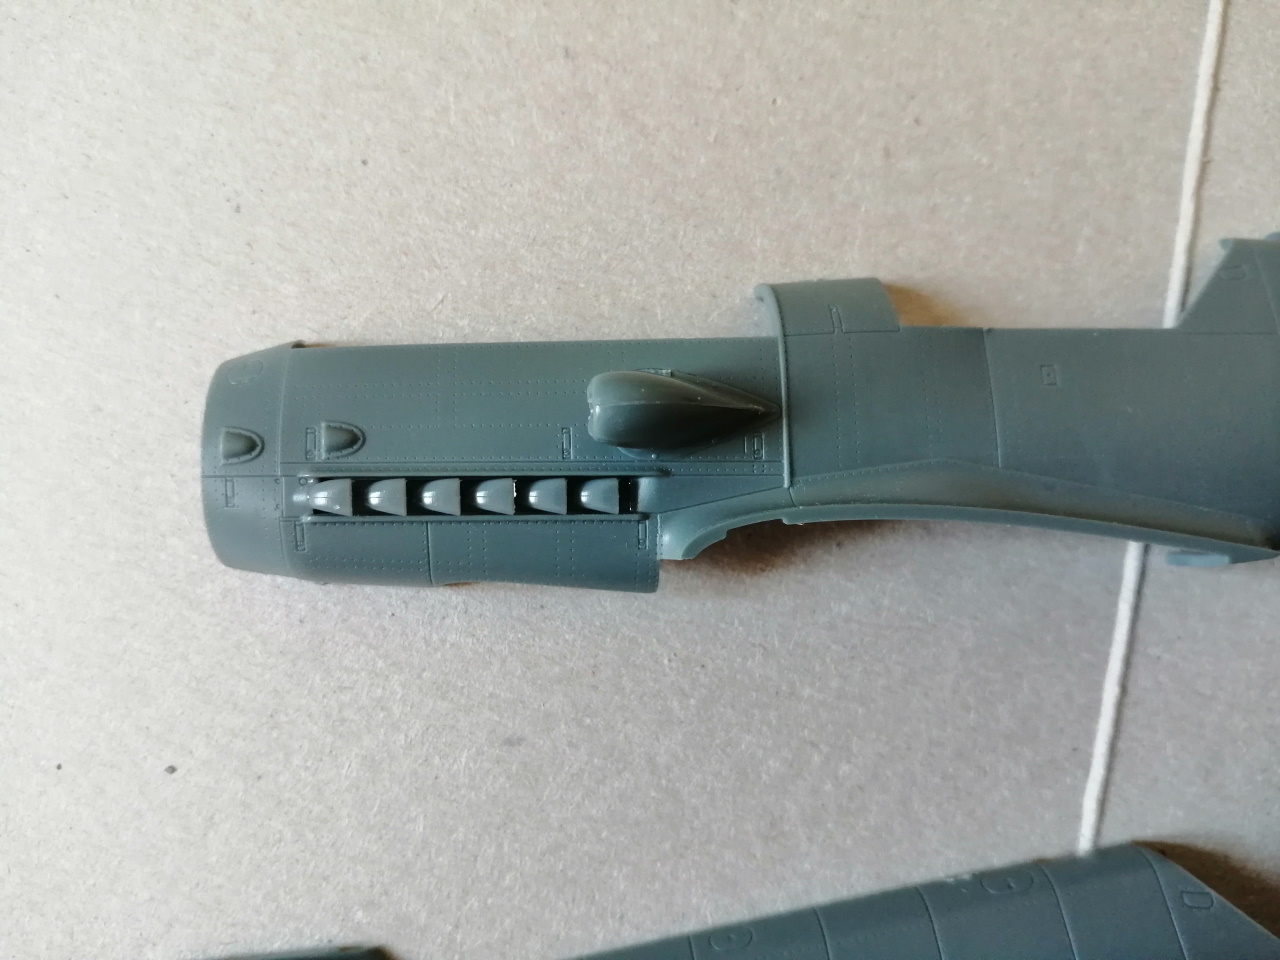
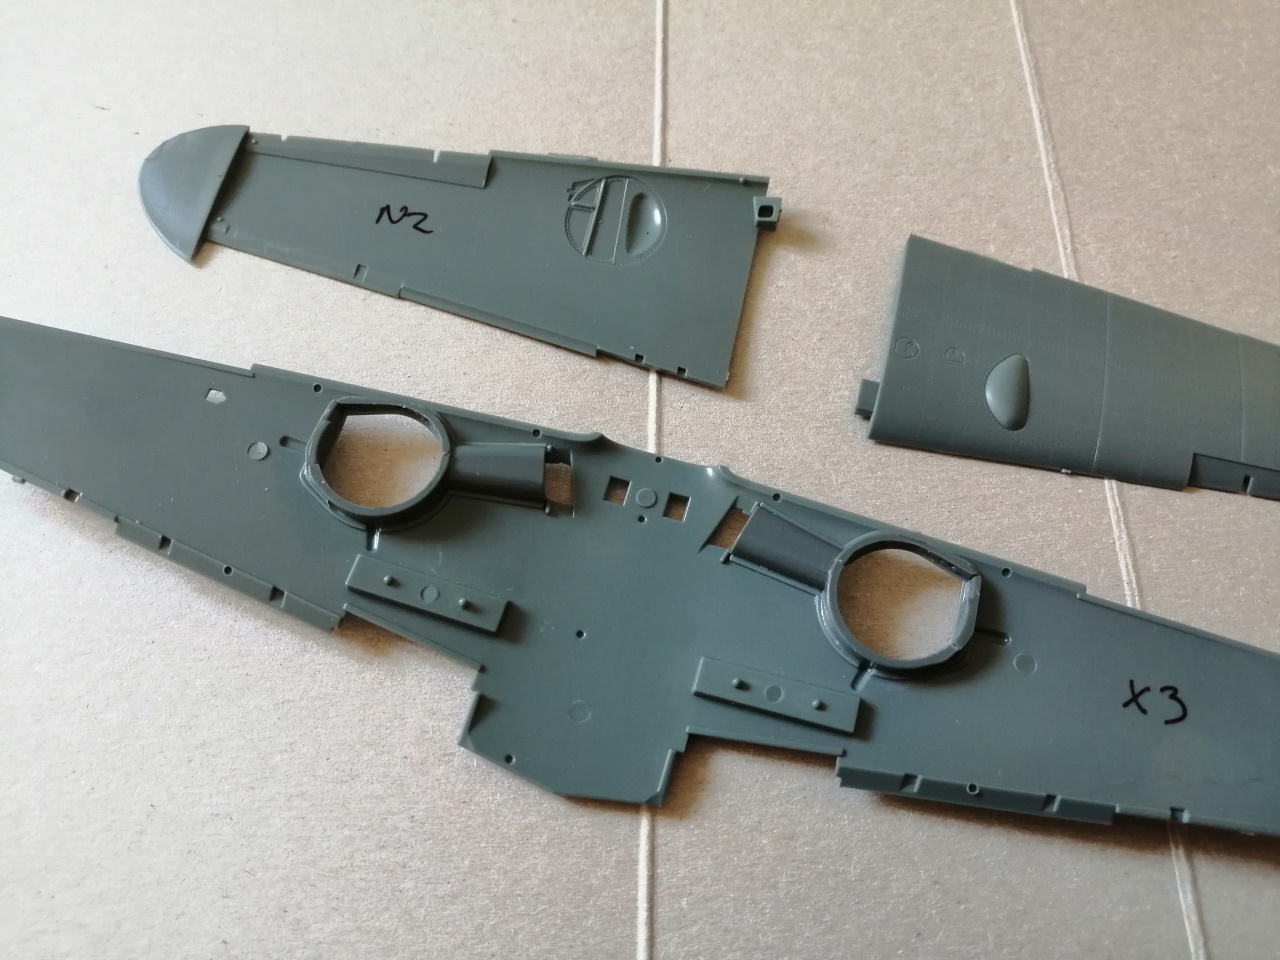
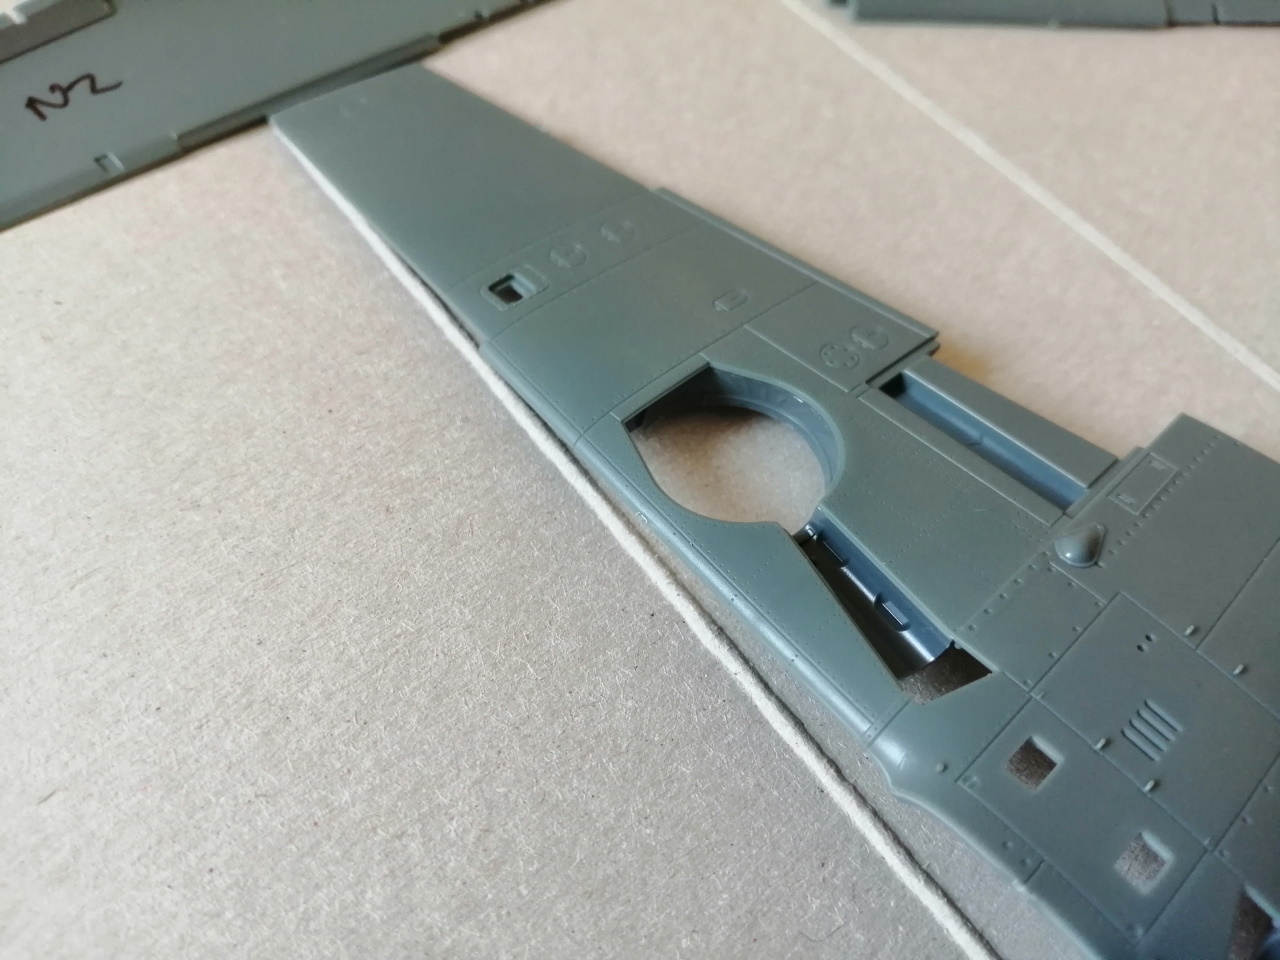
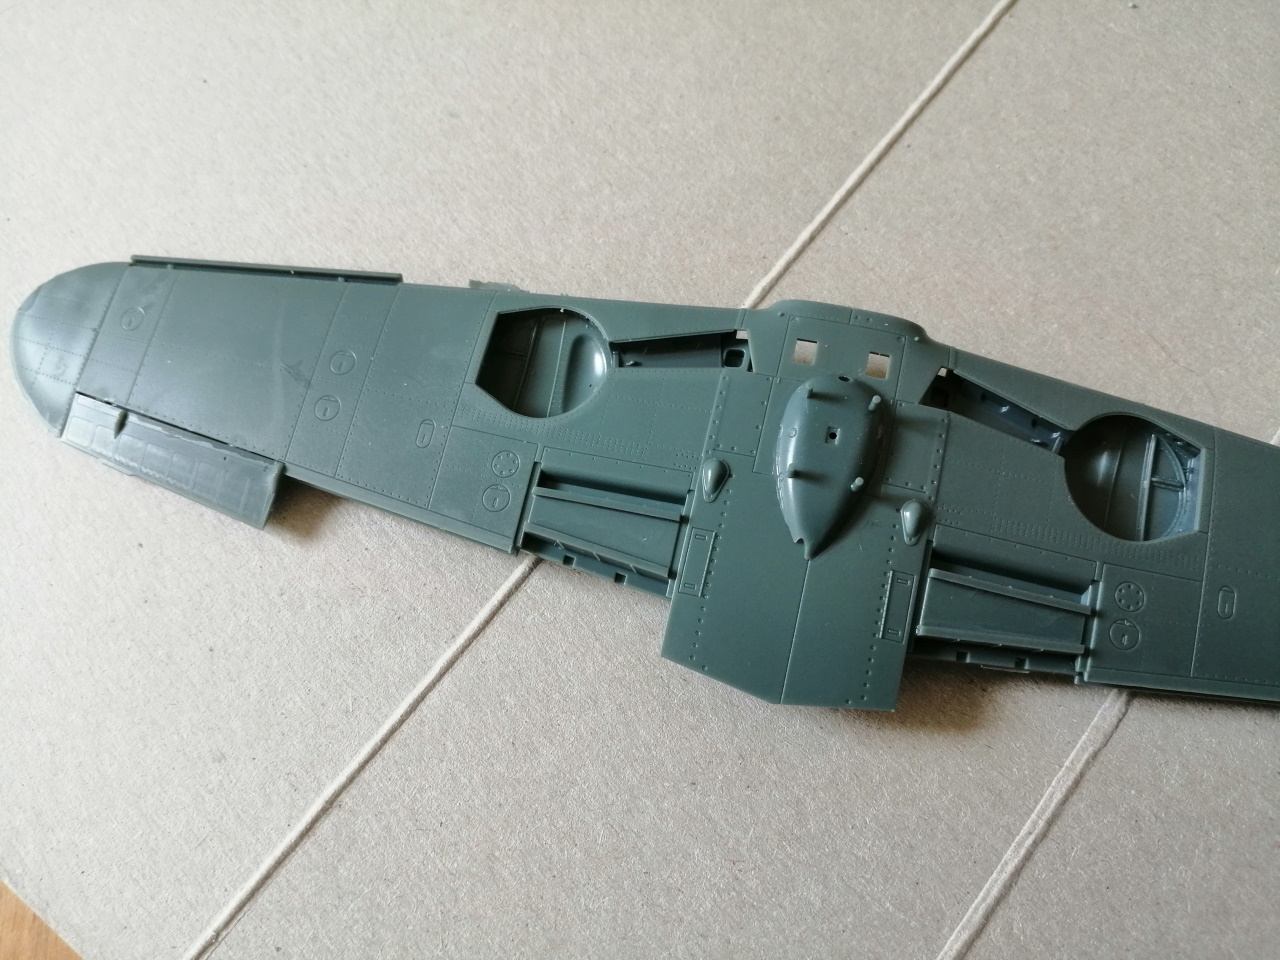
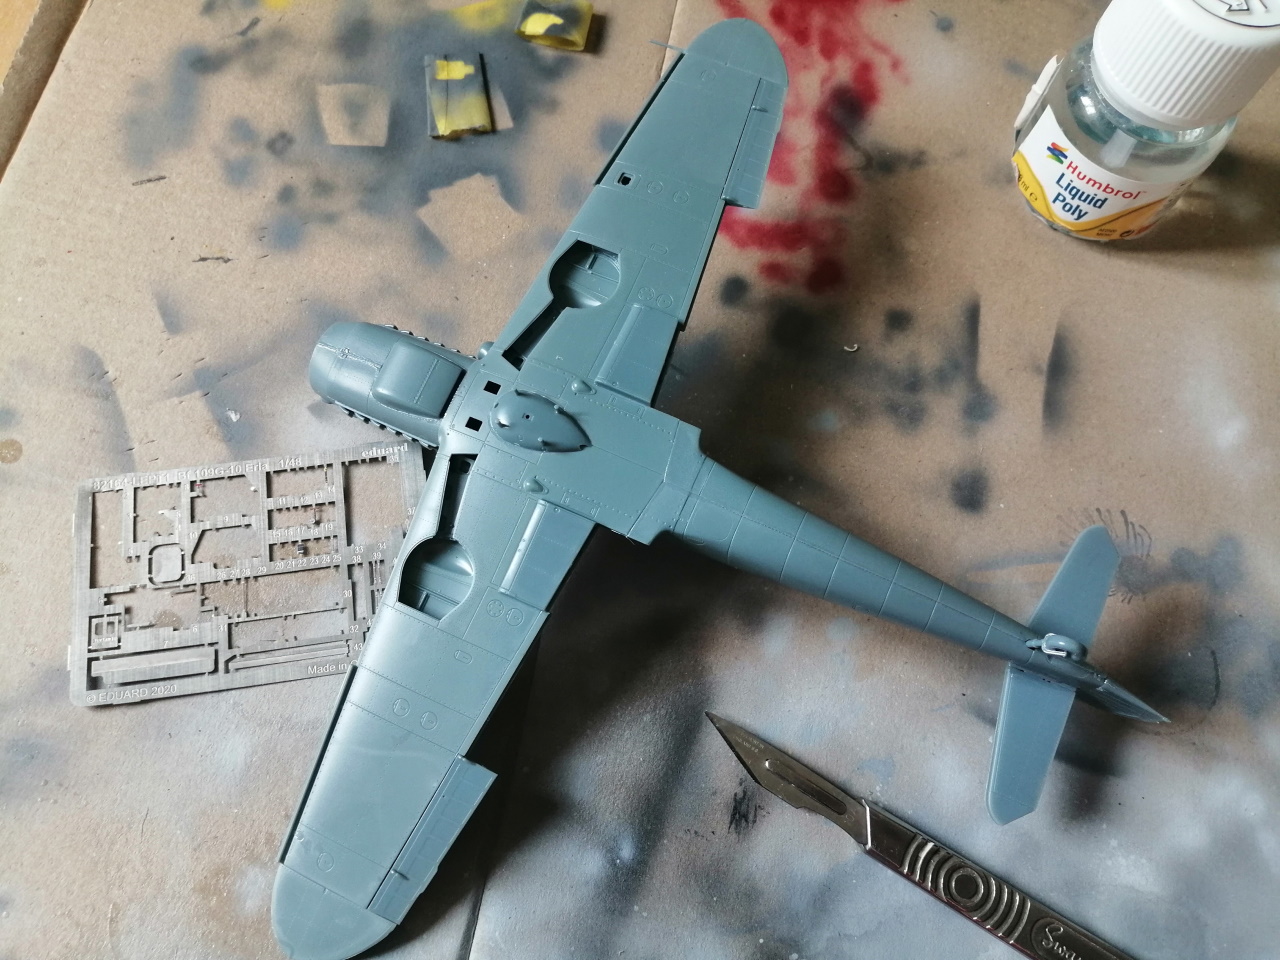
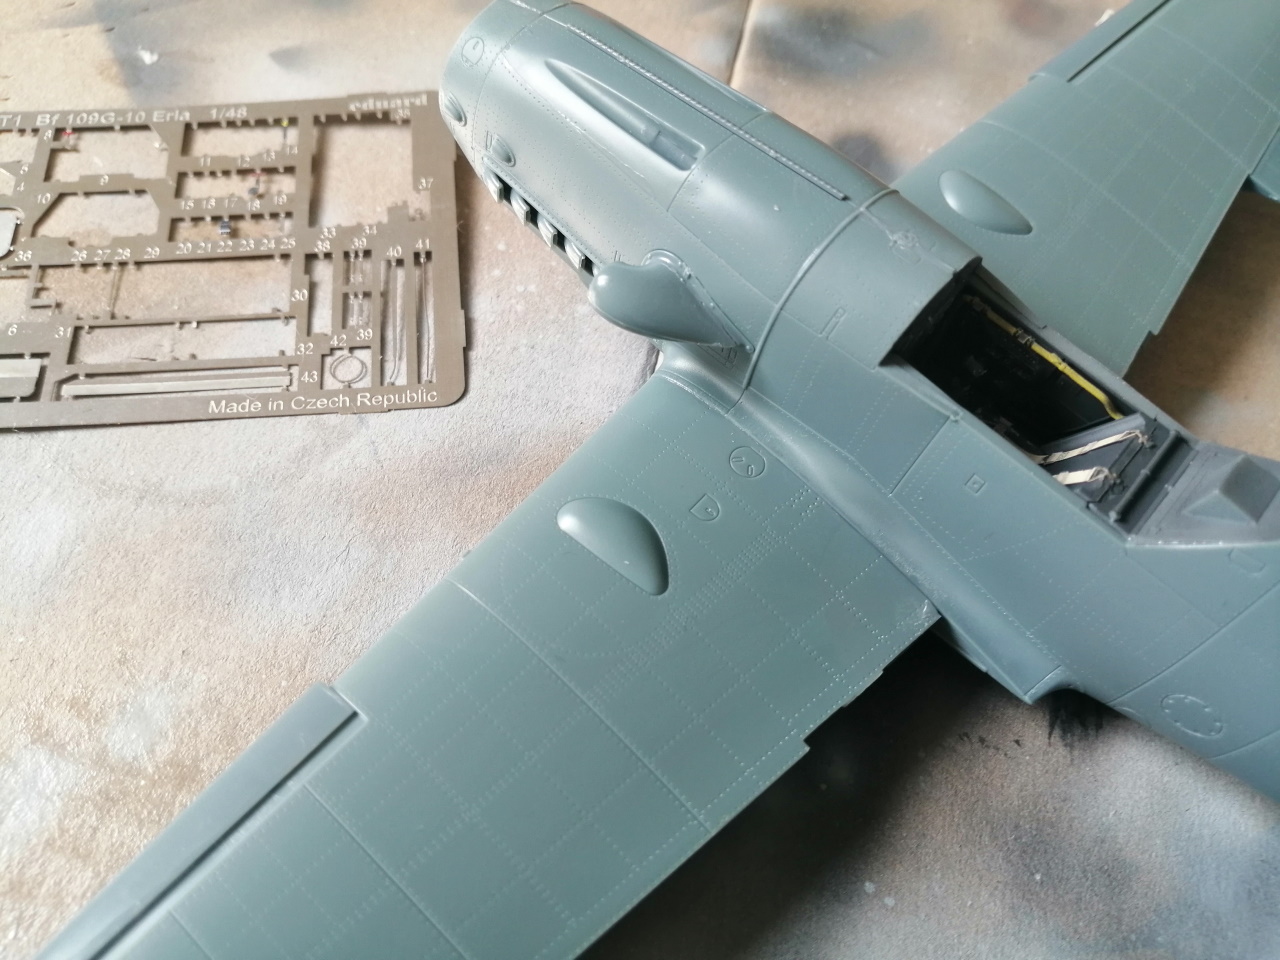
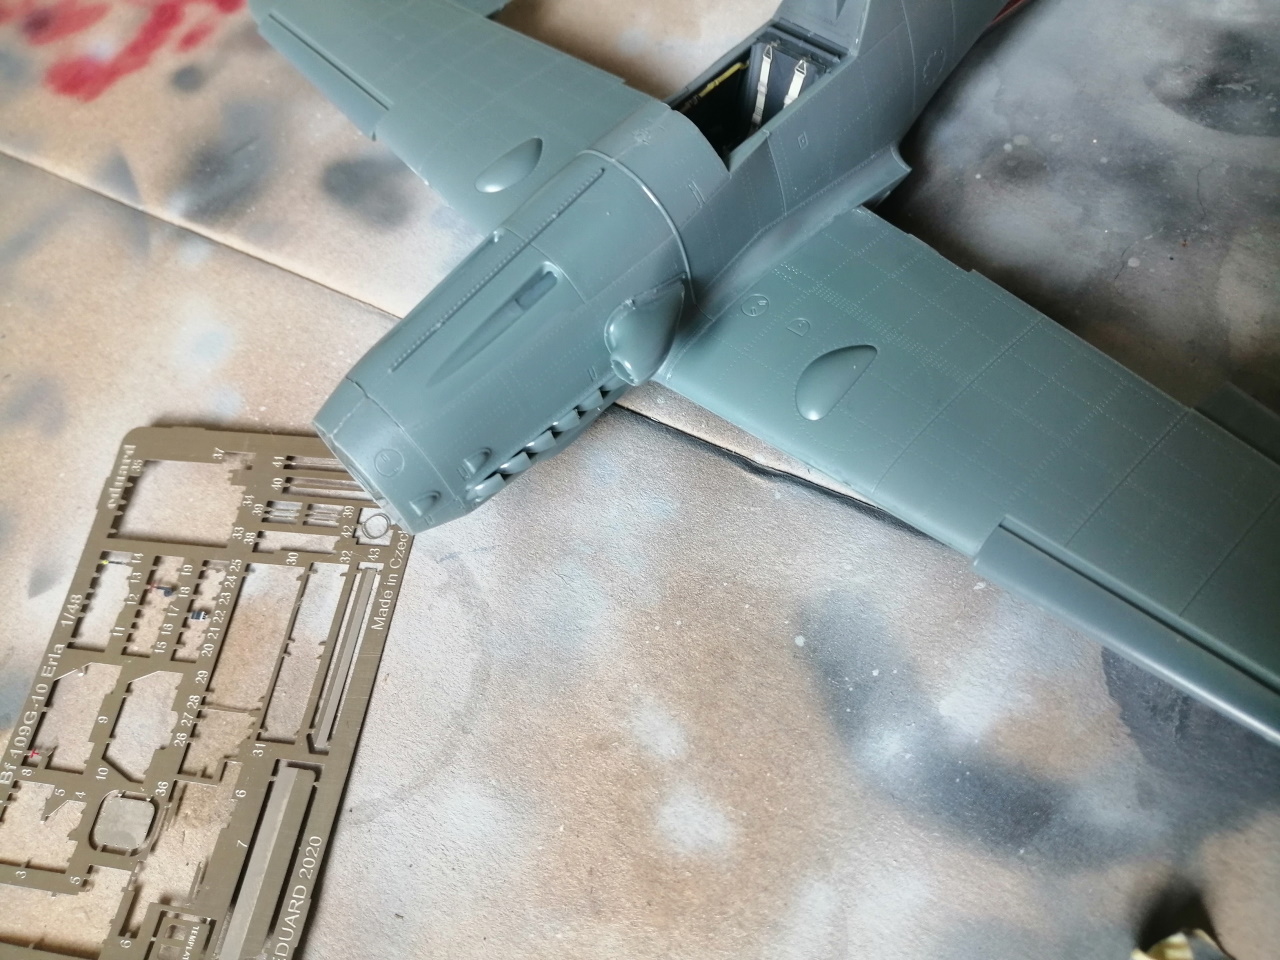
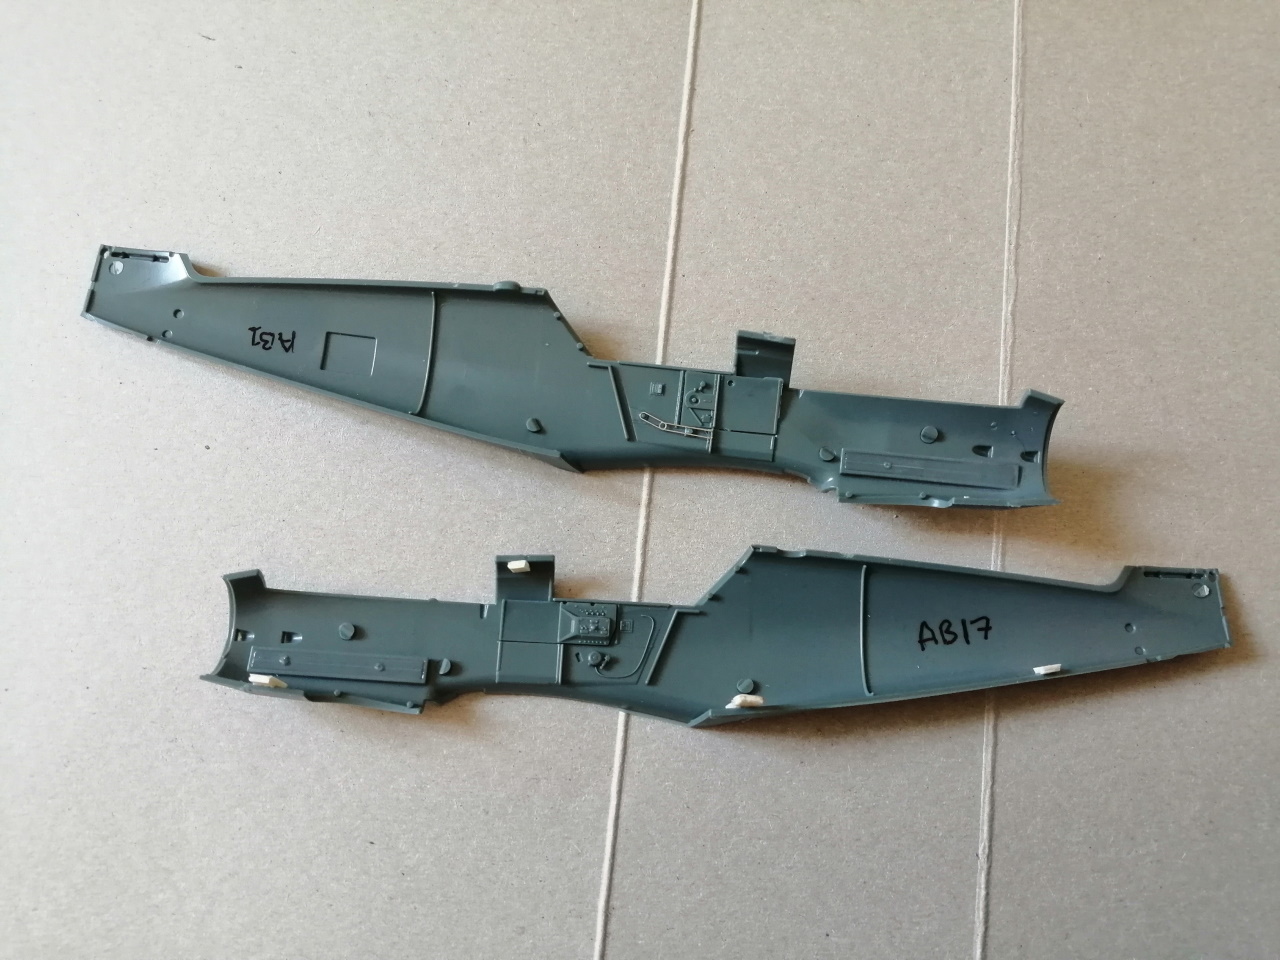
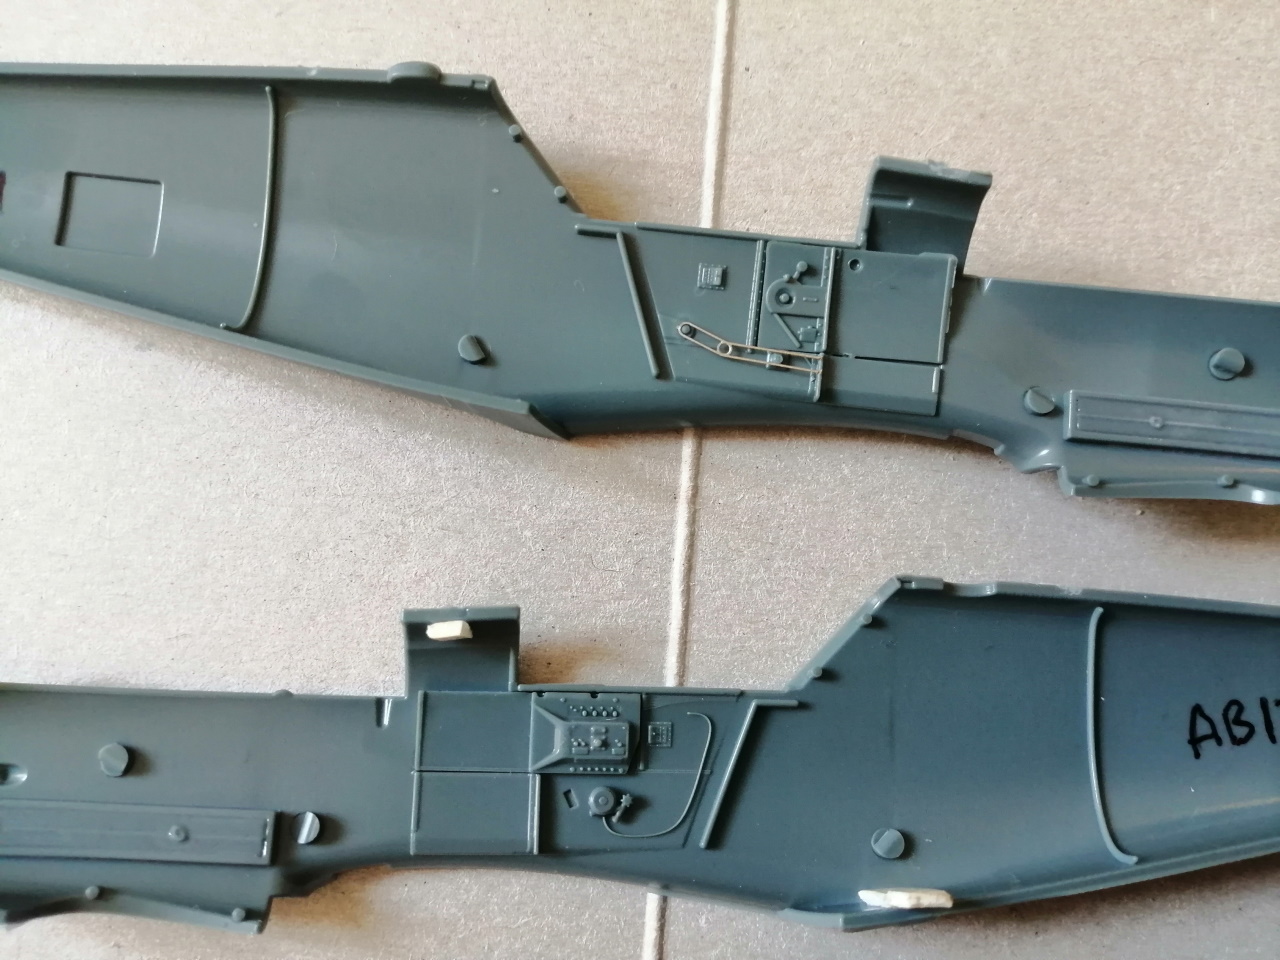
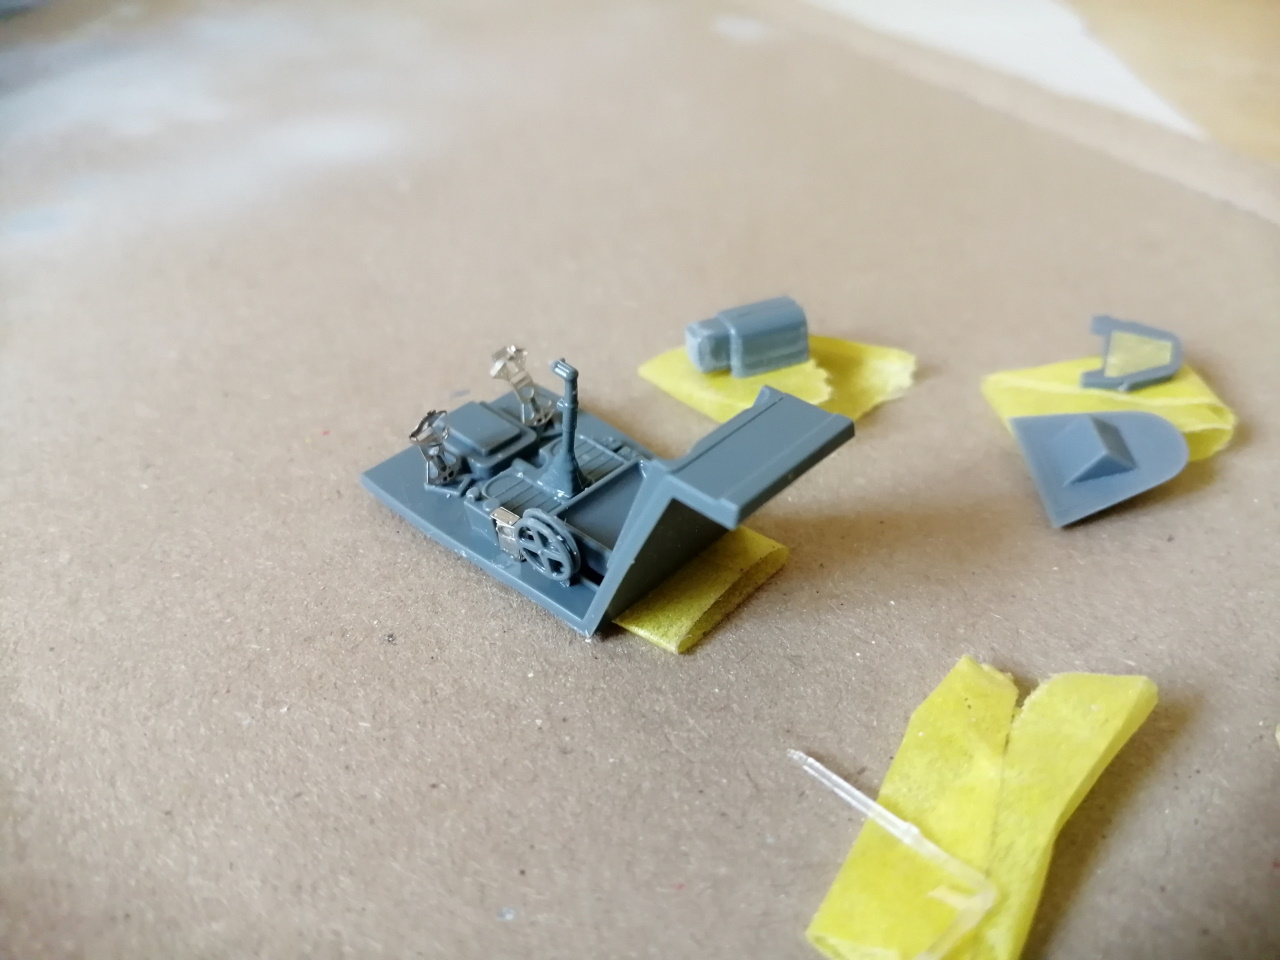
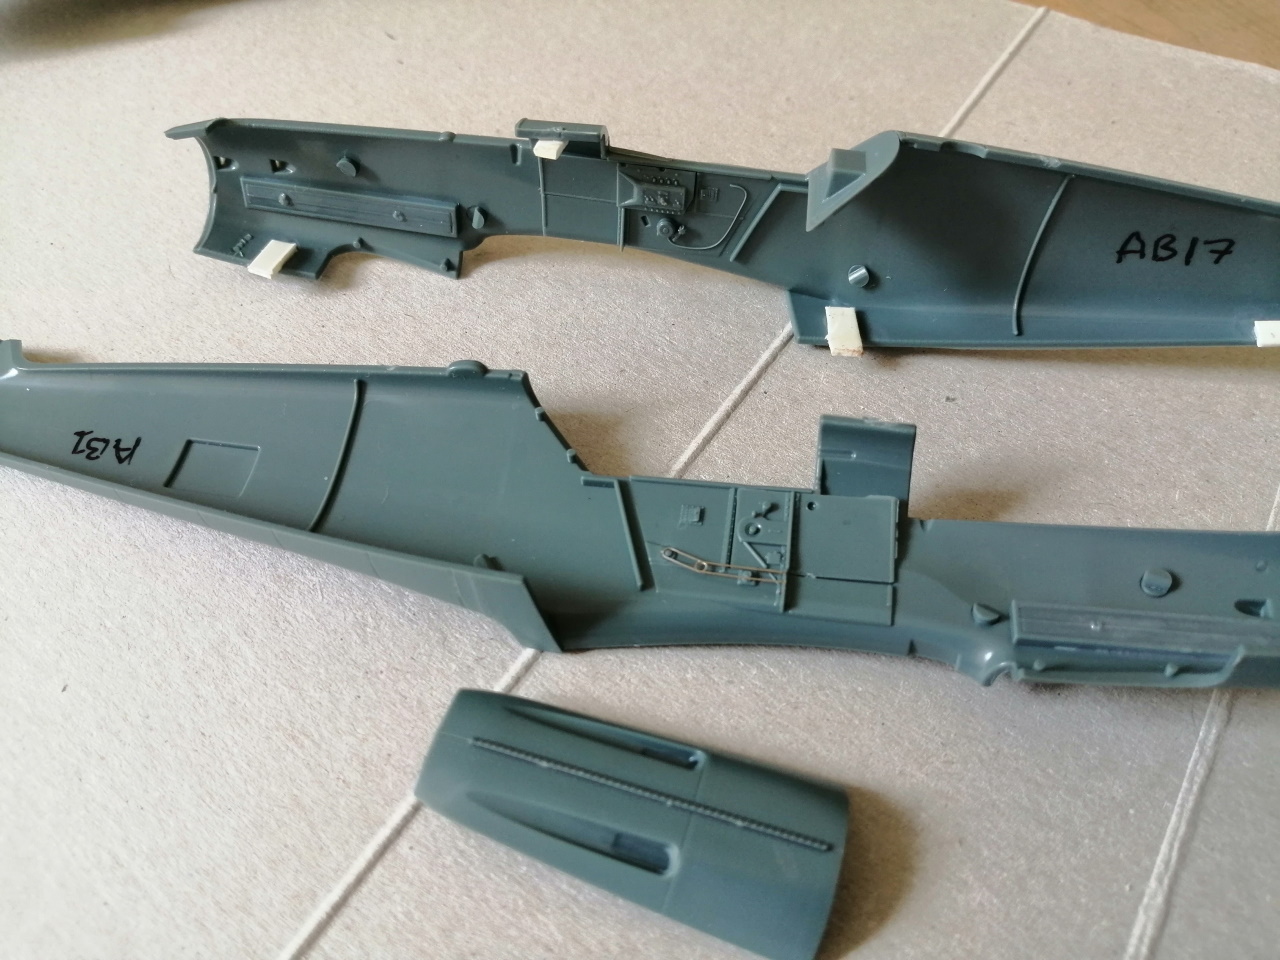
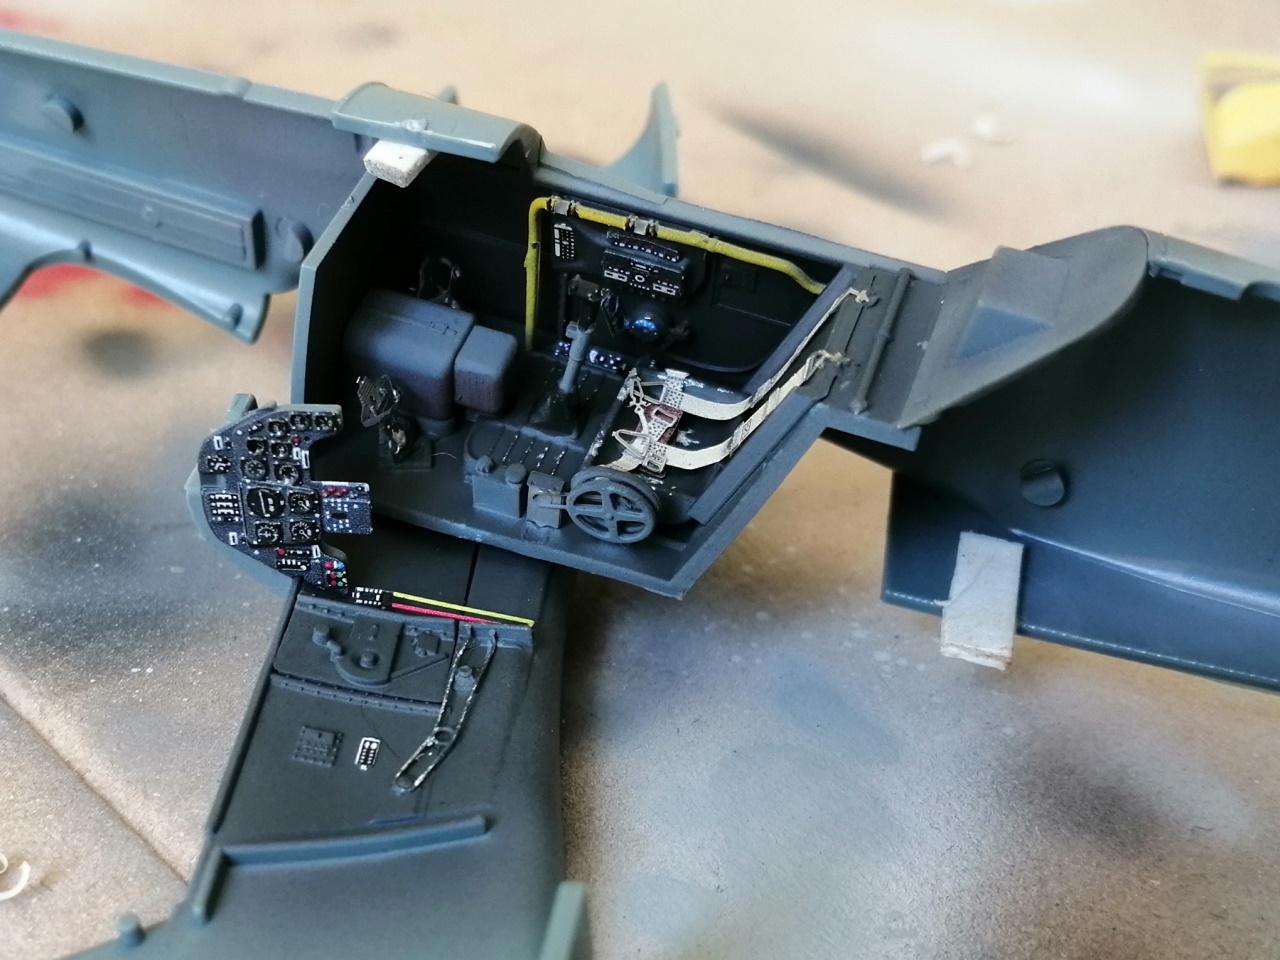
Being a Profipack Edition there are three options to detailing the cockpit: pre-coloured photo etched parts, dry brushing the excellent detail on the plastic or using the decals supplied on the kit. You do have to be careful fitting the PE parts particularly the parts representing the chains for the flaps. But as you can see it well worth the trouble.
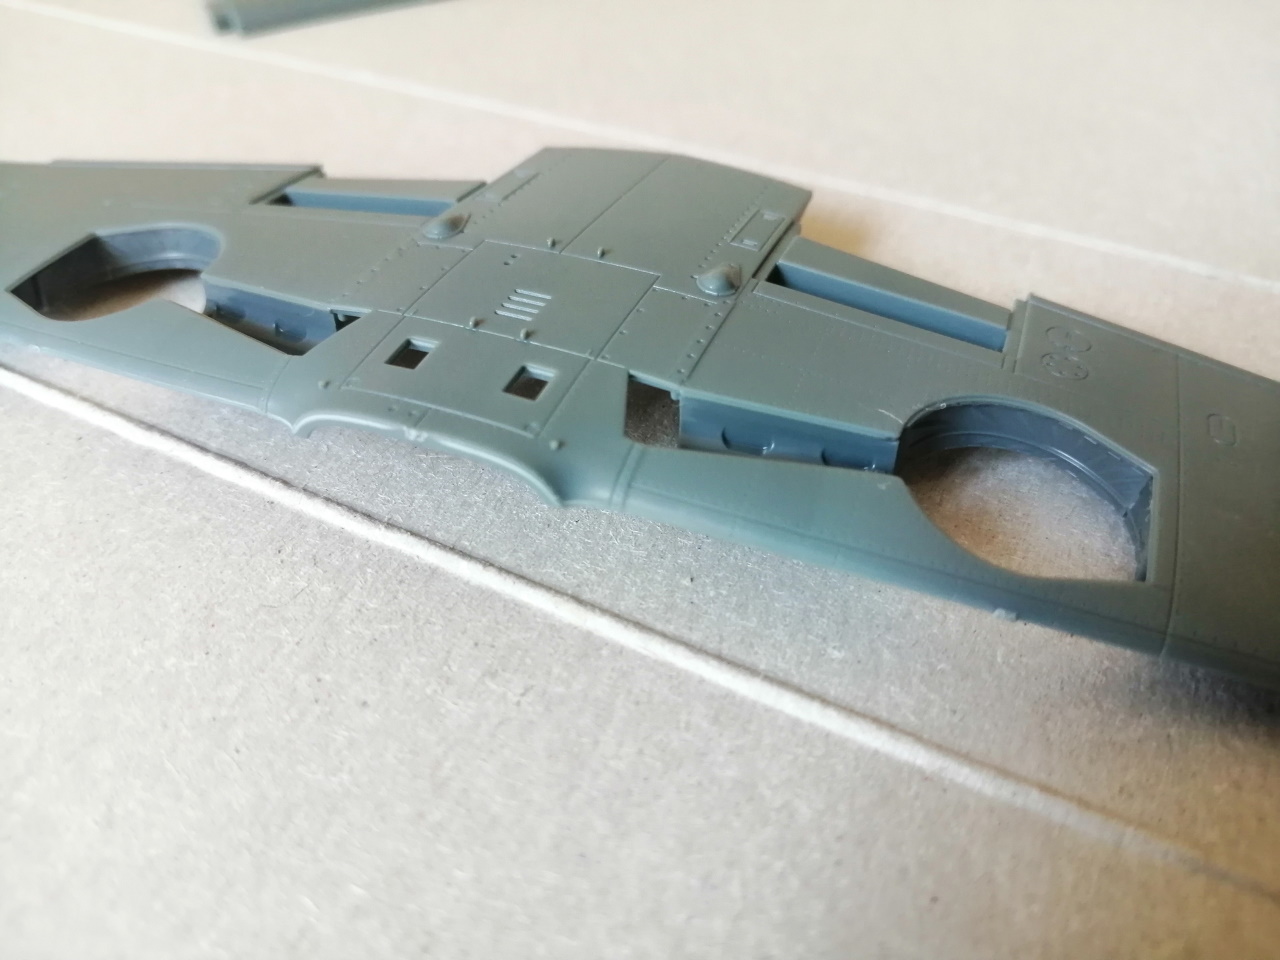
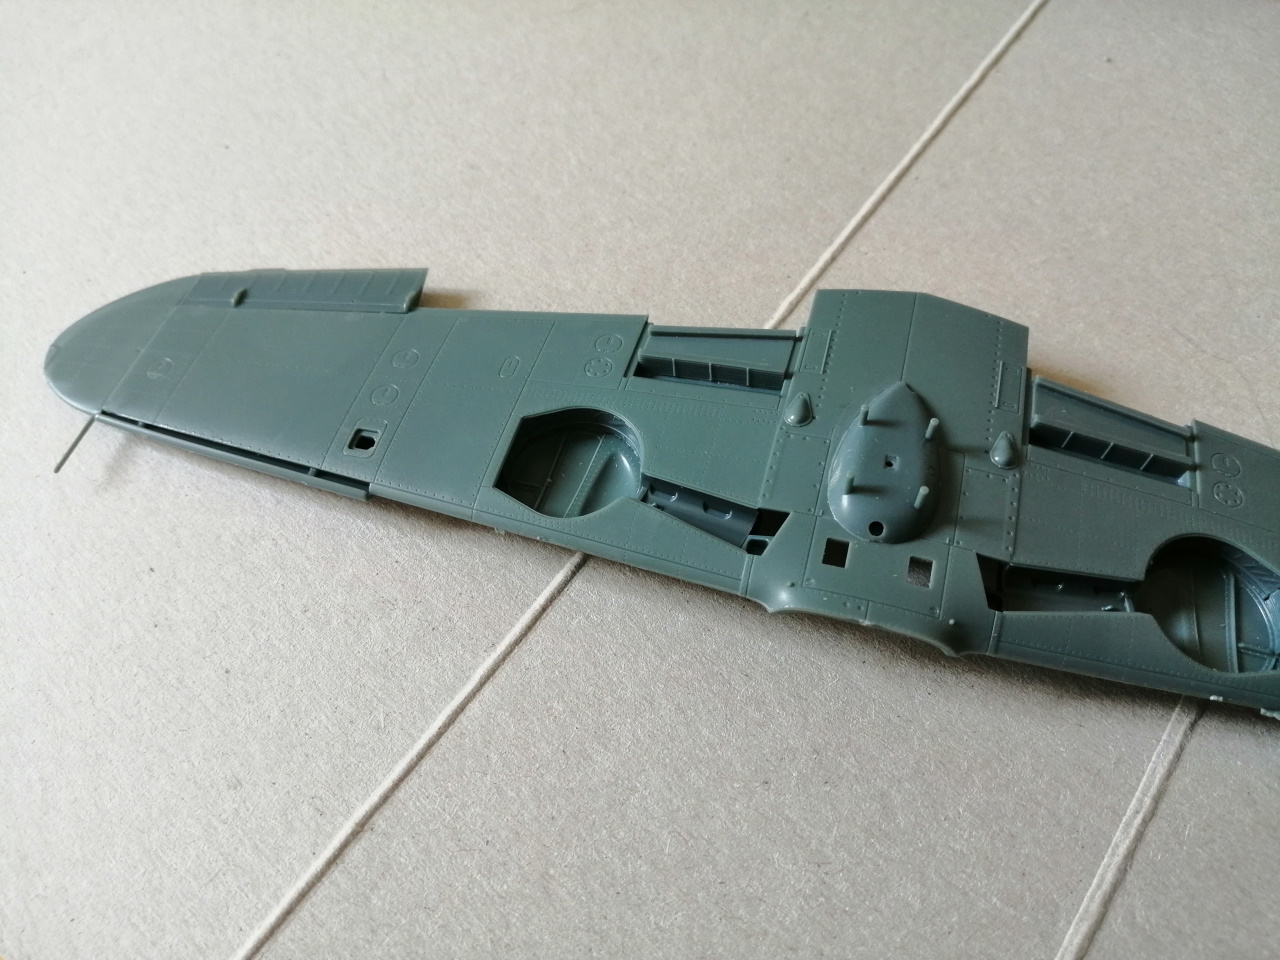
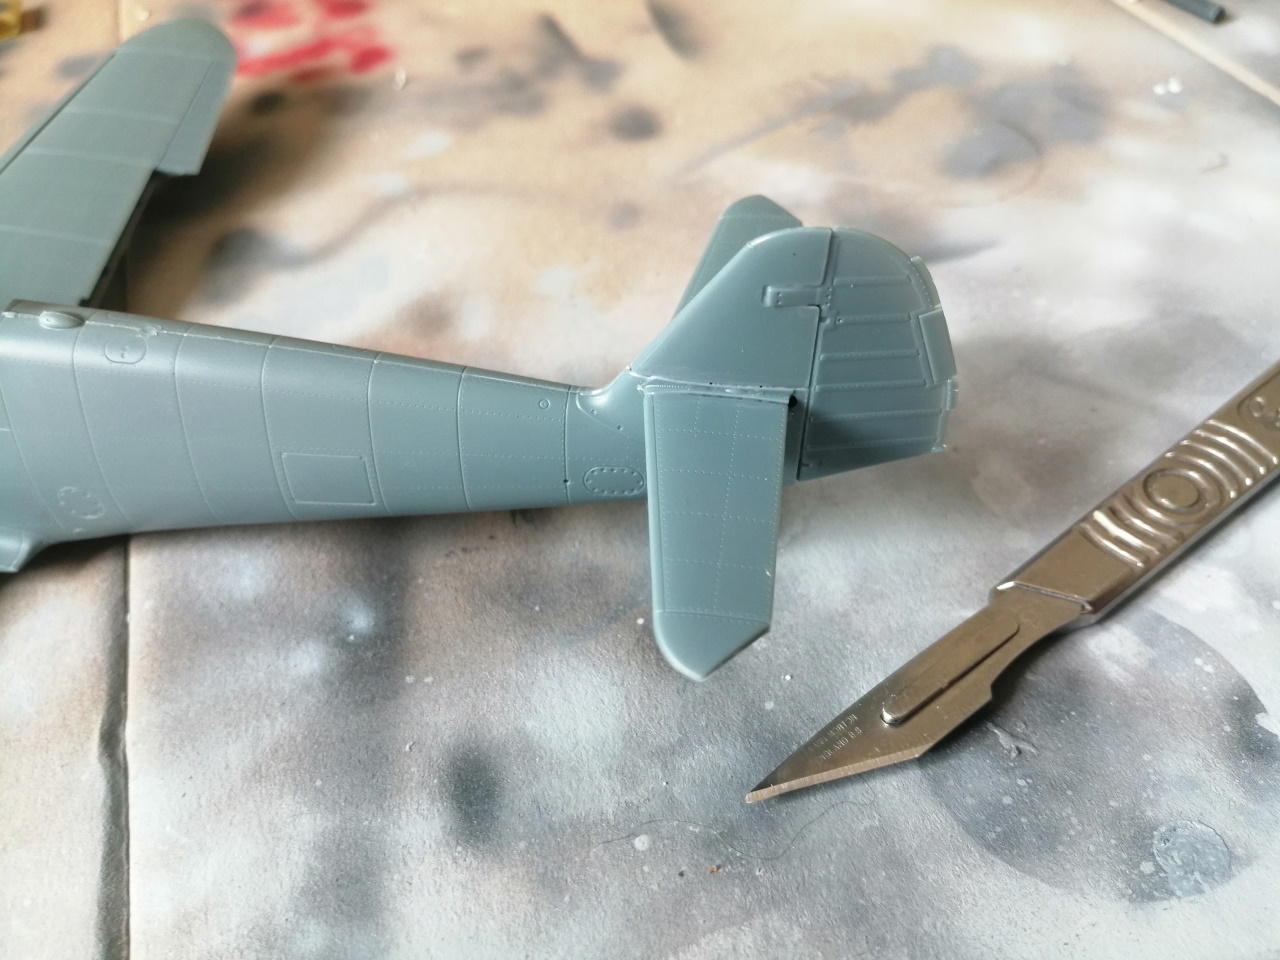
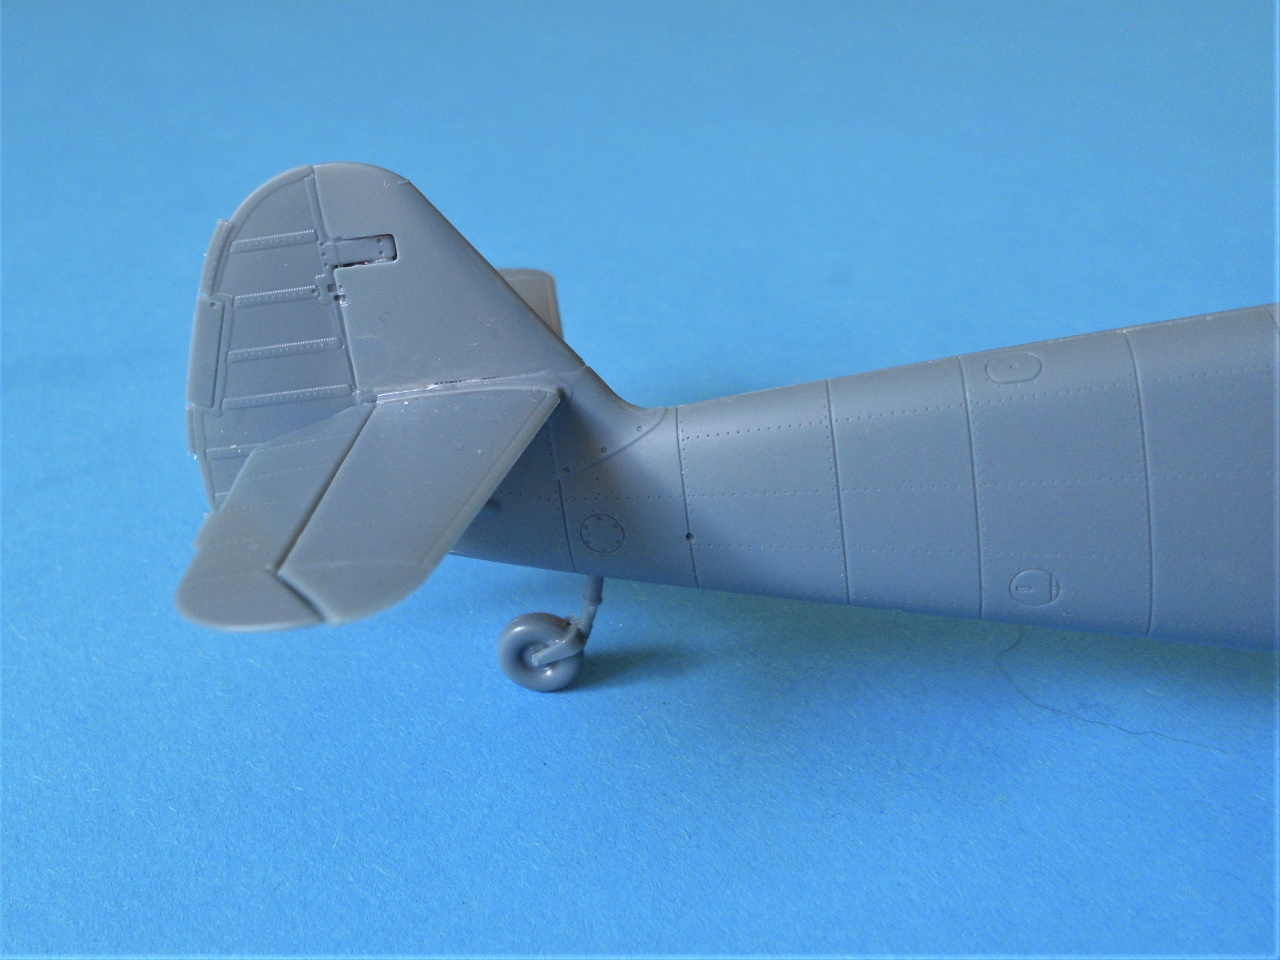
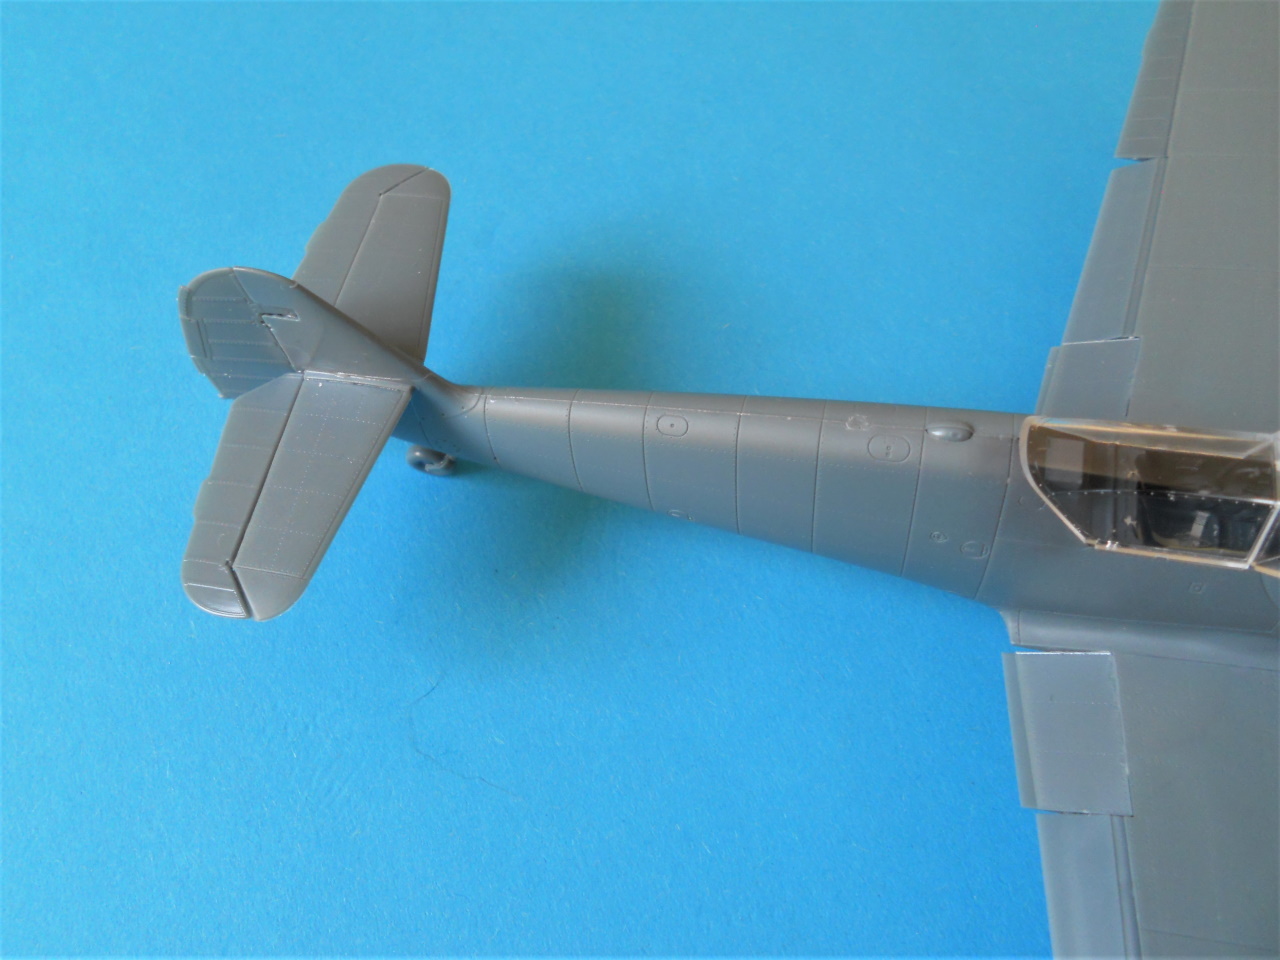
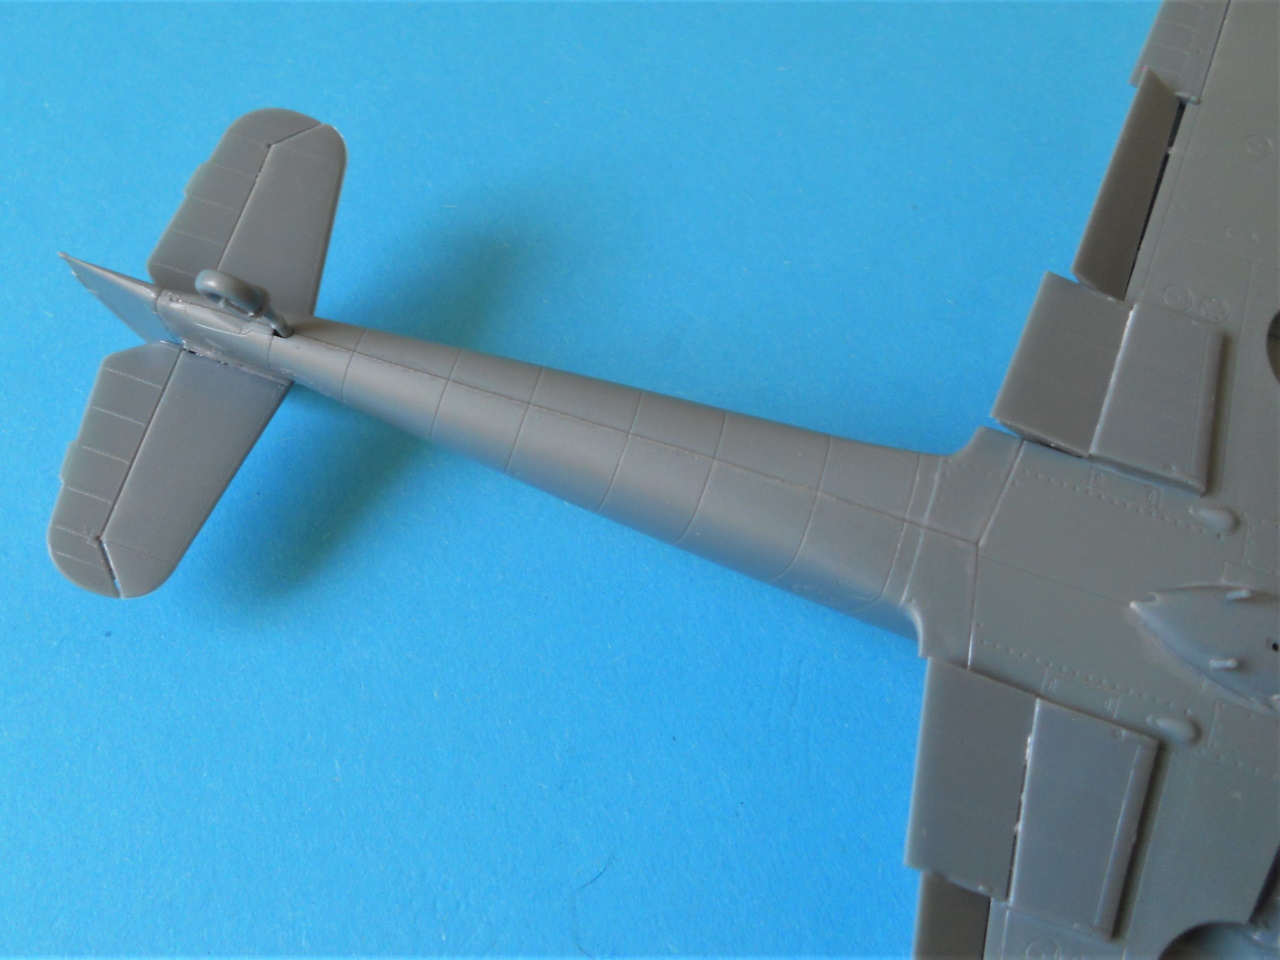
You'll notice I have put in some plasticard shims just to aid the fitting of the two fuselage halves. there are no locating pins, so the shims will help stop any movement when the halves are clamped together.
England - South East, United Kingdom
Joined: September 15, 2004
KitMaker: 4,728 posts
AeroScale: 1,351 posts
Posted: Tuesday, May 26, 2020 - 10:57 PM UTC
Oh cool, watching along Tim and crossing my fingers that you do the Italian option.

On the bench...
Italeri A129 Mangusta
British Bulldog Spitfire theme build
litespeed
 News Reporter
England - North West, United Kingdom
Joined: October 15, 2009
KitMaker: 1,976 posts
AeroScale: 1,789 posts
Posted: Tuesday, May 26, 2020 - 11:05 PM UTC
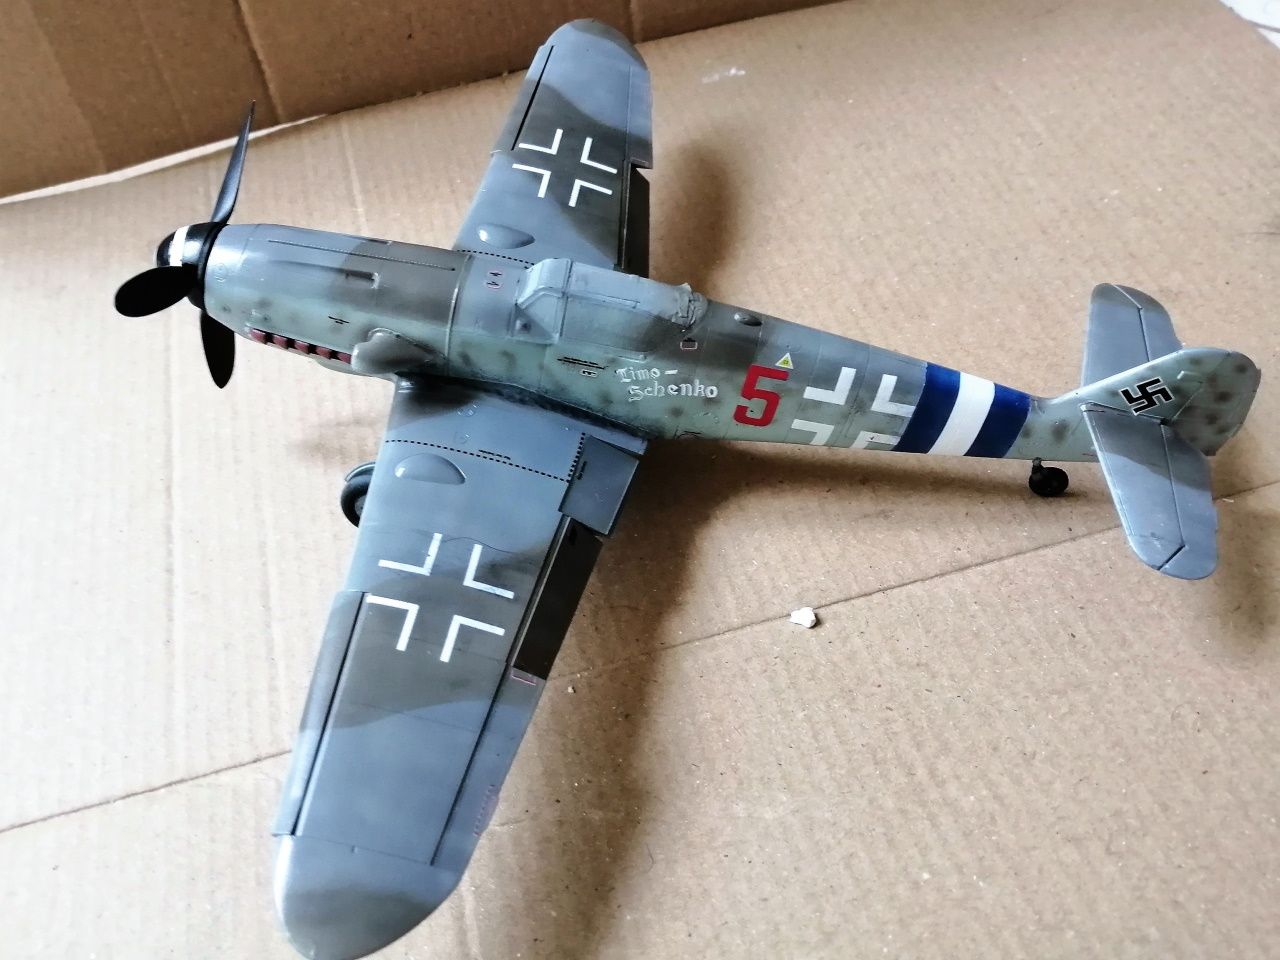
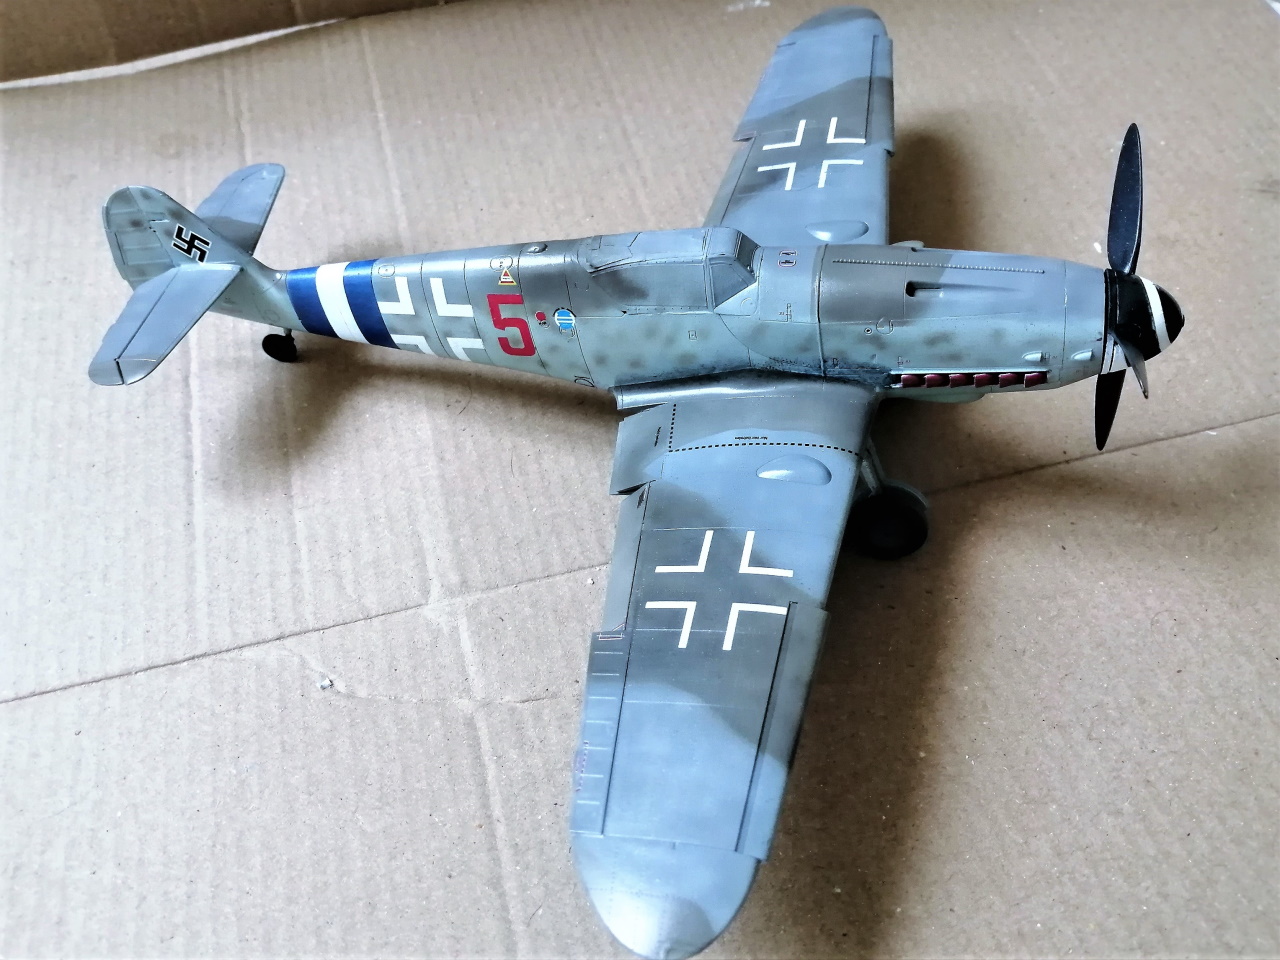
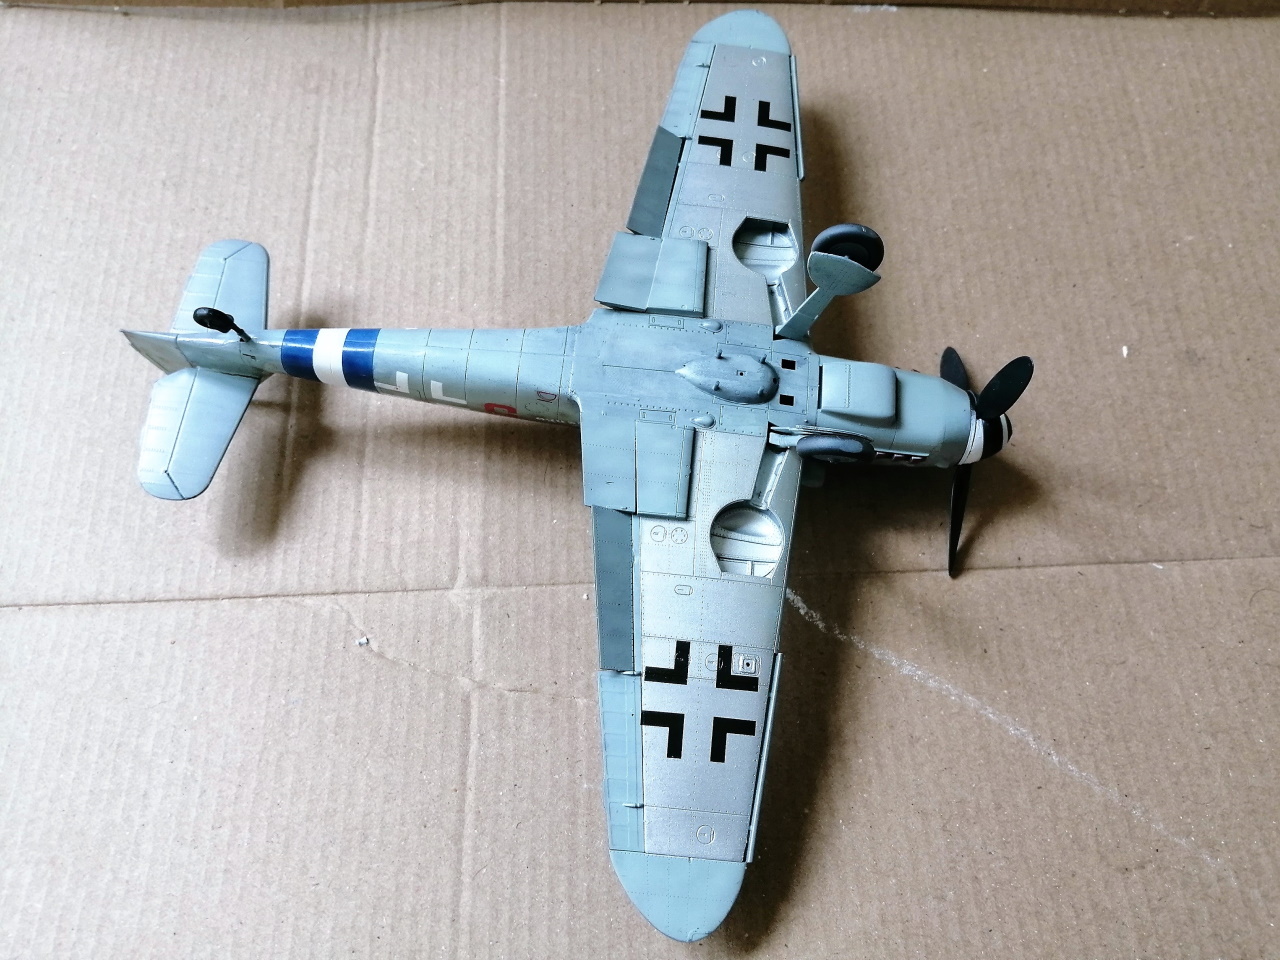
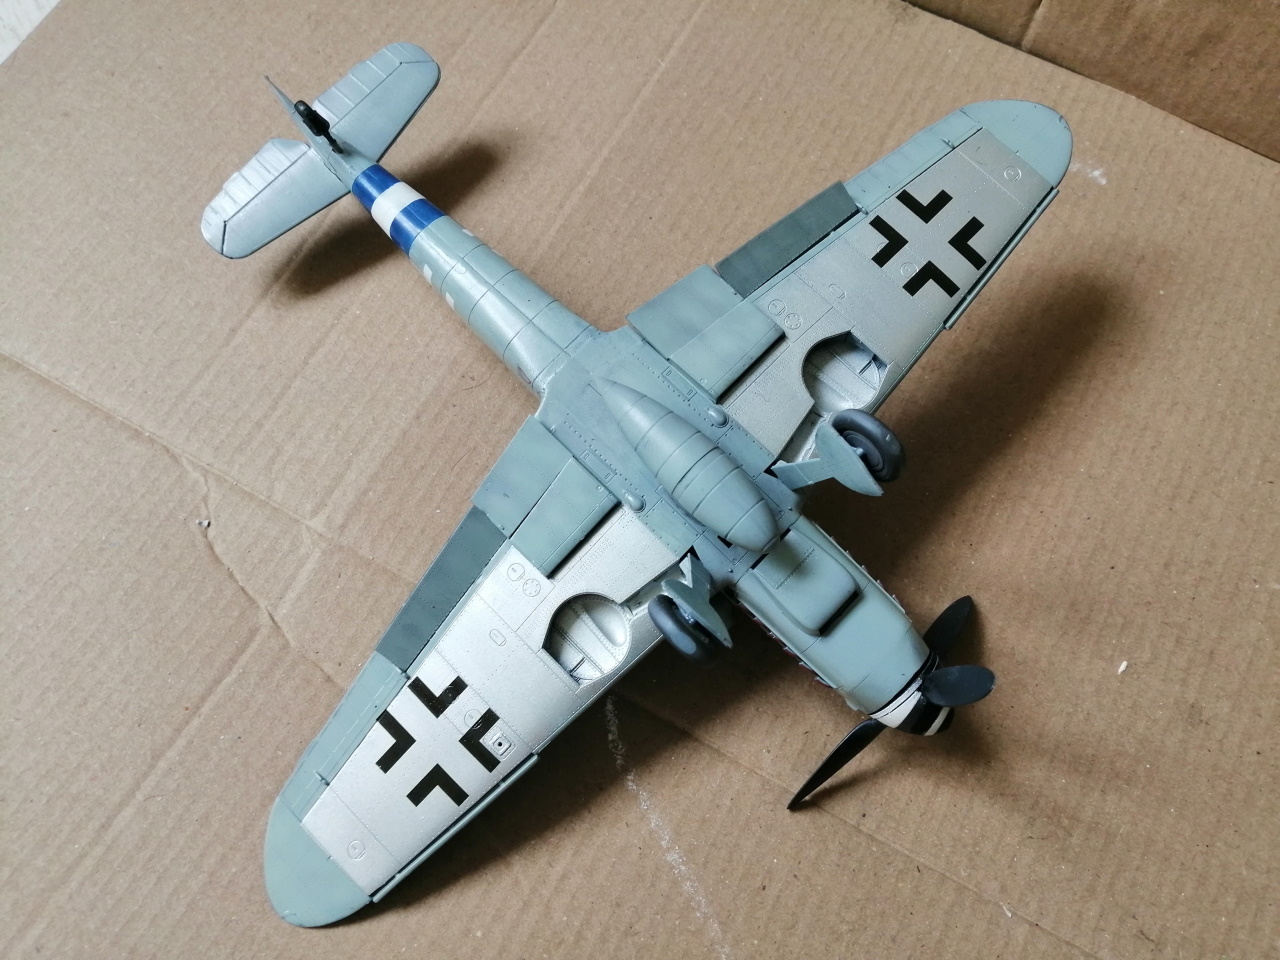
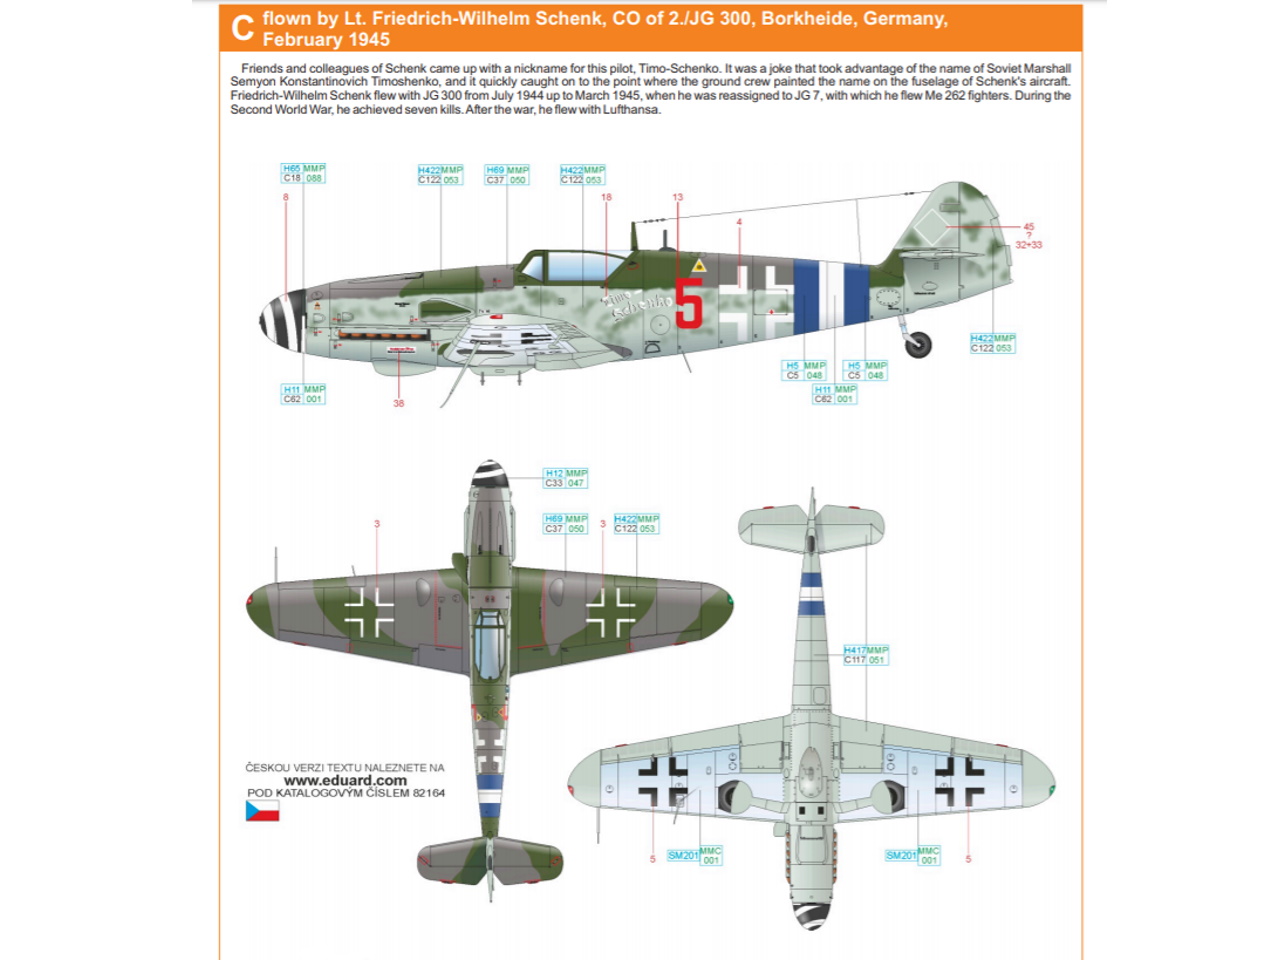
Sorry Luciano Im going for this one. I like the blue band and the natural metal finish on the under surfaces.
England - South East, United Kingdom
Joined: September 15, 2004
KitMaker: 4,728 posts
AeroScale: 1,351 posts
Posted: Tuesday, May 26, 2020 - 11:20 PM UTC
Oh well looks like Iíll have to pick one up myself, donít know when Iíll get around to building it though. Any way still following along.
Oh just remembered I have a 1/32 RA/ANR decal set for the Revell kit.
On the bench...
Italeri A129 Mangusta
British Bulldog Spitfire theme build
Stockholm, Sweden
Joined: May 02, 2006
KitMaker: 1,953 posts
AeroScale: 1,902 posts
Posted: Wednesday, May 27, 2020 - 03:34 AM UTC
I would SO MUCH love Eduard to shrink these into 1/72... I do have a stash of Fine Molds-109:s that are nice but these are really something special. I have promised Torsten to do a Finnish one this year...
I could get one in 1/48 just for the box art though

!

Magnus
Press banner to the right to follow my trail to the new forums!
European Union
Joined: August 09, 2009
KitMaker: 1,732 posts
AeroScale: 1,336 posts
Posted: Wednesday, May 27, 2020 - 05:47 AM UTC
I'm here to look over your shoulder, Tim. You might have seen my Utti Air Racer Dual Combo build recently of a G-2 and a G-6. This might be an option for me because I have some interesting and rare decals for a G-10 of the Russian Liberation Army which I would like to build.
Happy modelling!
Torsten
My campaigns for 2020:
MiGs - Done !
The Big Three - Done !
65 years Bundeswehr - Done !
40 years Leopard 2 - Done !
Land Lease - Done !
litespeed
 News Reporter
England - North West, United Kingdom
Joined: October 15, 2009
KitMaker: 1,976 posts
AeroScale: 1,789 posts
Posted: Wednesday, May 27, 2020 - 06:05 AM UTC
Weicome aboard Torsten. Yeah I enjoyed your build Torsten, you inspired me to build the G-10. I must admit I do prefer the 'Gustavs' of the 109 family as I prefer the later Griffon engined Spits.

Slovakia
Joined: October 15, 2010
KitMaker: 825 posts
AeroScale: 476 posts
Posted: Wednesday, May 27, 2020 - 08:22 AM UTC
Quoted Text
I would SO MUCH love Eduard to shrink these into 1/72... I do have a stash of Fine Molds-109:s that are nice but these are really something special. I have promised Torsten to do a Finnish one this year...
I could get one in 1/48 just for the box art though  !
!

Magnus
Why not the one in 1/48 ? These are some of the easiests kits out there, even with the PE. I did the G-6 coupple months ago and it was easier to build then most 1/72 kits I ever did.
litespeed
 News Reporter
England - North West, United Kingdom
Joined: October 15, 2009
KitMaker: 1,976 posts
AeroScale: 1,789 posts
Posted: Wednesday, May 27, 2020 - 11:07 PM UTC
European Union
Joined: August 09, 2009
KitMaker: 1,732 posts
AeroScale: 1,336 posts
Posted: Thursday, May 28, 2020 - 07:53 AM UTC
Quoted Text
... as I prefer the later Griffon engined Spits.

Hahaha, same here, Tim! I love the angry sound of a Griffon Spit. Seen a Mk. XIX from La Ferte Alais several times at the Hahnweide Festival in Germany.
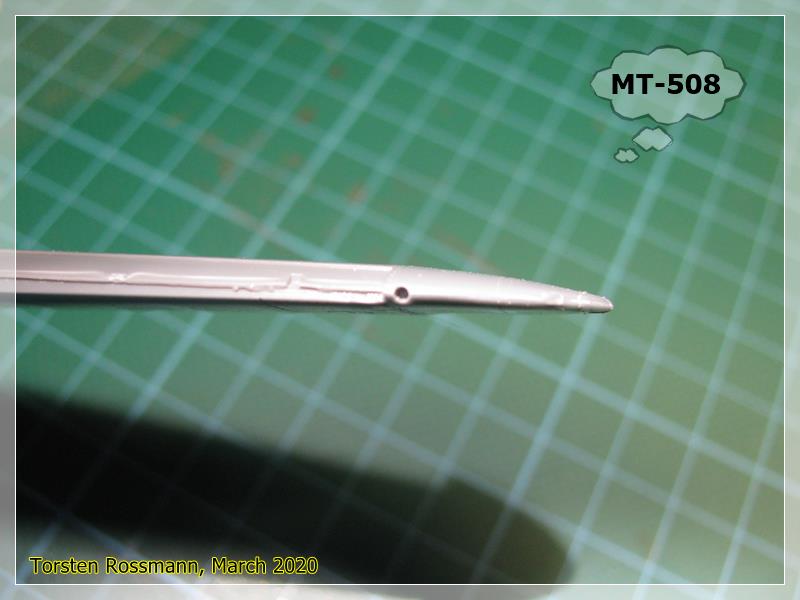
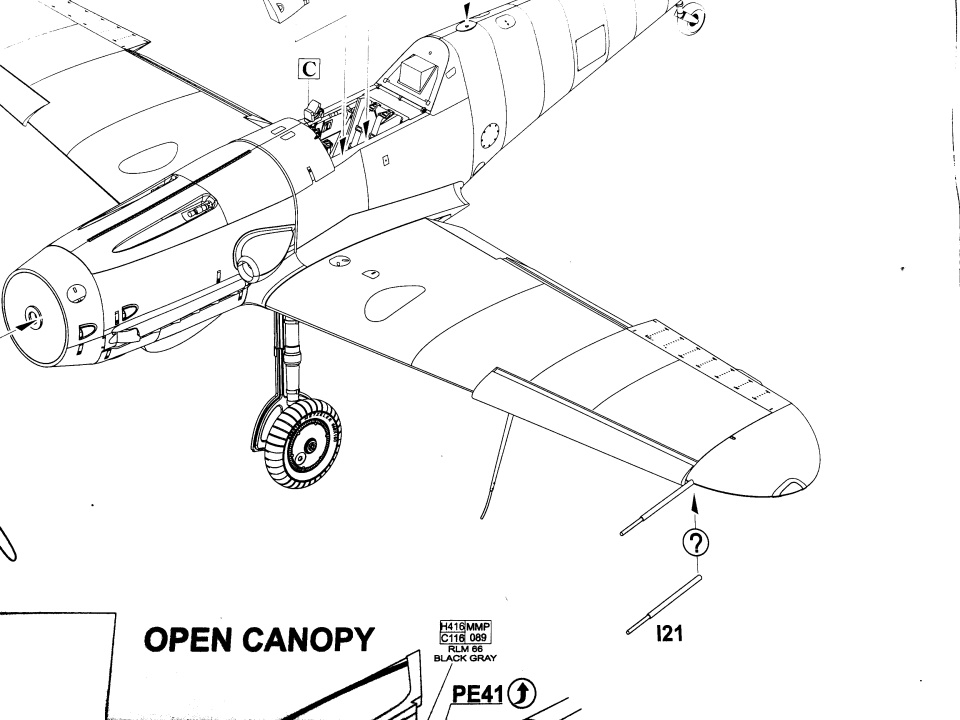
Concerning your build, I didn't use the PE parts for the radiators because you don't really see them in the end. You also might cut off the pitot tube because it will break anyway during the build and use part I 21 in the end. I did that and would do it again.
Torsten

Magnus, don't worry about your Ilmavoimat 109. If you can't make it this year, next year is another year ....
My campaigns for 2020:
MiGs - Done !
The Big Three - Done !
65 years Bundeswehr - Done !
40 years Leopard 2 - Done !
Land Lease - Done !
litespeed
 News Reporter
England - North West, United Kingdom
Joined: October 15, 2009
KitMaker: 1,976 posts
AeroScale: 1,789 posts
Posted: Friday, May 29, 2020 - 01:31 AM UTC
[quote]
Quoted Text
Concerning your build, I didn't use the PE parts for the radiators because you don't really see them in the end. You also might cut off the pitot tube because it will break anyway during the build and use part I 21 in the end.
Youre right Torsten, the PE parts for the radiator are unnecessary. Can't see much detail peering into the radiator housing and the detail on the plastic is first rate. This kit will make a brilliant 'Weekend Edition'
I have just literally knocked off the pitot tube

it will glue back on again or I probably change it for a pin
tim

European Union
Joined: August 09, 2009
KitMaker: 1,732 posts
AeroScale: 1,336 posts
Posted: Friday, May 29, 2020 - 02:37 AM UTC
My campaigns for 2020:
MiGs - Done !
The Big Three - Done !
65 years Bundeswehr - Done !
40 years Leopard 2 - Done !
Land Lease - Done !
litespeed
 News Reporter
England - North West, United Kingdom
Joined: October 15, 2009
KitMaker: 1,976 posts
AeroScale: 1,789 posts
Posted: Friday, May 29, 2020 - 06:57 AM UTC
Quoted Text
Look on page 9 of the instruction and have a look at part I 21, Tim. That's the "substitute" for a lost/broken pitot tube. I also didn't notice it at first. Here's what I did in full purpose .... 
Thanks Torsten had not noticed that, different sprue no I21 with this kit, but still page 9

litespeed
 News Reporter
England - North West, United Kingdom
Joined: October 15, 2009
KitMaker: 1,976 posts
AeroScale: 1,789 posts
Posted: Friday, May 29, 2020 - 08:29 AM UTC
litespeed
 News Reporter
England - North West, United Kingdom
Joined: October 15, 2009
KitMaker: 1,976 posts
AeroScale: 1,789 posts
Posted: Sunday, May 31, 2020 - 10:51 AM UTC
litespeed
 News Reporter
England - North West, United Kingdom
Joined: October 15, 2009
KitMaker: 1,976 posts
AeroScale: 1,789 posts
Posted: Sunday, May 31, 2020 - 10:56 AM UTC
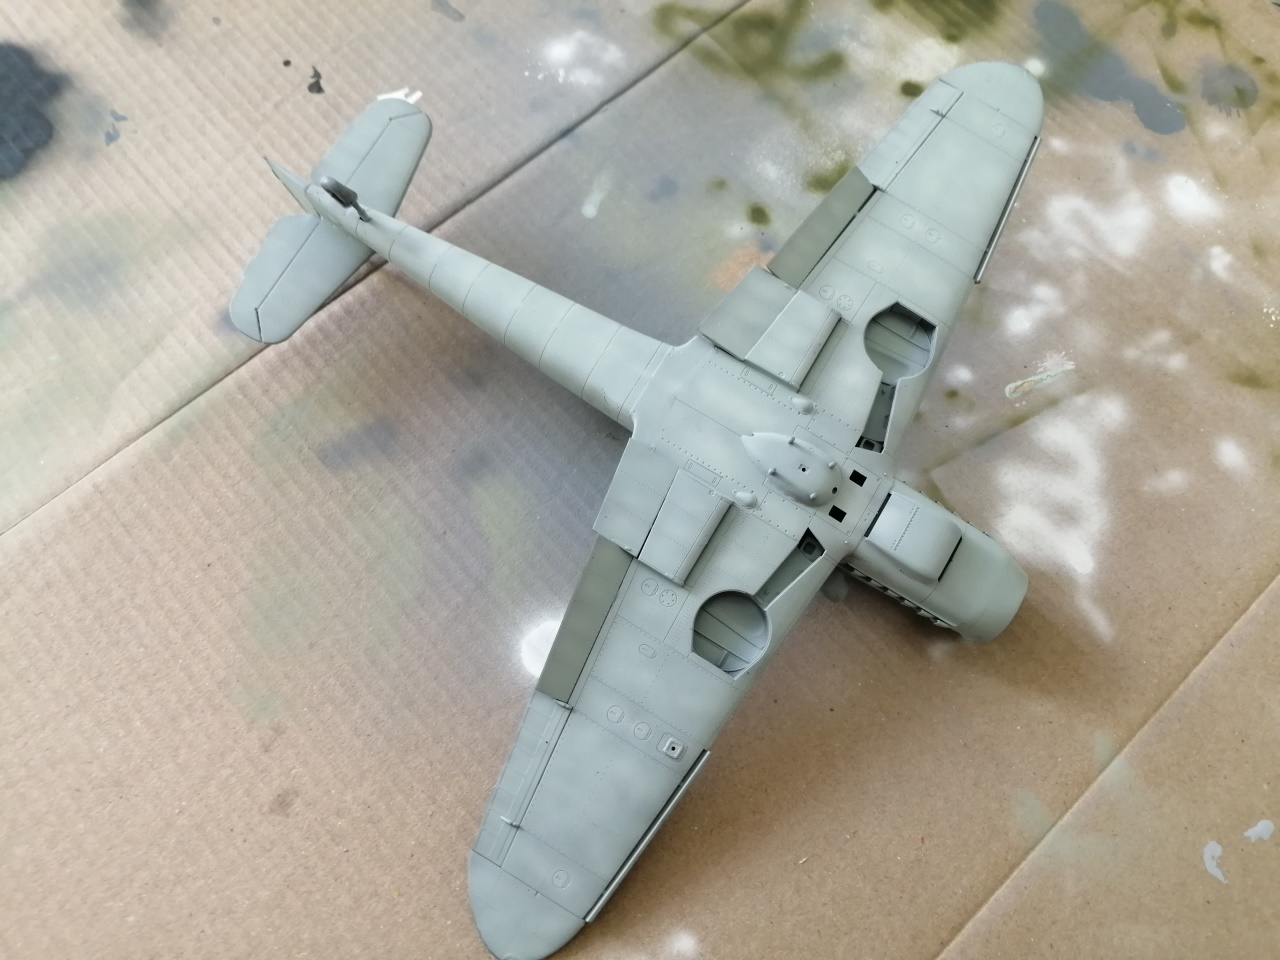
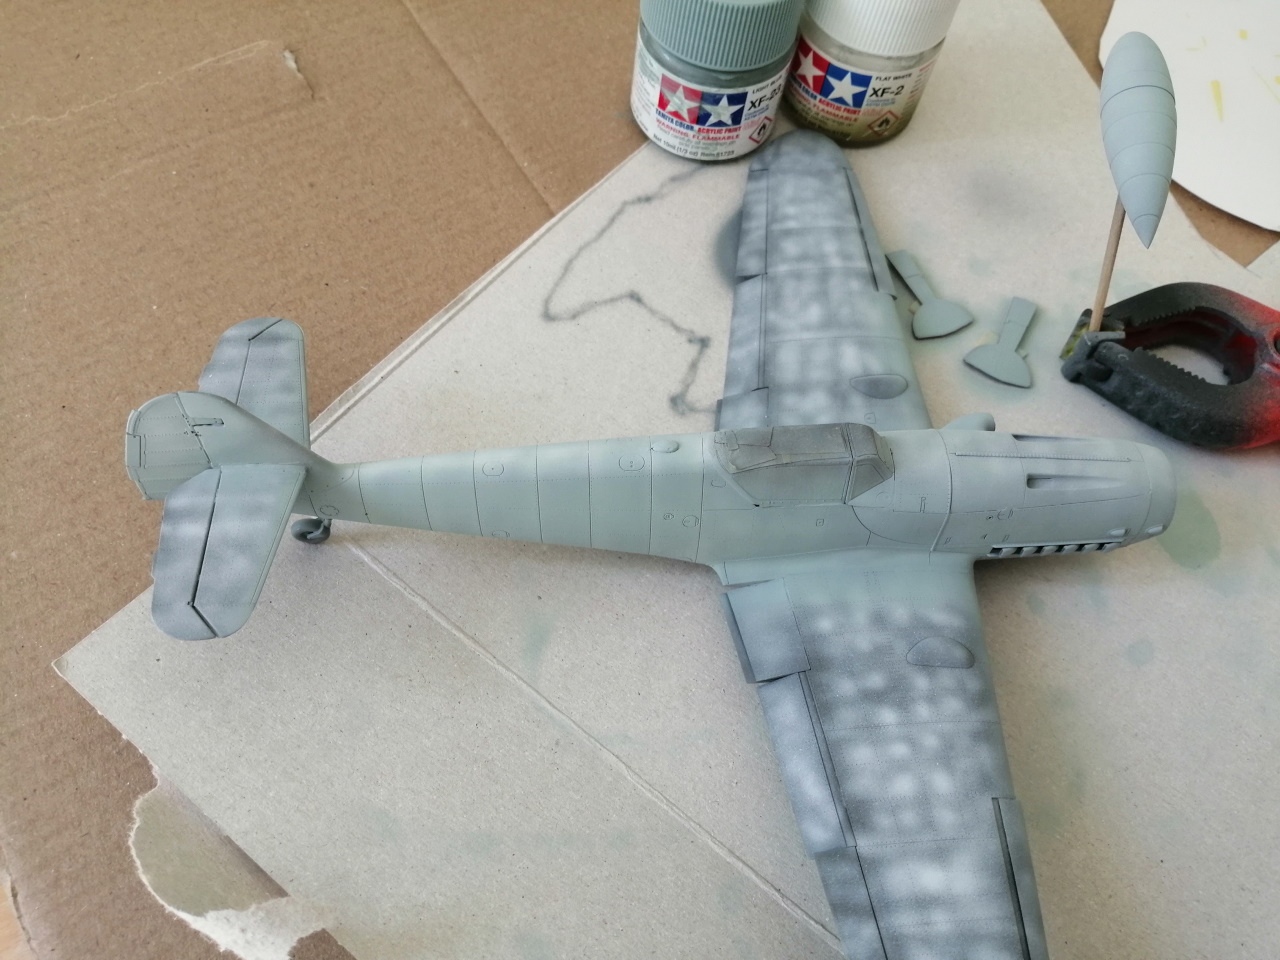
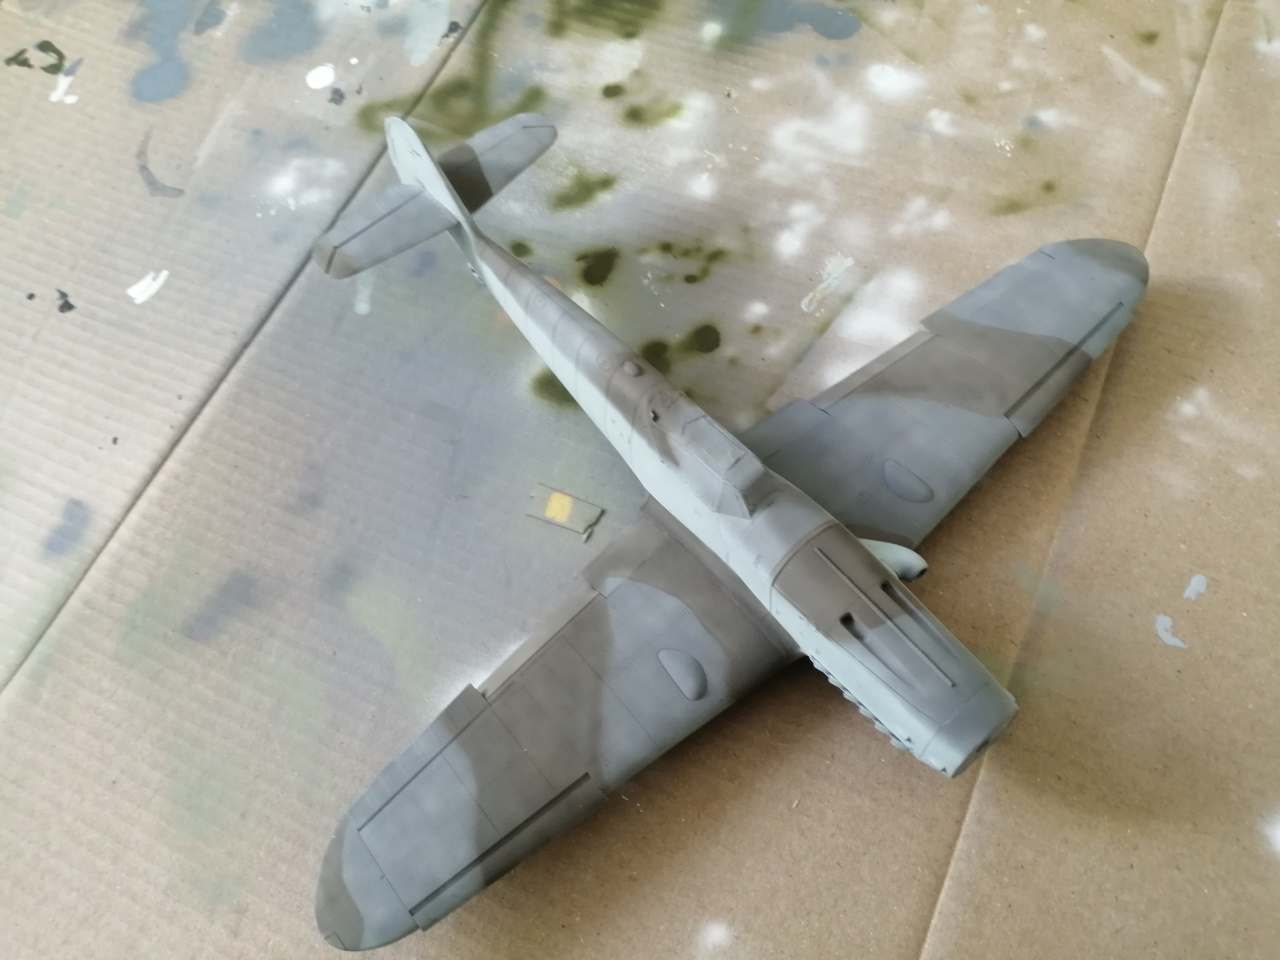
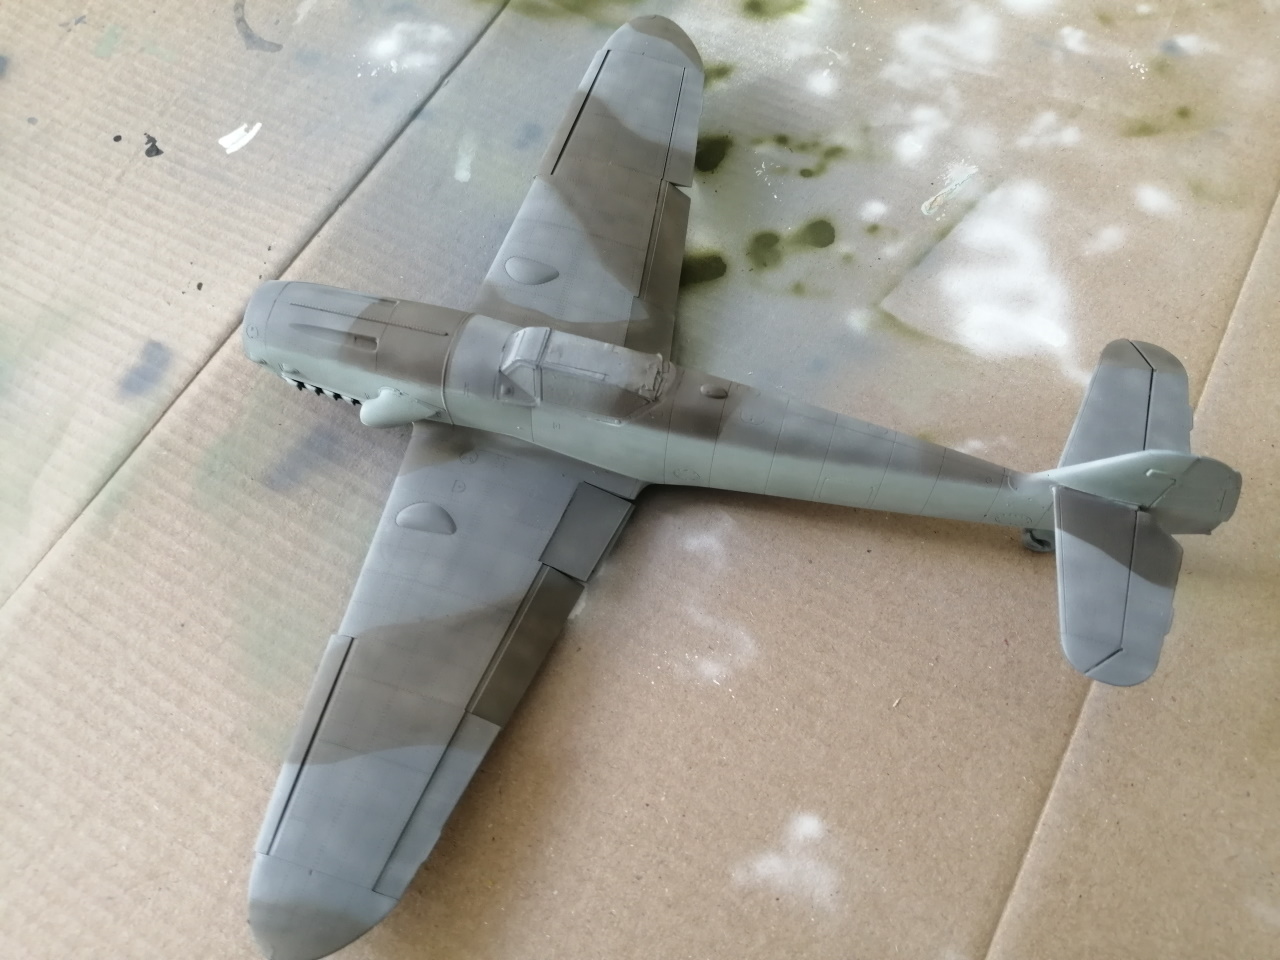
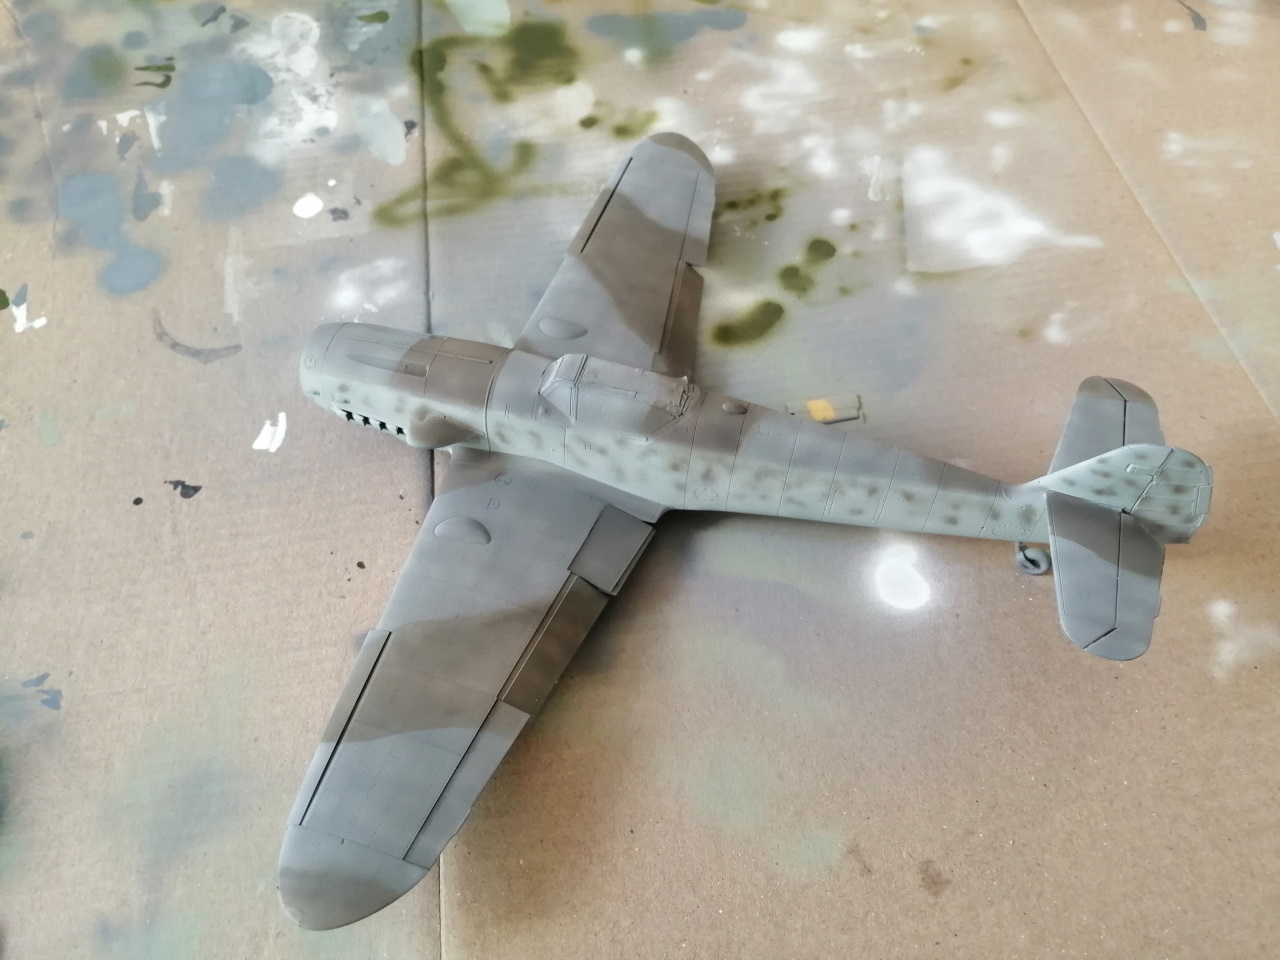
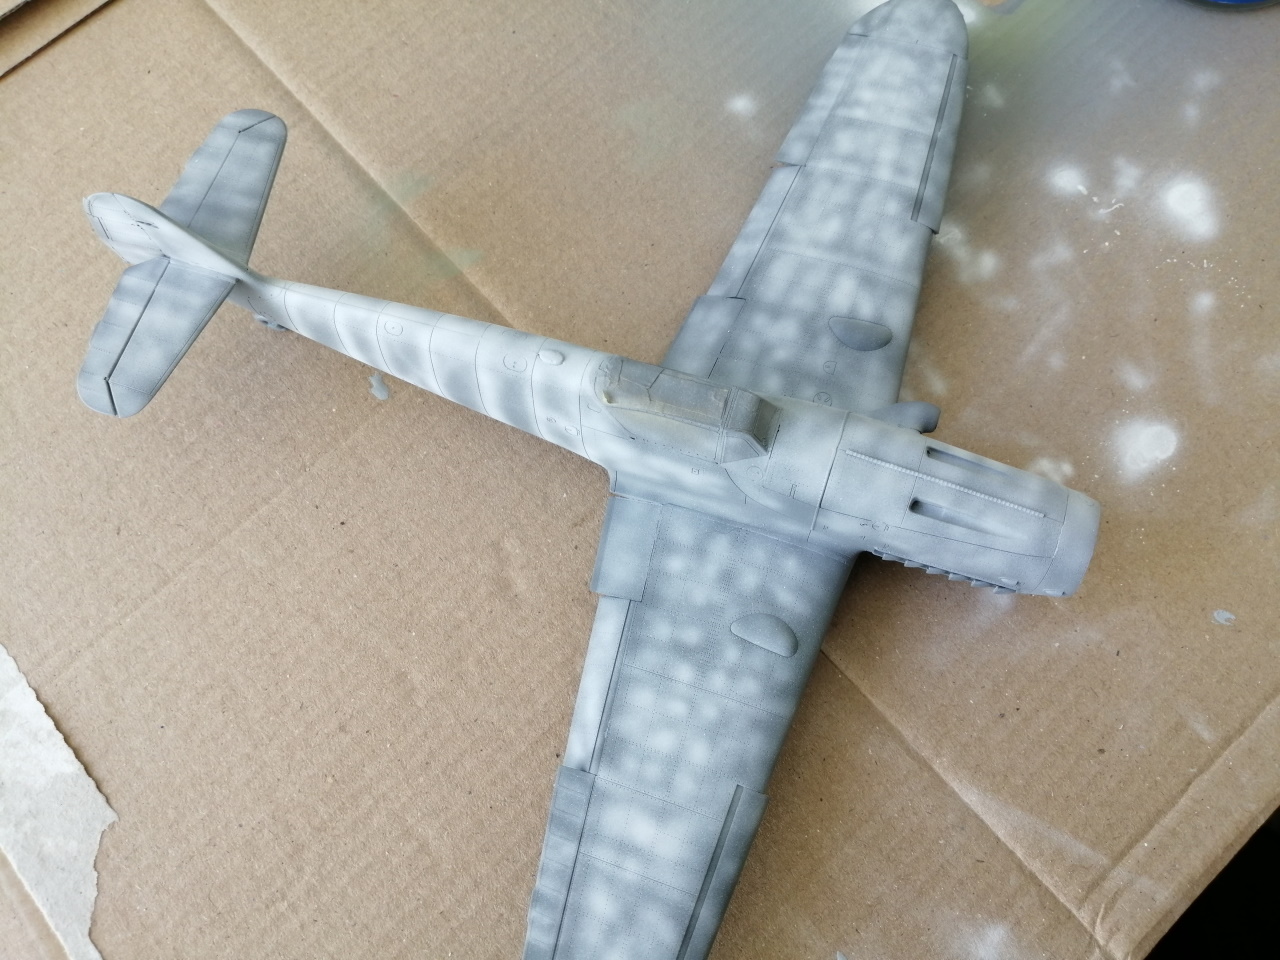
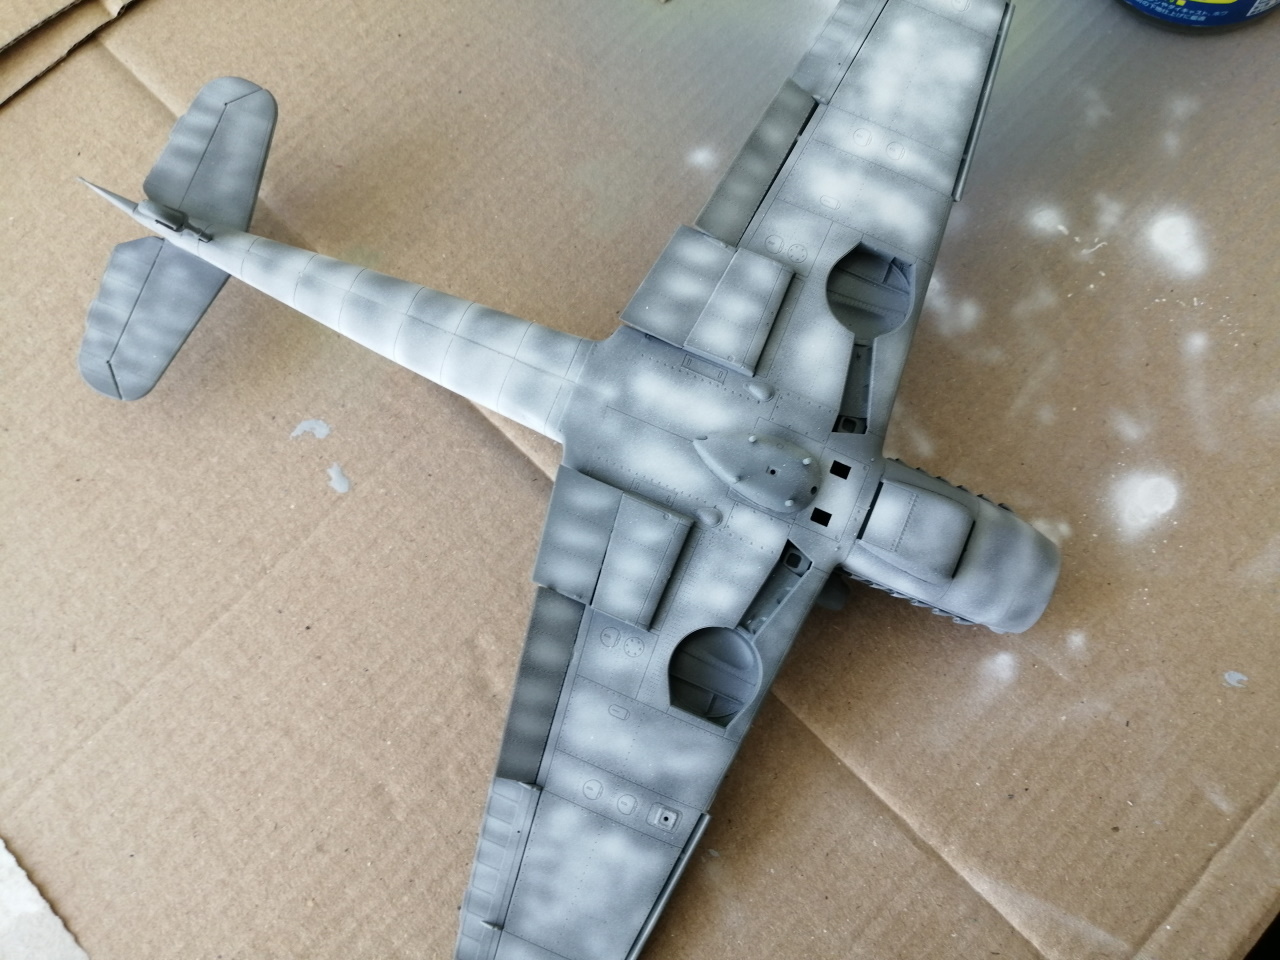
The paint masks included in the kit are really useful, but they needed a bit of persuading to separate them from the excess masking material. I applied a primer and then some heavily thinned Tamiya white paint as a pre-shade.
litespeed
 News Reporter
England - North West, United Kingdom
Joined: October 15, 2009
KitMaker: 1,976 posts
AeroScale: 1,789 posts
Posted: Tuesday, June 02, 2020 - 05:06 AM UTC
European Union
Joined: August 09, 2009
KitMaker: 1,732 posts
AeroScale: 1,336 posts
Posted: Tuesday, June 02, 2020 - 06:01 AM UTC
Good progress, Tim. Tamiya paints are quite good but they have a limited range so you always have to mix just like Revell. That's why I went for Vallejo some years ago. They have nearly every tone in their programm and my airbrush works well with them. Meanwhile I only use Tamiya paints for japanese aircraft because they look most realistic there.
Weathering on german late war aircraft is always a contentious point among modellers. But all that matters is that the modeller likes his work. Beside that we sometimes just take it too serious. In the end it's just painted plastic.
My campaigns for 2020:
MiGs - Done !
The Big Three - Done !
65 years Bundeswehr - Done !
40 years Leopard 2 - Done !
Land Lease - Done !
litespeed
 News Reporter
England - North West, United Kingdom
Joined: October 15, 2009
KitMaker: 1,976 posts
AeroScale: 1,789 posts
Posted: Tuesday, June 02, 2020 - 10:01 AM UTC
Quoted Text
But all that matters is that the modeller likes his work. Beside that we sometimes just take it too serious. In the end it's just painted plastic.
Your absolutely correct there Torsten. Just fancied trying something different with the weathering. If it doesn't quite turn out as I expect then move onto the next build with a bit more experience in my pocket

It is meant to be fun....
Madrid, Spain / EspaŮa
Joined: December 19, 2016
KitMaker: 366 posts
AeroScale: 58 posts
Posted: Wednesday, June 03, 2020 - 07:52 PM UTC
Very smooth painting Tim!! I really like it.
It's a pity the short range of (realistic) Tamiya colours. They're my favorite paints altogether Gunze. But sometime it's difficult to find equivalences for Tamiya.
Regards!
litespeed
 News Reporter
England - North West, United Kingdom
Joined: October 15, 2009
KitMaker: 1,976 posts
AeroScale: 1,789 posts
Posted: Wednesday, June 03, 2020 - 10:26 PM UTC
Quoted Text
That's why I went for Vallejo some years ago. They have nearly every tone in their programm and my airbrush works well with them.
I can see the sense in that Torsten. Trouble with mixing paints is trying to match the colour again when having to touch up areas. I try to mix as much paint as I think I need then a bit more just in case. But it would be much easier having the colour already mixed up

litespeed
 News Reporter
England - North West, United Kingdom
Joined: October 15, 2009
KitMaker: 1,976 posts
AeroScale: 1,789 posts
Posted: Wednesday, June 03, 2020 - 10:28 PM UTC
Quoted Text
Very smooth painting Tim!! I really like it.
It's a pity the short range of (realistic) Tamiya colours. They're my favorite paints altogether Gunze. But sometime it's difficult to find equivalences for Tamiya.
Thanks Nacho, yes I am seriously considering a change of paint manufacturer. Trouble is I like Tamiya paints a lot

litespeed
 News Reporter
England - North West, United Kingdom
Joined: October 15, 2009
KitMaker: 1,976 posts
AeroScale: 1,789 posts
Posted: Wednesday, June 03, 2020 - 10:43 PM UTC
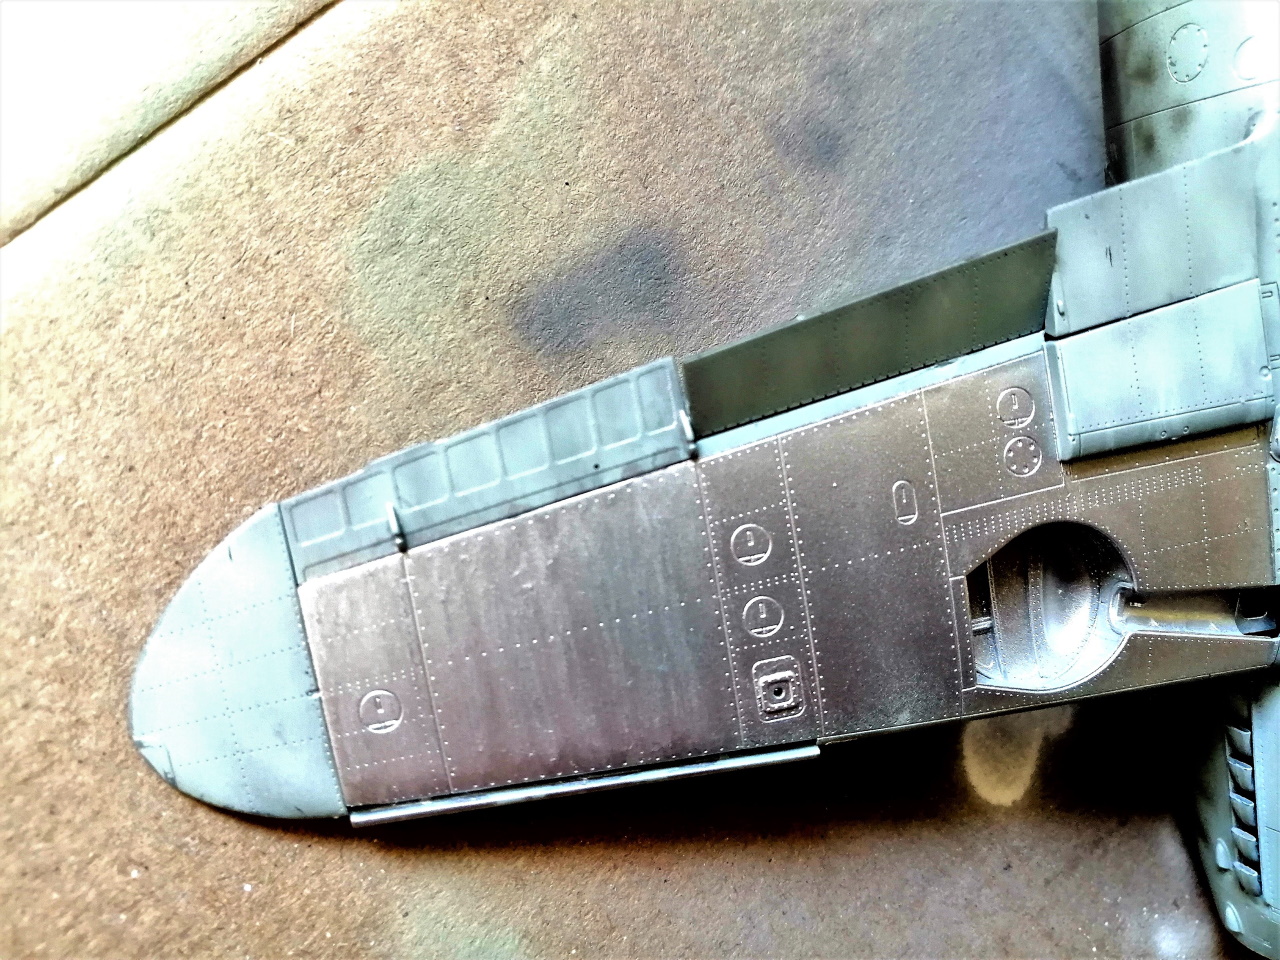
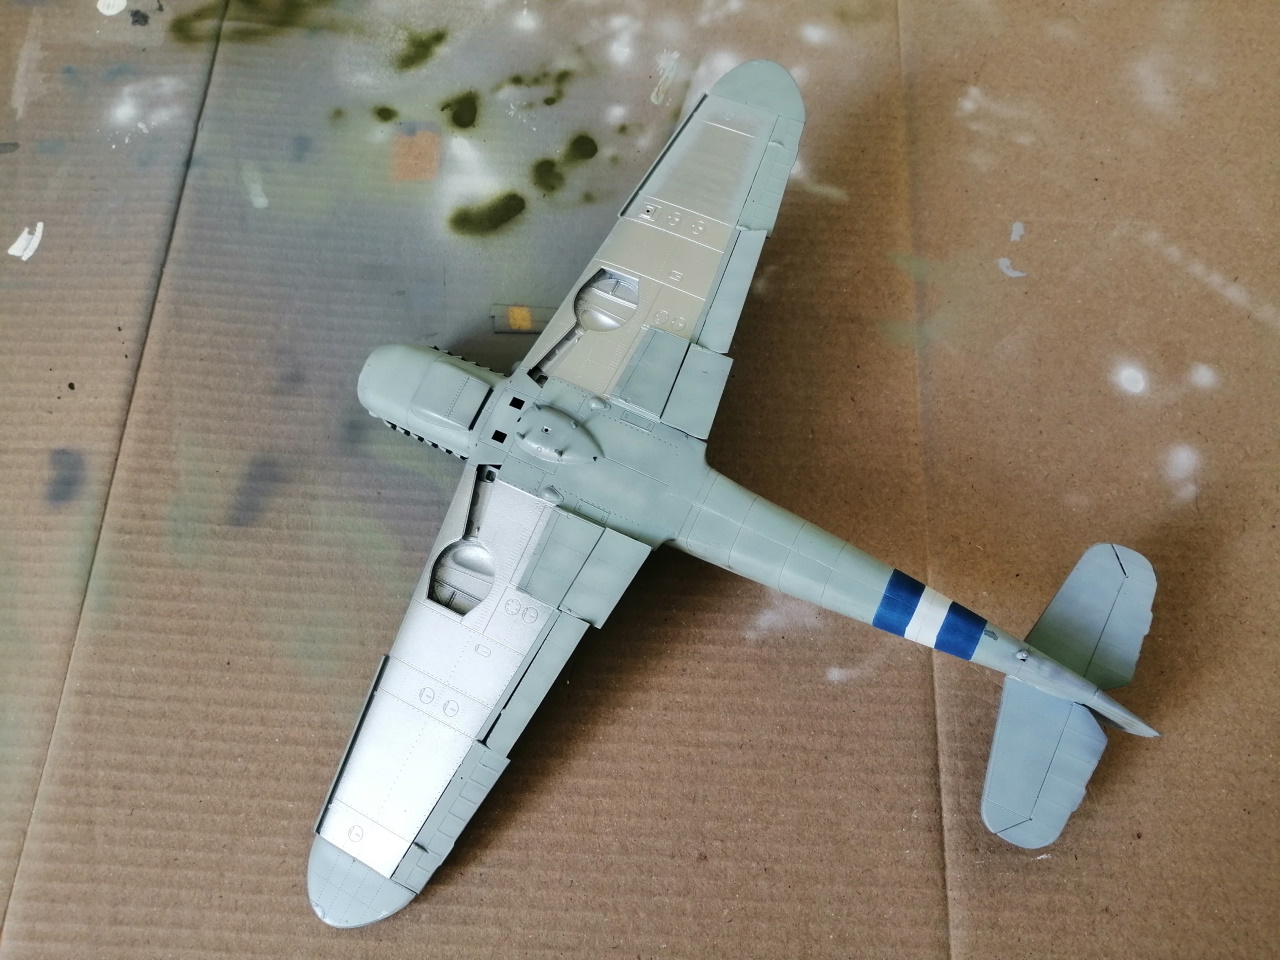
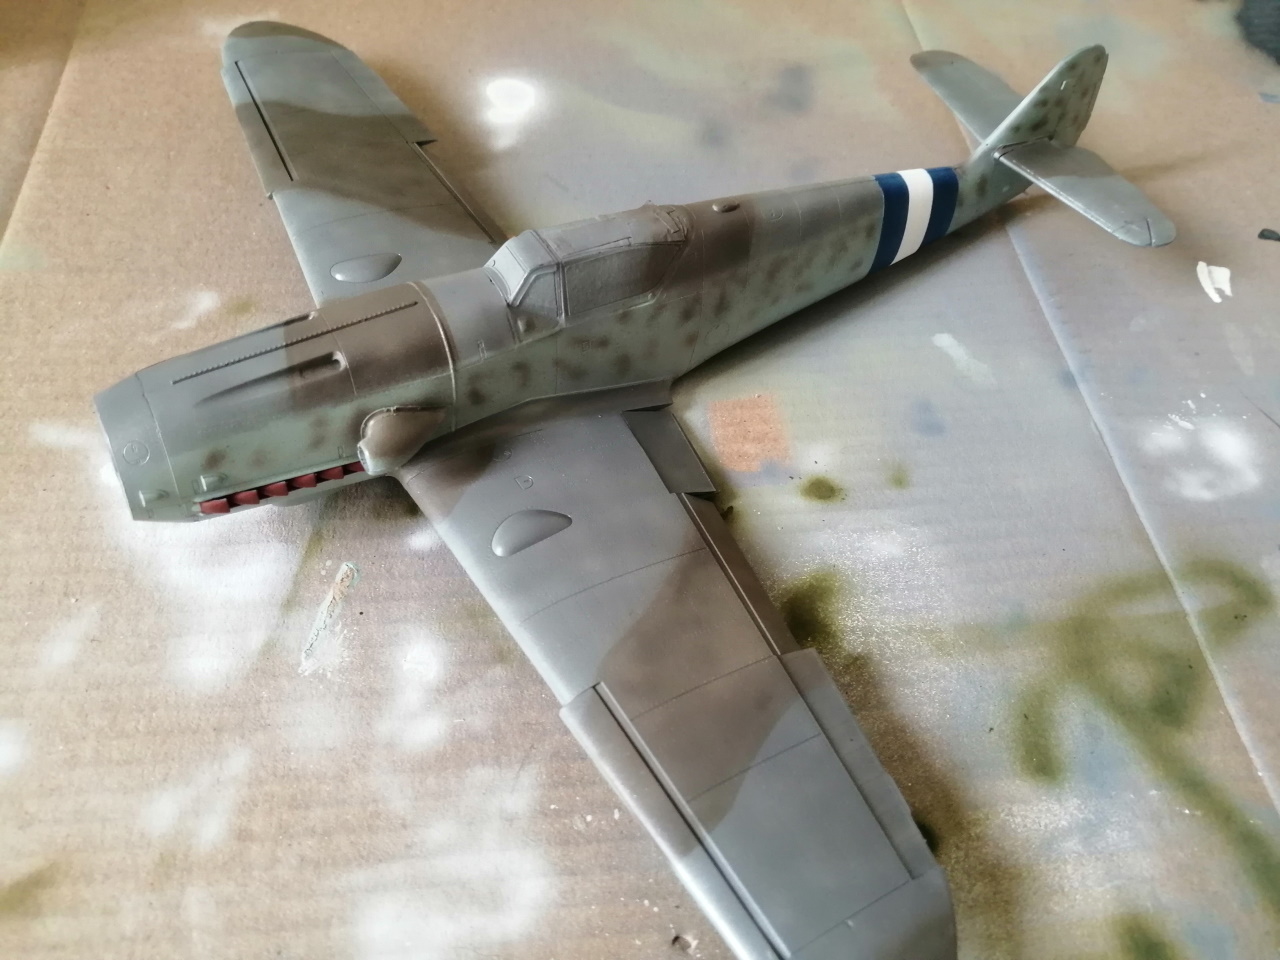
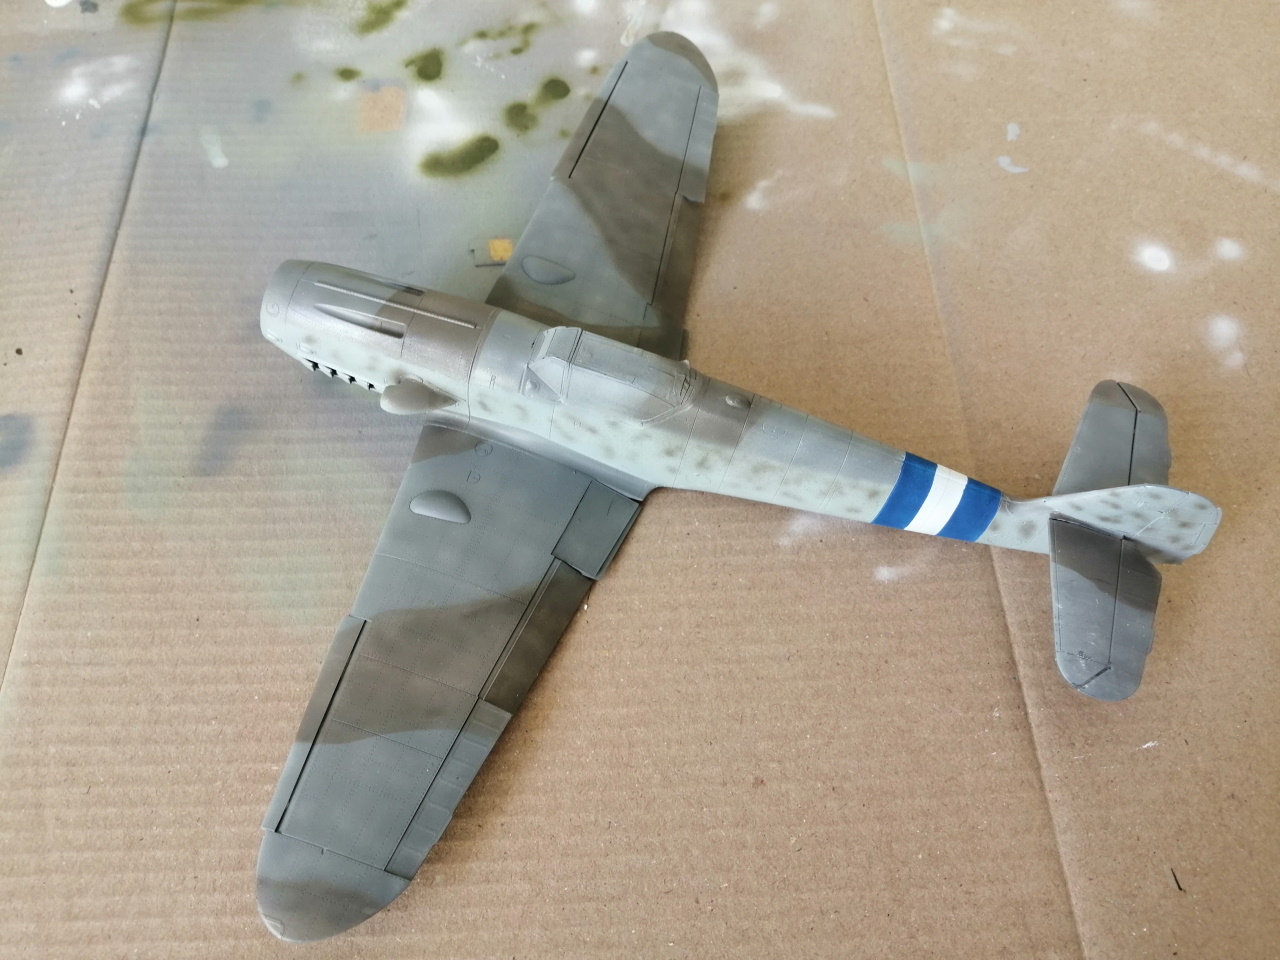
Well had a bit of a nightmare over the last couple of days. I used Vallejoís Aluminium paint for the first time for the unpainted areas under the wings. Normally I use Alclad II, but I have no thinners. Also the fumes are beginning to put me off. Very impressed with the results, though I did thin the paint slightly. Then left the kit alone to dry for a day or so. I started applying Kleer to the model in preparation for the decals. I noticed that the Vallejo aluminium didnít like it at all. Luckily, I had only applied it to the outer panel of the left wing so no real harm done. It was weird it almost rejuvenated the paint and it started to spread it around. I tend to apply Kleer with a brush, donít like it in the airbrush. Could I get away with it by calling it a weathered look? No not really it just looked like a mess and it had ridges. So I sanded the paint back re-applied the Hellblau then sprayed the aluminium over it. I applied three coats of Vallejoís gloss finish over the aluminium parts, after testing it on a scrap bit of plastic this time!
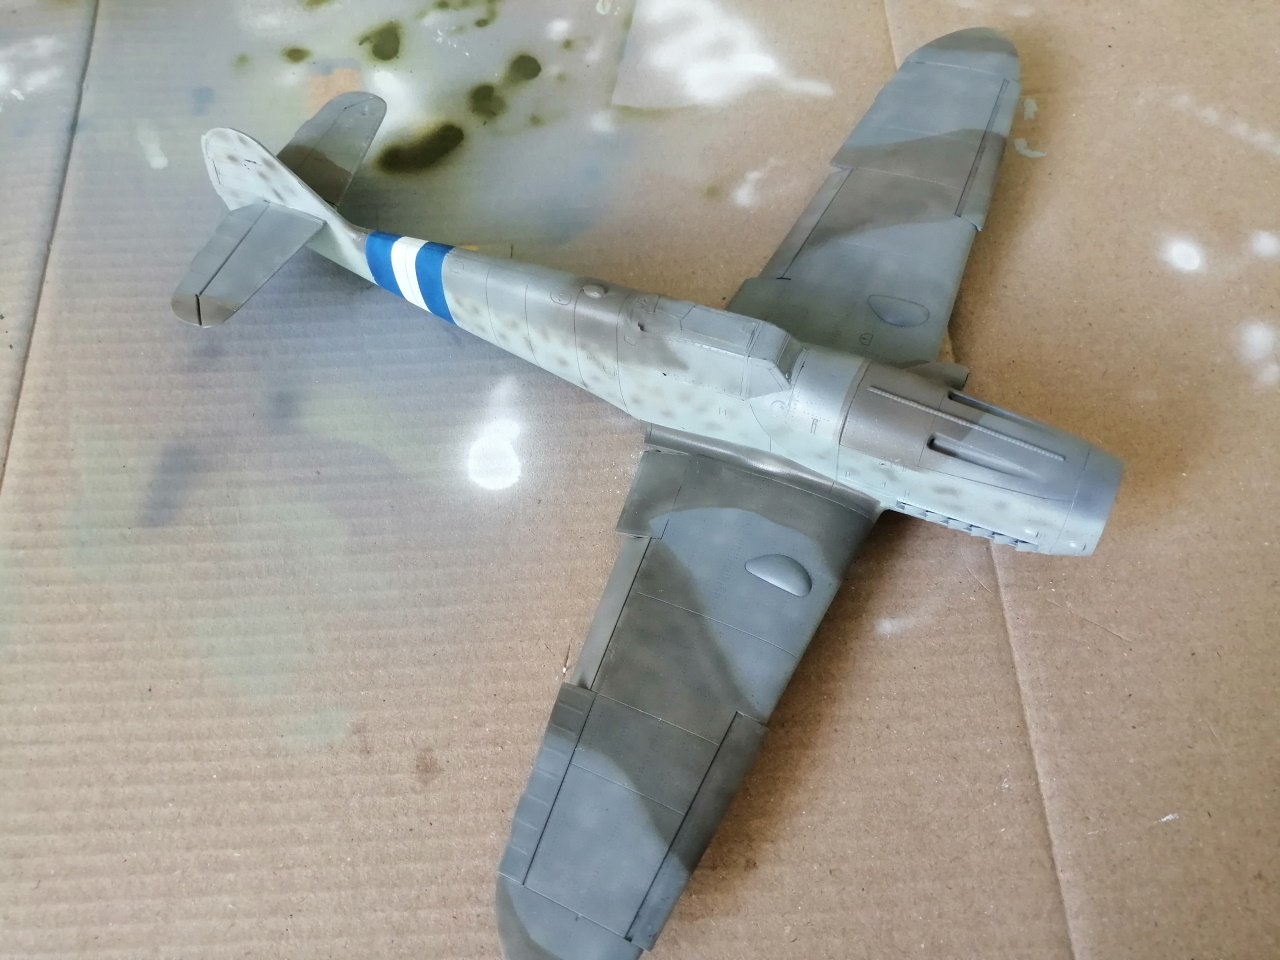
I carried on applying the Kleer on the rest of the kit. I also noticed there was a slight bleed from the Tamiya blue paint into the white on the fuselage band. I had to re-mask and apply some more white paint.
After three coats it became a slippery so and so. It slipped [it leapt honest!] out of my hands and dropped it on the floor knocking off the tail wheel and something is loose in the cockpit! Could have been a lot worse.
Modelling sure is an adventure 😊
litespeed
 News Reporter
England - North West, United Kingdom
Joined: October 15, 2009
KitMaker: 1,976 posts
AeroScale: 1,789 posts
Posted: Thursday, June 11, 2020 - 07:21 PM UTC
European Union
Joined: August 09, 2009
KitMaker: 1,732 posts
AeroScale: 1,336 posts
Posted: Friday, June 12, 2020 - 03:44 AM UTC
Comes along nicely, Tim. That aluminium underside looks quite unusual. How did you solve that problem with Klear you had?
Quoted Text
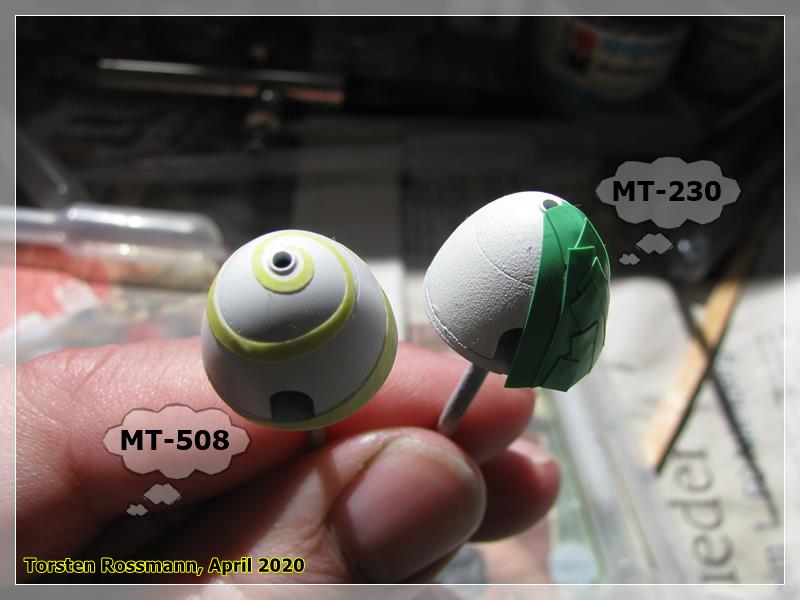
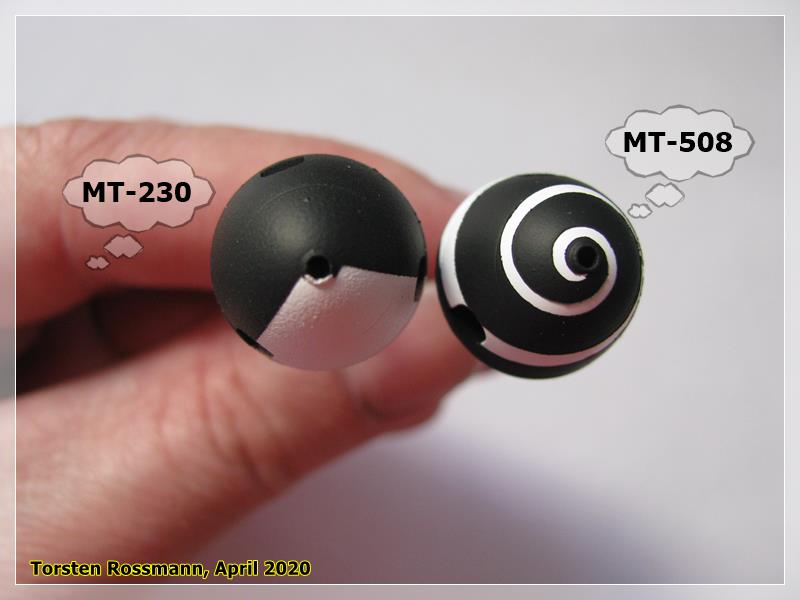
.... I must admit I struggled with the spinner decal. The first one just would not sit correctly ....
I also always had problems with these decals but since I have discovered that Eduard has their
spinner spiral masks EX 500, I don't use them anymore. I can highly recommend them! And they don't cost the world

My campaigns for 2020:
MiGs - Done !
The Big Three - Done !
65 years Bundeswehr - Done !
40 years Leopard 2 - Done !
Land Lease - Done !


