litespeed
 News Reporter
England - North West, United Kingdom
Joined: October 15, 2009
KitMaker: 1,976 posts
AeroScale: 1,789 posts
Posted: Sunday, August 30, 2020 - 03:22 AM UTC
European Union
Joined: August 09, 2009
KitMaker: 1,732 posts
AeroScale: 1,336 posts
Posted: Sunday, August 30, 2020 - 03:39 AM UTC
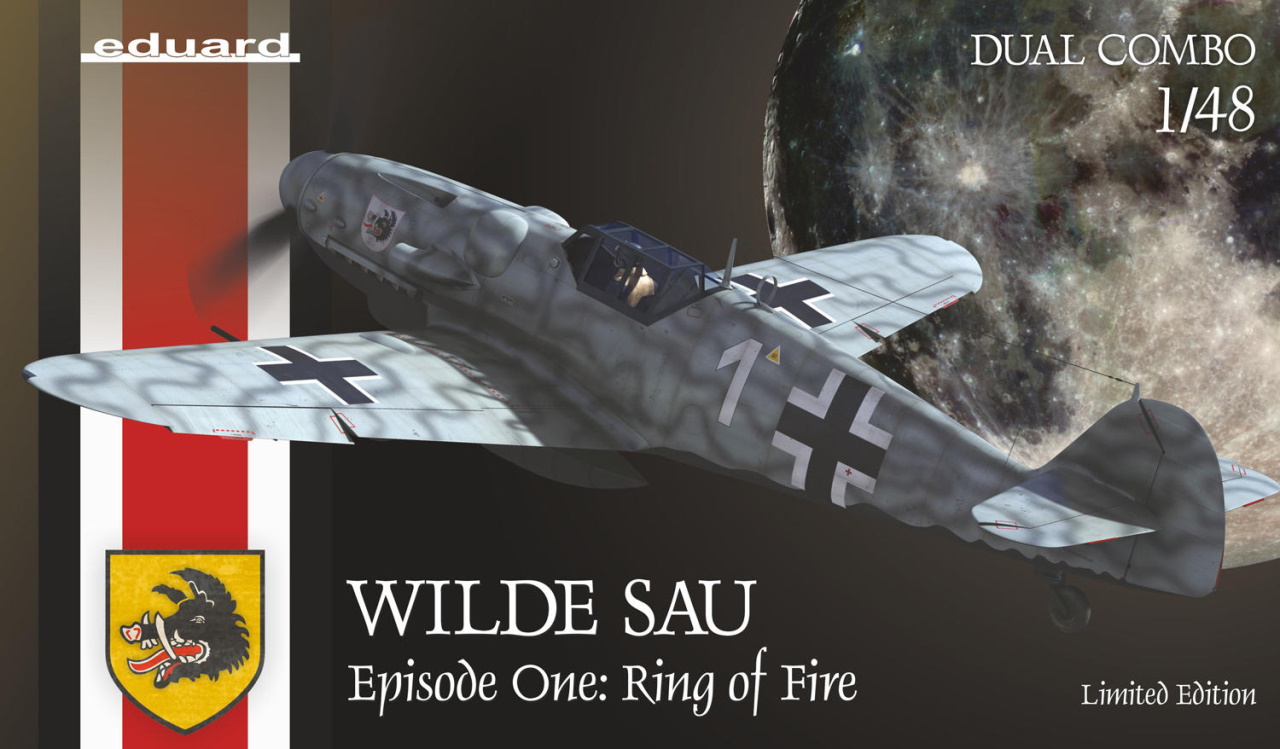
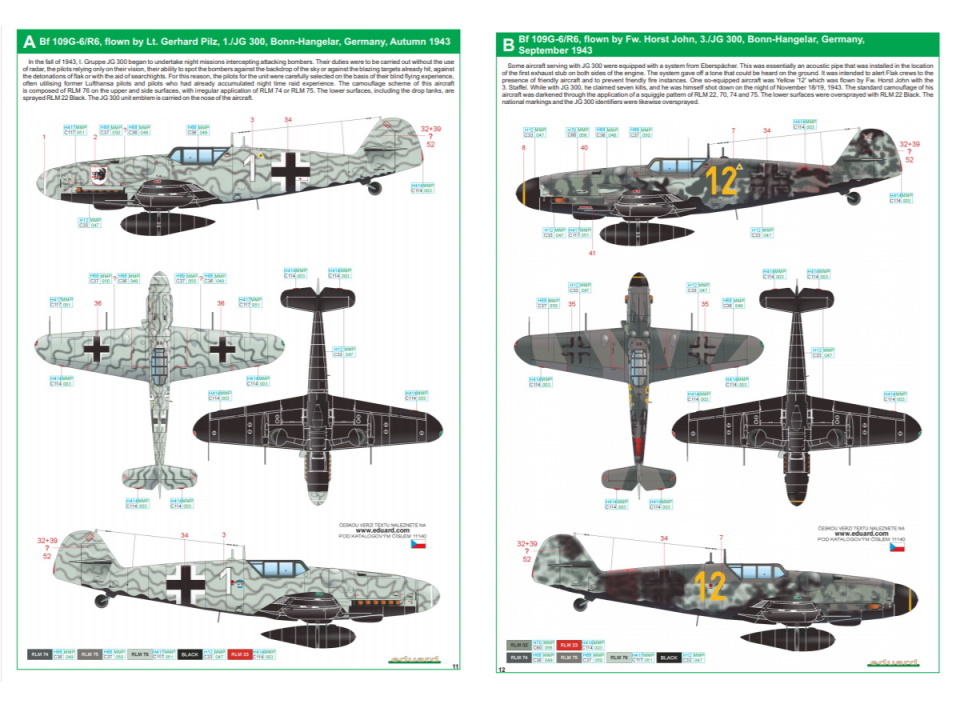
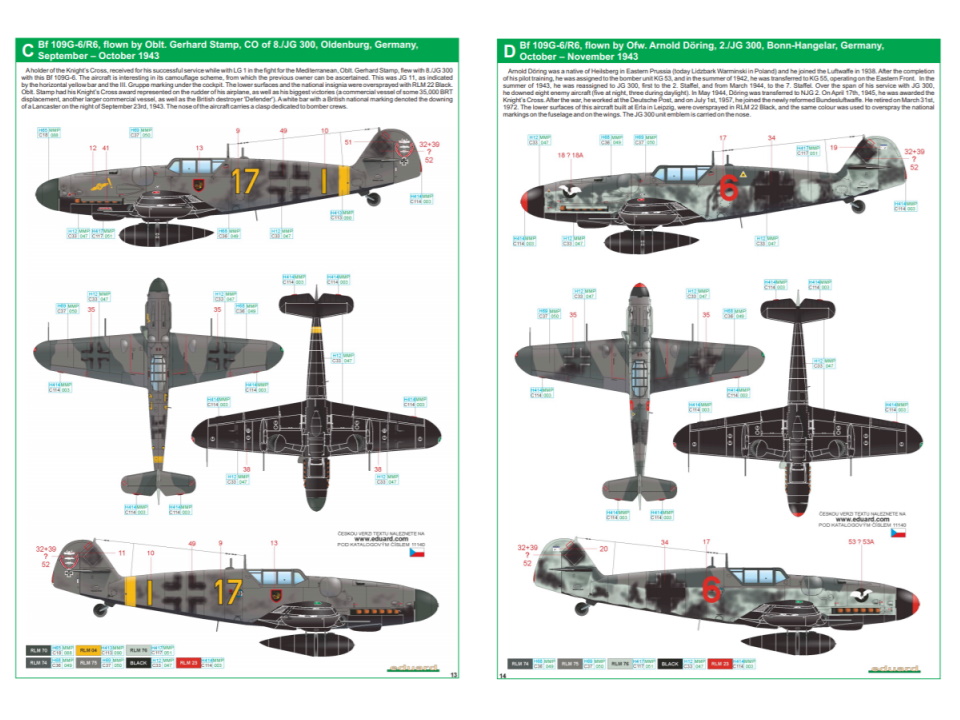
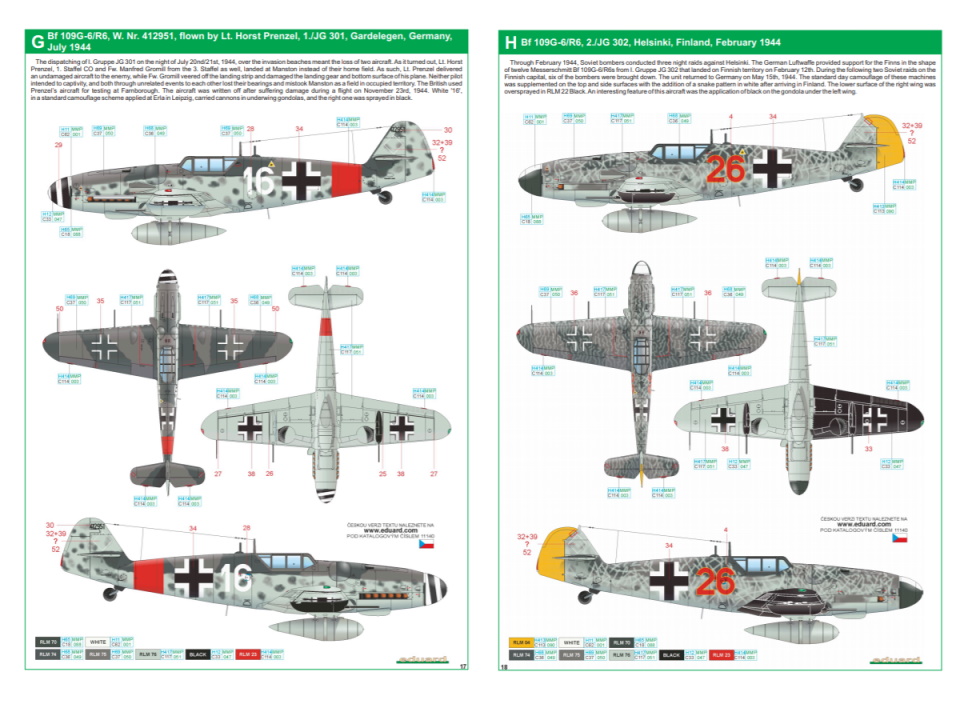
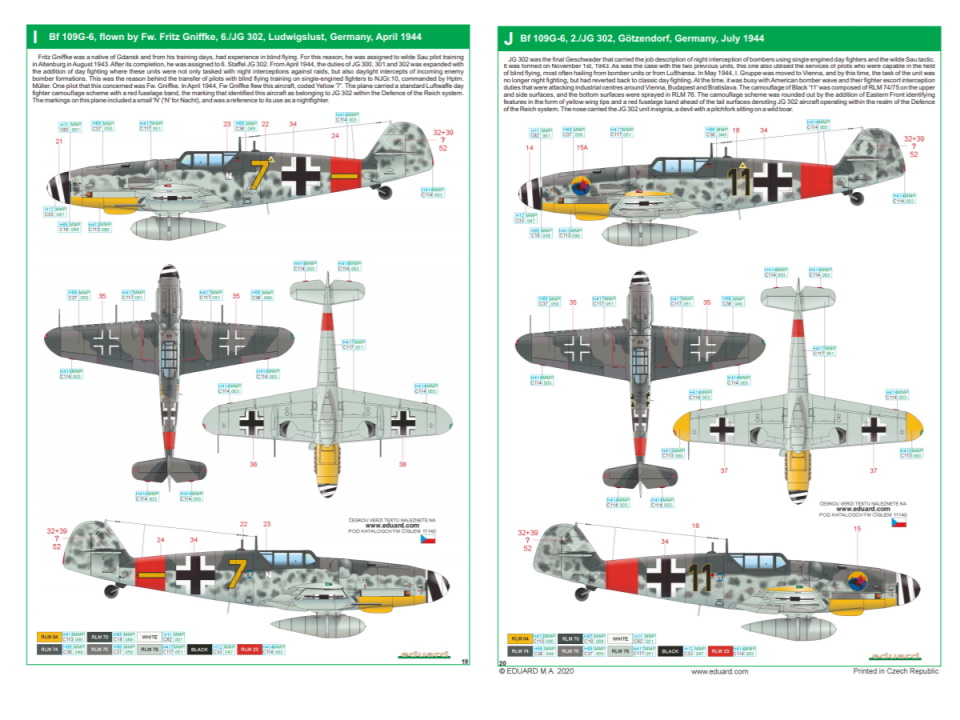
I thought I have enough Bf 109 kits in my stash to last me at least a few years but when I saw this limited edition recently on the Eduard side, I was hooked. I'll get that kit as soon as I'm back from holdidays. These decal options are just too tempting. The Eduard 109 G's in quarterscale are probably the best beside the new Tamiya kit.
So here I am and will look over your shoulder, Tim ....

My campaigns for 2020:
MiGs - Done !
The Big Three - Done !
65 years Bundeswehr - Done !
40 years Leopard 2 - Done !
Land Lease - Done !
litespeed
 News Reporter
England - North West, United Kingdom
Joined: October 15, 2009
KitMaker: 1,976 posts
AeroScale: 1,789 posts
Posted: Monday, August 31, 2020 - 11:00 AM UTC
Good to have you onboard Torsten

Yes the marking options are pretty mouth watering...
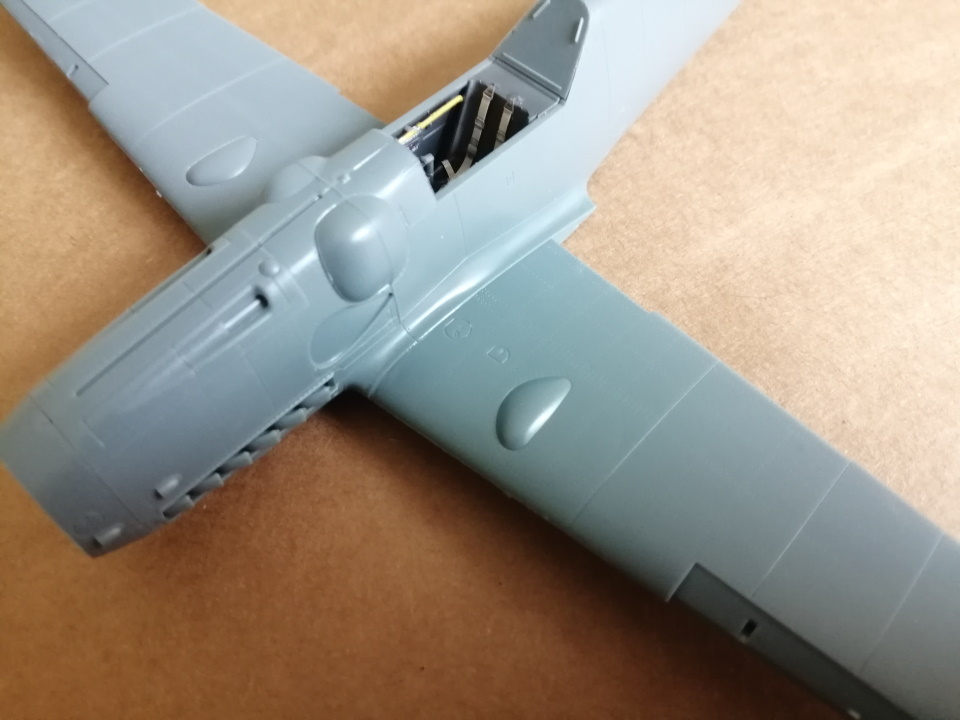
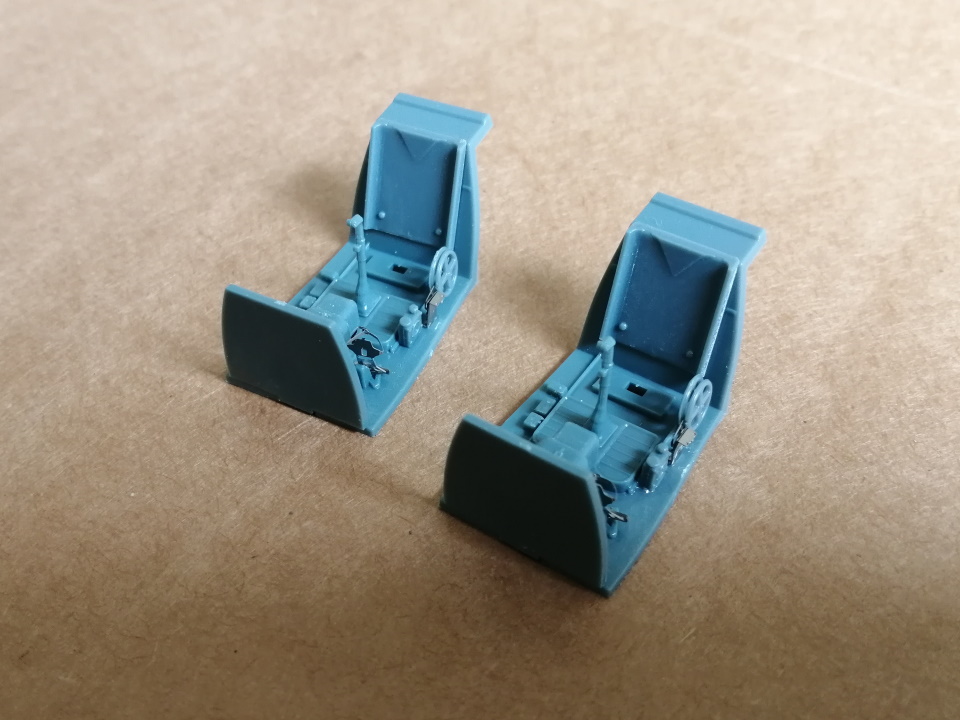
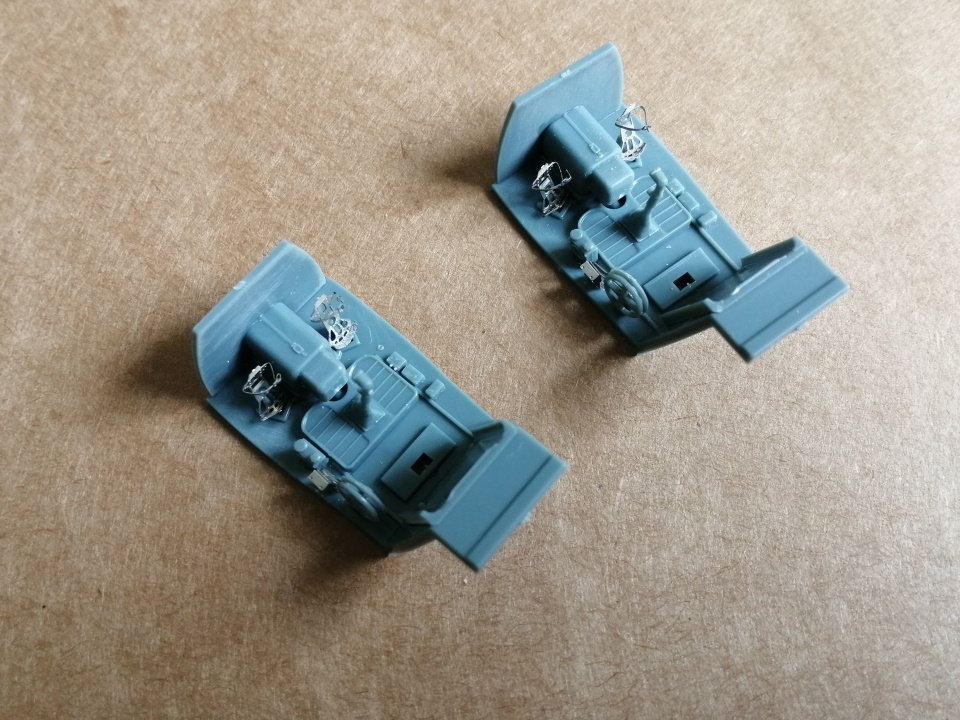
Cockpit is going together really well. The PE rudder pedals are a little tricky to build. A cocktail stick is useful for supporting the strap, whilst trying to thread one end through the other.
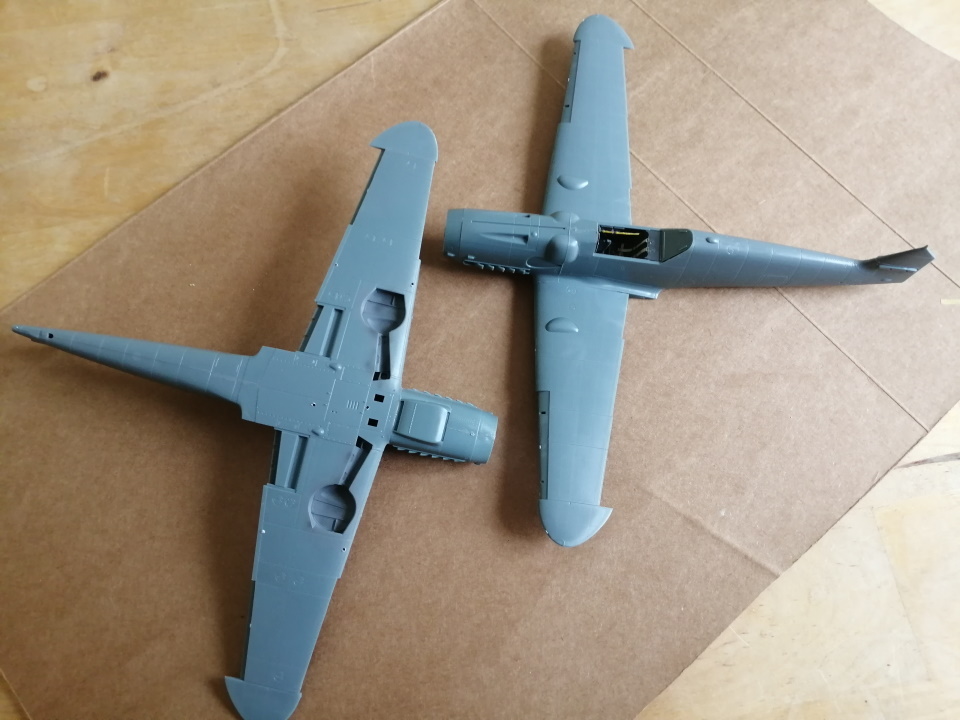
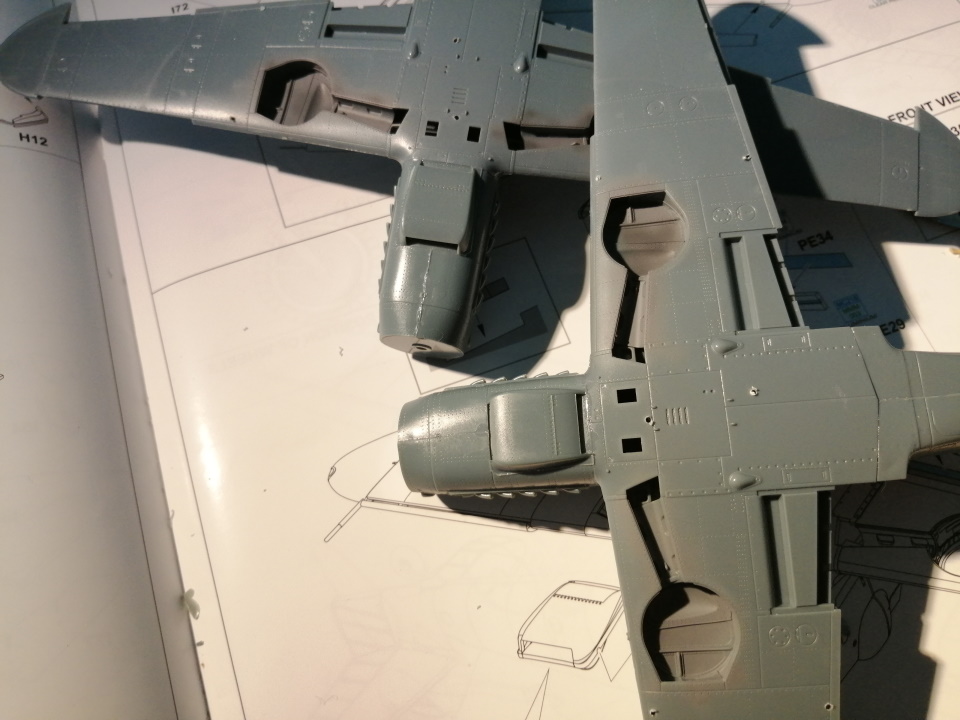
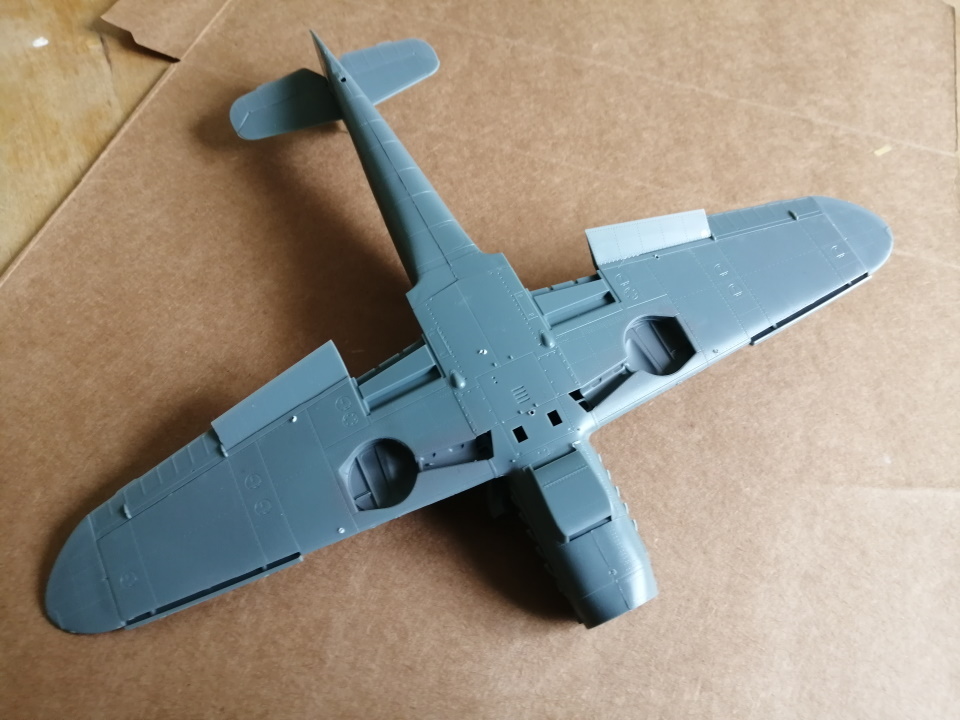
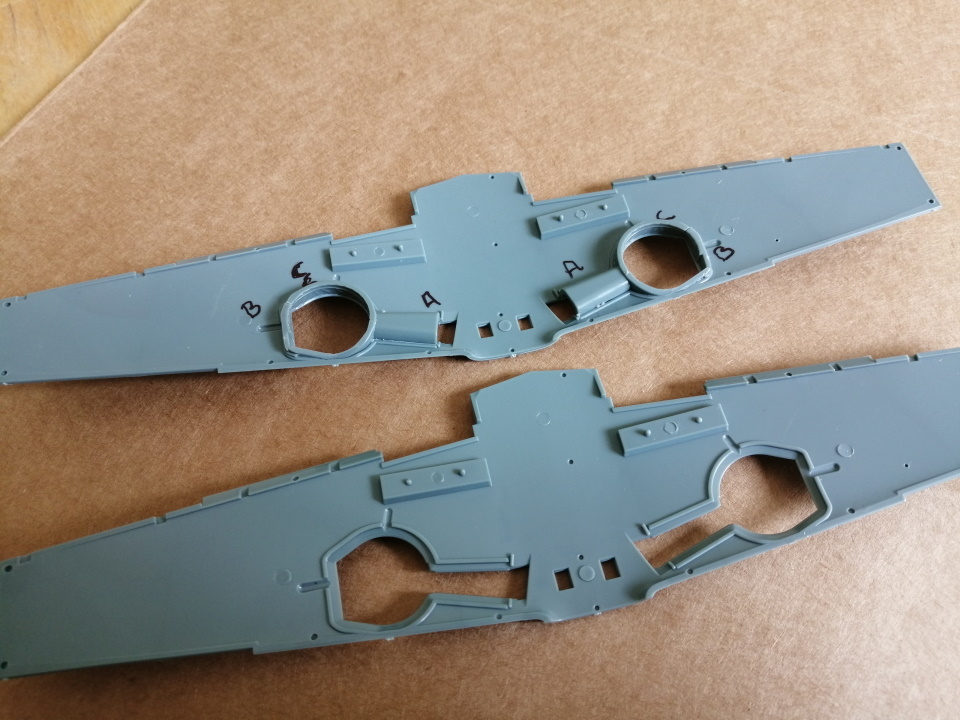
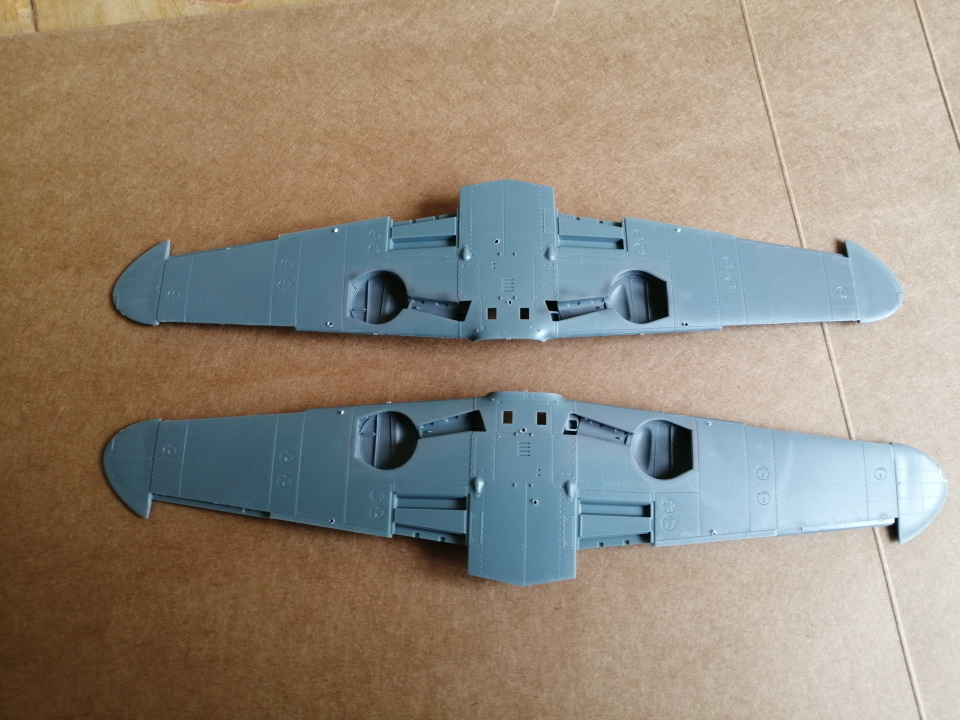
The wheel well walls are easy enough to put together. There are ripples in the plastic representing the folds of the leather that made up the walls. The ceilings of the wheel wells are nicely detailed. The fit of the upper wing to the lower wing is good.
litespeed
 News Reporter
England - North West, United Kingdom
Joined: October 15, 2009
KitMaker: 1,976 posts
AeroScale: 1,789 posts
Posted: Tuesday, September 01, 2020 - 10:53 AM UTC
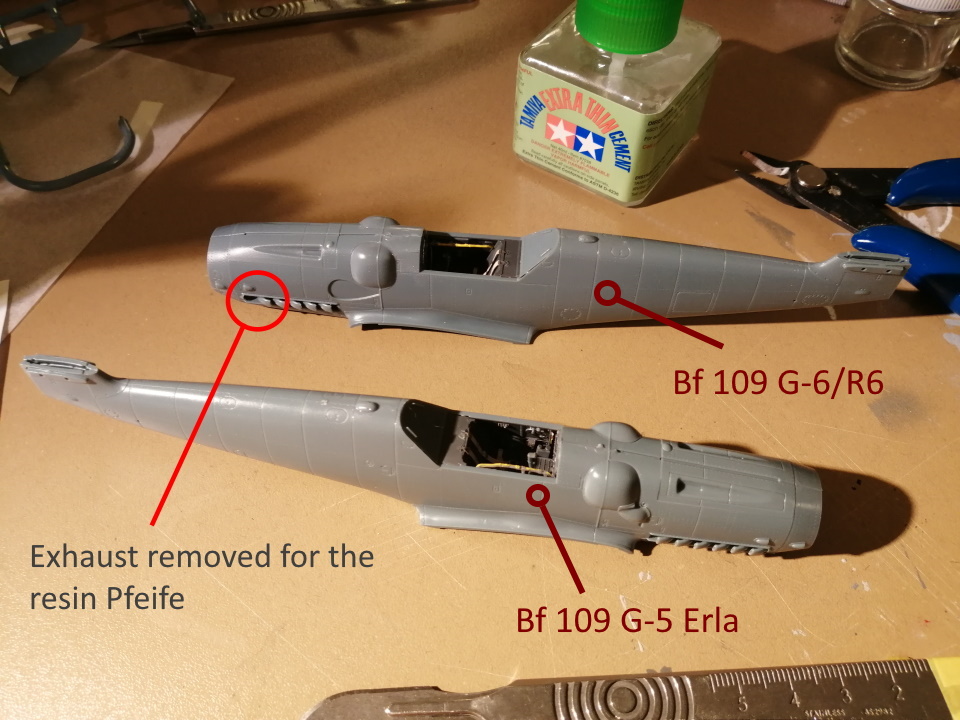
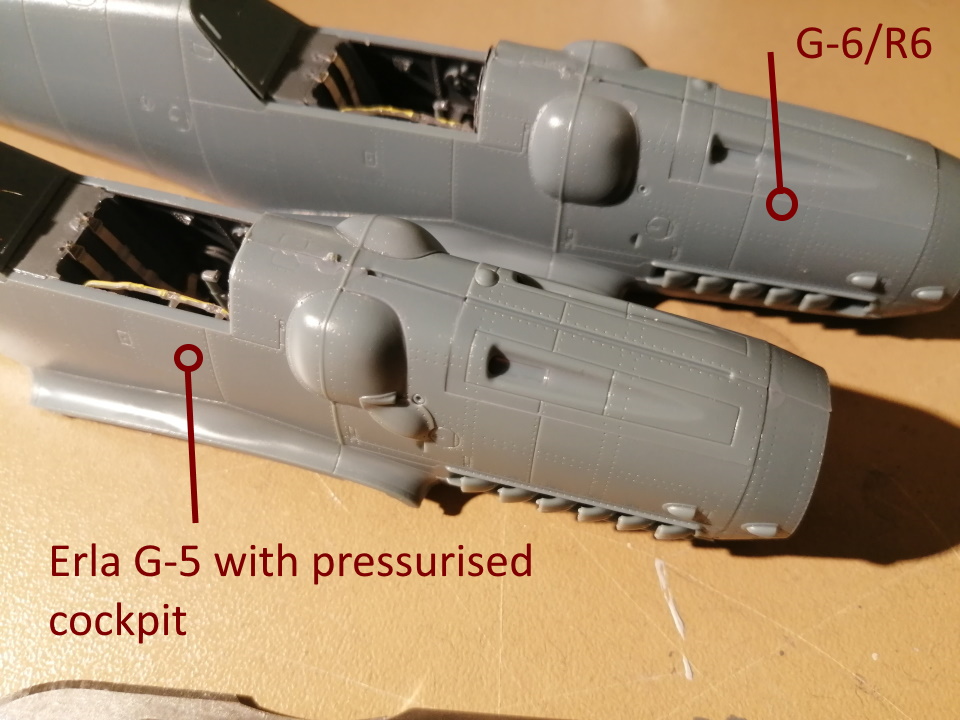
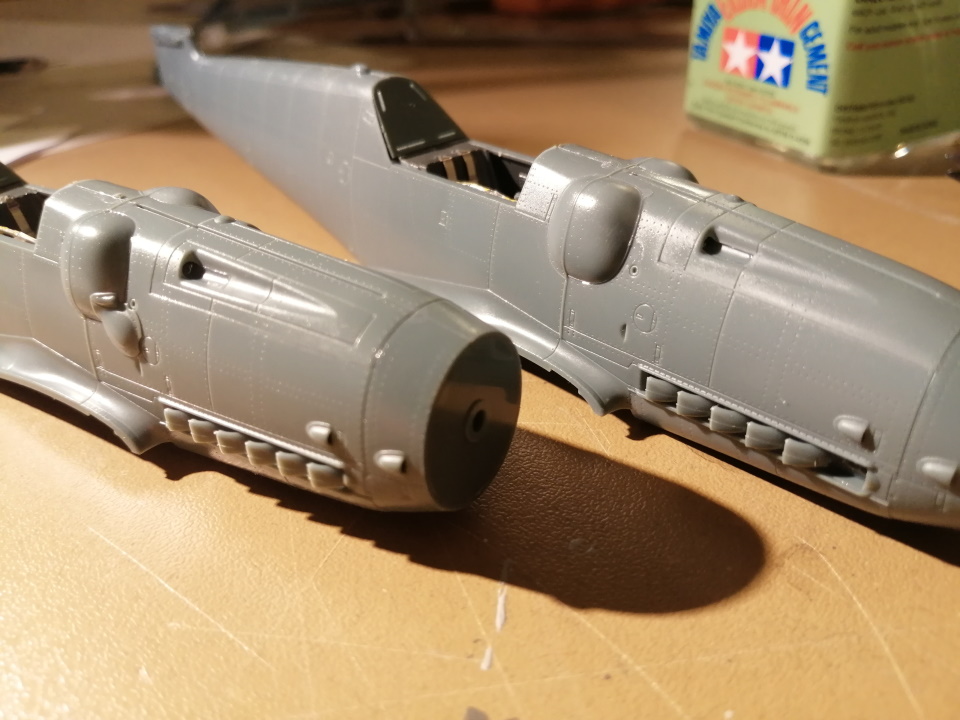
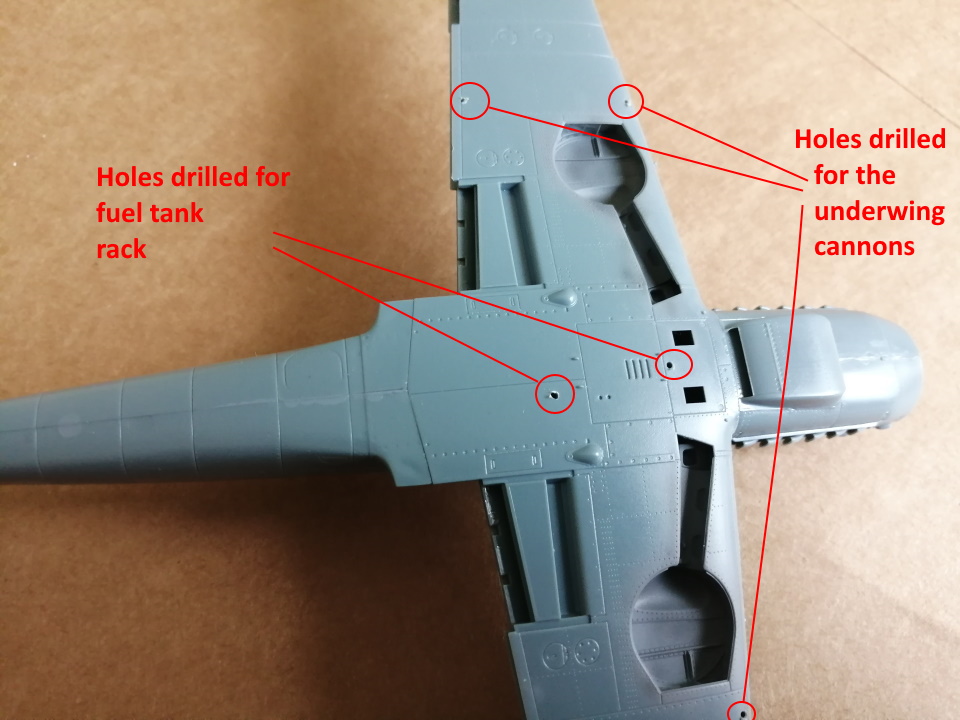
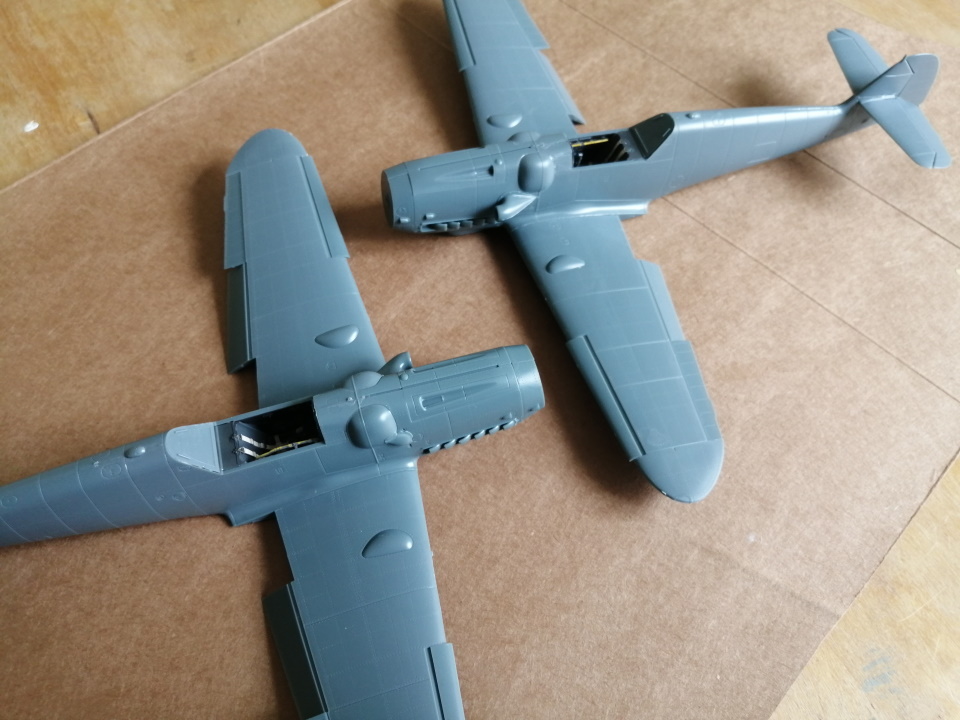
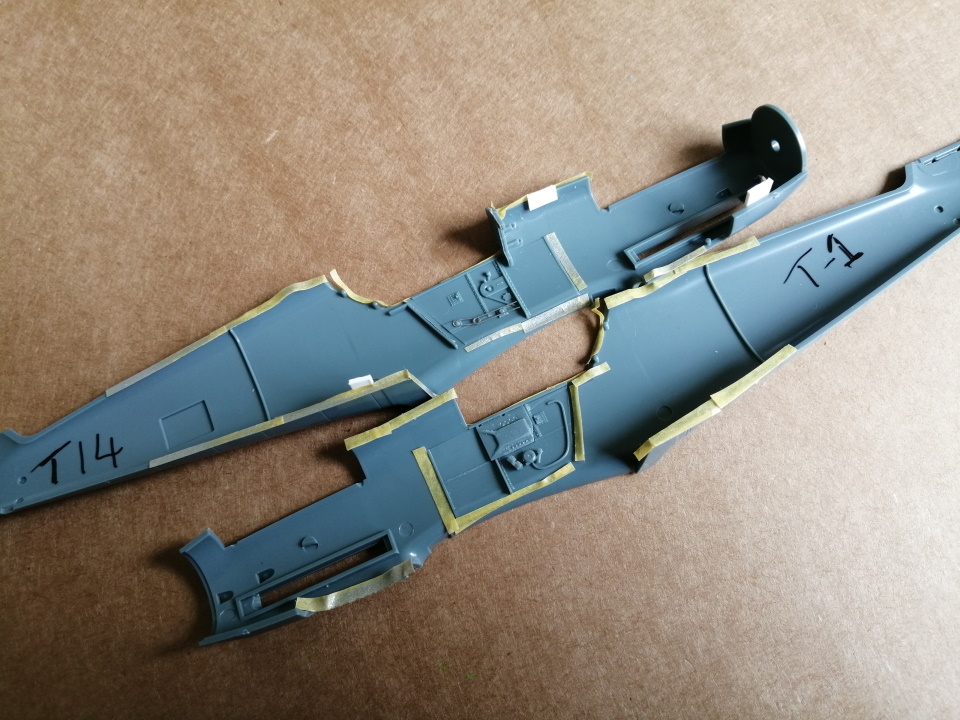
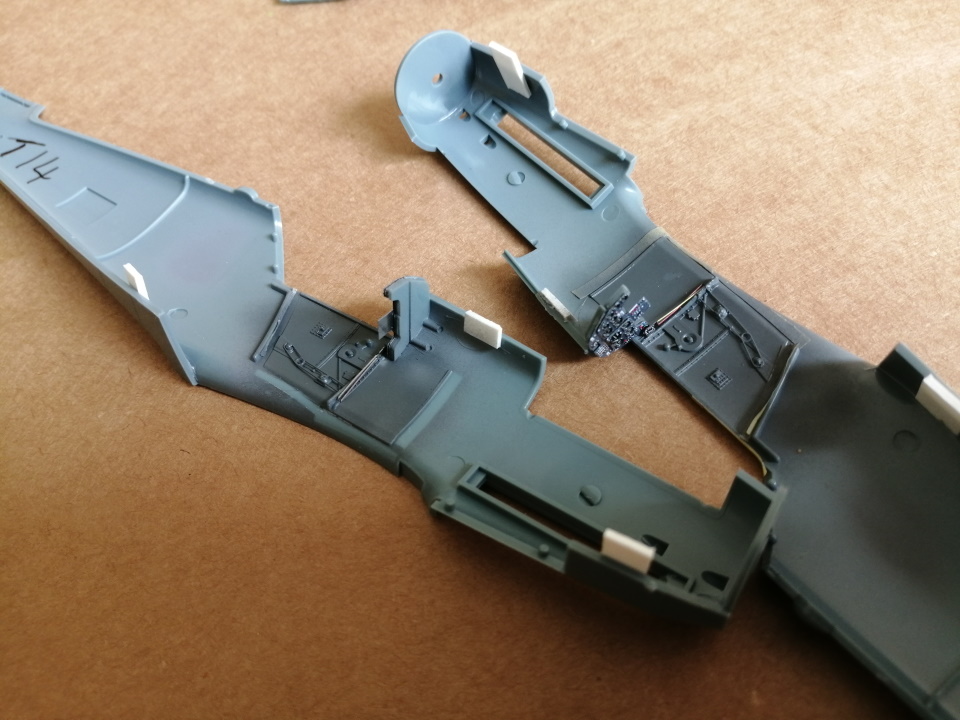
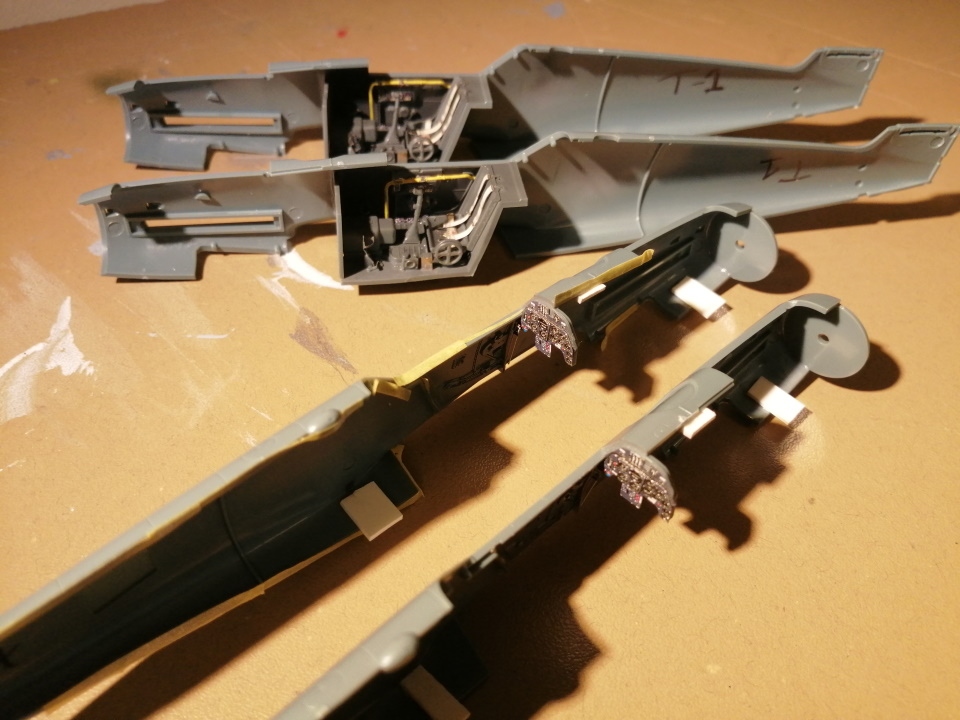
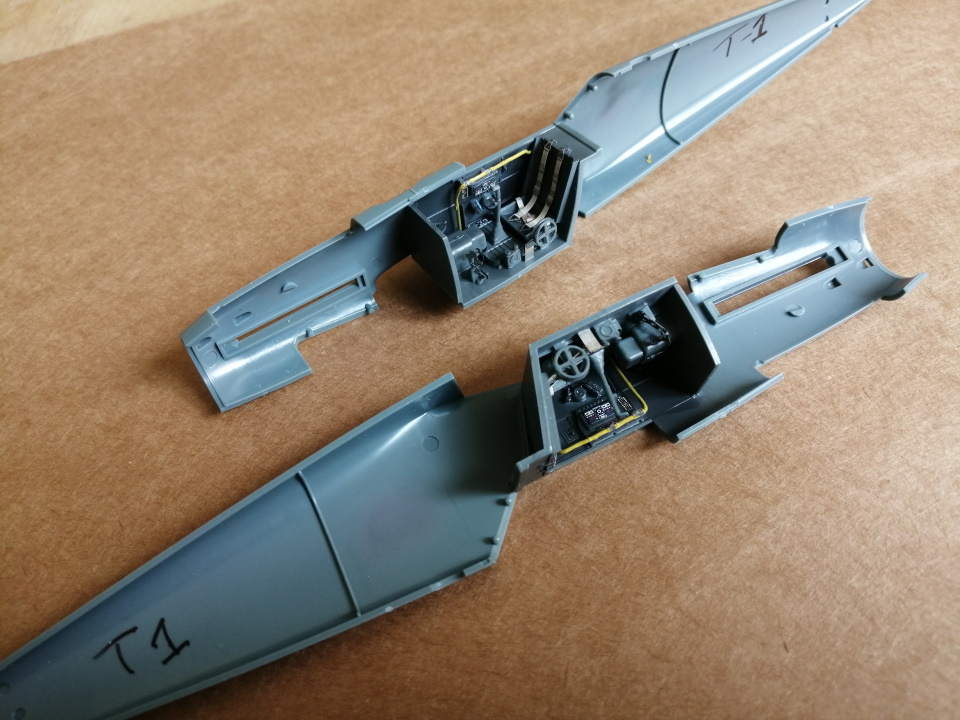
Most of the parts for the cockpit have been added and painted. The photo etched parts add some interest to the cockpit. I did drill a couple of holes for the clear plastic fuel pipe that will be fitted on the right. Eduard indicate the contact point by a couple of small depressions. I’ve found in the past that they need seating in rather than butt joining.
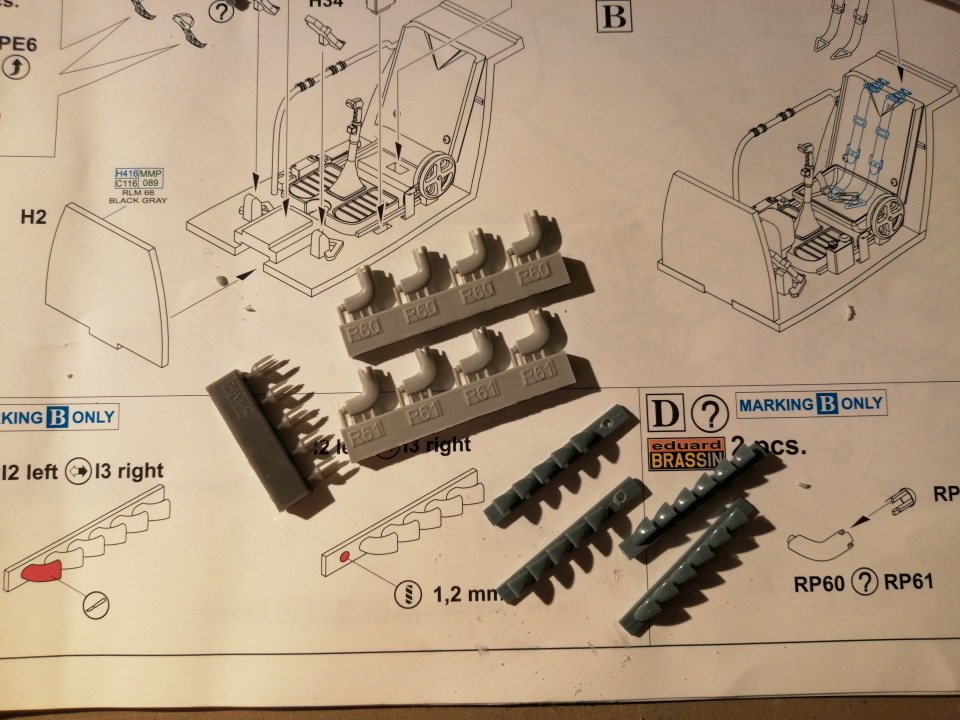
I was going to fit the resin Pfeife [pipes] to the exhausts, but realised they might be vulnerable to damage. So will fit them towards the end of the build.
The white plastic card was added to aid alignment of the fuselage halves.
litespeed
 News Reporter
England - North West, United Kingdom
Joined: October 15, 2009
KitMaker: 1,976 posts
AeroScale: 1,789 posts
Posted: Saturday, September 05, 2020 - 06:16 AM UTC
litespeed
 News Reporter
England - North West, United Kingdom
Joined: October 15, 2009
KitMaker: 1,976 posts
AeroScale: 1,789 posts
Posted: Sunday, September 13, 2020 - 12:25 PM UTC
litespeed
 News Reporter
England - North West, United Kingdom
Joined: October 15, 2009
KitMaker: 1,976 posts
AeroScale: 1,789 posts
Posted: Monday, September 14, 2020 - 11:42 AM UTC
AussieReg
 Associate Editor
#007
Victoria, Australia
Joined: June 09, 2009
KitMaker: 8,156 posts
AeroScale: 3,756 posts
Posted: Monday, September 14, 2020 - 12:14 PM UTC
Great work so far Tim, gotta love a dual build!
Interesting that Eduard still don't provide locating pins on the fuselage when the rest of their moulds seem to give such nice fit.
Cheers, D
ON the bench
Revell 1/24 '53 Corvette (building as '54)
Revell 1/24 BMW 507 Coupe and Cabrio
Italeri 1/48 Me262 B-1a/U1 Nightfighter
Monogram 1/24 '57 Chevy Nomad
Dragon 1/350 USS Frank Knox DD-742
litespeed
 News Reporter
England - North West, United Kingdom
Joined: October 15, 2009
KitMaker: 1,976 posts
AeroScale: 1,789 posts
Posted: Tuesday, September 15, 2020 - 12:42 AM UTC
Quoted Text
Interesting that Eduard still don't provide locating pins on the fuselage when the rest of their moulds seem to give such nice fit.
Hi Damian it certainly is interesting building two at once, but with the dual combo's of Eduard it seems like a natural thing to do.
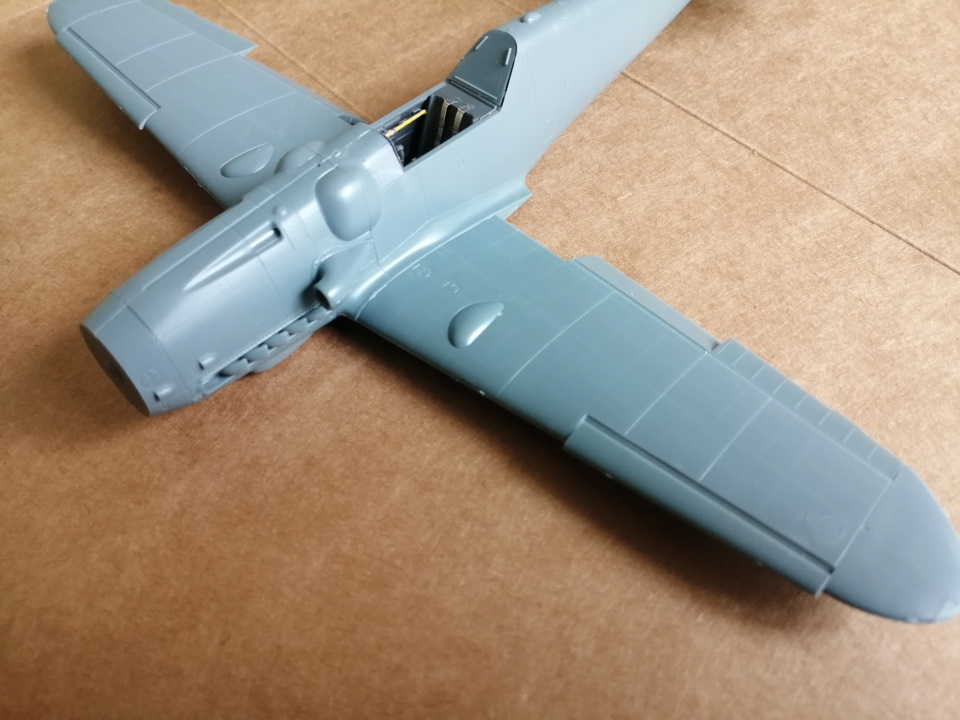
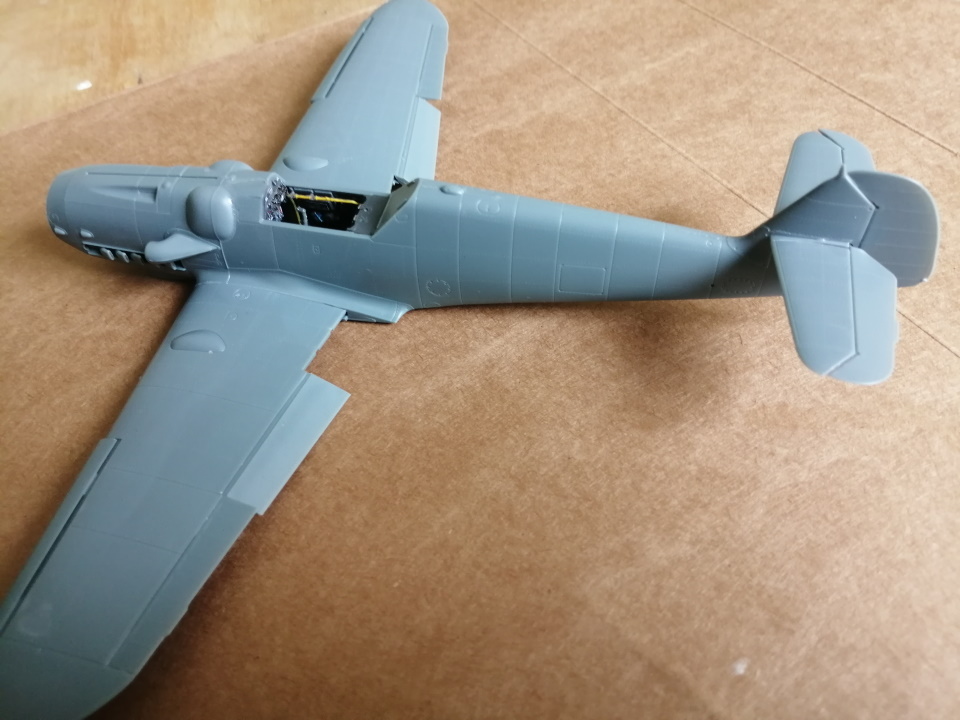
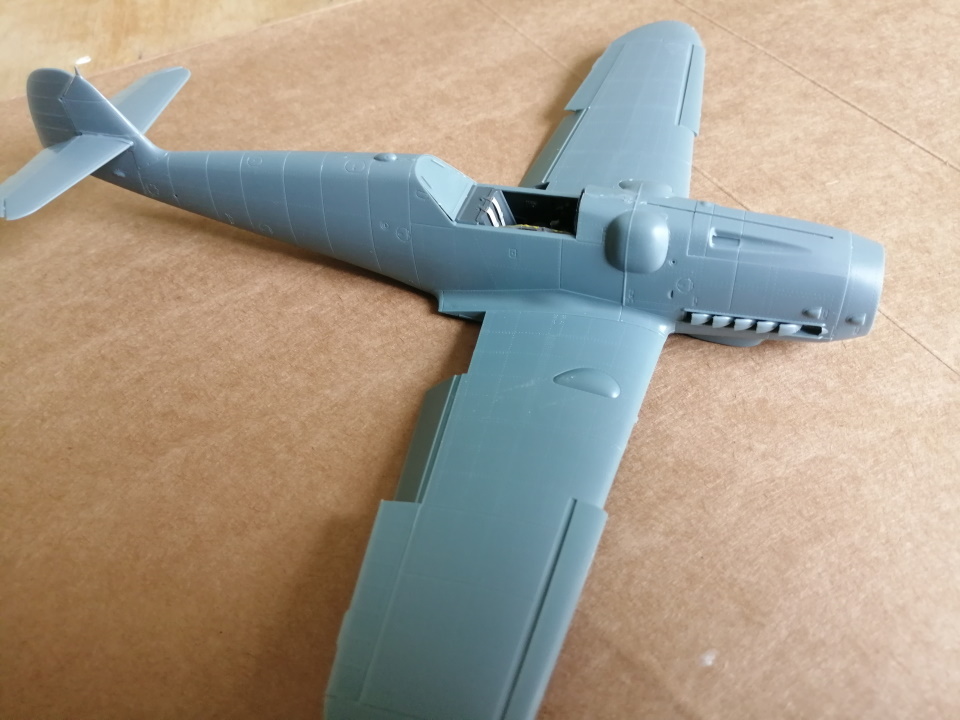
Regarding my addition of the plastic tabs on the fuselage, its just a belt and braces approach from me. I think you can get away easily without using them. The fit of the two fuselage halves is excellent. It has been my experience in the past when clamping things together, parts can and do move. So far I have not resorted to using clamps as the extra thin glue I'm using is ideal for this size of project. You can apply the glue, put pressure on the join with your fingers and within 20 seconds or so you have a secure joint. Conversely on some kits I have removed locating pins as they can be a hindrance if they are misaligned.

litespeed
 News Reporter
England - North West, United Kingdom
Joined: October 15, 2009
KitMaker: 1,976 posts
AeroScale: 1,789 posts
Posted: Thursday, September 17, 2020 - 06:01 AM UTC
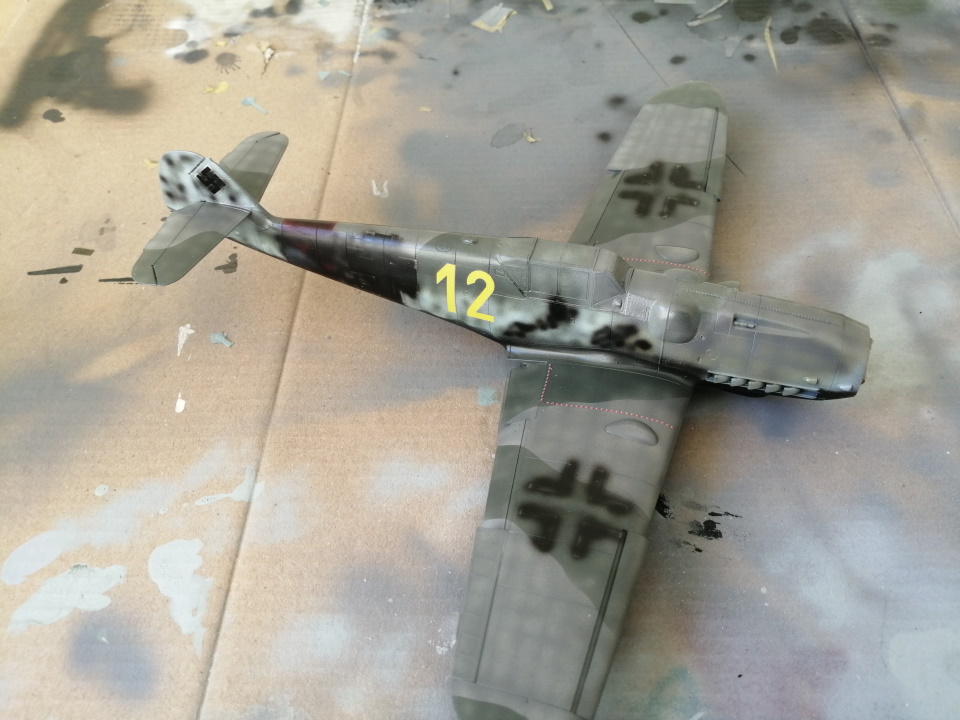
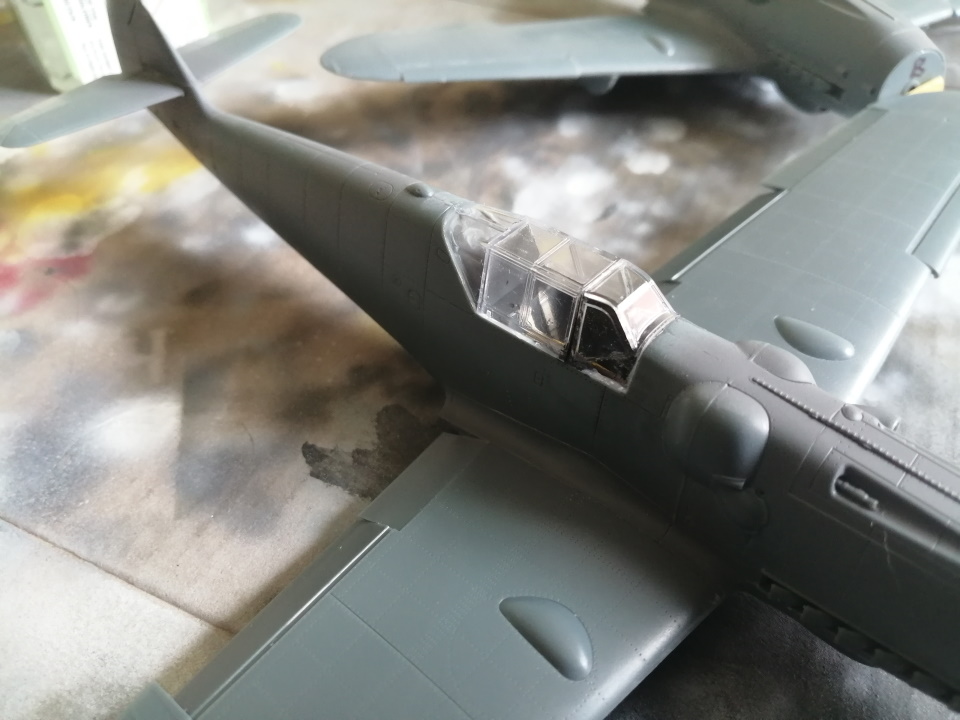
The cockpits have different types of rear armour. There are three types in all, two using clear plastic. The one on the ‘E’ attaches to the rear of the canopy. It’s a mitred but join, but make sure it is flush with rear of the canopy. Otherwise you will need to trim the canopy down to fit the space between the windscreen and clear fairing aft of the canopy. I thought I did, but nope, the canopy didn’t fit. So needed to file down the front of the canopy for it to fit. Not perfect fit, hence the very small area of filler in the gap between the windscreen and canopy..
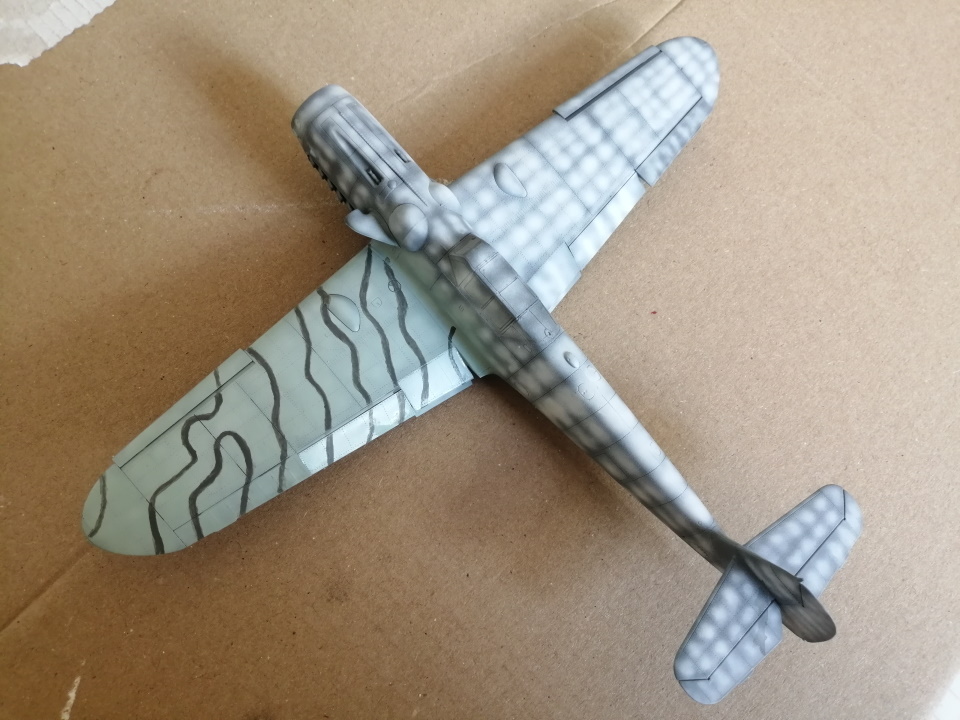
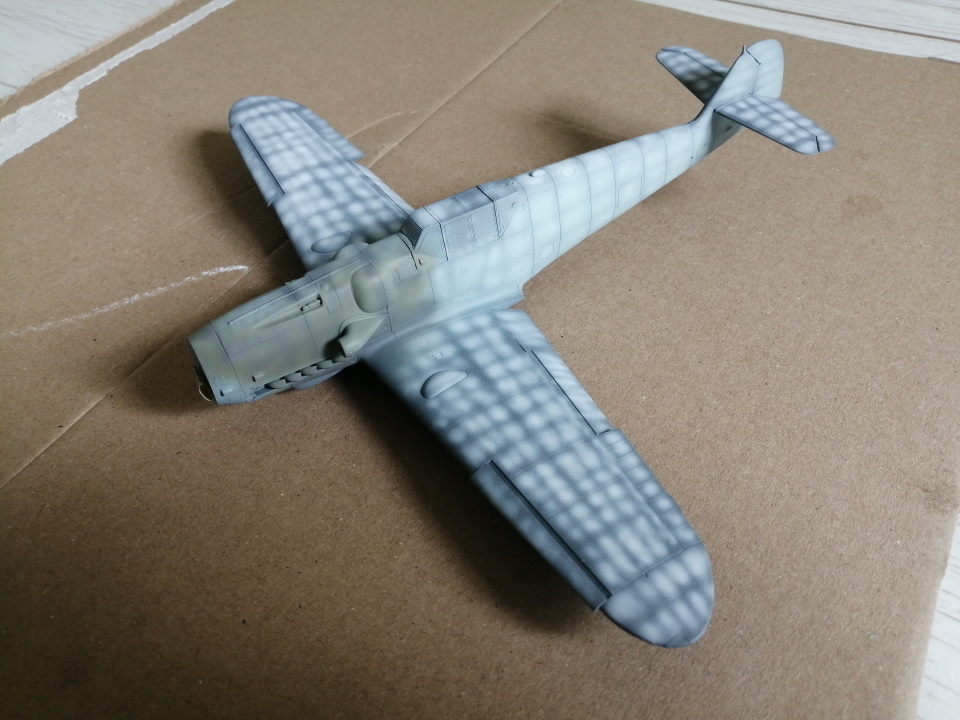
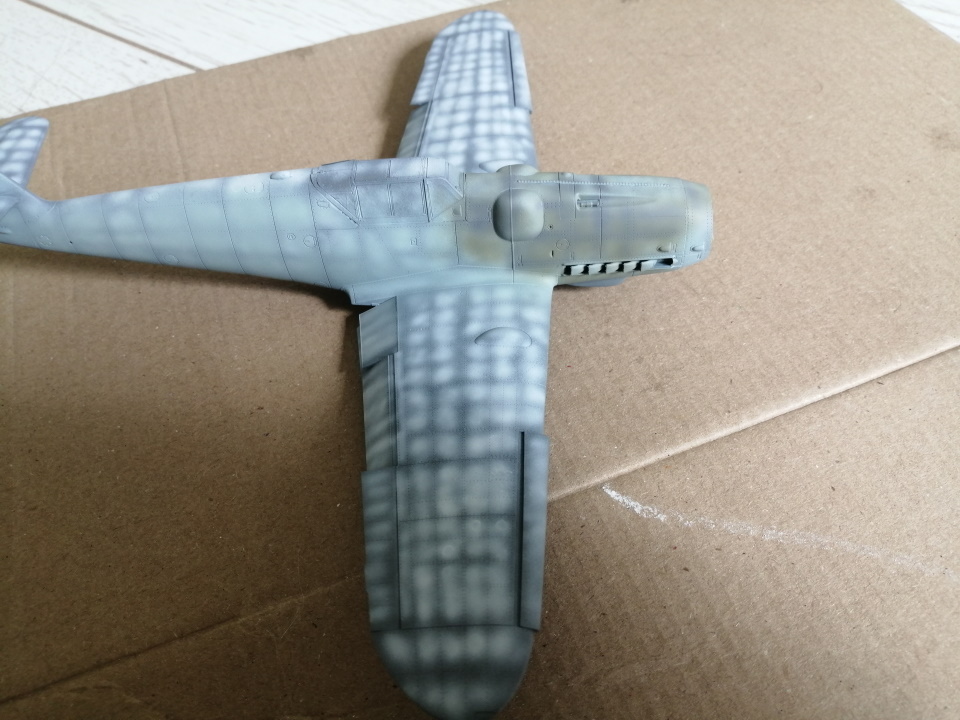
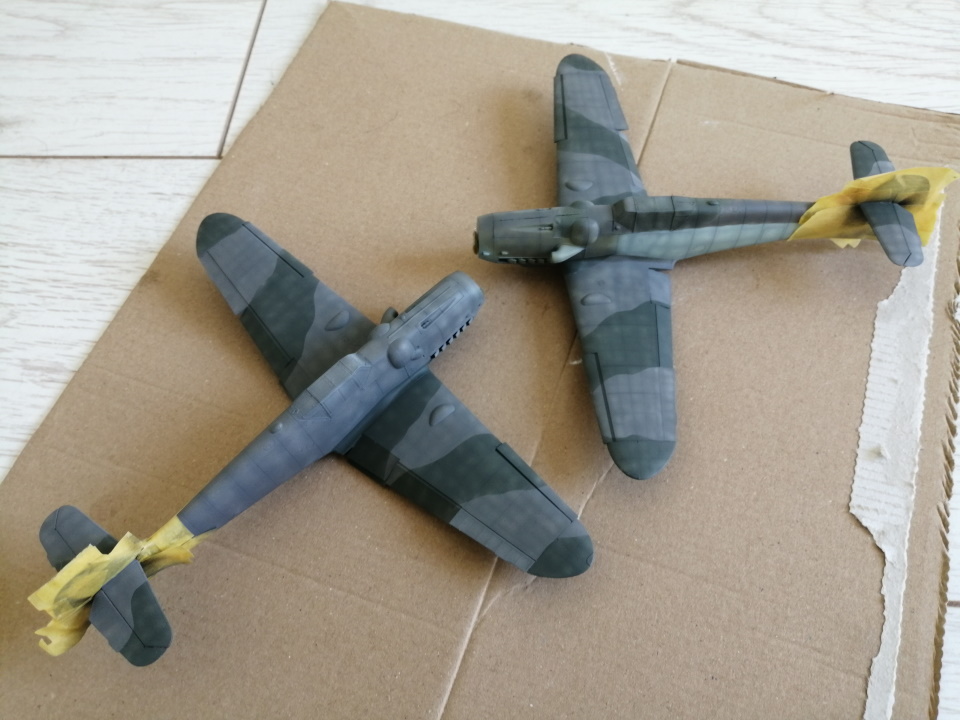
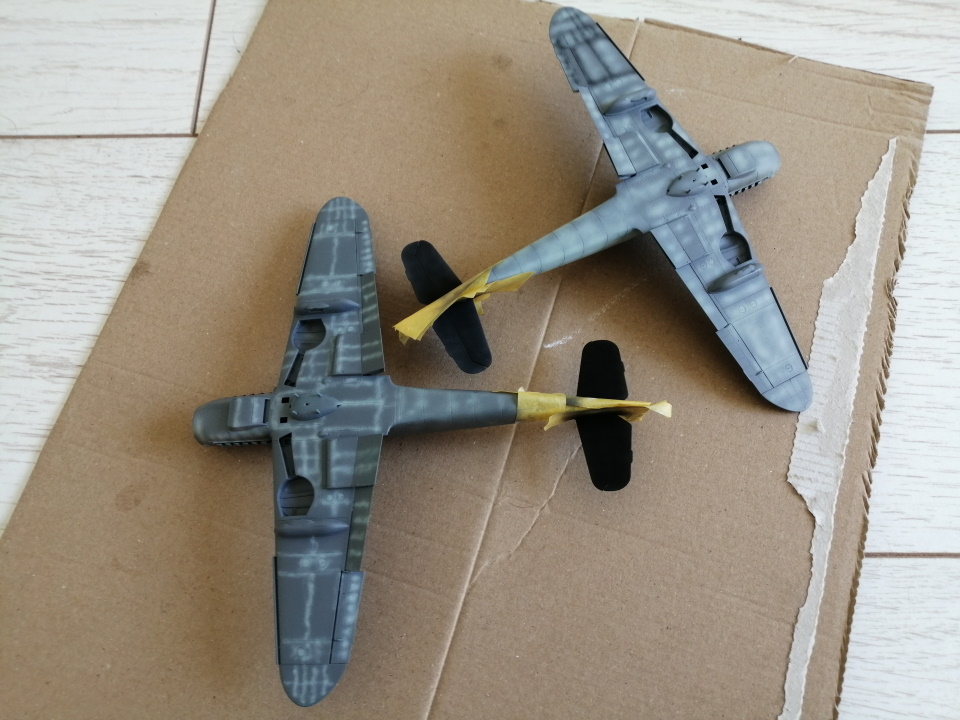
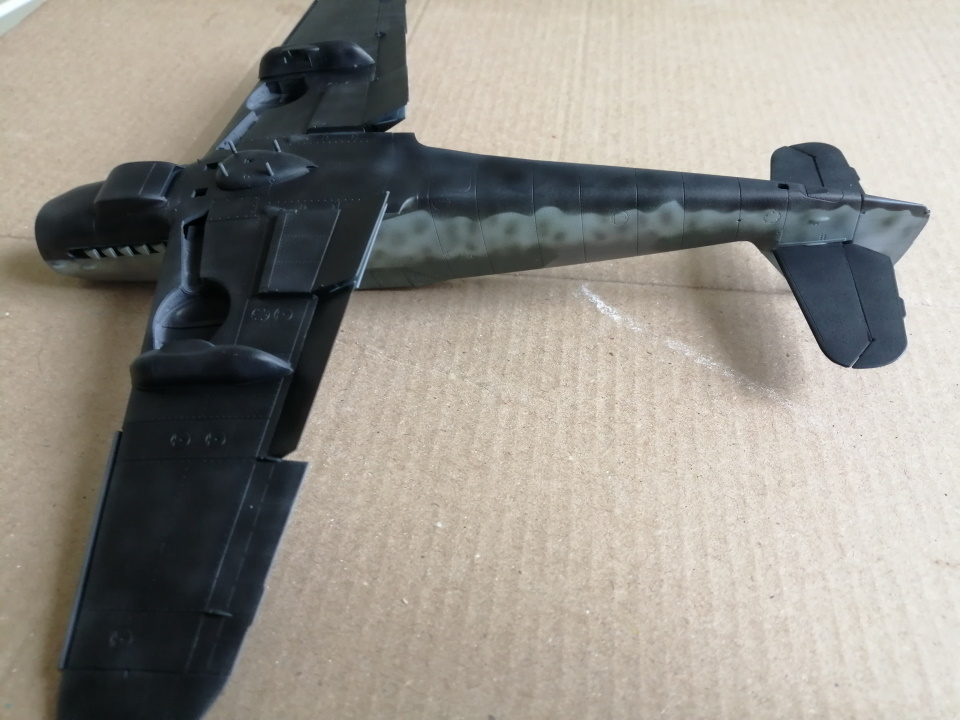
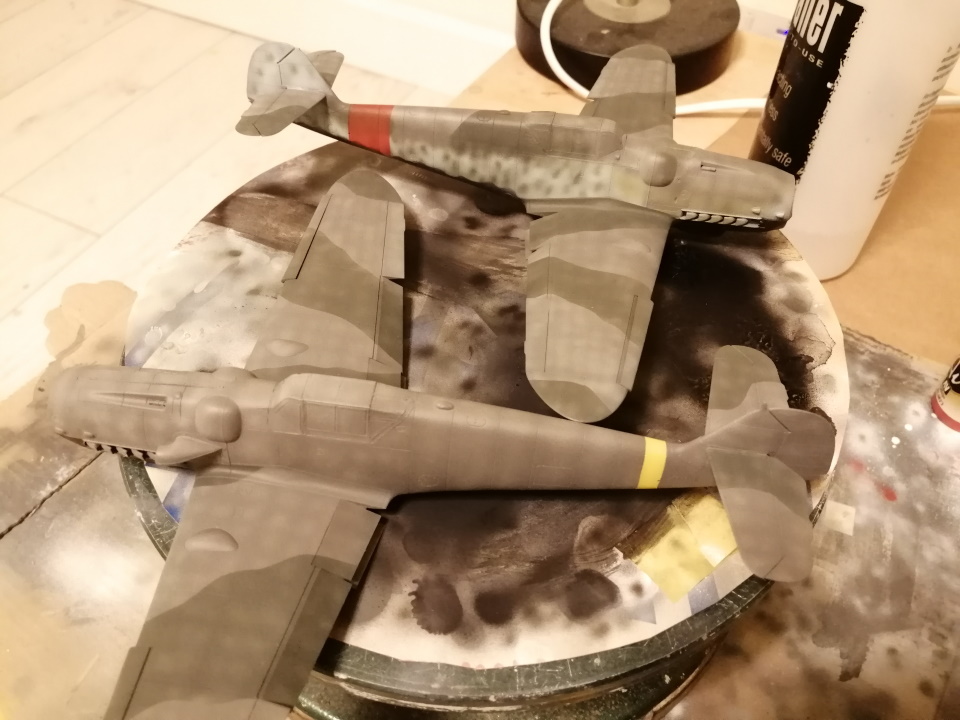
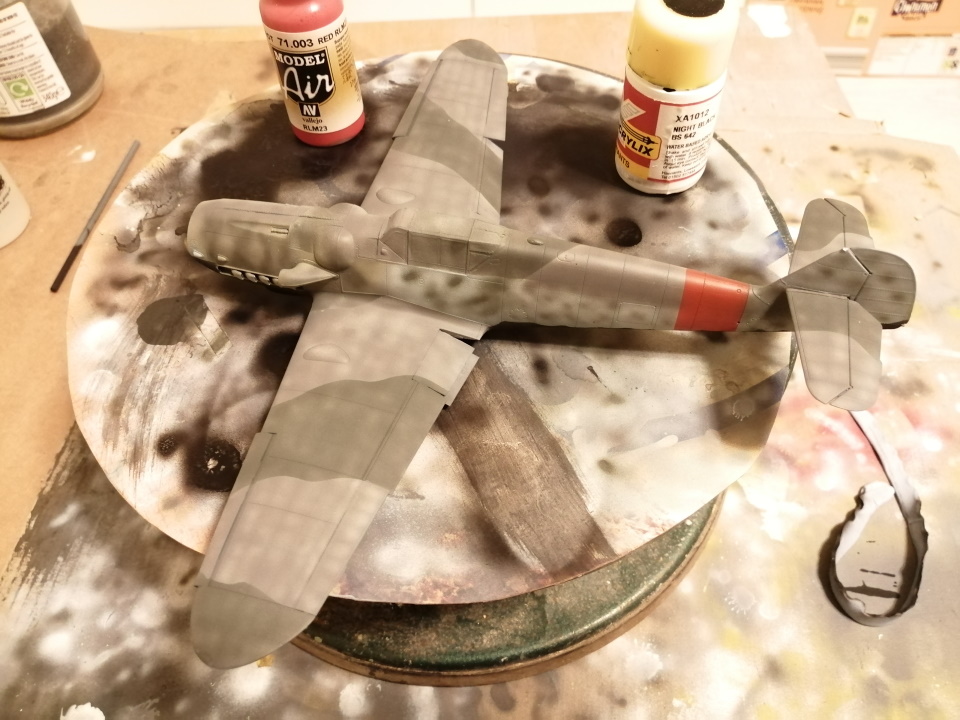
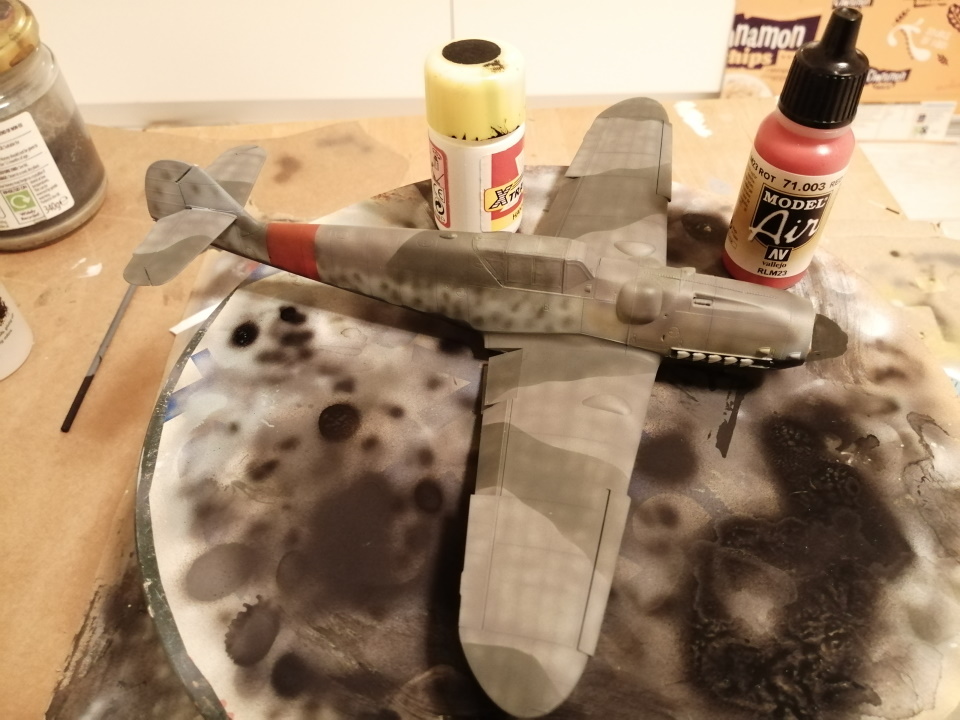
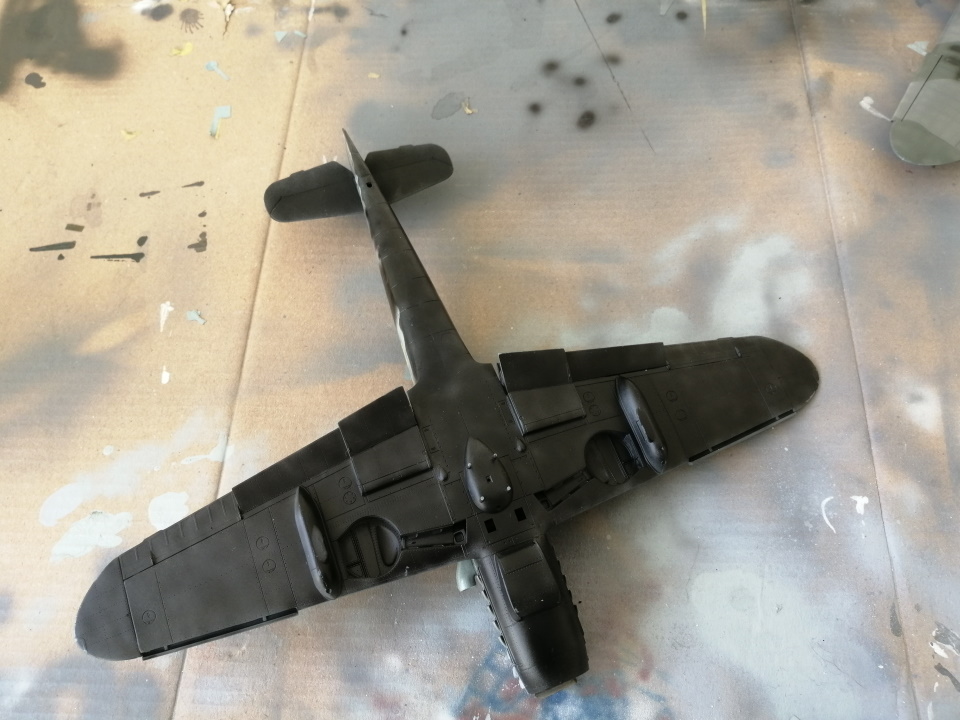
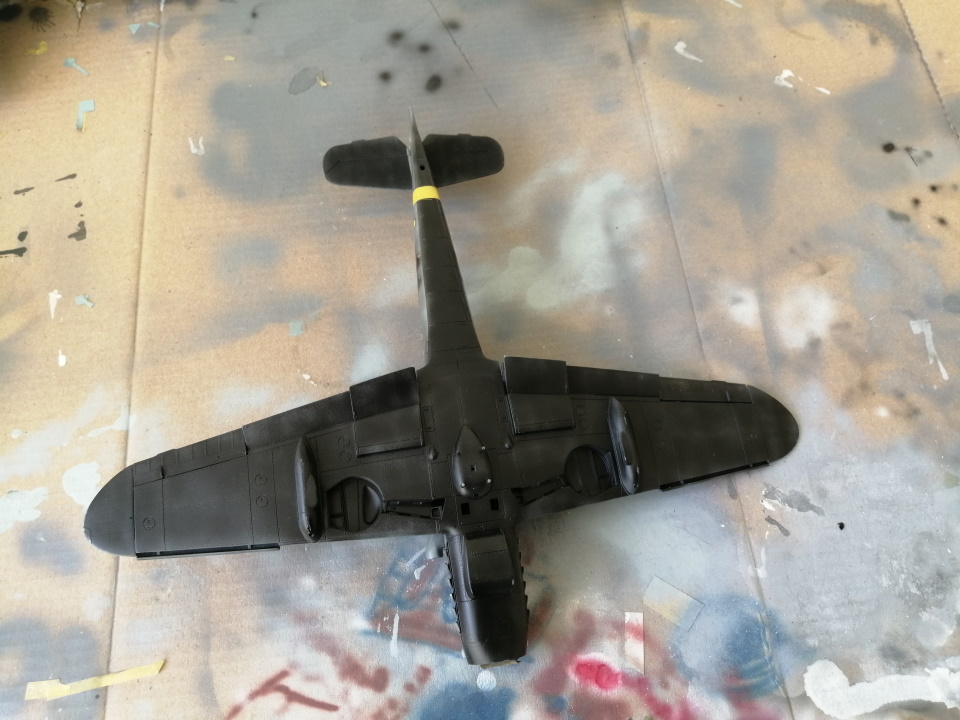
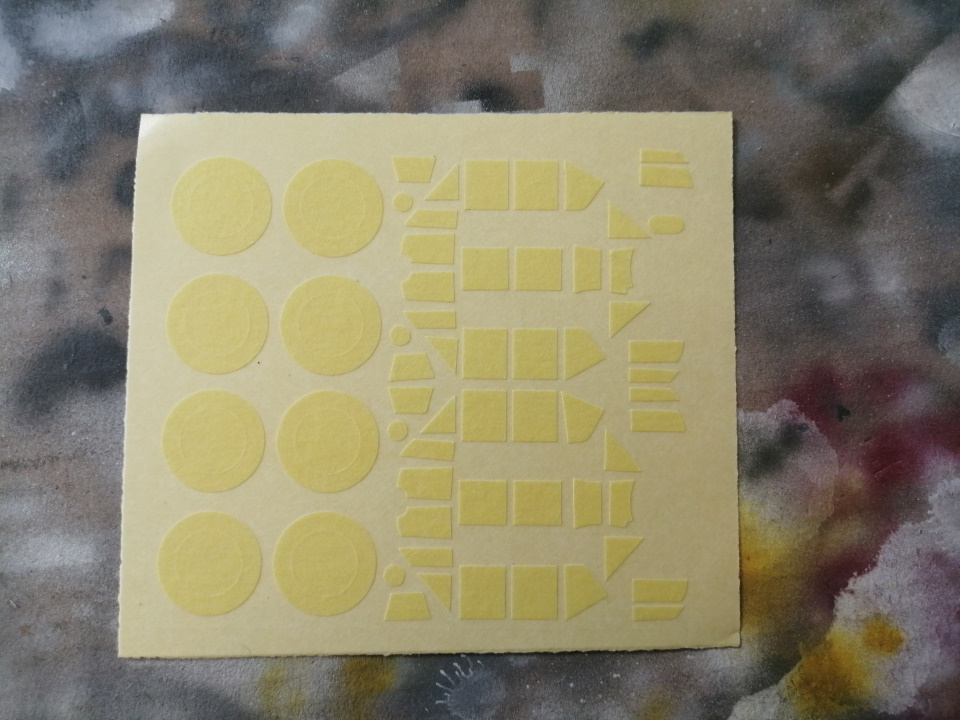
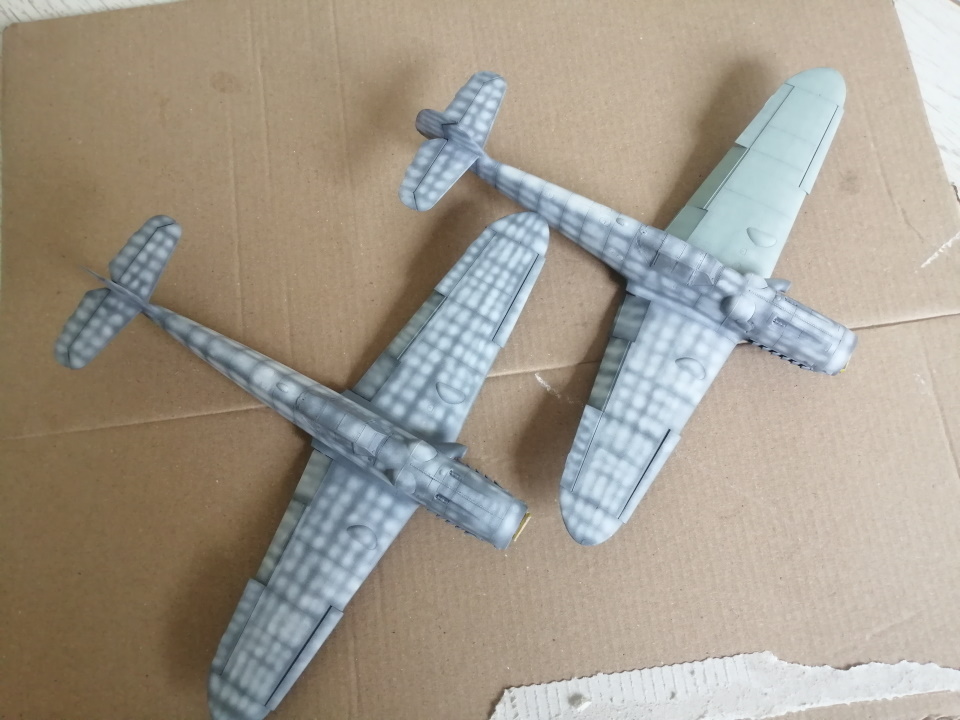
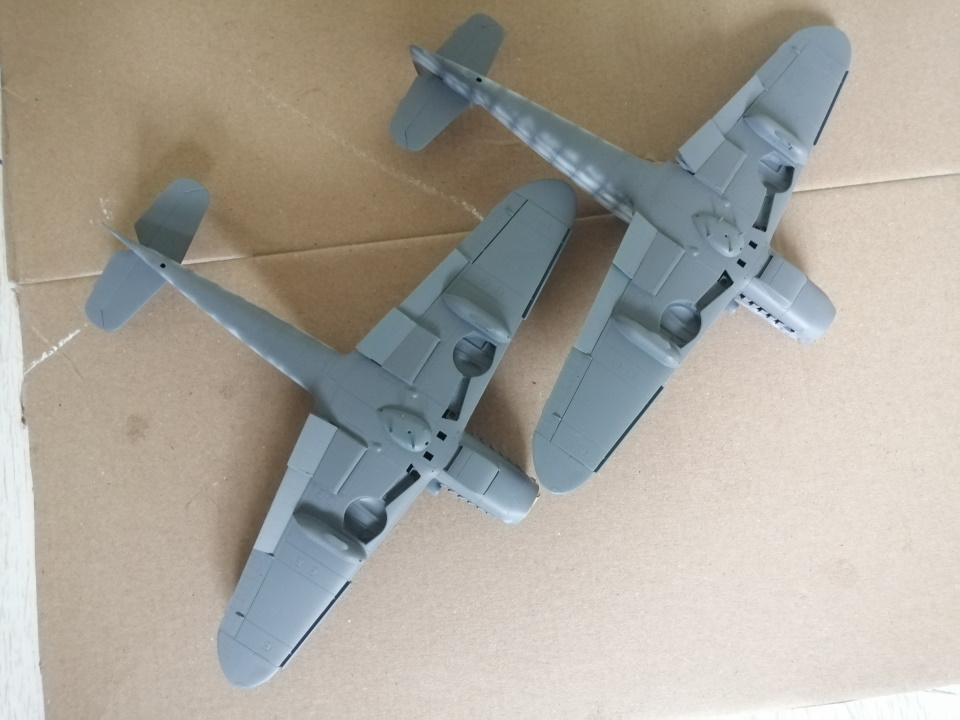
Applied the masks, always a useful addition to a kit. Primed both models with Ultimate grey primer and then pre-shaded with Vallejo white. Didn’t pre-shade the under surfaces as these were painted black. So will carefully spray a few well thinned coats of black over the primer.
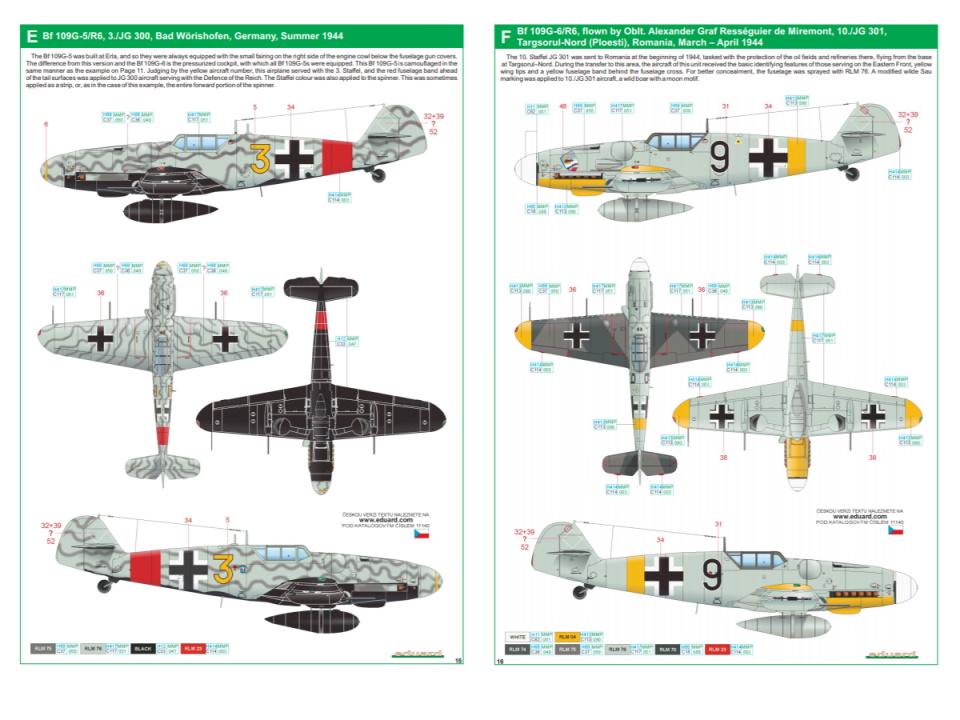
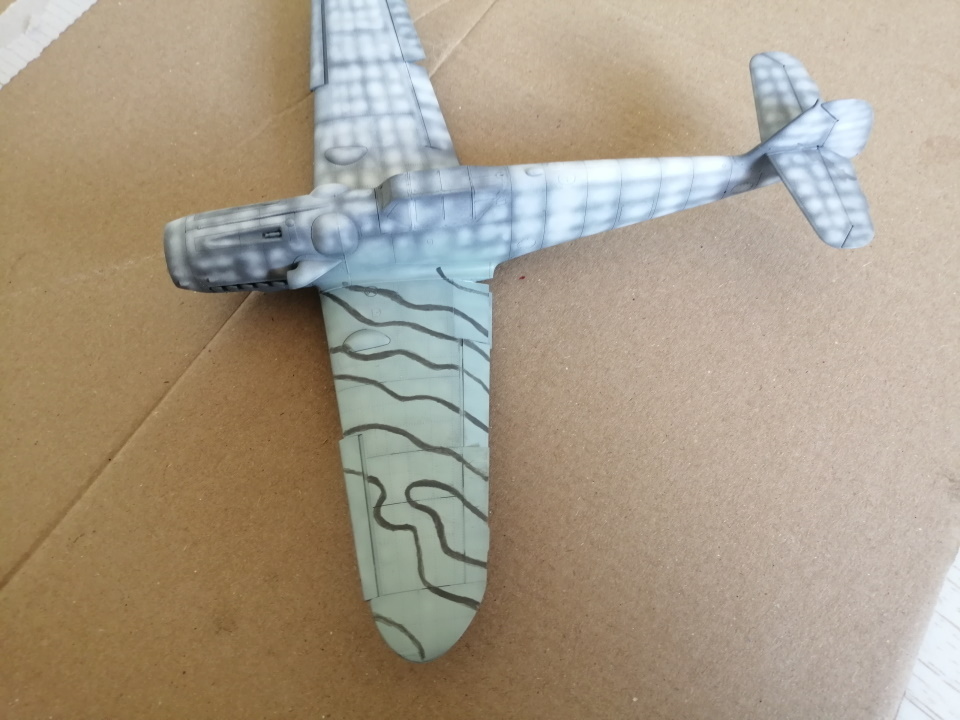
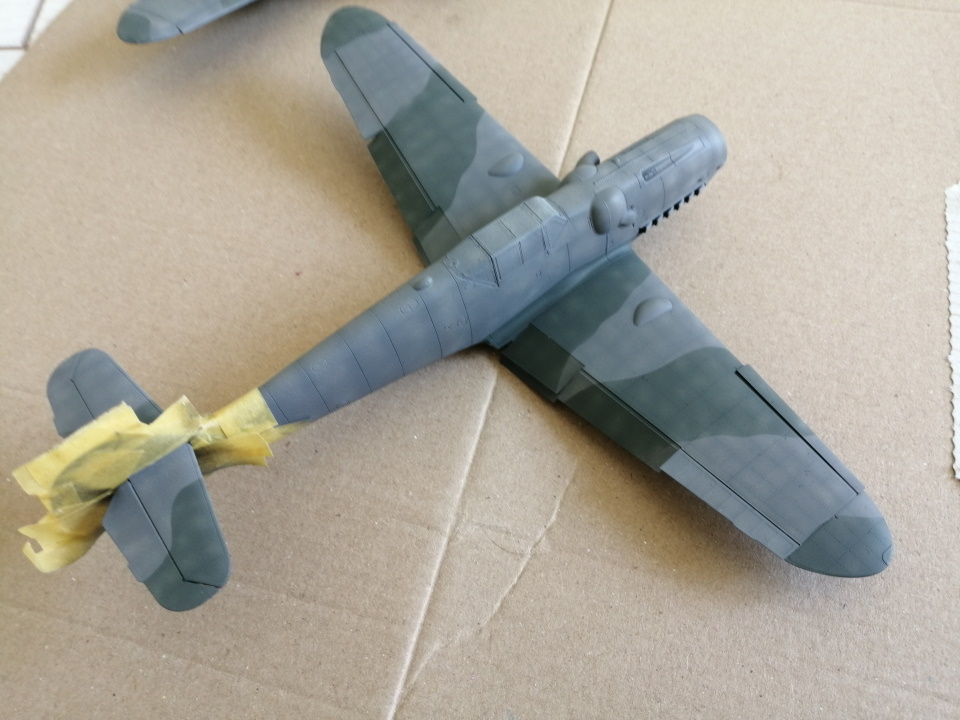
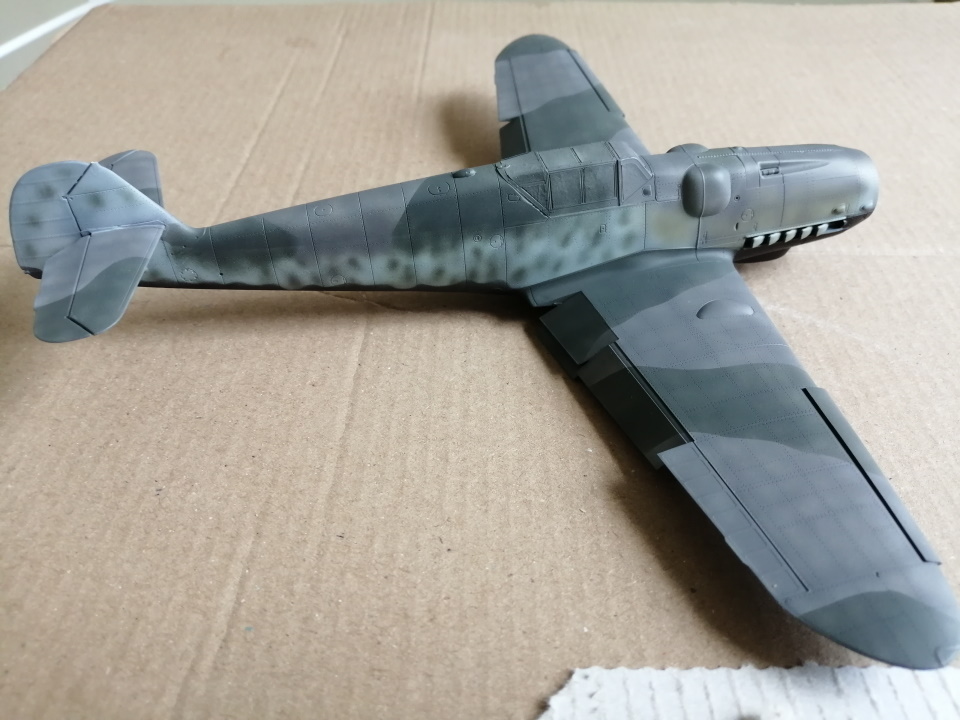
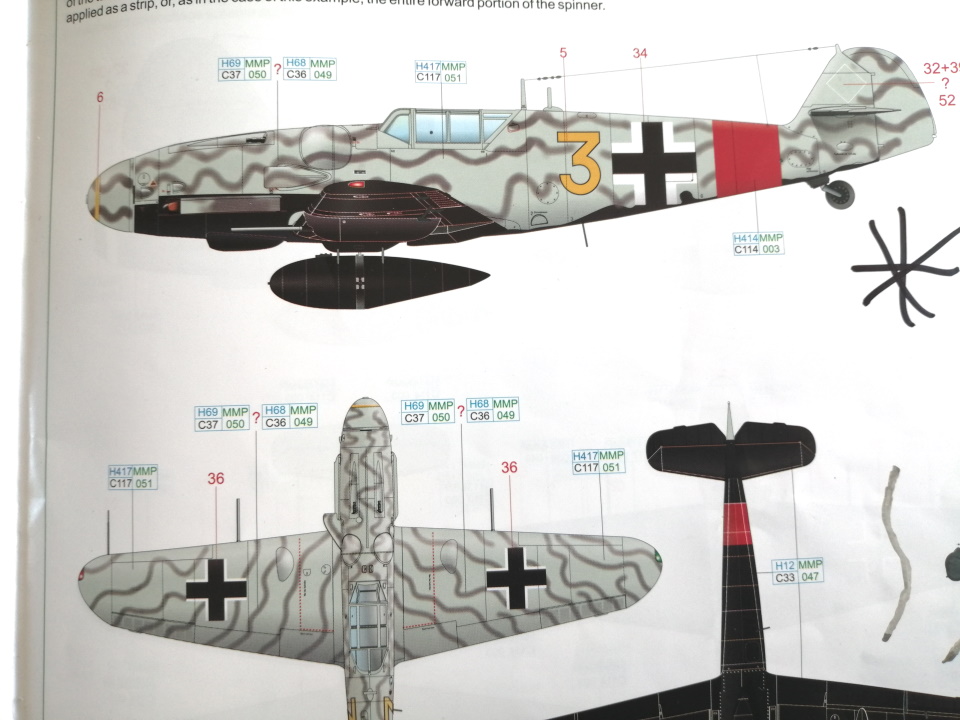
The upper surfaces of [E] is RLM 76 [light blue] with squiggly lines of RLM 74 or 75. My airbrush is a bit too spluttery to trust doing the lines. Also I would be struggling to keep the lines consistent with my shaky hands. So, I am going to use a paint brush to start off with. I might resort to the method illustrated
here. I did put a coat of Klear on the test area over the RLM 76, just in case of mistakes. The paint can be easily removed in case of mistakes. Its possible to use masking tape for some of the less complex curves, but I think tape would be struggling with some of the lines on the fuselage.
litespeed
 News Reporter
England - North West, United Kingdom
Joined: October 15, 2009
KitMaker: 1,976 posts
AeroScale: 1,789 posts
Posted: Thursday, September 17, 2020 - 08:32 PM UTC
Lisboa, Portugal
Joined: August 27, 2010
KitMaker: 679 posts
AeroScale: 669 posts
Posted: Friday, September 18, 2020 - 08:02 PM UTC
Tim,
Your dual build is quite interesting so far. I share your opinion/experience regarding glueing the fuselage halves. Using thin liquid glue, patience and careful handling were all I needed to get them bonded with precision.
Options A and E are the most striking and obviously the most challenging to paint. I was wondering why don’t you give it a try with some free hand airbrushing?
litespeed
 News Reporter
England - North West, United Kingdom
Joined: October 15, 2009
KitMaker: 1,976 posts
AeroScale: 1,789 posts
Posted: Friday, September 18, 2020 - 11:13 PM UTC
Hi Pedro thanks for looking in and your comments. I probably should have made it clearer, I am using a paint brush to create the lines. I called it a hairy stick a colloquial term for a paint brush.
Unfortunately I suffer from very shaky hands so the results have been inconsistent and disappointing so far. I practiced a few times on paper, card and a spare model [Airbus 319] as painting lines over a complex shape is entirely different from painting on a flat plain. I am seriously tempted to try another option as I am not entirely happy with the final scheme of option 'E' anyway.
Kind regards

litespeed
 News Reporter
England - North West, United Kingdom
Joined: October 15, 2009
KitMaker: 1,976 posts
AeroScale: 1,789 posts
Posted: Sunday, September 20, 2020 - 02:24 AM UTC
AussieReg
 Associate Editor
#007
Victoria, Australia
Joined: June 09, 2009
KitMaker: 8,156 posts
AeroScale: 3,756 posts
Posted: Sunday, September 20, 2020 - 01:56 PM UTC
Moving along nicely Tim.
I share your frustrations with the airbrush. I still use my trusty old Paasche-H single action, and it is very difficult to get the right paint/thinner/air mix get those fine lines without the splatter. I've just ordered a new dual-action airbrush which should arrive this week, and I'm going to try basically the same pattern as yours with the lines on one of my current Me262 builds.
The alternative marking options you have are all very good, so nothing really lost there for you apart from a bit of time and a few drops of paint!
Cheers, D
ON the bench
Revell 1/24 '53 Corvette (building as '54)
Revell 1/24 BMW 507 Coupe and Cabrio
Italeri 1/48 Me262 B-1a/U1 Nightfighter
Monogram 1/24 '57 Chevy Nomad
Dragon 1/350 USS Frank Knox DD-742
Merlin
 Senior Editor
#017
United Kingdom
Joined: June 11, 2003
KitMaker: 17,582 posts
AeroScale: 12,795 posts
Posted: Monday, September 21, 2020 - 07:08 AM UTC
Hi Tim
I
really like the effect on the upper surface of the wings - the pale paint applied before the camouflage give a great "stressed" look.

I'll give that a try one of these days.

All the best
Rowan

BEWARE OF THE FEW...
As I grow older, I regret to say that a detestable habit of thinking seems to be getting a hold of me. - H. Rider Haggard
litespeed
 News Reporter
England - North West, United Kingdom
Joined: October 15, 2009
KitMaker: 1,976 posts
AeroScale: 1,789 posts
Posted: Monday, September 21, 2020 - 09:57 AM UTC
Quoted Text
Moving along nicely Tim.
I share your frustrations with the airbrush. I still use my trusty old Paasche-H single action, and it is very difficult to get the right paint/thinner/air mix get those fine lines without the splatter. I've just ordered a new dual-action airbrush which should arrive this week, and I'm going to try basically the same pattern as yours with the lines on one of my current Me262 builds.
The alternative marking options you have are all very good, so nothing really lost there for you apart from a bit of time and a few drops of paint!
Cheers, D
Cheers D. I have been practicing with different coloured paints I have in the Vallejo range. Some paints seem really smooth and flow through the airbrush nicely, others just dont, no matter how much you thin them. Vallejo Air white seems to be a big culprit. It just seems to sputter out the airbrush. If you thin it too much it ripples on the surface of the plastic. Yet other colours are superb. I have tried a few of the Lifecolour paints and they seem to flow nicely. Also the Xtracrylics range, or the few I have also seem to flow well.
T

litespeed
 News Reporter
England - North West, United Kingdom
Joined: October 15, 2009
KitMaker: 1,976 posts
AeroScale: 1,789 posts
Posted: Monday, September 21, 2020 - 10:05 AM UTC
Hadn't noticed that Rowan, but now you have mentioned it your right

T
litespeed
 News Reporter
England - North West, United Kingdom
Joined: October 15, 2009
KitMaker: 1,976 posts
AeroScale: 1,789 posts
Posted: Monday, September 21, 2020 - 10:11 AM UTC
litespeed
 News Reporter
England - North West, United Kingdom
Joined: October 15, 2009
KitMaker: 1,976 posts
AeroScale: 1,789 posts
Posted: Tuesday, September 22, 2020 - 10:58 AM UTC
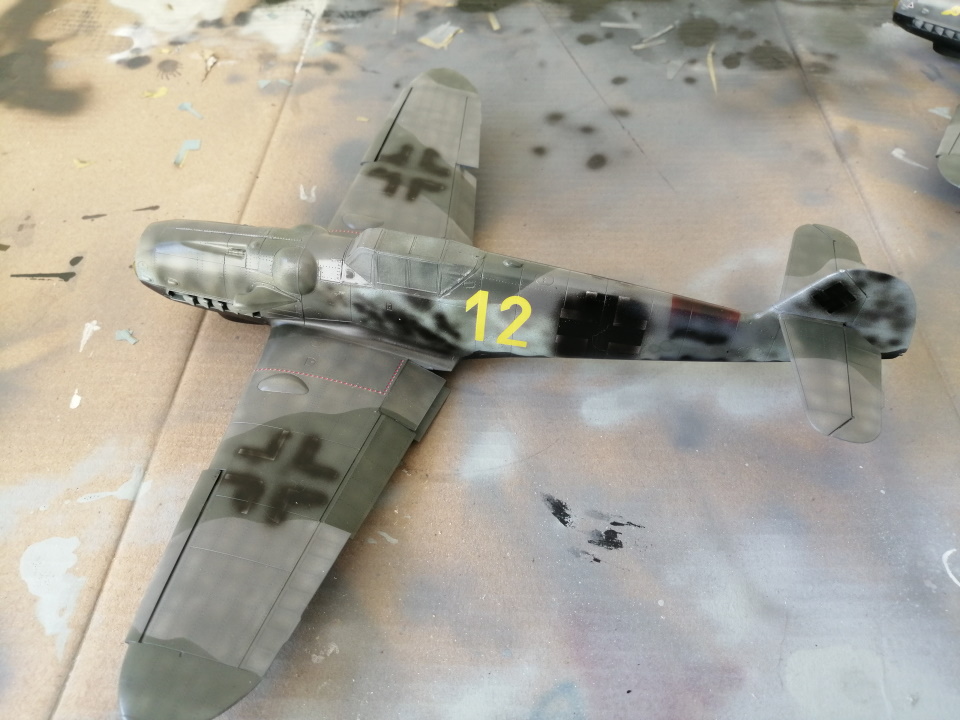
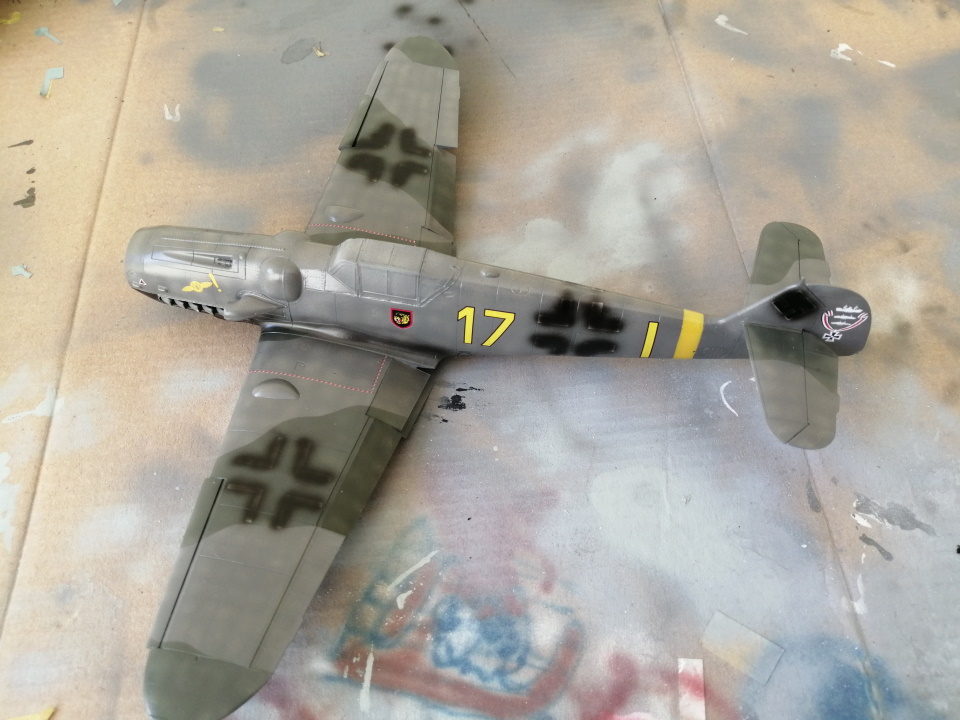
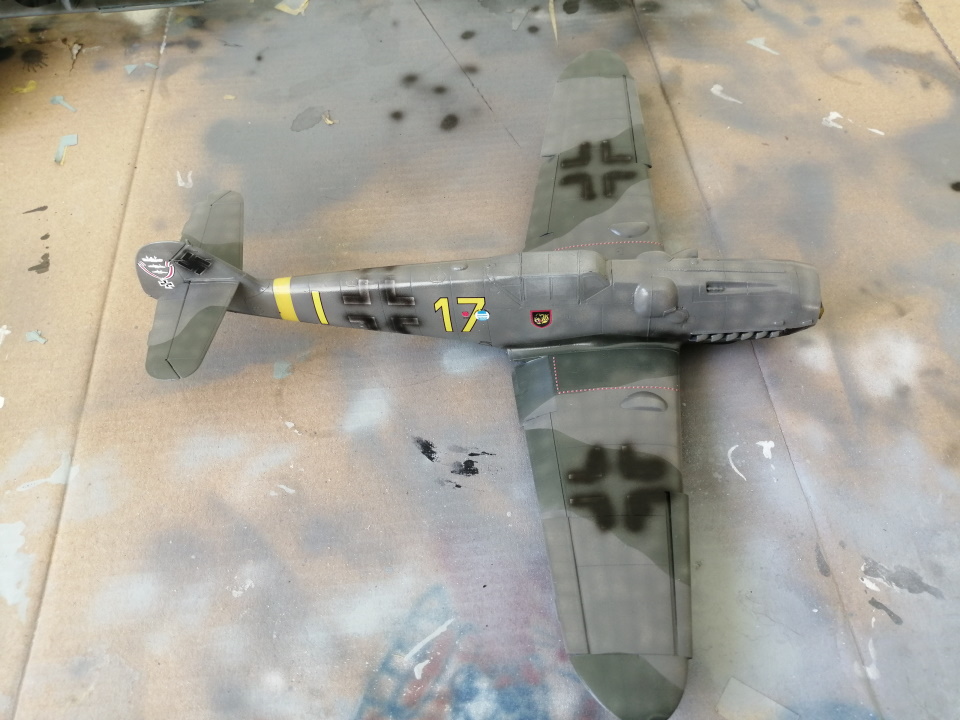
The decals went on yesterday evening. Eduard’s decals are good, but they don’t like being moved around too much. They settle down really nicely and I only use Micro Sol to fix them in place. You need to be careful to remove all the small black numbers that accompany each decal. They are not fixed and break up into many, many, many small pieces once wet. The bits just seem to go everywhere: floating in the lukewarm water, onto the model, under the decals, on your hands, well you get the picture.
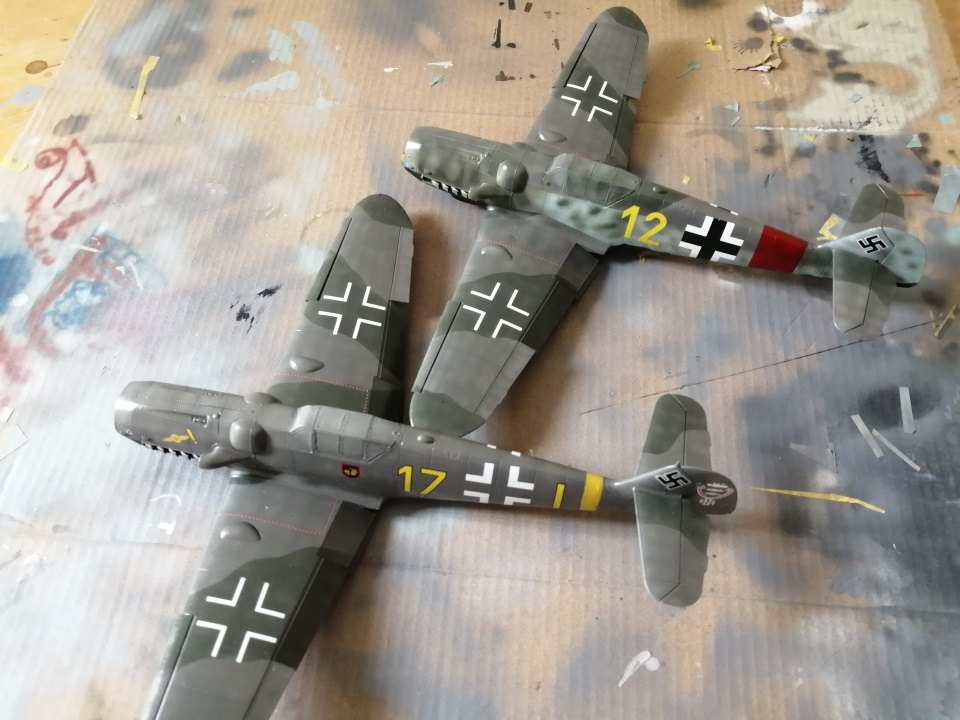
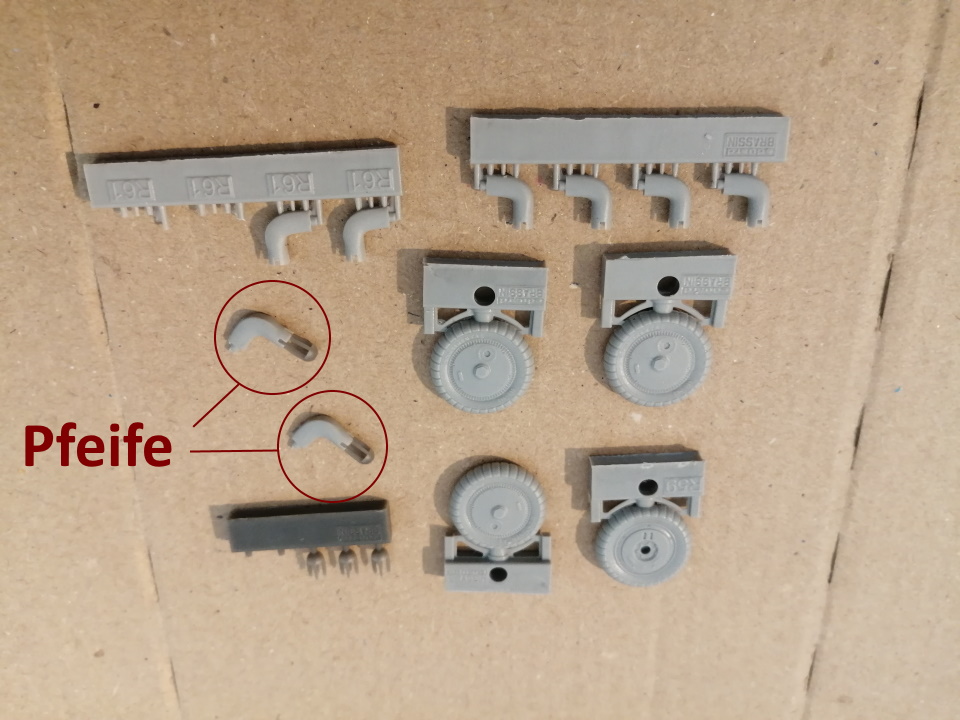
The additional resin parts contained in this edition include the Pfeife and a nice set of one piece wheels. The parts come away from their casting blocks very easily.

#306
Victoria, Australia
Joined: June 27, 2010
KitMaker: 3,959 posts
AeroScale: 598 posts
Posted: Tuesday, September 22, 2020 - 11:07 PM UTC
Another "blink and you'll miss it" build, Tim!

I'm only just catching up now that they're almost finished

Stay home and build models!
In 1/72
Gloster Gladiator MkII for the Bi-planes Campaign
In 1/350
Airfix 1:350 Type 45 Destroyer
litespeed
 News Reporter
England - North West, United Kingdom
Joined: October 15, 2009
KitMaker: 1,976 posts
AeroScale: 1,789 posts
Posted: Wednesday, September 23, 2020 - 07:33 AM UTC
I think this build is trundling along nicely Russel. Eduards Bf 109 G doesn't quite build itself like their Fw 190 A-6, but its still easy enough to put together.
T

litespeed
 News Reporter
England - North West, United Kingdom
Joined: October 15, 2009
KitMaker: 1,976 posts
AeroScale: 1,789 posts
Posted: Wednesday, September 23, 2020 - 08:34 AM UTC
European Union
Joined: August 09, 2009
KitMaker: 1,732 posts
AeroScale: 1,336 posts
Posted: Thursday, September 24, 2020 - 07:51 AM UTC
I just catched up with your builds, Tim, after being away for 2 weeks. They are really coming along nicely. Sorry to hear that you were not satisfied with your first choice of the "Mäander-109". A few years ago I have build a Tamiya Fw 190 F-8 with Winter-Mäander using the airbrush. For my first try I was quite happy with the result but I think I can do better now.
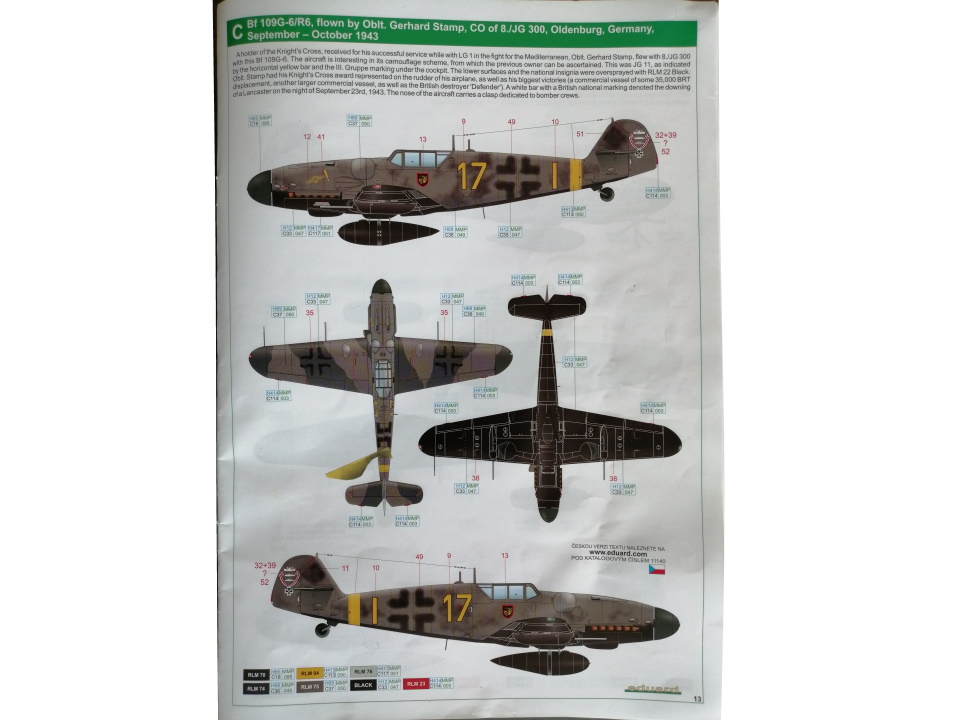
Meanwhile I have ordered this kit also and will get in October. Scheme C (Yellow 17) is also one of my choices. The fuselage completely in RLM 75 with the overpainted markings look really different.
Quoted Text
The decals went on yesterday evening. Eduard’s decals are good, but they don’t like being moved around too much. They settle down really nicely and I only use Micro Sol to fix them in place ....
I have noticed that too on my recent FiAF Mersus. To make them what I want I use a water wet brush, lift the decal with the brush and place some water under it. So the decal moves everywhere I want ....

I only use Revell Decal Soft as a softener. So afterwards there's no silvering. That does the job for me.
Have fun!
Torsten

My campaigns for 2020:
MiGs - Done !
The Big Three - Done !
65 years Bundeswehr - Done !
40 years Leopard 2 - Done !
Land Lease - Done !
litespeed
 News Reporter
England - North West, United Kingdom
Joined: October 15, 2009
KitMaker: 1,976 posts
AeroScale: 1,789 posts
Posted: Thursday, September 24, 2020 - 09:46 AM UTC
Quoted Text
I have noticed that too on my recent FiAF Mersus. To make them what I want I use a water wet brush, lift the decal with the brush and place some water under it. So the decal moves everywhere I want ....  I only use Revell Decal Soft as a softener. So afterwards there's no silvering. That does the job for me.
That pretty much describes how I work Eduards decals Torsten. I moisten the surface where I'm placing the decal with water. The film of water between the plastic and the decal gives you more time to position the decal. Once happy with the positioning push the water out gently with a Q-tip. Then apply the softner. Great decals though

