"Wood Grain Decals, camo stencils, Burnishing Agent for Friul white metal tracks....much is done and there is much more to come.
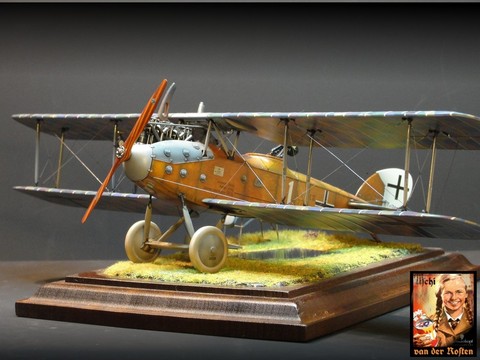
Allow me a few words about how all of this has begun. The aircraft model you see below is Wingnut Wings´s 1/32nd scale LVG C VI. I built it in 2010 within a period of around 3 months. It has won serveral gold medals, best of class and audience awards. It was pretty much successful.
People always asked how the wood was done. Well in this case, the grain texture was painted by hand with a pin brush. During the conversations with the modelers i often realized that its not easy for everyone to paint a wood grain by hand. Suddenly I had the idea! Why not using a decal for it?
I ran some tests and it all came out nice. It led to what we have here. The possibility for everyone to reach a faster & better result than I was able to paint by hand. Not only the military side of modeling is interesting. There is so much crazy stuff available around the world, its hard to find a topic to focus on. Military modelers tend to weather their models pretty heavy sometimes. This has led to sheer sience and very complex painting techniques, setting the bar higher and higher. On the civil modeling side, you find many of these techniques easily adapted. There is really unbelievable subjects out there, again demonstrating that it always is a good idea to look beyond your own nose. We now have begun to focus on this side of modeling as well."
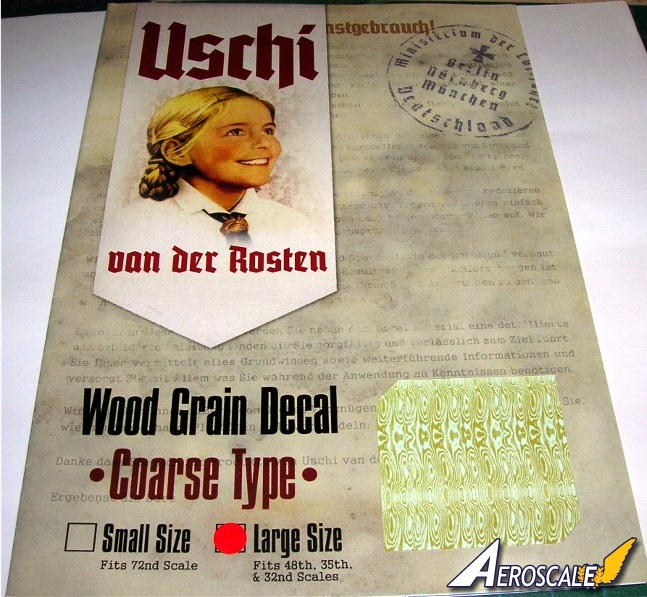
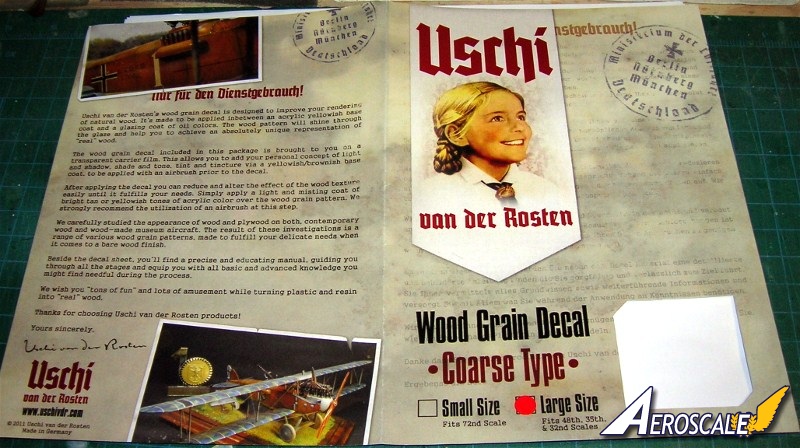
"Uschi van der Rosten" decals is run by Mr. Alexander Glass of Augsburg Germany. They have basically 4 wood grain decal sets Small size for 1:72 and large for 1:48 - 1:32 in coarse and large. I received only the large - coarse sheet. One little known fact is that most plywood skins for aircraft were A/B grade Ash or Birch not Pine. So the lay of the grain could be fairly straight or pretty wild. This was called the "burl" of the grain. A was the outer face and the B or C grade was the inner face.
Contents
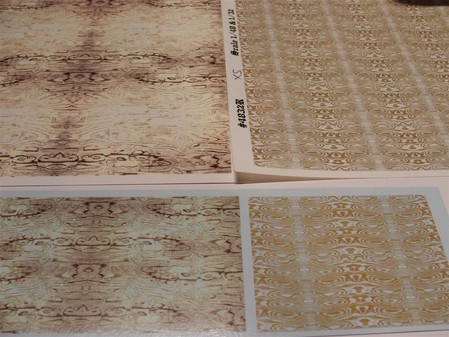
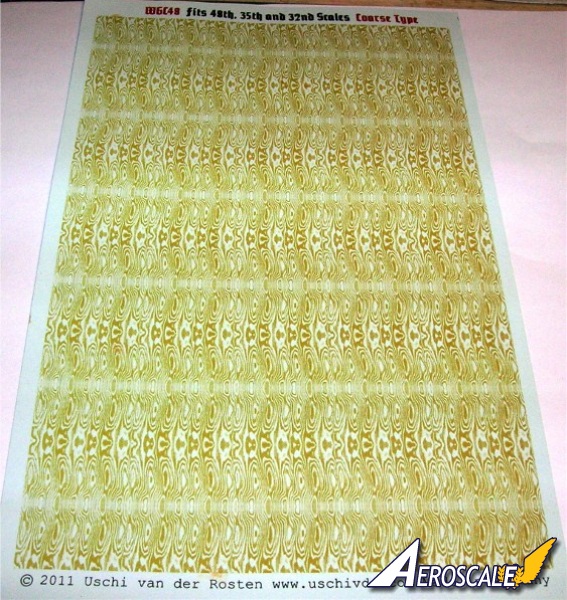
A. One sheet of decal film with blocks of wood grain repeated multiple times.
B. One colour printed cover sleeve with instructions front, inside & back.
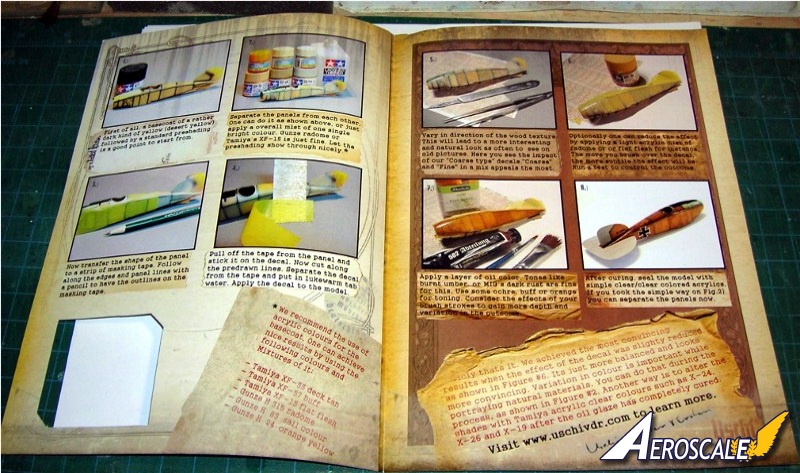
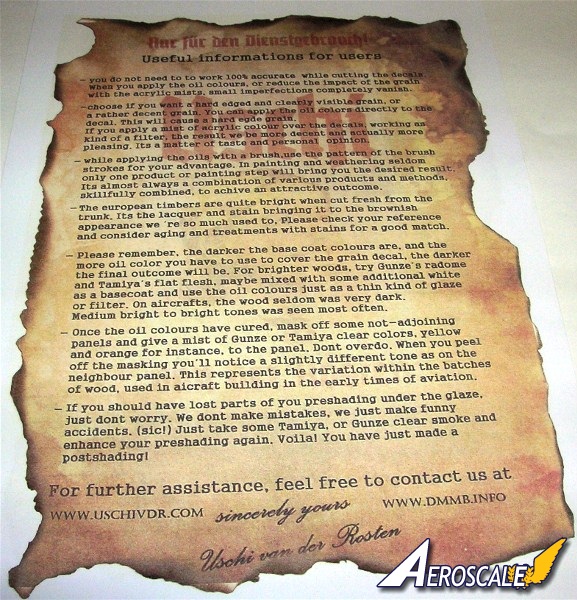
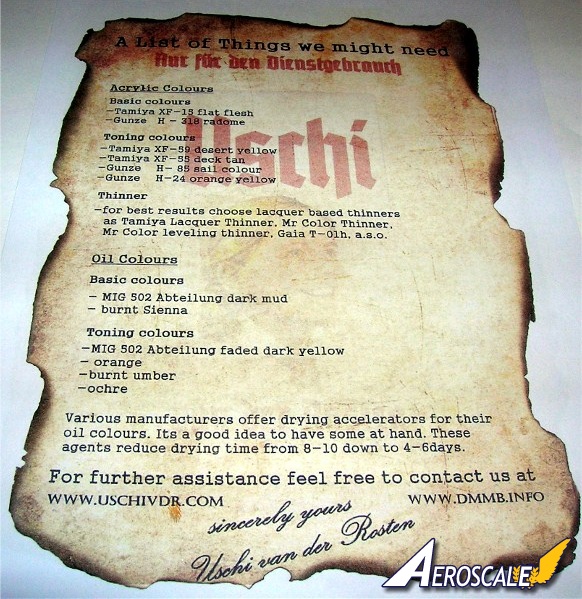
C. One page front & back with lists of needed materials (for best results) and useful general information for the novice to average modeler.
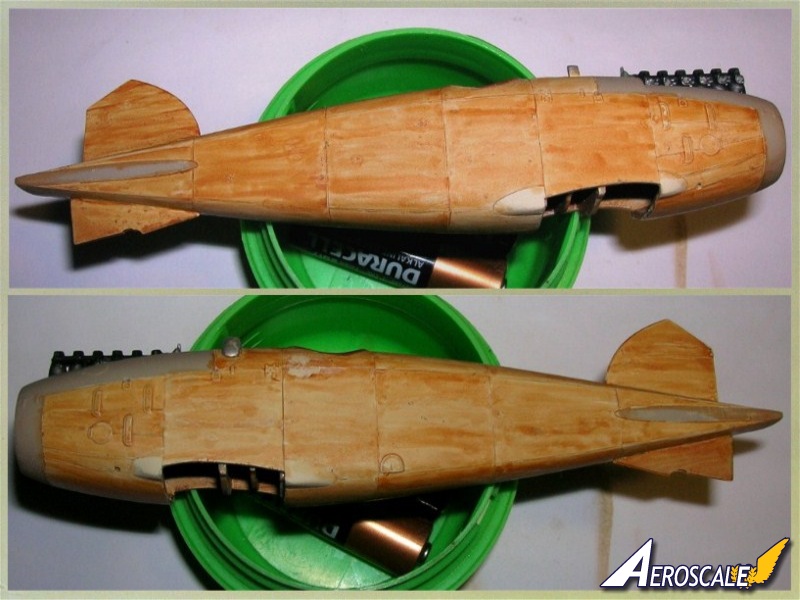
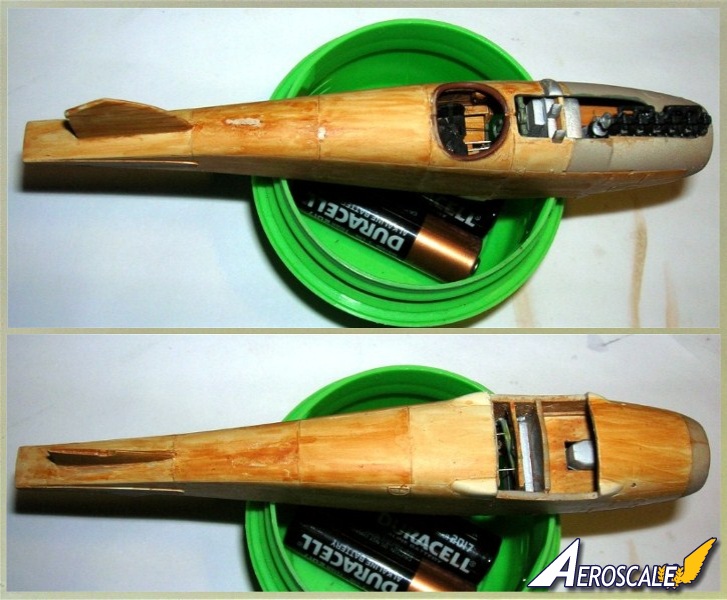
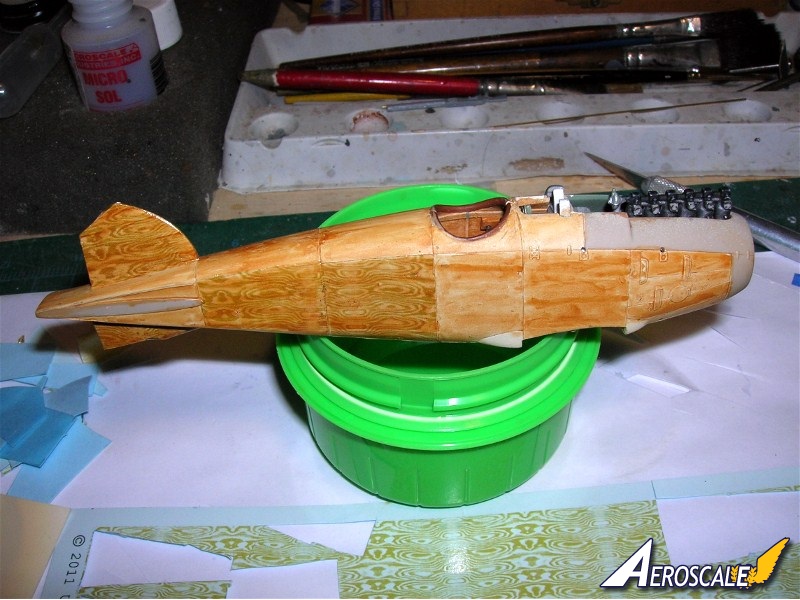
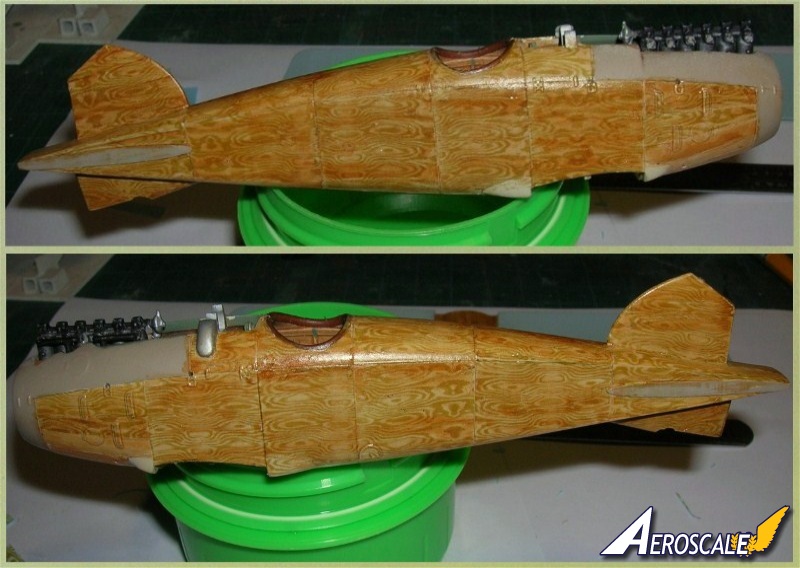
Following the instructions and heeding some of the cautions in the information that comes with the decals I began to apply them to an Eduard 1:48 Albatros D.I - II fuselage. My images show this fuselage as I have partially finished the decal application over a base and a stain coat. The instructions say to vary the grain pattern but generally speaking the grain on the original airframes ran fore to aft. (nose to tail) on the whole airframe. There were some angled cuts seen on the flat sided fuselages but where there is a curve in the skeletal formers the grain always ran fore to aft. This would include the spine and the belly areas on the Alb. D.I - II & III types. On the D.V & Va the whole wood skinned paneling was fore to aft.
AS the letter I was sent with the decals said, "For best results mix the type. . ." But I don't recommend altering the lay of the grain direction too much. I would go as far as to mix the fine and coarse grain decals one panel to the next.
The decals application can be tricky as most of it is just carrier film. It can fold over on itself with the slightest provocation. So as the instructions note work carefully, deliberately and it will have some fine results. With the amount of pattern repeats on a sheet you have to be cautious to make the panels appear as individual cuts.
Applications
Most WWI aircraft had some major wooden components. German, British, French and etc. But the decals themselves have other appications where ever you want to see a wood grain.
When contacting manufacturers and publishers please mention you saw this review at AEROSCALE
SUMMARY
Highs: Excellent adherance properties. Pleasing resultsLows: Very thin and can fold over very easily if not careful. Verdict: A very good decal with great results when applied per the instructions.
Our Thanks to Uschi van der Rosten! This item was provided by them for the purpose of having it reviewed on this KitMaker Network site. If you would like your kit, book, or product reviewed, please contact us.
About Stephen T. Lawson (JackFlash) FROM: COLORADO, UNITED STATES
I was building Off topic jet age kits at the age of 7. I remember building my first WWI kit way back in 1964-5 at the age of 8-9. Hundreds of 1/72 scale Revell and Airfix kits later my eyes started to change and I wanted to do more detail. With the advent of DML / Dragon and Eduard I sold off my ...
Greetings Mikael,
I would tend to agree with you. Certainly an overall muting coat would help. But for the review I just wanted to show how the decal lays. In their instructions "Uschi recommends a mist coat of Radome or etc for an over coat.
I should declare an interest here as I produce the "Disc Camo" masks for Alex
Yep, that is the idea, you can make the grain effect as subtle as you like as well as being as dark or as light as you want it. Along with Wingnut Wings these decals, for me, have started a whole new interest in WWI modelling
Uschi
Thanks for the friendly comments everyone!
Special thanks to Mal for getting involved. :-)
Also great thanks to Stepehen for the things he mentioned.
He is right regarding the thickness of the decal flim on the sample
he received. At the time we developed the decal, we opted for a very thin
film to make sure the decal gets tight to all surface details.
We did not expect too much difficulties, even it was a bit tricky.
Later on i discovered it might be better to follow on what the vast
majority of modellers is used to. A thicker decal film.
So this legitimately mentioned issue can be marked as fixed.
Again thanks for mention it, Stephen! :-)
Mal pointed out some very important features which aolo can be found
in the manual. For those who are interested to have a look at the manual, feel free to download the file on this link:
LINK
Please allow me to put a few pictures in here to illustrate what can be done
while playing with the product:
This 32nd scale Roden "Pup" is sporting WGC-48 on the side. The new upcoming WGF-48a shows up on top of the fuselage for the first time.
Unpainted on this picture.WGF-48aNote the nice contrasts between a convincing wood and a cool NMF.WGF-48a in full effect
Thanks for your attention, everyone!
If you have some questions or suggestions, just shoot.
At your service! :-)
Cheers
Alex
these decals look awesome! though i havent done a WW1 AC for years, i might just to try these decals on. and maybe use them on 1/35 wooden handled tools!
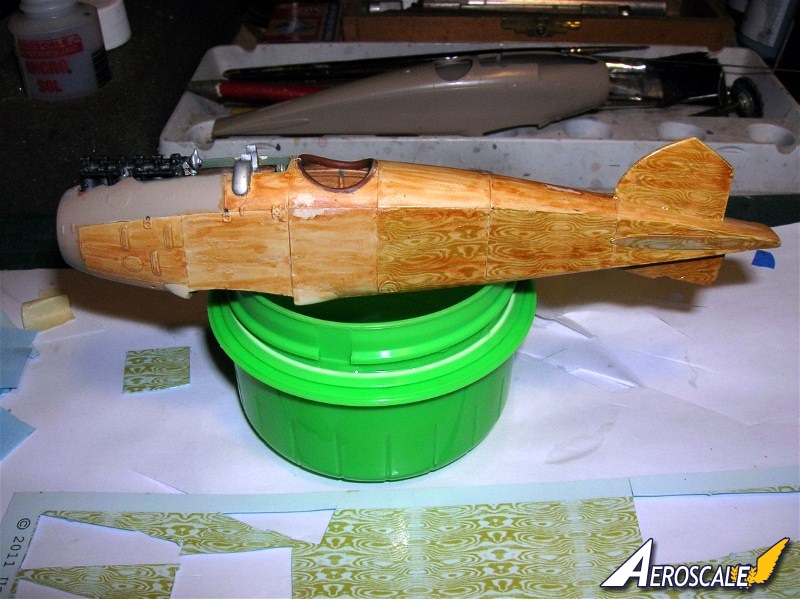
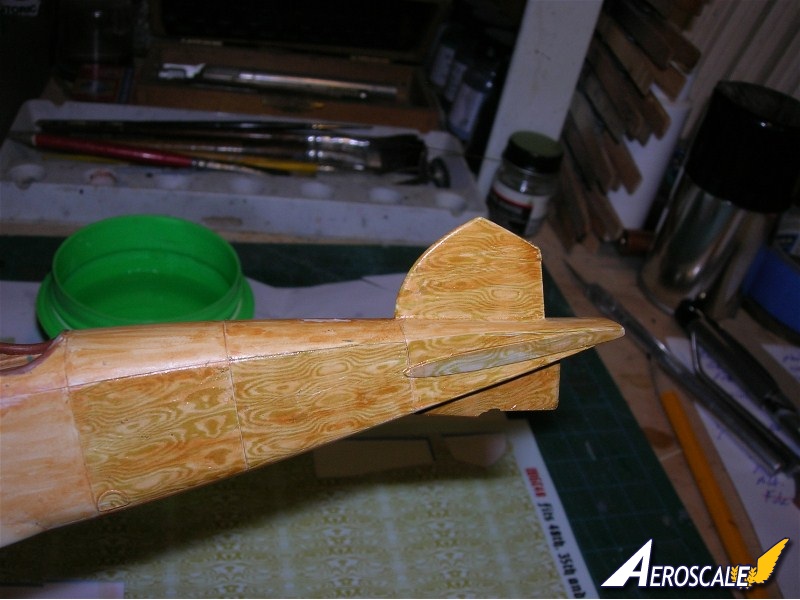
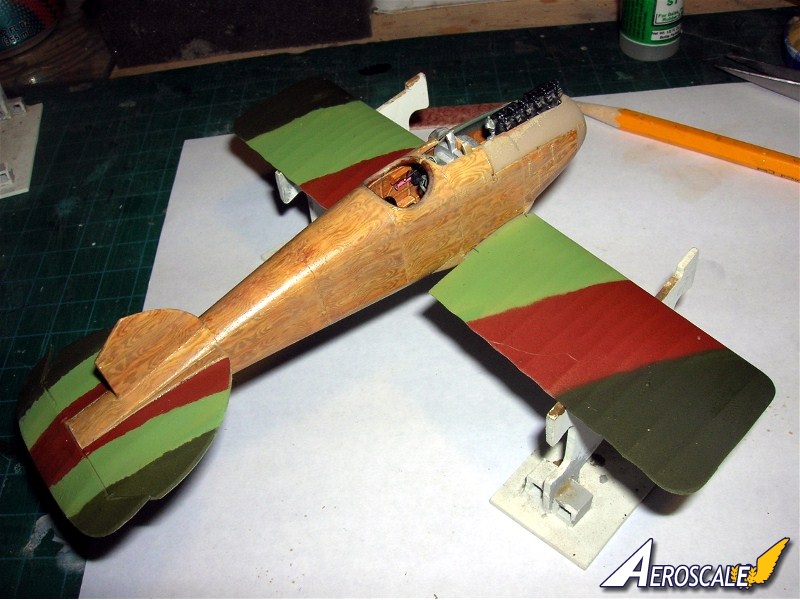
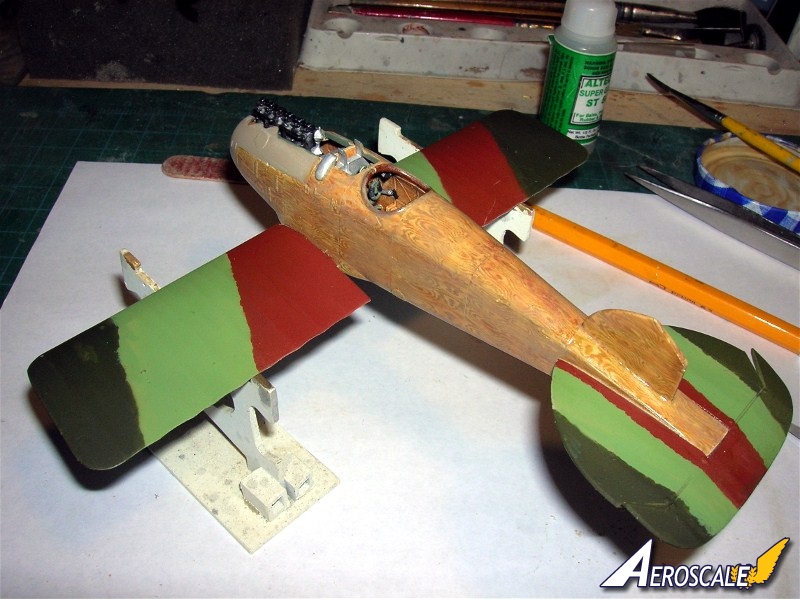
Here it is folks the Alb. D.II 1782/16 profile "A" from the Eduard kit #8081. Eduard says it is from Sept 1916. But that is when this series (1700/16 -1799/16) was ordered by contract.
This machine was used by Vzfw. (Vizefeldwebel = acting sergeant) Otto Gerbig after he came from Jasta 4 to Jasta 14 on 11 February 1917. He transferred out on15 August 1917 going to Jasta 18. So you can see he could not have flown this machine in Jasta 14 in Sept 1916.
The fuselage band that was part of the kit's profile for this machine was not provided. I did use another band from an Eduard Alb. D.III "Profipack" as a pattern for the needed band cut from a sheet of black decal film.
It is possible that the machine carried the Totenkopf (similar to 17th Brunswick Hussars) insignia before Gerbig was assigned to fly it some time after 11 February 1917.
Eduard says also that the band serving as the background for theTotenkopf was red. I believe it was black in keeping with the Brunswick regimental colours.
Coming along pretty nice, i would say.
To separate the panels from each other i would suggest to mask off some panels and reduce the effect separately for more variation. But thats a matter of taste. Its great! Curious to see the oil colors on it.
cheers!
Alex
The following was added by Alex on Oct. 7, 2011 in another thread, so I am bringing it along here too. JackFlash
Hi gentlemen,
I have some news to share.
Uschi van der Rosten has teamed up with Ronny Bar, the man behind the masterful color profile arts in the WNW manuals.
I recommend to visit his website:
LINK
The contact was made with the frinedly help of Martin Reid, editor of the
"AEROTORQUE" free online journal released by warbirds AMG, Melbourne, Australia.
LINK
Ronny had the kindness to allow UvdR the use of his name AND:
The original artworks on which the color profiles are based on!
What came out is a pretty nice solution for your wood grain desires.
Lets have a few pictures:
These decals (WGSF-48 super fine) are supposed to be a finishing decal.
They come on a transparent carrier film.
This allows you to adjust your brightness via the color of the acrylic basecoat.
Some radome plus a little bit white is always a good idea.
However you set your preshading, i t will be vilsible nicely and subtile through the decals.
If you want to postshade them, give it a go with clear orange, yellow or smoke.
In case you dont want to see whatever kinda shading, of course no problem.
Just jump over this step.
Sealed with clear they will sport out more brilliance and a fine and crisp grain.
If you think you want them a lil darker, just give them a oil filter with some burnt sienna for instance.
I think this is our best wood grain decal for now.
Uschi is very excited and very proud to call Ronny her friend and partner.
Thanks for allowing me to jump in this thread and spread the word.
A review sample is already "in the pipe" to come to an independent point of view.
Thanks a lot!
Best wishes!
Alex
LINK


Comments