Quoted Text
My hat is off to all those who managed to build theirs without as much cussing and struggling as me.

Well,
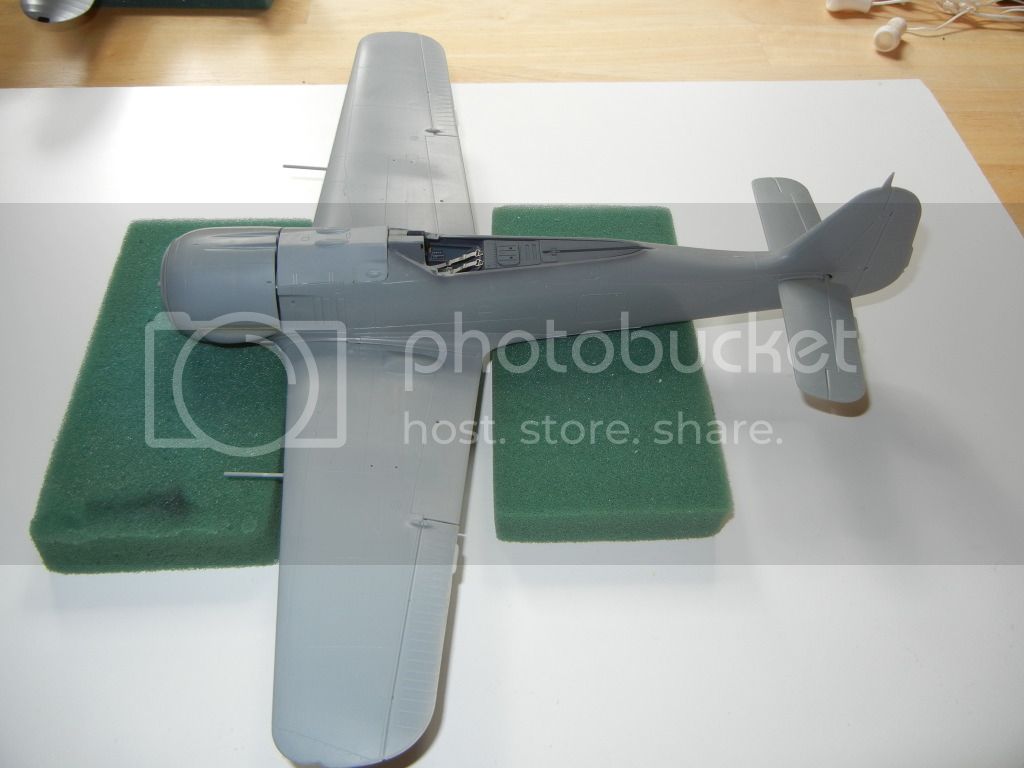
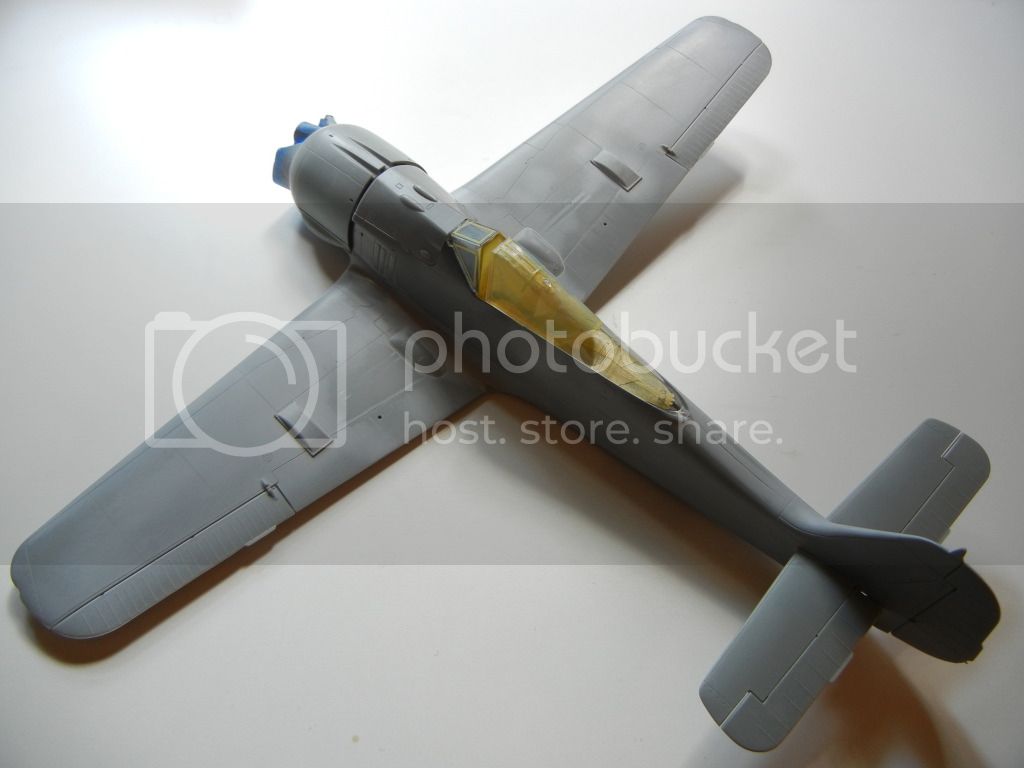
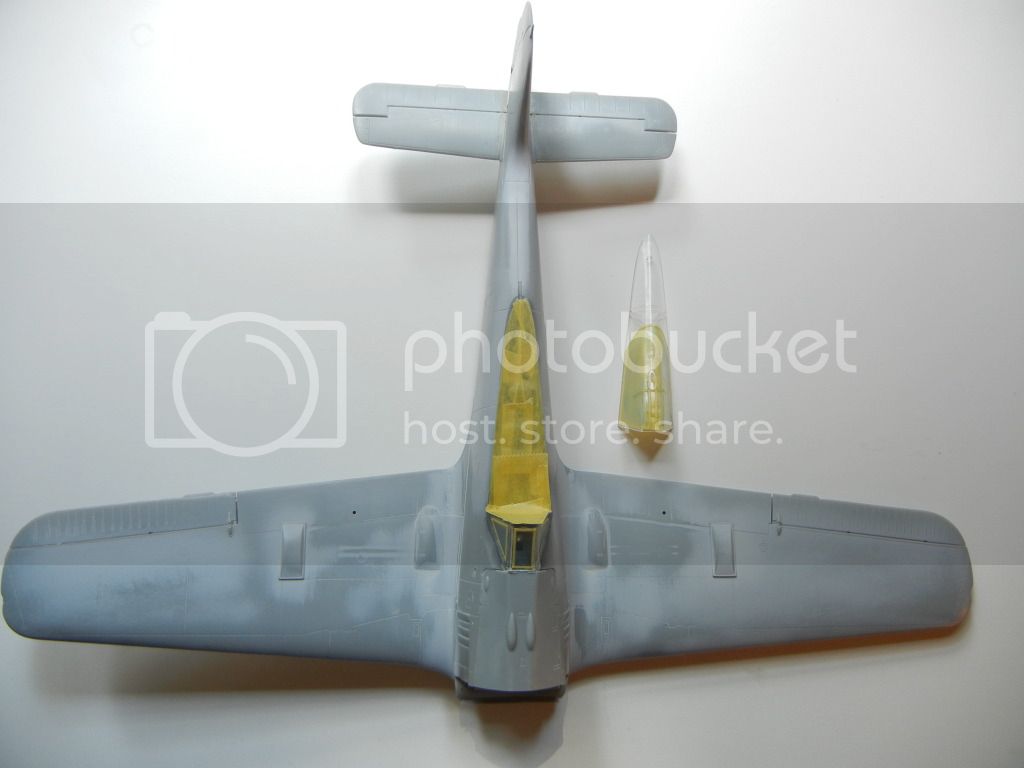
I'm fast approaching that moment of truth, Eetu. Closing in on 10 hrs of bench time so far on this build. Its been tied up mostly in motor and flaps, but I started in earnest on the cockpit and gun deck last night. It is my hope to close the fuse by this weekend. (if you hear an existential scream from across the Atlantic then you'll know I flubbed it up!)

I've really been taking notes from the rest of you building Eduard Wuergers. It is hoped that all _your_ suffering shall not have been in vain!

Cheers,
Fred