


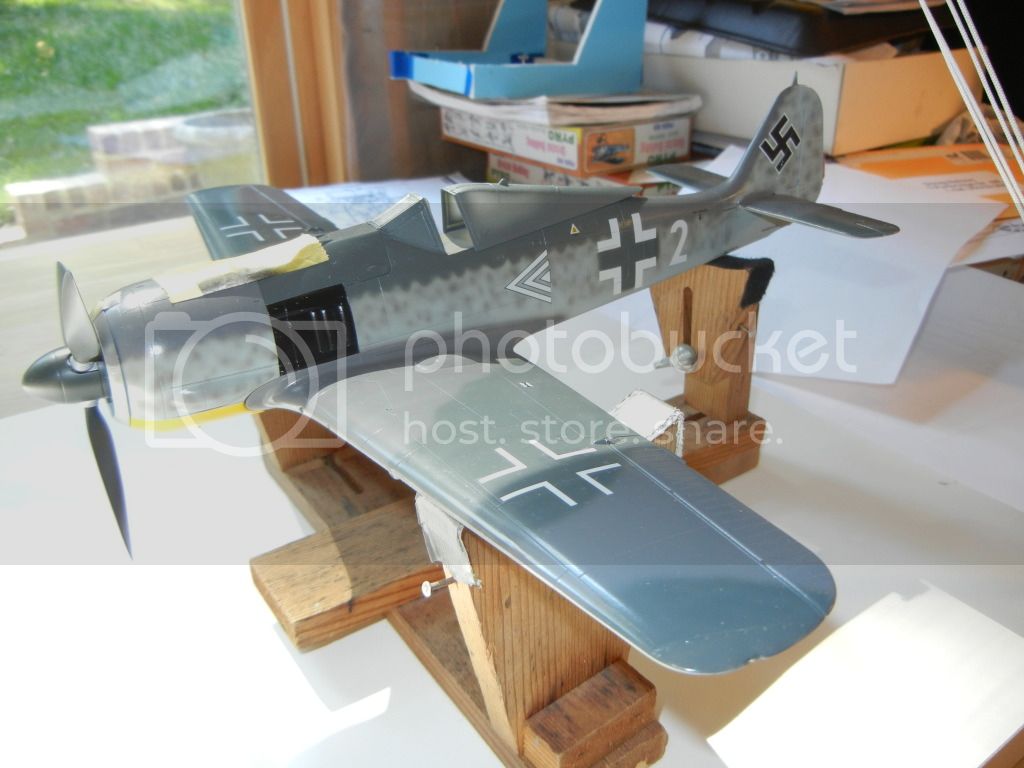
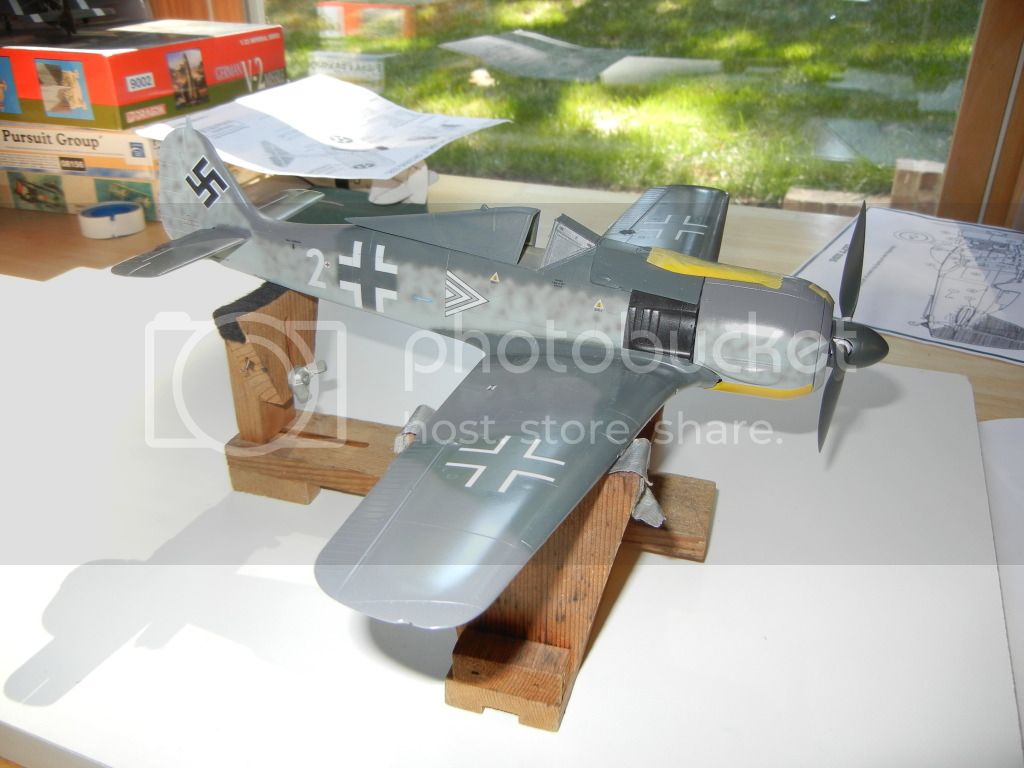
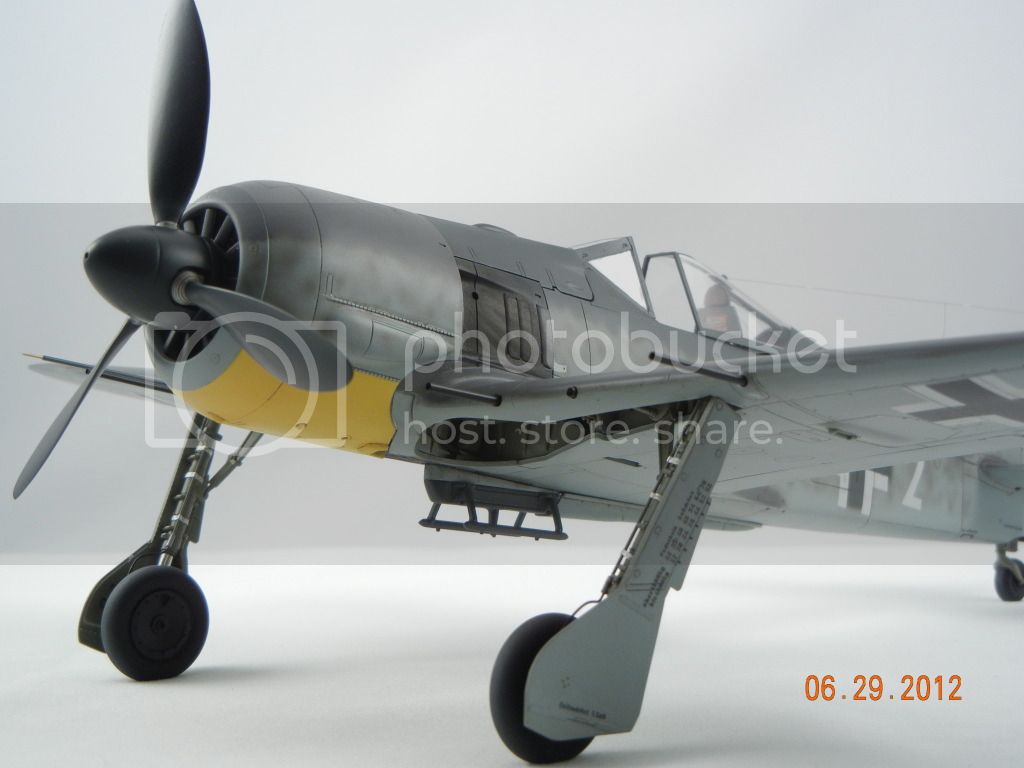
Thanks to the terrbile summer weather (around 13 degrees celcius and raining all day...), I've made good progress. Just the trim tabs left to be painted red and perhaps some more Future to bring up the gloss and I'm ready for decals.


At the risk of grousing I have to wonder if, in spite of all its luscious detail, Eduard over-engineered this bird. By comparison, my Tamiya A8 was a joy to build.


No word yet on extensions. (I'm resigned to my fate come what may)


 )
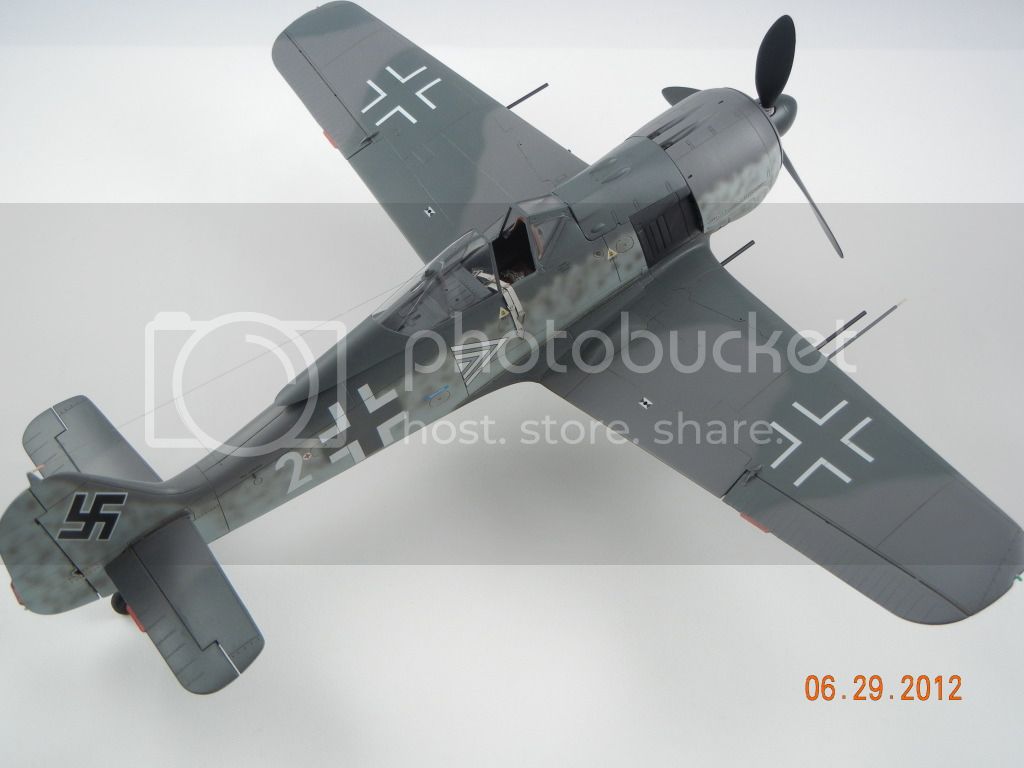
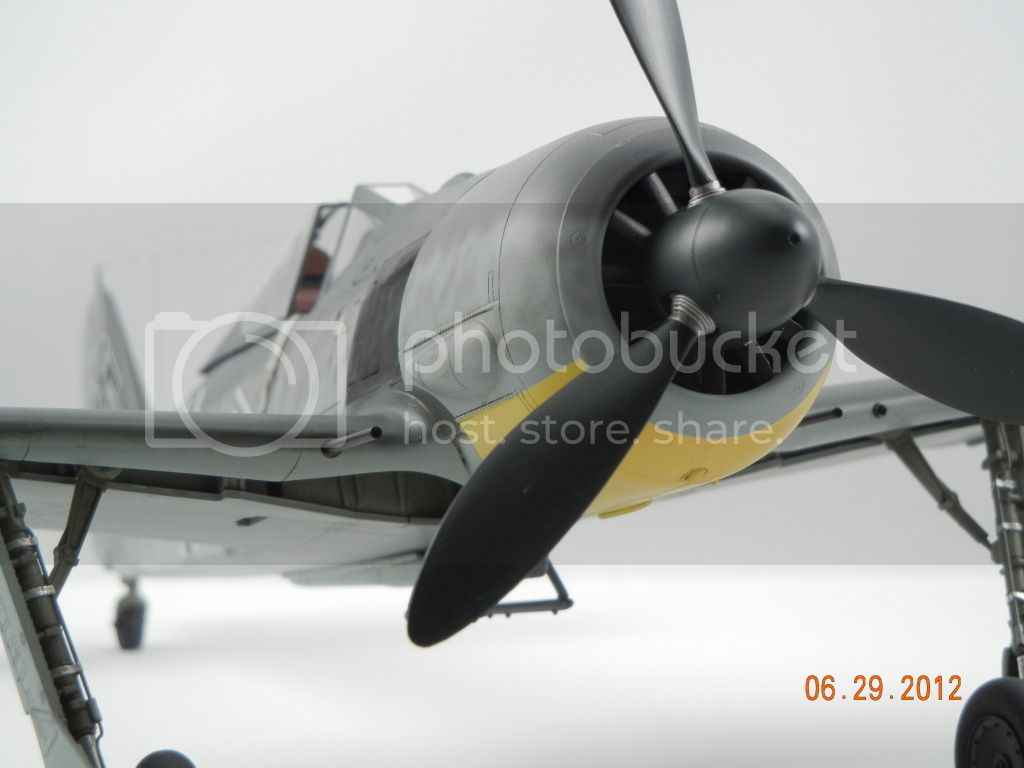
)Terrific progress Doug. Your clear coat looks mirror smooth. Are you using Future? If so, what pressure setting are you using on your compressor? (It looks flawless!)
Cheers,
Fred


Due to the ongoing issues with the gallery after the server move I've decided to extend the campaign by a week (08-07-2012) to hopefully give time for the gallery to be fixed and allow for you all to upload your pictures.
I'll review the situation closer to the new end date and decide what to do then.
Keep at it guys and gals


 |


