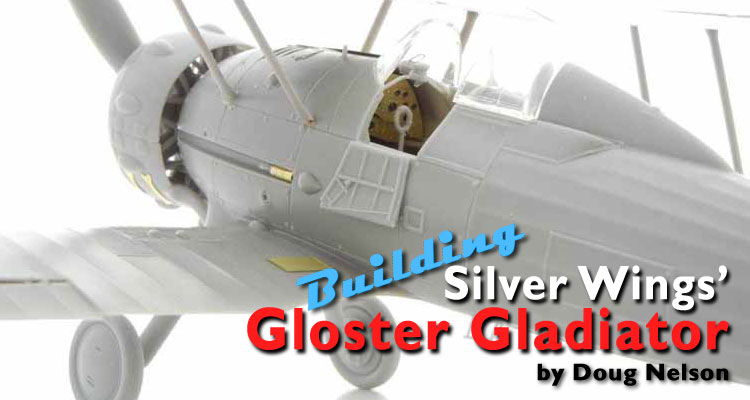
1⁄32Building Silver Wings' Gloster Gladiator
...
Post a Comment
Parts Cleanup
As with other Silver Wings kits, parts cleanup is fairly simple, and due to the soft resin they use for their kit, a sprue cutter can even be used to snip most parts from their pour stubs. After that, a few scrapes with the Xacto knife and/or sanding stick and the part is ready for use.With these kits, since there are no part numbers to worry about, I like to clean up all the parts and then begin the build. Any parts can be painted as appropriate after cleanup and before assembly as well. A few things to note when preparing your kit parts for use:
- The lower wings have a couple of excess resin “rods” on the top tips (see photo 1) , these must be removed as the outer wing should be smooth.
- The ailerons on my kit did not want to fit to the wings at all. Upon investigating, they seem to have had a slight shift during molding, as there was a slight step inside each of the hinge attachment points. Cleaning these up led to a much better fit.
- The windscreen for either version (Mark I shown in photo 2) is too splayed out at the base. To fix, simply pour hot water on the windscreen and bend inwards to get the correct shape. Once complete, I recommend dipping all the canopy parts in future, as it will greatly improve their transparency (see photo 3)
- The engine block has a pour block on the backside, and you should only remove the “fins”, leaving the center round part as this will be needed to attach the engine/cowl assembly to the fuselage (see photo 18 referenced later in the guide)
- The lower cowl piece and upper appear to be different sizes. However, once assembled and fitted to the exhaust collector ring (the round front cowl part) they will assume the correct shape. Also note that the lower cowl has the cutout for the carb intake common to the Mk.II Gladiator, which is not always correct for a Mk.I airframe. Consult your references for the markings you plan to do, and if necessary, the cutout can be filled with a piece of sheet styrene (do so after fitting to the lower cowl to the front exhaust collector ring to get the correct shape).
- My cockpit frames were a bit twisted and broken in some spots, so I repaired the breaks before assembly. Note that the shape of these frames should “bow out” in the middle.
- The lower cowl ring has two pins that are used to fit it to the exhaust collector ring, take care not to remove them when cleaning up the pour stubs that are near them. Also be sure to take care when removing the pour stubs from the front edge of both the upper and lower cowl, in order to keep a straight edge. The exhaust collector ring has two bulges under two of its three pour stubs so take care not to sand them down too much either.
- The starboard side of the seat needs some cleanup from the pour stub, but try not to destroy the lip surrounding the seat pan.
- The engine cylinders have some slight seams on the sides that may require cleanup, however any that you miss will likely not be visible on the finished model without searching really hard for them. Be sure not to damage the exhaust tubes that face forward on each cylinder head. Also note that the pushrods need to be cut carefully, and err on cutting them too long as if you just snip them off like I did, you will find that many of them are a tad short.
- The kit provided Fairey-Reed propeller will need some work to make it useable, as it is the same thickness on both edges of the blade, and lacks most of the twist at the base of the blade that is visible in many photographs (it’s just started on the kit part). Fortunately, you can sand the trailing edge thinner easily (since this is softer resin), and the twist at the base can be enhanced after heating the blade in hot water.
- There will be some extra parts depending on which version and airframe you wish to model, so not all parts will require cleanup if you know which version/airframe you plan to build. I also noted some “spare” duplicates of some fragile parts in my kit, which is a nice touch by Silver Wings.
Copyright ©2021 by AeroScale. Images also by copyright holder unless otherwise noted. The views and opinions expressed herein are solely the views and opinions of the authors and/or contributors to this Web site and do not necessarily represent the views and/or opinions of AeroScale, KitMaker Network, or Silver Star Enterrpises. Images also by copyright holder unless otherwise noted. Opinions expressed are those of the author(s) and not necessarily those of AeroScale. All rights reserved. Originally published on: 2012-01-20 00:00:00. Unique Reads: 9802


