

1⁄32Building the Silver Wings Siskin
...
Post a Comment
Fuselage Assembly
Fuselage assembly is covered on page 4 of the instructions.As mentioned previously, jump ahead to page 6 to see what items need to be attached to the fuselage halves before they are joined together.
Attach the items as shown. I recommend using PVA or white glue to attach the shell ejection chutes to the shell ejection ports so that you have some flexibility to get them into the correct position to match up the gun breeches when test fitting the completed cockpit.
There is a PE wiring harness of sorts on the starboard (right) side interior. The instructions show that these wires should be attached to the panel on the cockpit framing directly below it when in position. I recommend that you drill a small hole into the panel for each wire to attach to to ease the placement of the wires. Alternatively, you can simply run the wires behind the panel which also looks fine.
Test fit, and then glue the forward bulkhead into position on one of the fuselage halves.
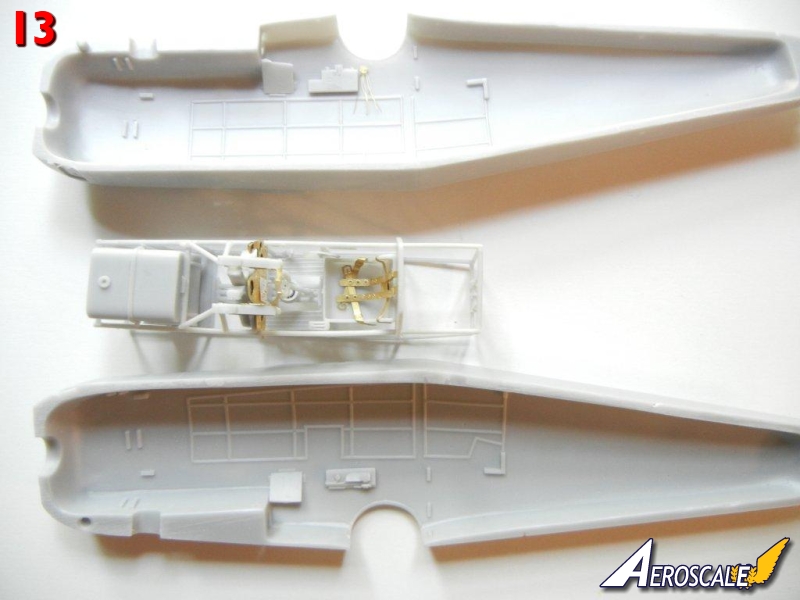
Install the completed cockpit frame to one of the fuselage halves. Photo 13 shows everything ready to be closed up.
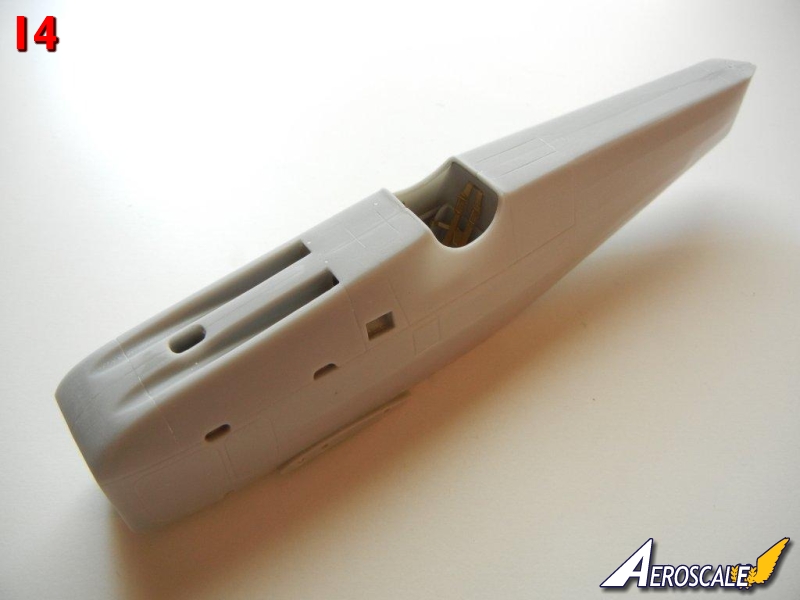
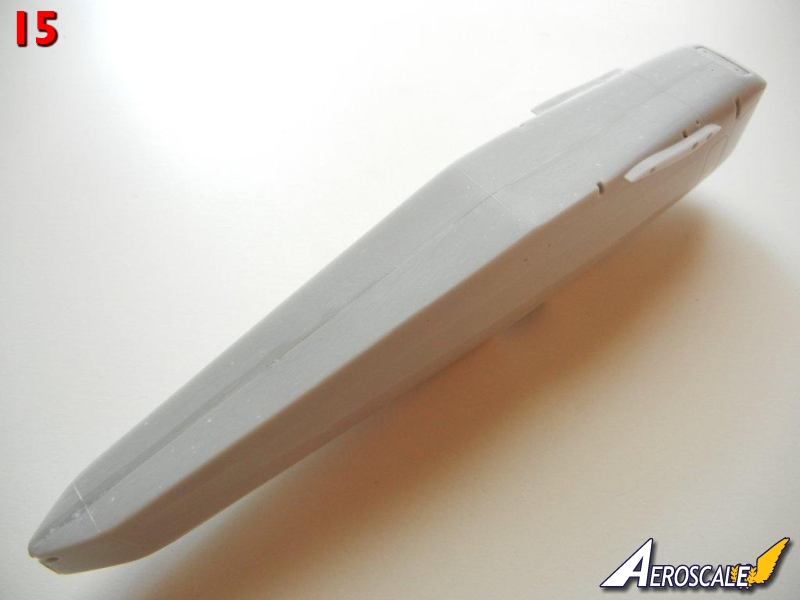
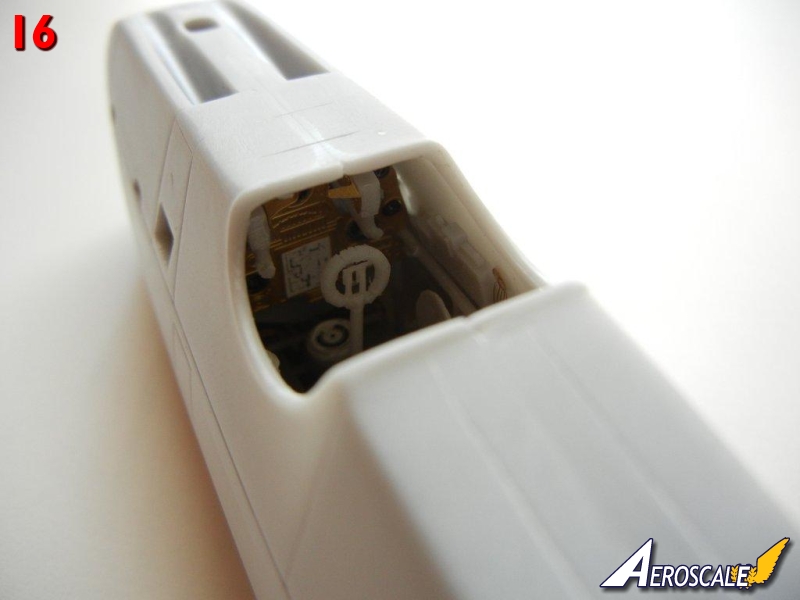
Glue the fuselage halves together, ensuring the cockpit frame and rear bulkhead are in the correct position. Photos 14~16 show the assembled fuselage.
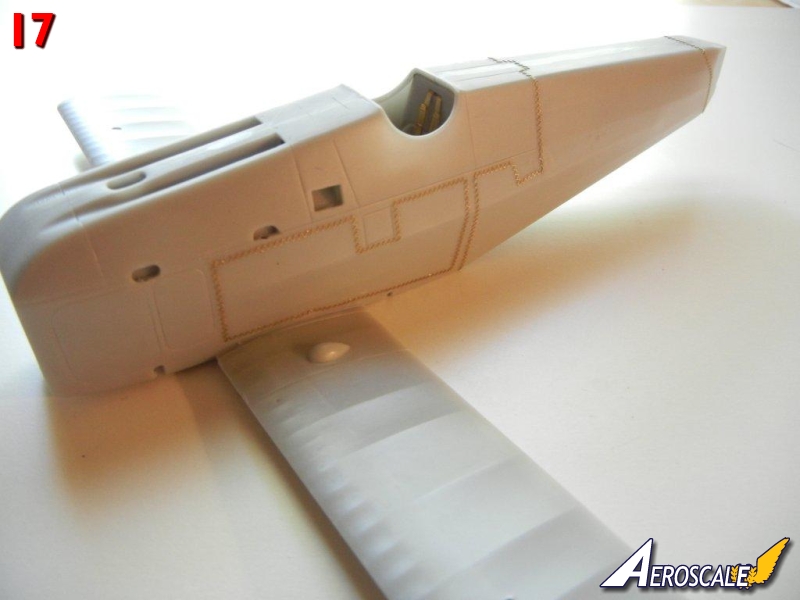
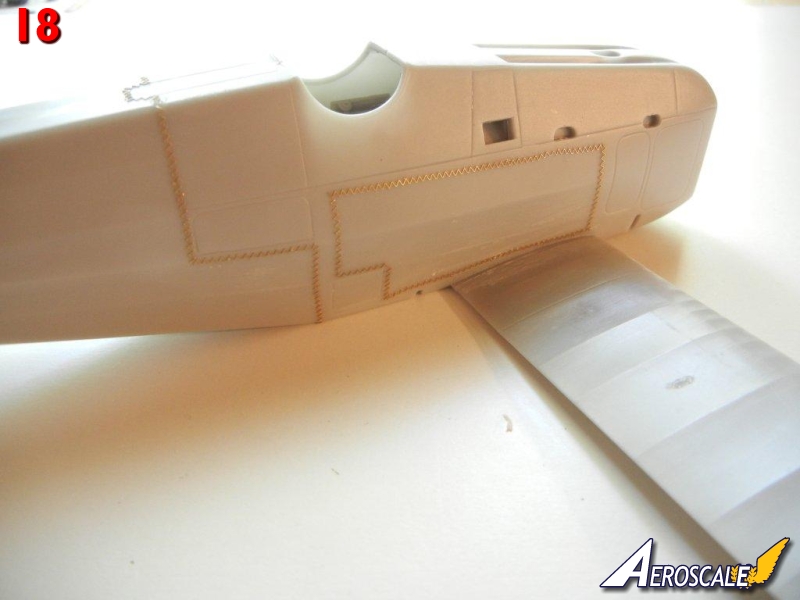
Once set, attach the PE stitching in the appropriate positions as indicated on page 5 of the instructions. I noted that the stitching for this kit is finer than on previous kits, and bends easier as well. While it may look better, this makes it harder to install in position. Personally, I wish that Silver Wings would simply mold the stitching on the fuselage, leaving these PE parts for the bottom (and top if required) seam as installing them can be a very frustrating exercise. I elected to attach the lower wings prior to the stitching to give myself something to use to hold the model as the stitching tends to come unattached with handling. I recommend applying primer over the stitching as soon as possible to help keep it in place. As an alternative, both Archer transfers and HGW offer alternative, easy to use, resin-decal stitching as well (which I will definitely use on subsequent builds). Photos 17 and 18 show the completed stitching.
Attach the oval shaped fuel filler to the top of the forward fuselage (page 7).
The following steps are best left for final assembly Attach the two machine gun barrels to the machine gun breeches.
Attach the PE gun sight tube attachments as indicated in on page 7 of the instructions. My references show that the sight should be over the starboard side machine gun trough, so I adjusted the attachment point on the top of the fuselage inward as required to achieve this position. Attach the ring sight in the center of the fuselage as indicated.
Build up the windscreen (as shown on page 2 of the instructions) and attach to the fuselage in front to the padded surround. Photo 19 shows the windscreen and gun sights in position.
Install the fuselage oil cooler brackets/posts to the bottom of the fuselage. I built up the PE oil cooler parts and held them in place with a touch of future. Trim the top of the bracket rods to be just above the last round PE part once complete.
Attach the generators (shown on page 5) and the gun sights/windscreen until final assembly.

About the Author


FROM: GEORGIA, UNITED STATES
I've been modeling on and off for over 40 years. My primary interests are WW1, Interwar and WW2 aircraft, although I do build an occasional WW2 armour kit. I used to build 1/32 kits back in the 80's, but switched to 1/48 in the early 90's when all the nice new kits started showing up. I've sinc...
Comments
Copyright ©2021 by Doug Nelson. Images also by copyright holder unless otherwise noted. The views and opinions expressed herein are solely the views and opinions of the authors and/or contributors to this Web site and do not necessarily represent the views and/or opinions of AeroScale, KitMaker Network, or Silver Star Enterrpises. Images also by copyright holder unless otherwise noted. Opinions expressed are those of the author(s) and not necessarily those of AeroScale. All rights reserved. Originally published on: 2012-08-18 00:00:00. Unique Reads: 8122

WEB HOSTING BY


Copyright ©2021 AeroScale and Kitmaker Network, a subsidiary of Silver Star Enterprises
All Rights Reserved. Please read our Conditions of Use and Privacy Policy.
All Rights Reserved. Please read our Conditions of Use and Privacy Policy.